


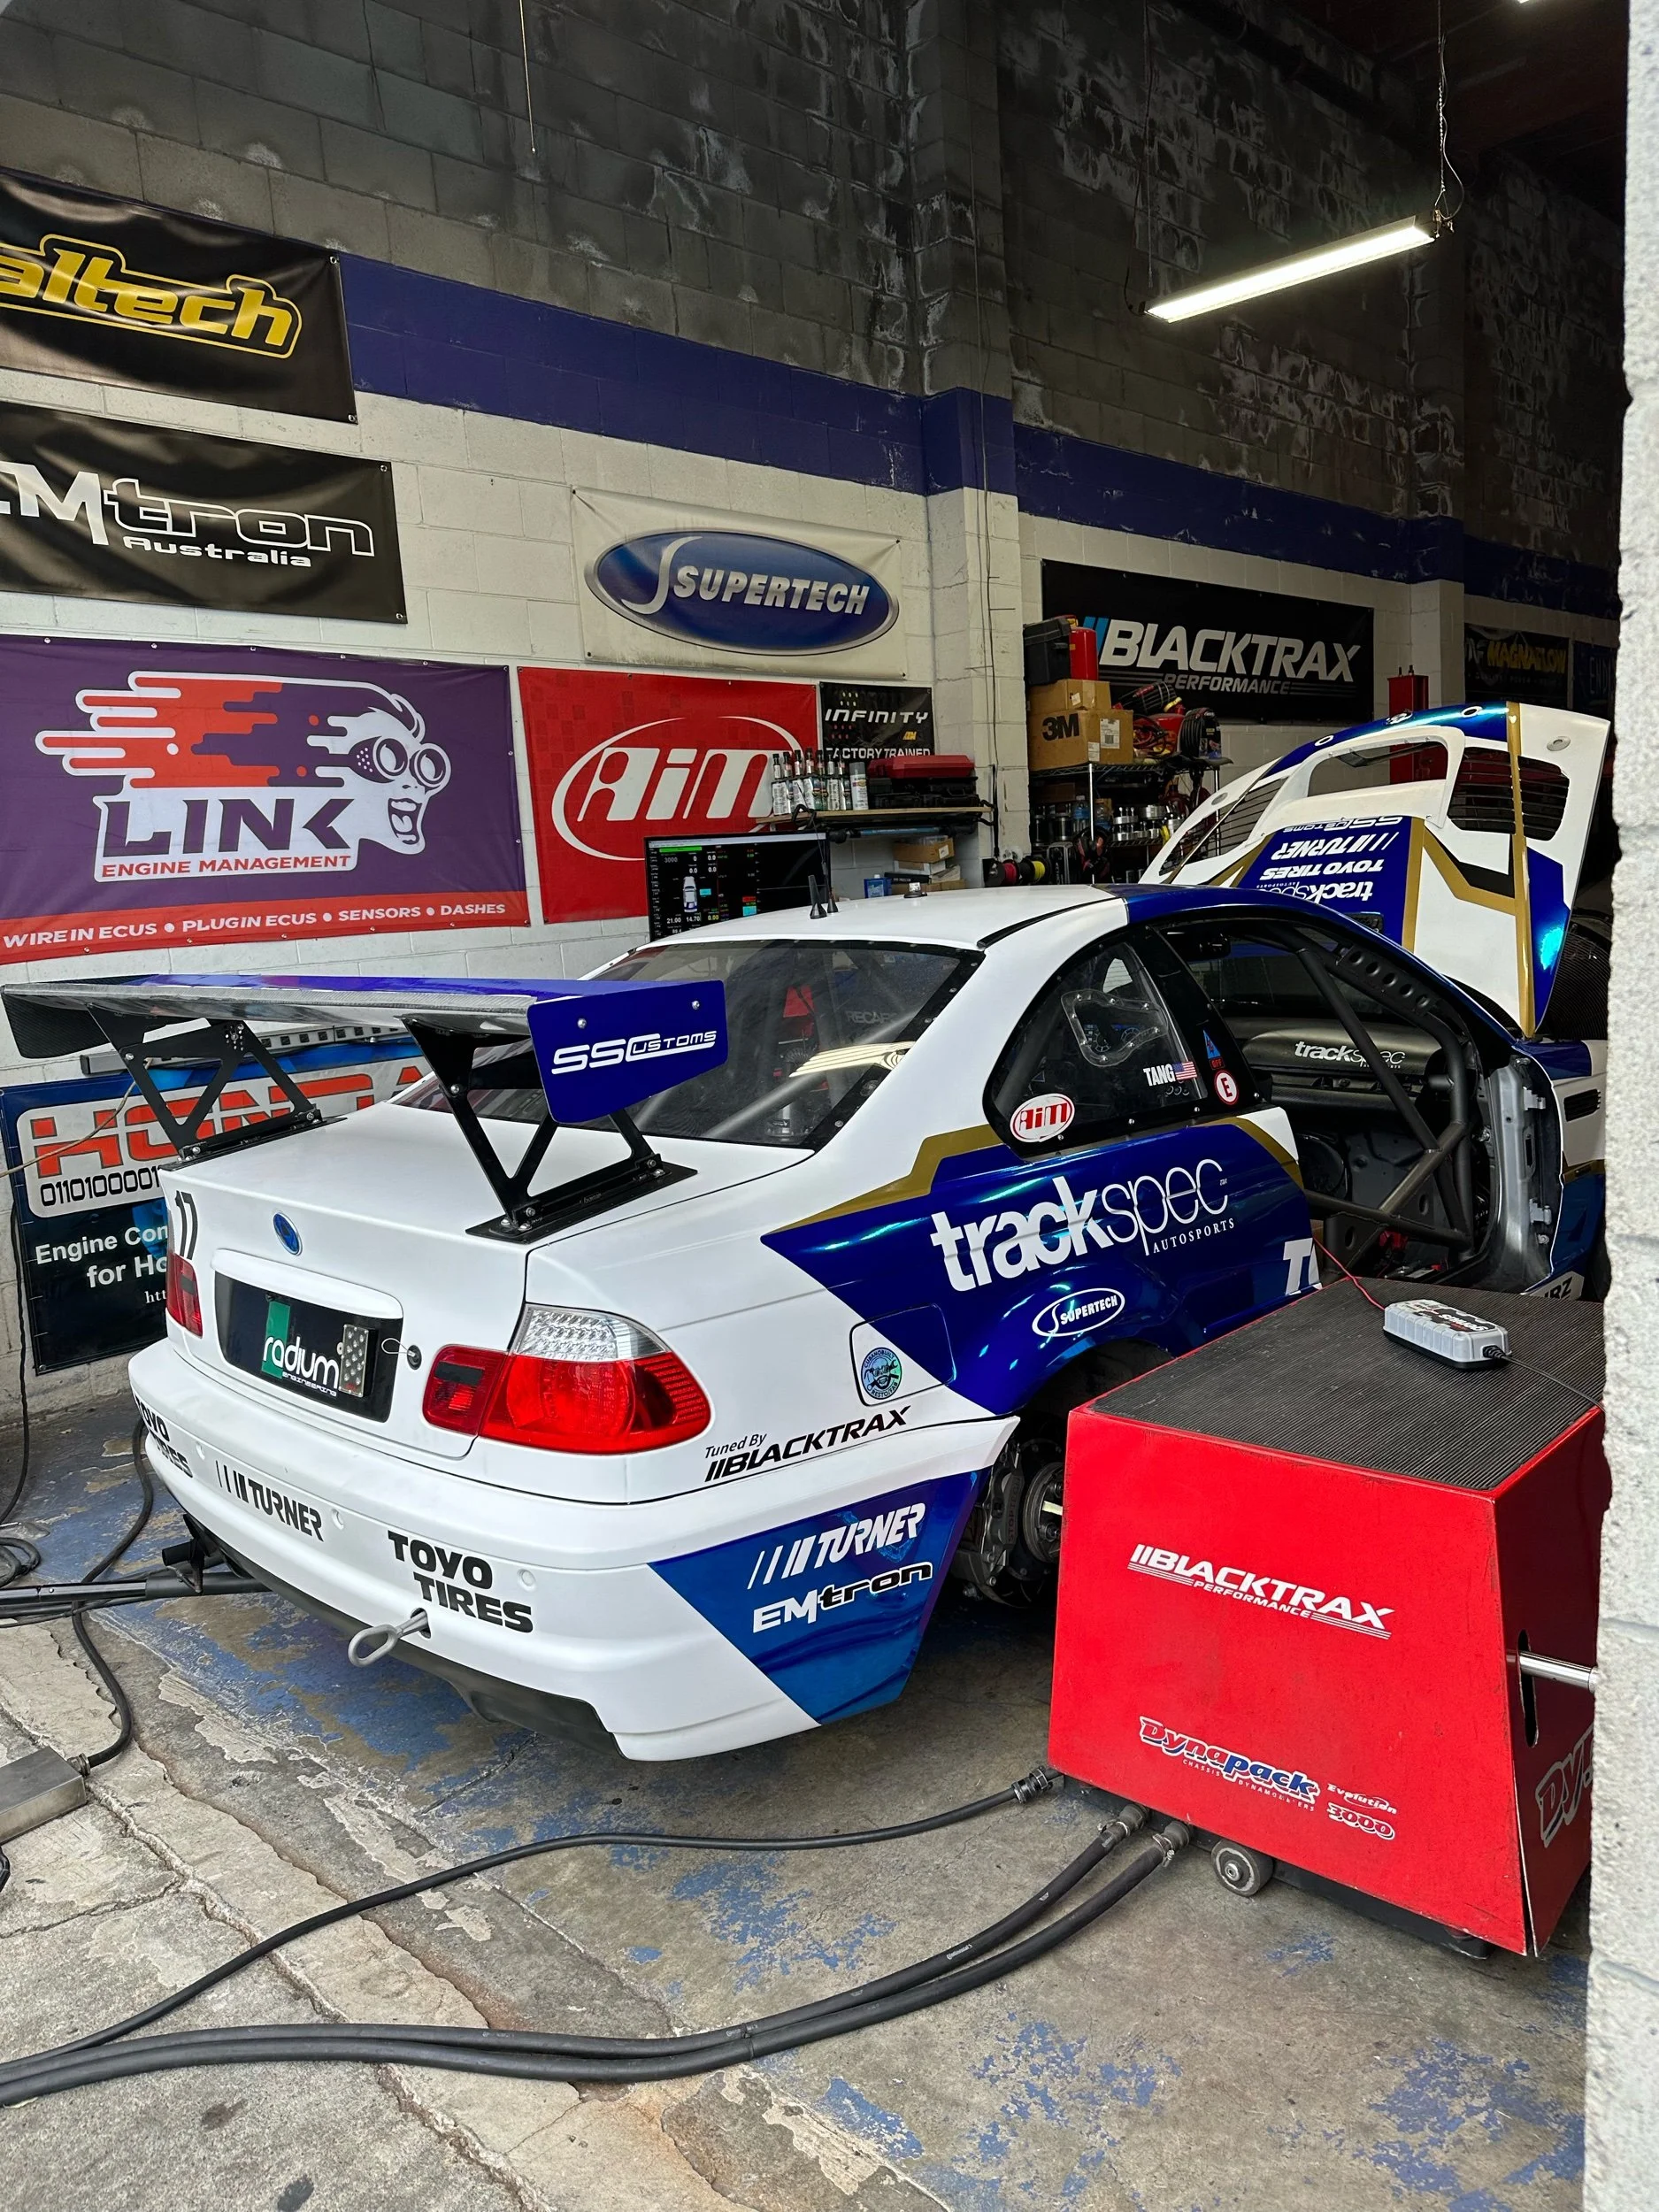
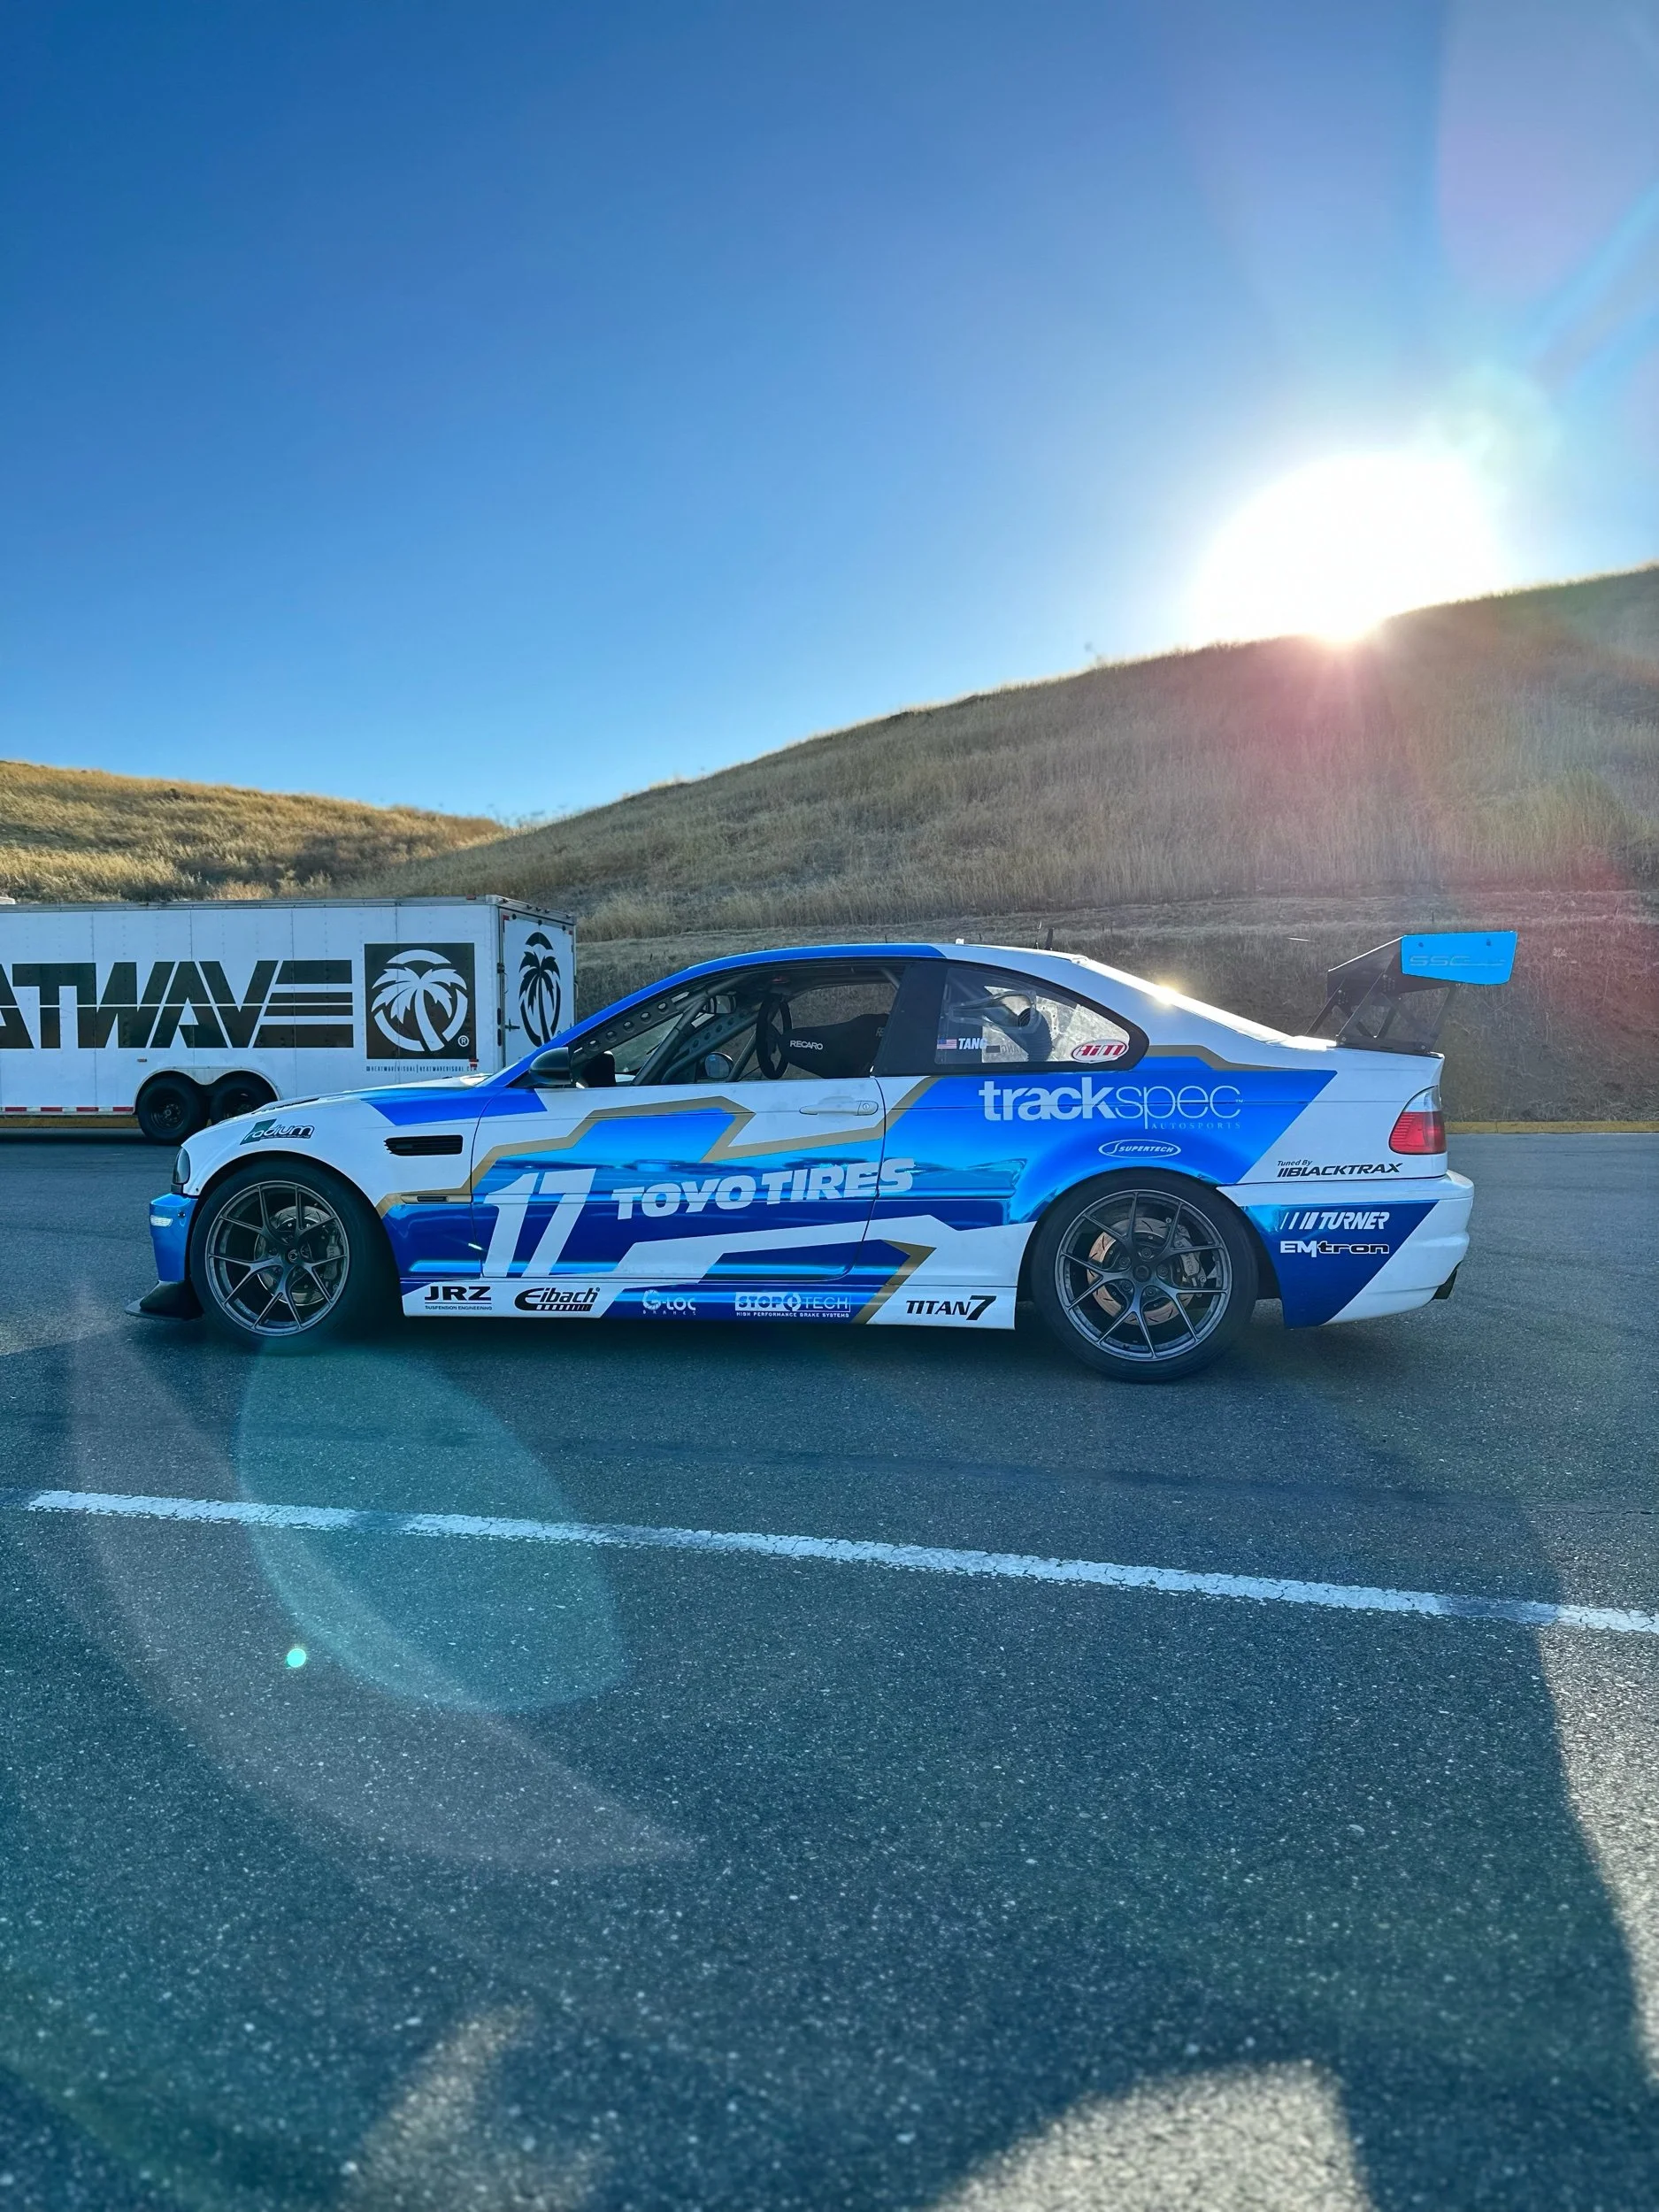
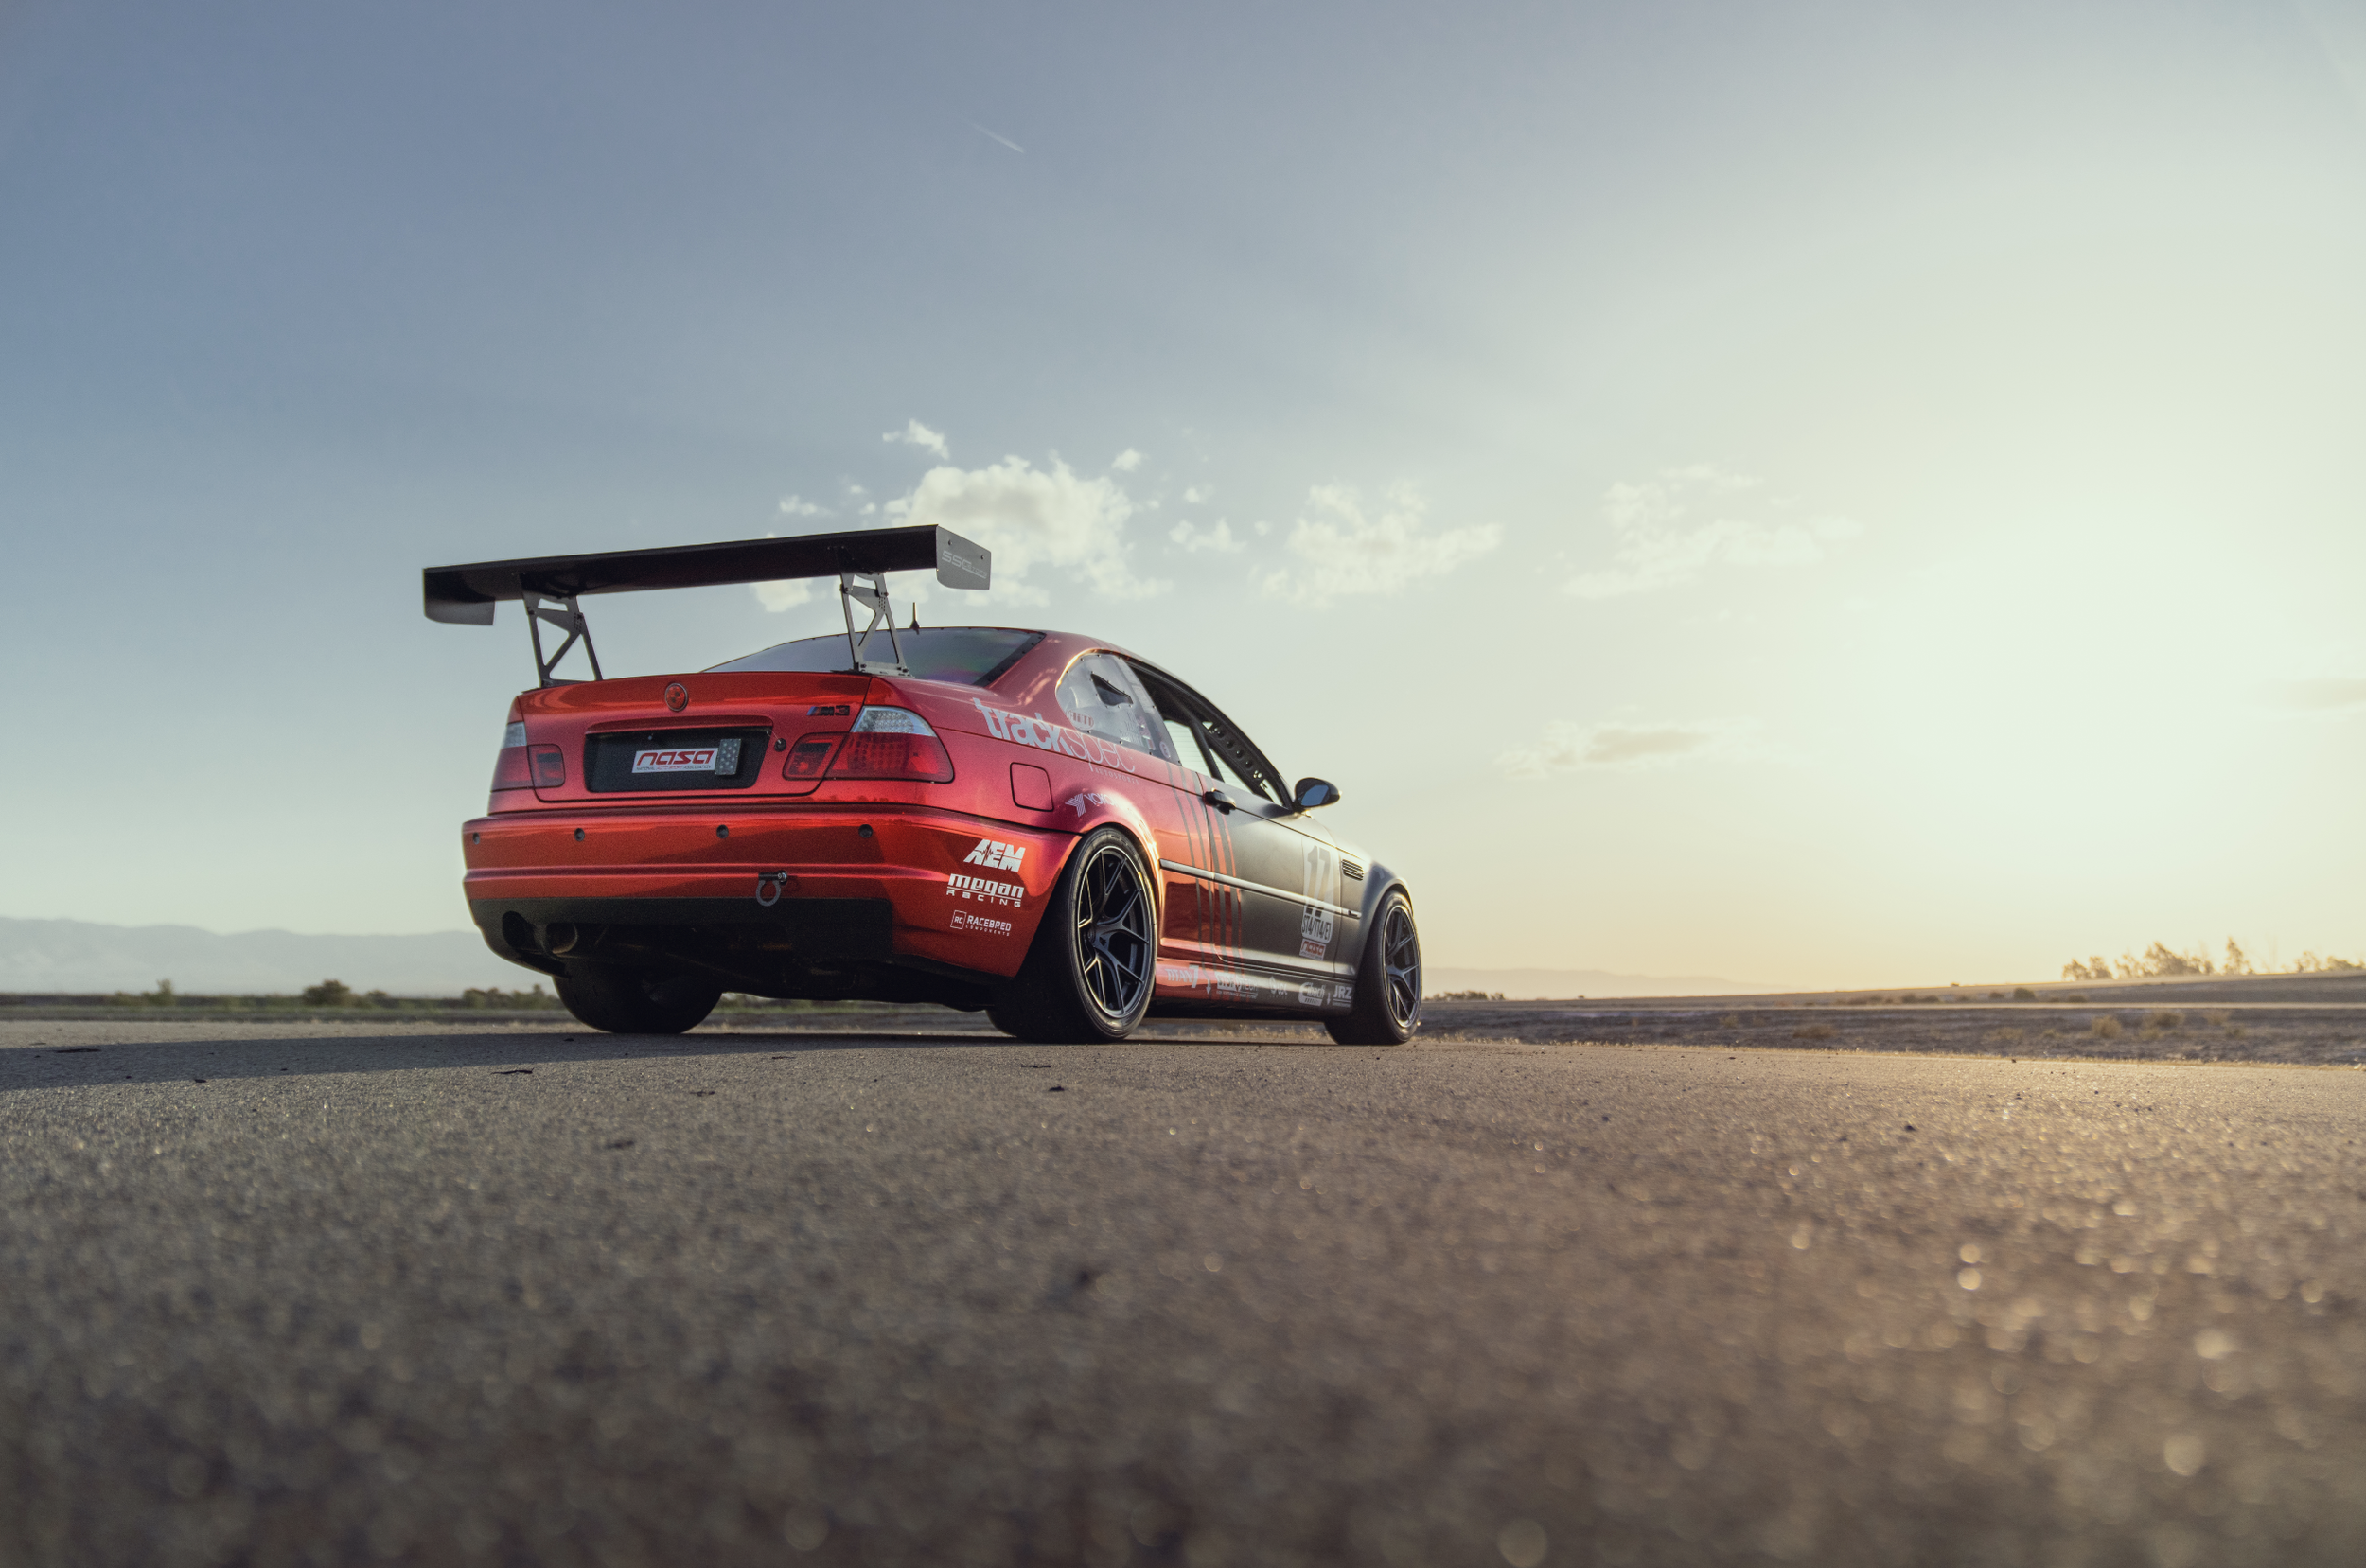
Trackspec's K24 Exige- Emtron ECU and AiM PDM32
It’s been over 3 years since I put the Honda K24 into our Lotus Exige and it was the first car that I made an engine harness for. Although the harness was reliable and never gave me any issues, I felt that my harness building skills have improved much since then. What I really wanted to do was get rid of all of the unused wiring and the mess under the dash.
If you’re looking for:
Part 1: The Rebuild, go here.
Part 2: The Wrap, go here.
Part 3: More Goodies, go here.
Part 4: Aero, go here.
Part 5: Cooling, go here.
Part 6: Fuel & Oil Control, go here.
Part 7: Clutch, Trans, Misc., go here.
Part 8: Roll Cage, go here.
Part 9: Brakes, go here.
Part 10: K24 Swap 1, go here.
Part 10: K24 Swap 2, go here.
Part 10: K24 Swap 3, go here.
Part 11: K24 Head Work, go here.
Part 12: K24 Swap Rewire, go here.
Rewiring the K24 Exige
It’s been over 3 years since I put the Honda K24 into our Lotus Exige and it was the first car that I made an engine harness for. Although the harness was reliable and never gave me any issues, I felt that my harness building skills have improved much since then. What I really wanted to do was get rid of all of the unused wiring and the mess under the dash.
Hardware
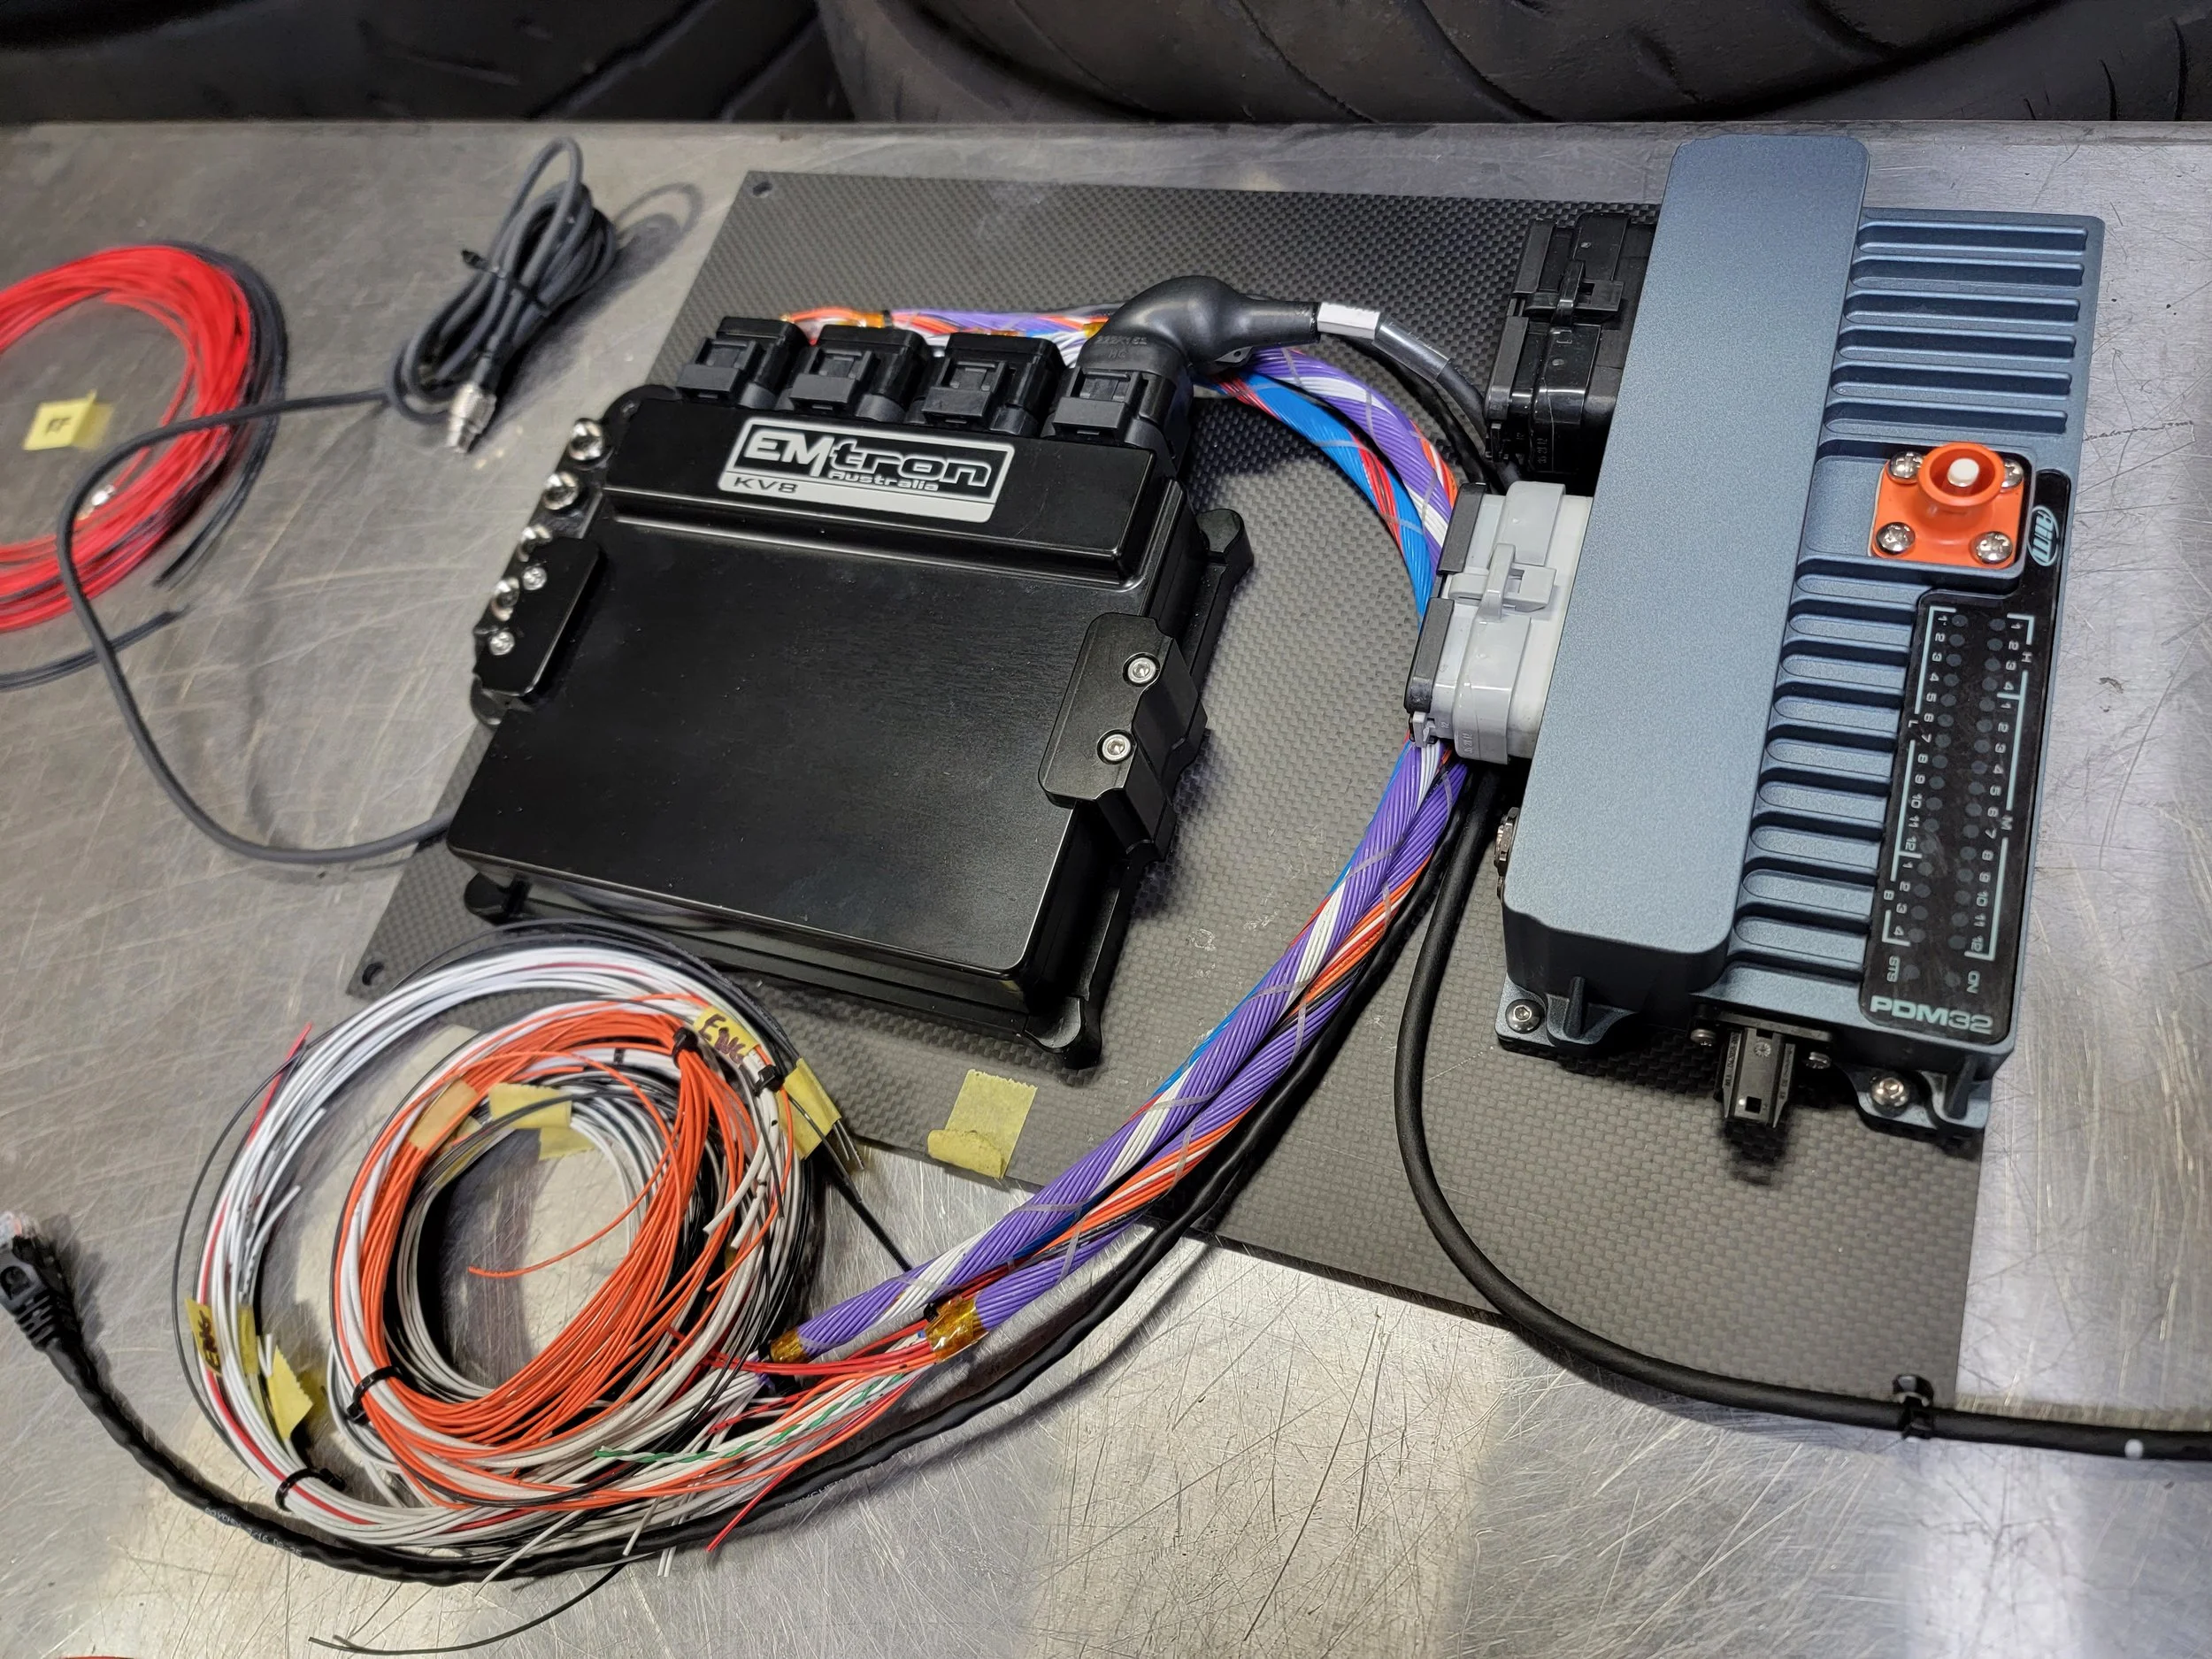
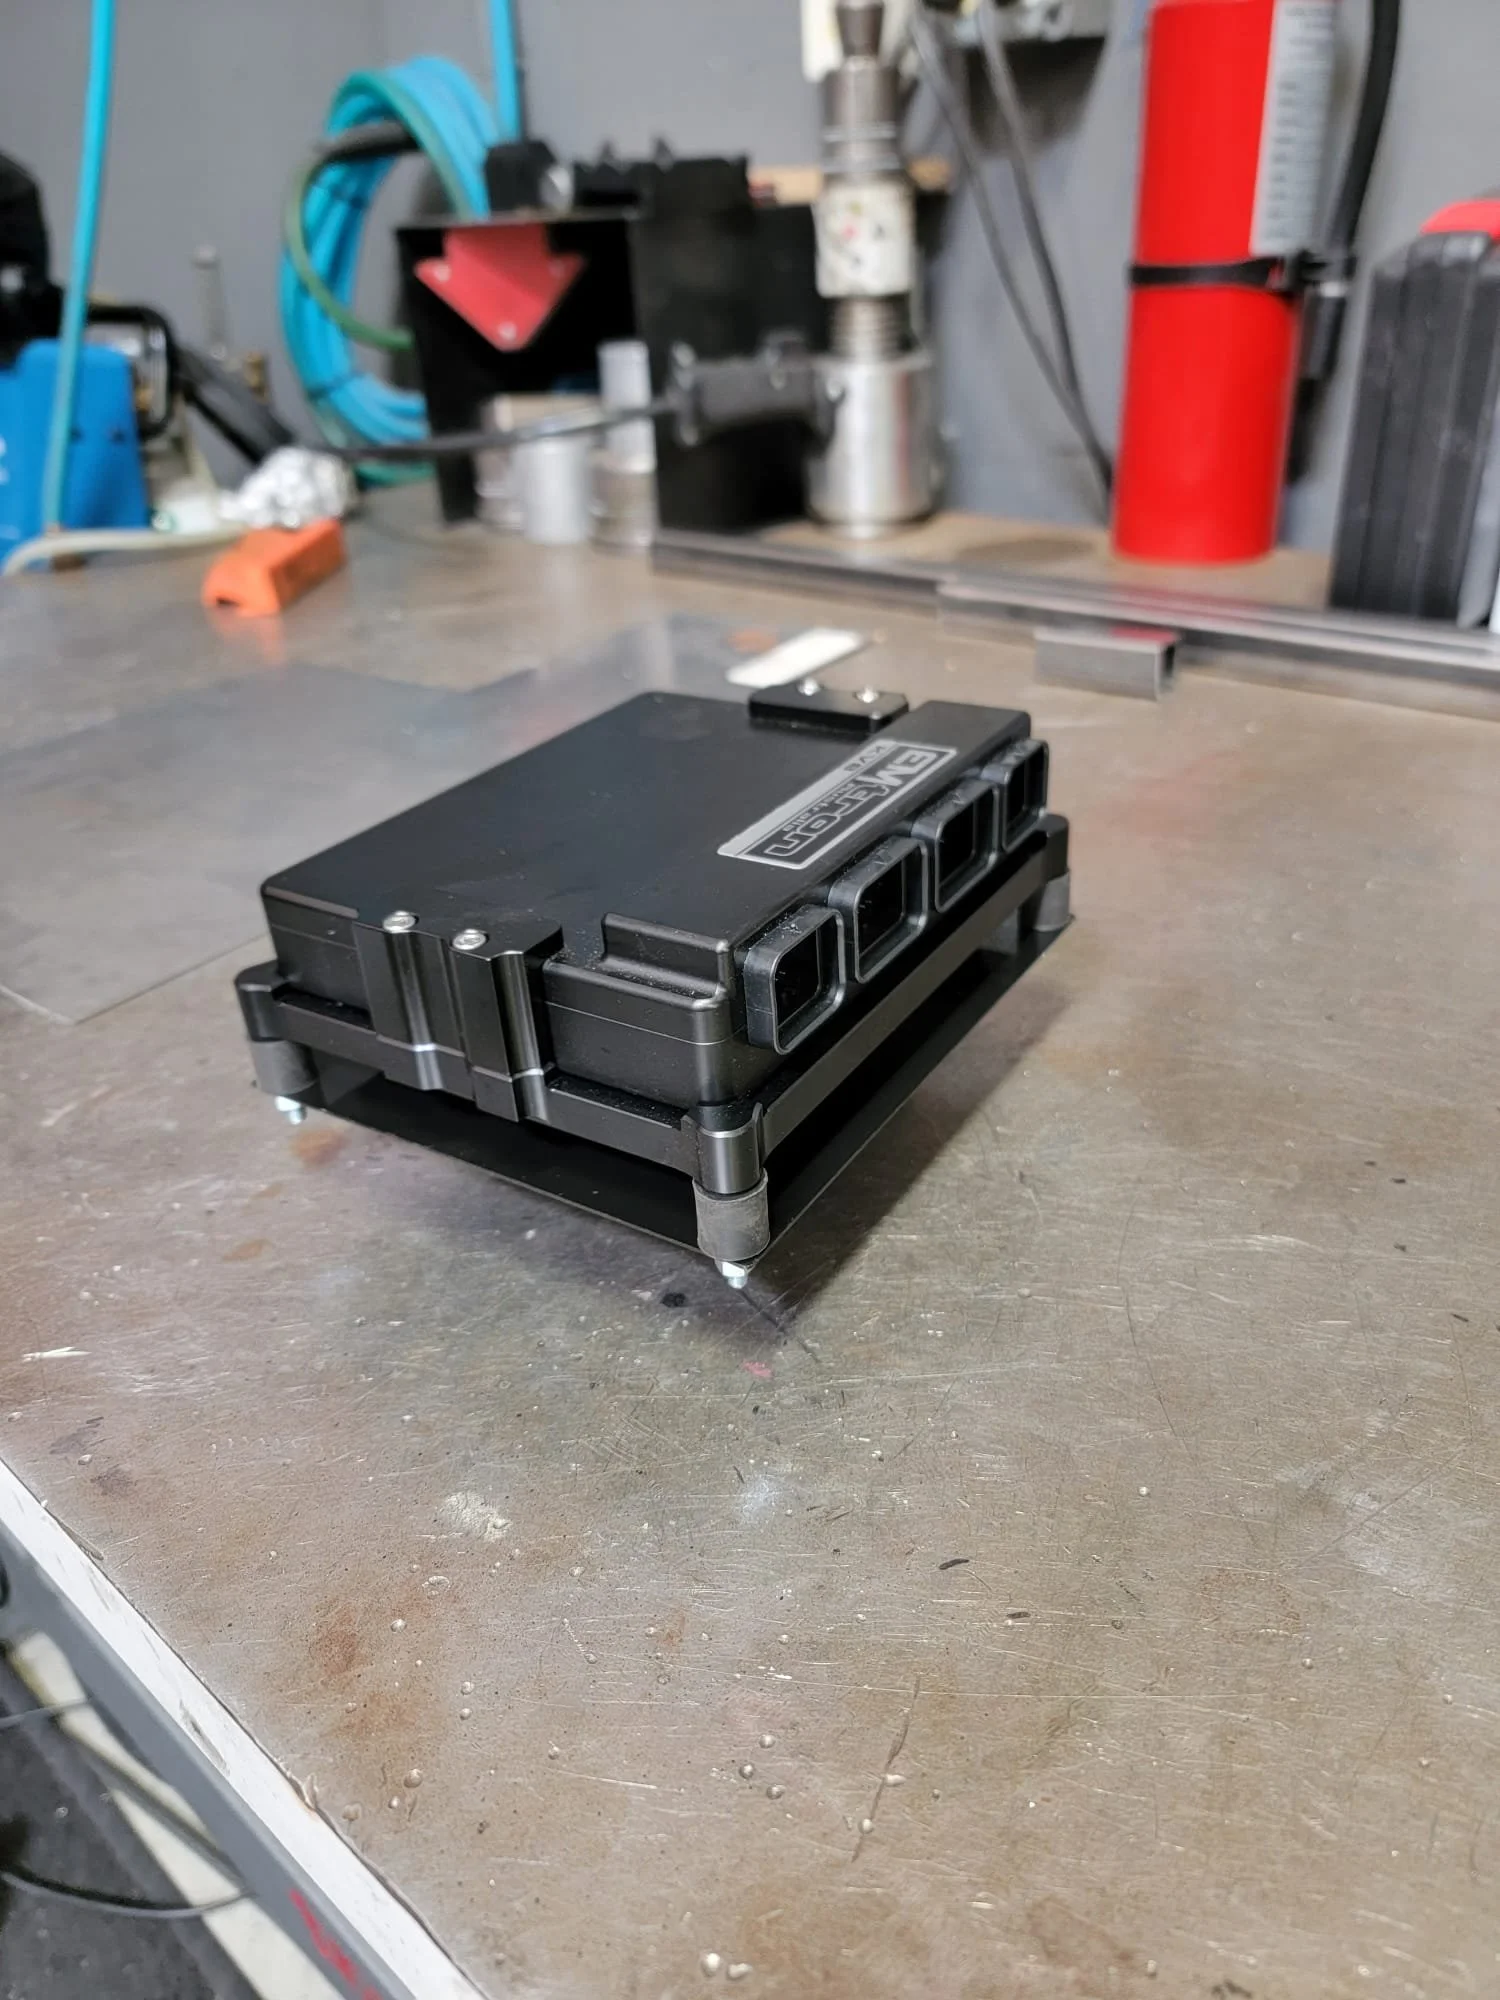
Since I was starting from scratch, I decided to install a PDM (Power Distribution Module). This will simplify the wiring by eliminating the need for fuses and relays and also lets me configure how and when power outputs are enabled. I chose to go with the AiM PDM32, which doubles as a datalogger.
Wiring up the PDM is simple, but time consuming. Anything that needs a power source will be wired to a power output. Sensors and switches can be wired to the inputs. Any engine data from the ECU can be communicated to the PDM via CAN. Here’s an example of how something like the fuel pump circuit can be set up.
The current and status of the channel can be data logged at a few different sampling frequencies.
The output can have a soft start/stop. This would be useful for something like a radiator fan to reduce the inrush current.
You can set the maximum allowed current before the output shuts down. This is your circuit breaker.
You can set how many times you want the output to, “retry”, before considering it being a serious issue. This might help you get through and finish a race for an intermittent short circuit.
You can set a delay for when the circuit turns on and off
My fuel pump is set to turn on when the ECU relay output triggers on and only when the ignition is ON at the same time.
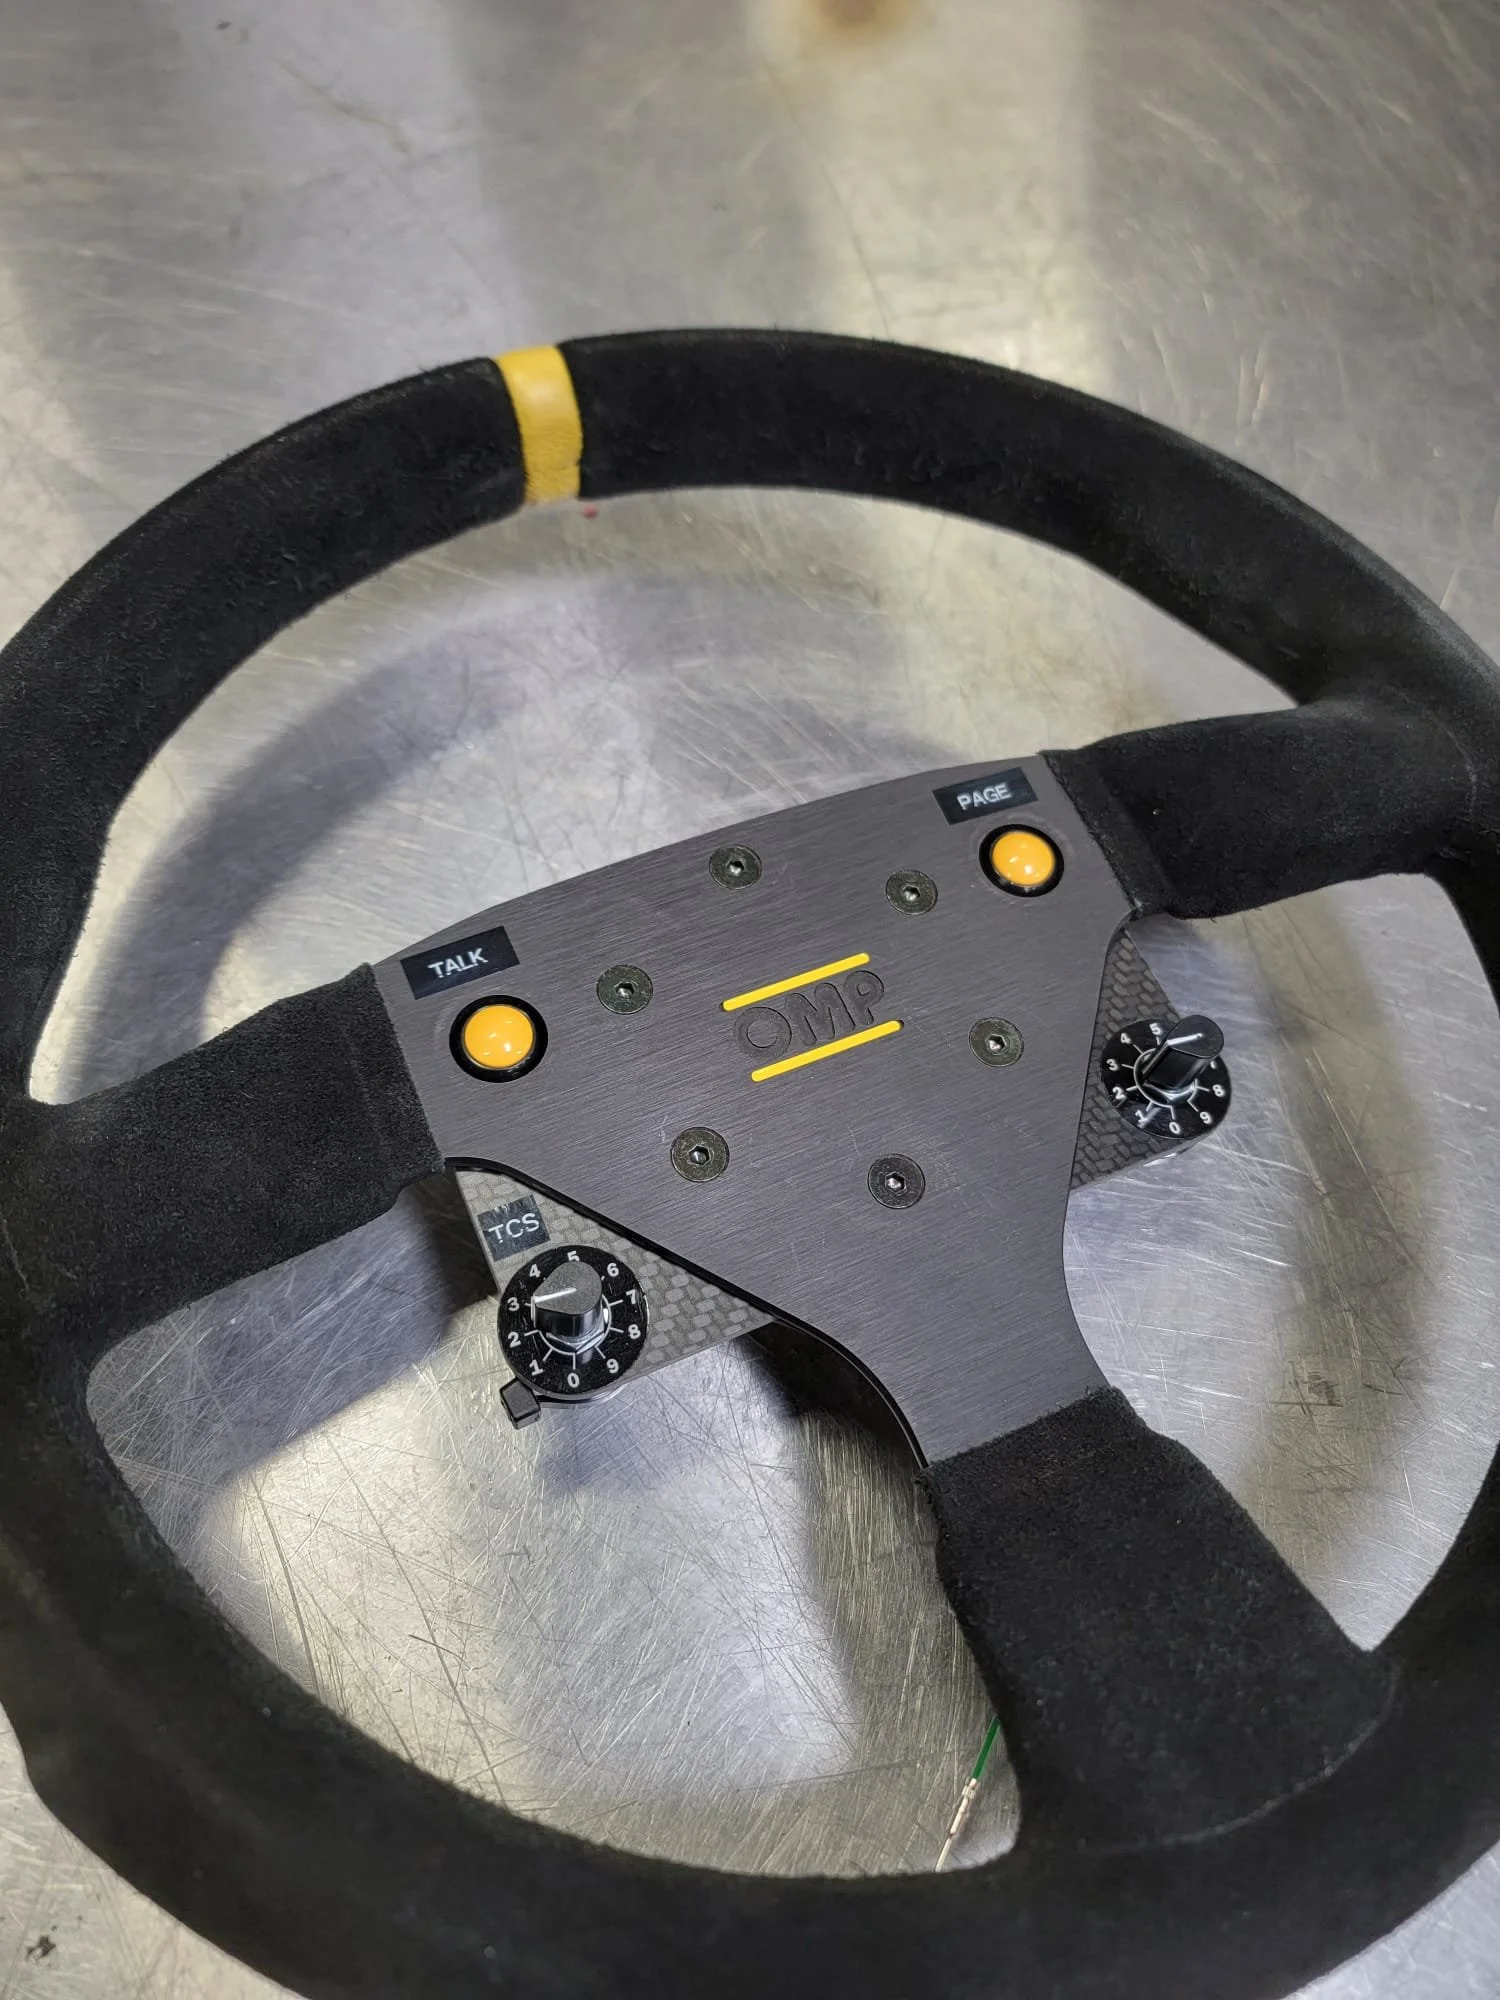
I can also override the fuel pump using the CAN keypad. In this case, I have set one of the buttons to equal “IGN” with a short press. This turns on the ignition power button. With a long press, the button equals, “FP”. This will activate the fuel pump. This can be useful to draining the fuel tank or diagnostic work.
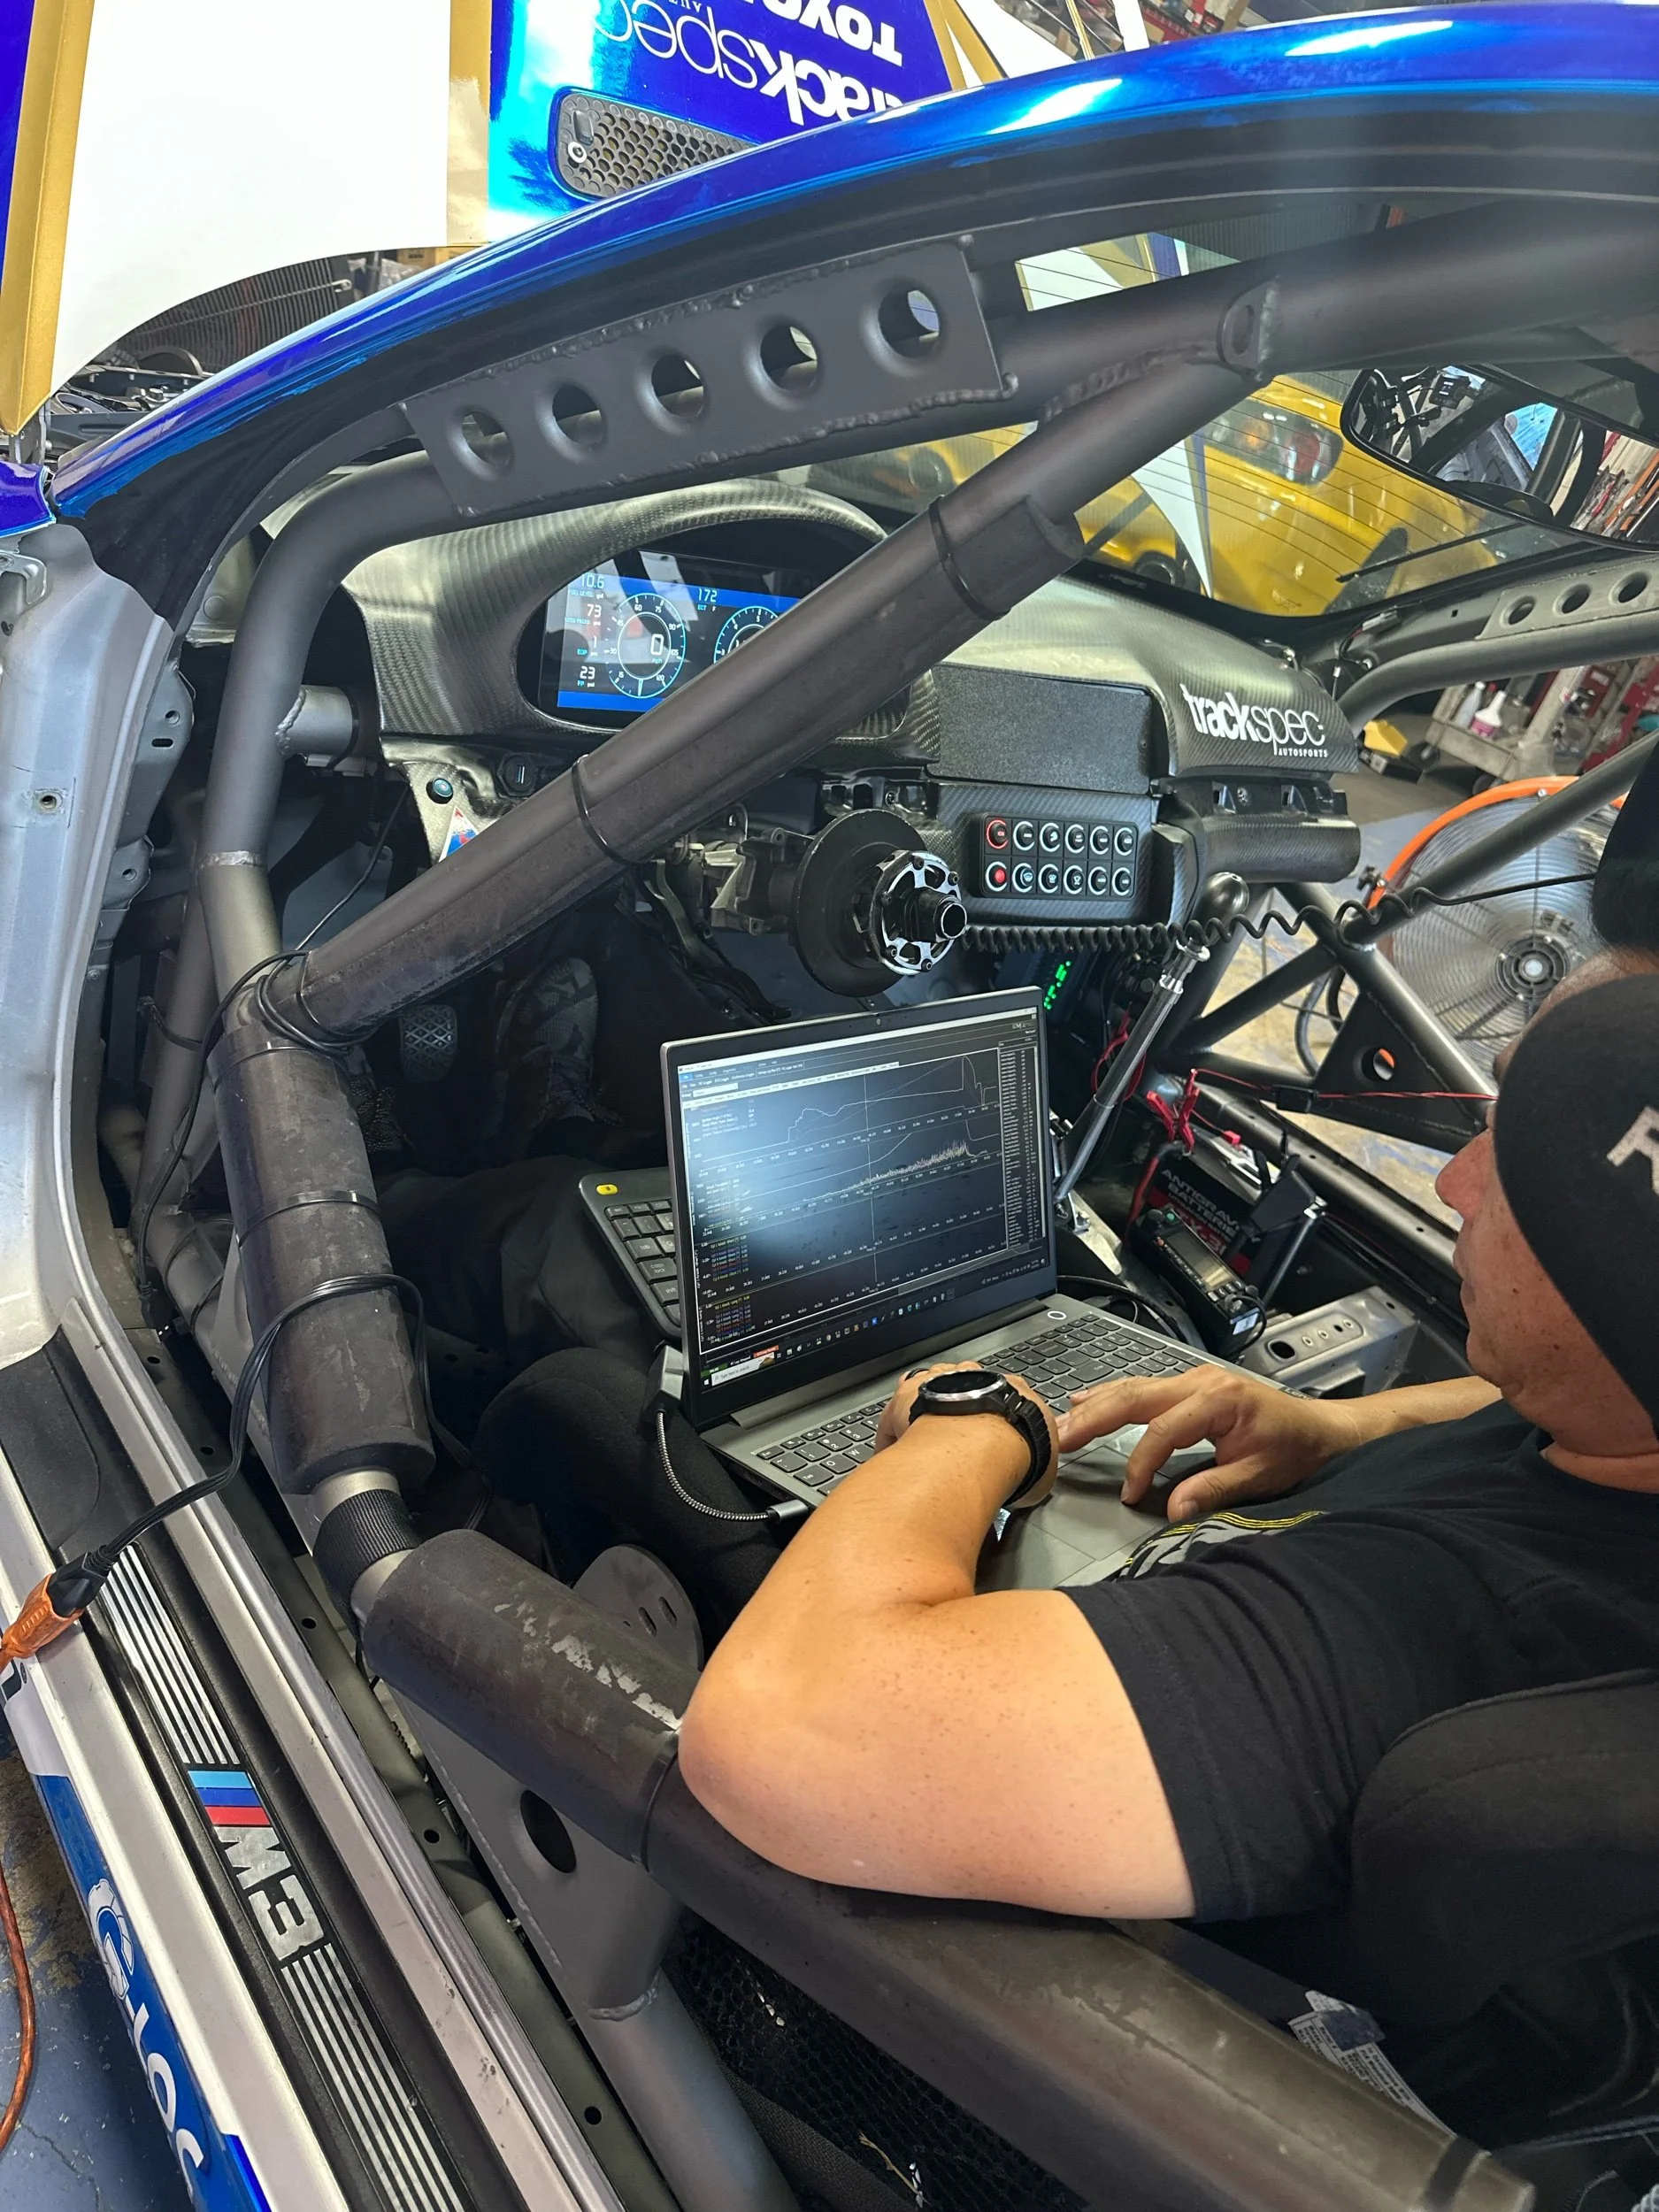
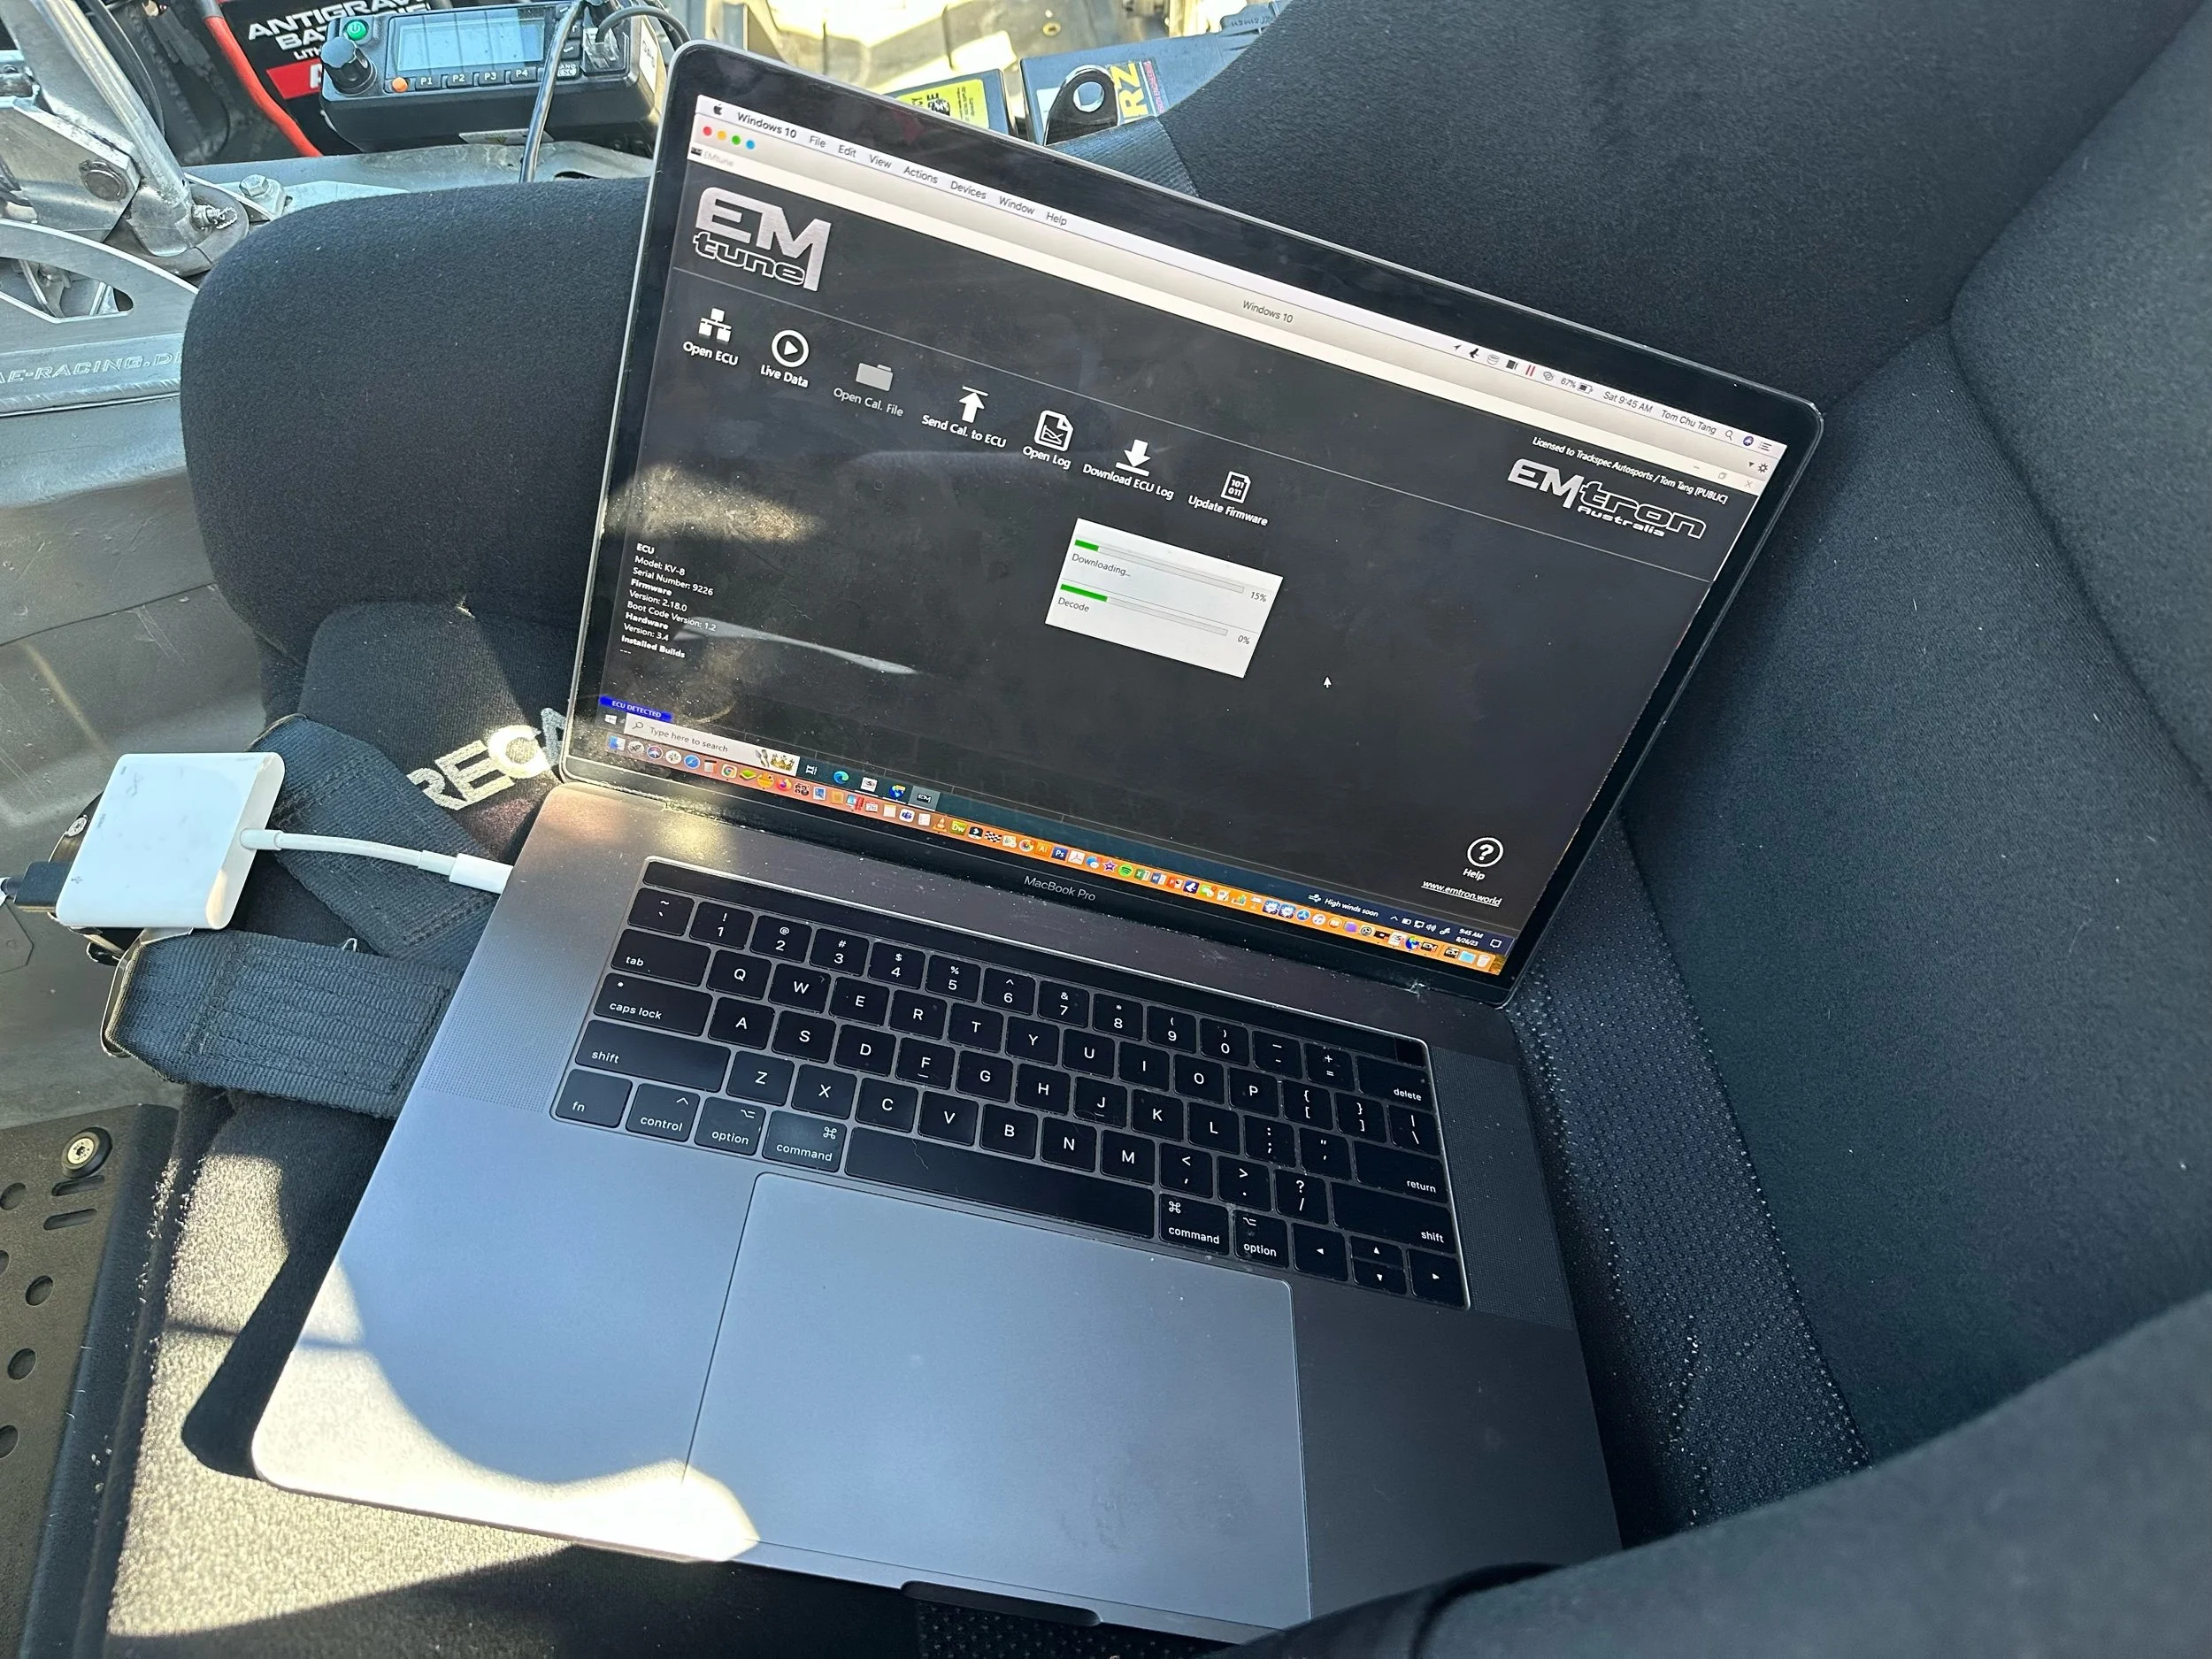
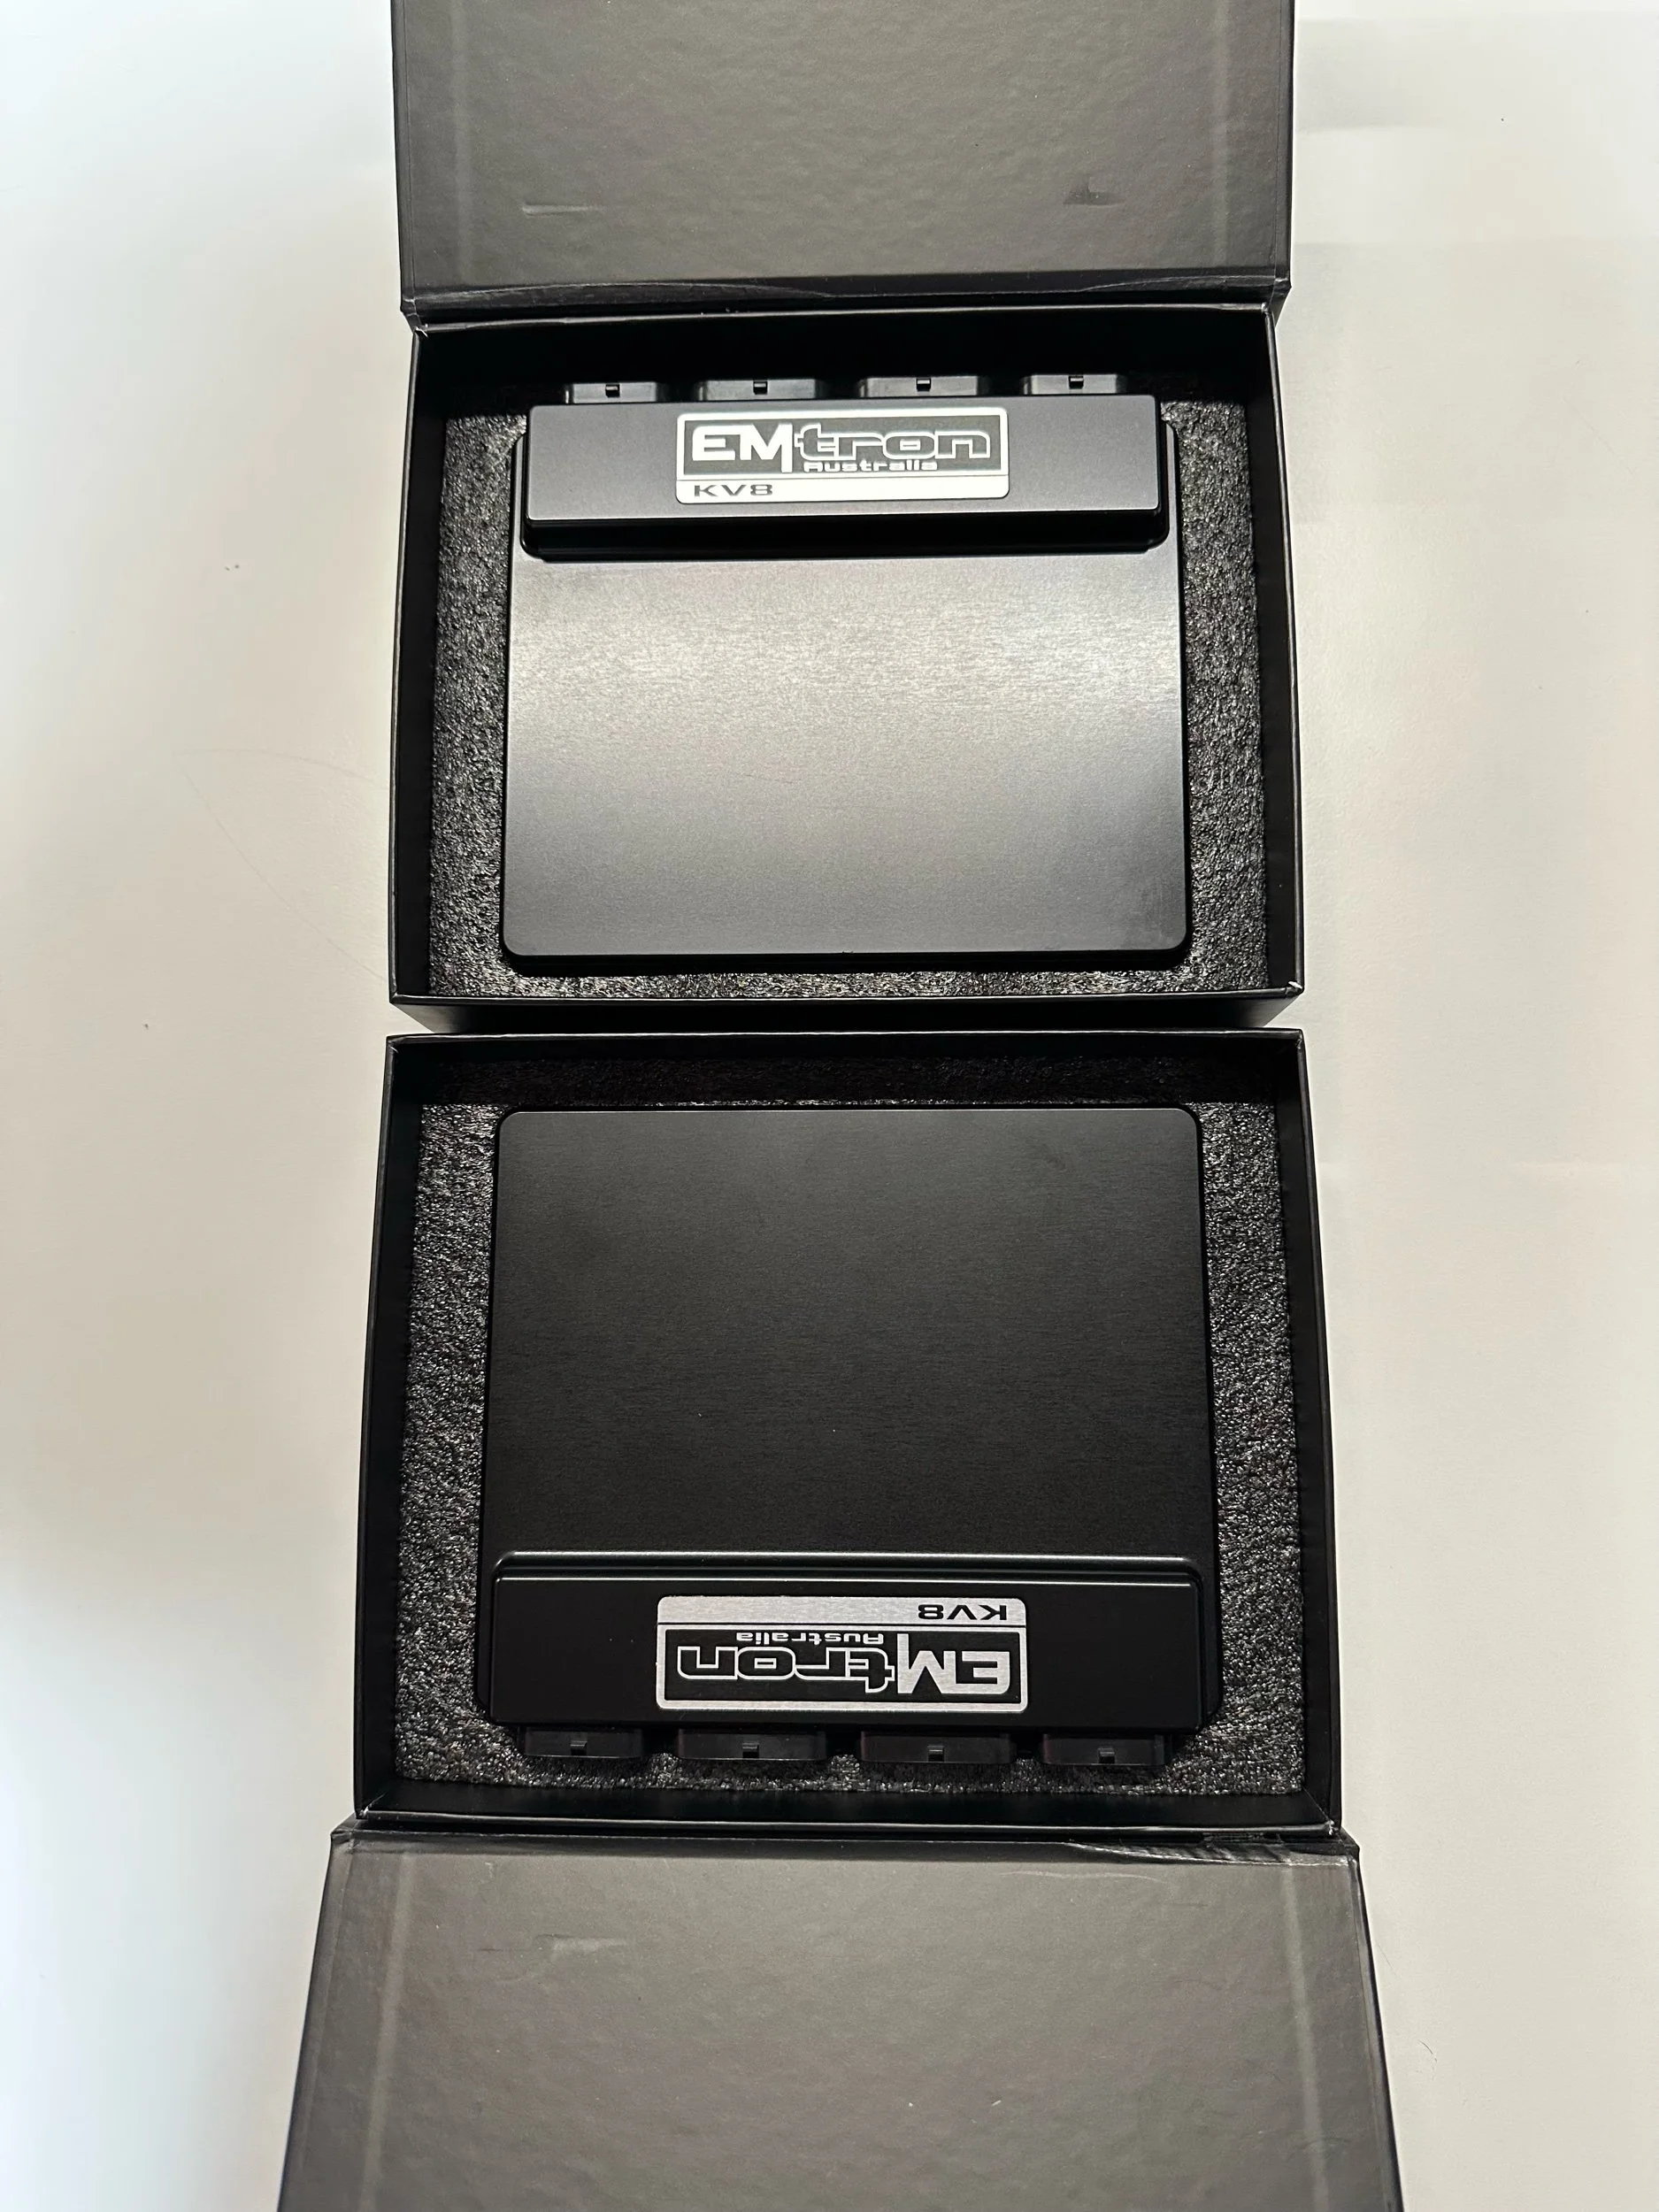
To go with the PDM, I also upgraded to an Emtron KV8 ECU (Thank you Jei at Blacktrax). The KV8 is much more powerful in terms of features and user control compared to what was in the car before.
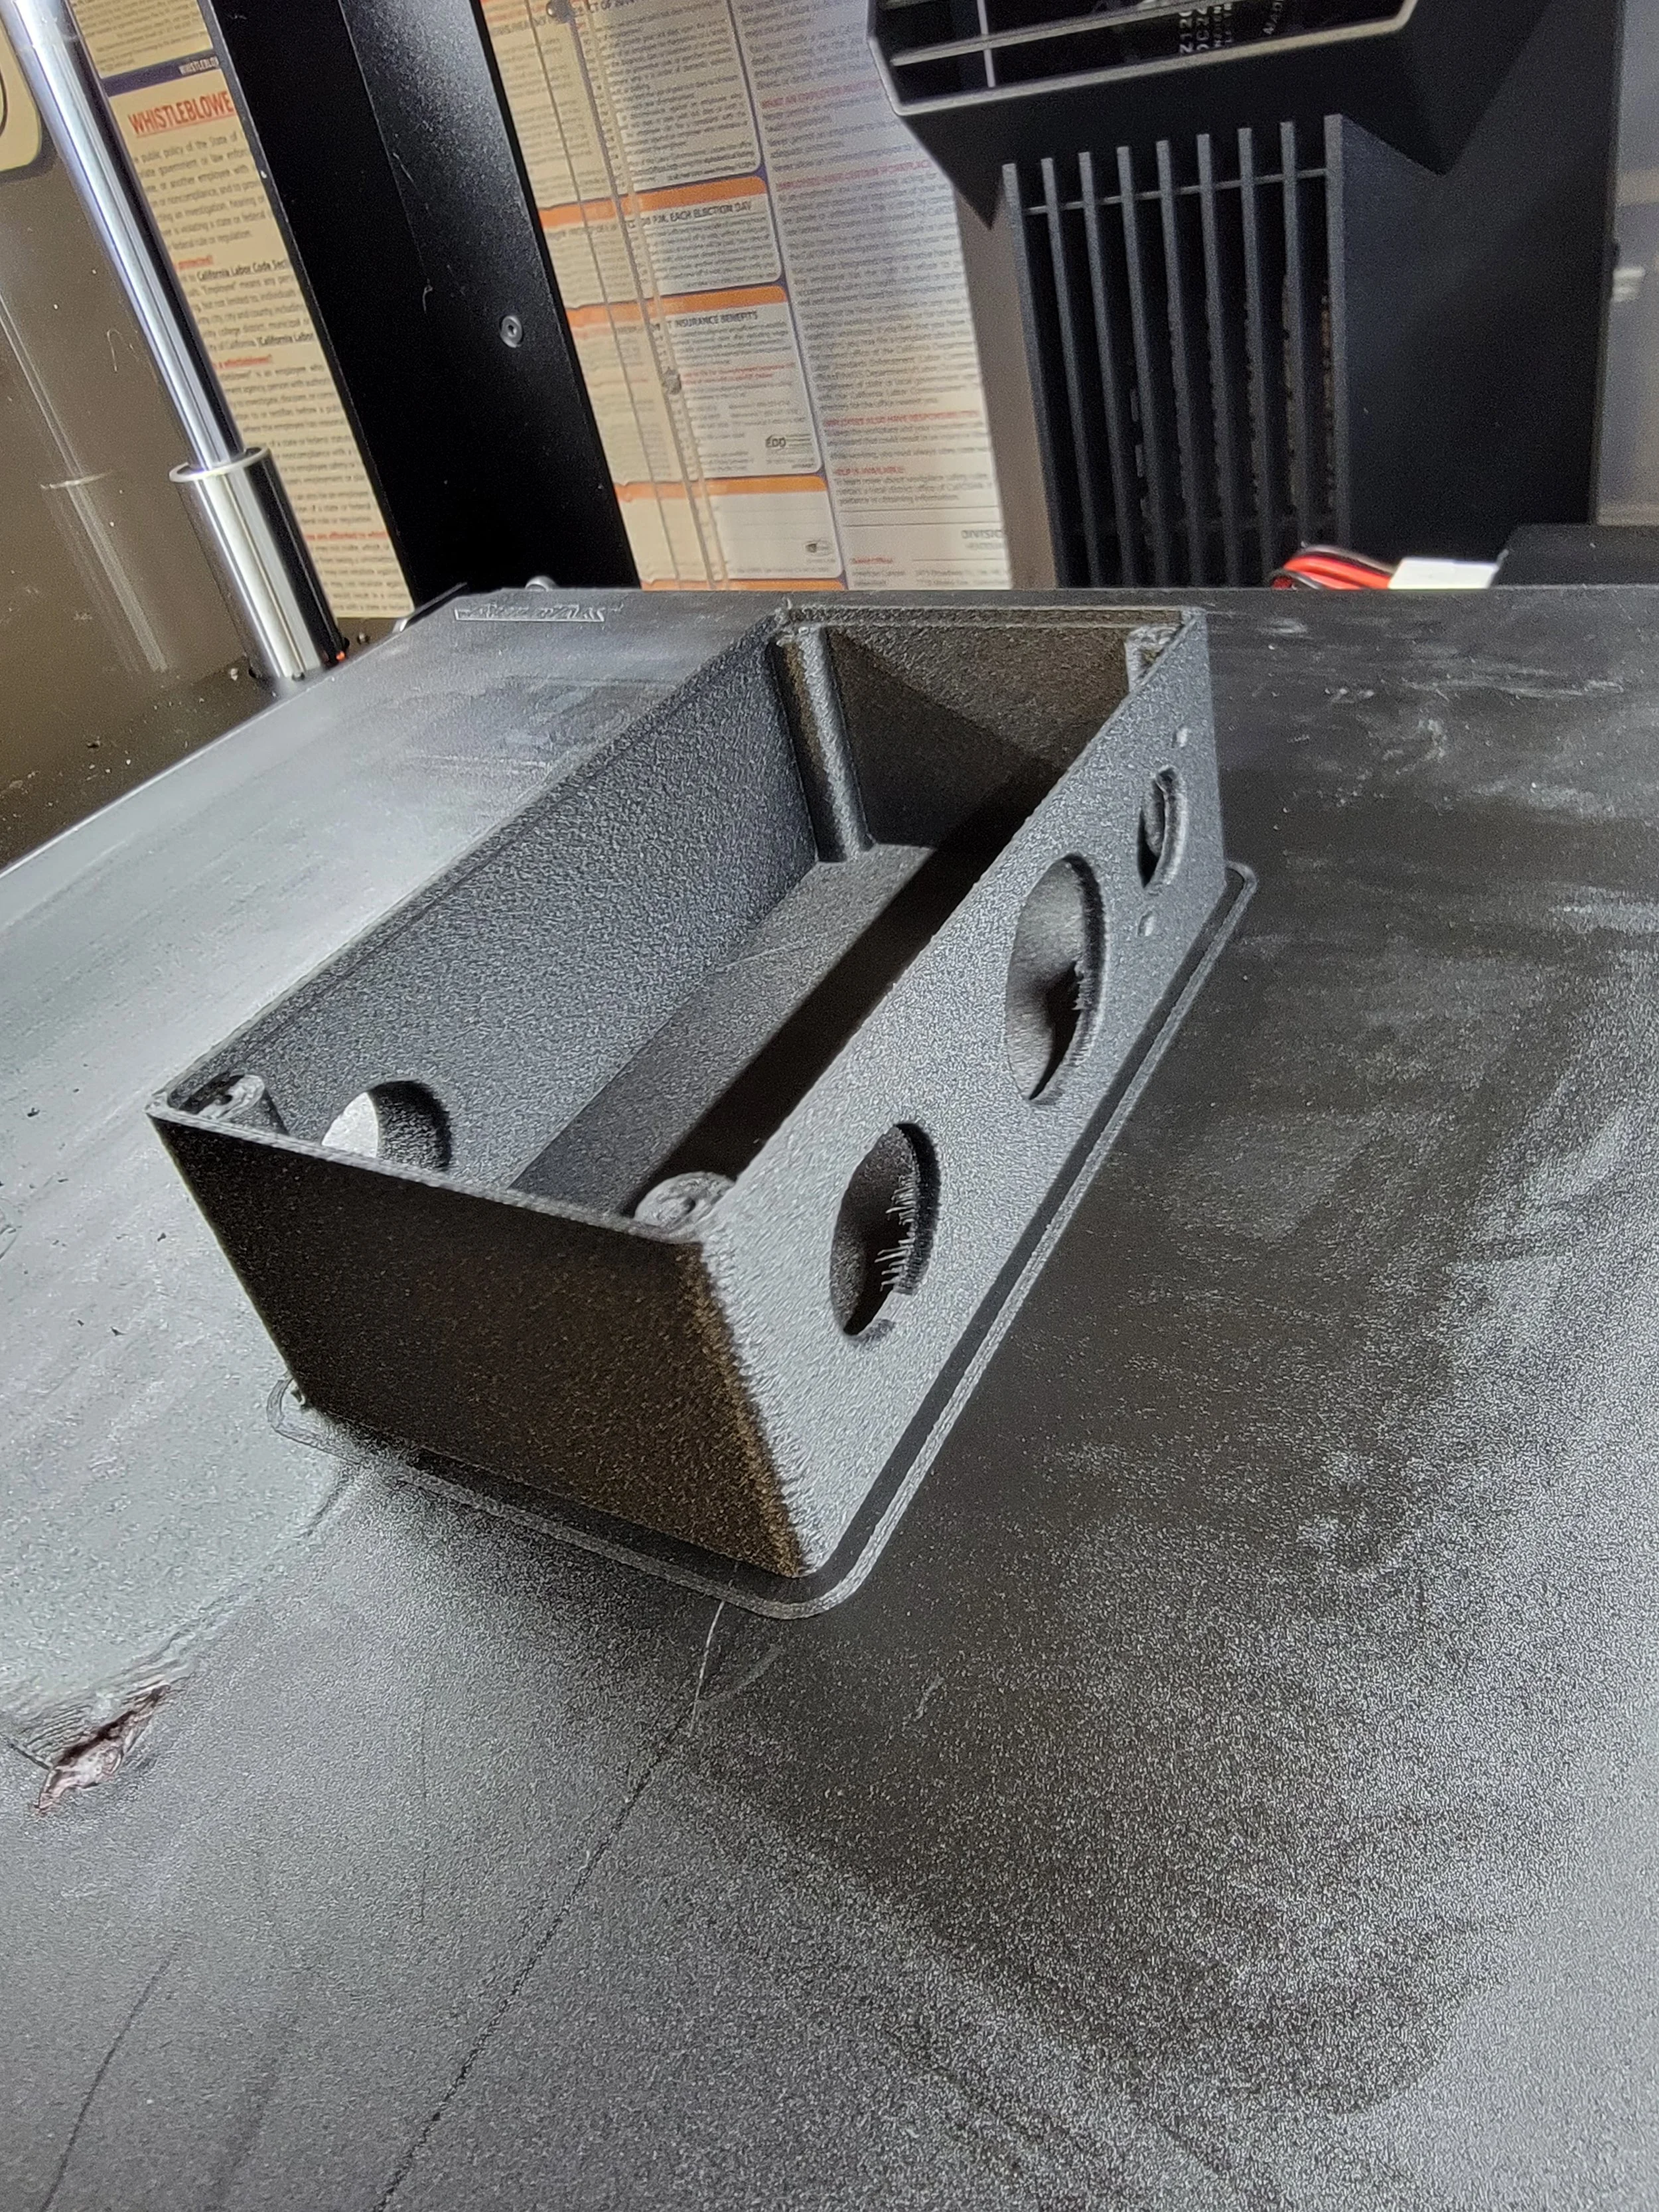
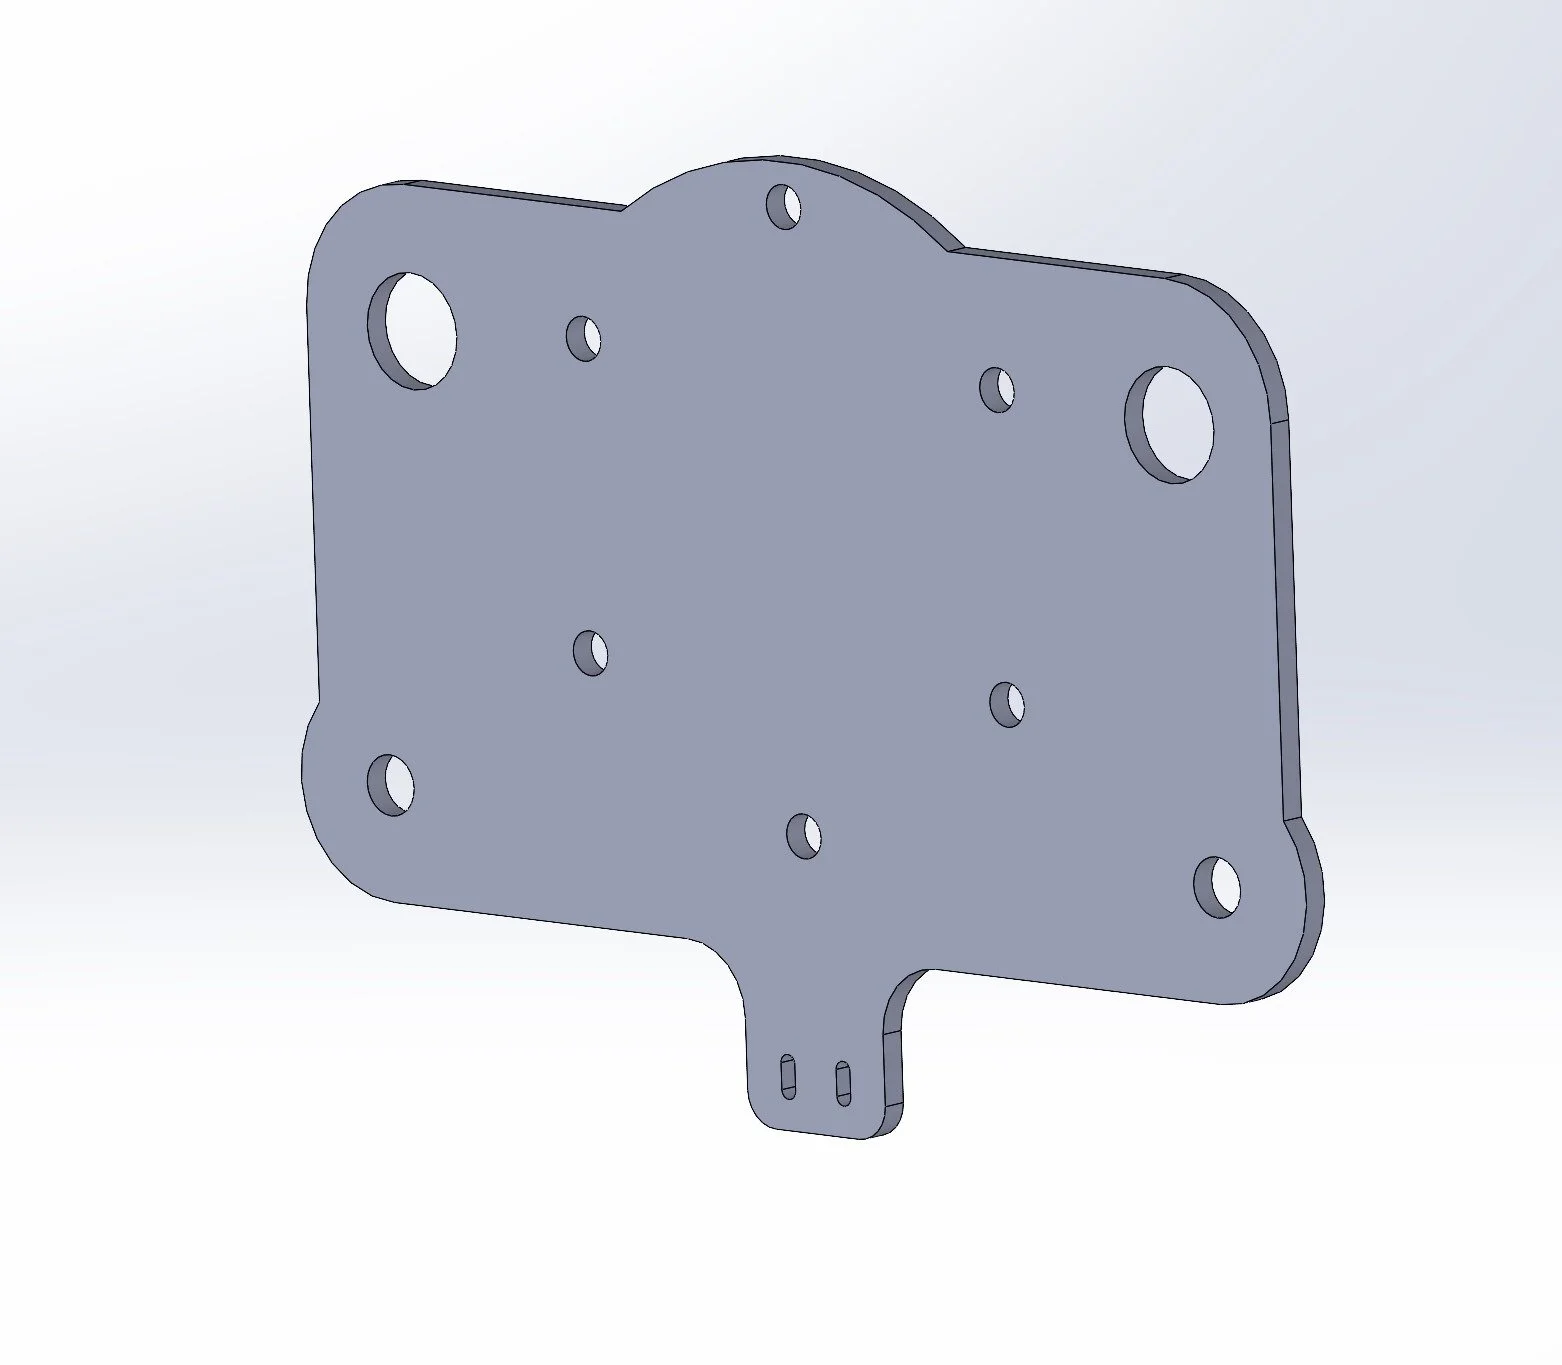
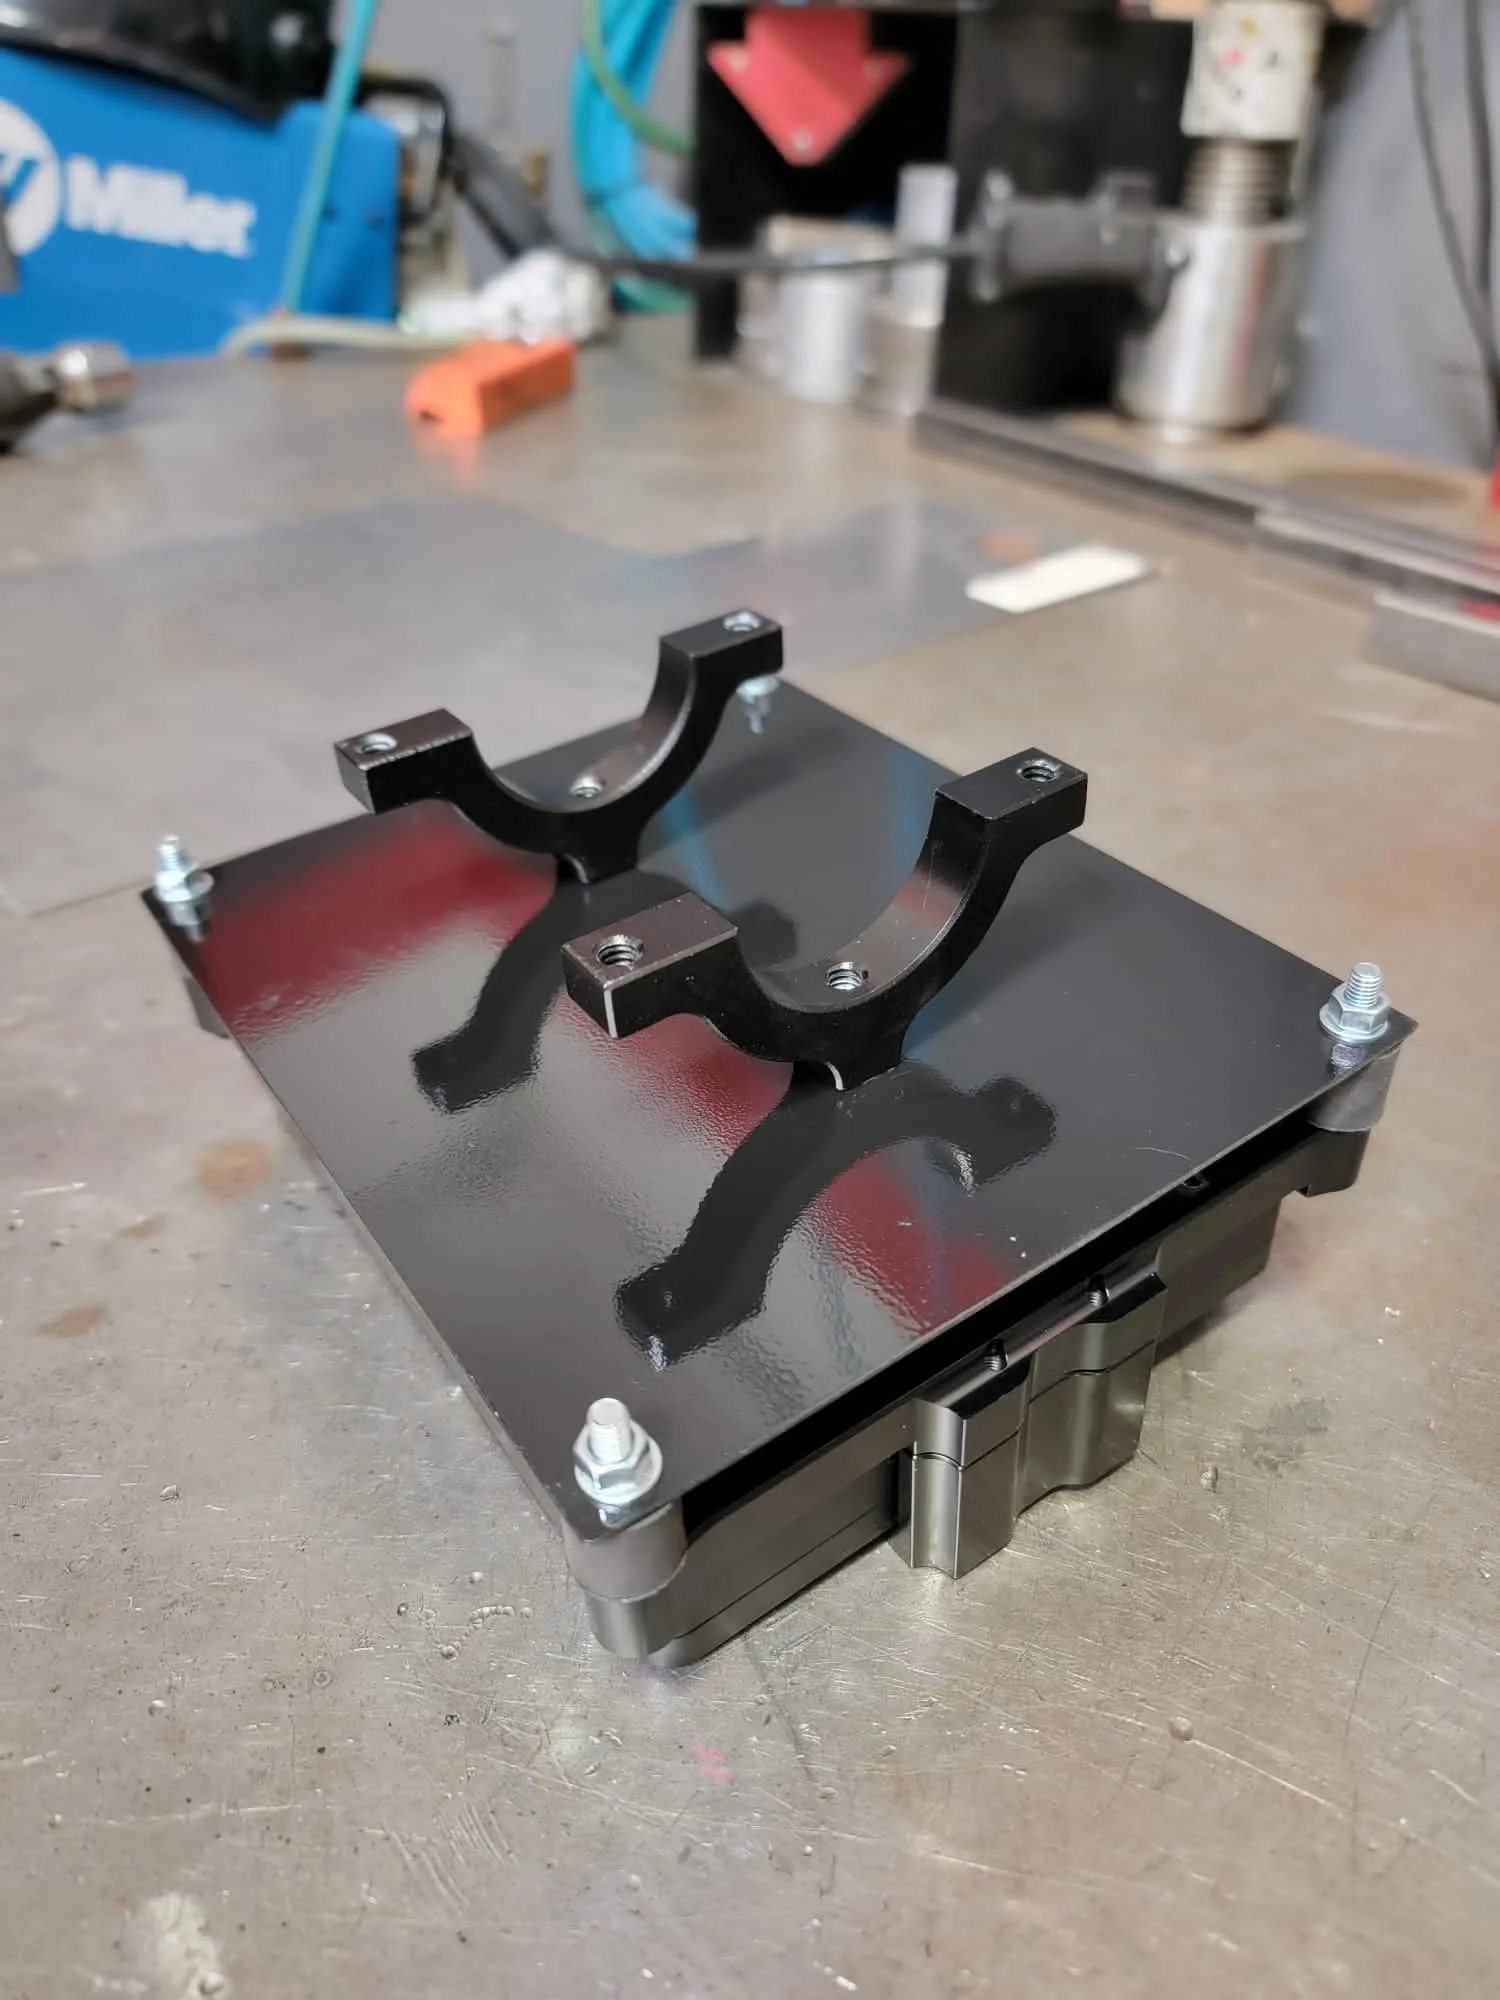
The AiM PDM32 comes with two display options- 6” and a 10”. I ordered the 6”, which is the same size as the MXP that came out of the car. Although the display is the same size as the MXP, the back side is slightly different, so I had to 3D print a new mount for it


Harness Construction
Before I could dive into building the harness, there were a few steps I needed to take to make sure the process went smoothly.
Documentation and planning
This is the most time consuming, but important step of the entire process. I like to use spreadsheets to plan out and document the wiring and this typically includes:
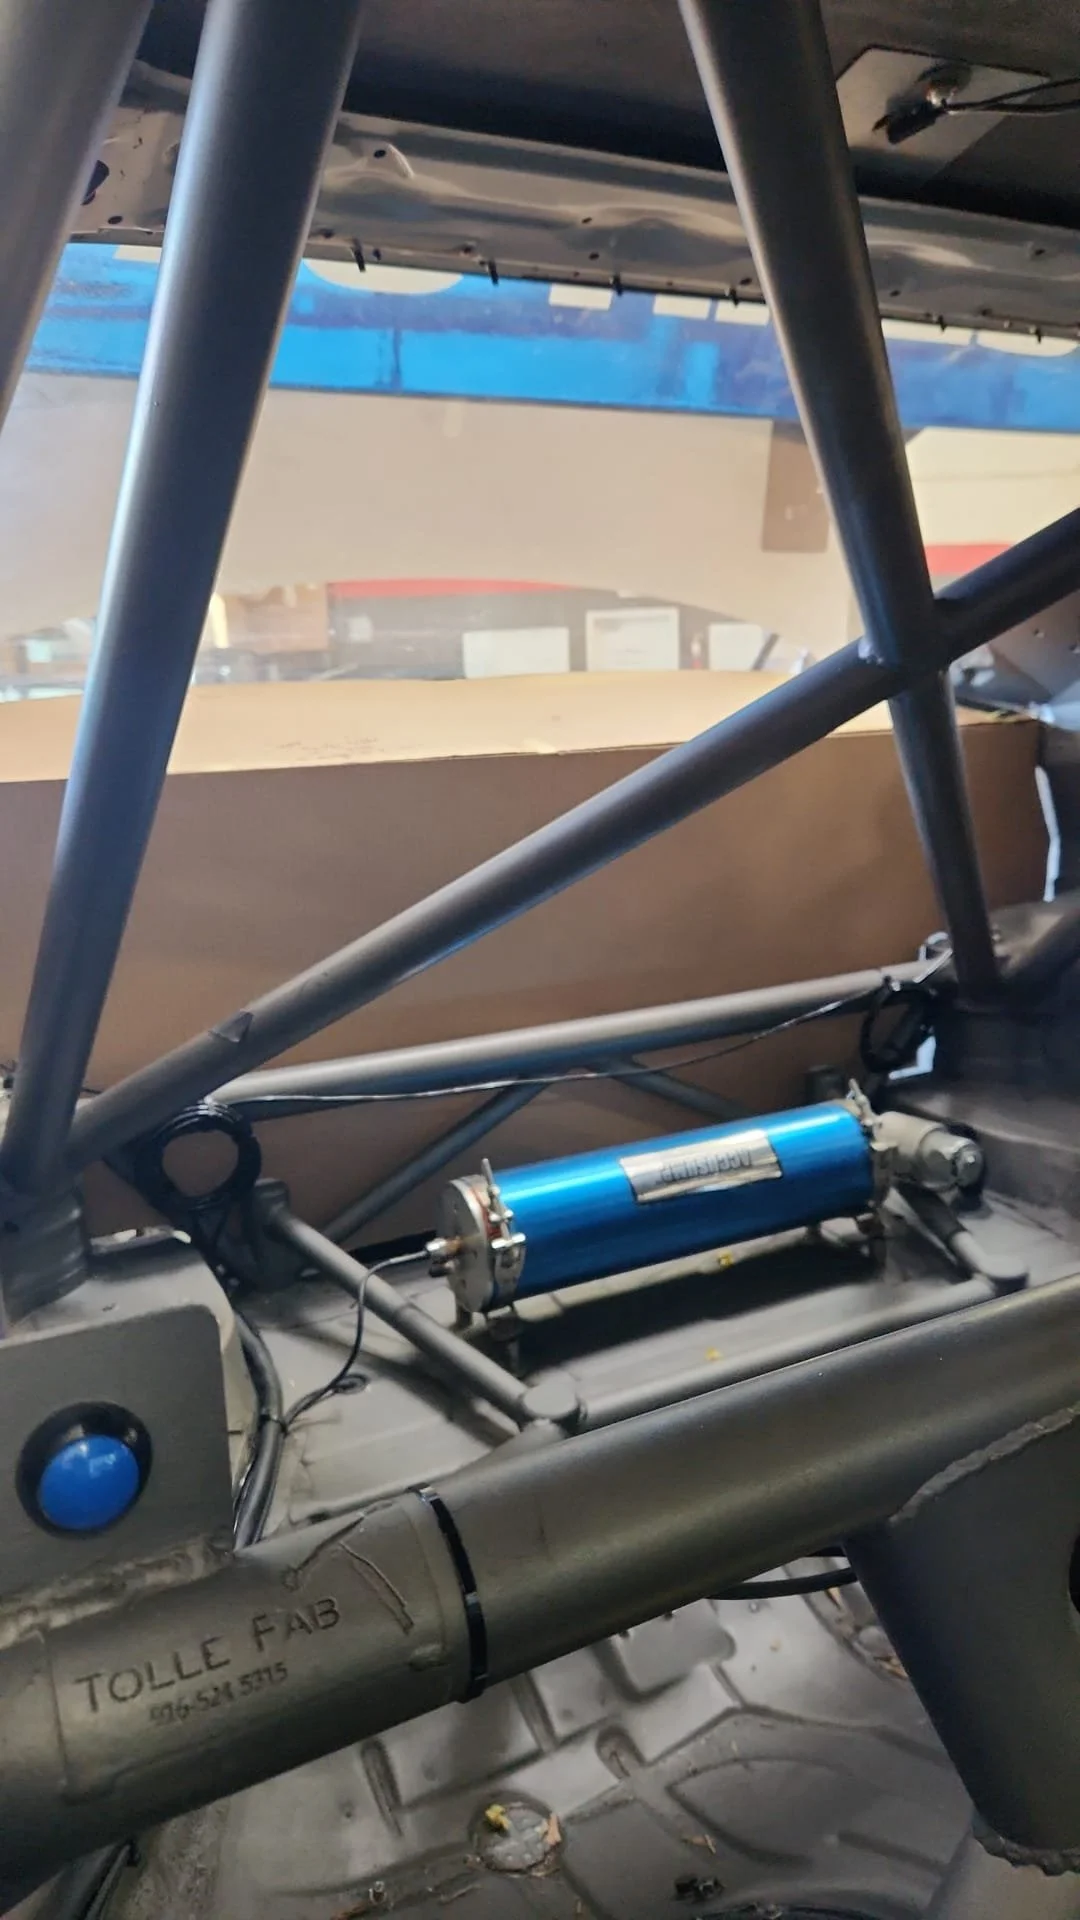
A list of all of the electrical components that will need to be wired. This would include things like a PDM, ECU, CoolShirt, helmet fan, radiator fan, Accusump, brake switch, brake lights, radio, windshield wiper, etc.
A pinout of all of the components with a description of the pin assignment, it’s destination, and the wire I plan to use.
A materials list which includes the connectors, terminals, wire, shrink tubing, shrink boots, etc. needed to build the harness.
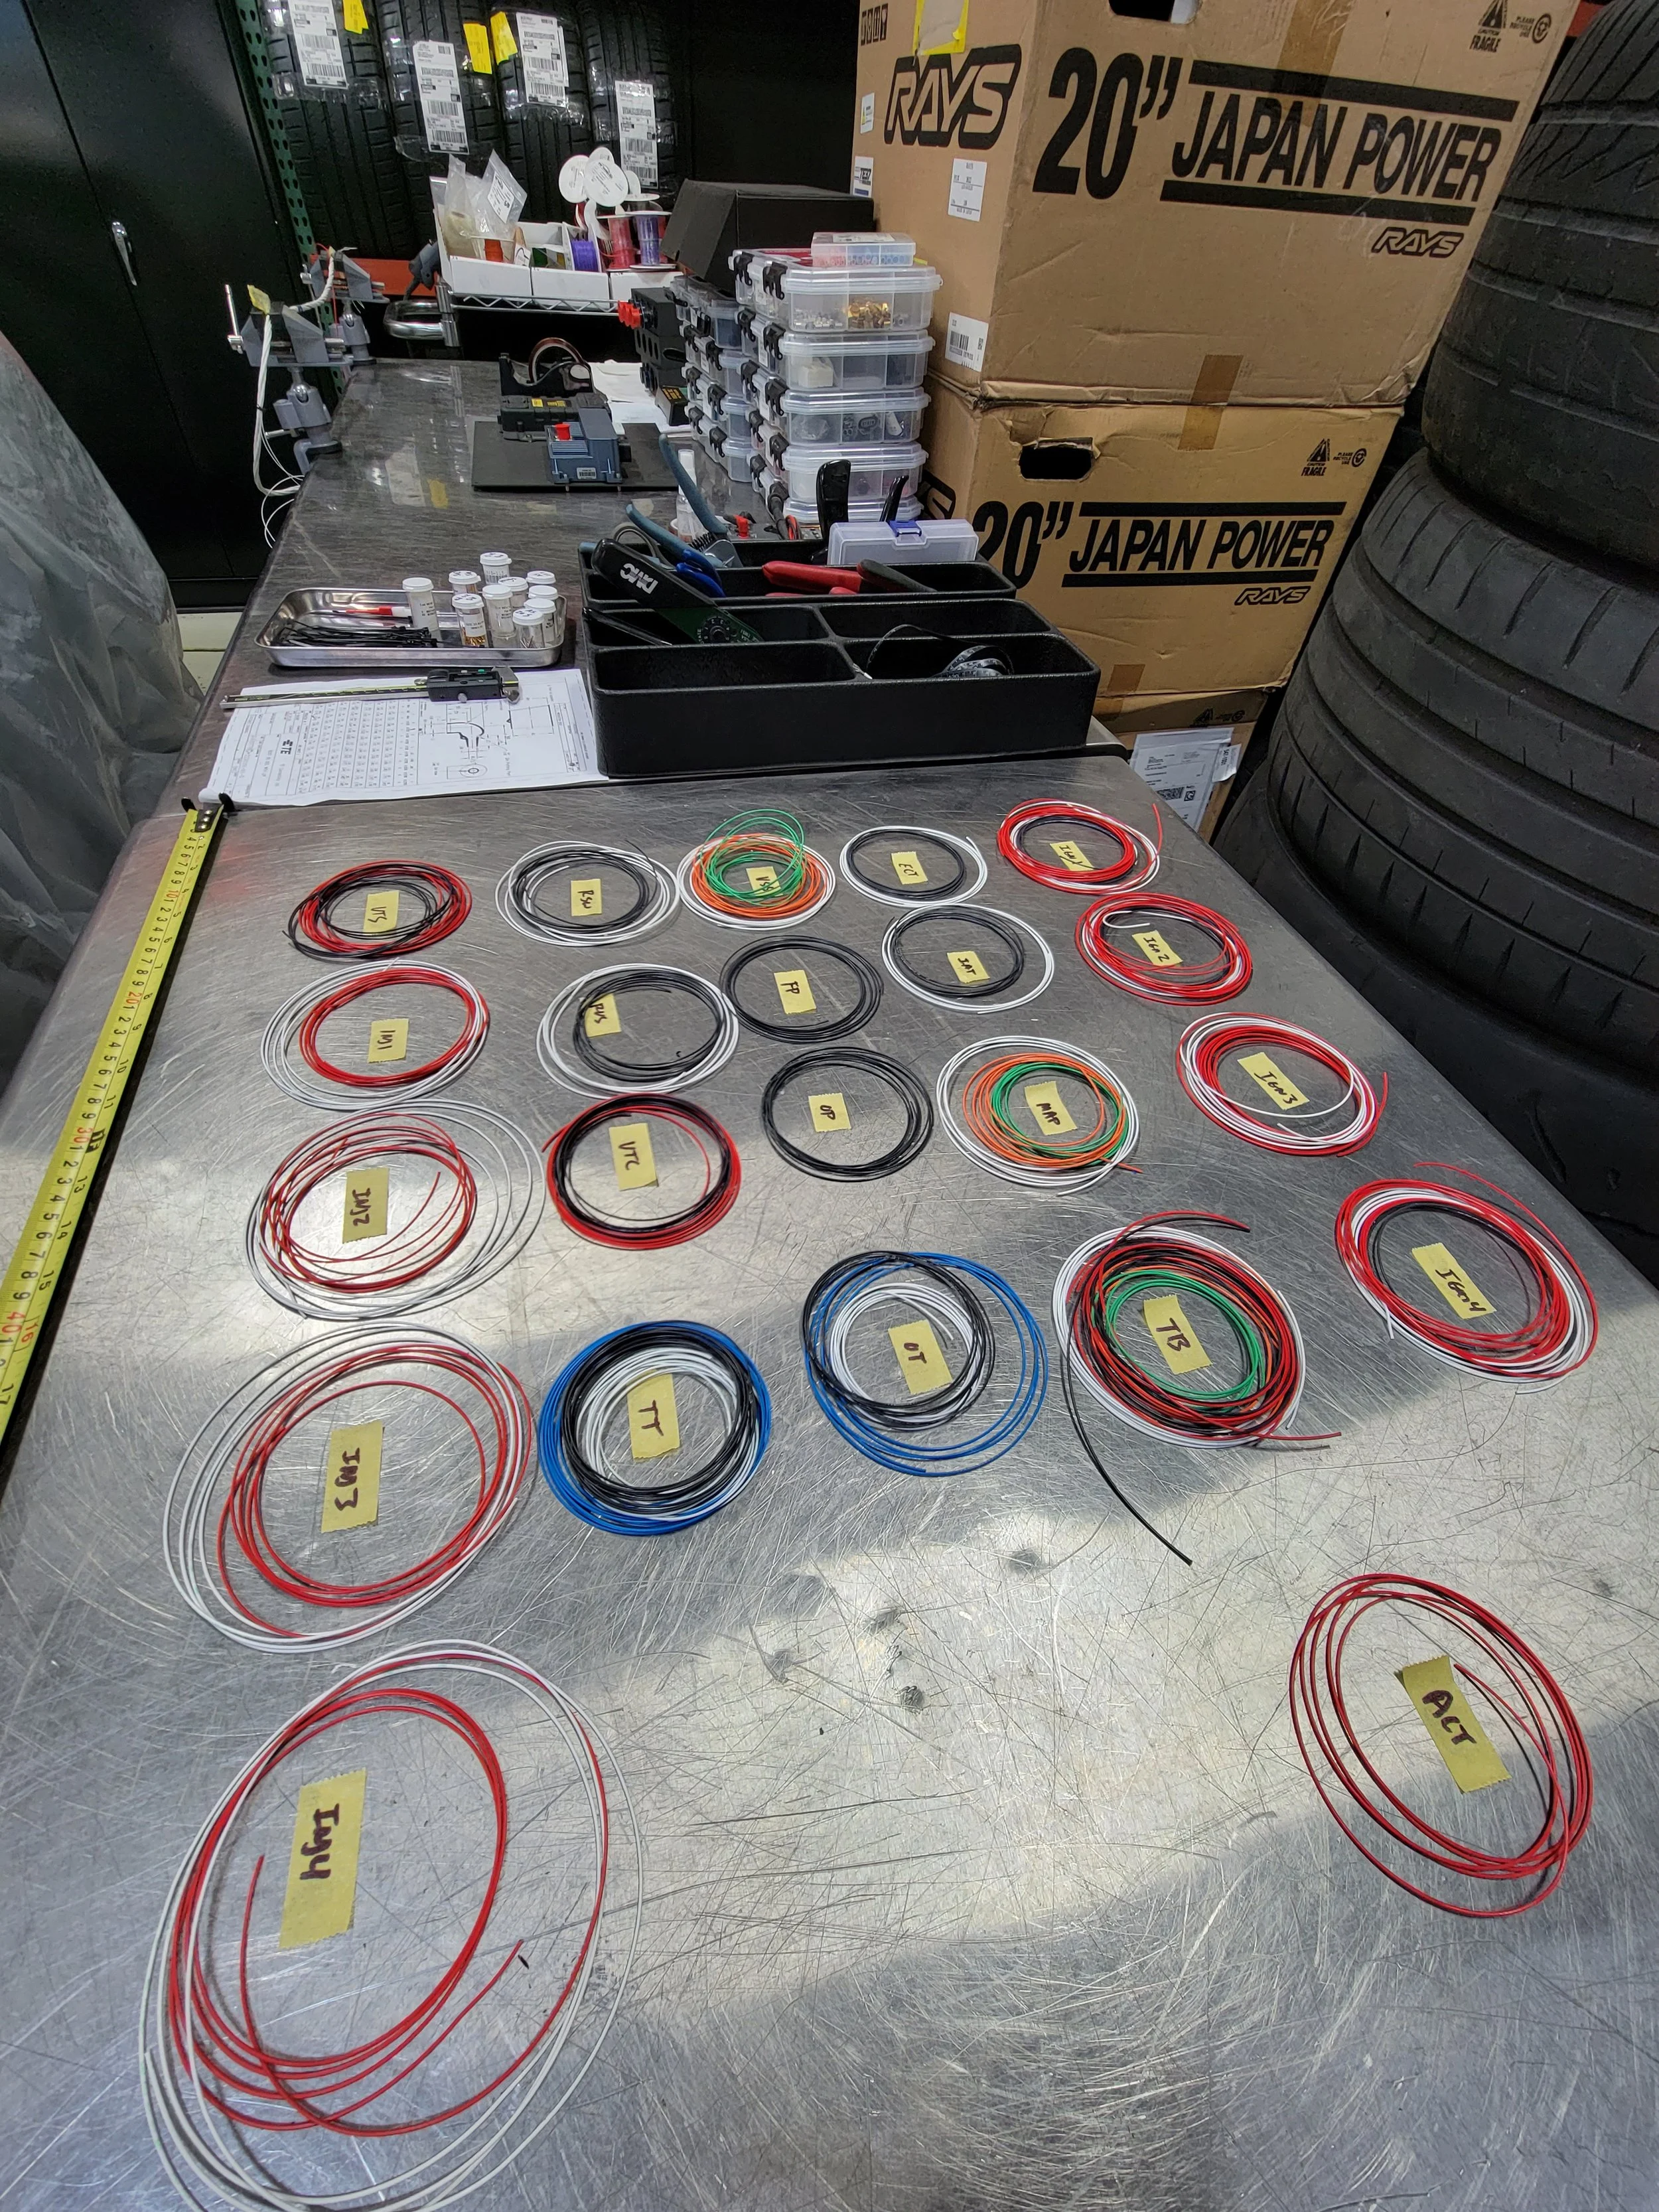
Mockup harness
I mounted all of the electrical components in the car and used some rope to build a mockup harness. This helped visualize how I wanted the wires routed and determine the lengths of wire needed for each component.
Harness building plan
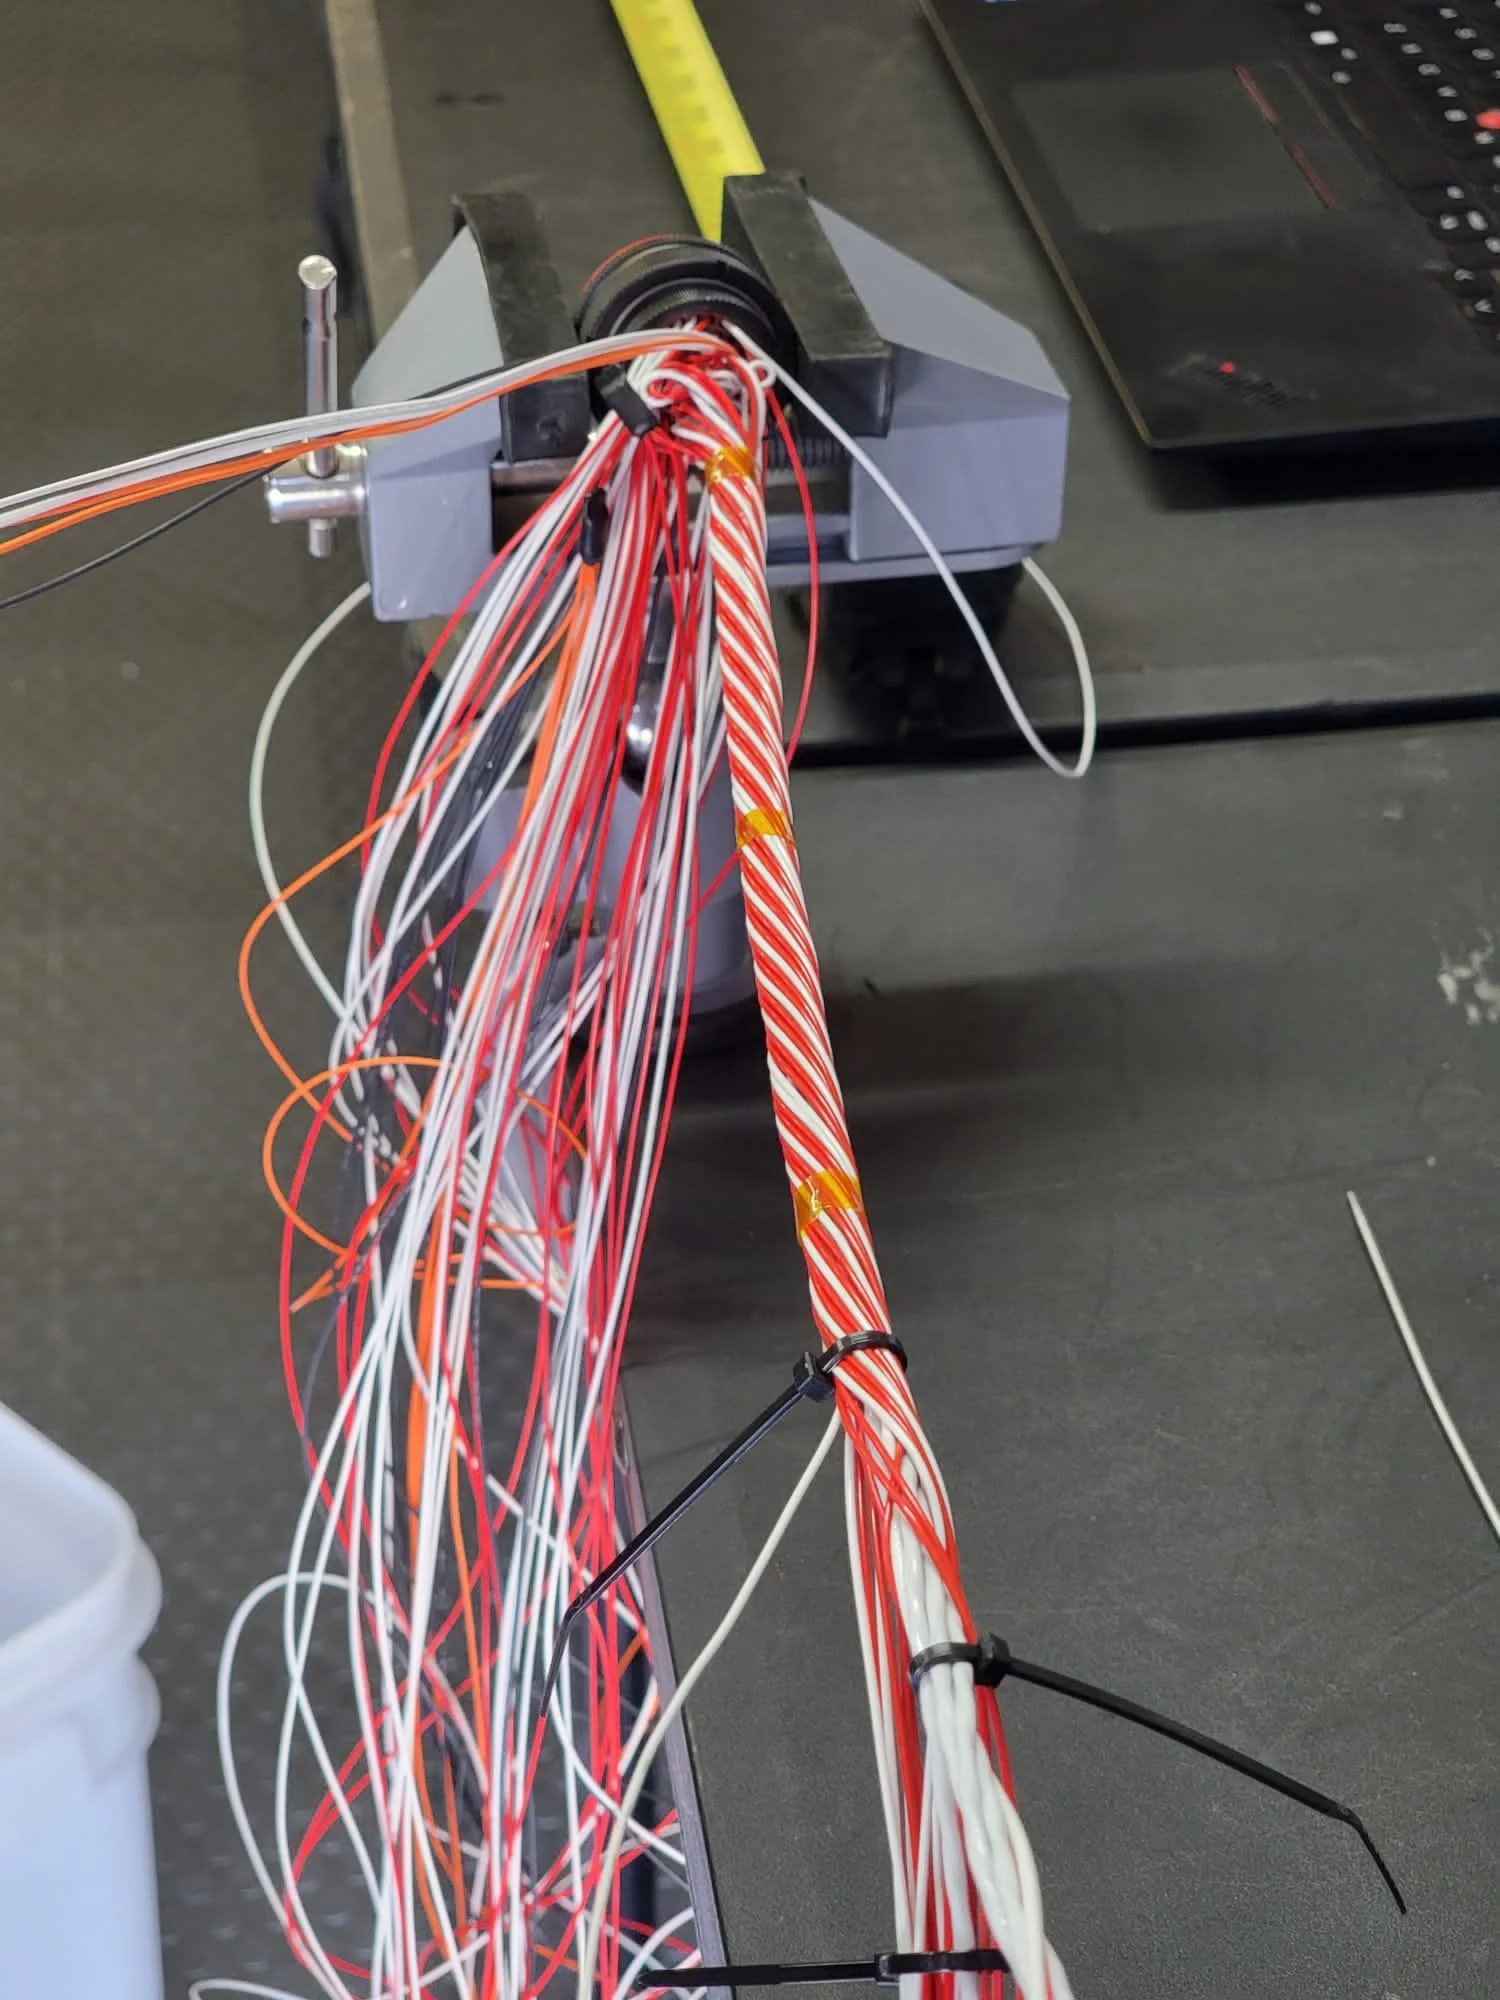
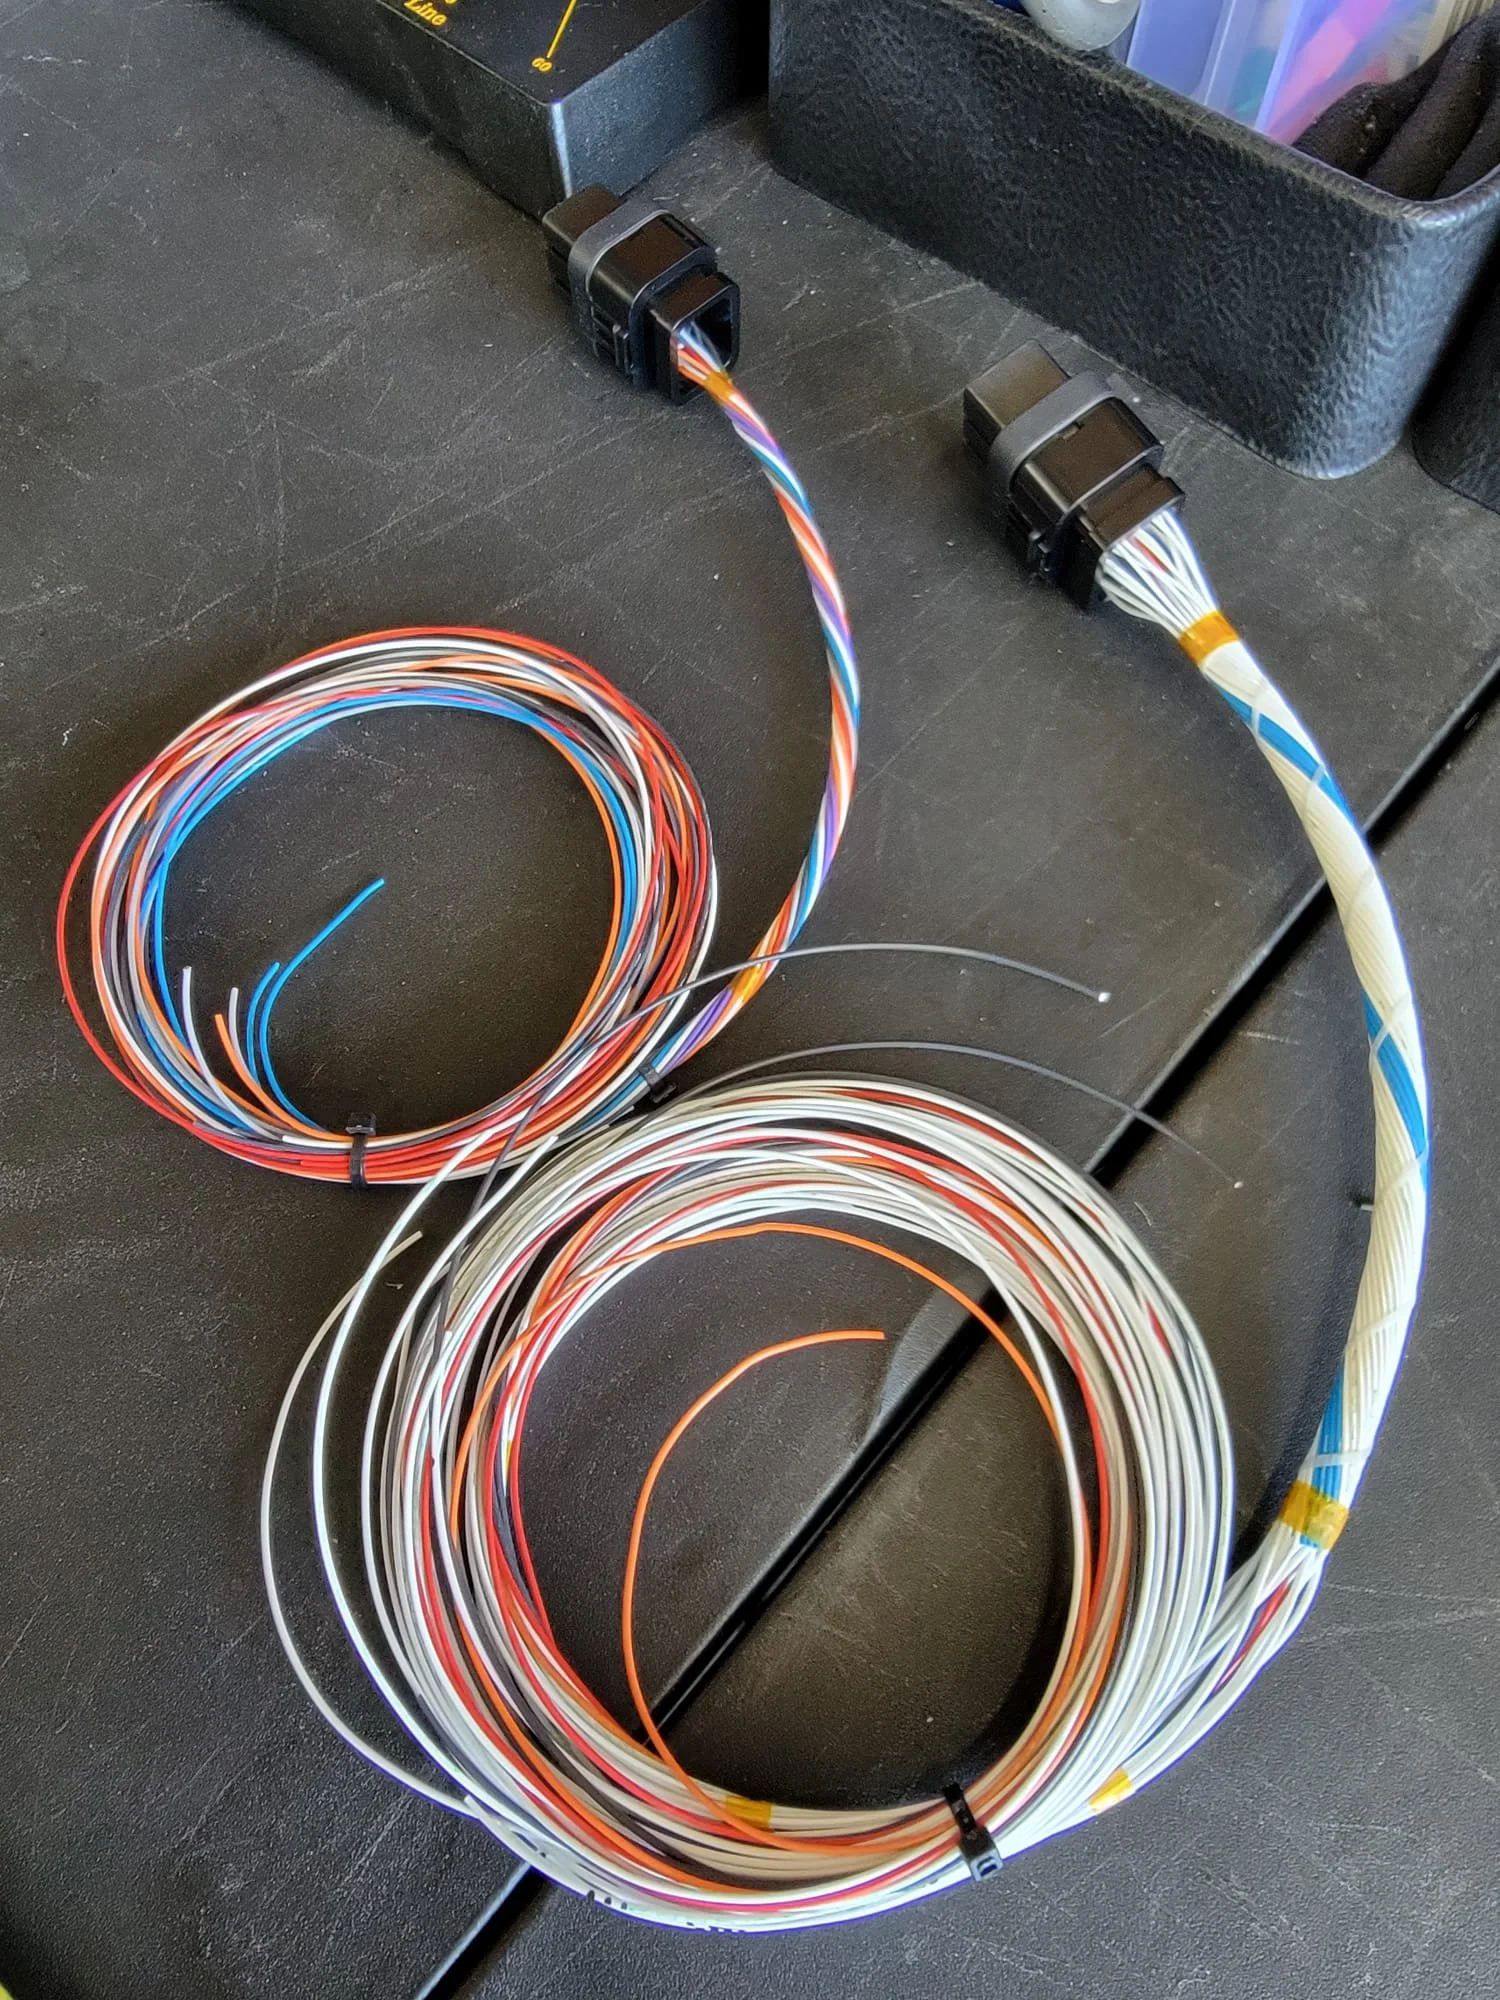
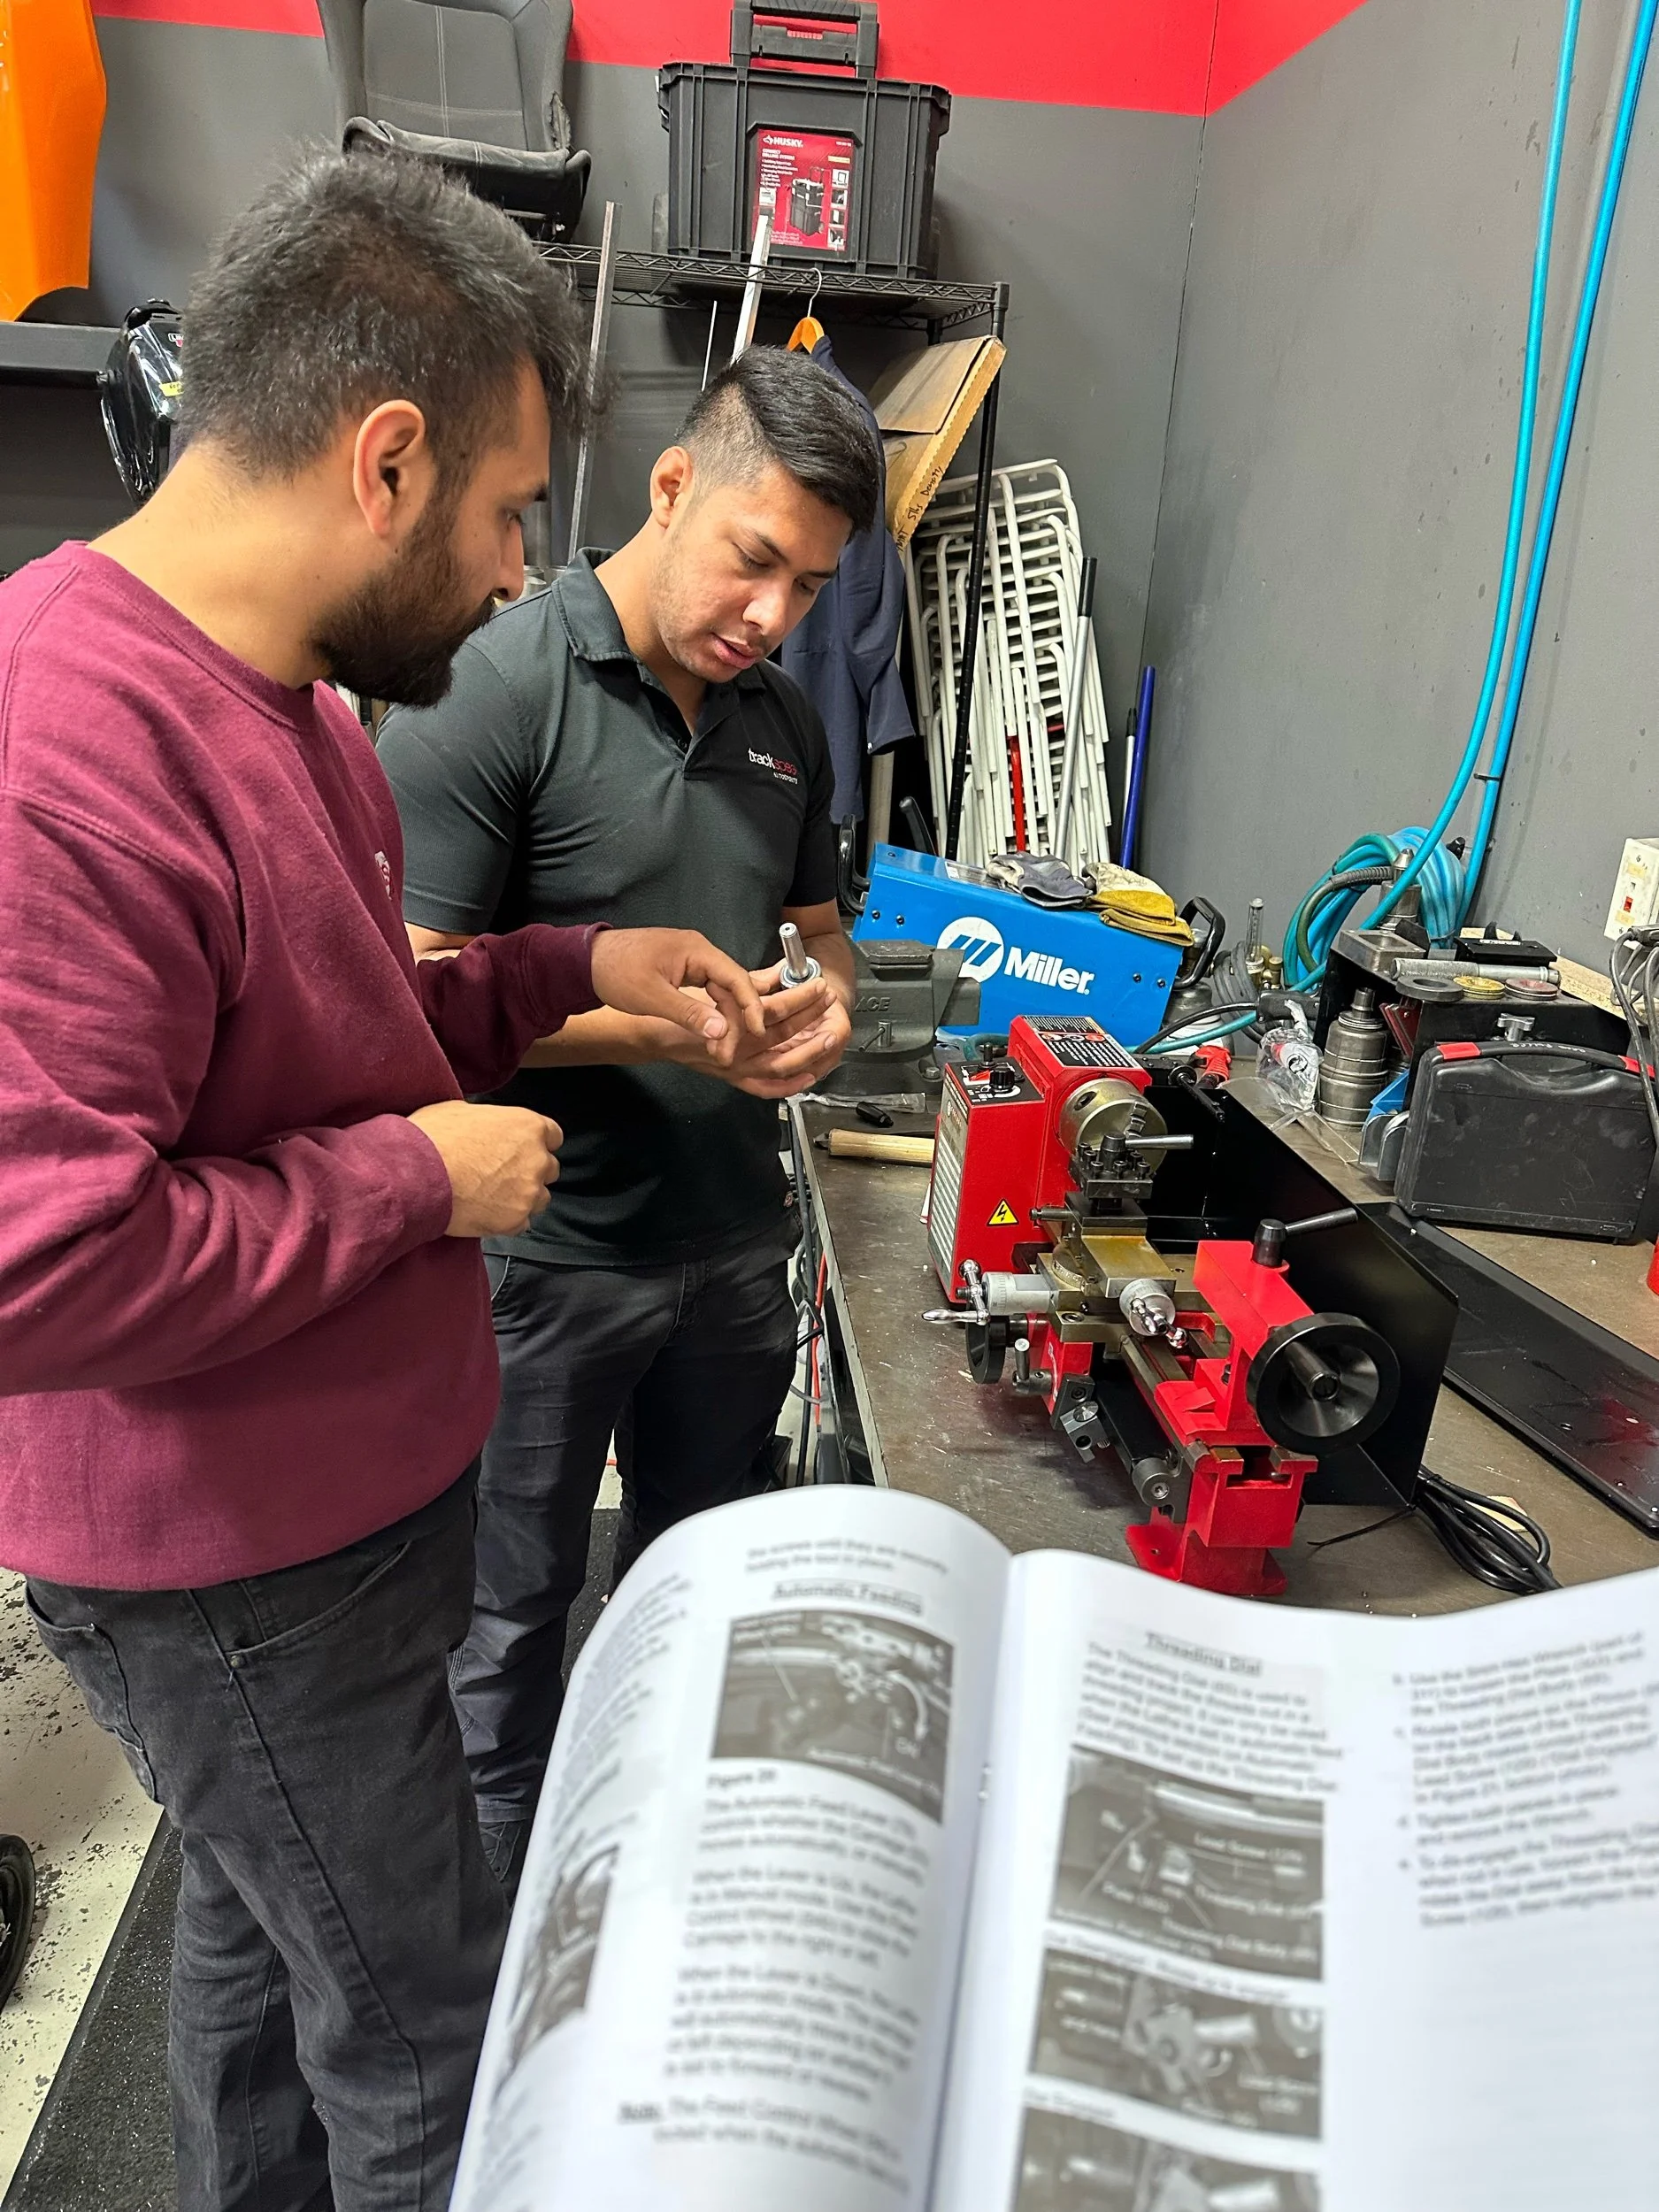
For this harness, I went with the concentric twist method. This technique is used to create very flexible harnesses and provides strain relief no matter how the harness is bent. Each individual wire is wrapped in layers which also results in a smaller diameter overall. There are many things to think about and “guidelines” to follow when building this type of harness.
Thicker wires or cables should be the, “core” of the harness.
You generally want to keep the same gauge wire in the same layer
Wires that will branch out before others should be on the outer layers.
No wires should cross over each other and there is a specific lay length spec (length of one rotation per wire)
I’m not going to get too far into how to build one of these harnesses, but as you can see, there is going to be a lot of planning involved. The plan is going to tell me what wire to use, how long it should be, and where it will go. It will also tell me the number of wires, and the direction of rotation by layer. There is a formula to help determine how many wires will fit into each layer depending on the wire size and previous layer diameter. Since a harness is usually made up of shielded cable, twisted pairs, and different gauge wire, there may be some, “filler wire” needed to complete a layer before moving onto the next. With proper planning, you can minimize the amount of, “filler wire” needed. All of this will go into our spreadsheet as well.


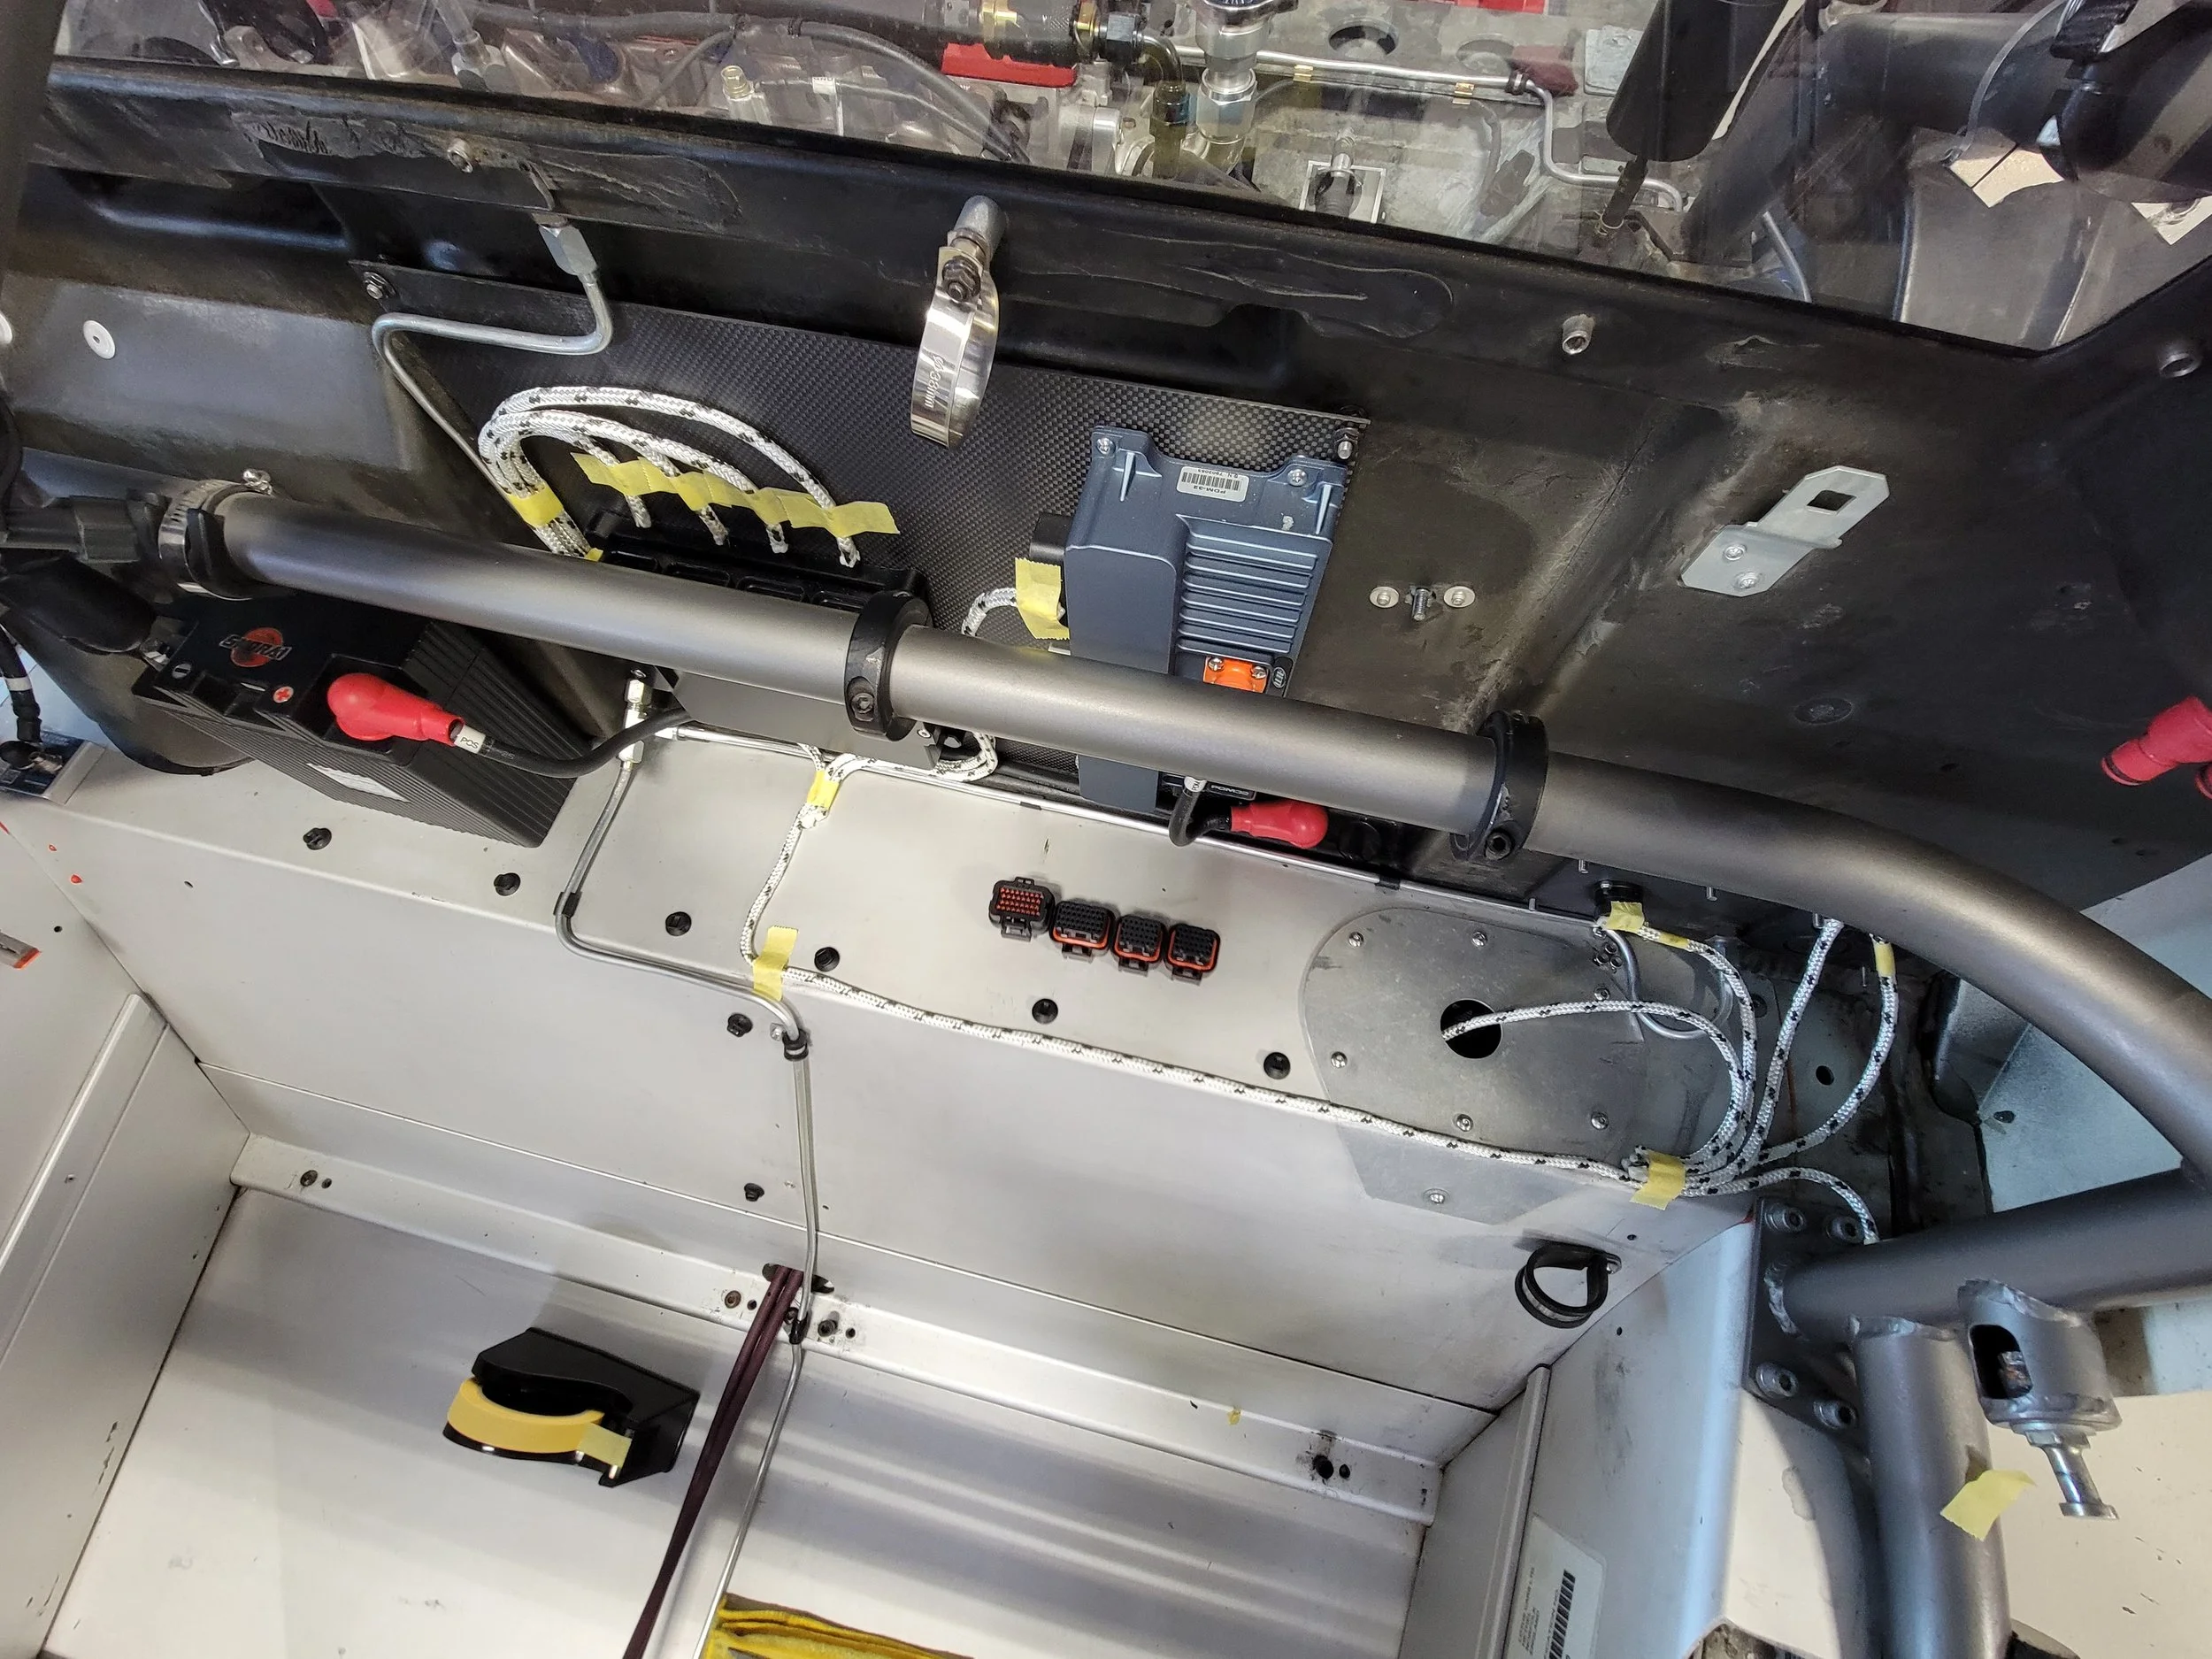

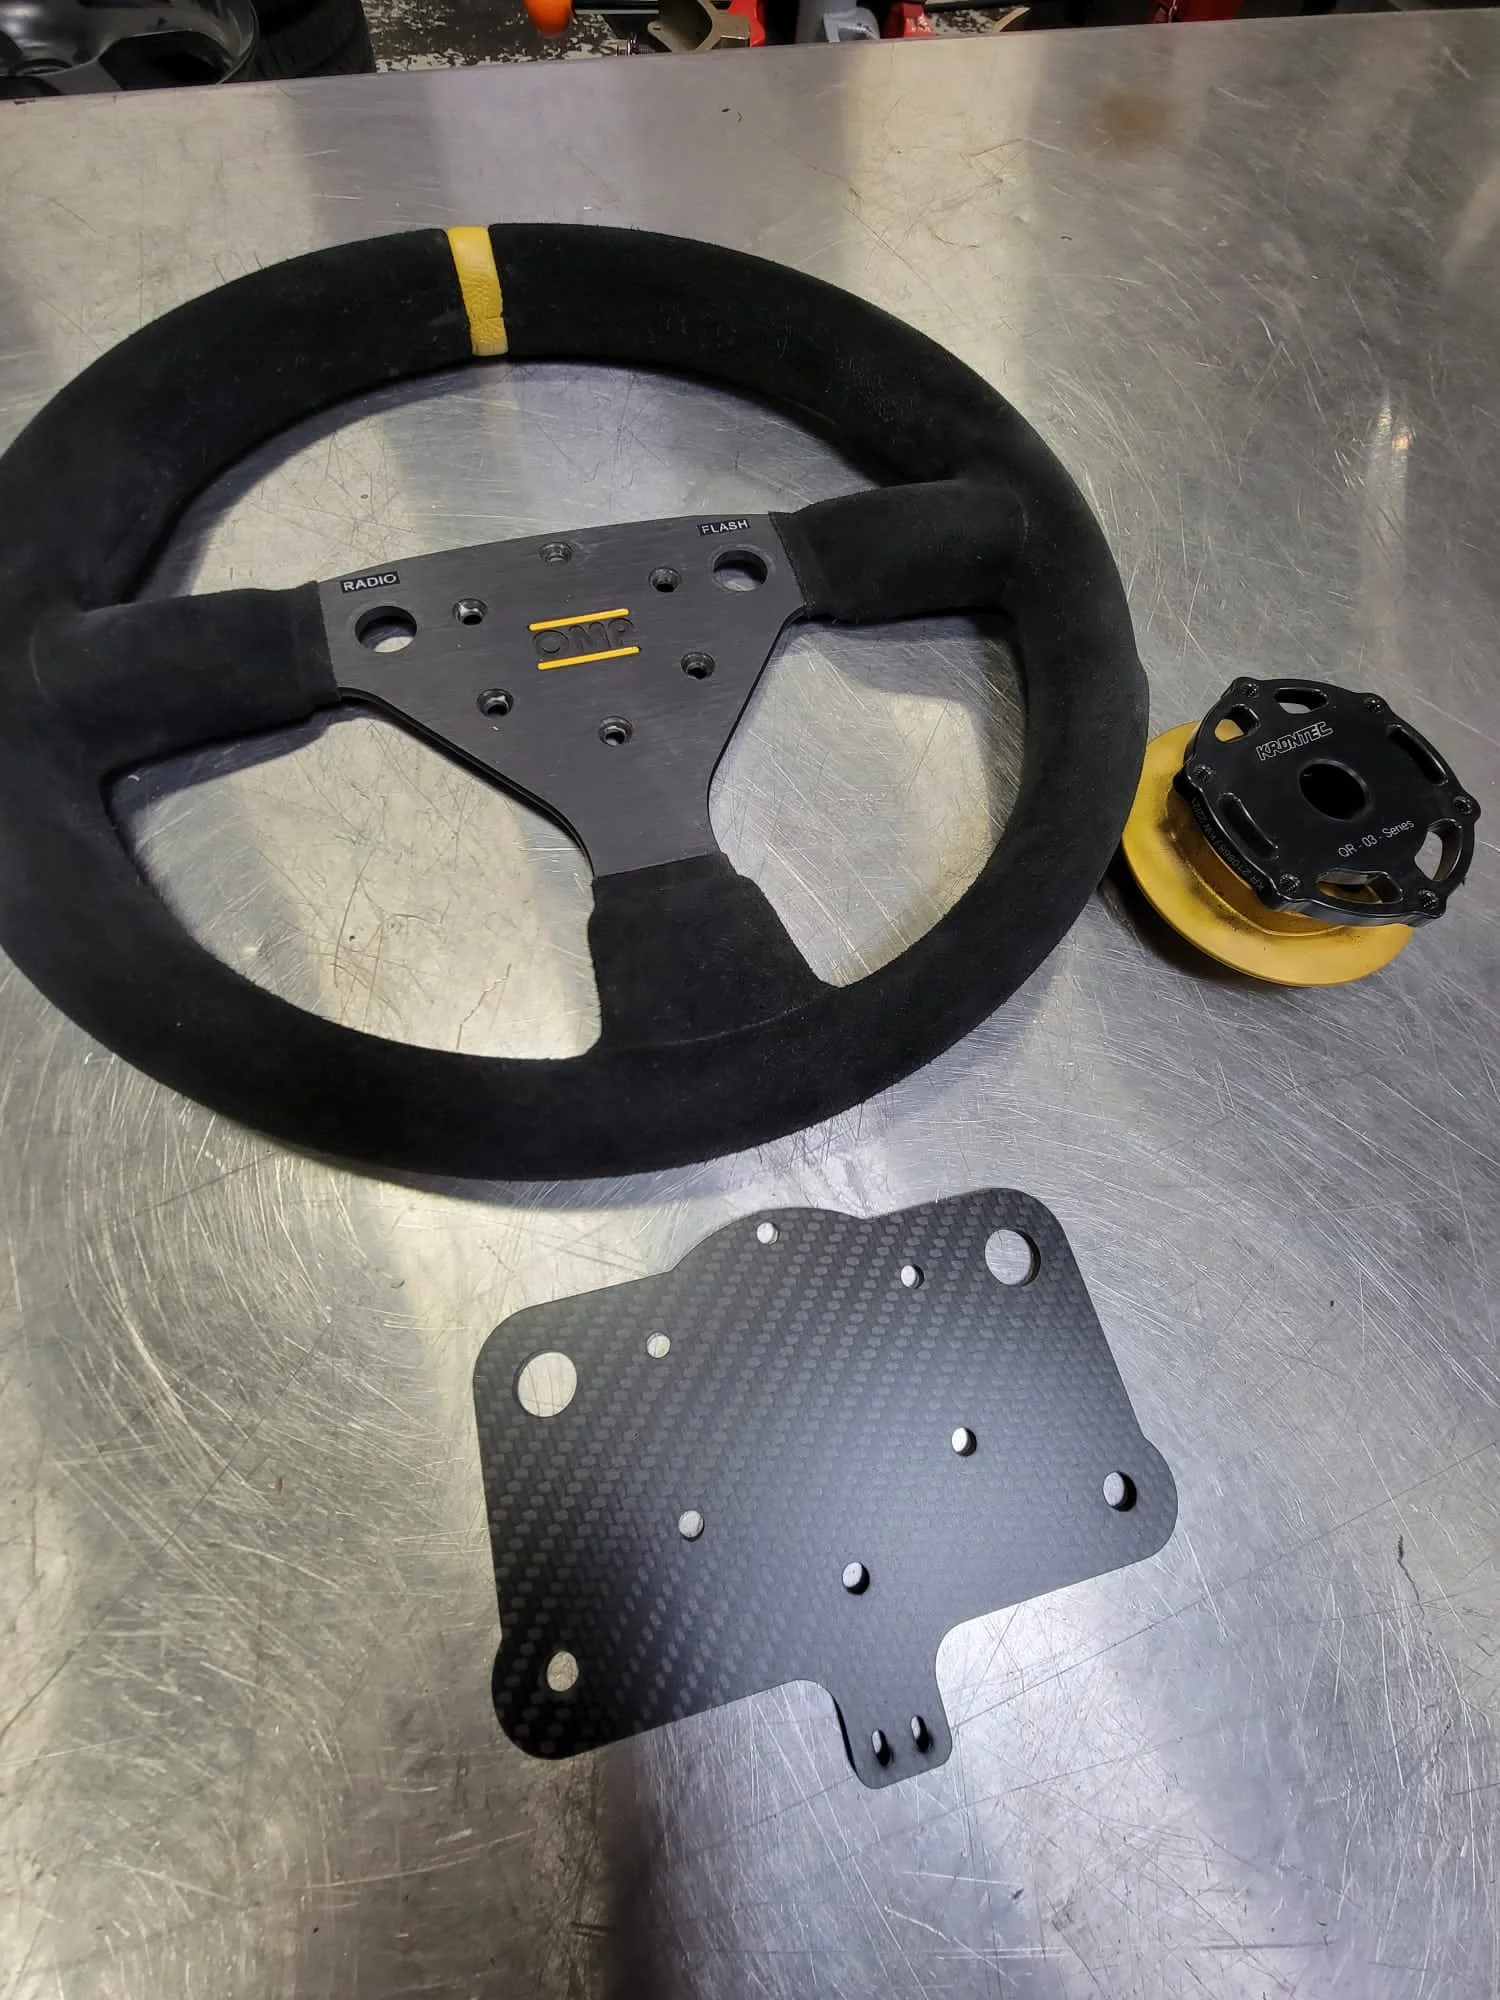
As part of the harness, I wanted to add a breakout box, which will have an auxiliary input connector, a USB outlet to charge something like a GoPro, and the ECU comm. connector. I also needed to make a mount for the CAN keypad.


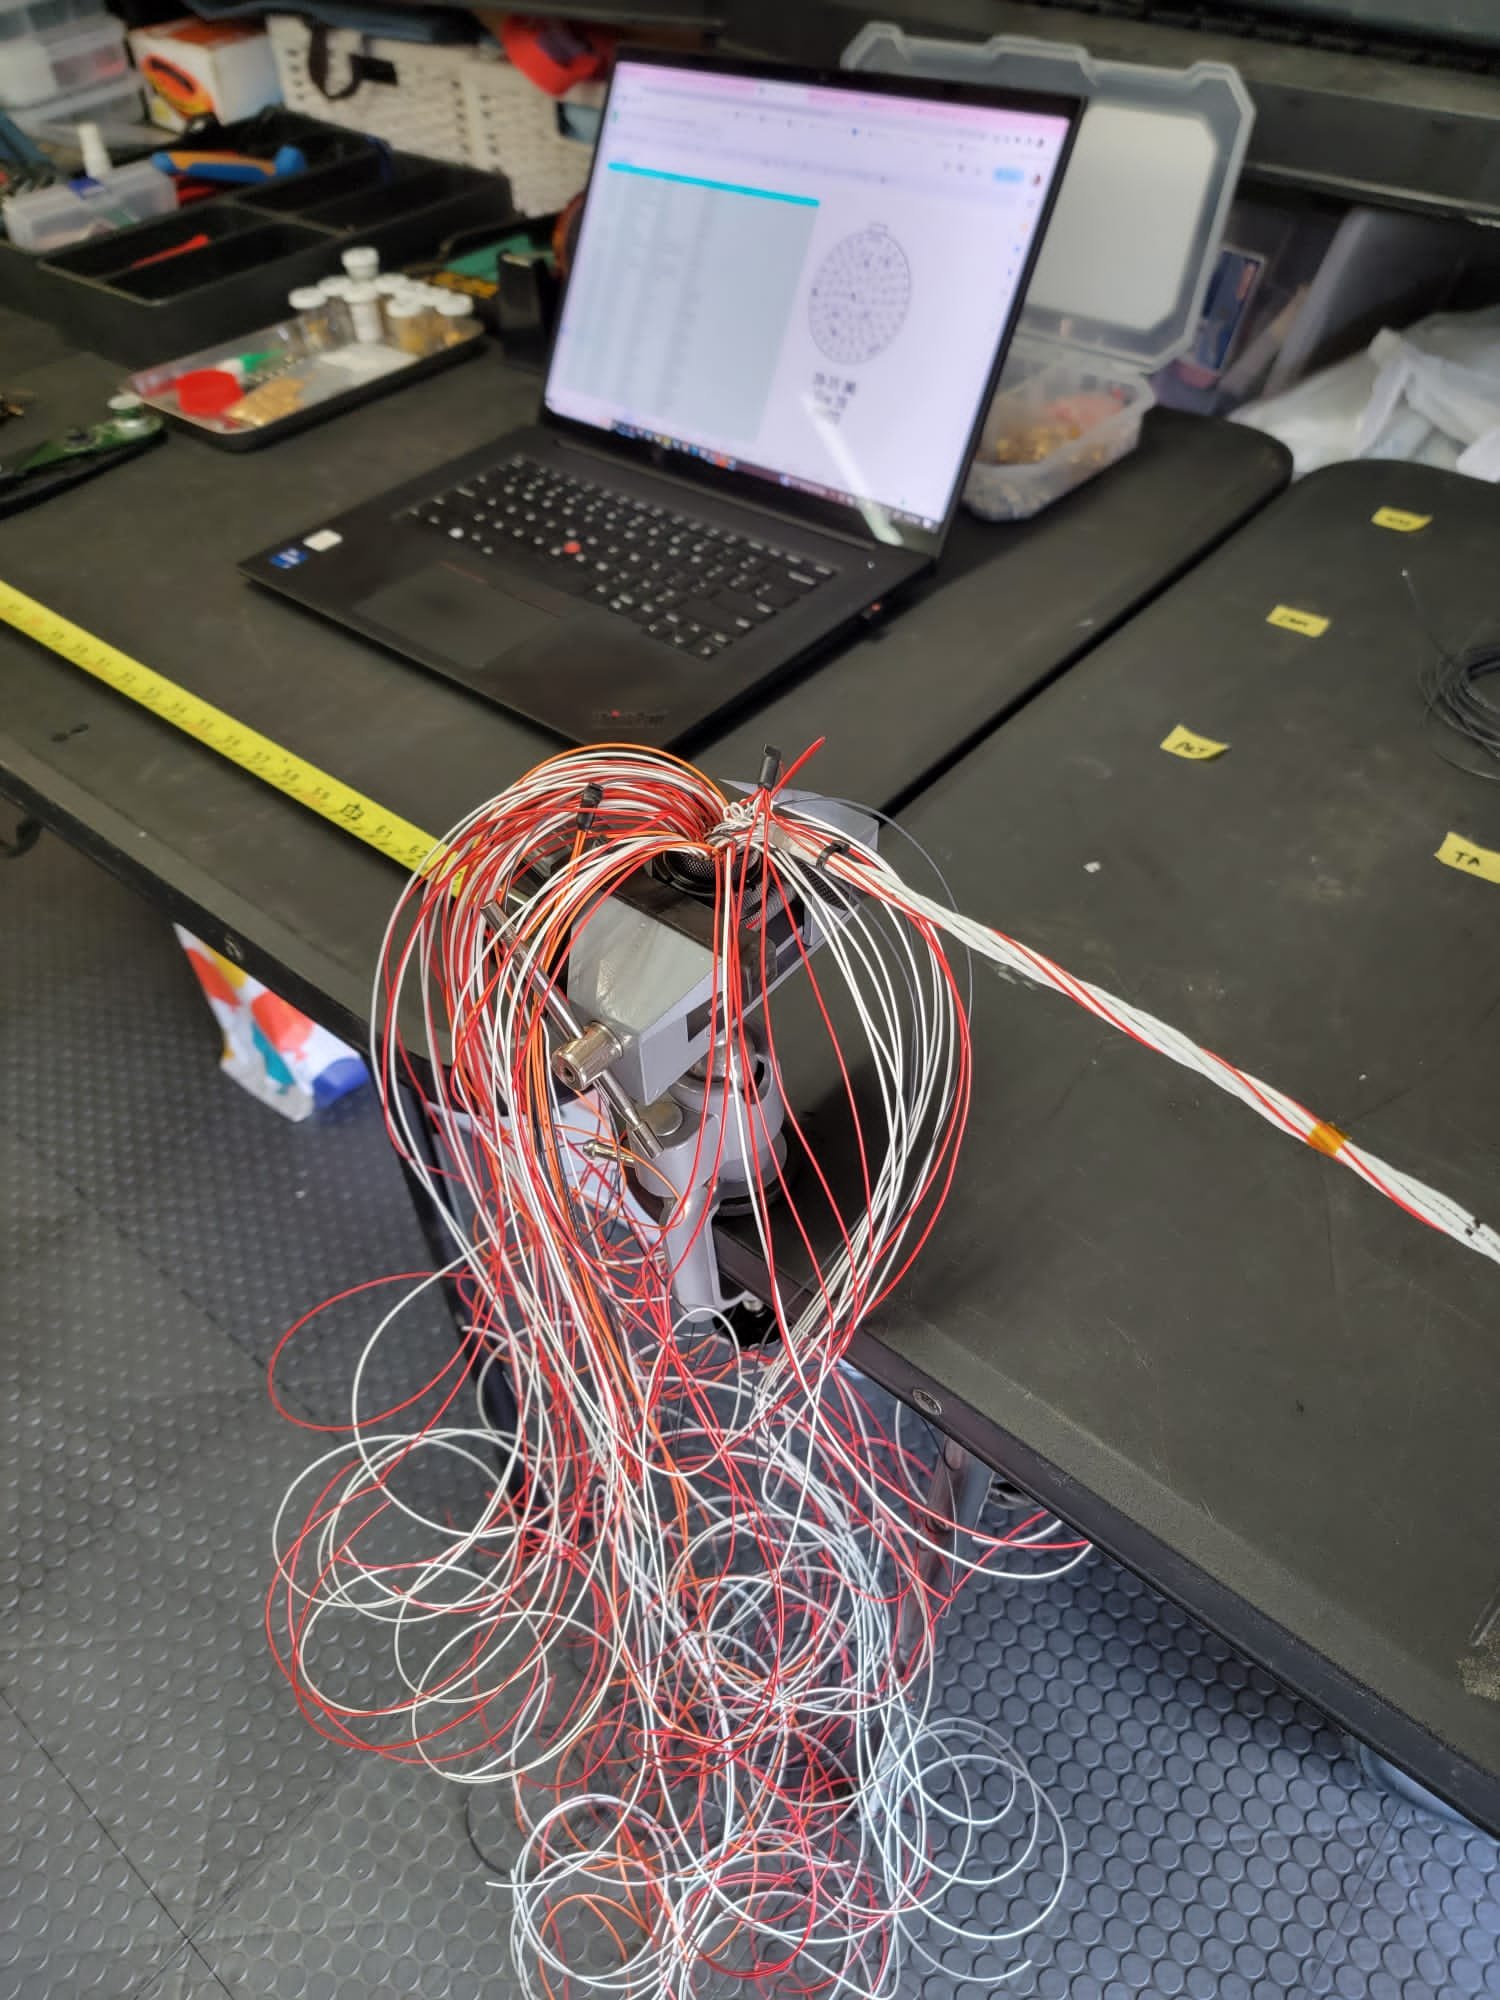
I like to start a harness off by cutting all the wires that I need to length and laying them out. I will then strip the ends, crimp on the pins and put them into the connector that I’m working with. Once the connector is fully pinned, I’ll pull up my spreadsheet and start twisting.


This is the completed harness, which is lighter and nicer looking than what came out of the car. Every connector is labelled to prevent confusion when things have to come back apart in the future.
The engine harness was redone as well, but I unfortunately. didn’t get any photos. That said, the process was almost exactly the same. To make engine removals easier in the future, the engine harness connects with a single bulkhead connector on the firewall. I also added Radlok quick release connectors to the main battery and ground cables.


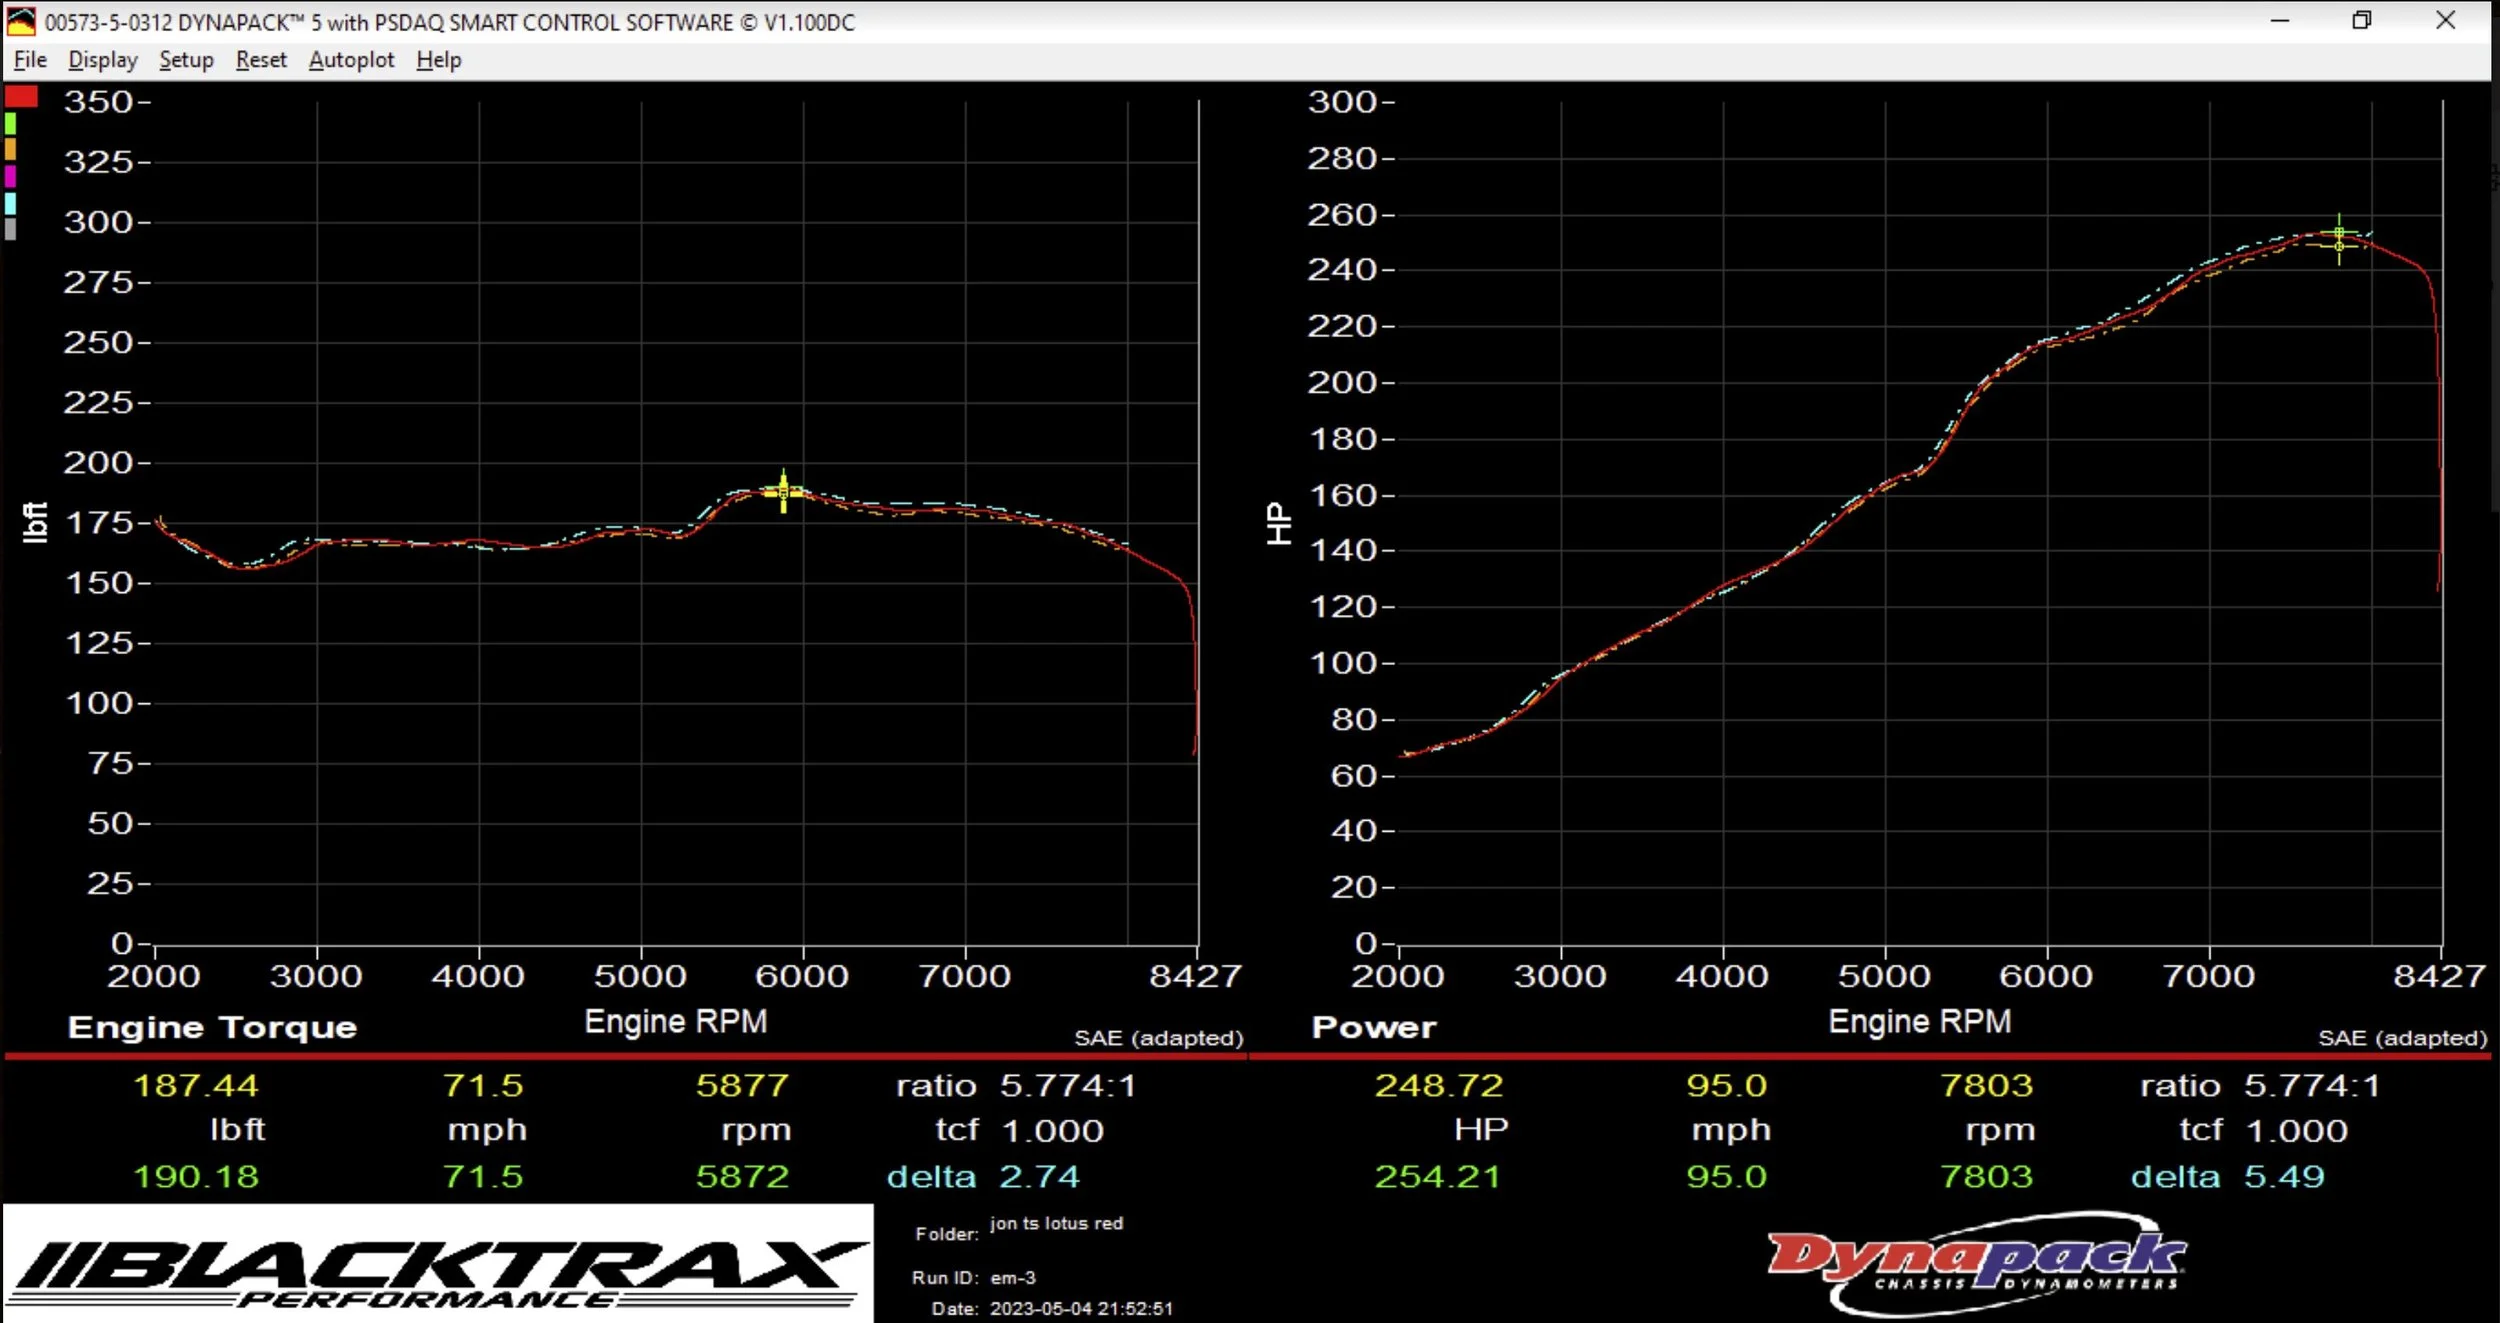
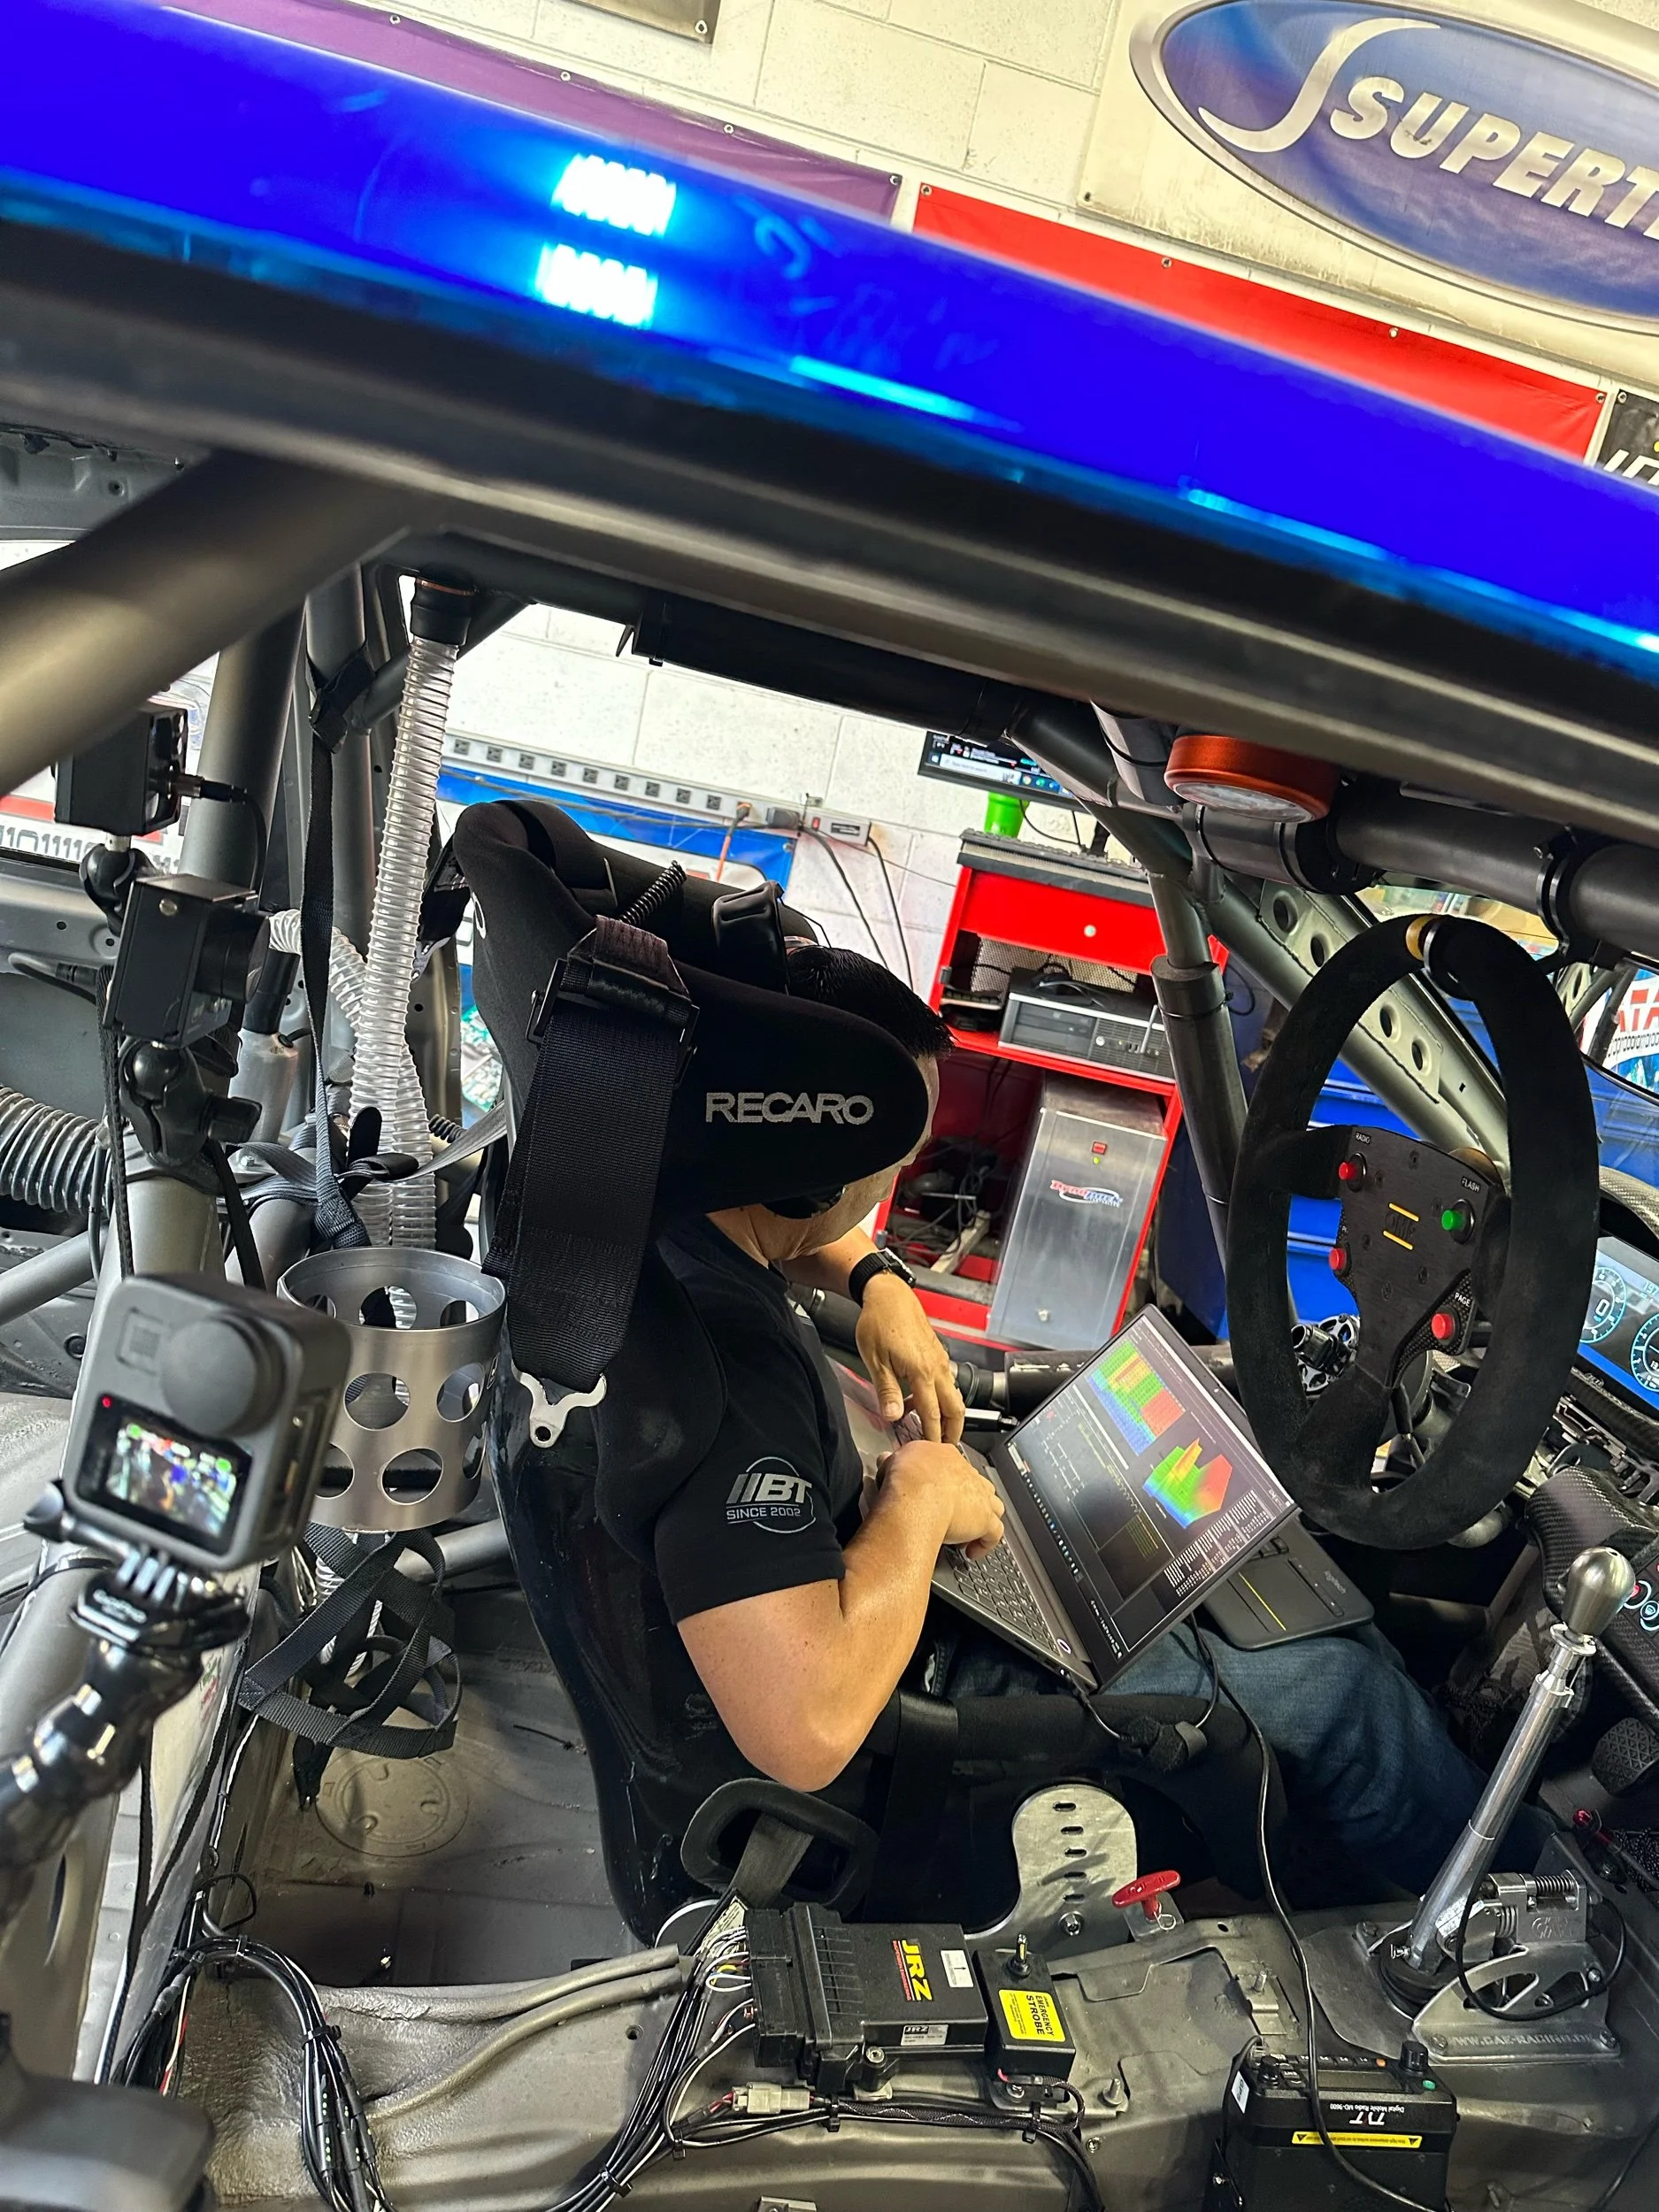
Tuning
With a new ECU, the car had to be tuned again. With no other changes, I was surprised to see that the car had gained 6hp and 10ft lbs of torque! This is likely the result of a more capable ECU, more precise fuel metering, and better DBW control at high RPM.
Pikes peak build: part 3
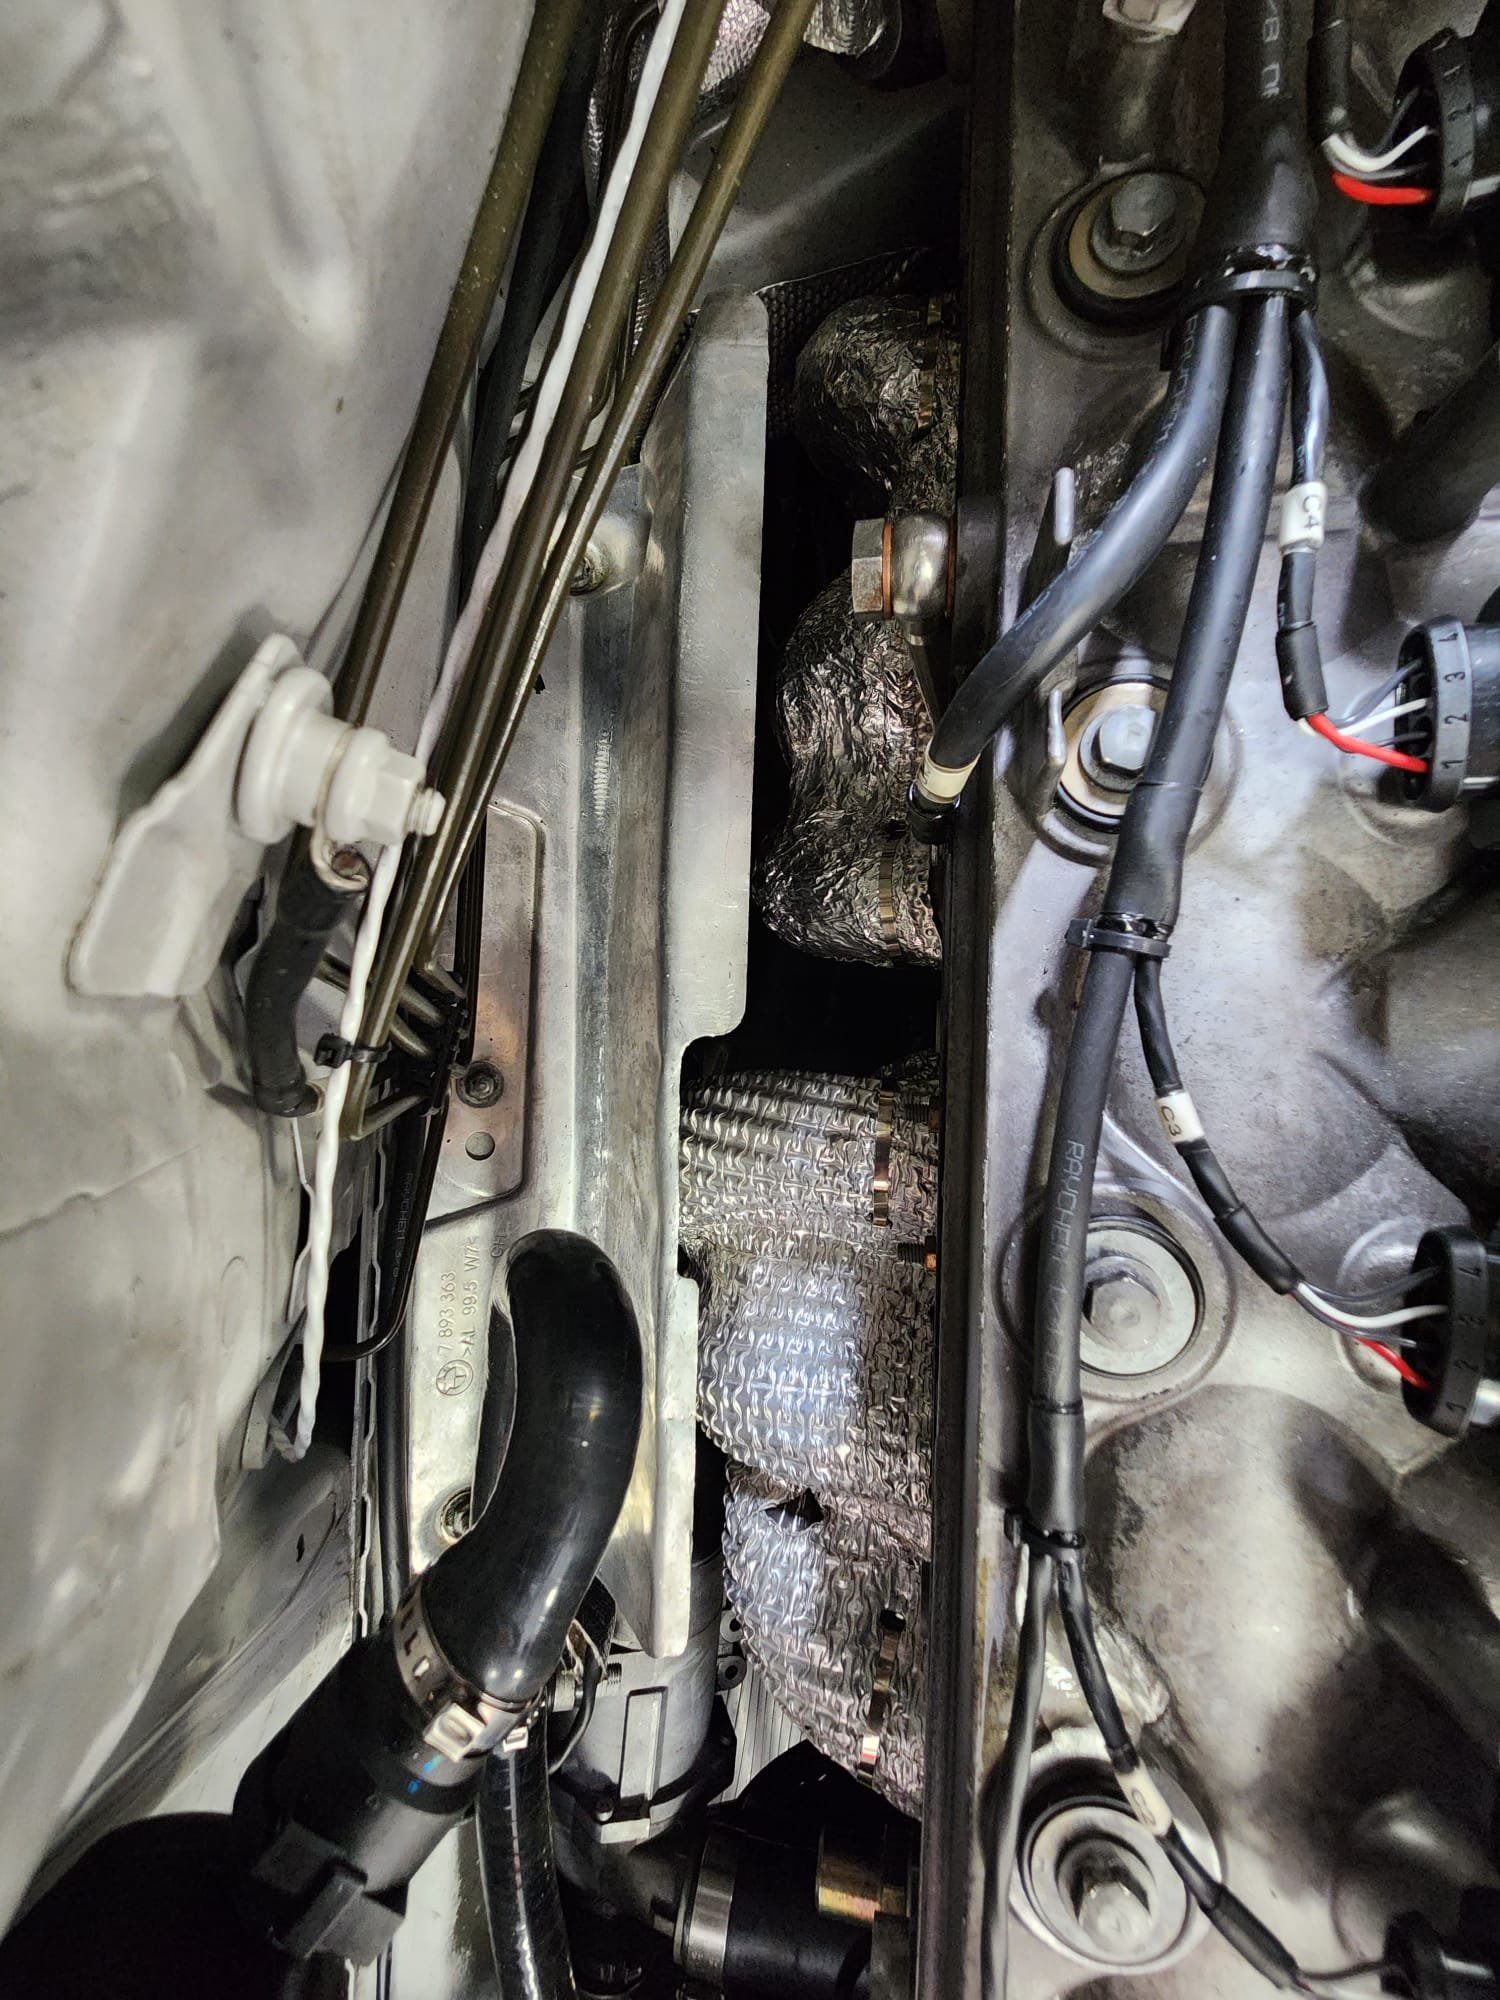
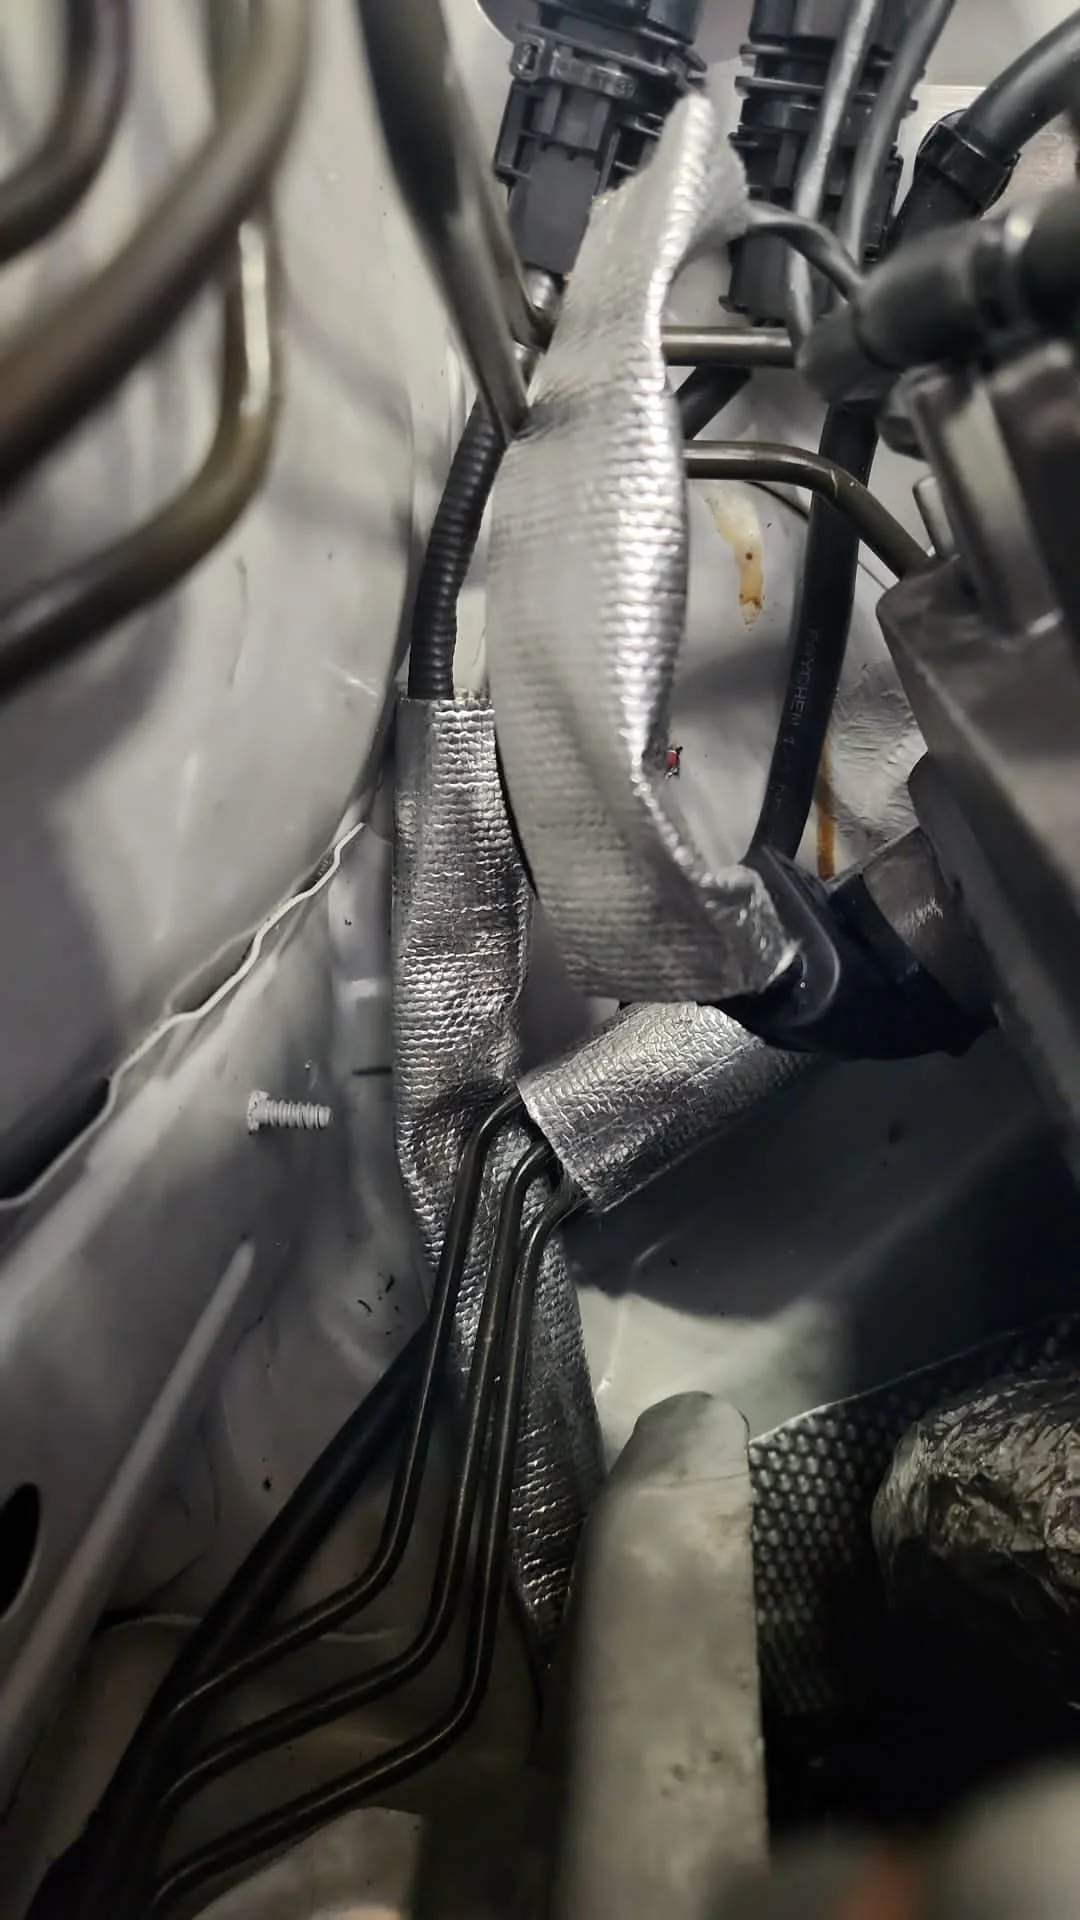
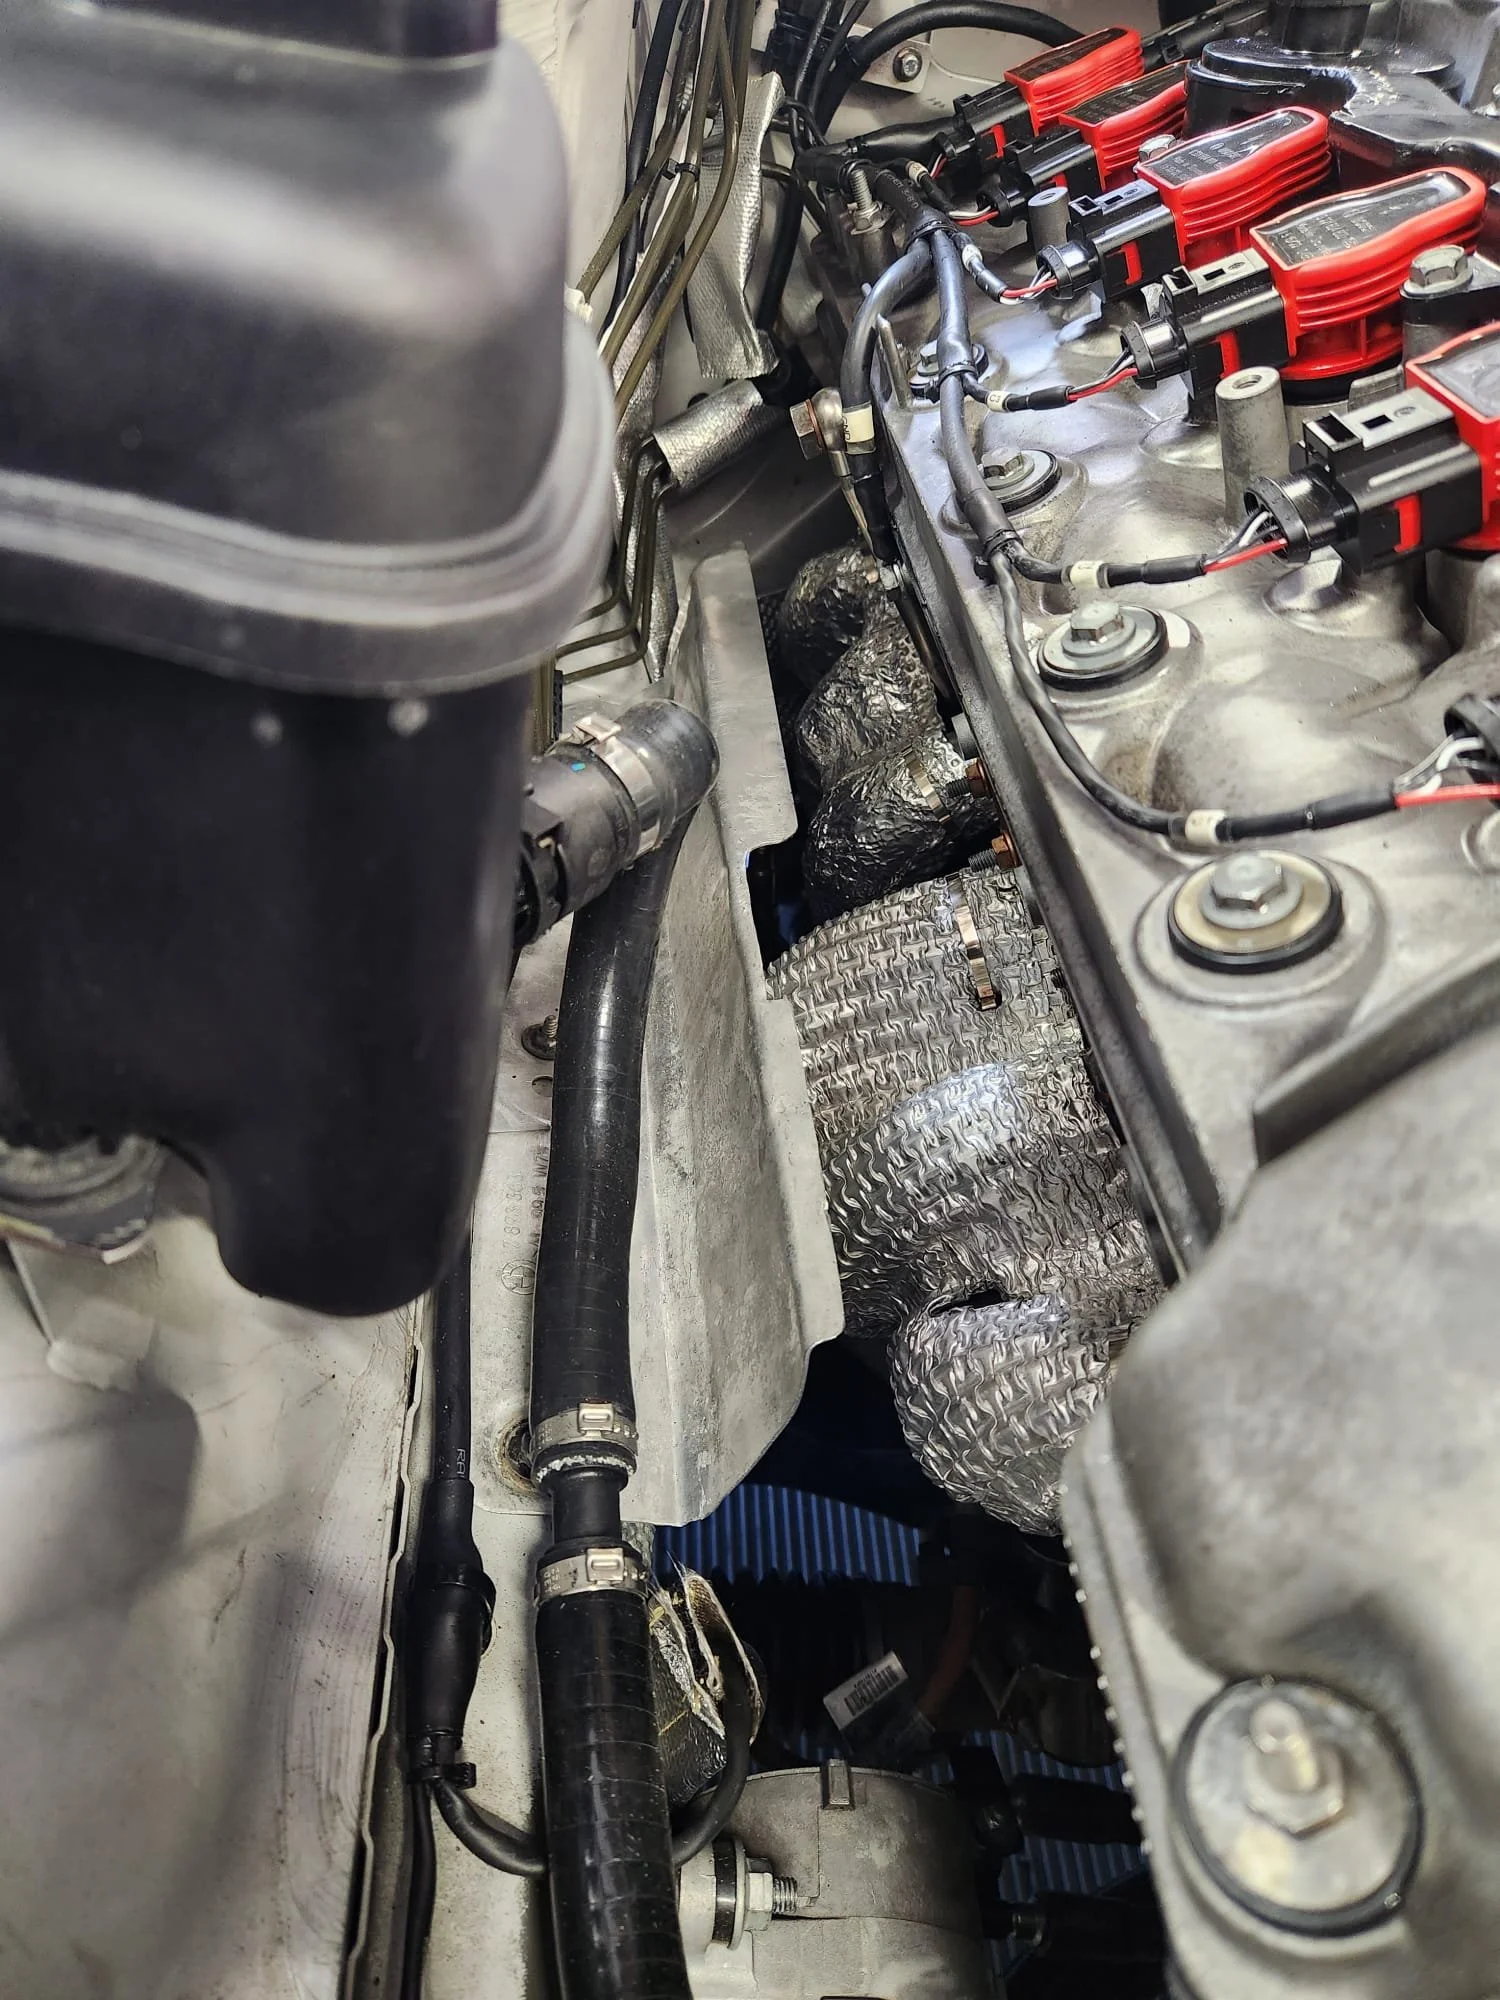
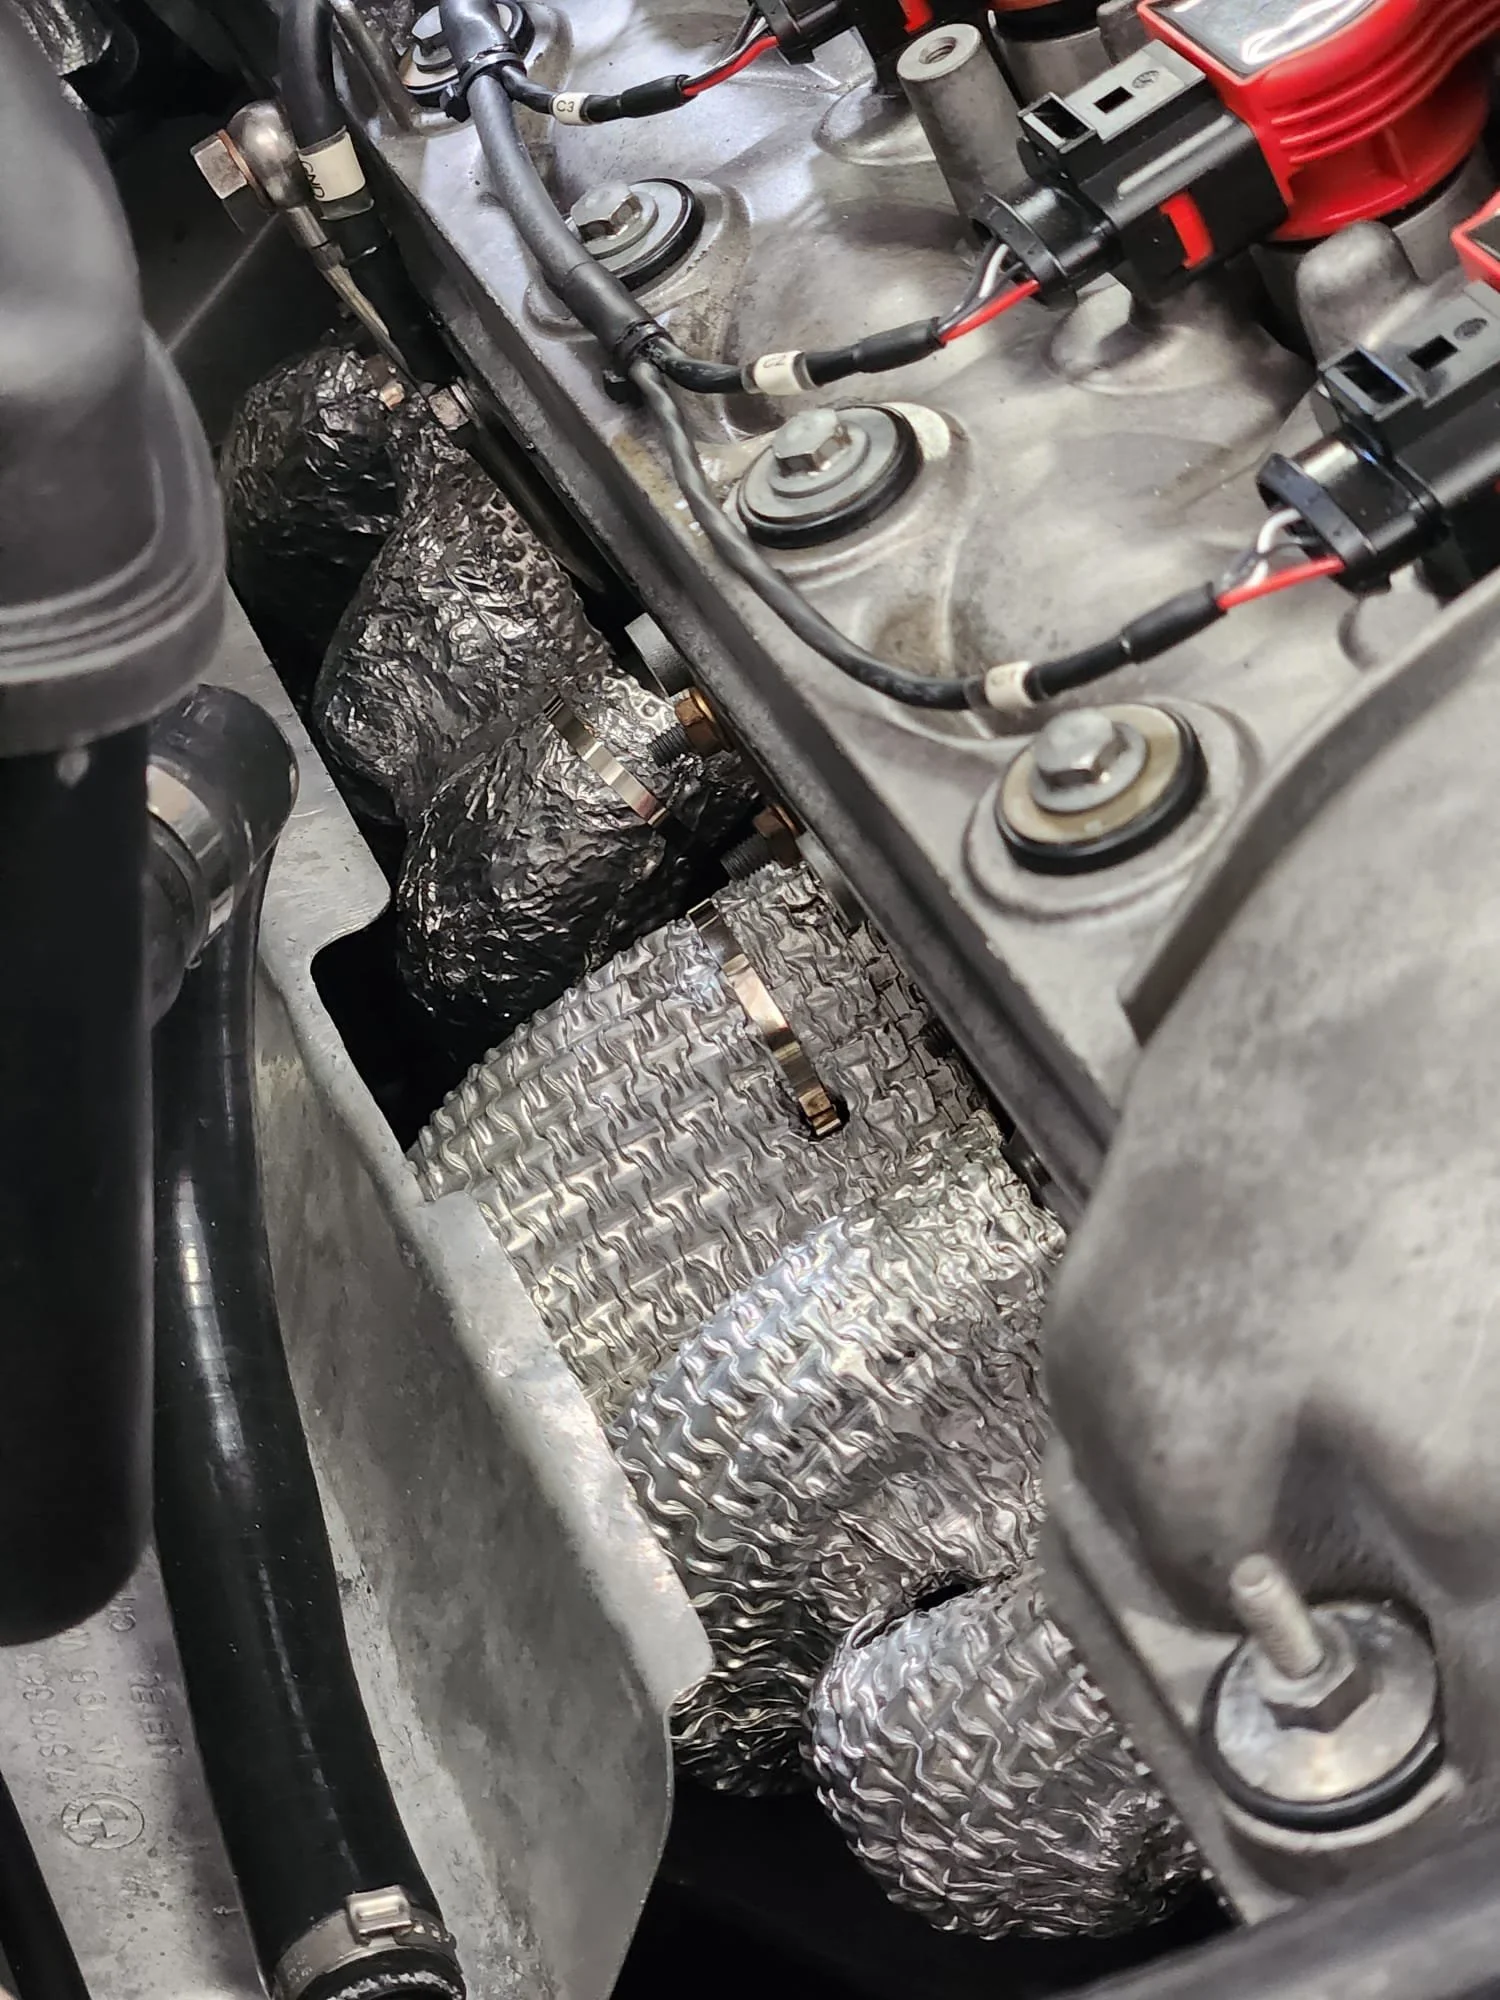
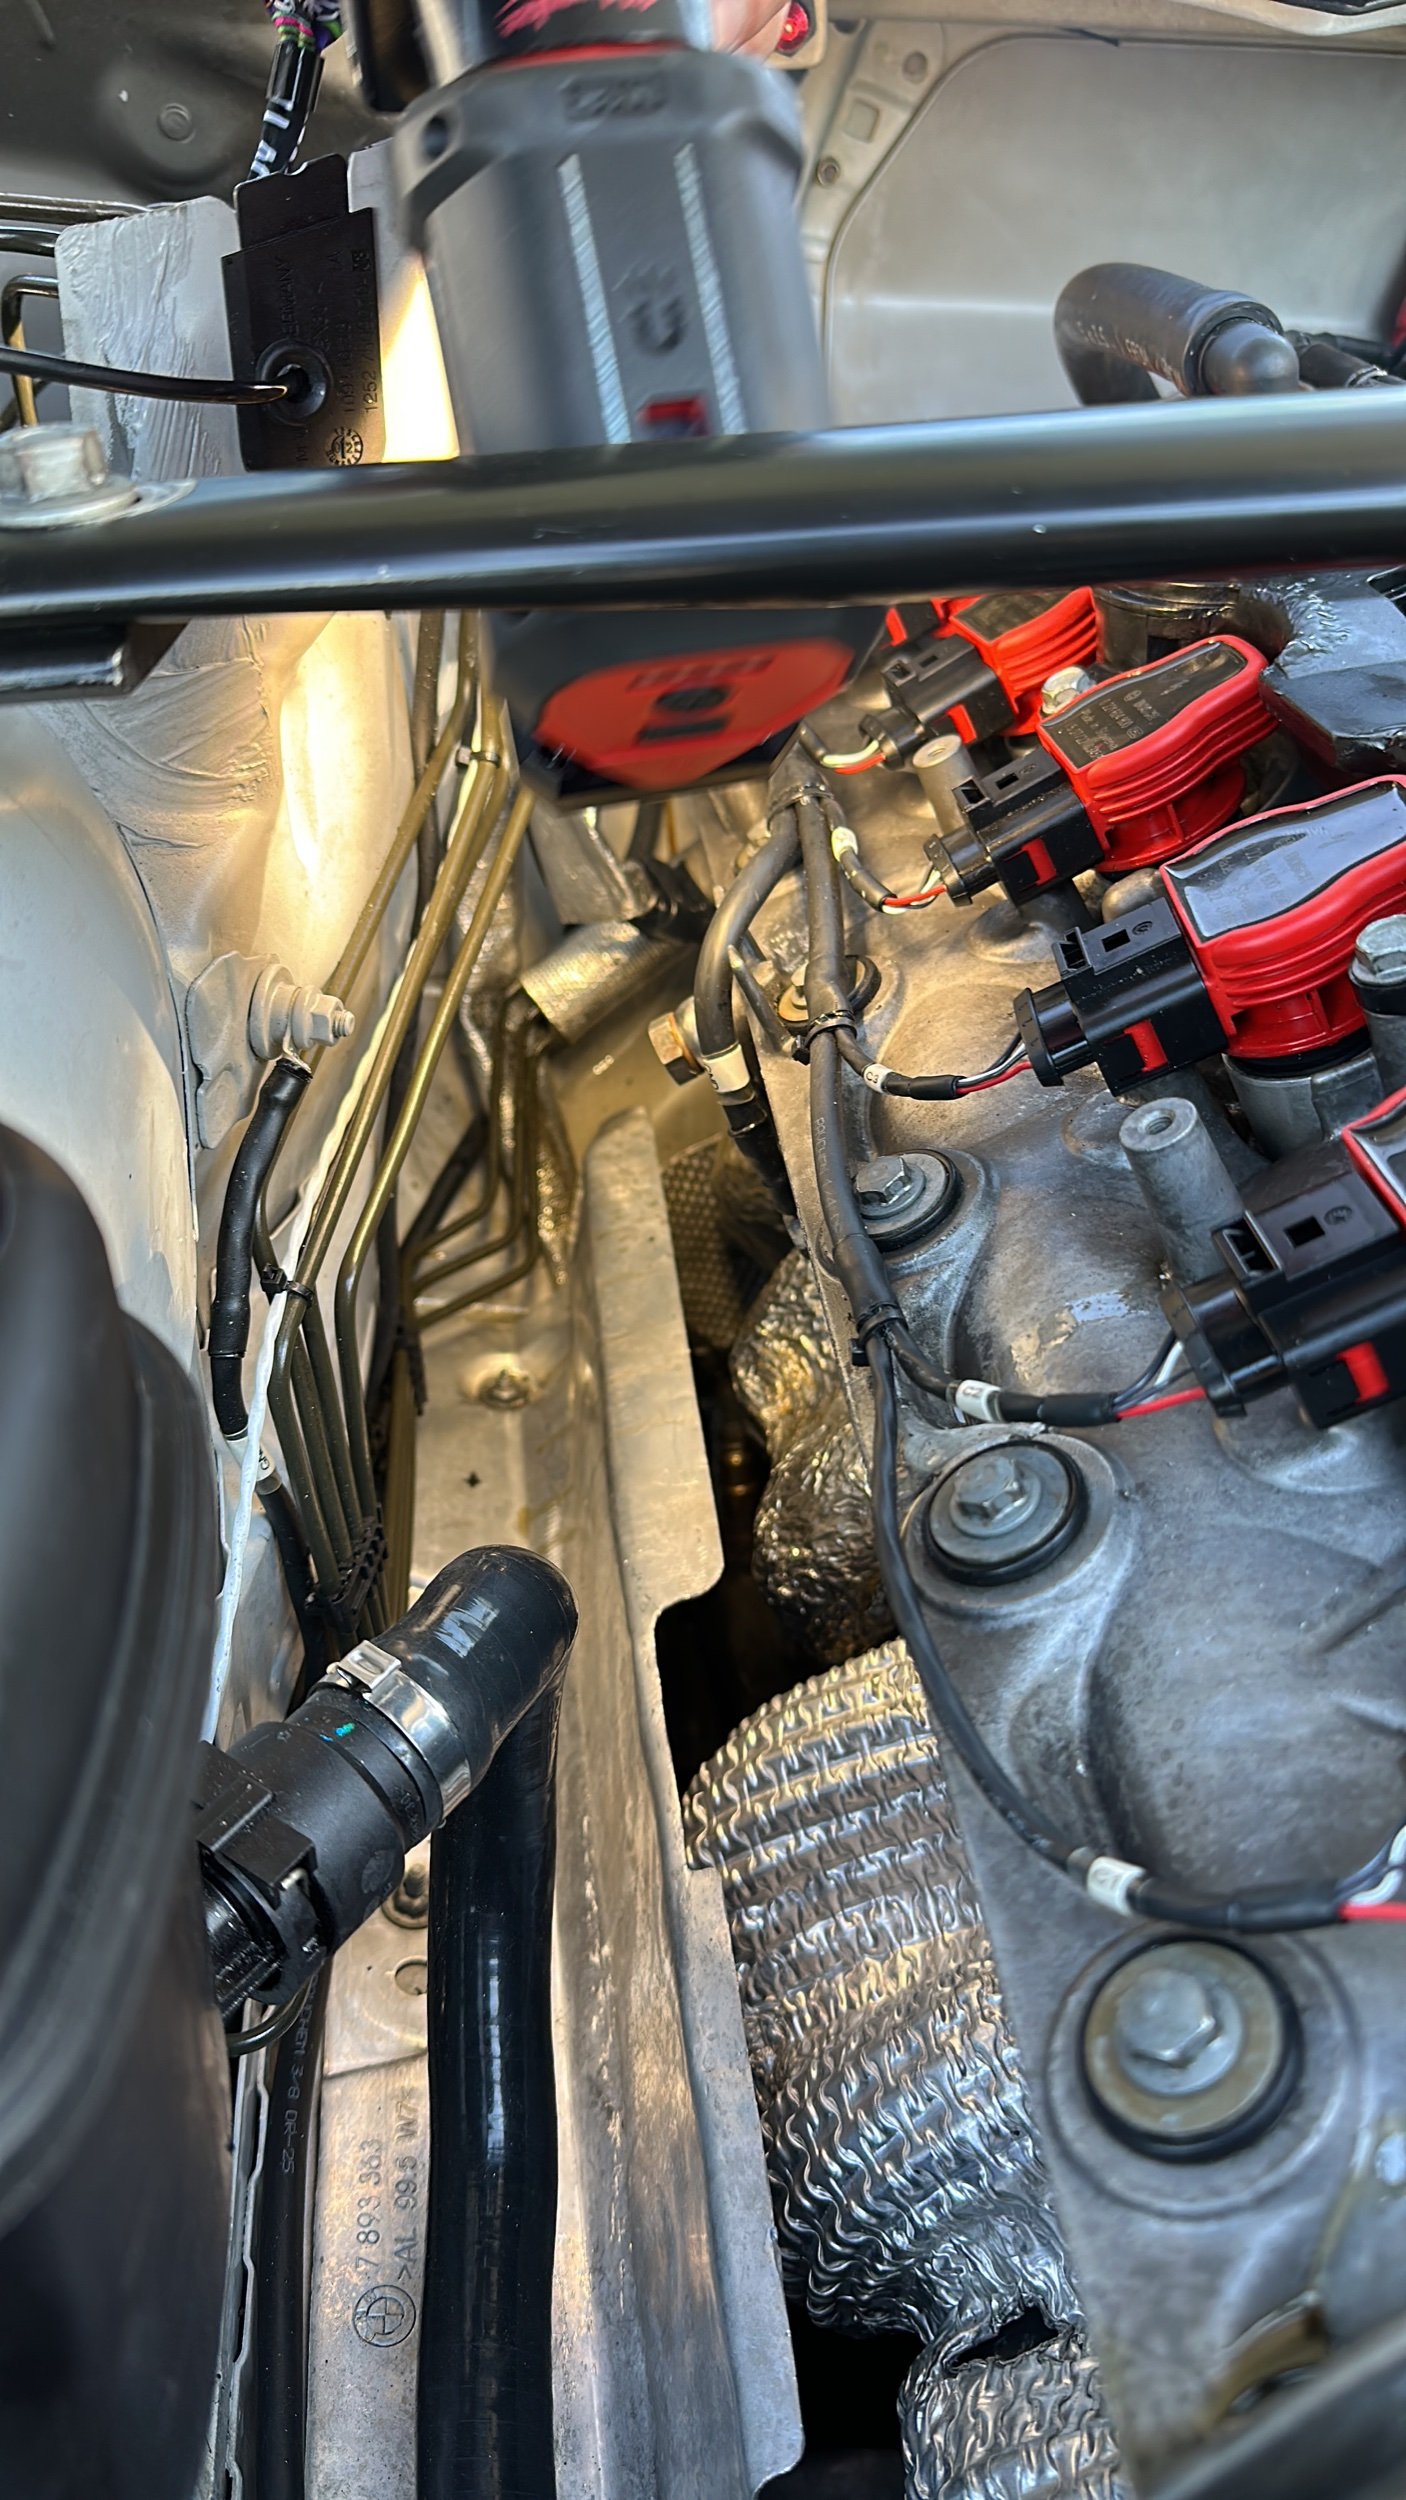
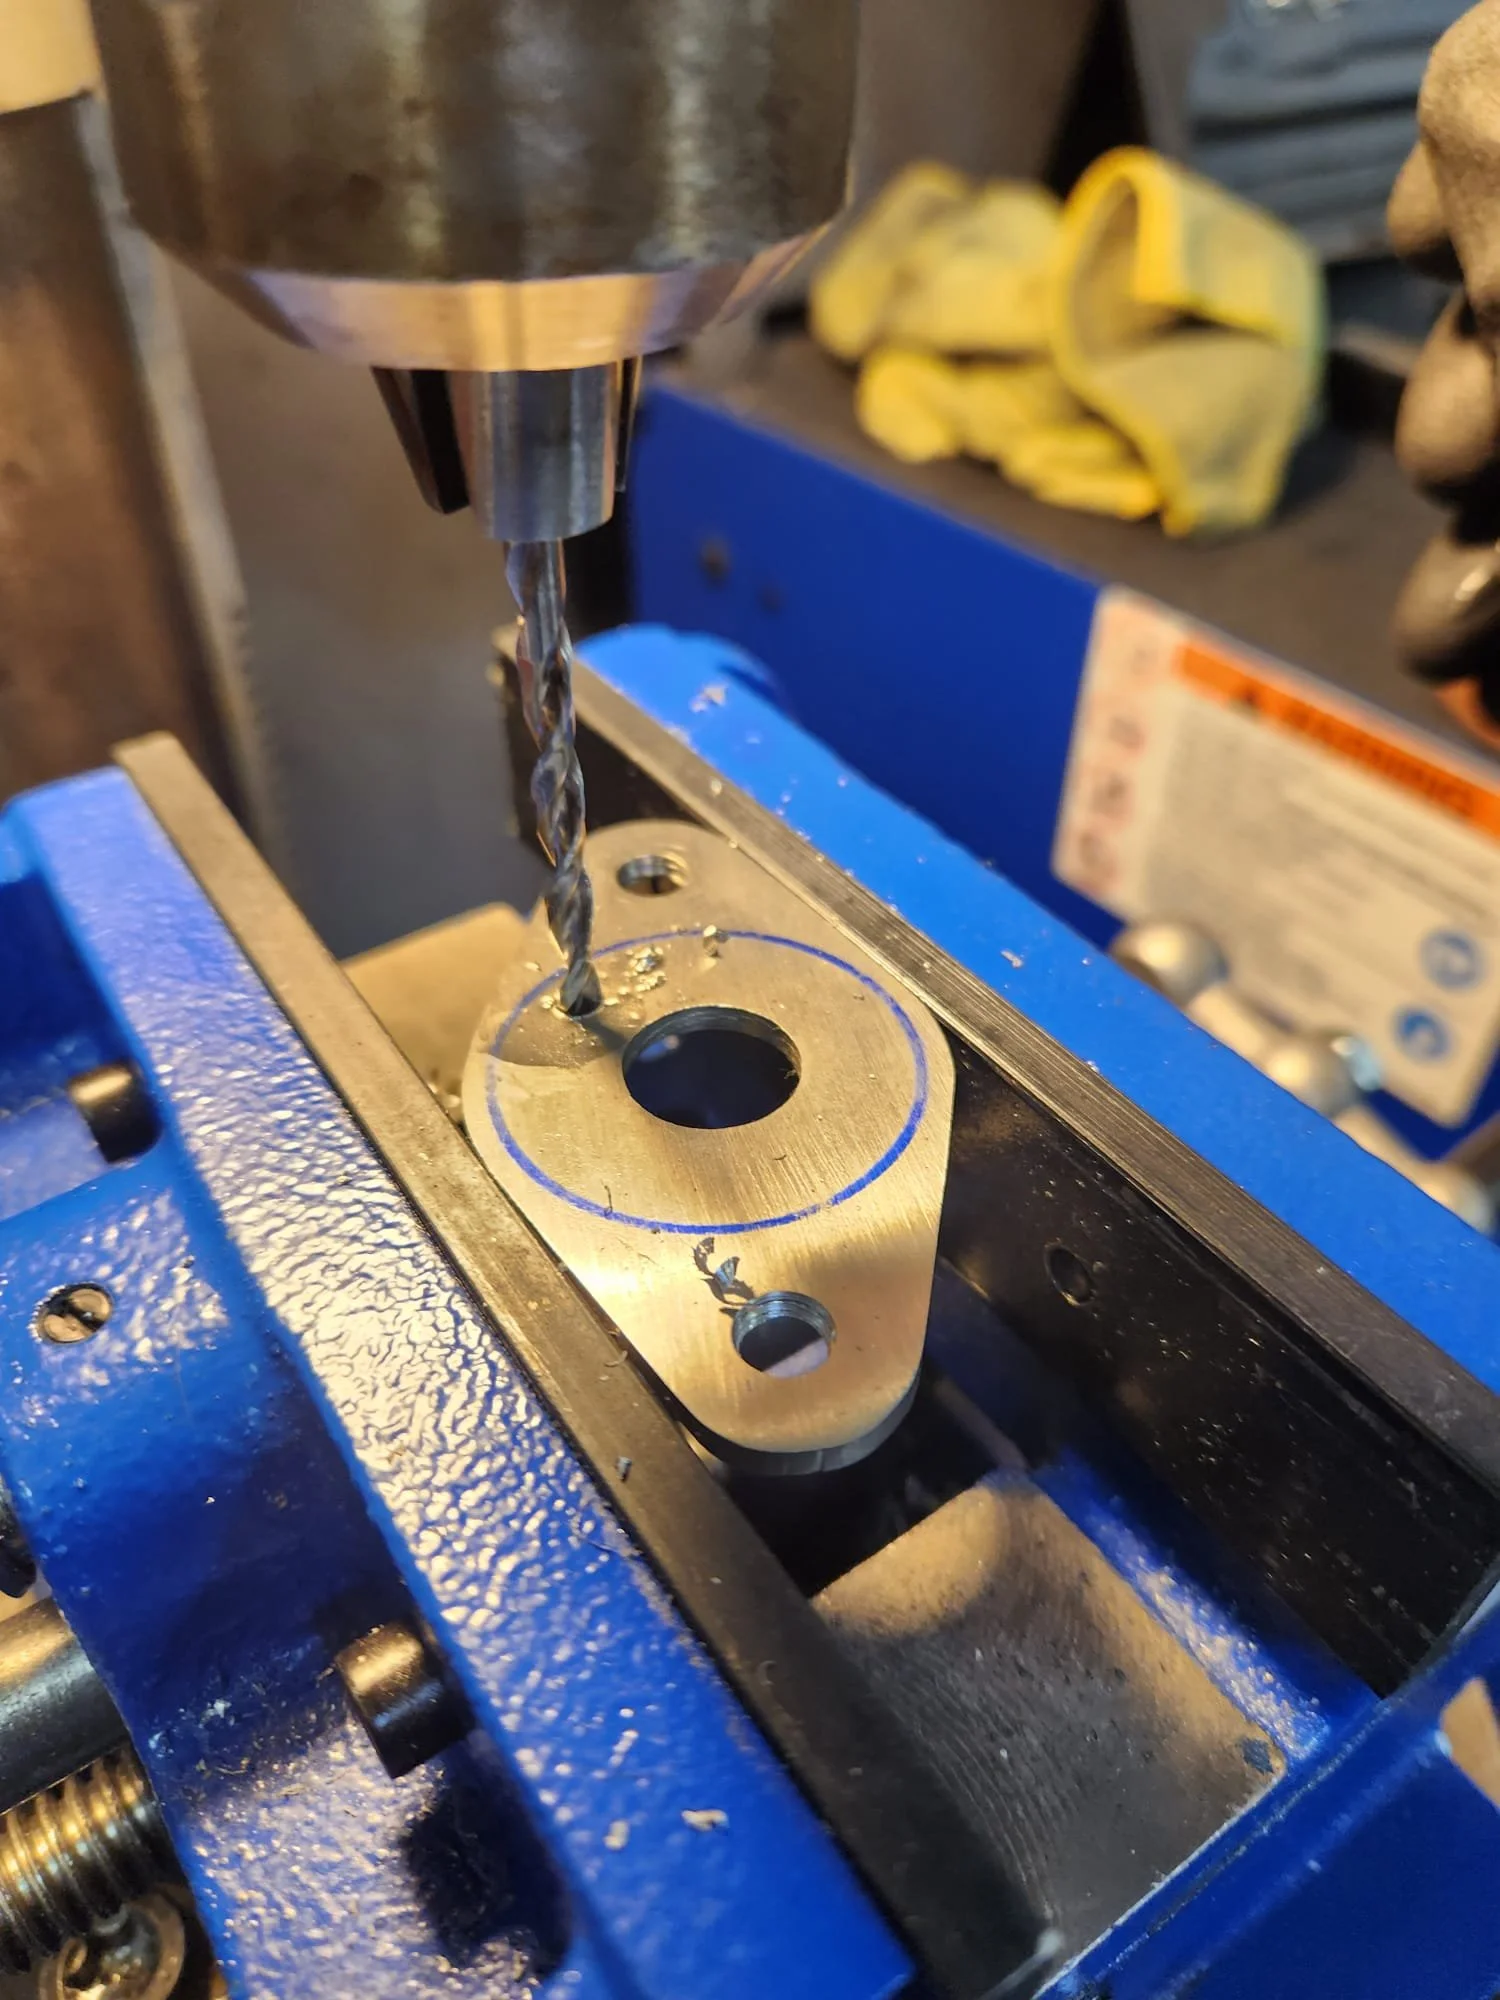
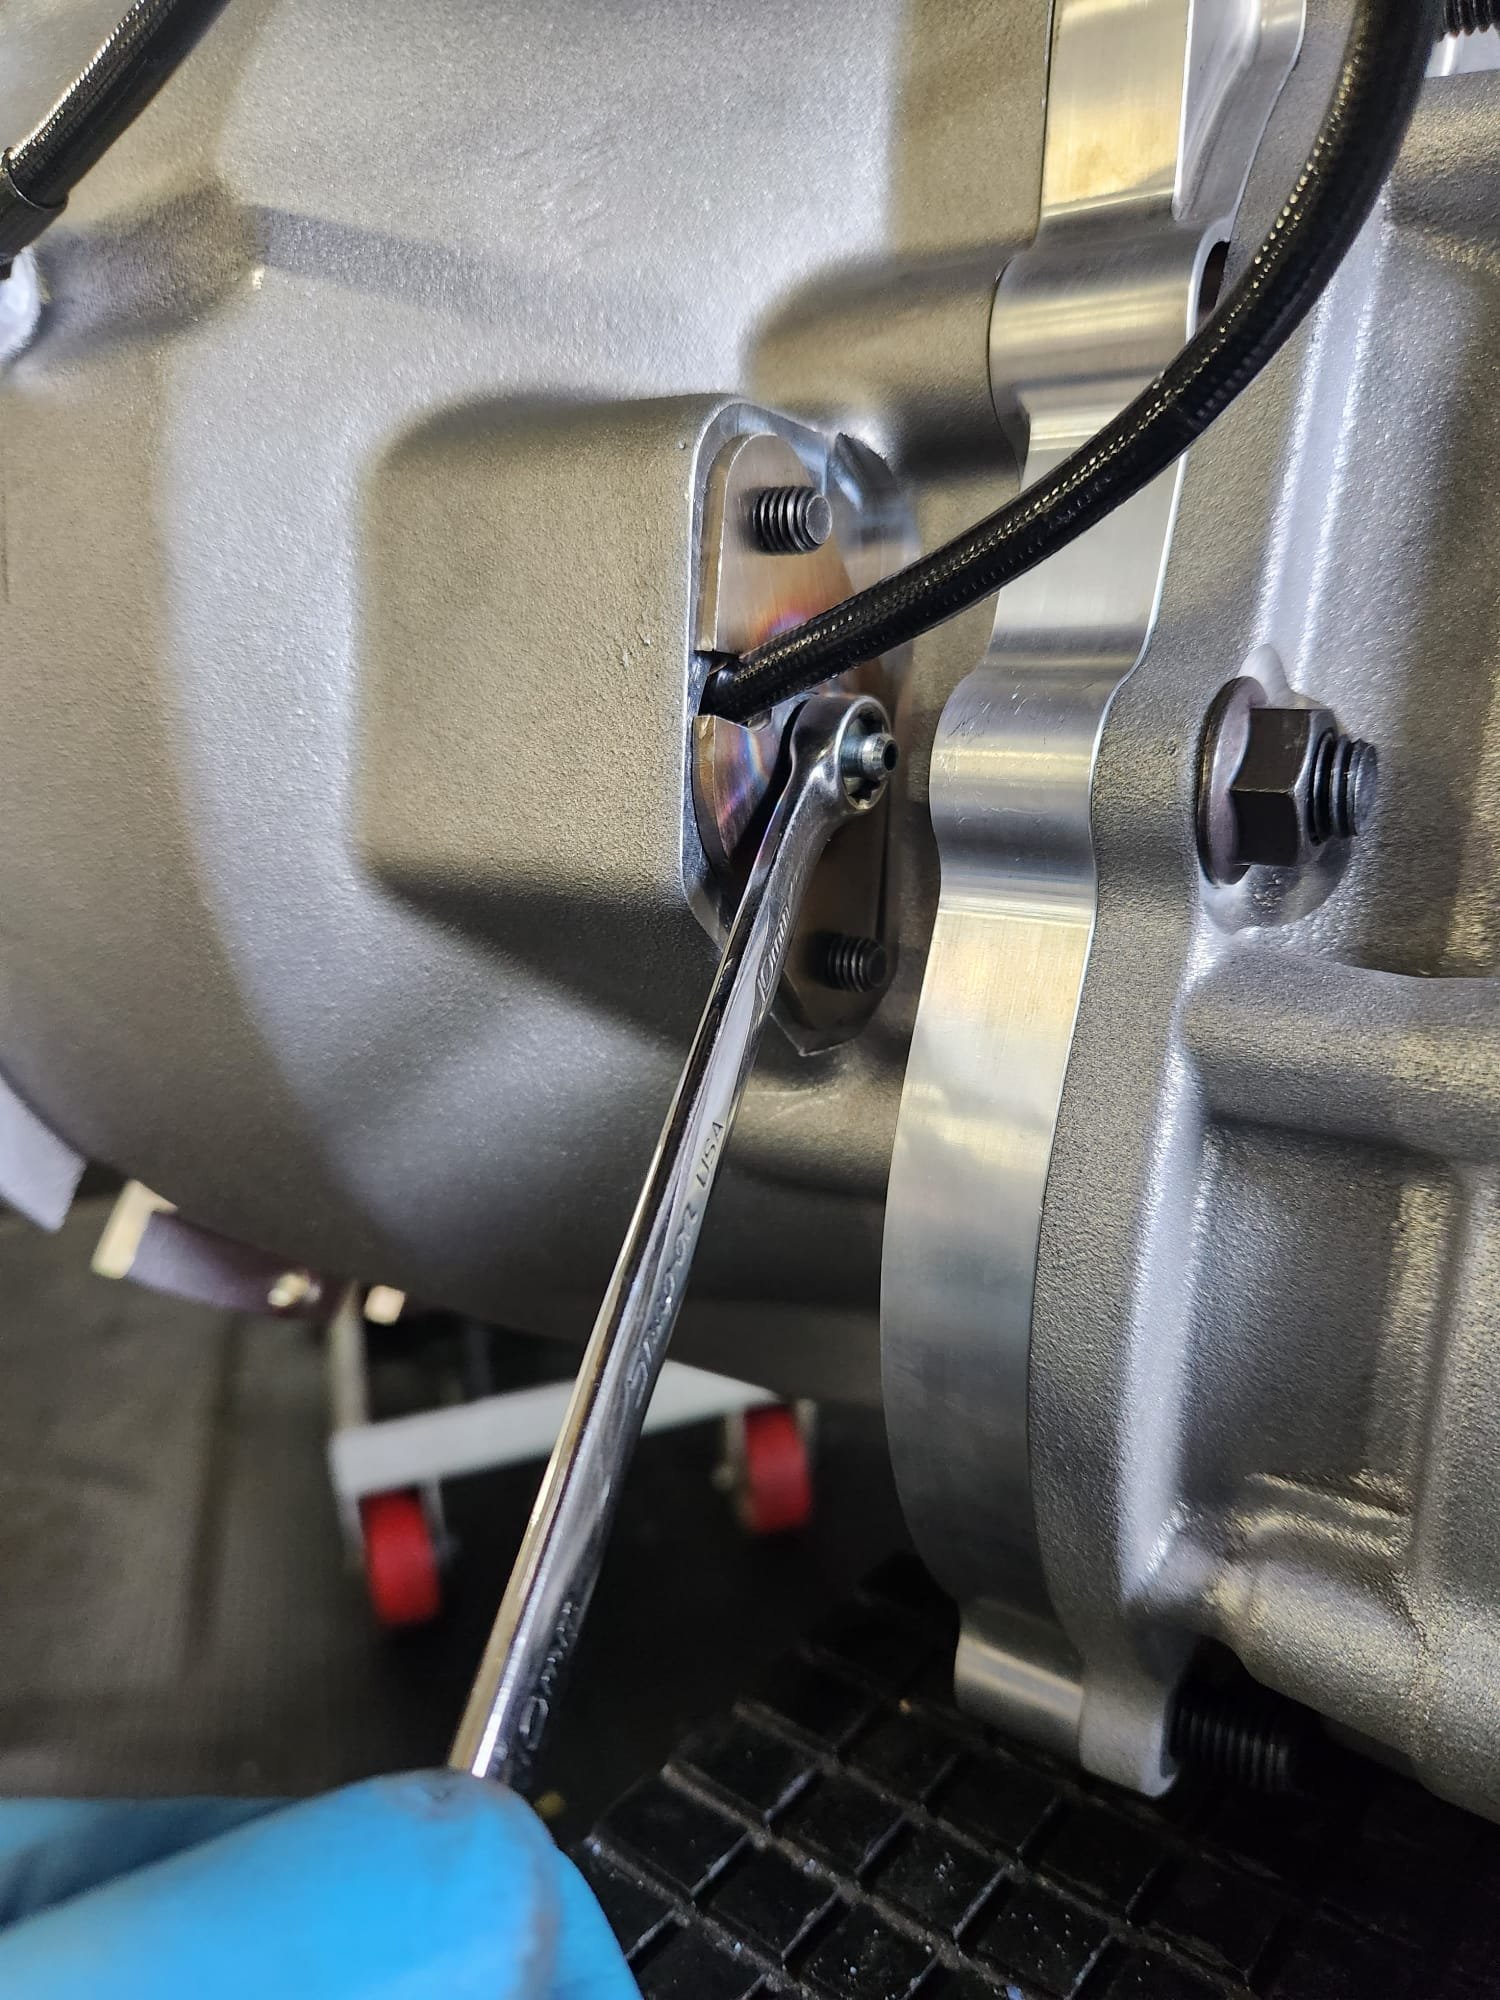
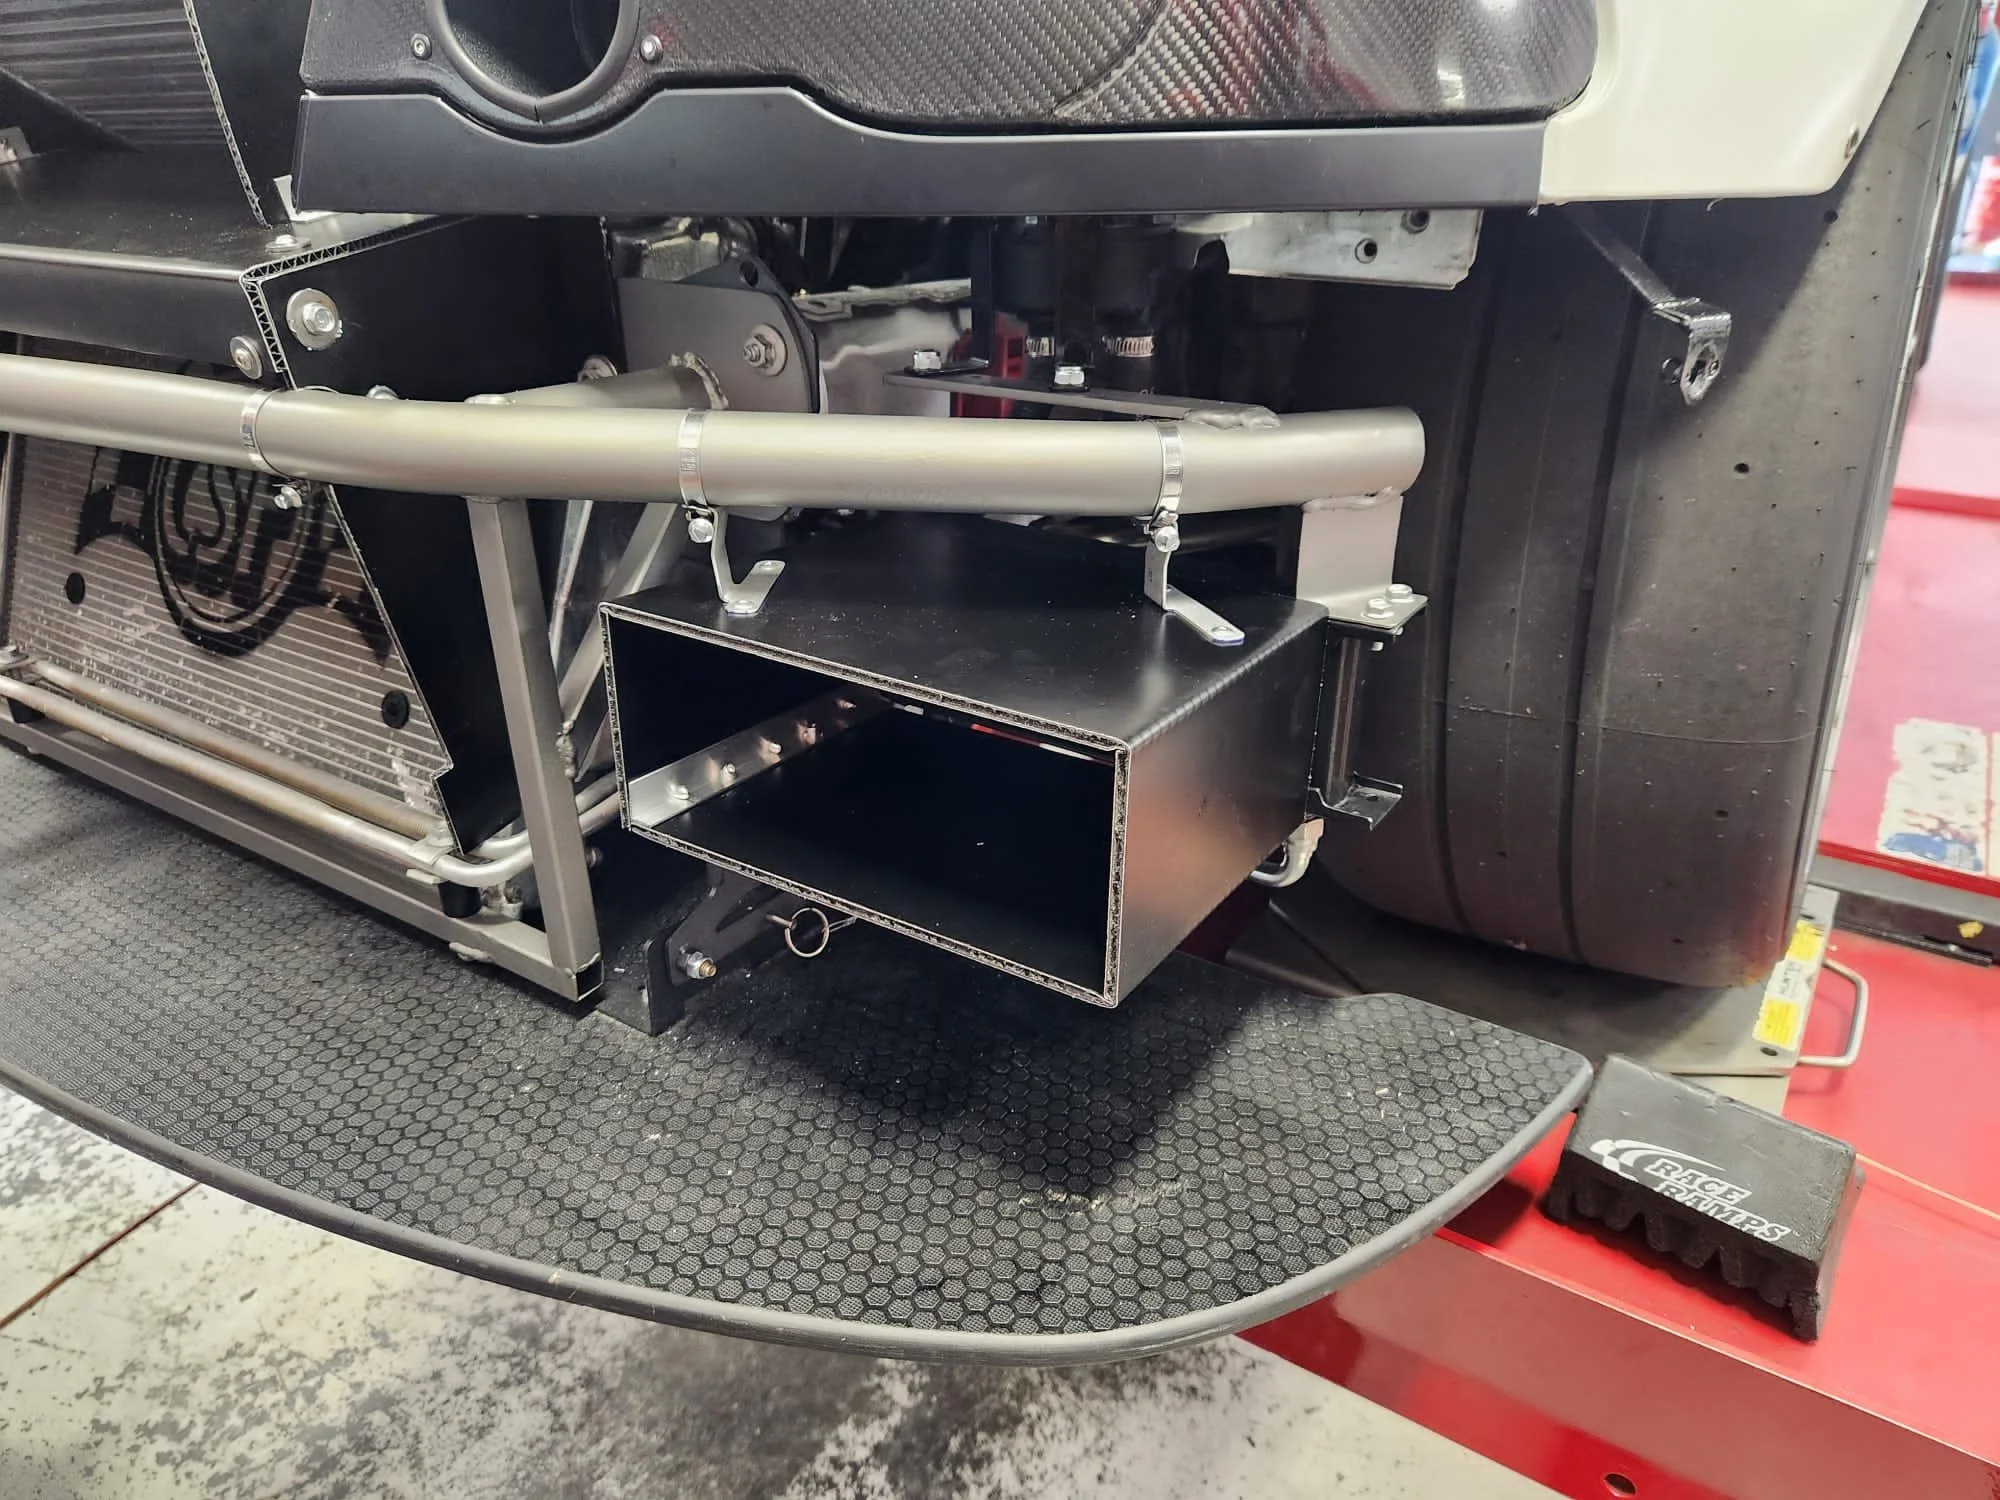
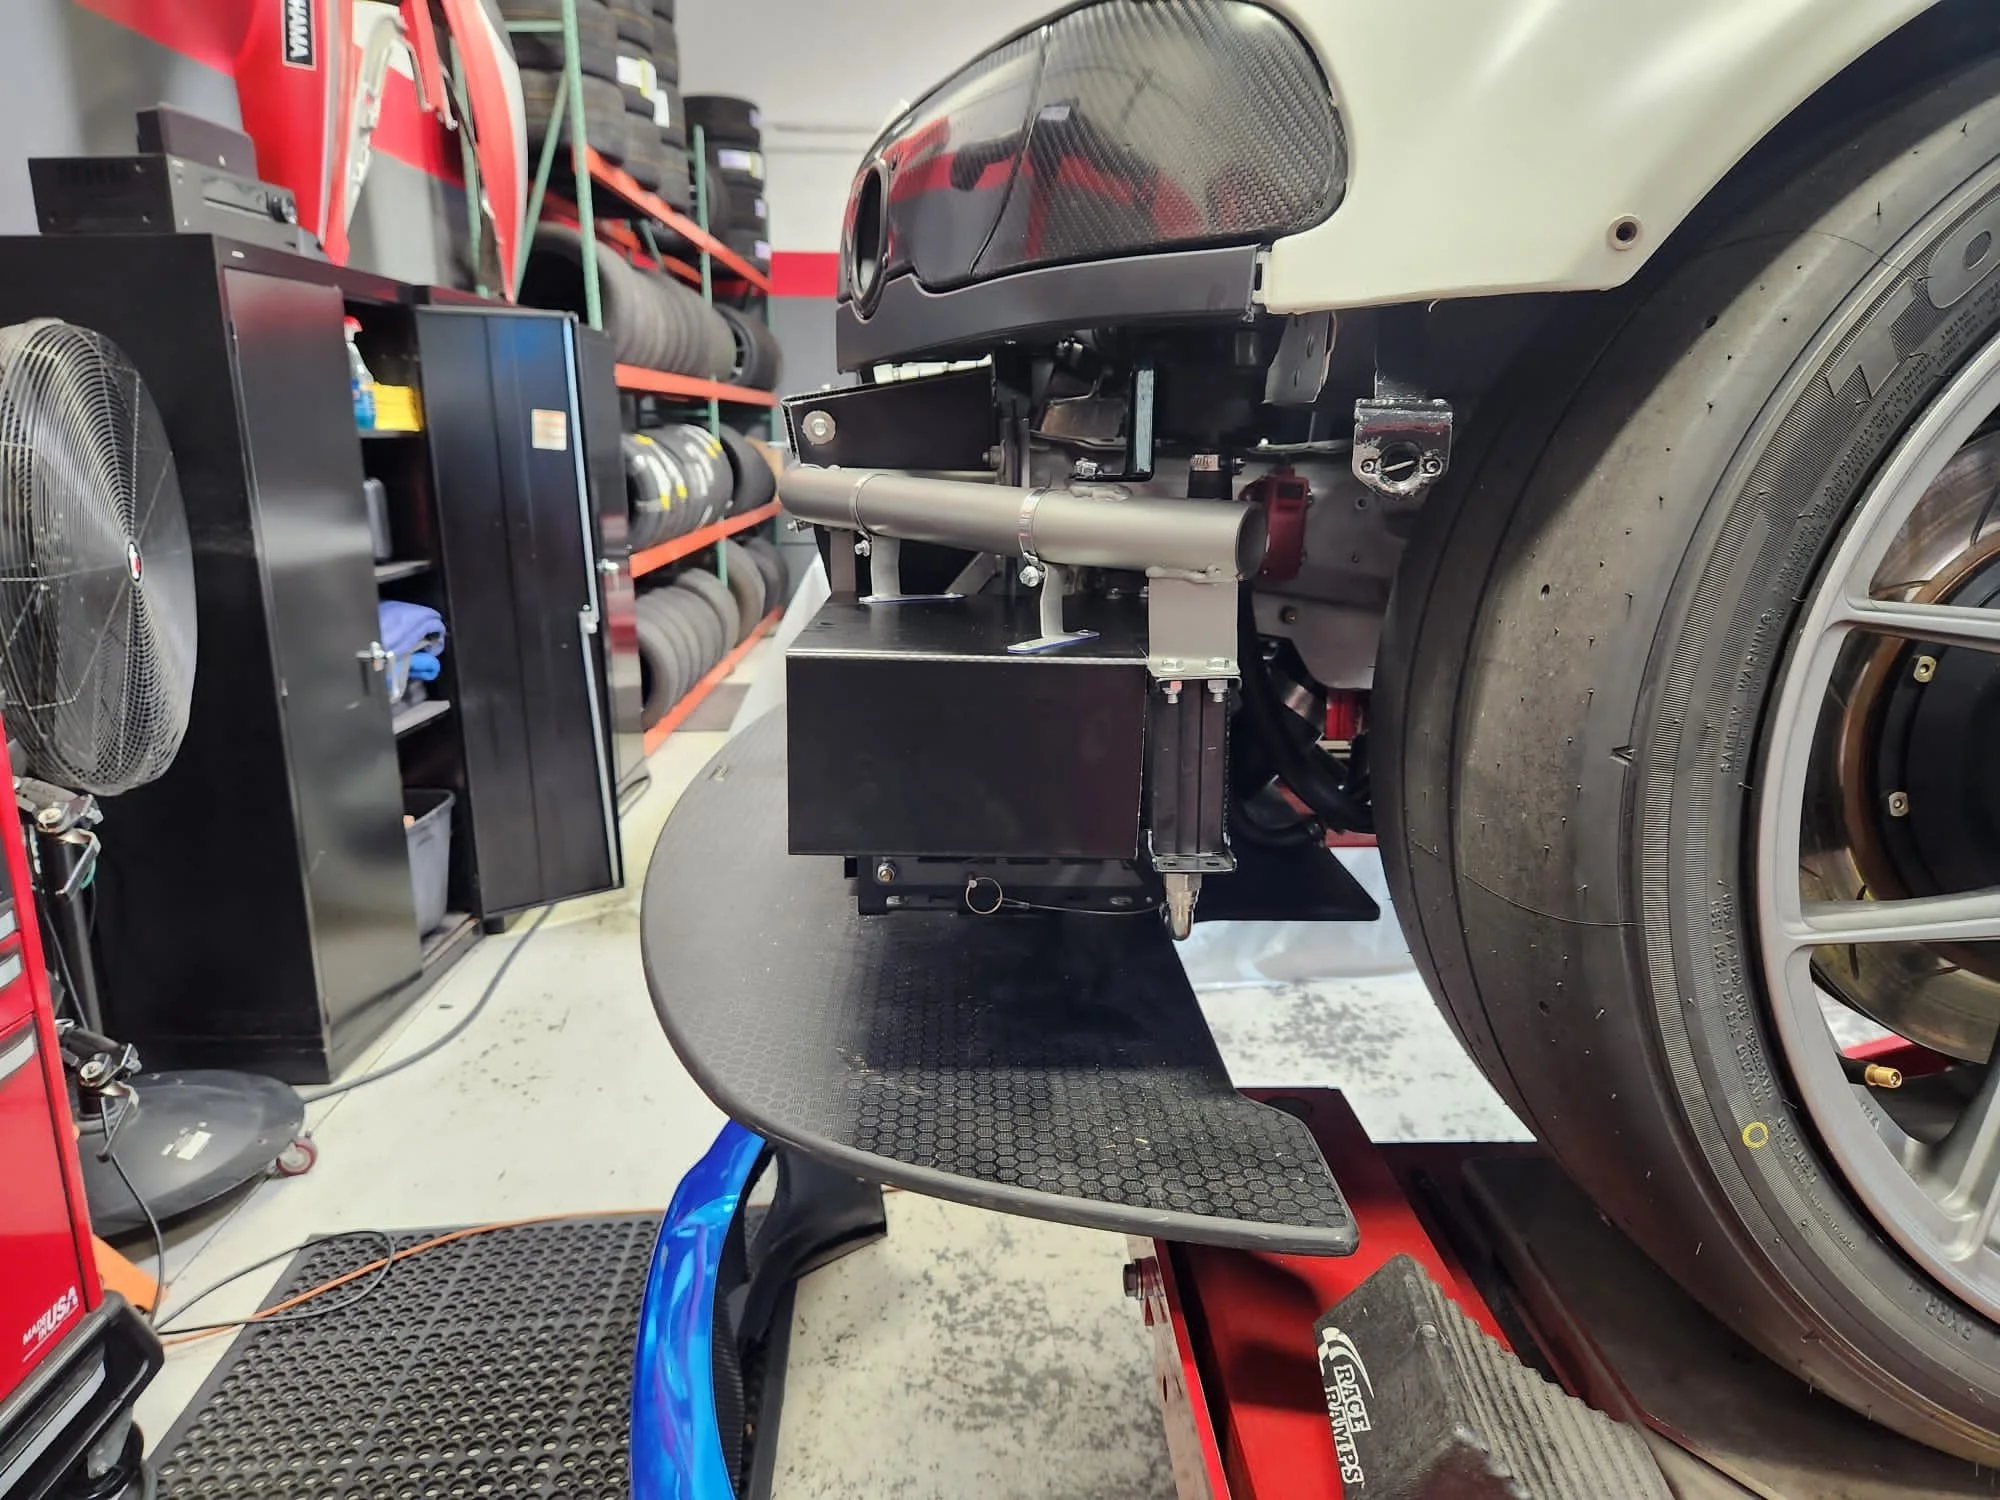
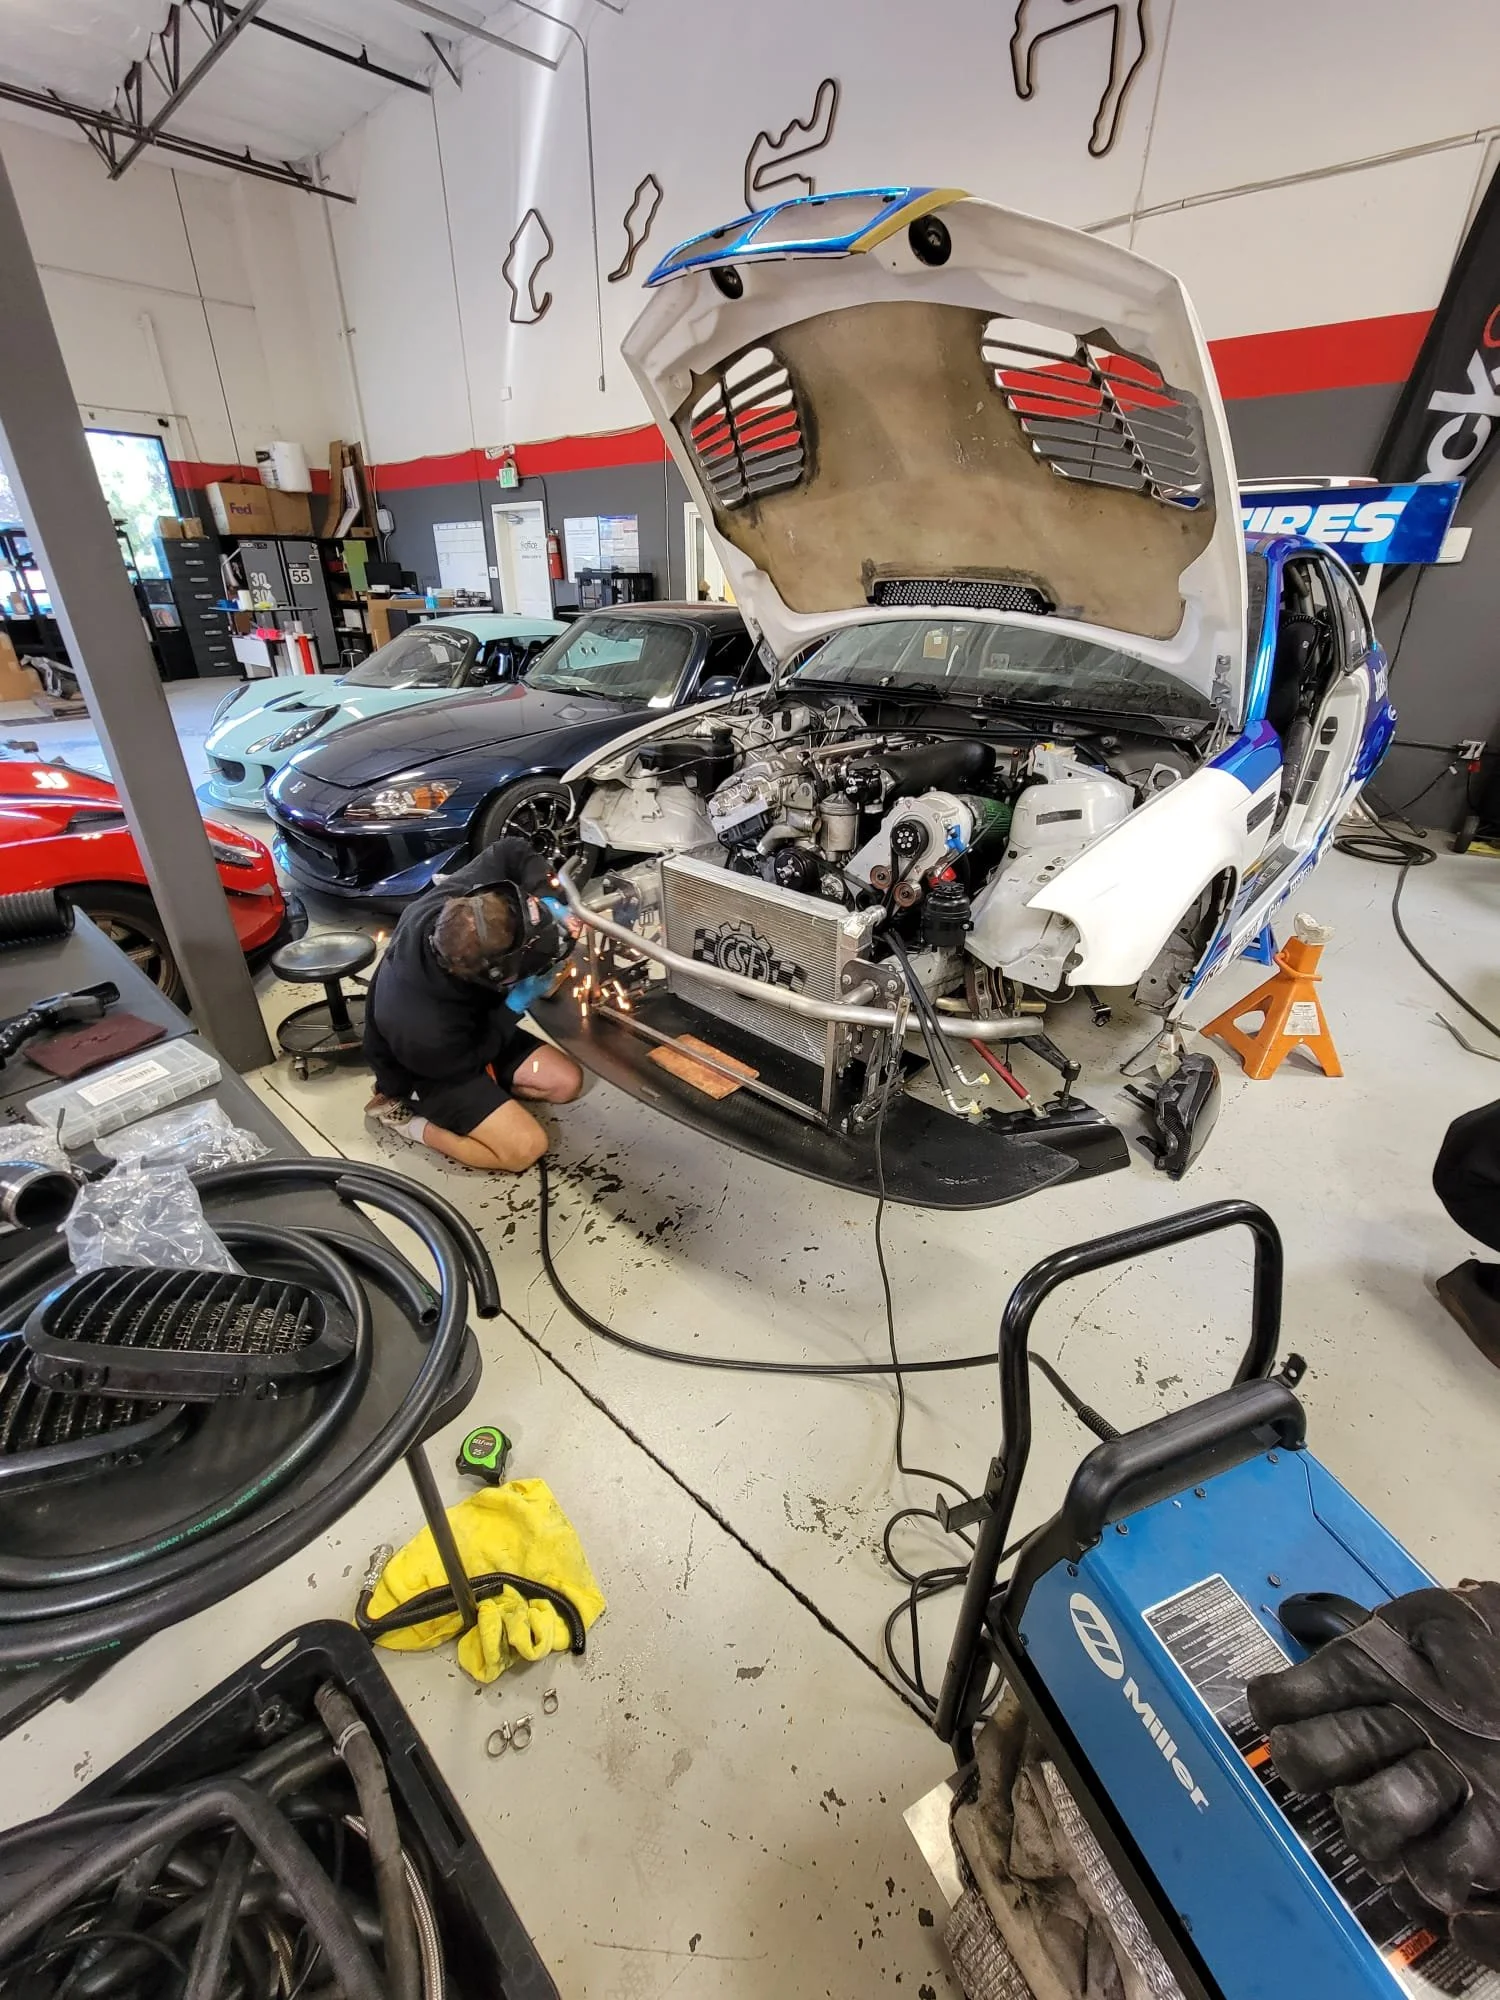
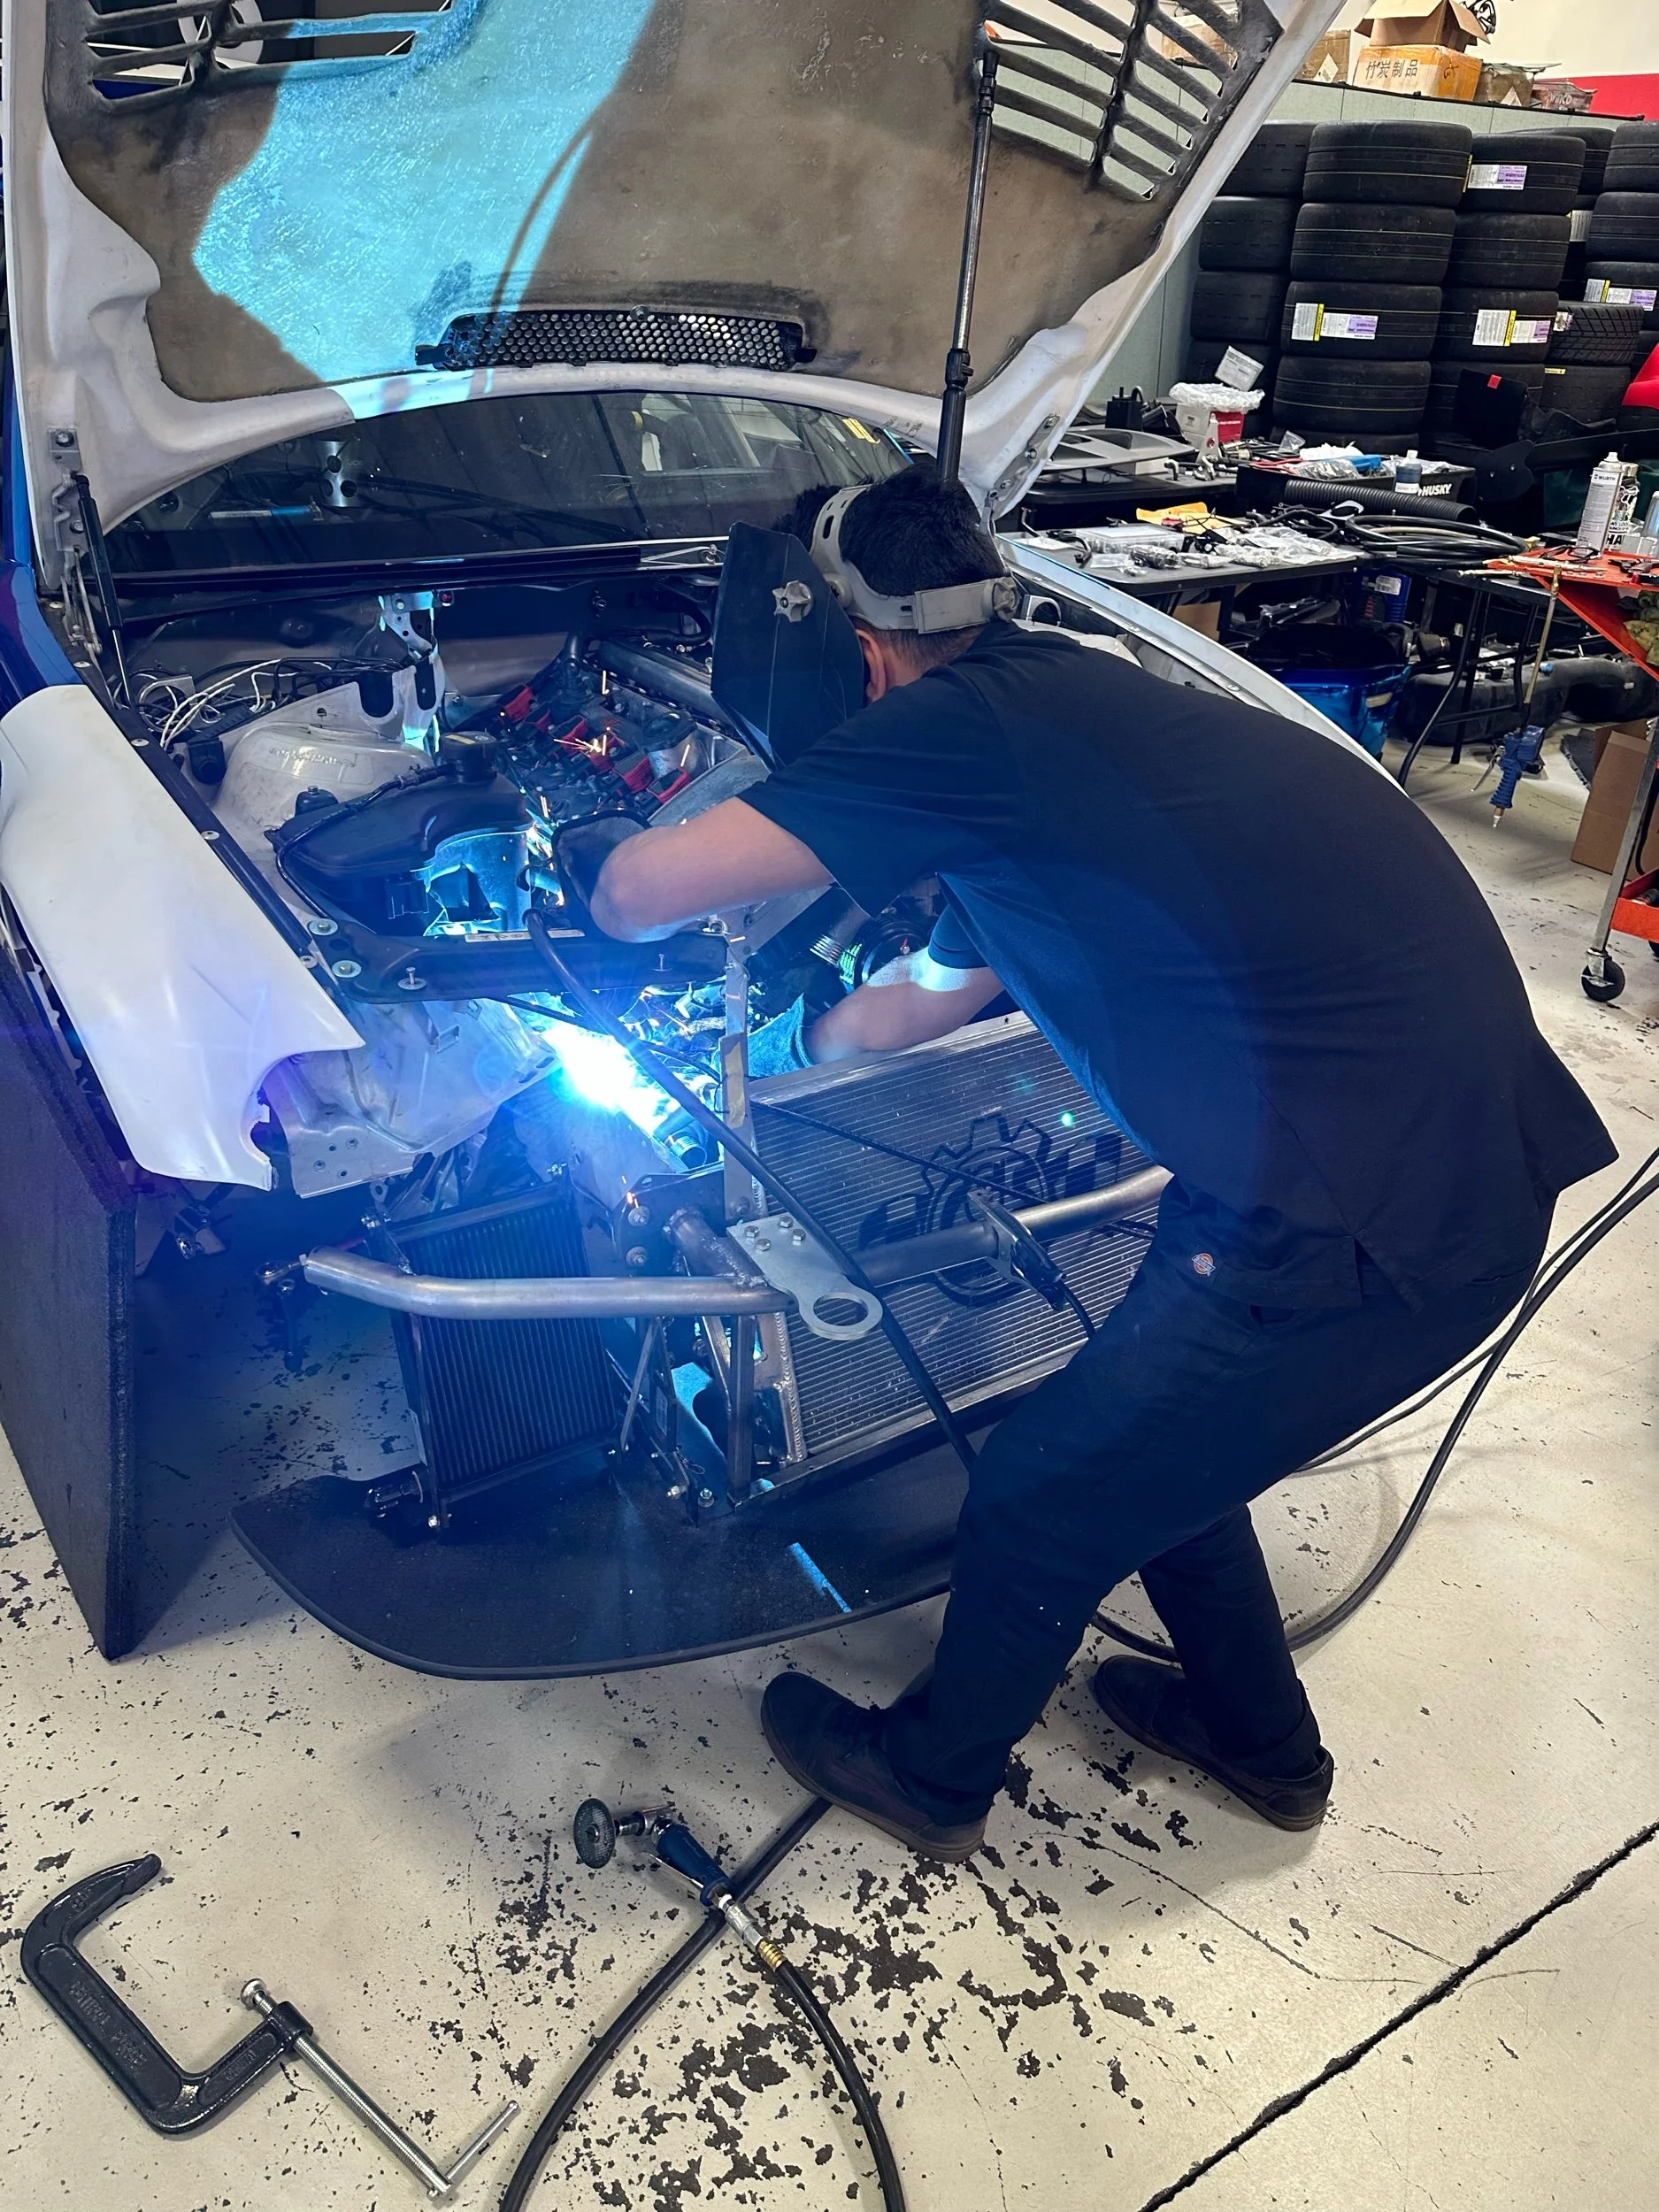
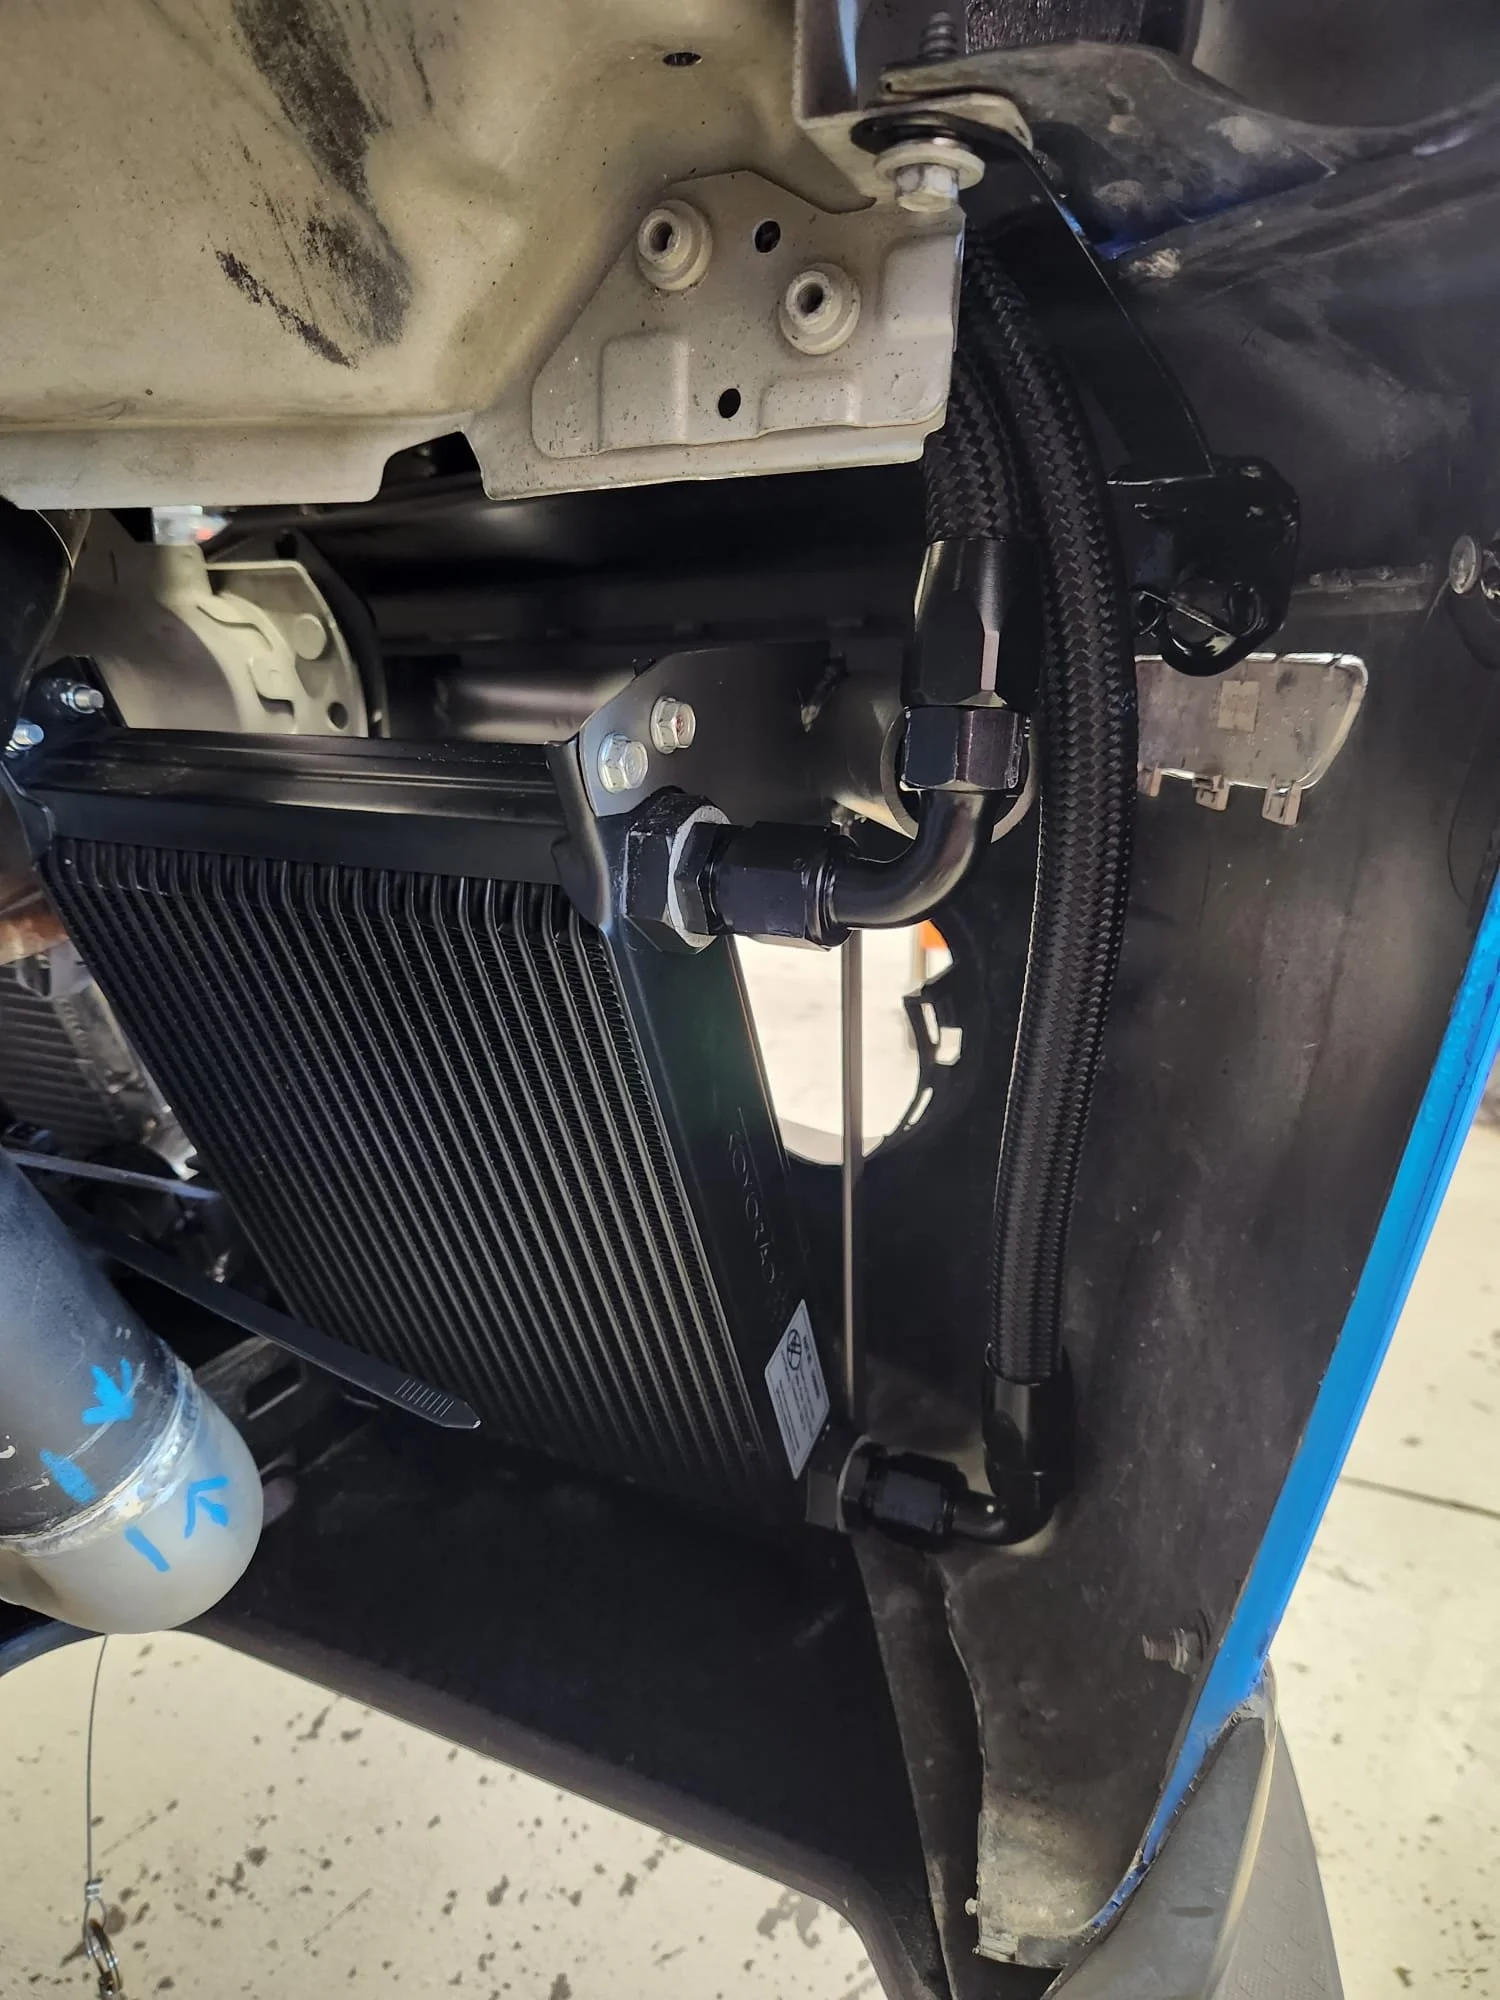
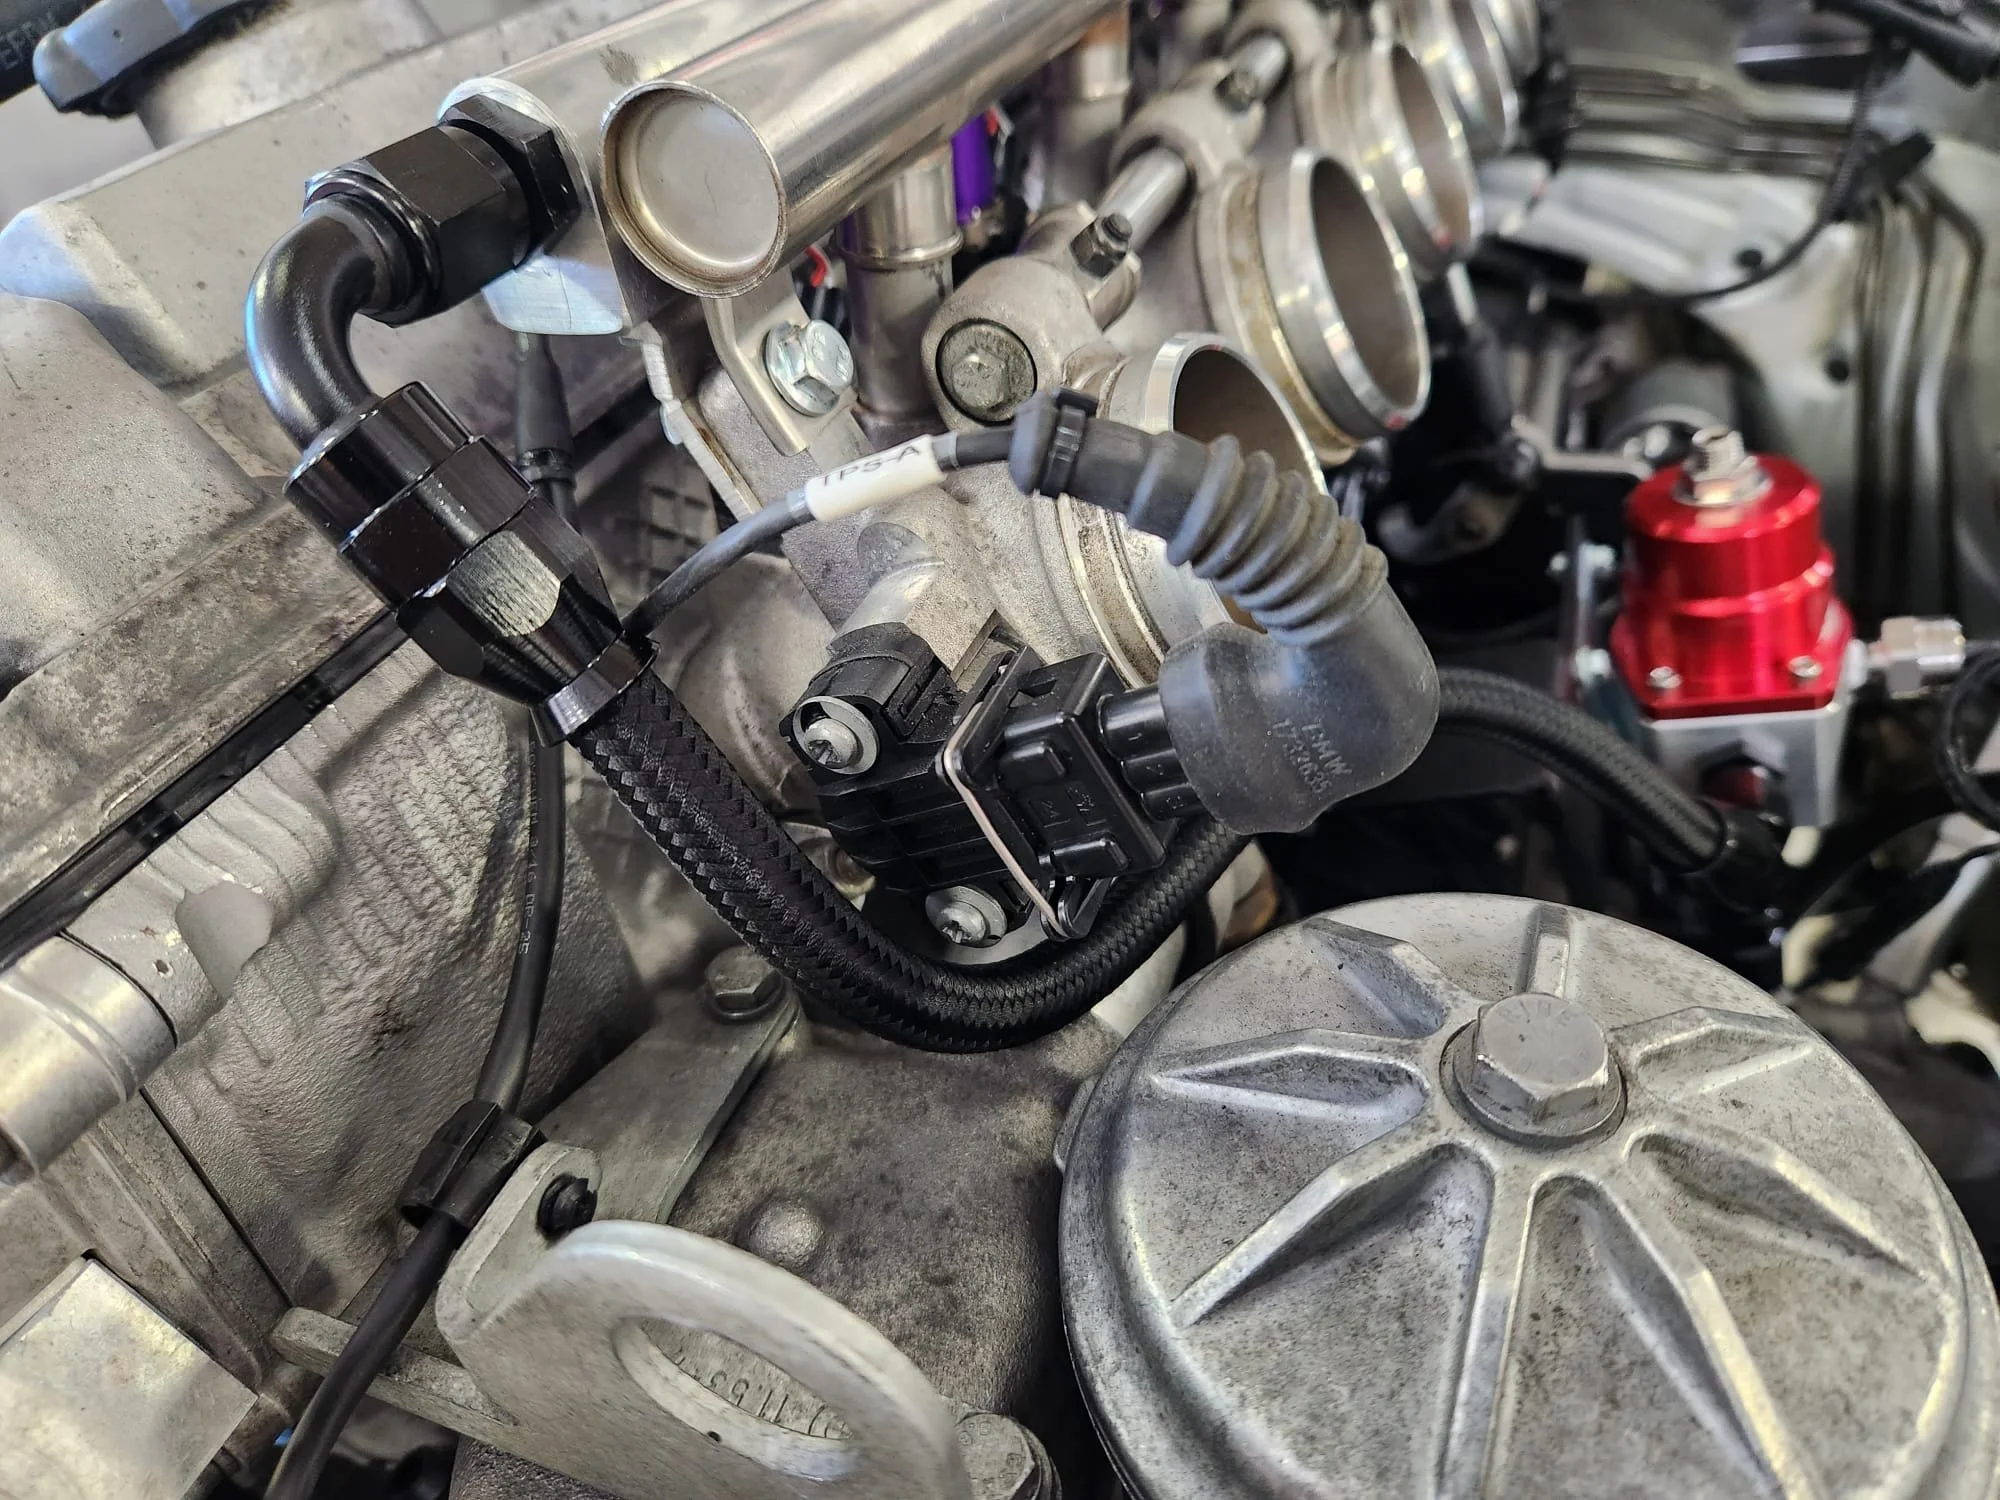
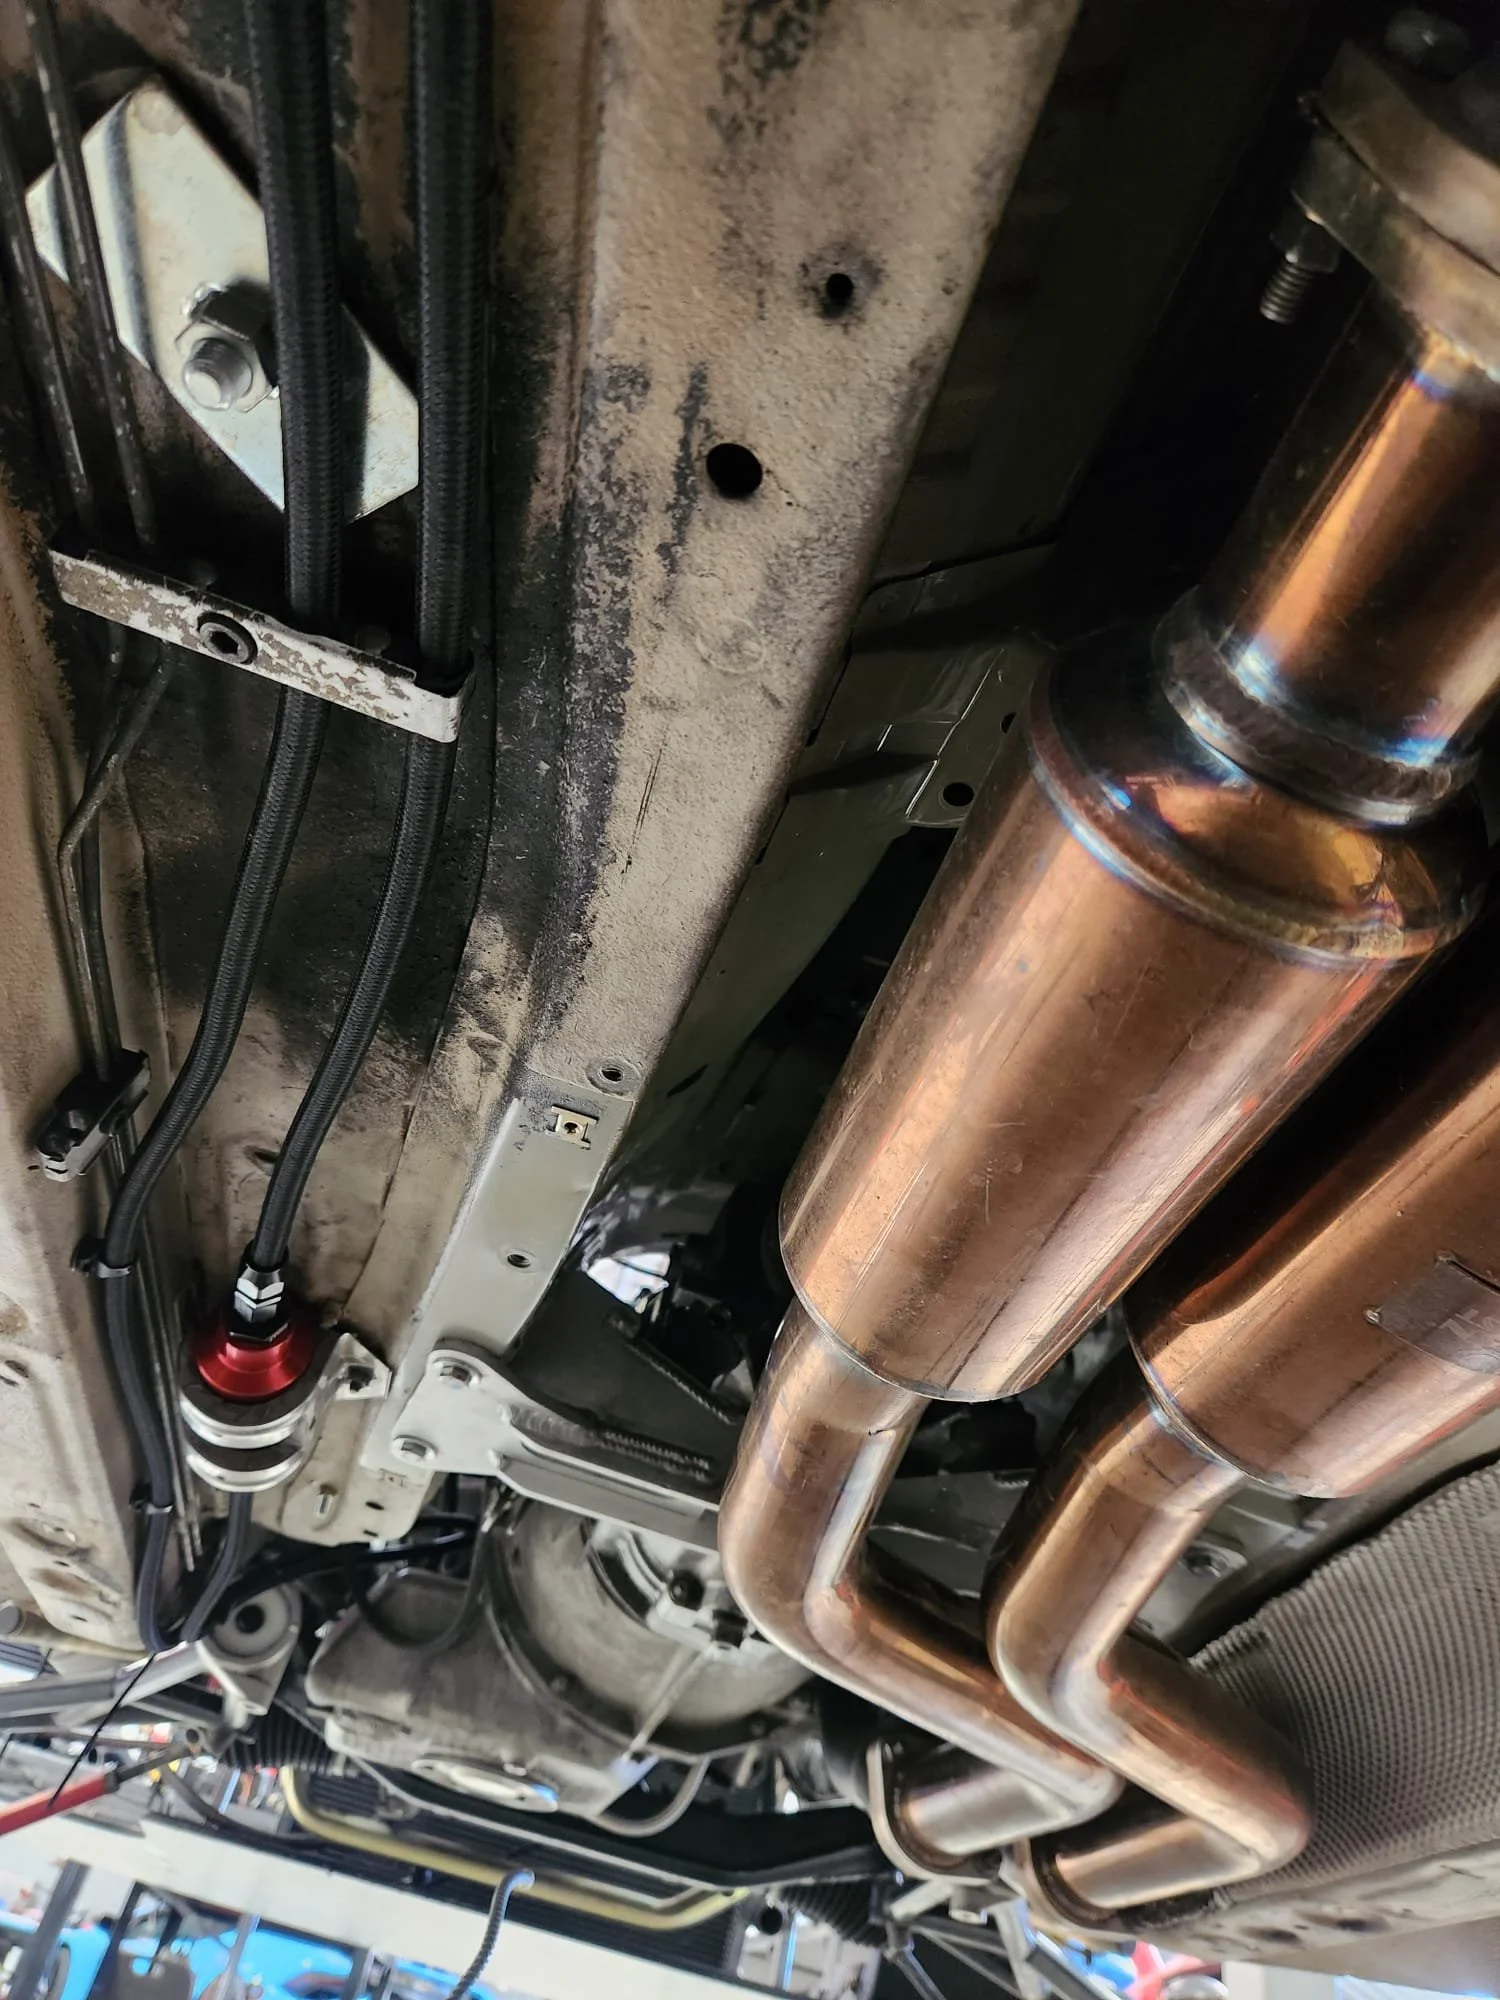
This chapter of the blog might be the last time we talk about cooling for our 2024 Pikes Peak Hill Climb build…maybe. But in all seriousness, check out this sweet heat-shield setup designed to keep the hot headers from negatively affecting important components; like hard lines for the brake system.
moar Thermal Management…
This chapter of the blog might be the last time we talk about cooling for our 2024 Pikes Peak Hill Climb build…maybe. But in all seriousness, check out this sweet heat-shield setup designed to keep the hot headers from negatively affecting important components; like hard lines for the brake system.
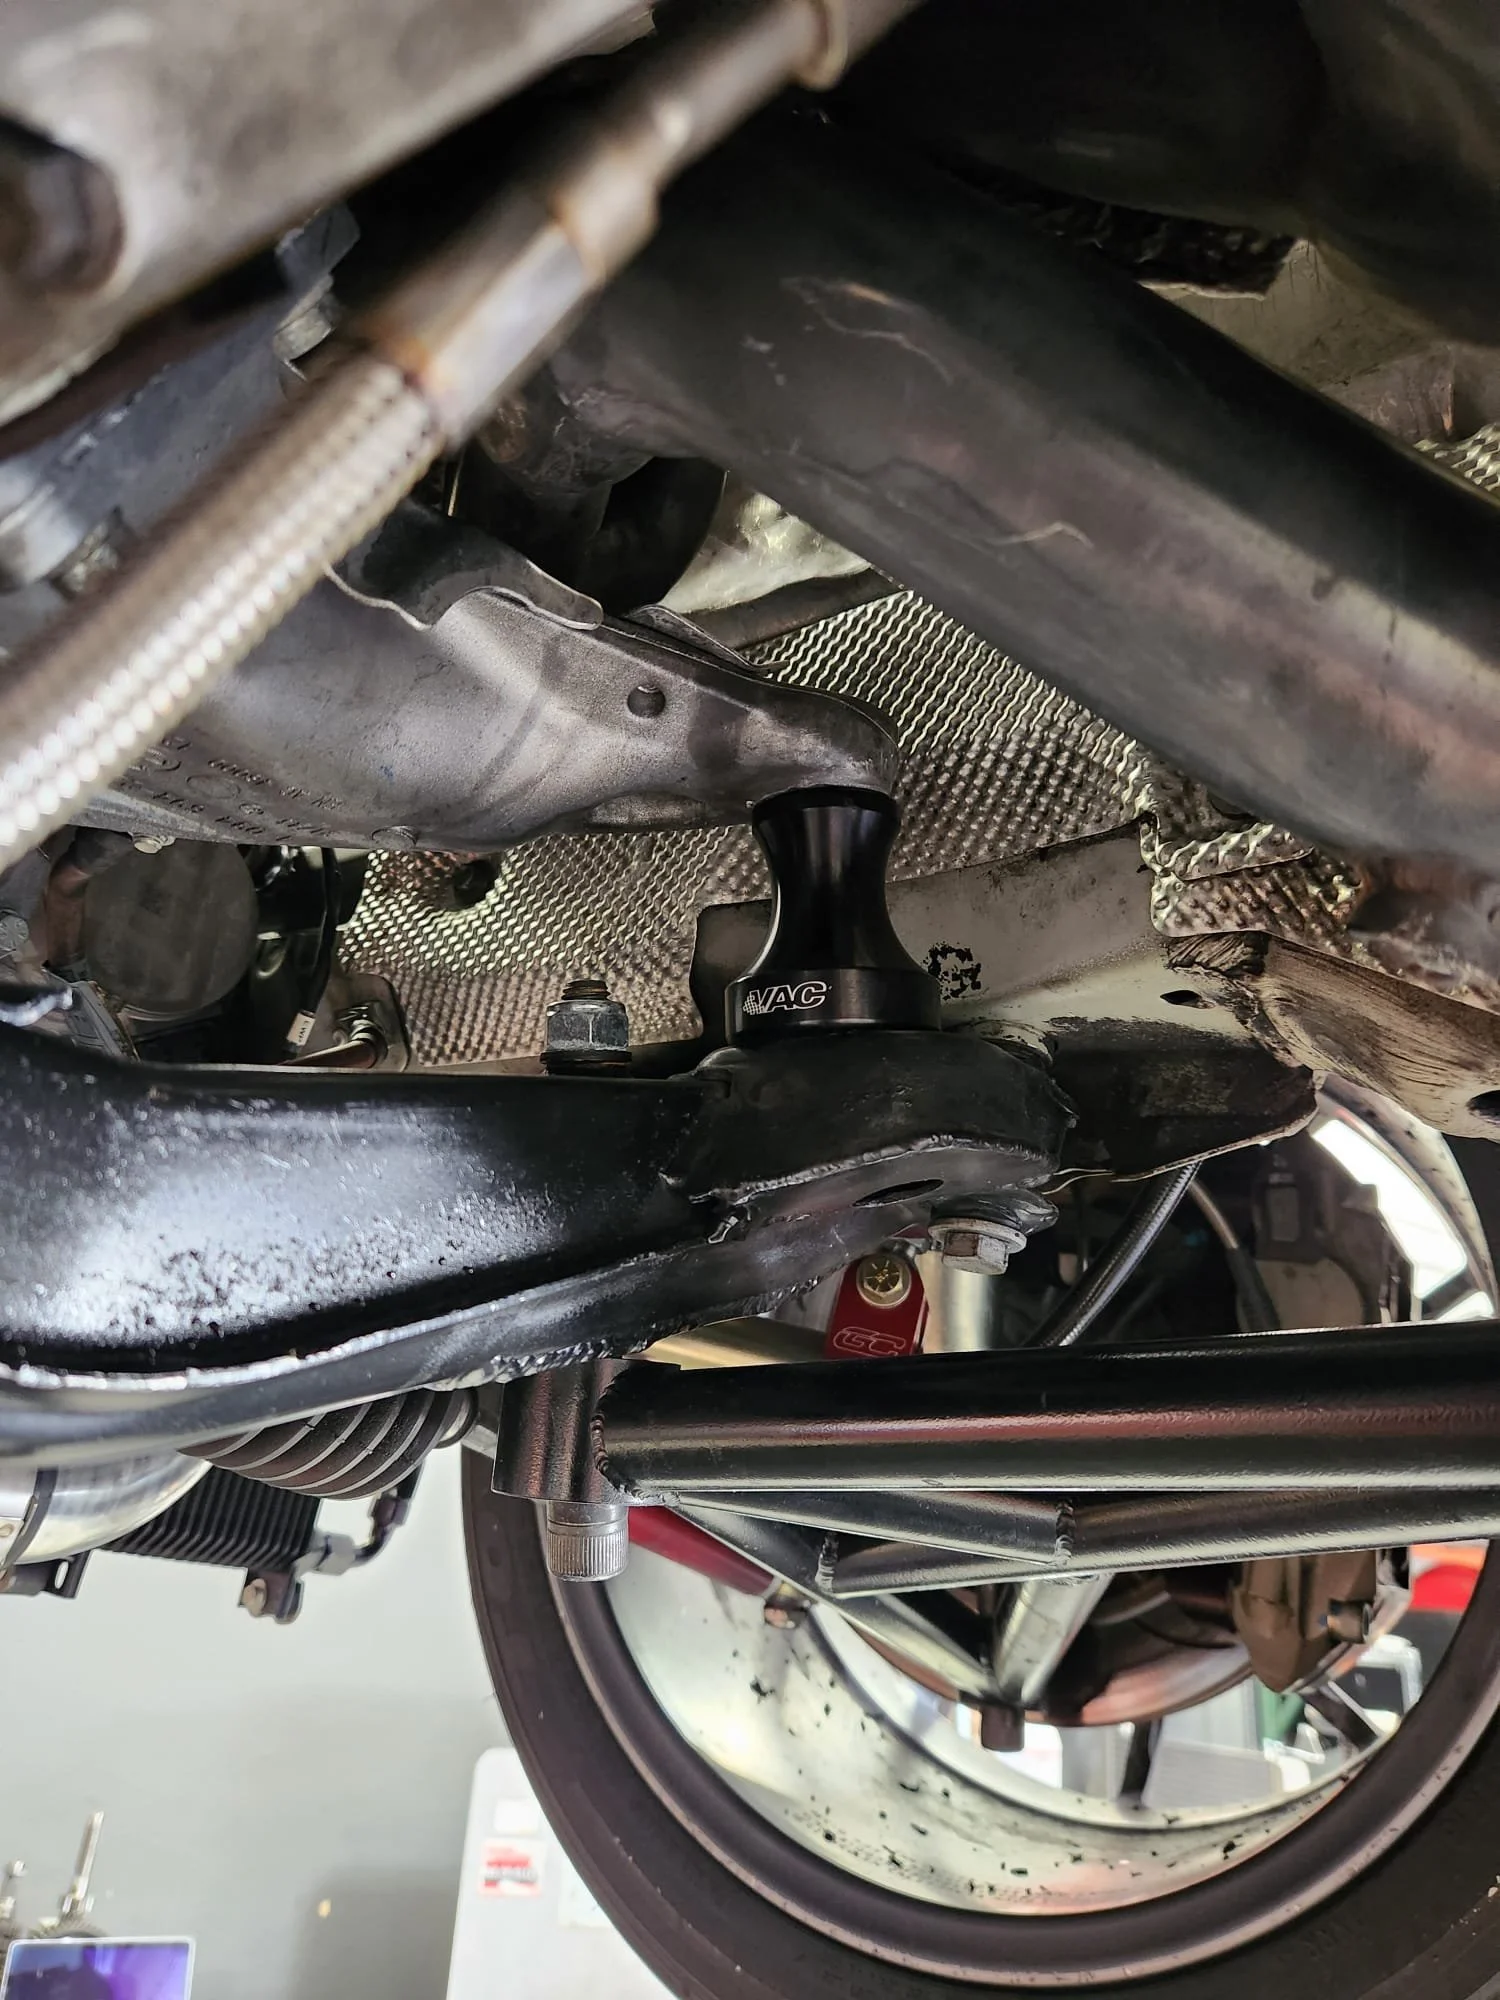
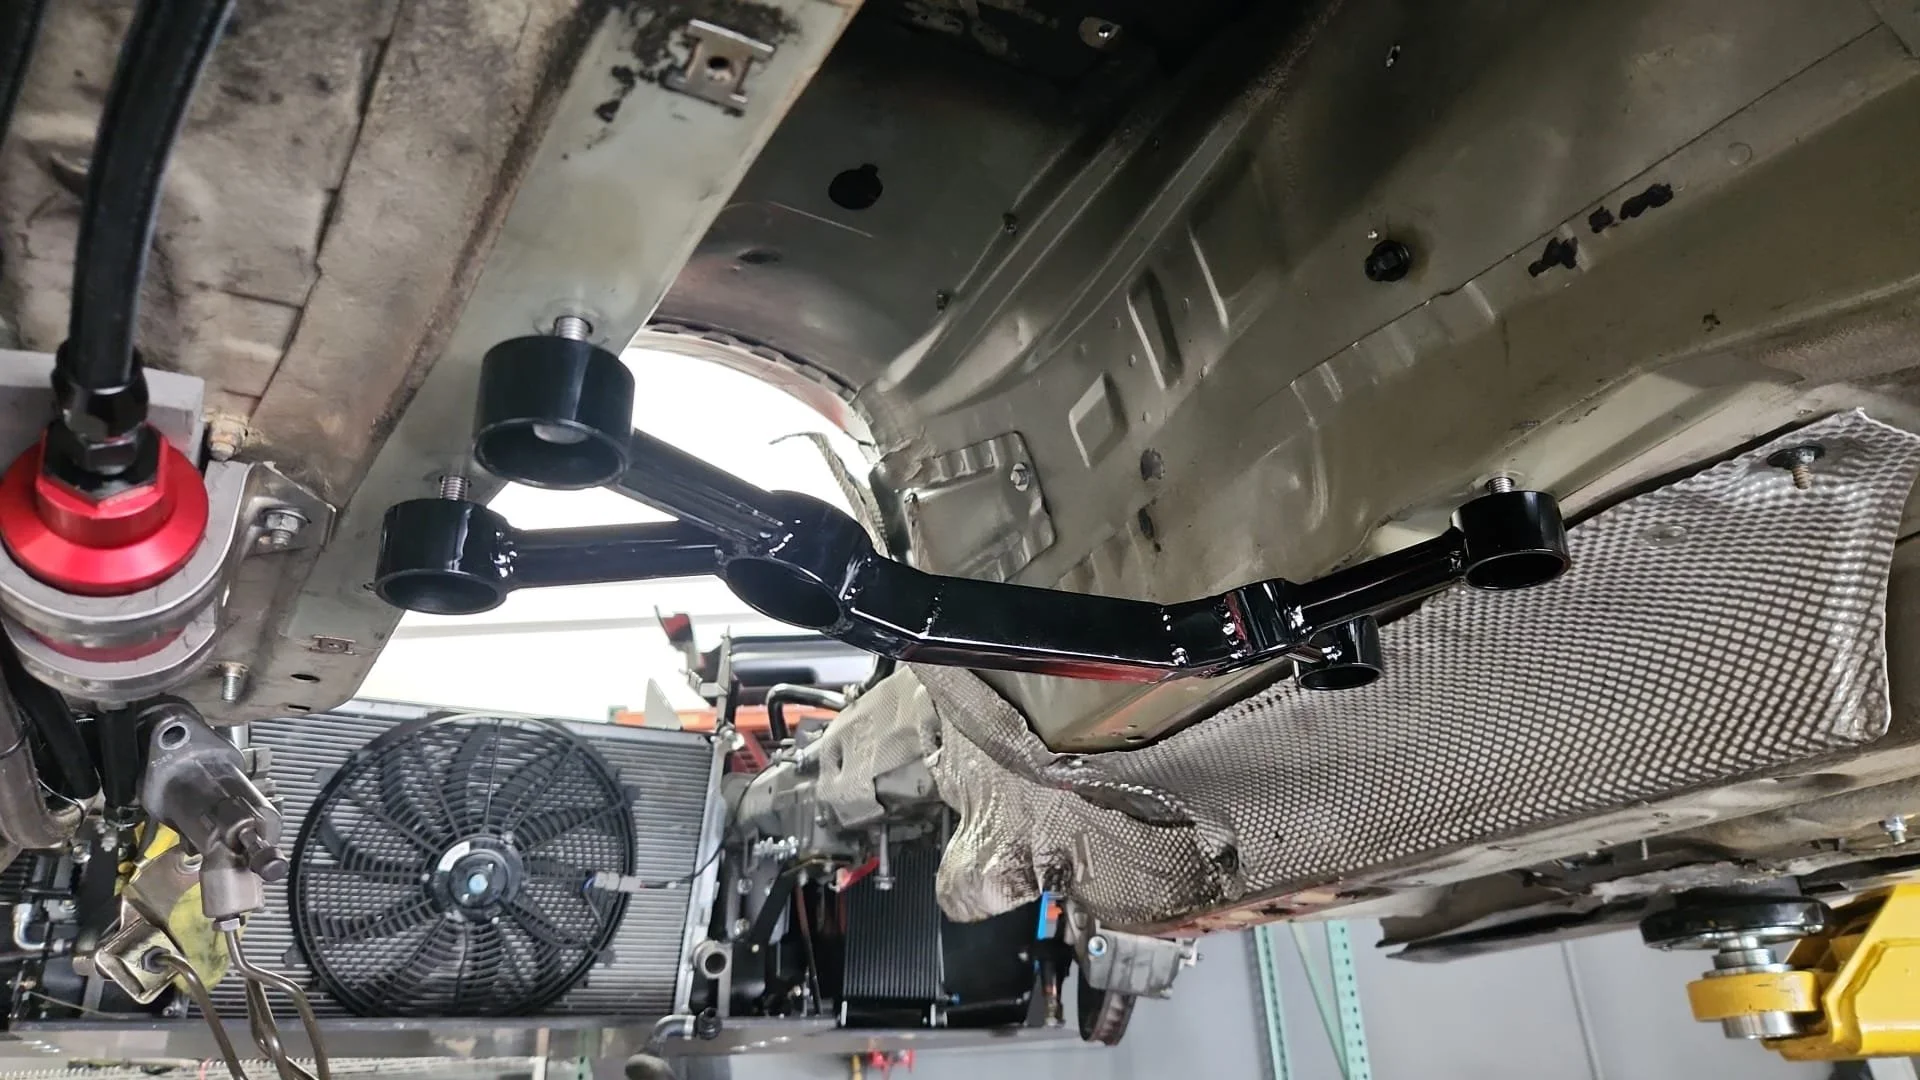
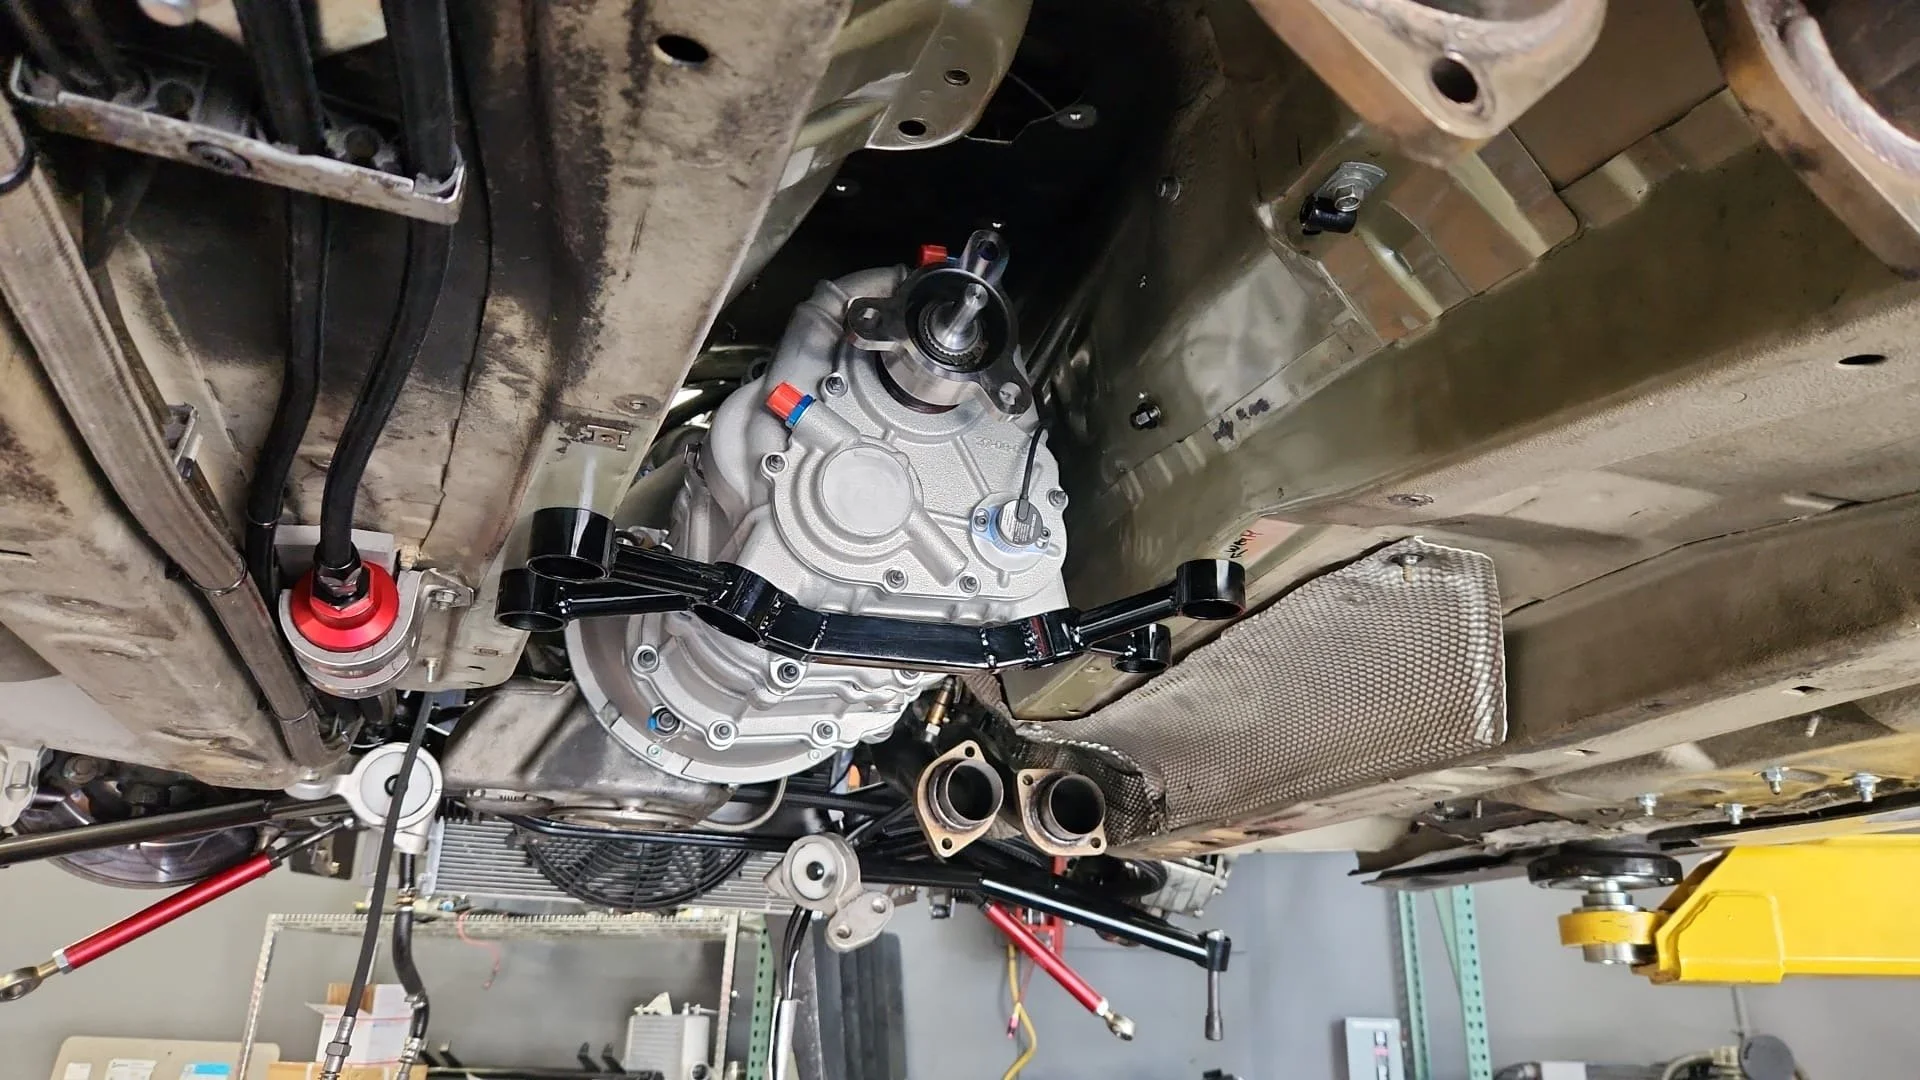
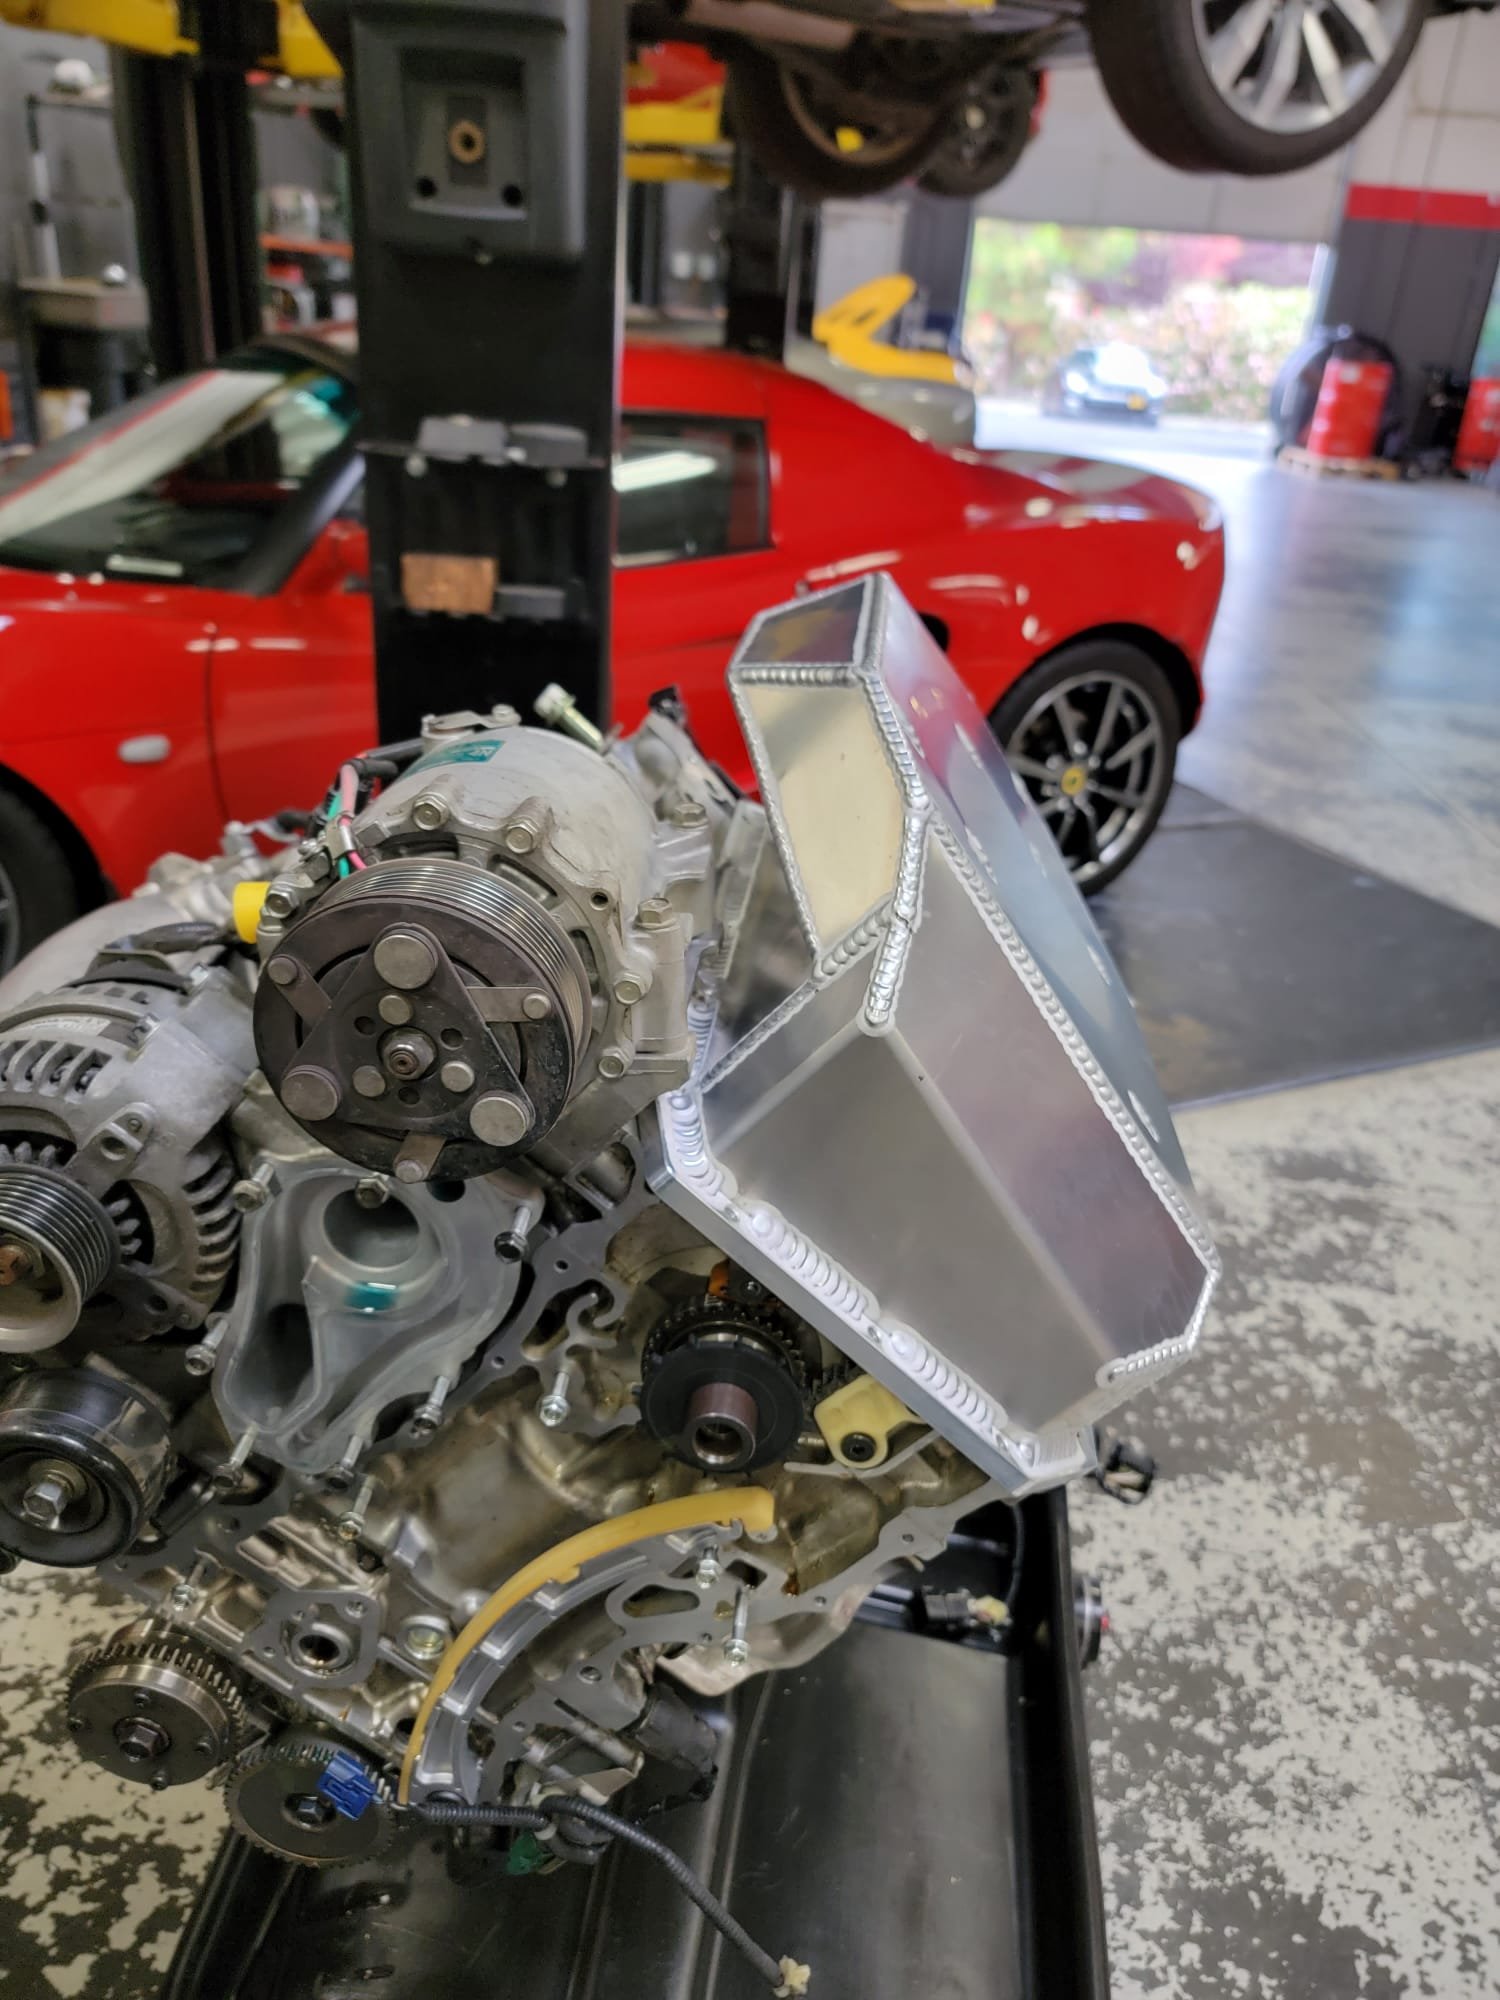
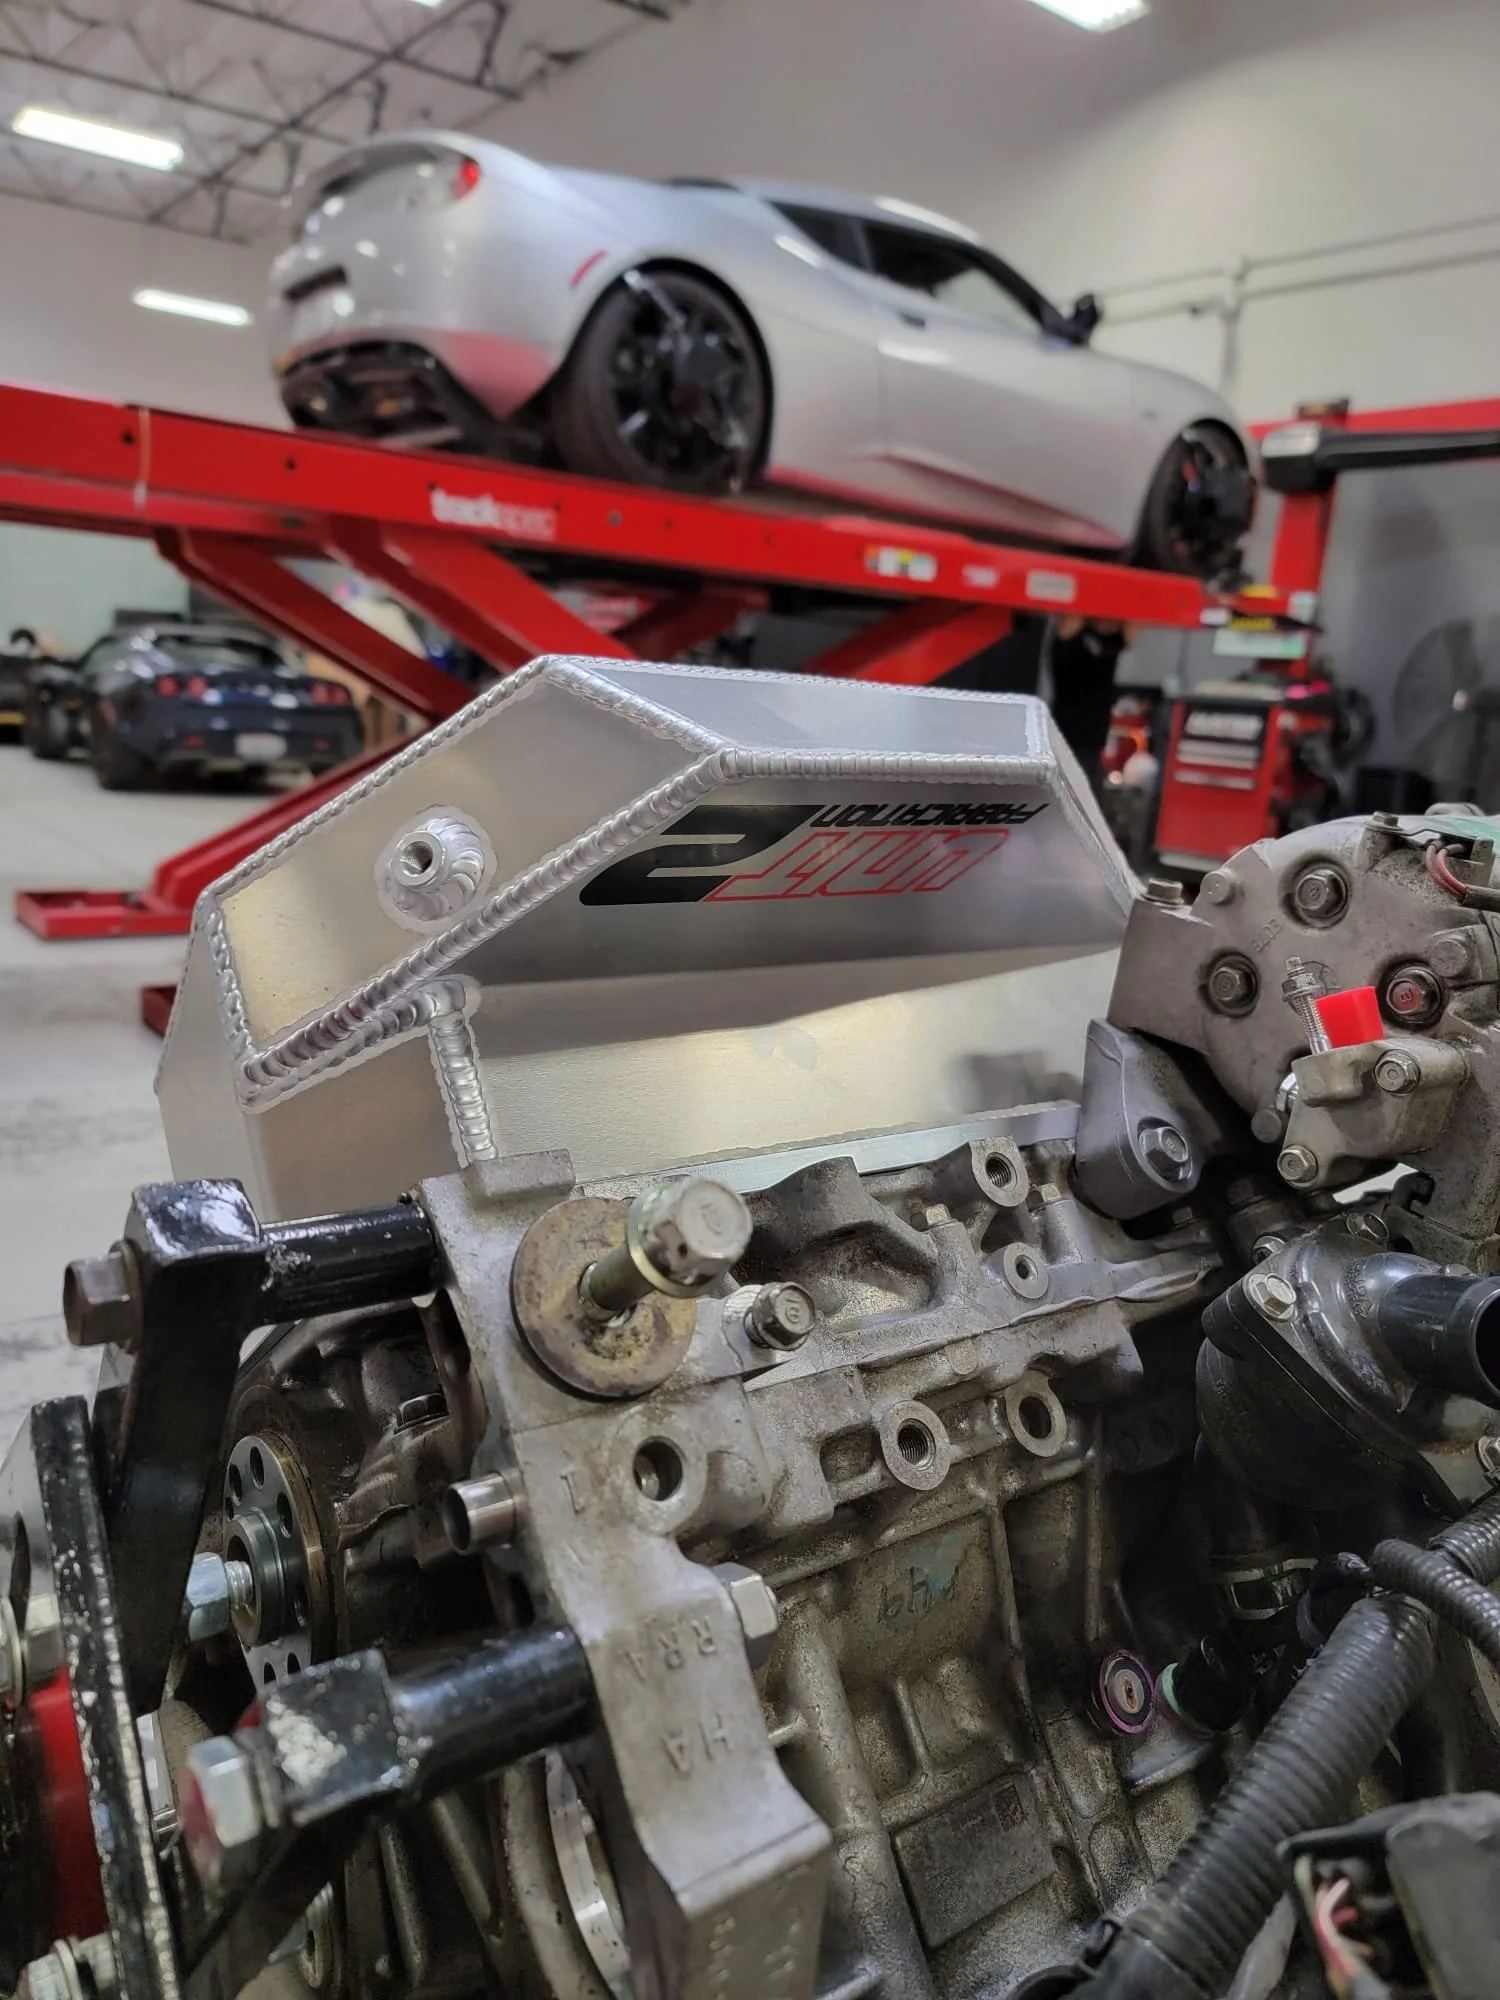
Solid Engine & Transmission Mounts
After the first shakedown at Thunderhill, we realized the engine and transmission were moving around way too much which is bad for two reasons; drivetrain loss and we also risk breaking something. So we decided to ask our friends at VAC Motorsports for their bad ass solid billet engine and trans mounts. They are gorgeous pieces and really nicely made.
In September, we decided to squeeze in another test-day at Thunderhill Raceway. This time, we would be on the East Course and I was really excited to lay down some reference laps. Before heading up for the day, we did a thorough once-over at the shop and a fresh alignment.

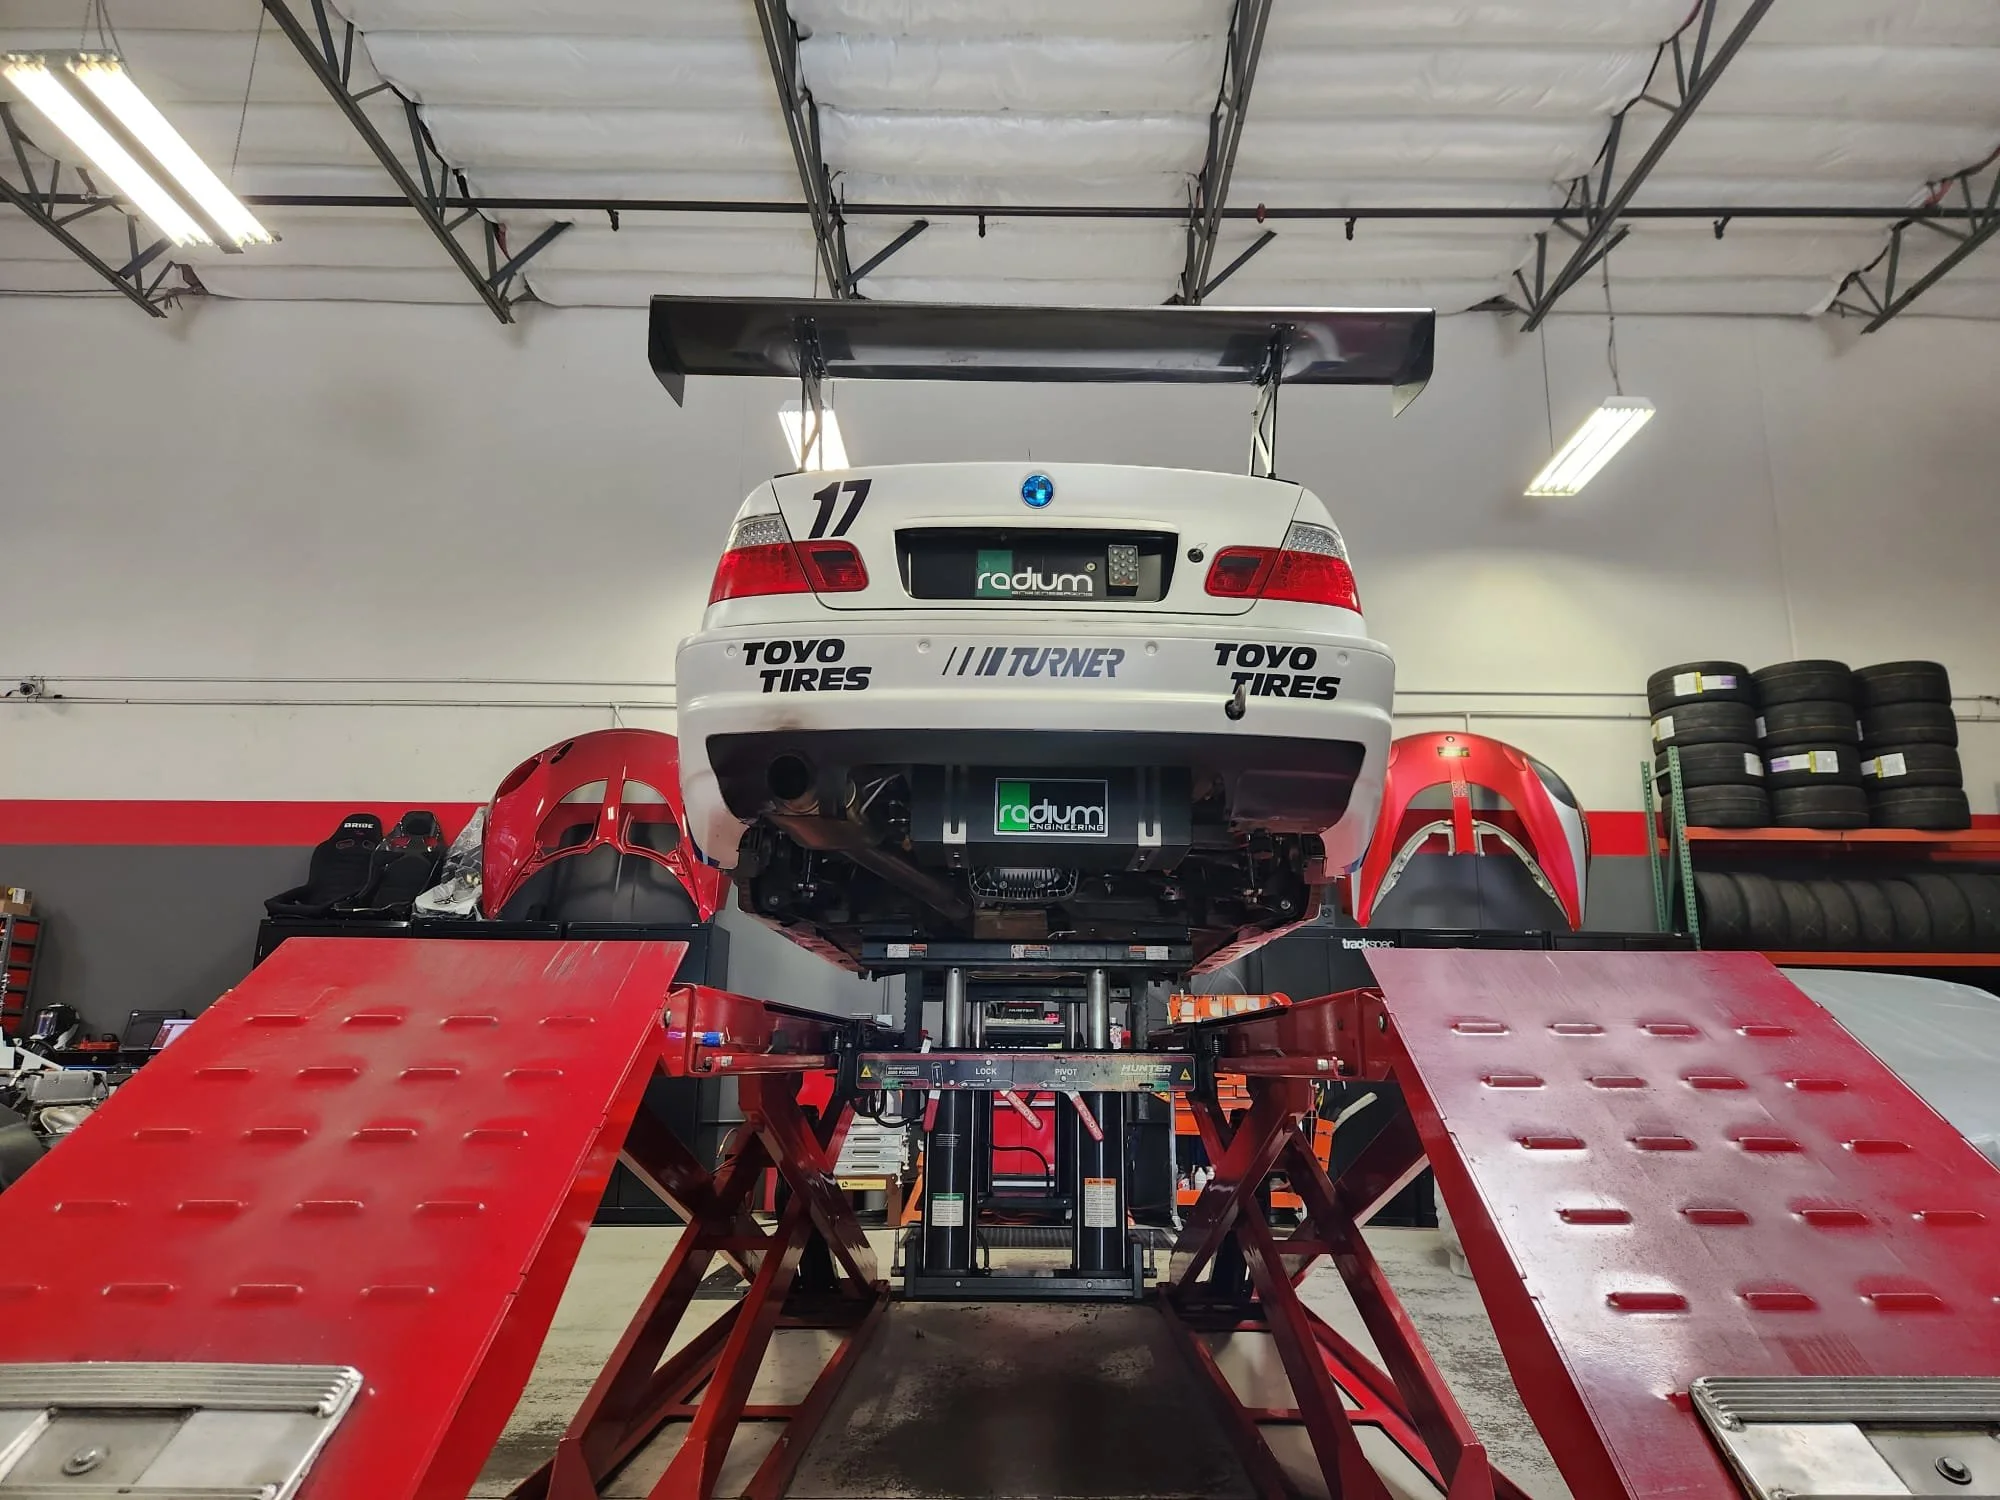
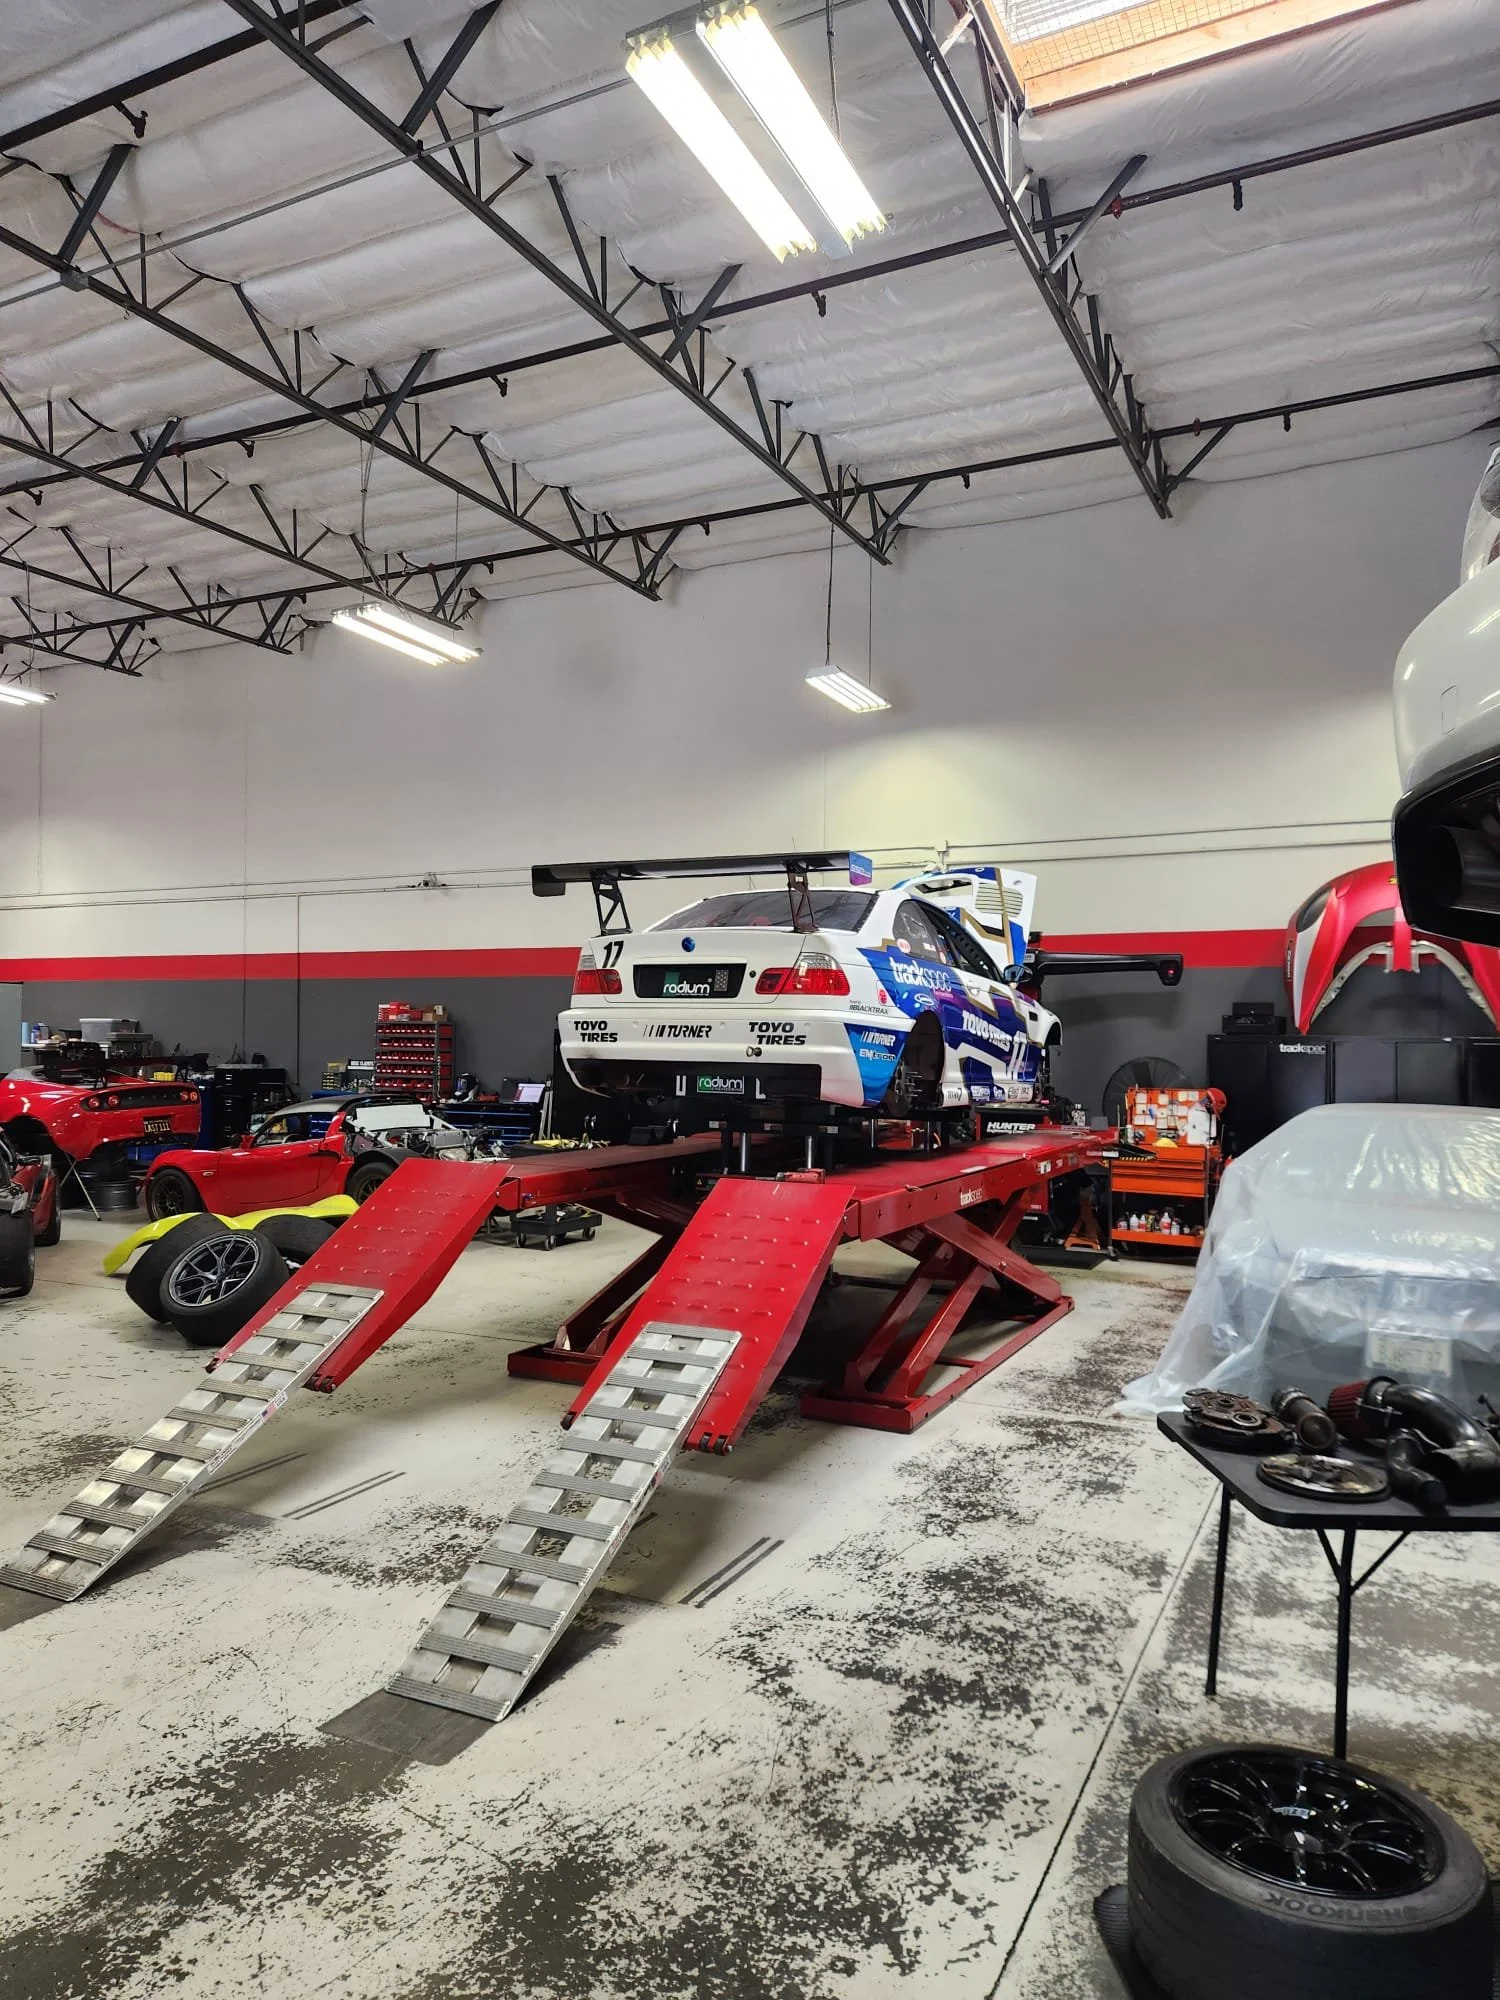
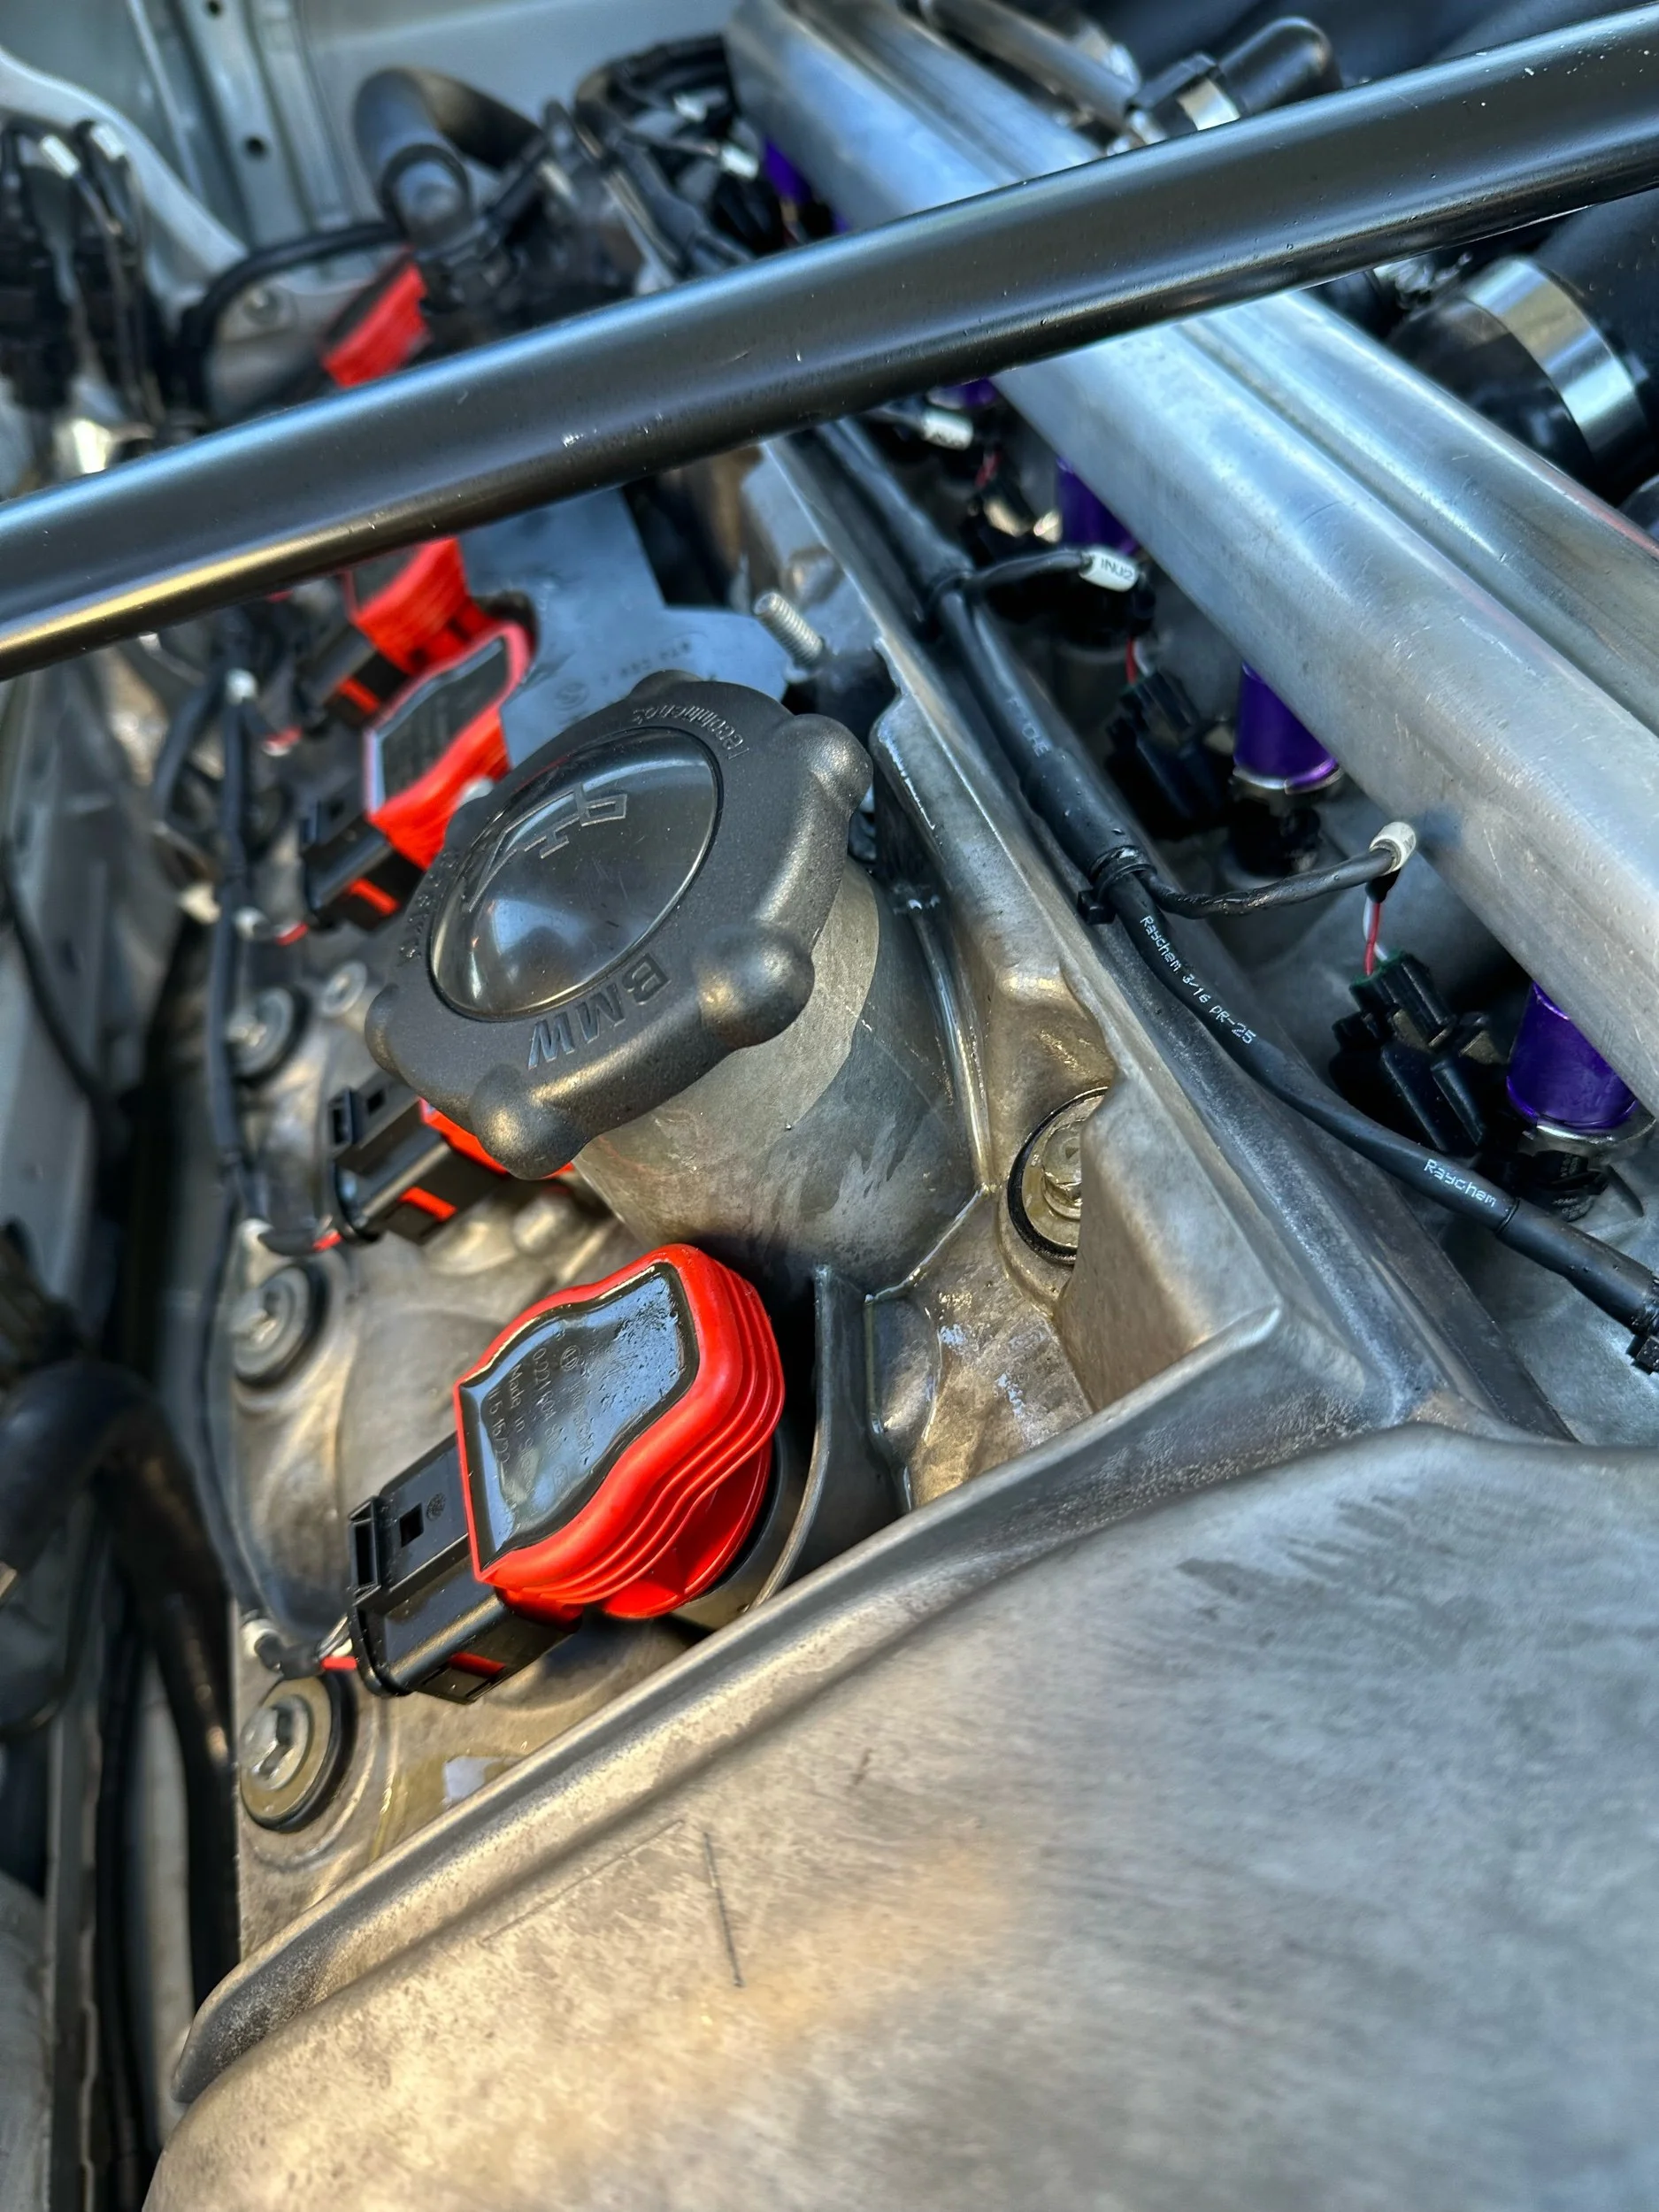
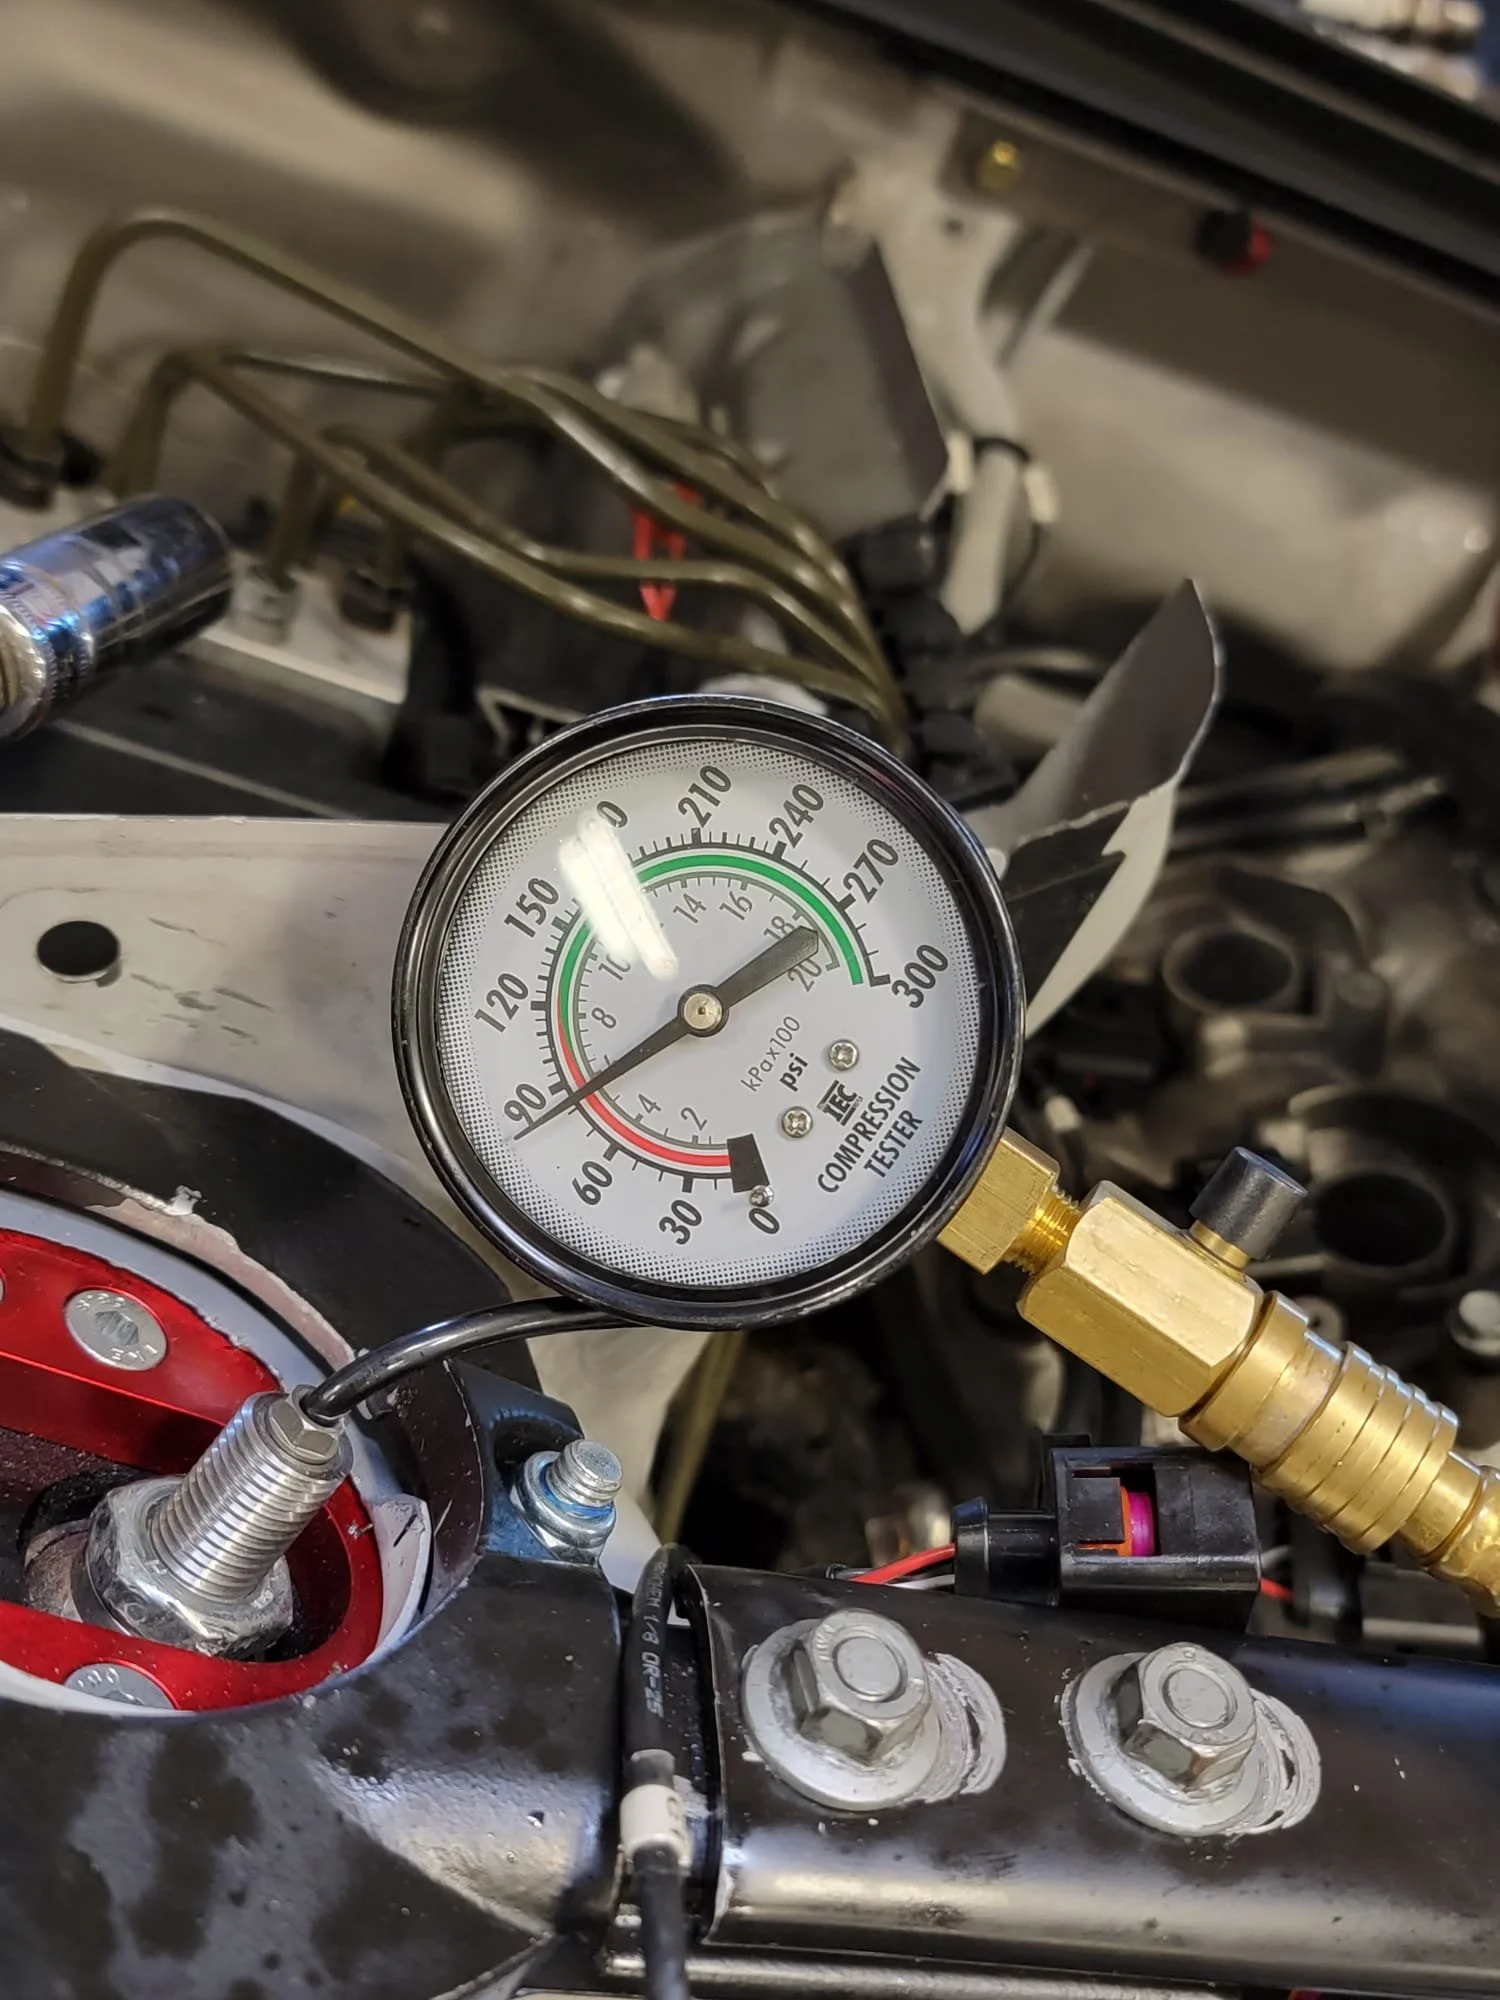
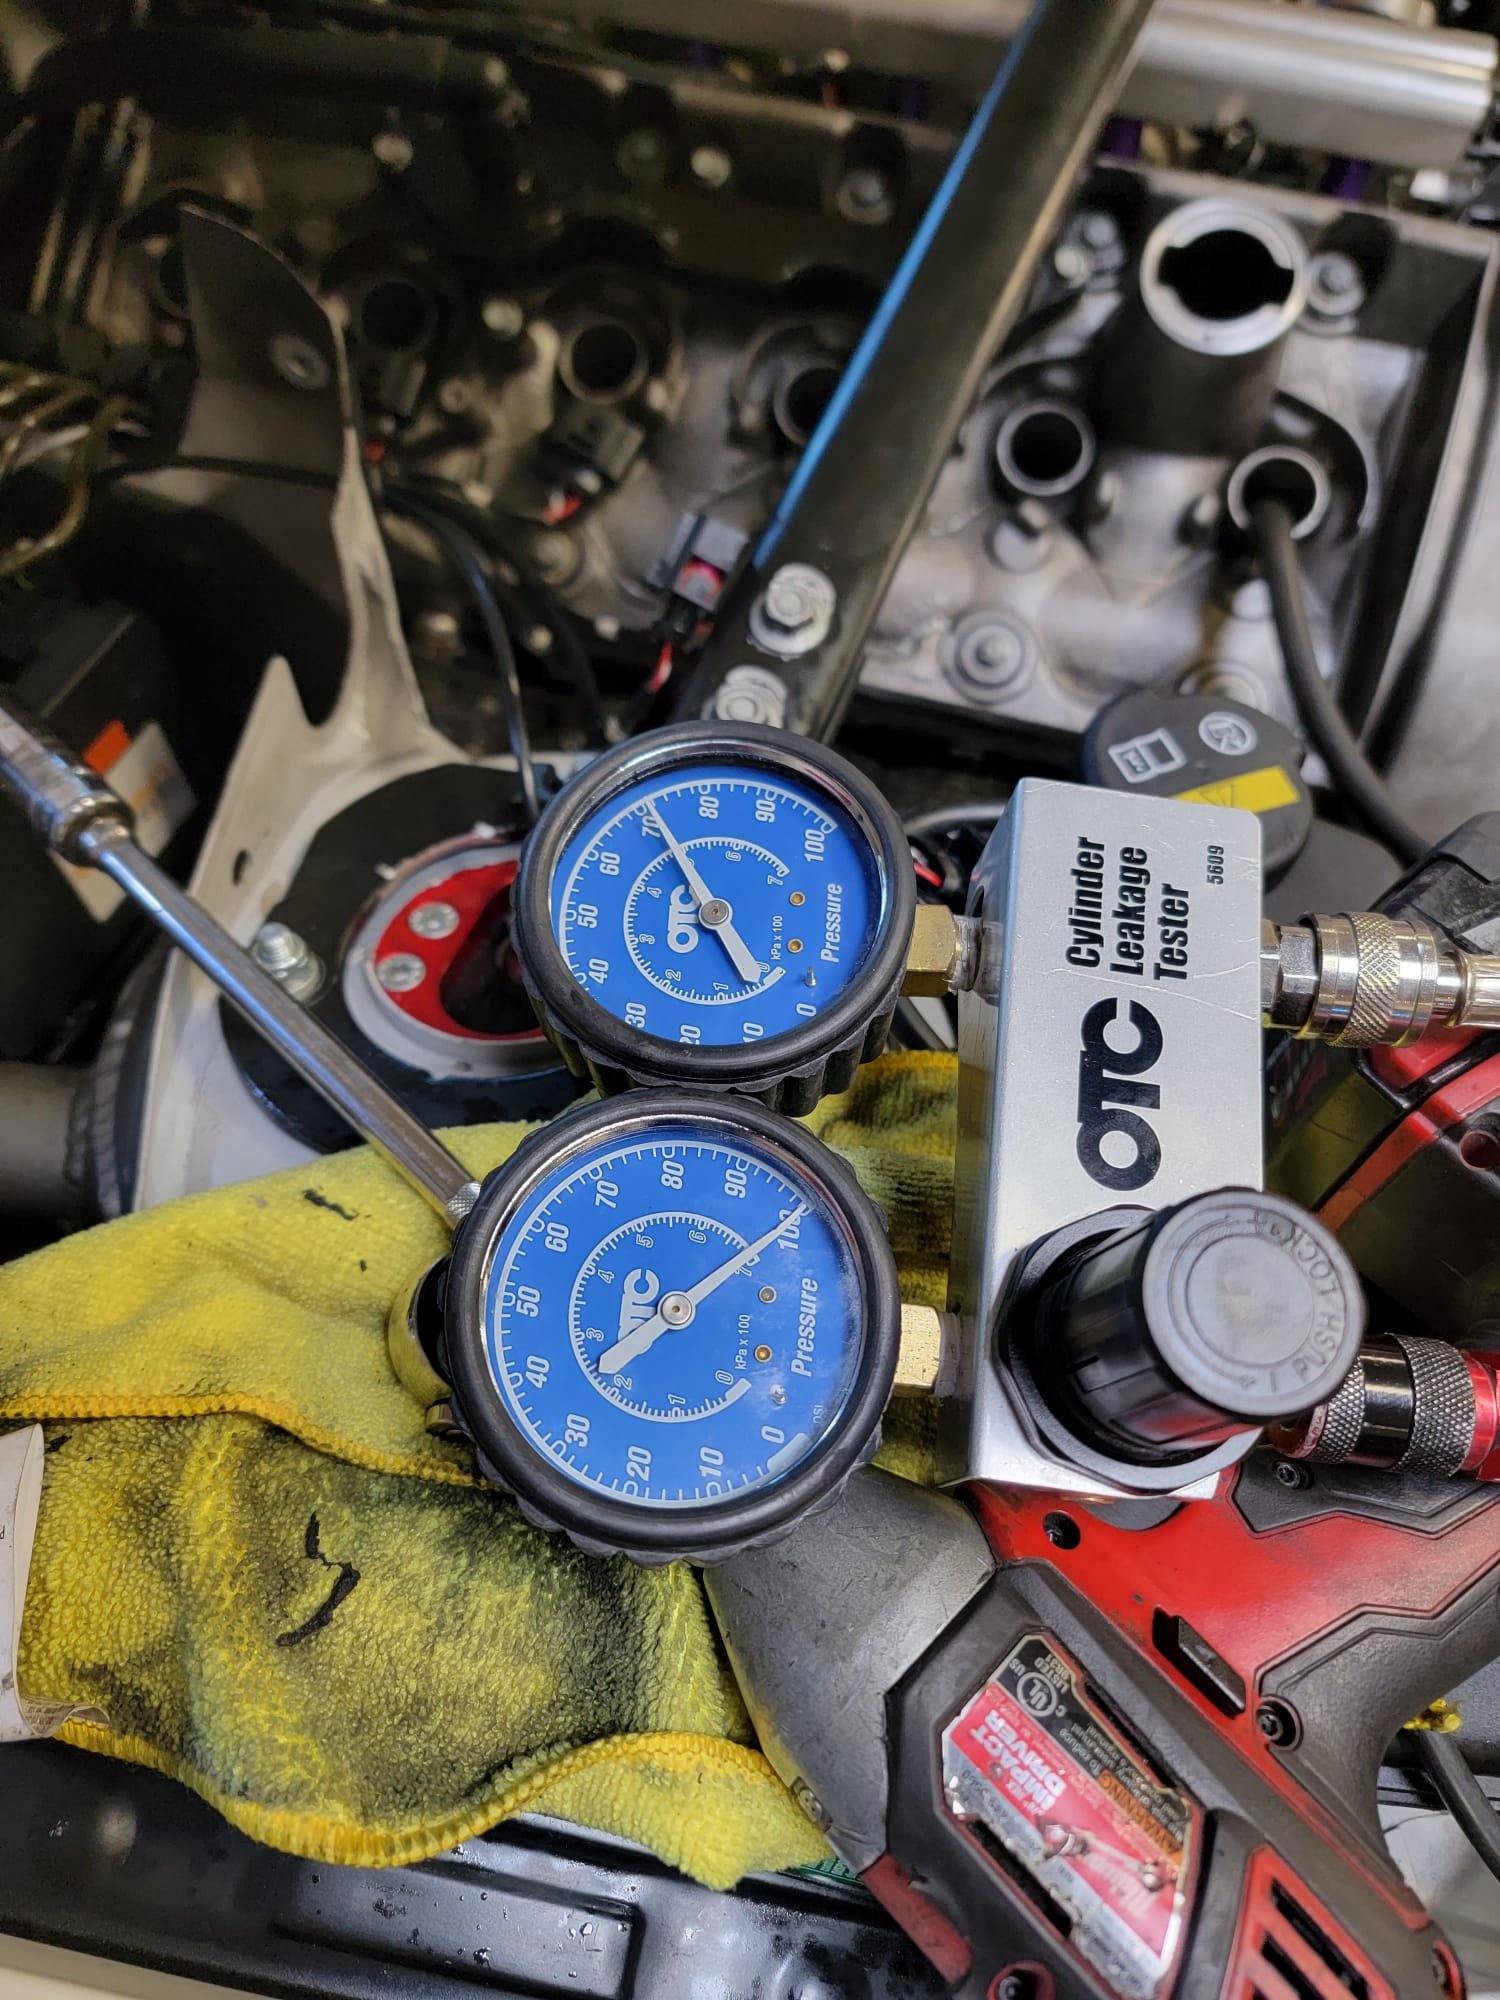
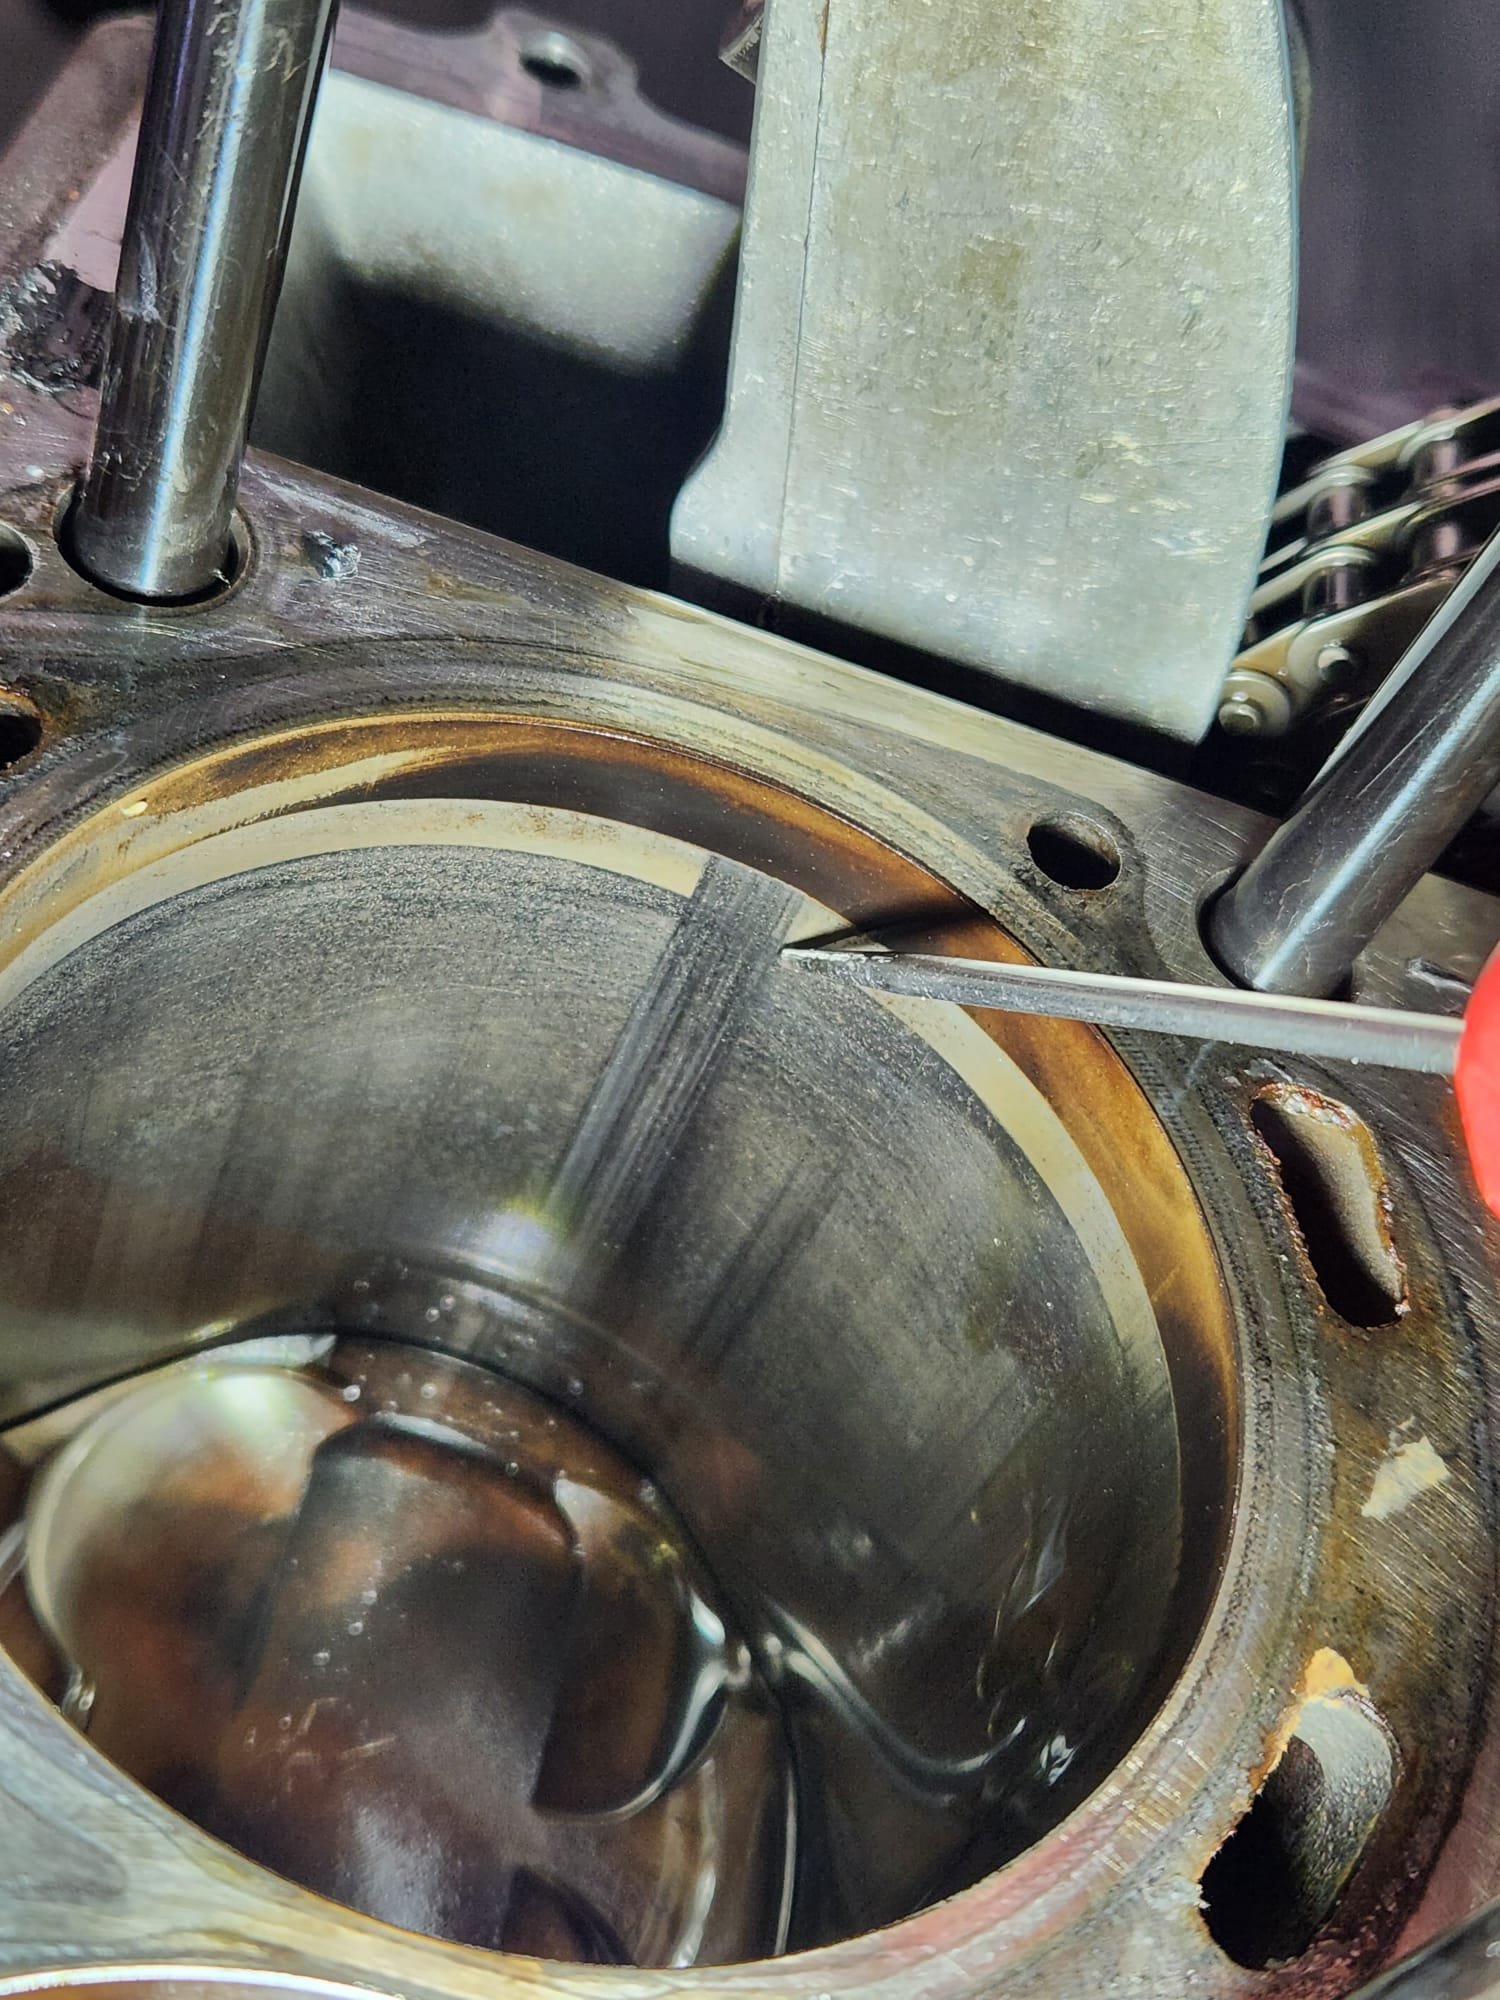
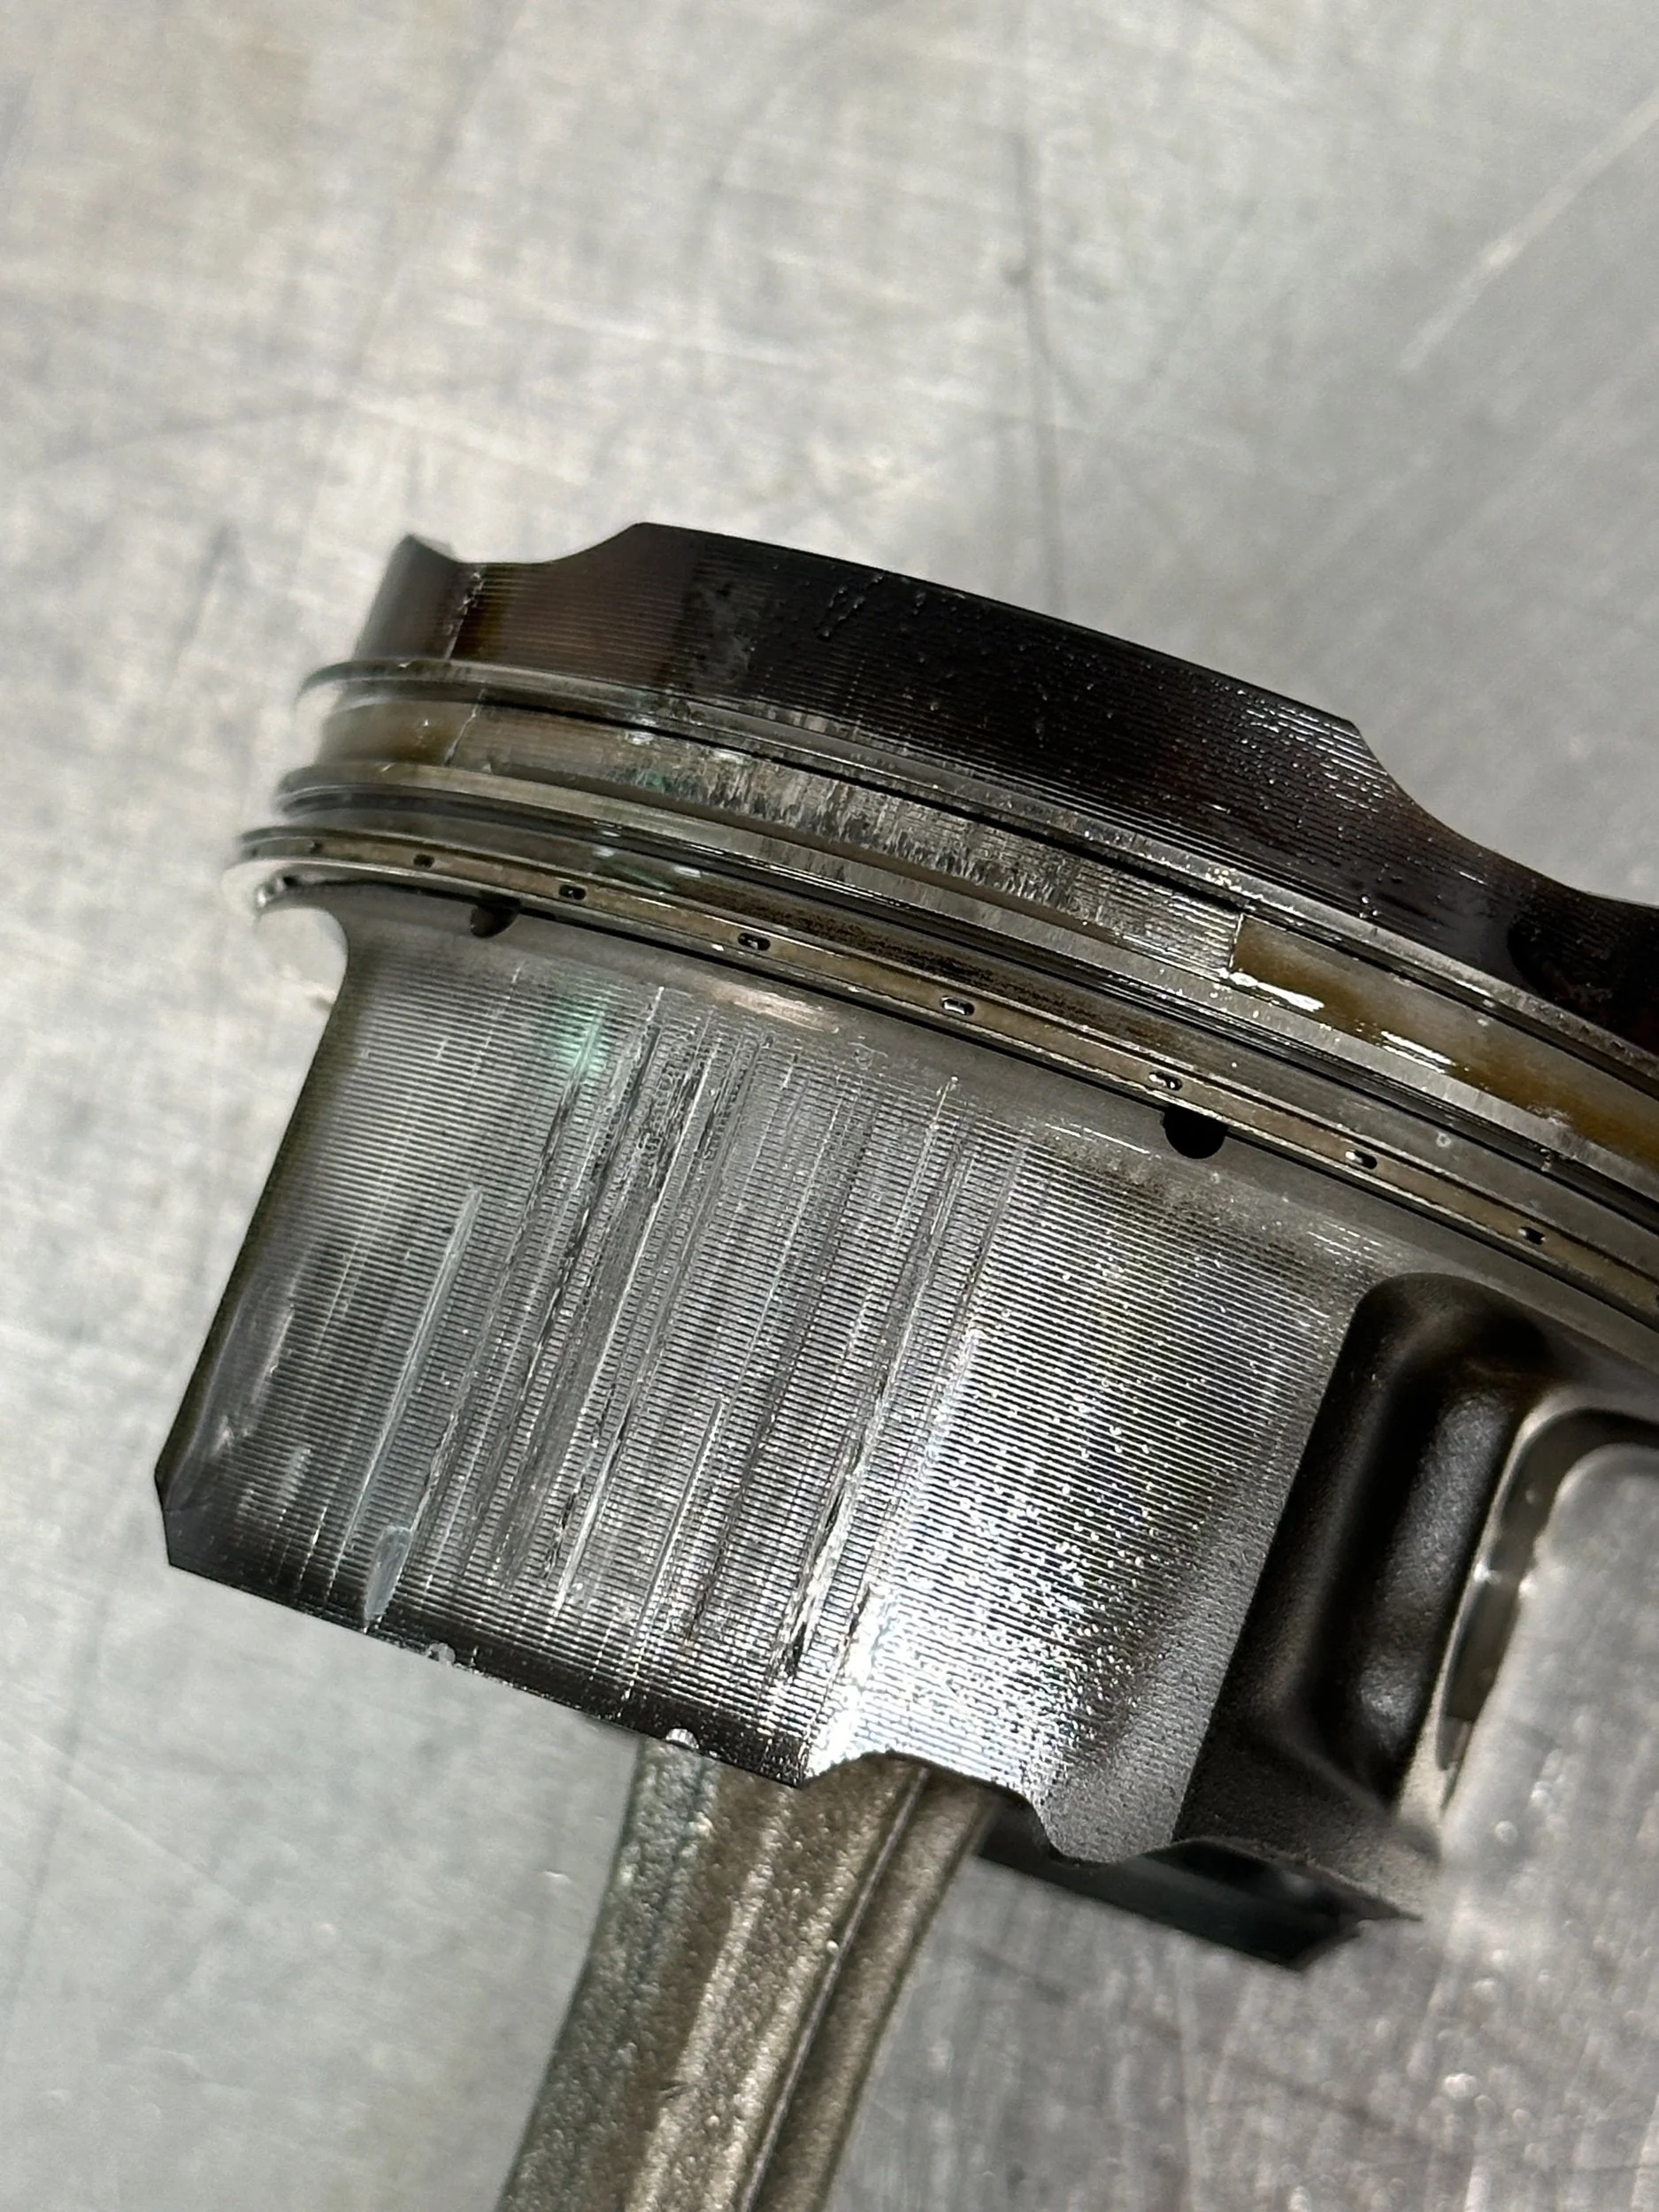
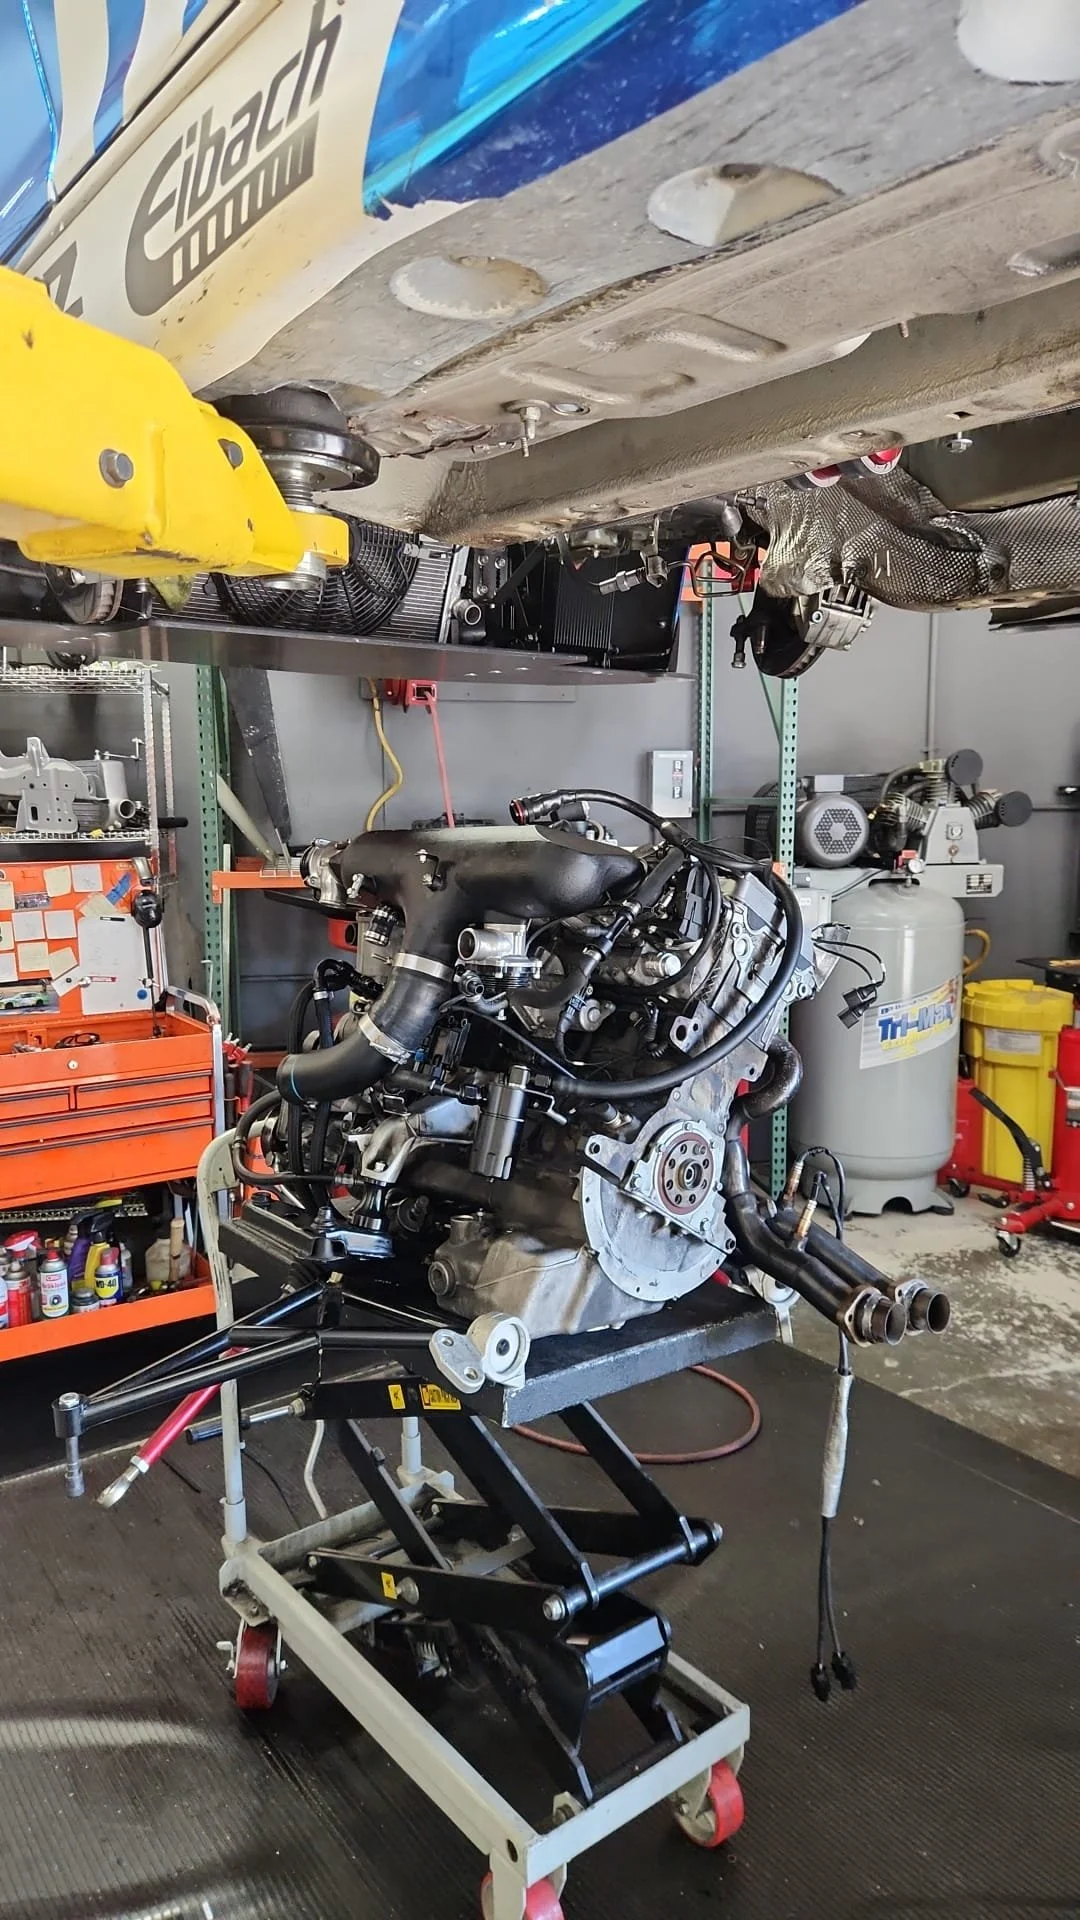
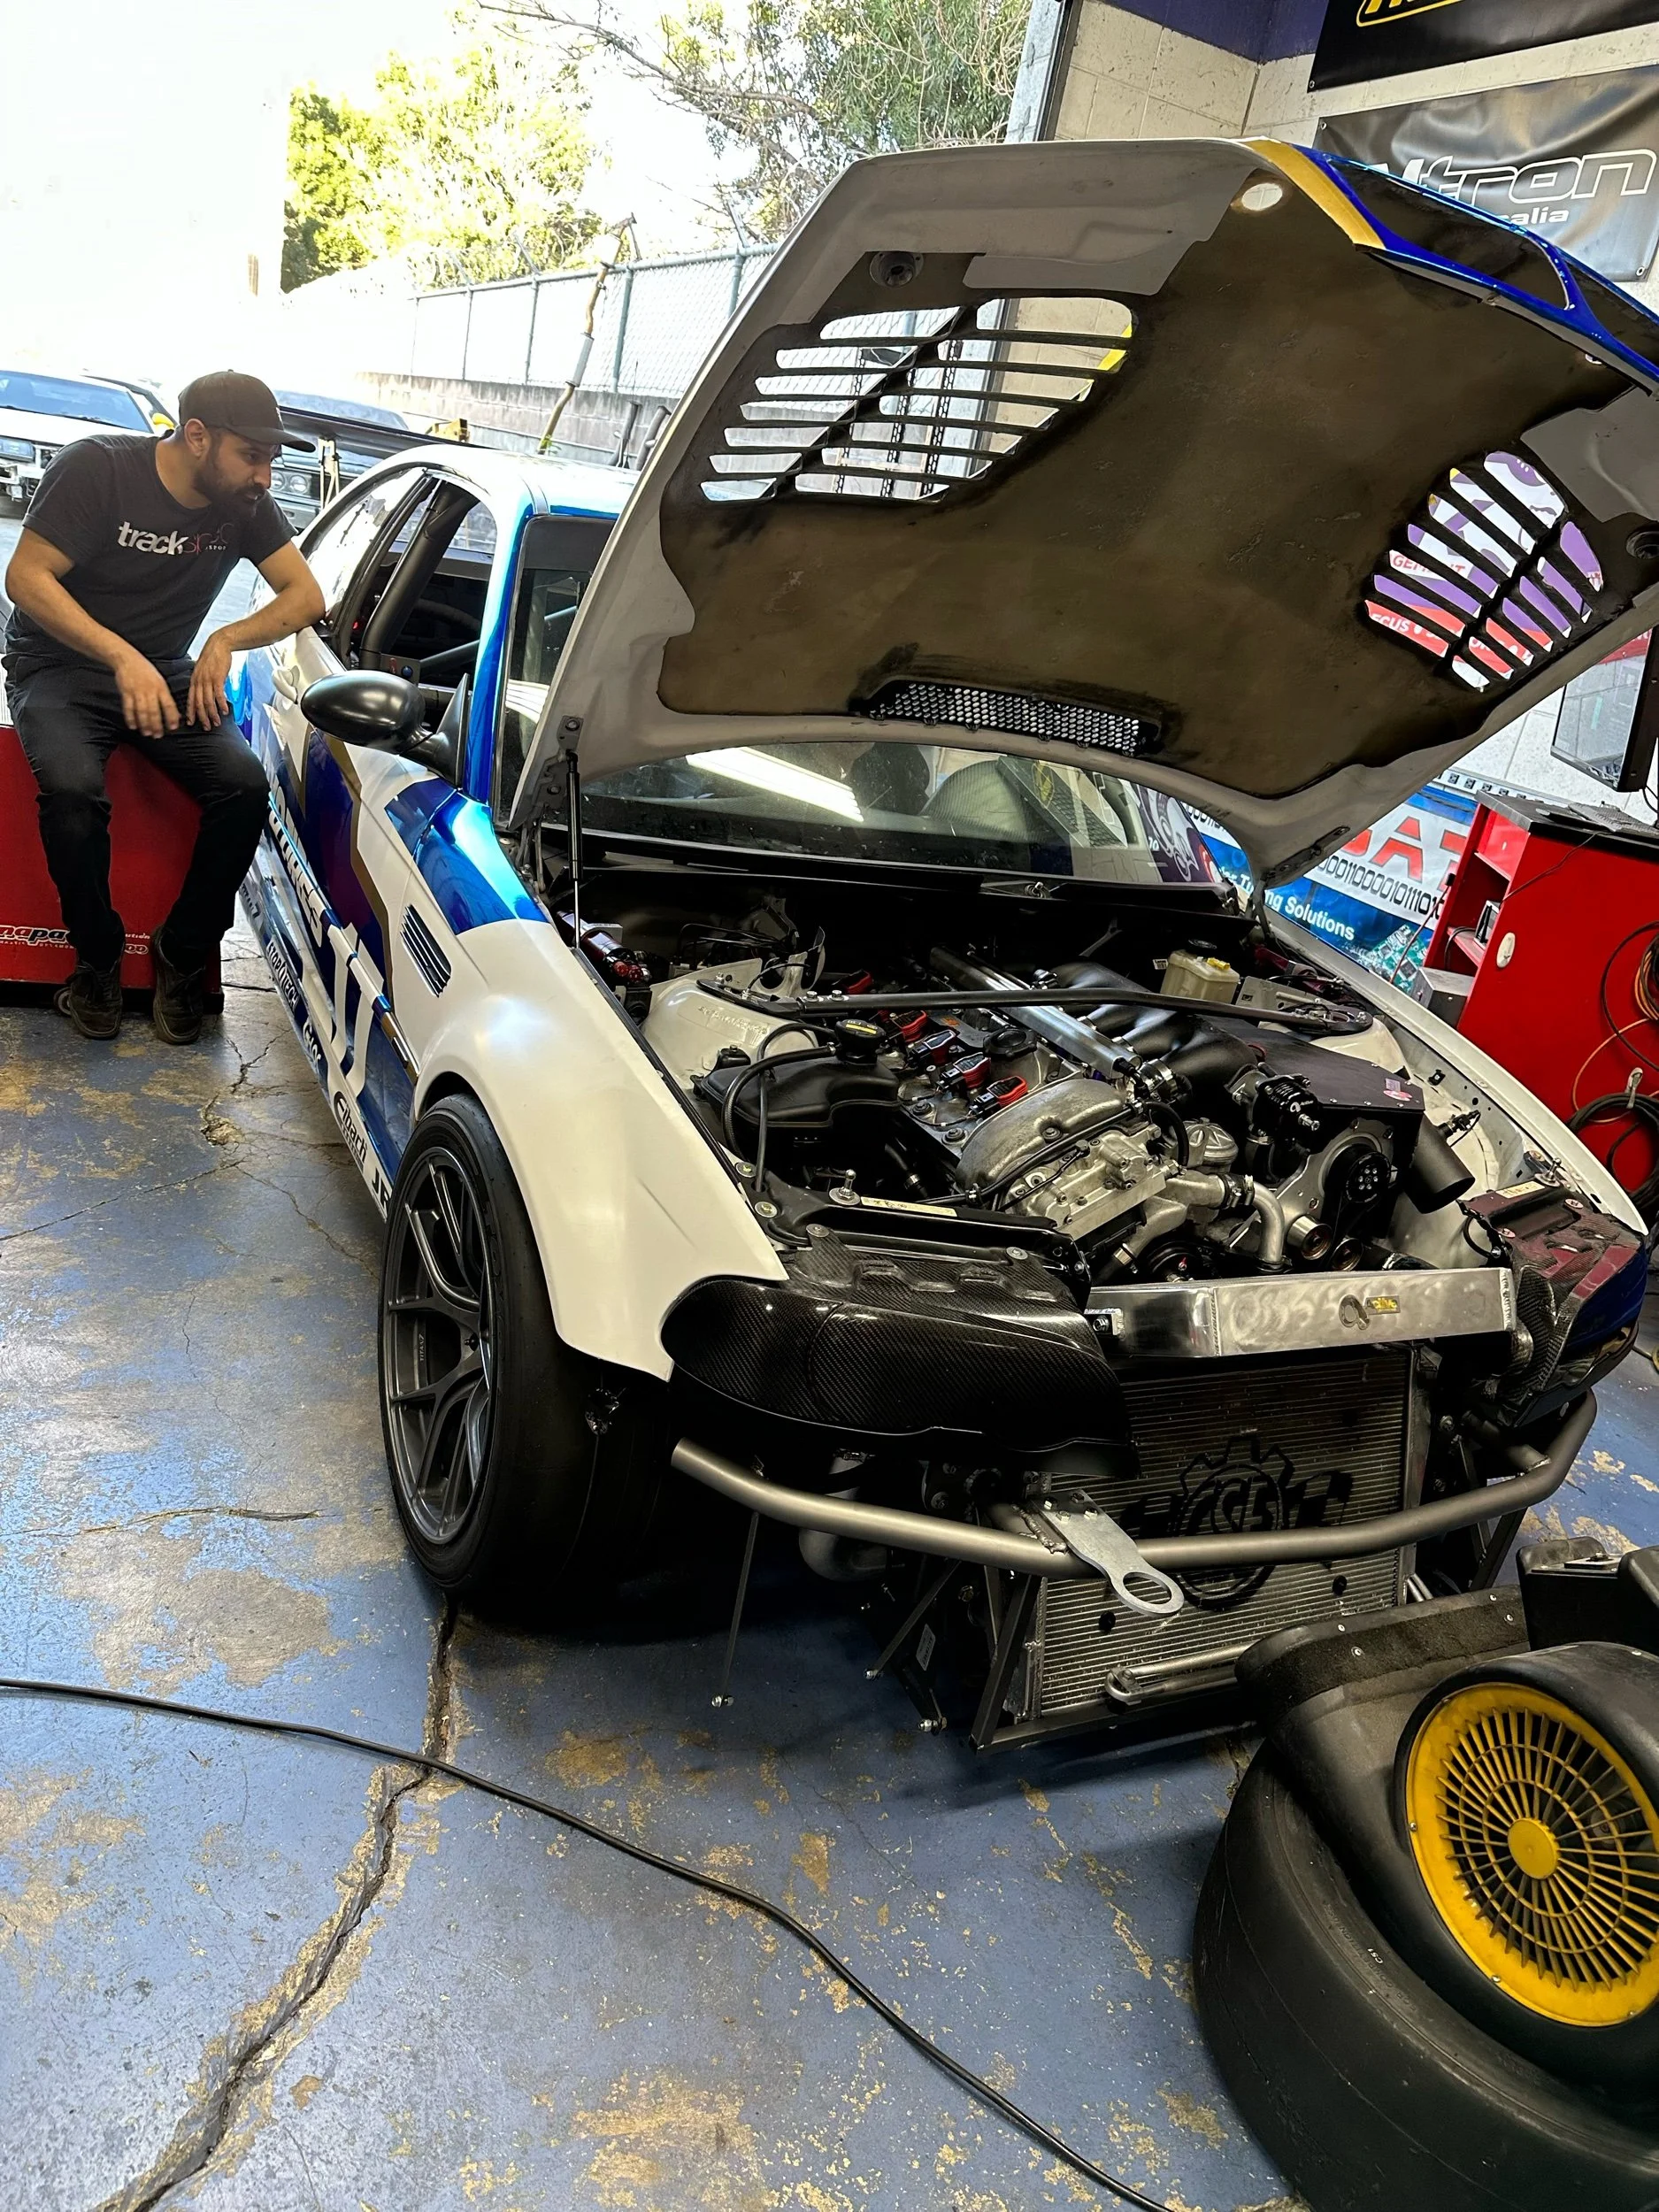
Unfortunately, the car had other plans for me. From the very start of the day, I noticed a lot of smoke coming from the engine bay which is never a comforting sight. Marc confirmed we were seeing a ton of crankcase pressure and blow-by, so much so that the engine began to leak oil from the engine oil cap. We tried a few mitigating solutions; a new cap, turning off the accusump system, but we were trying to put a band-aid on a broken dam by this point.
RIP first engine…
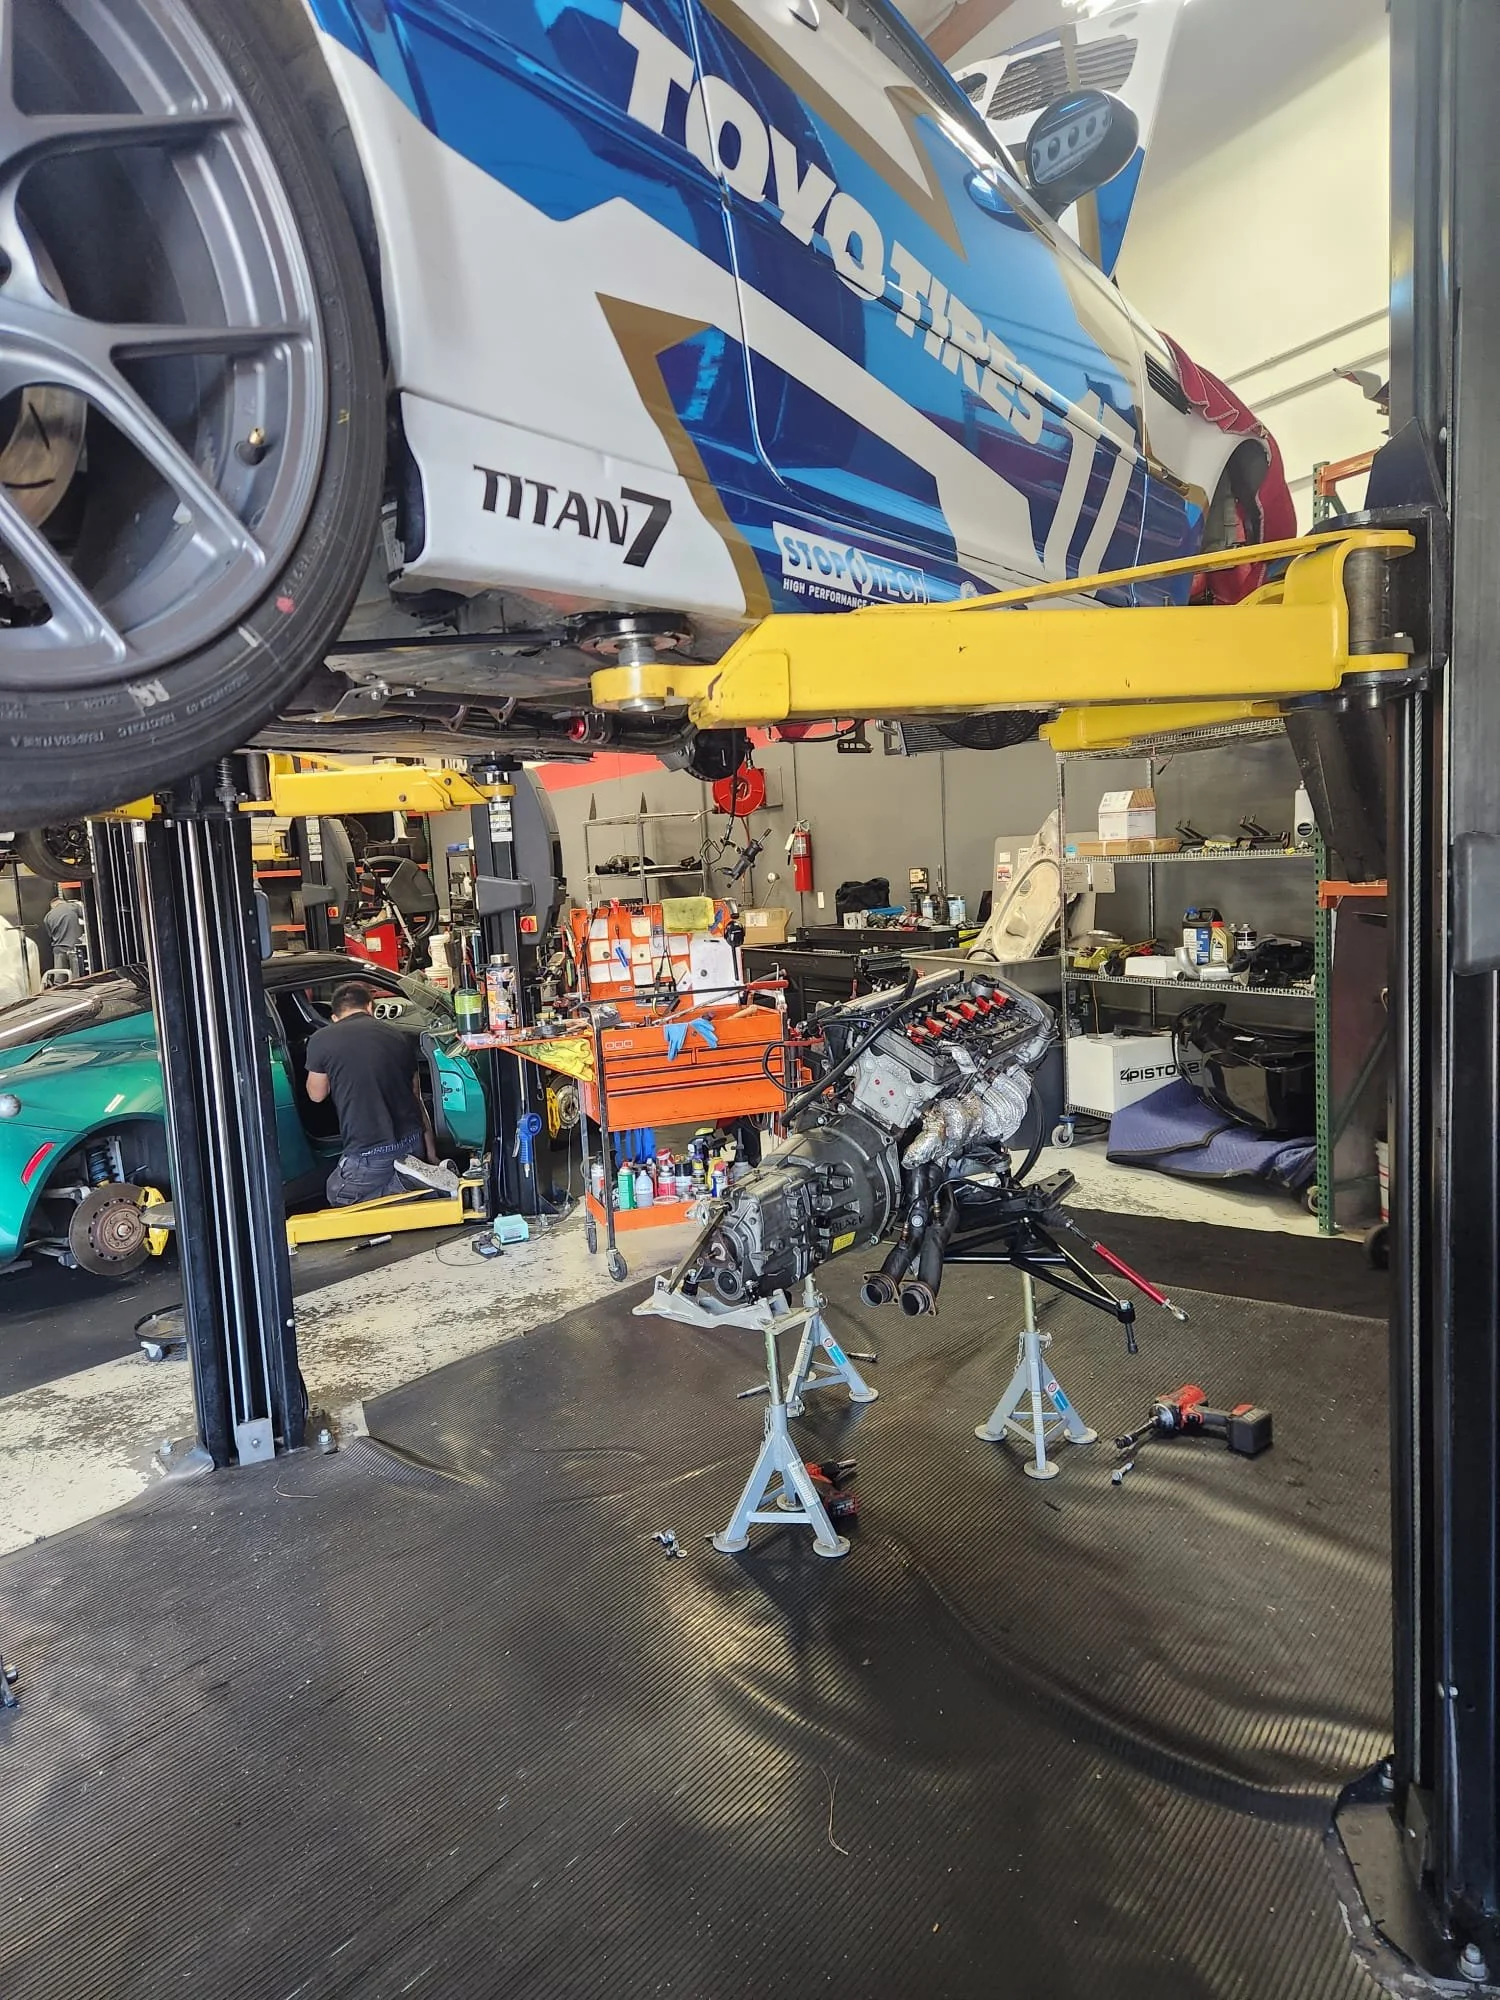
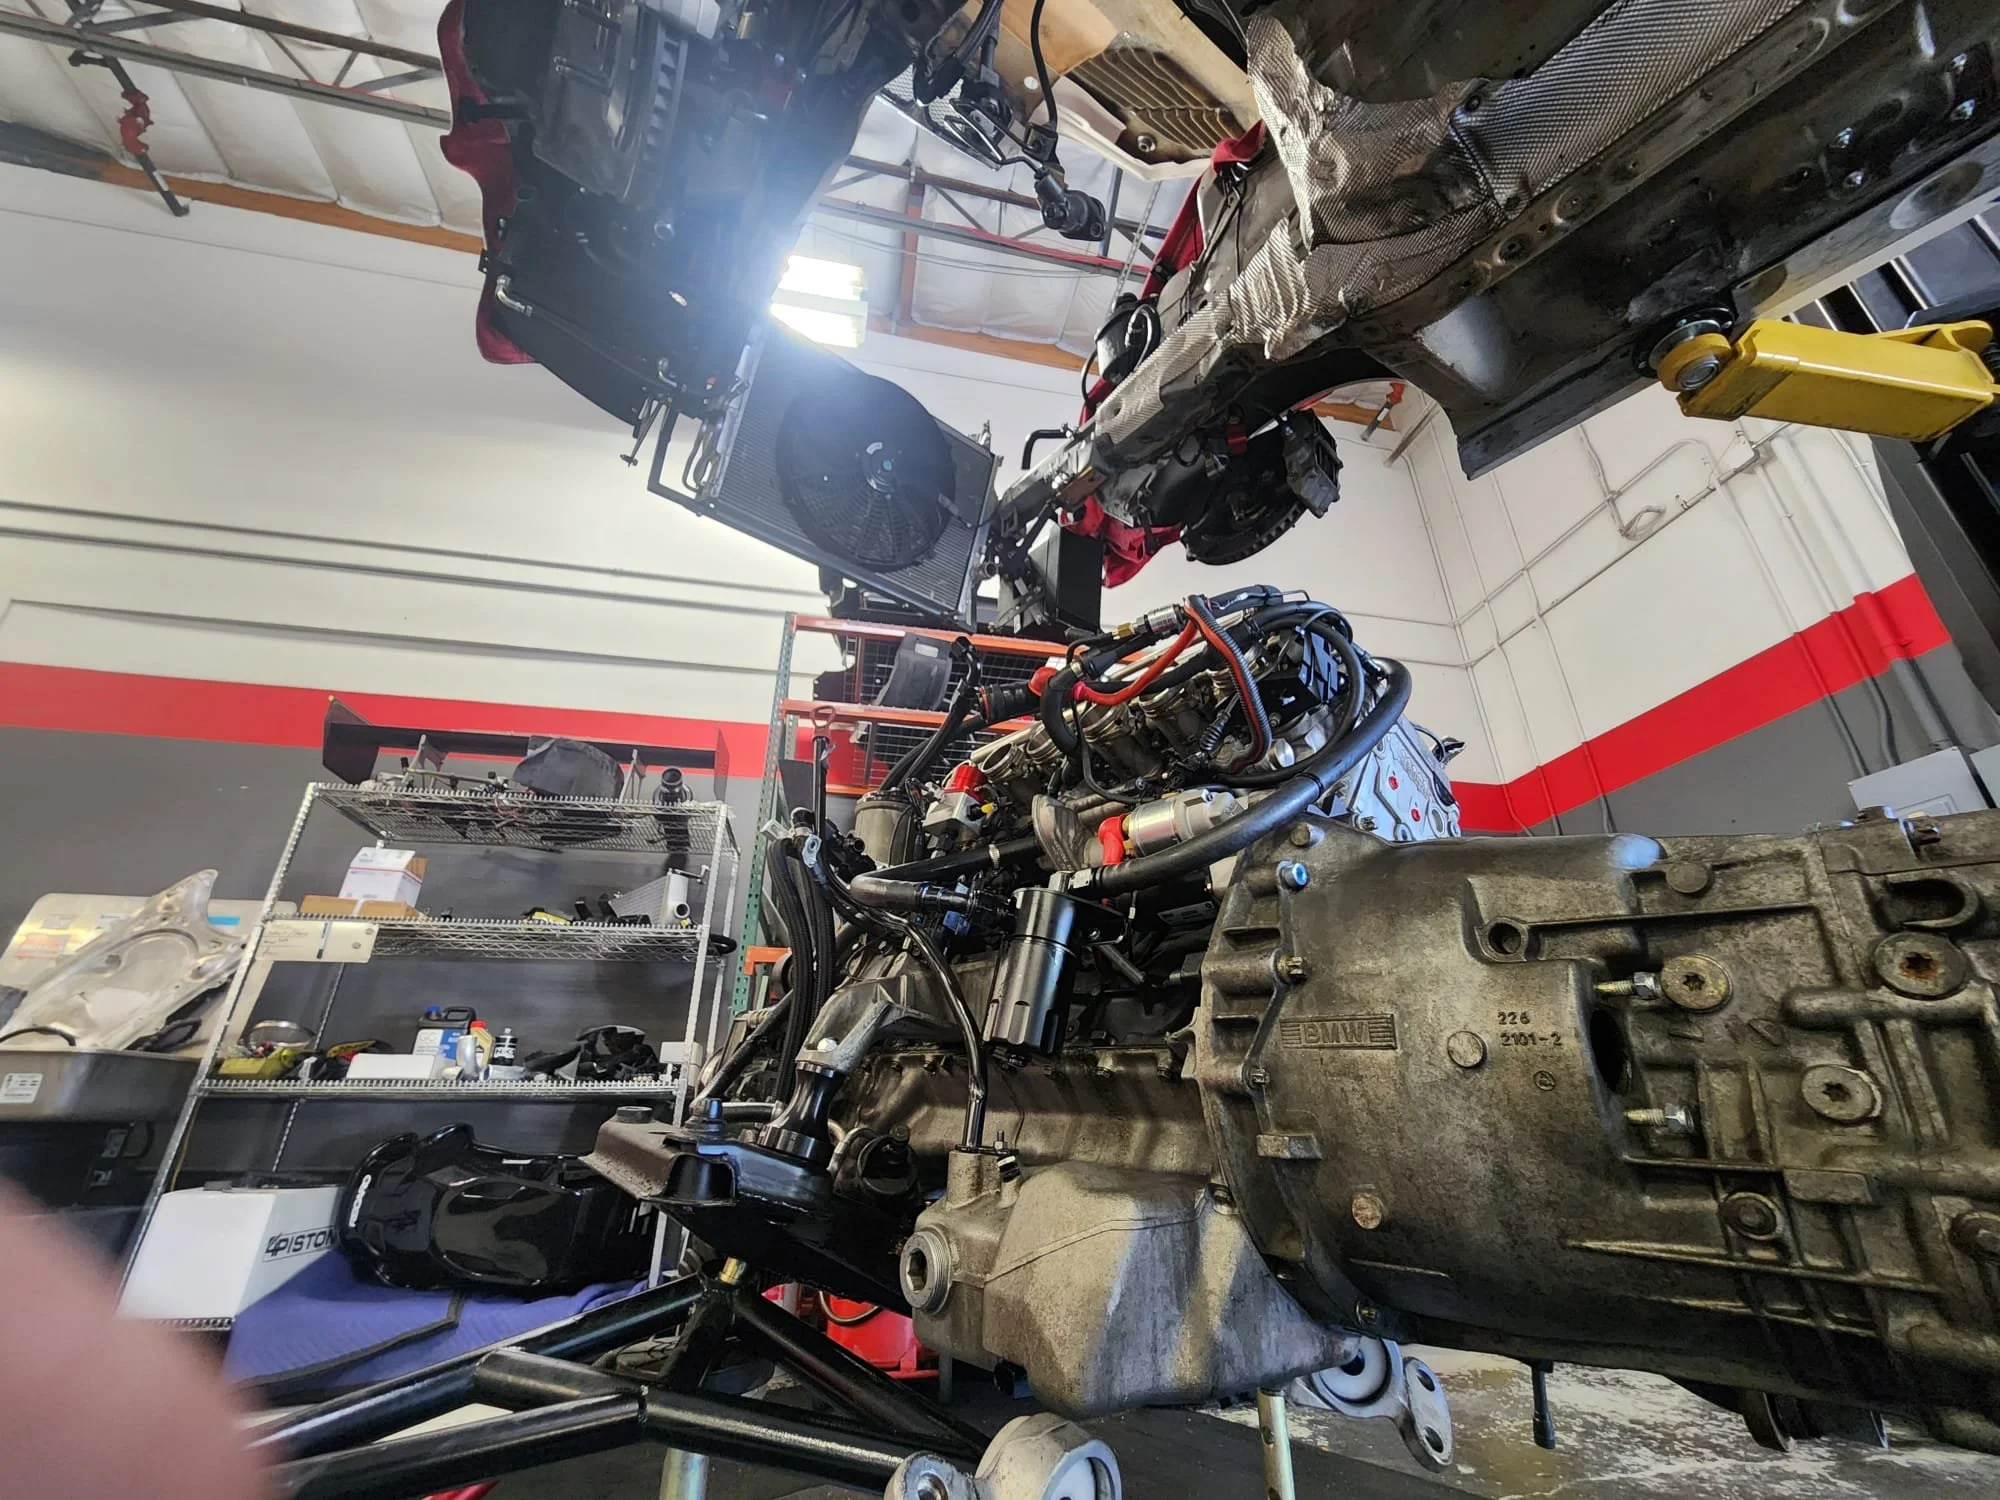
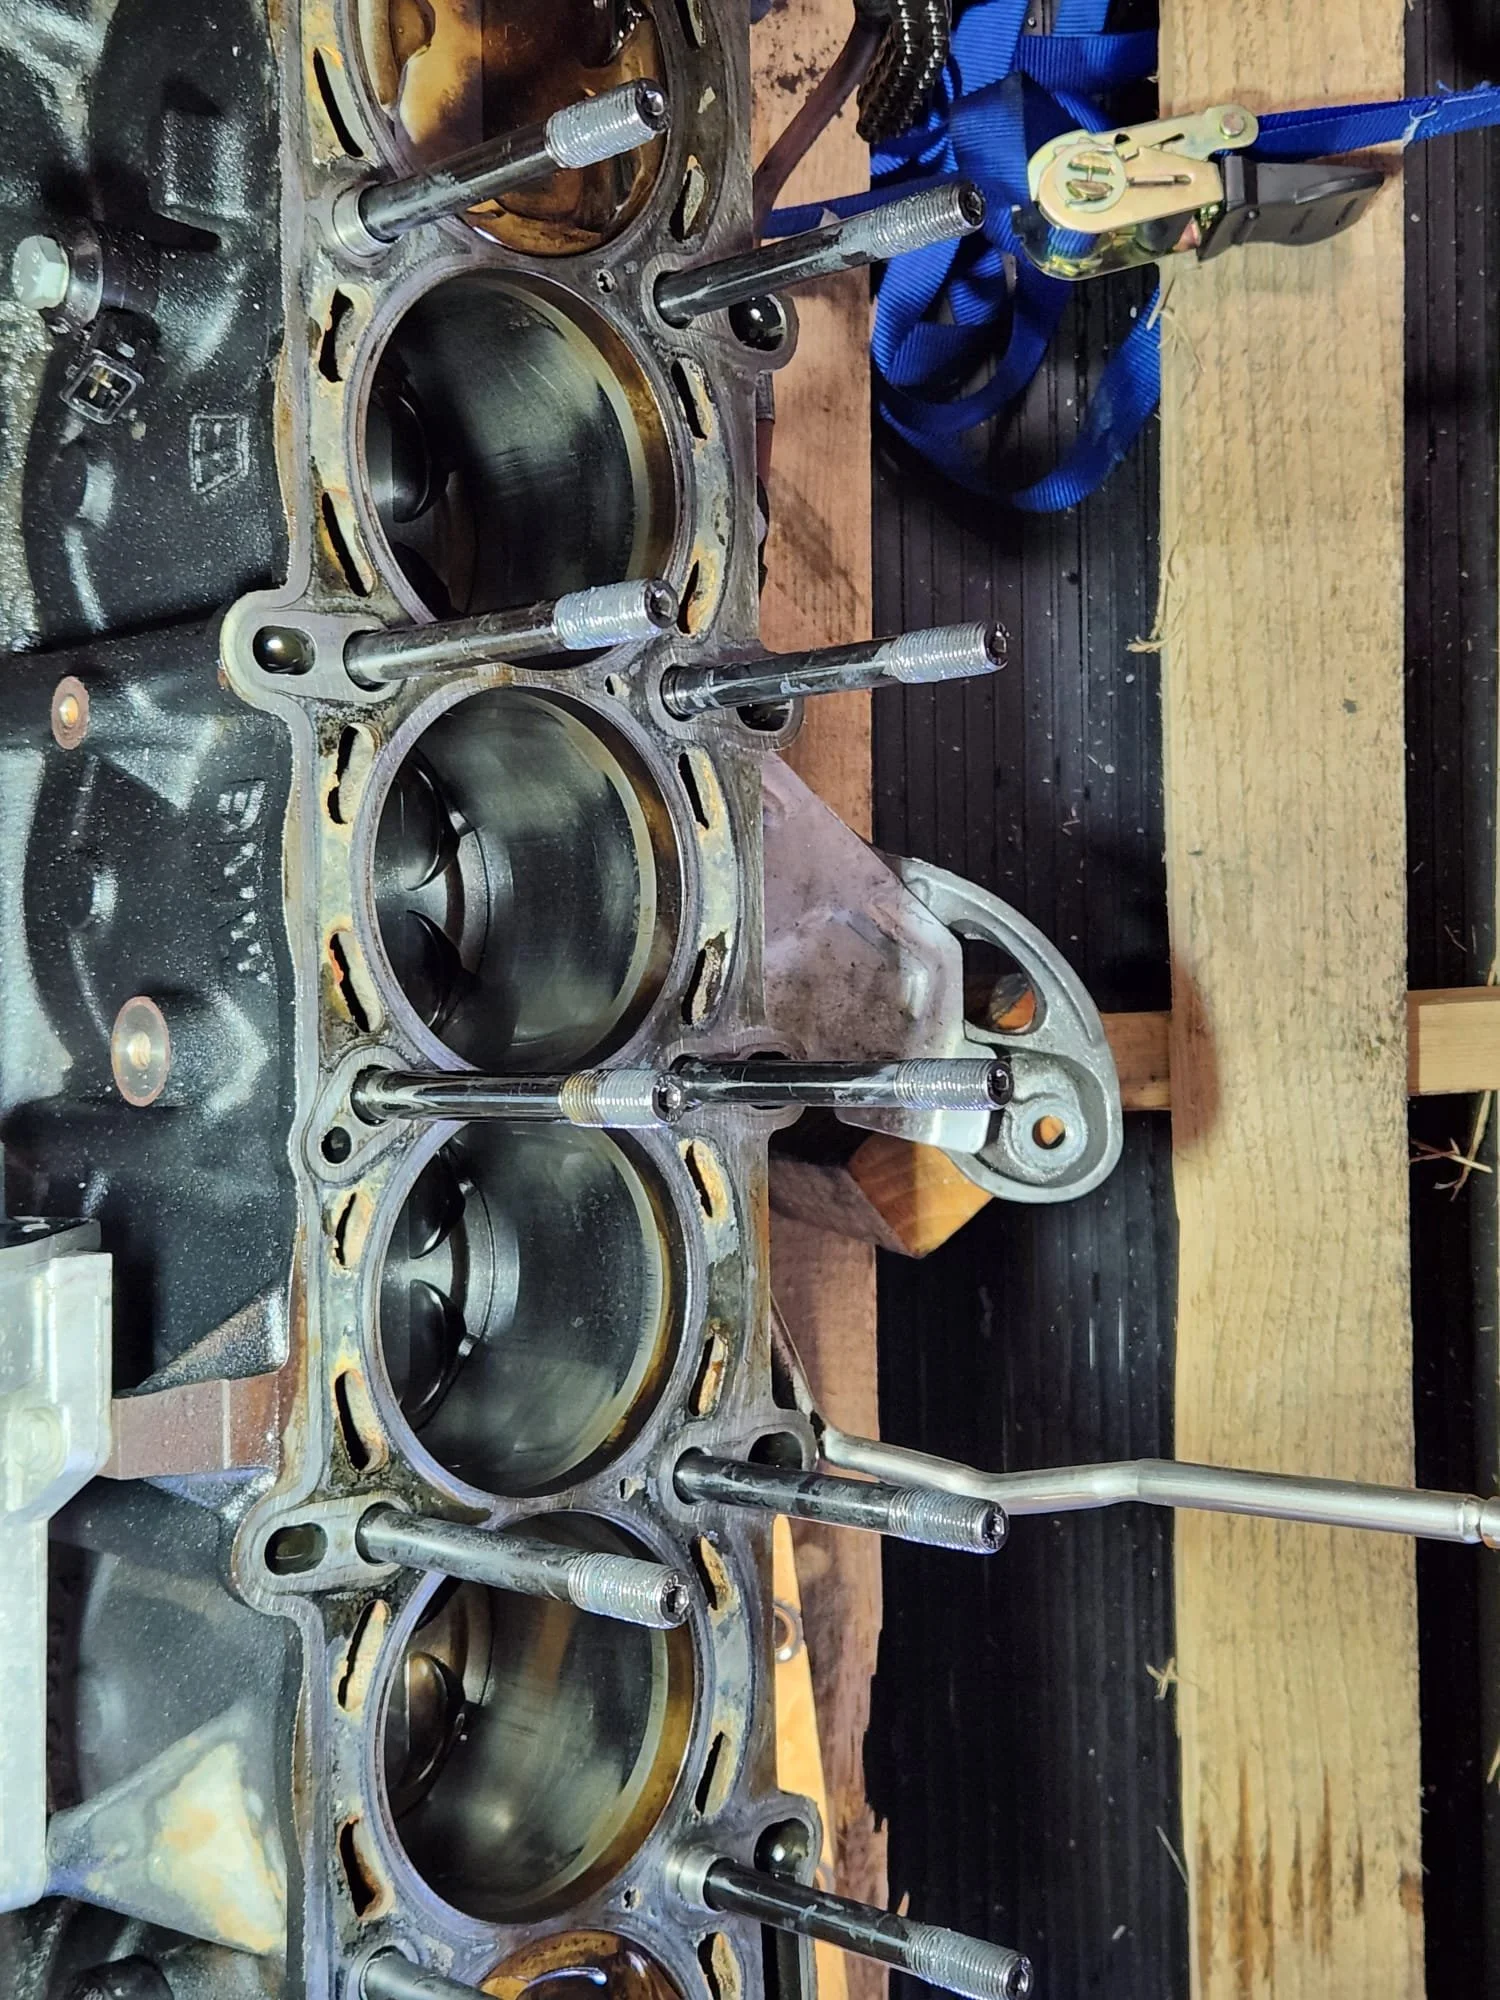
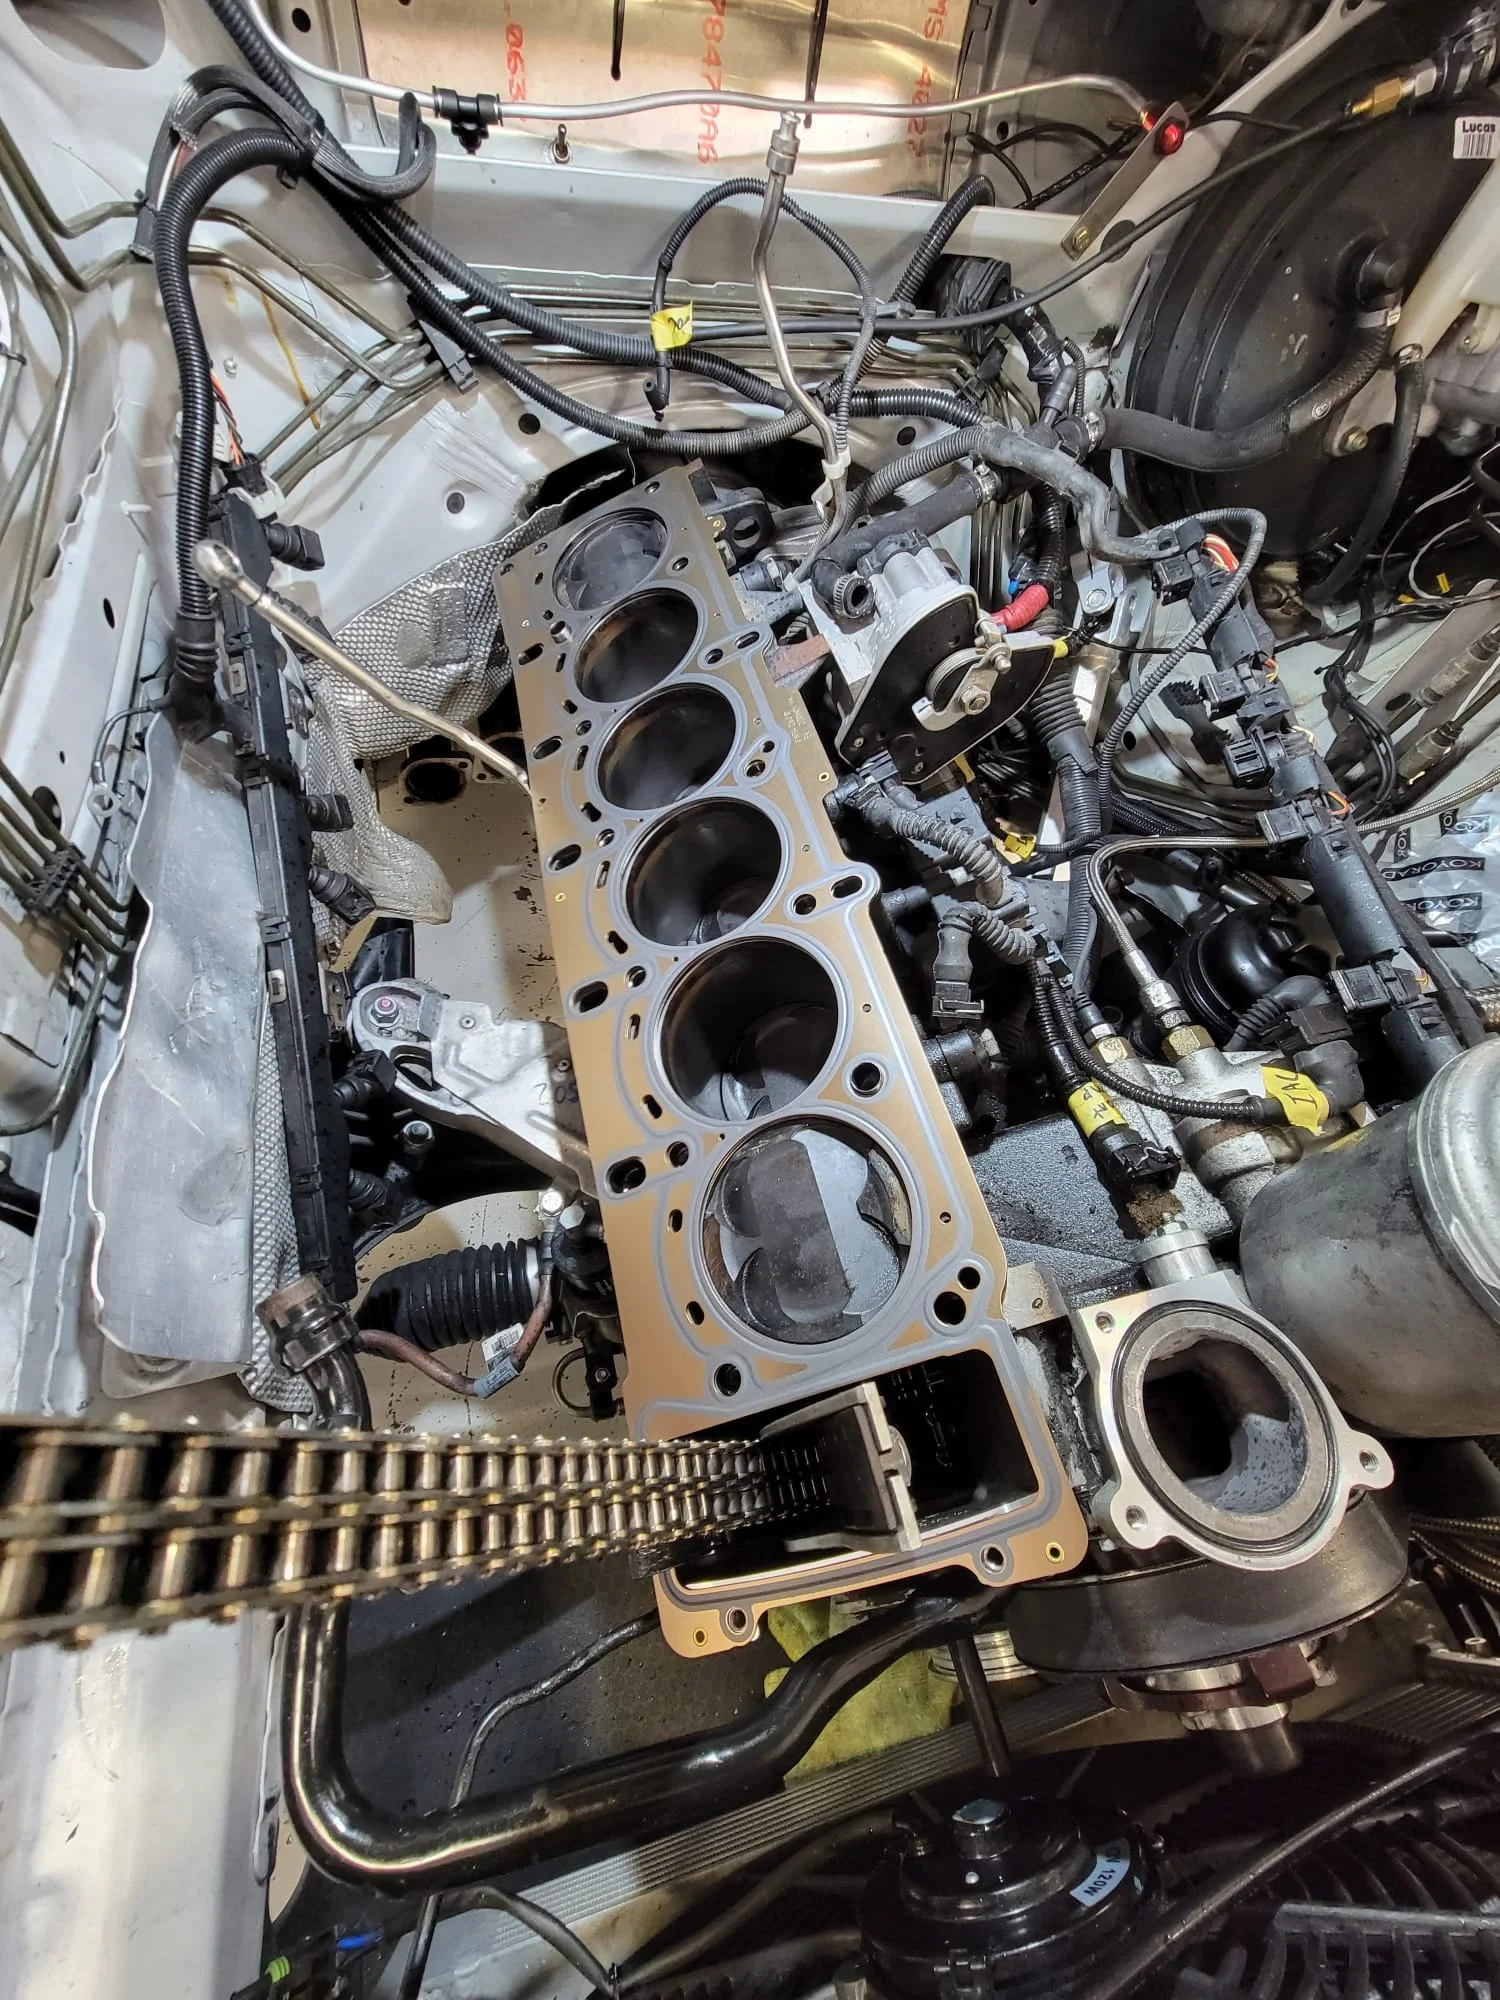
Once we got back to the shop, Jon and Mike were able to confirm my worst fears. The block was toast and the rings were fried.
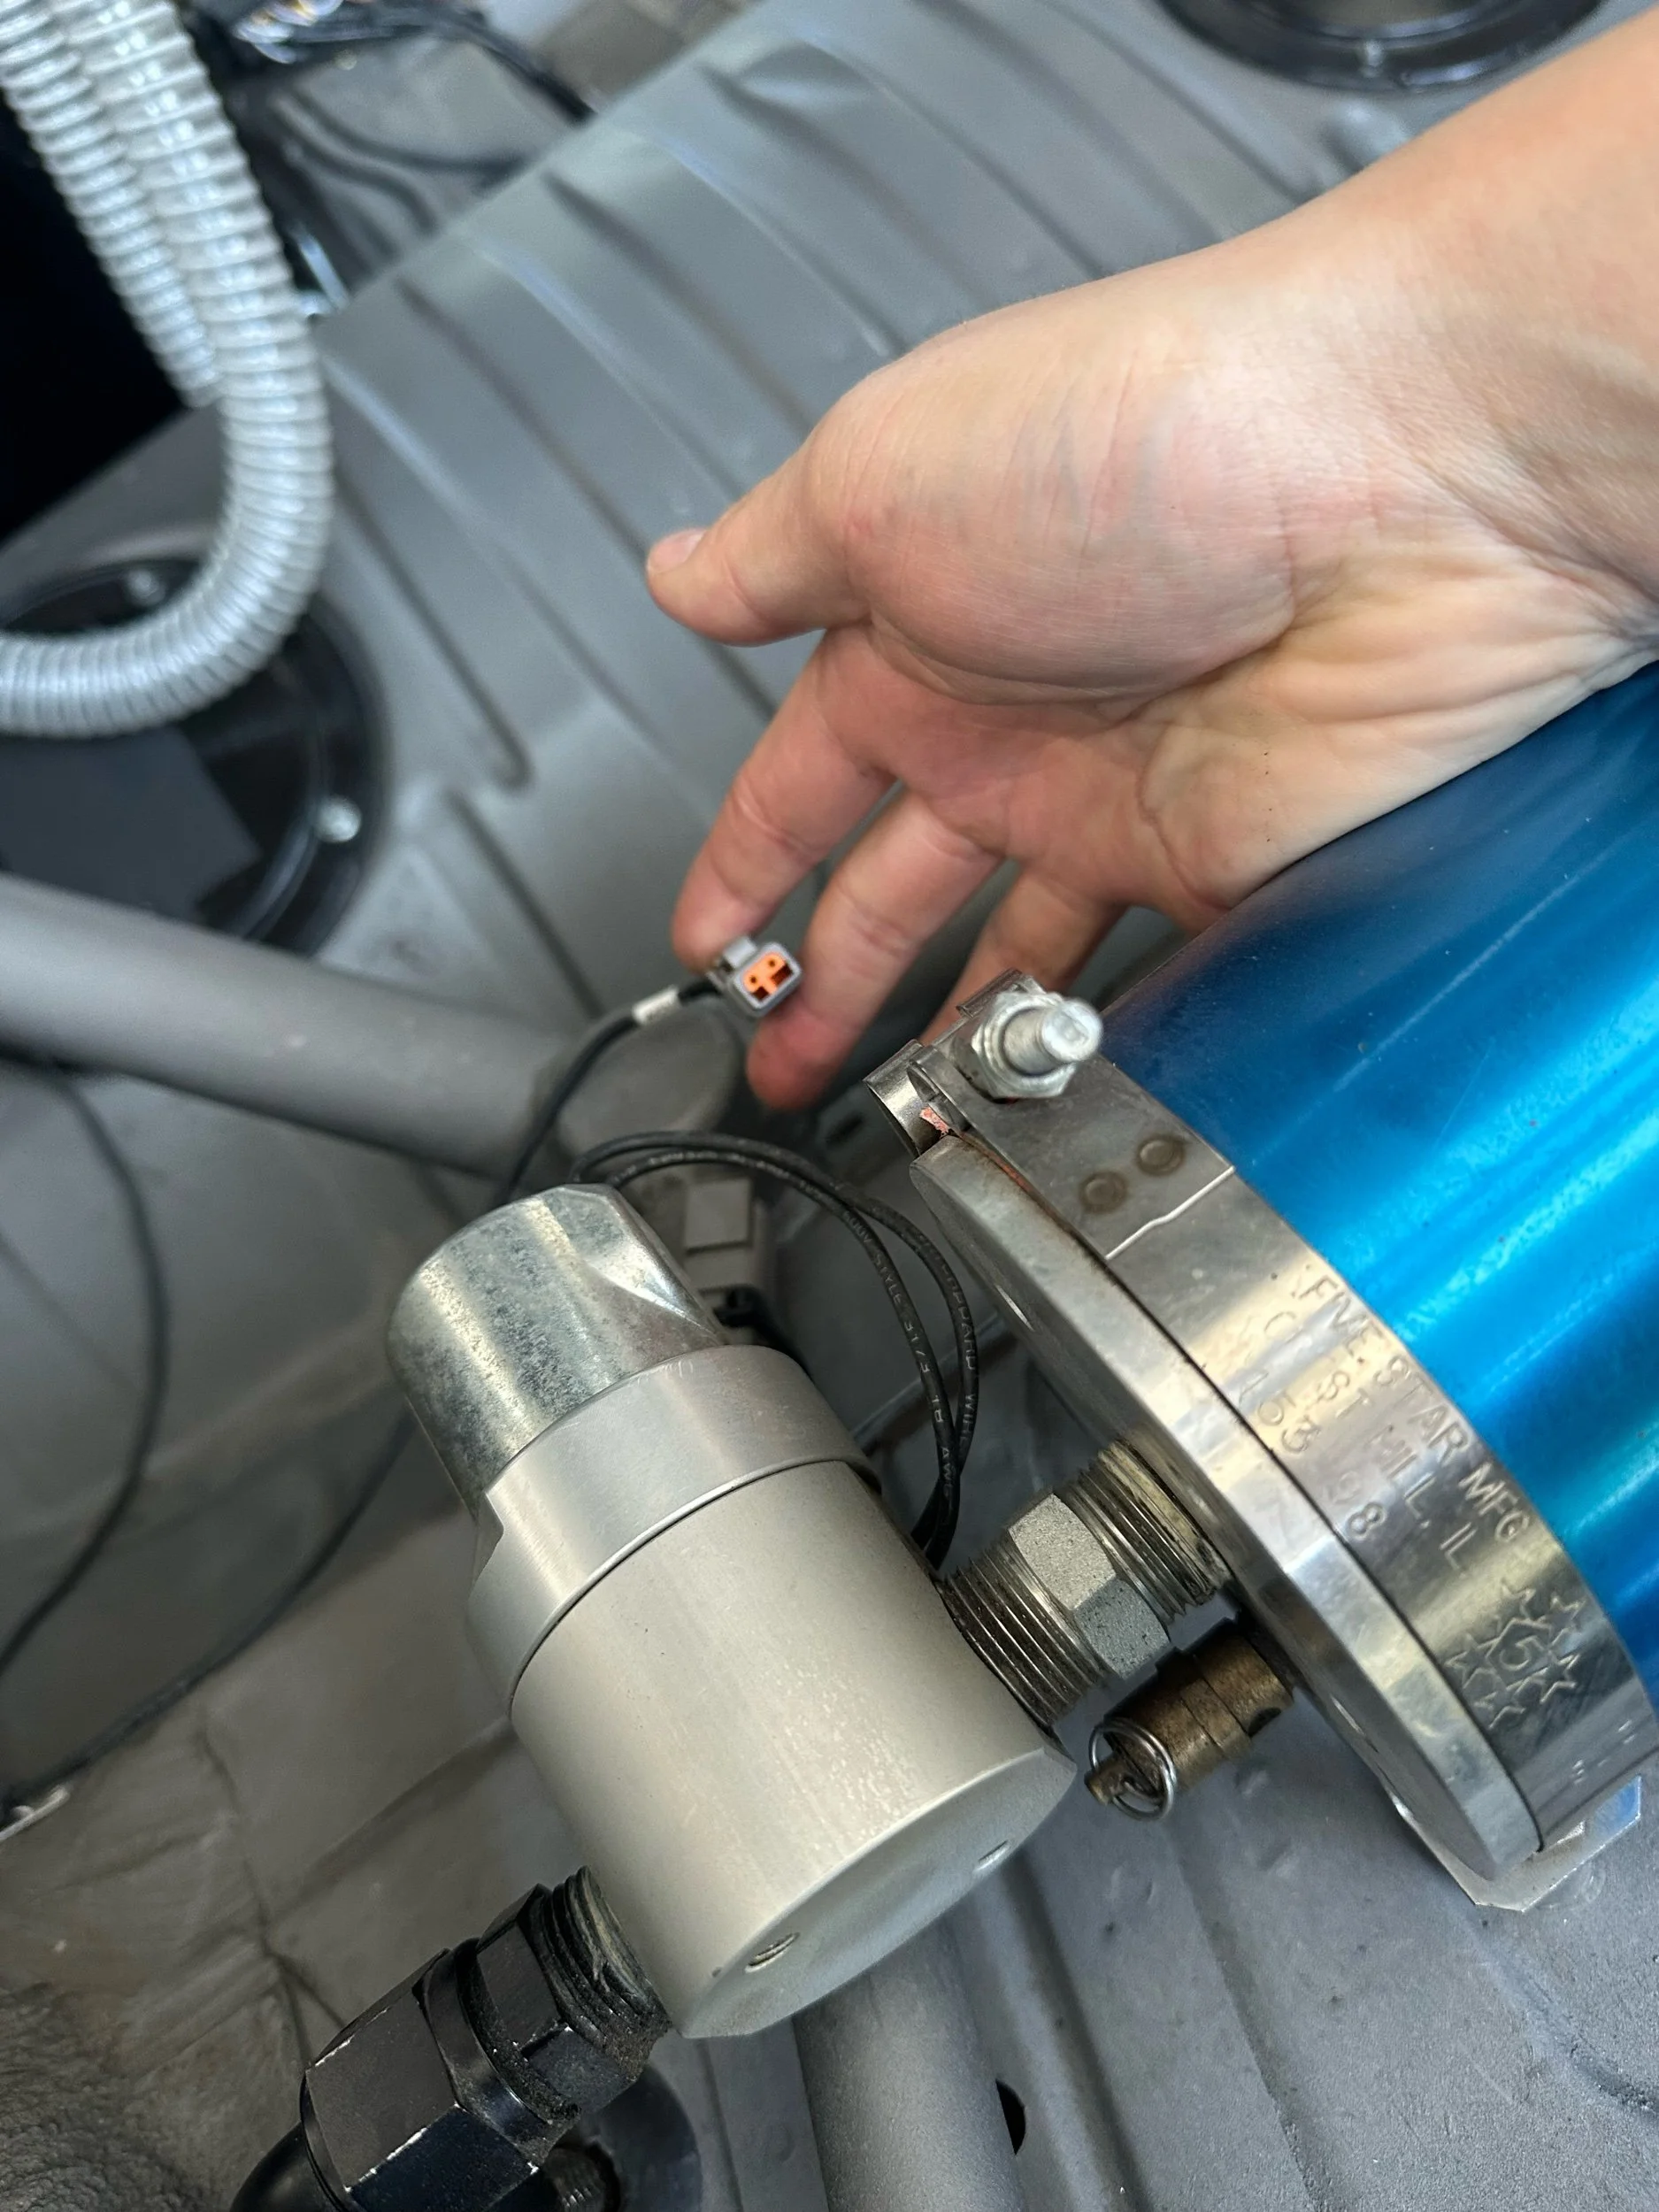
We decided to drop this engine out of the car and send it over to Nate at Steeldust Machine for a full build. In the meantime, the plan would be to run a spare stock long-block that I purchased from Marc; who in a matter of days brought his own car to the shop so we could take the engine from it.

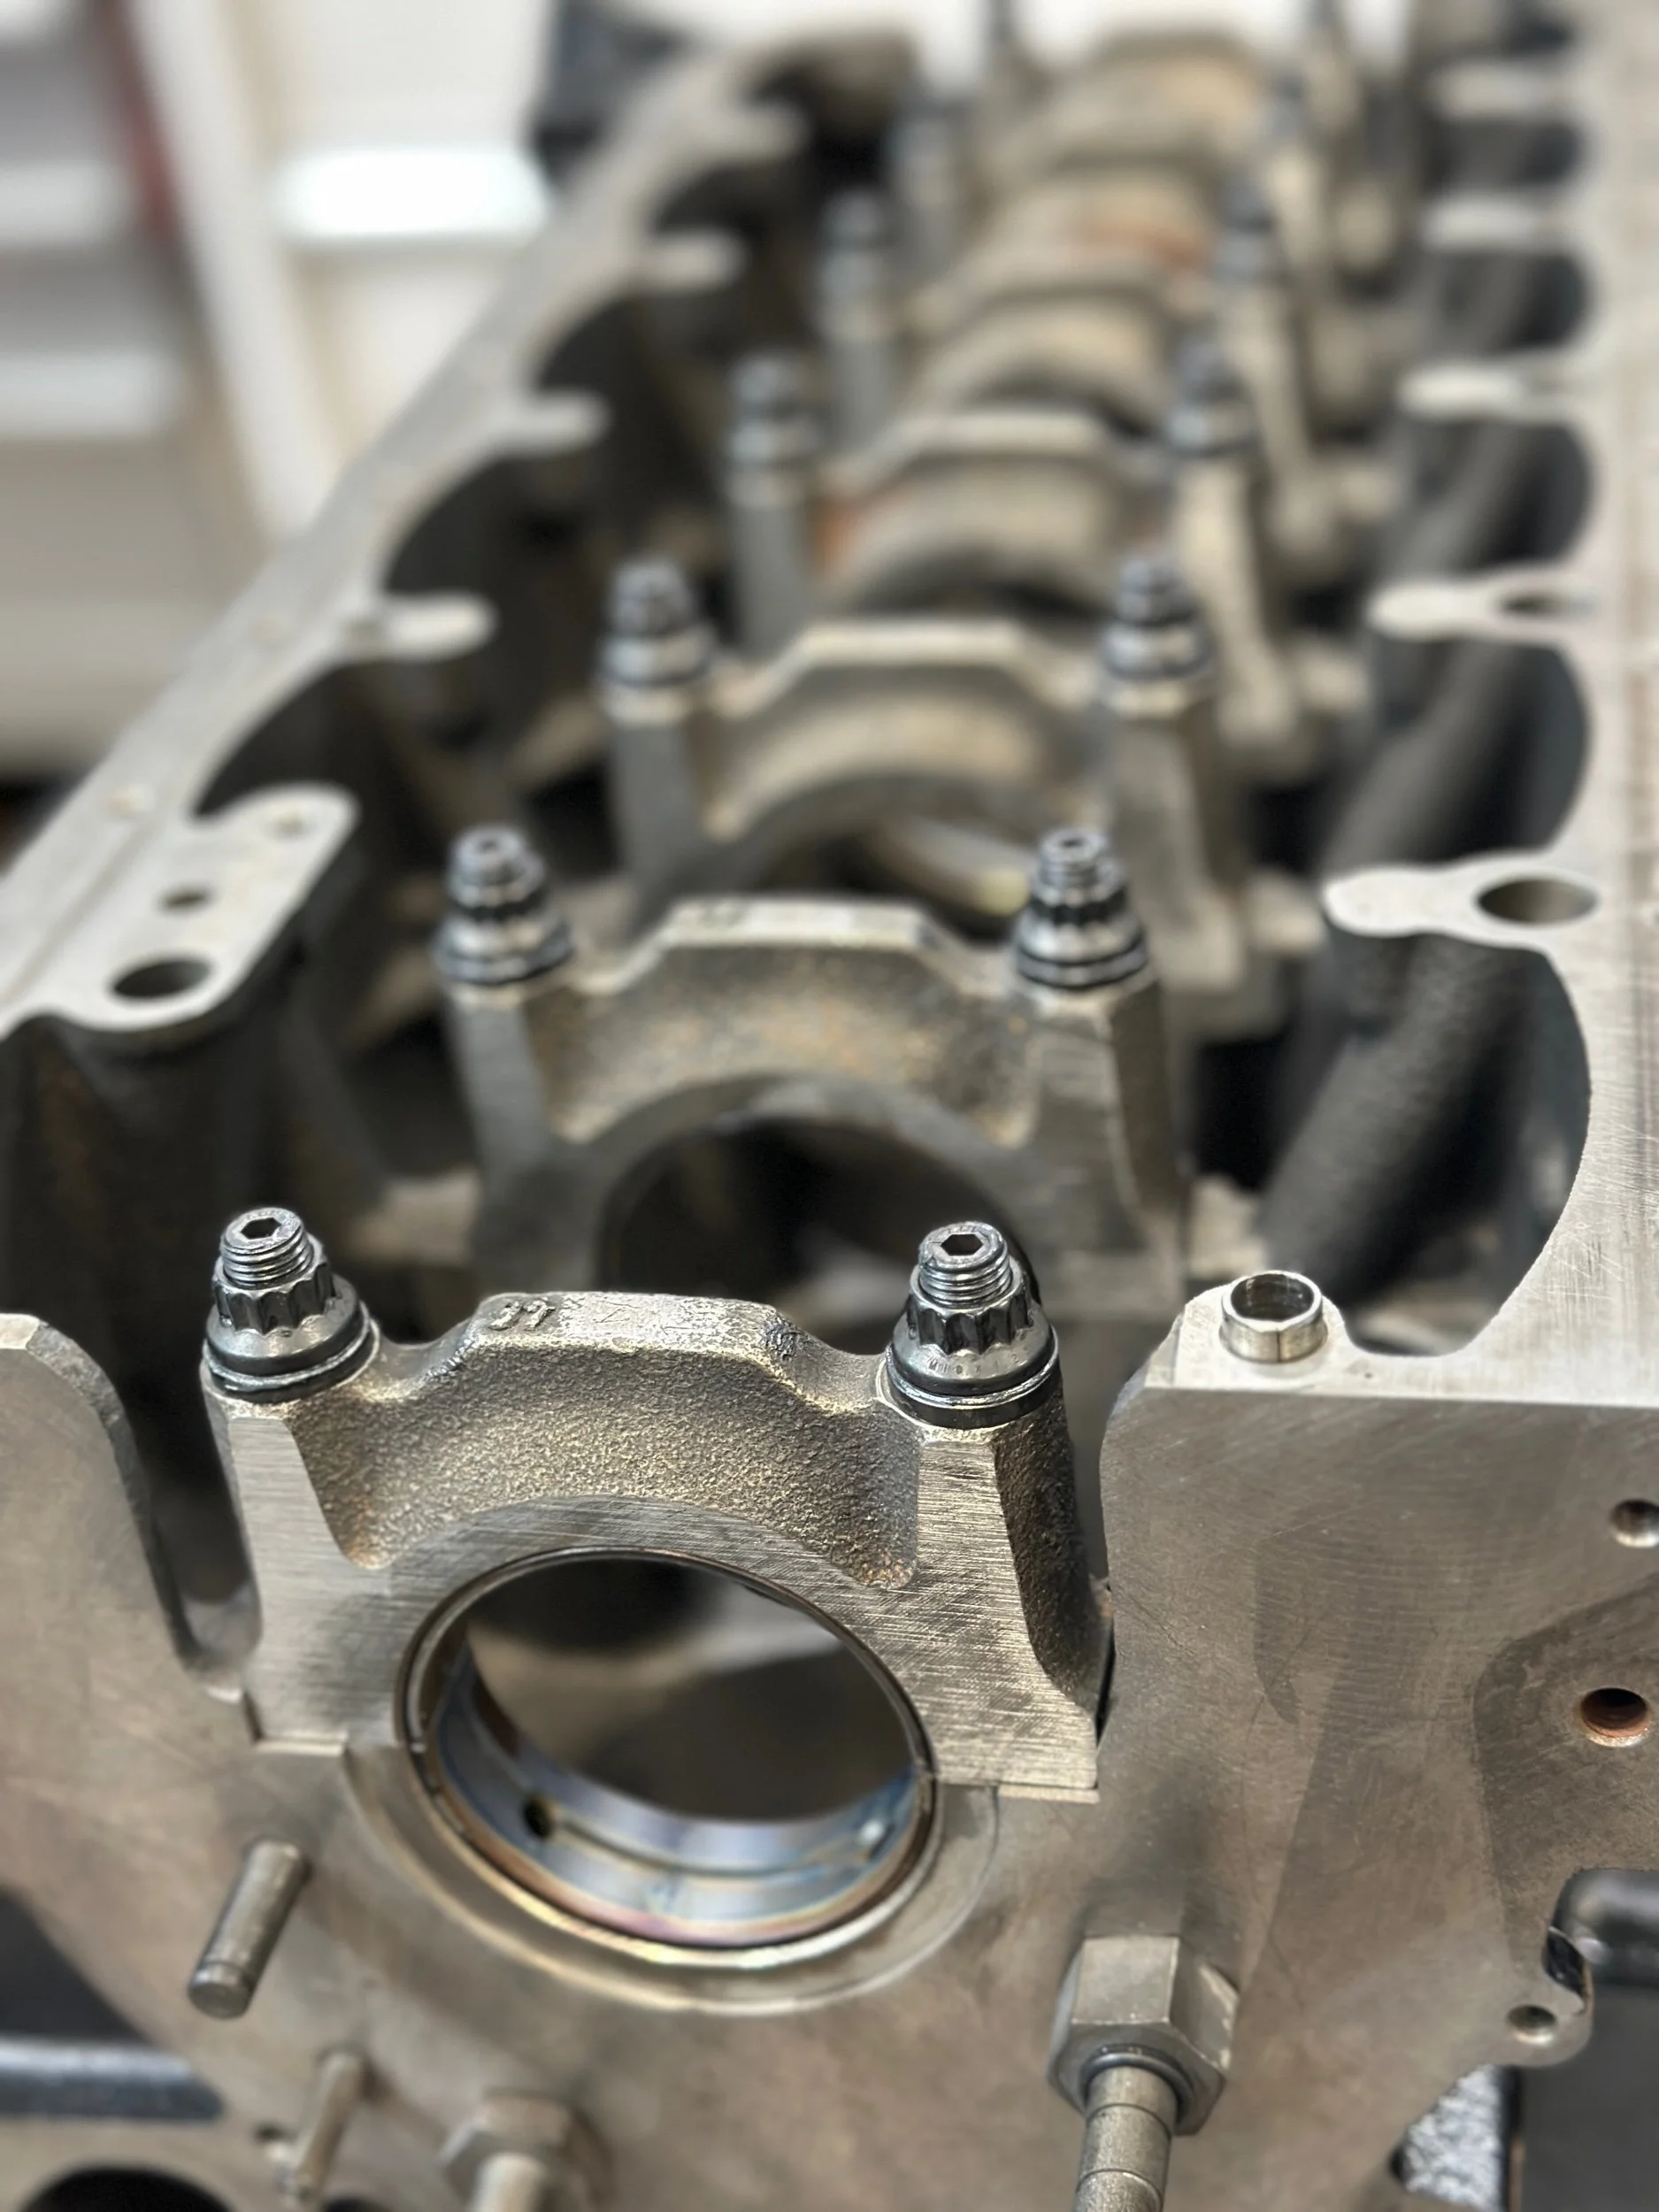
See below for photos of the original engine, and why we were seeing such terrible crankcase pressures and blow-by. The cylinder walls were scorched and the pistons were wrecked.
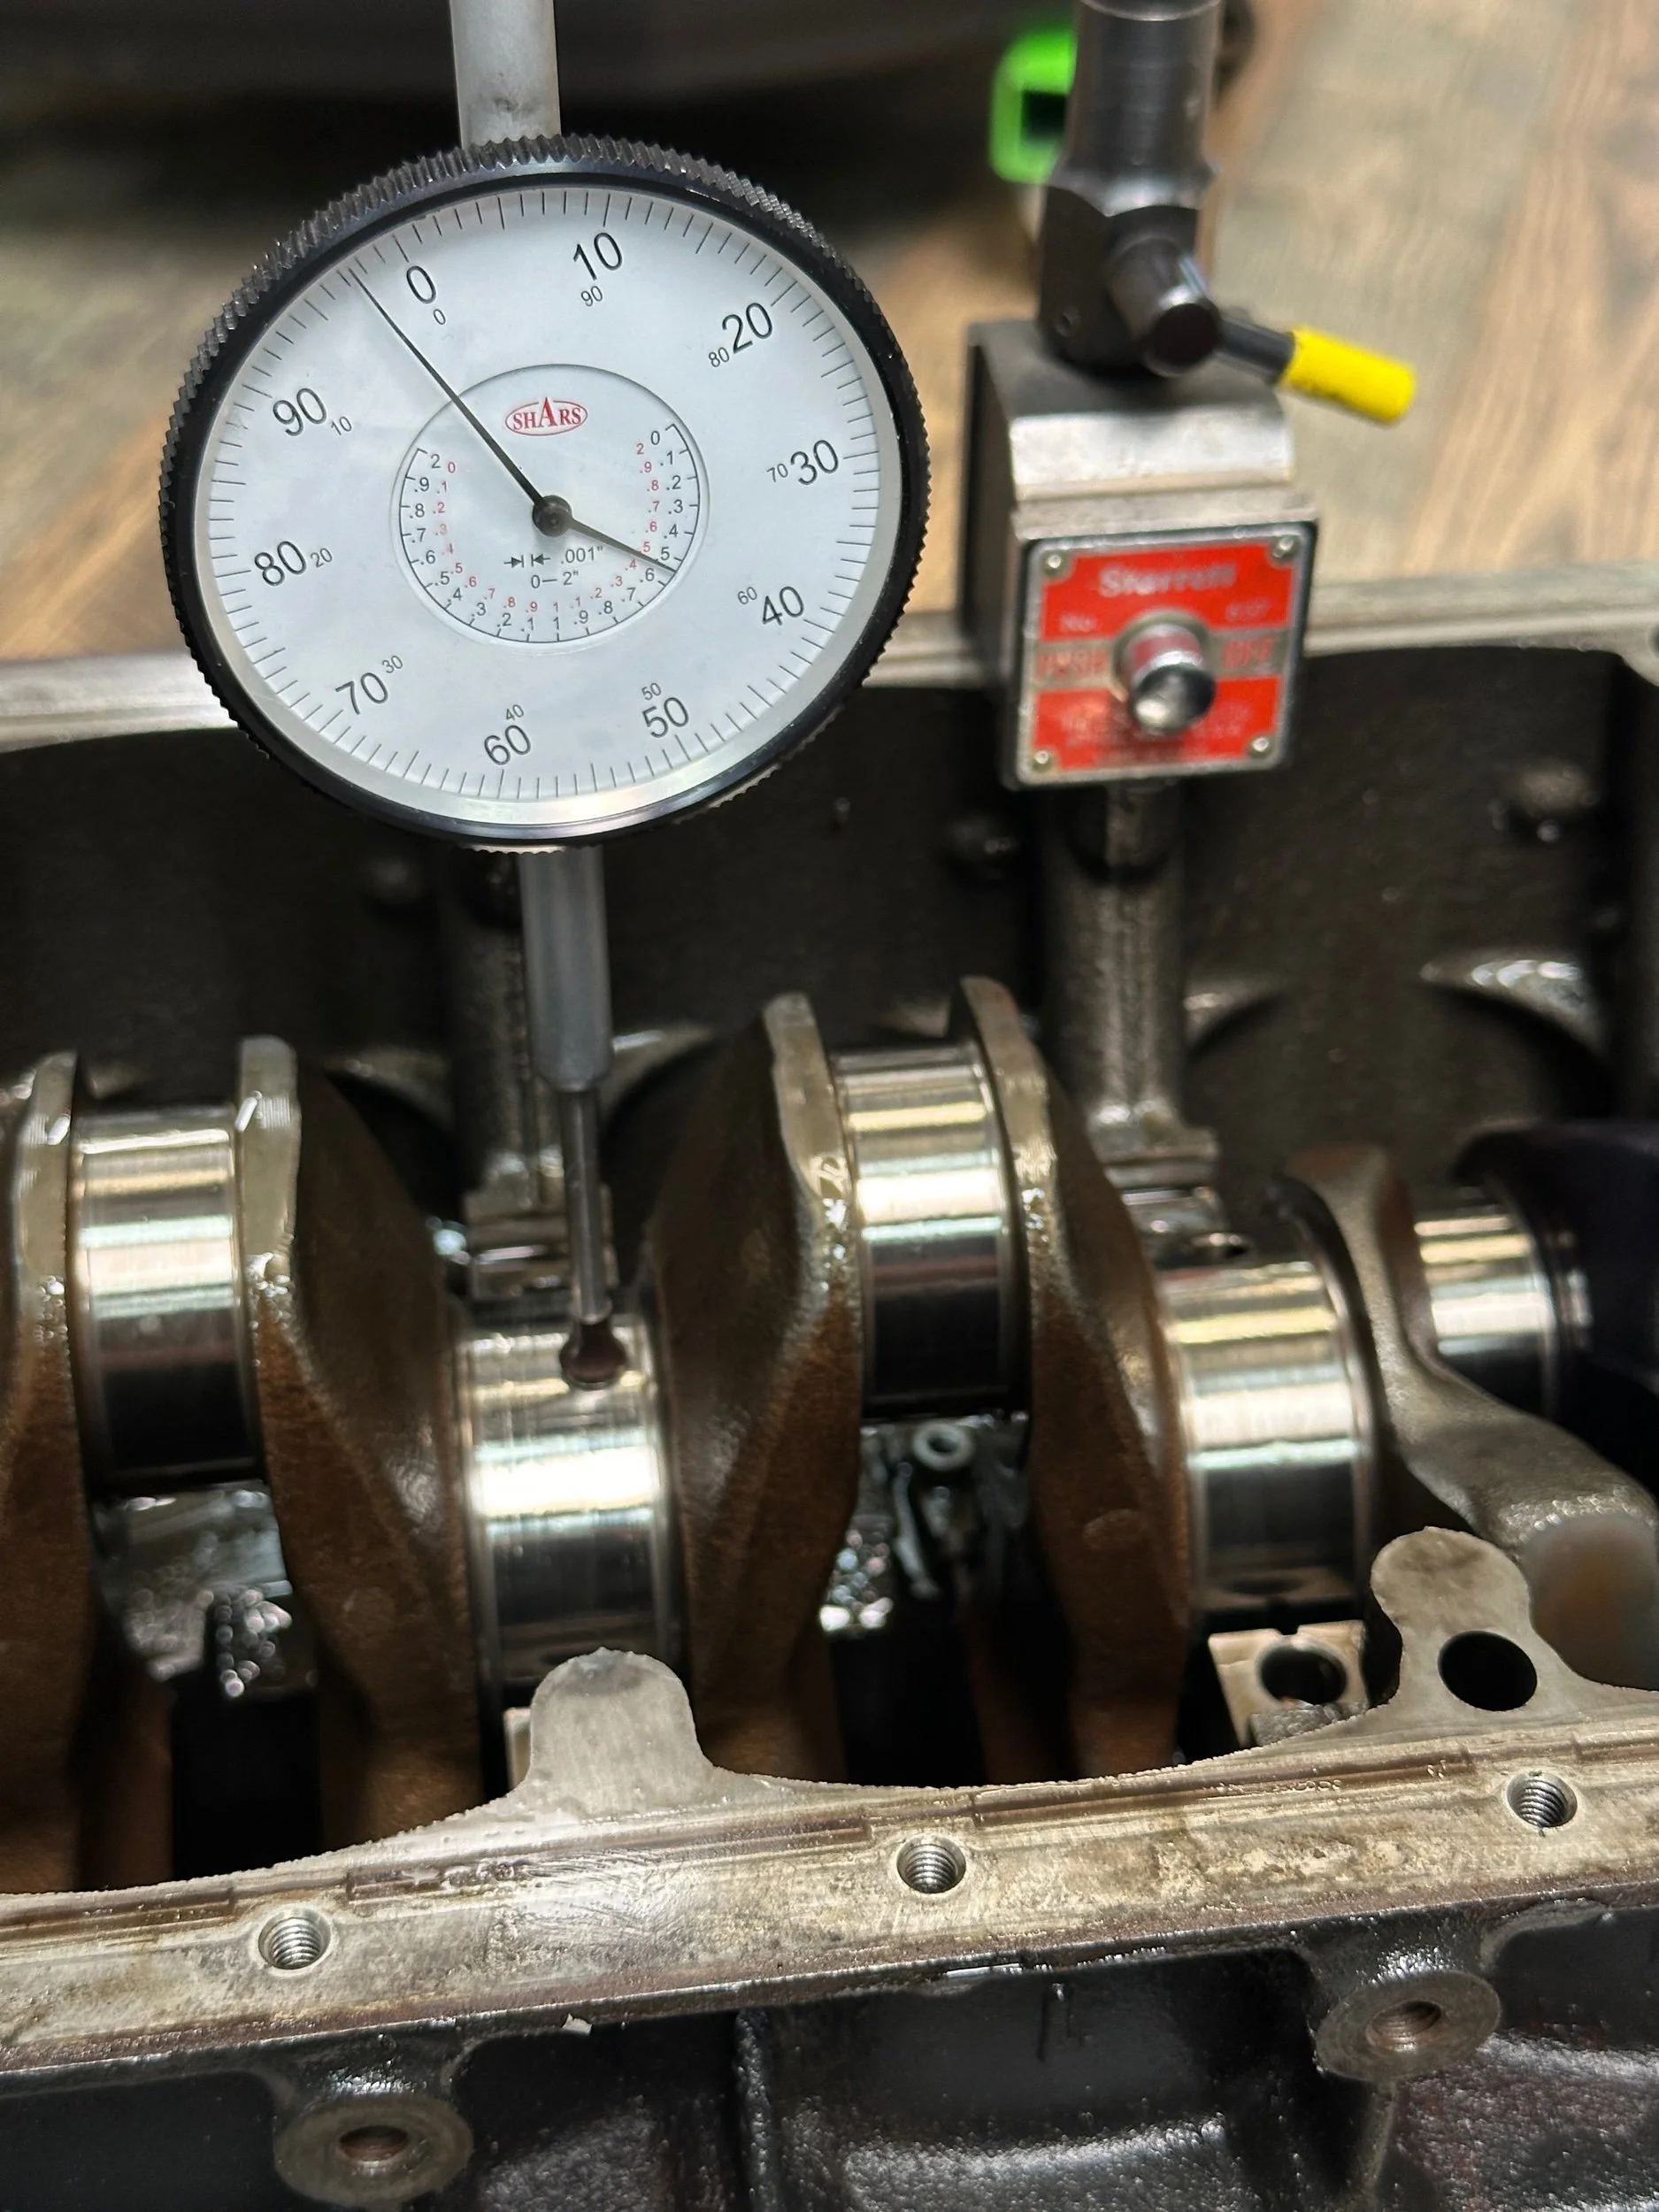
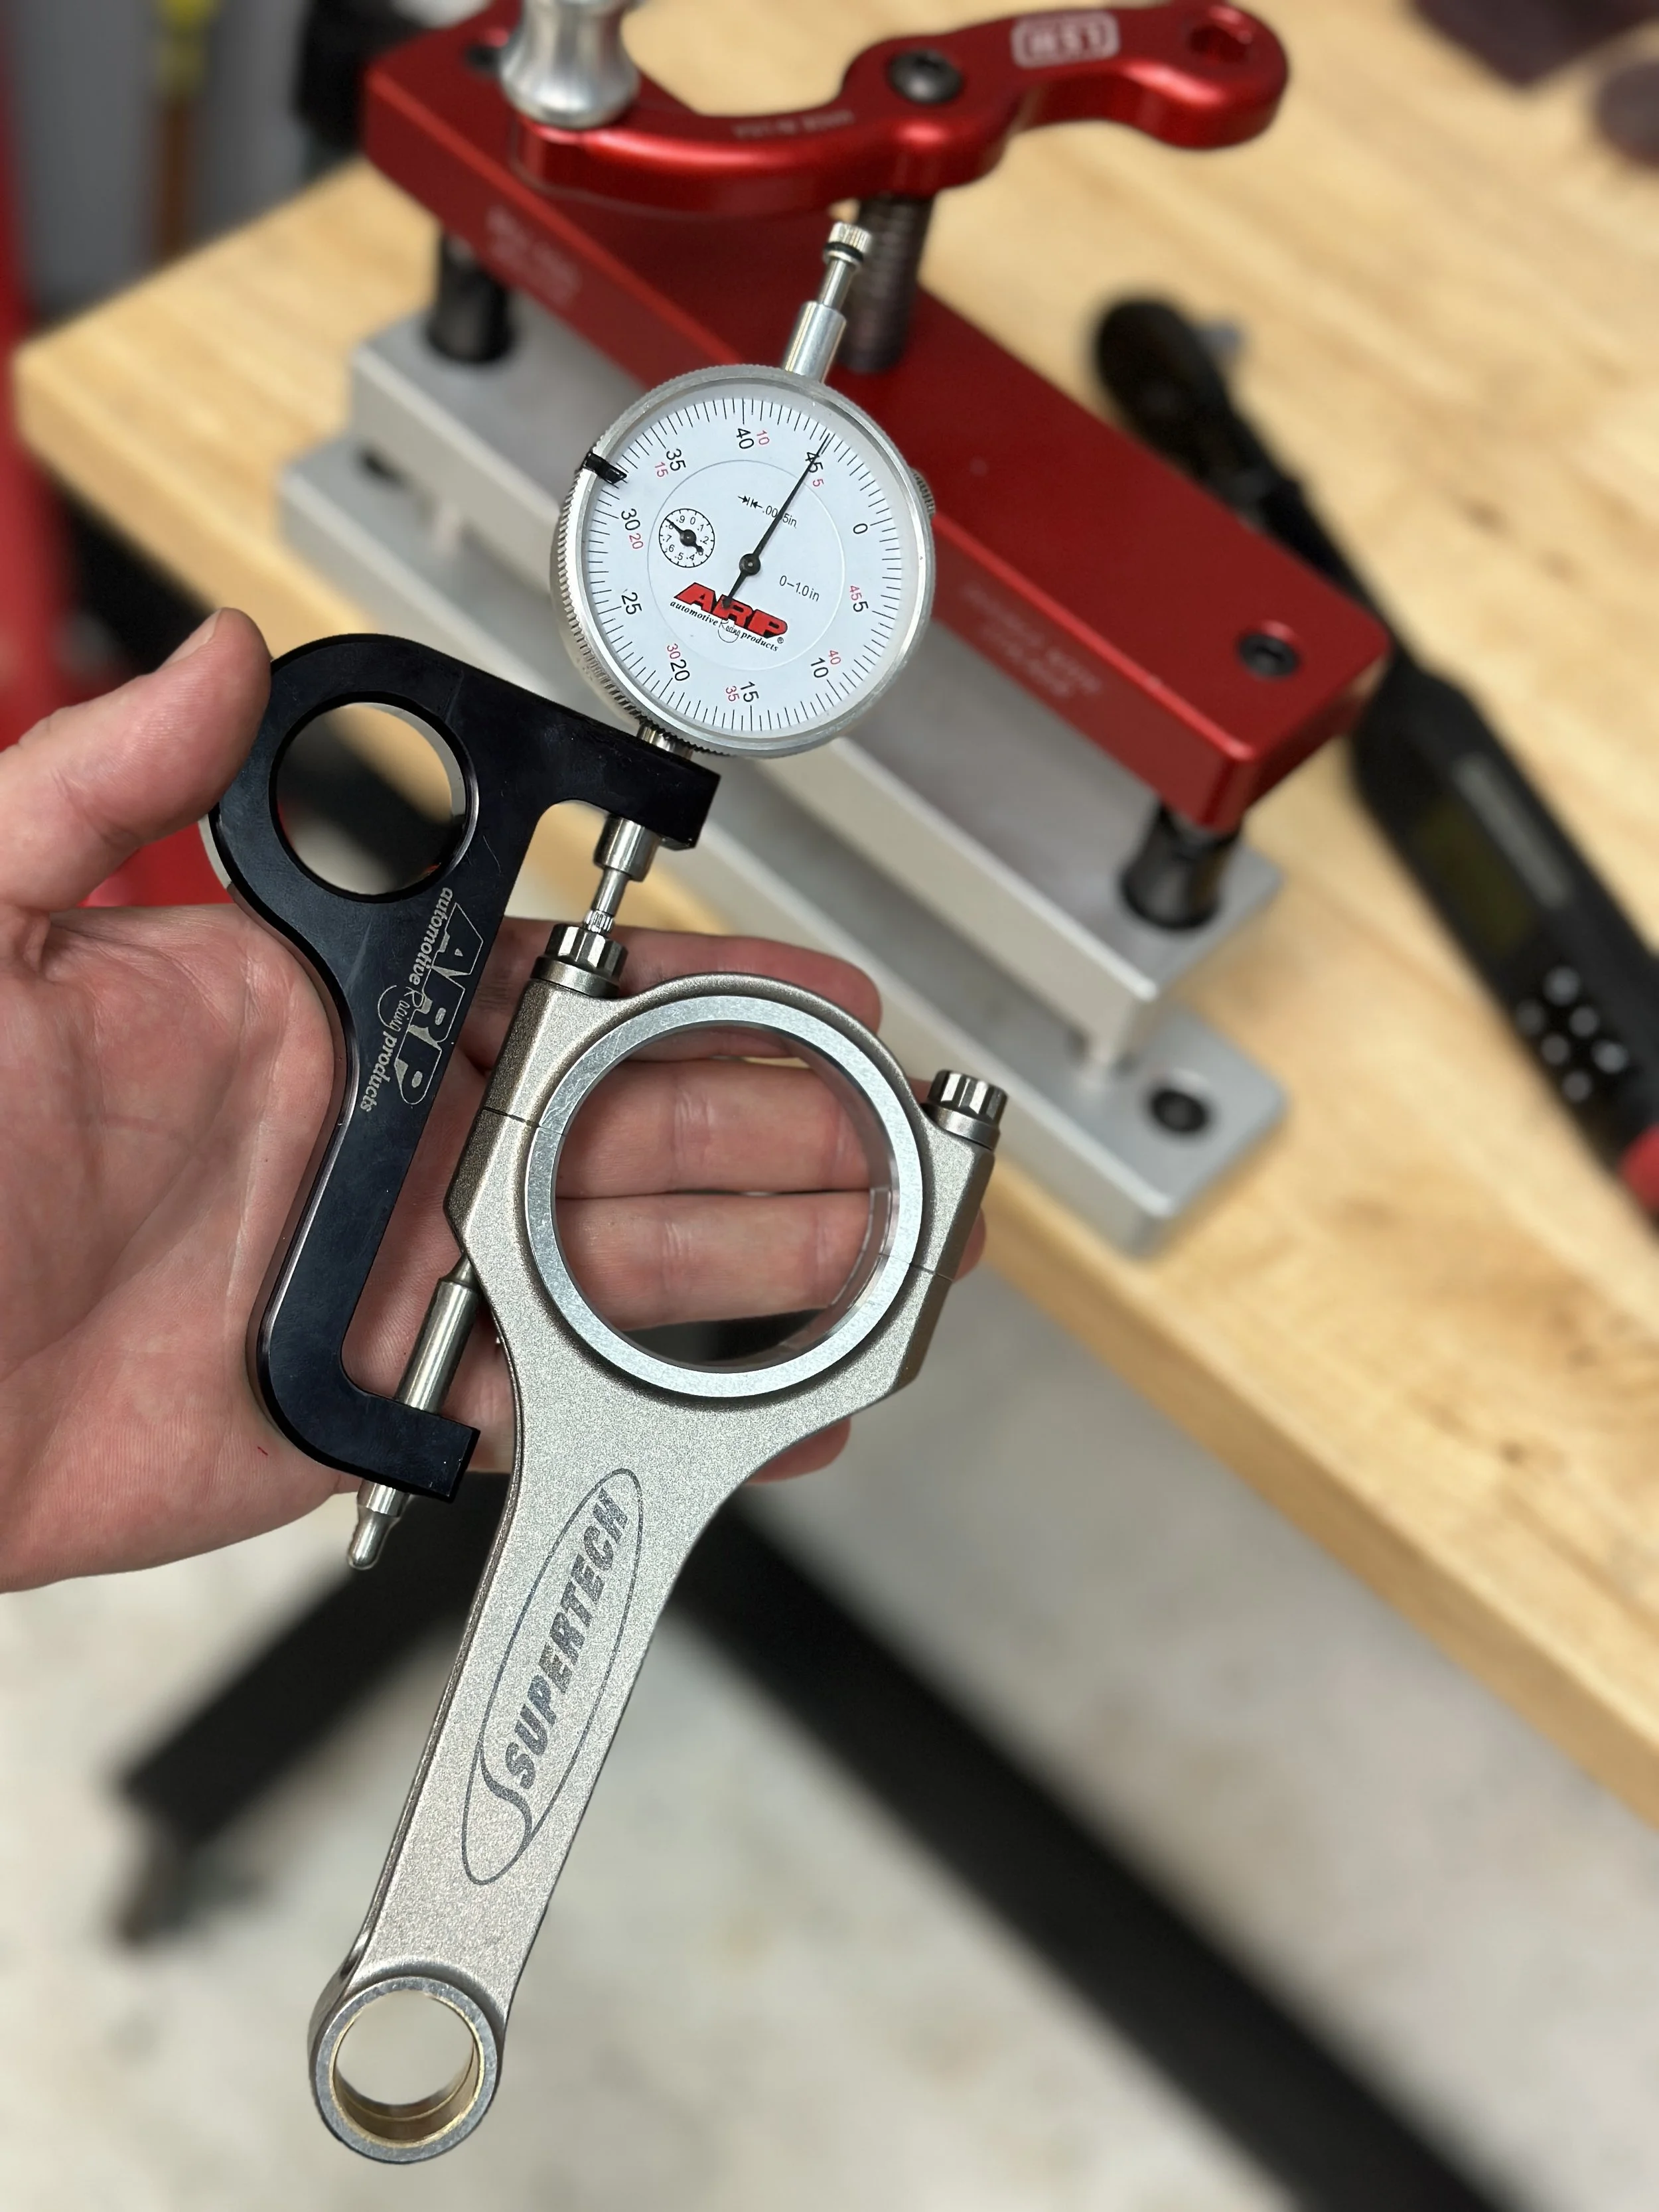
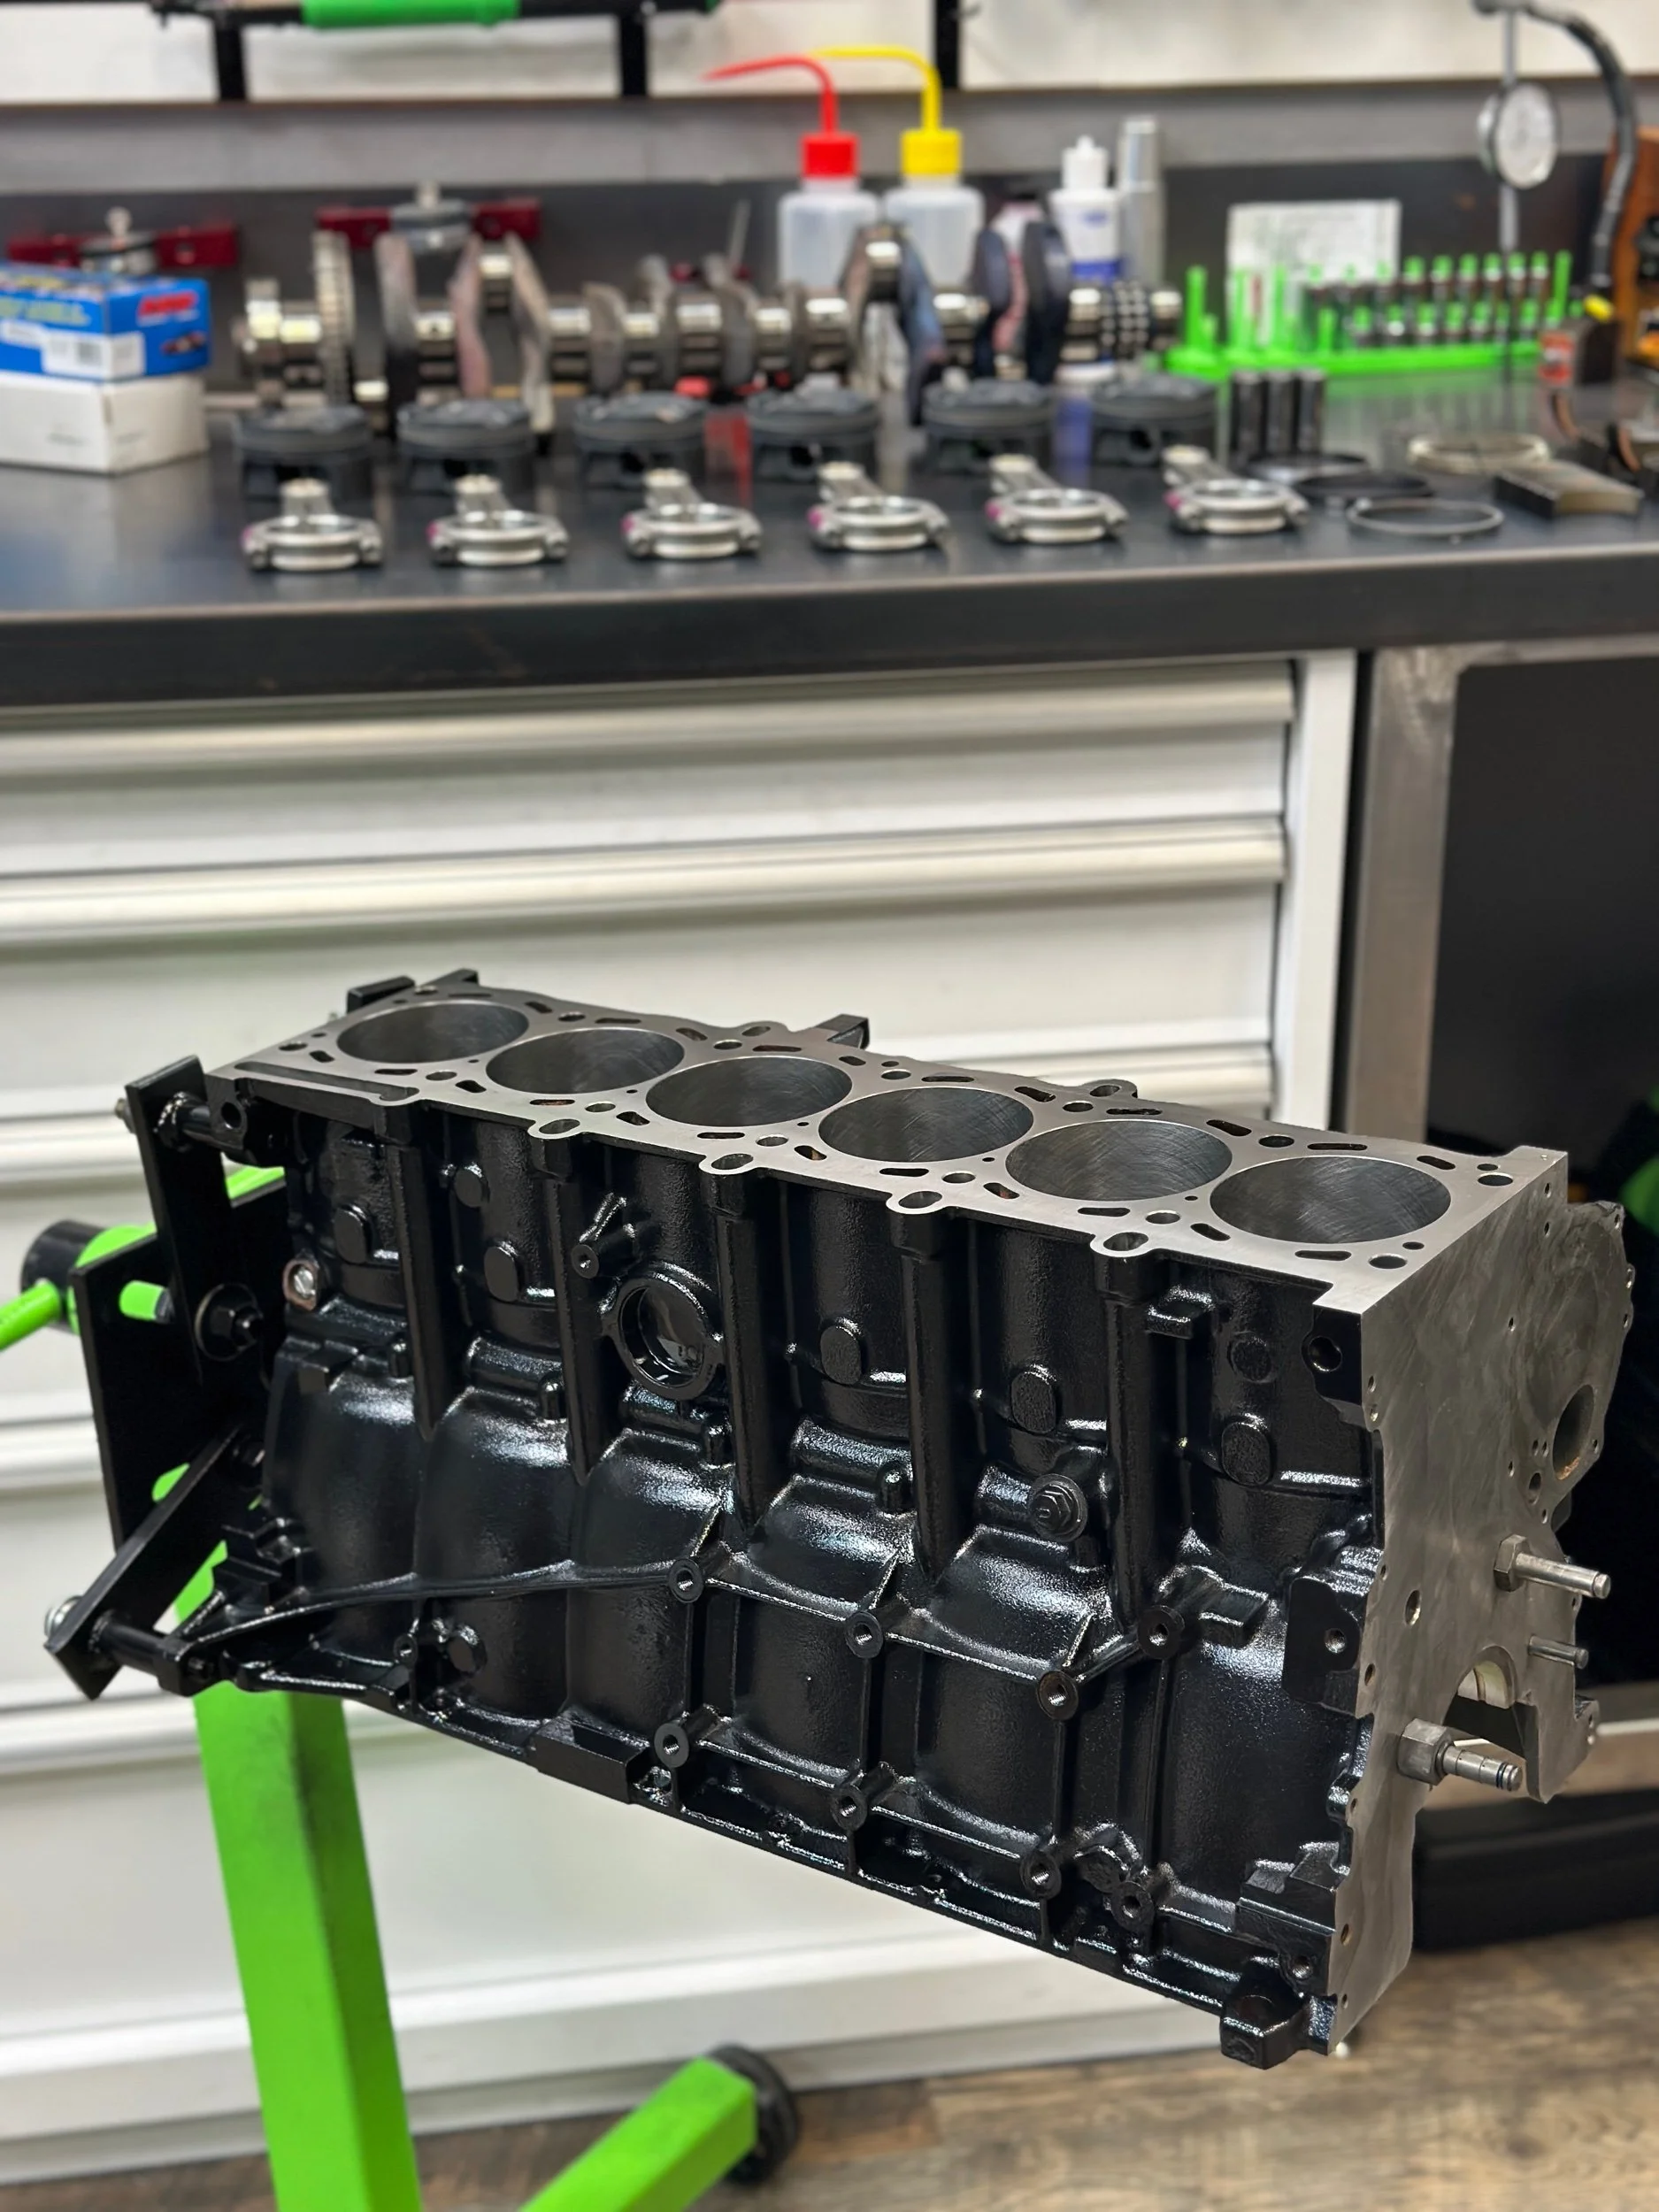
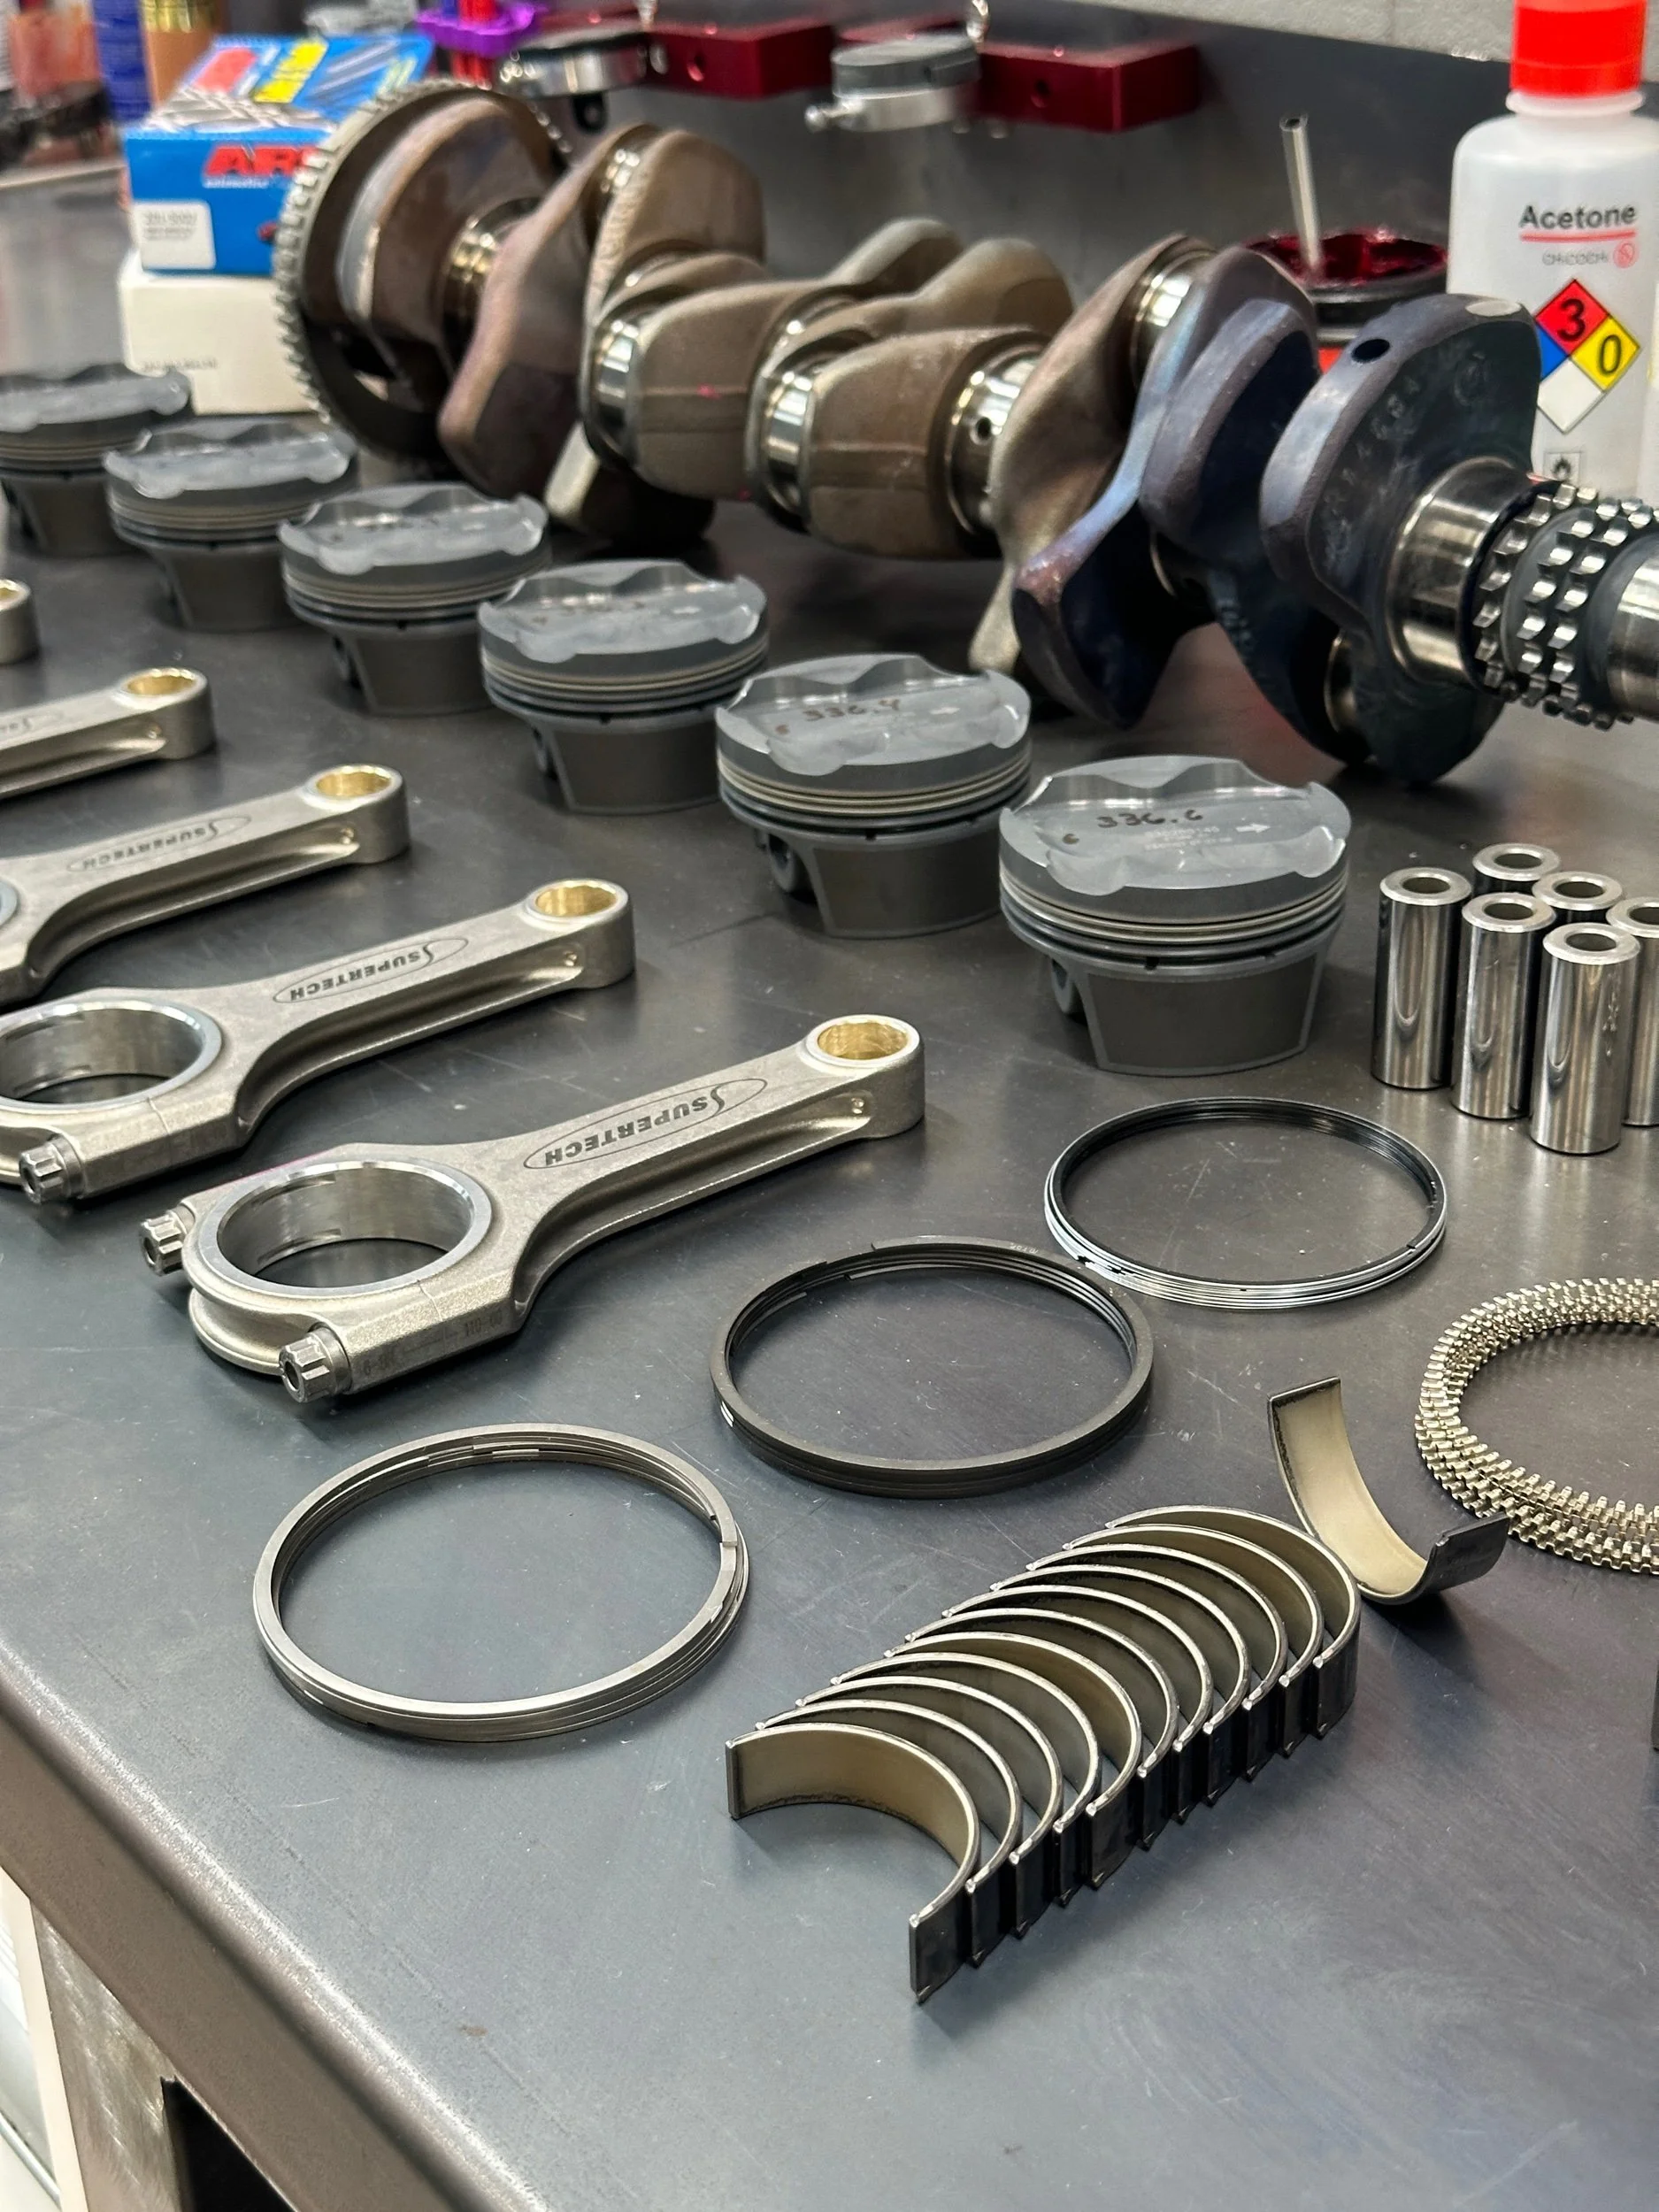
New beefy s54 built by steeldust machine
The new engine has Supertech connecting rods, Supertech forged pistons, a VAC multi-layer-steel headgasket, Supertech valvetrain, ARP L19 studs, and much much more.
Sequential Time…
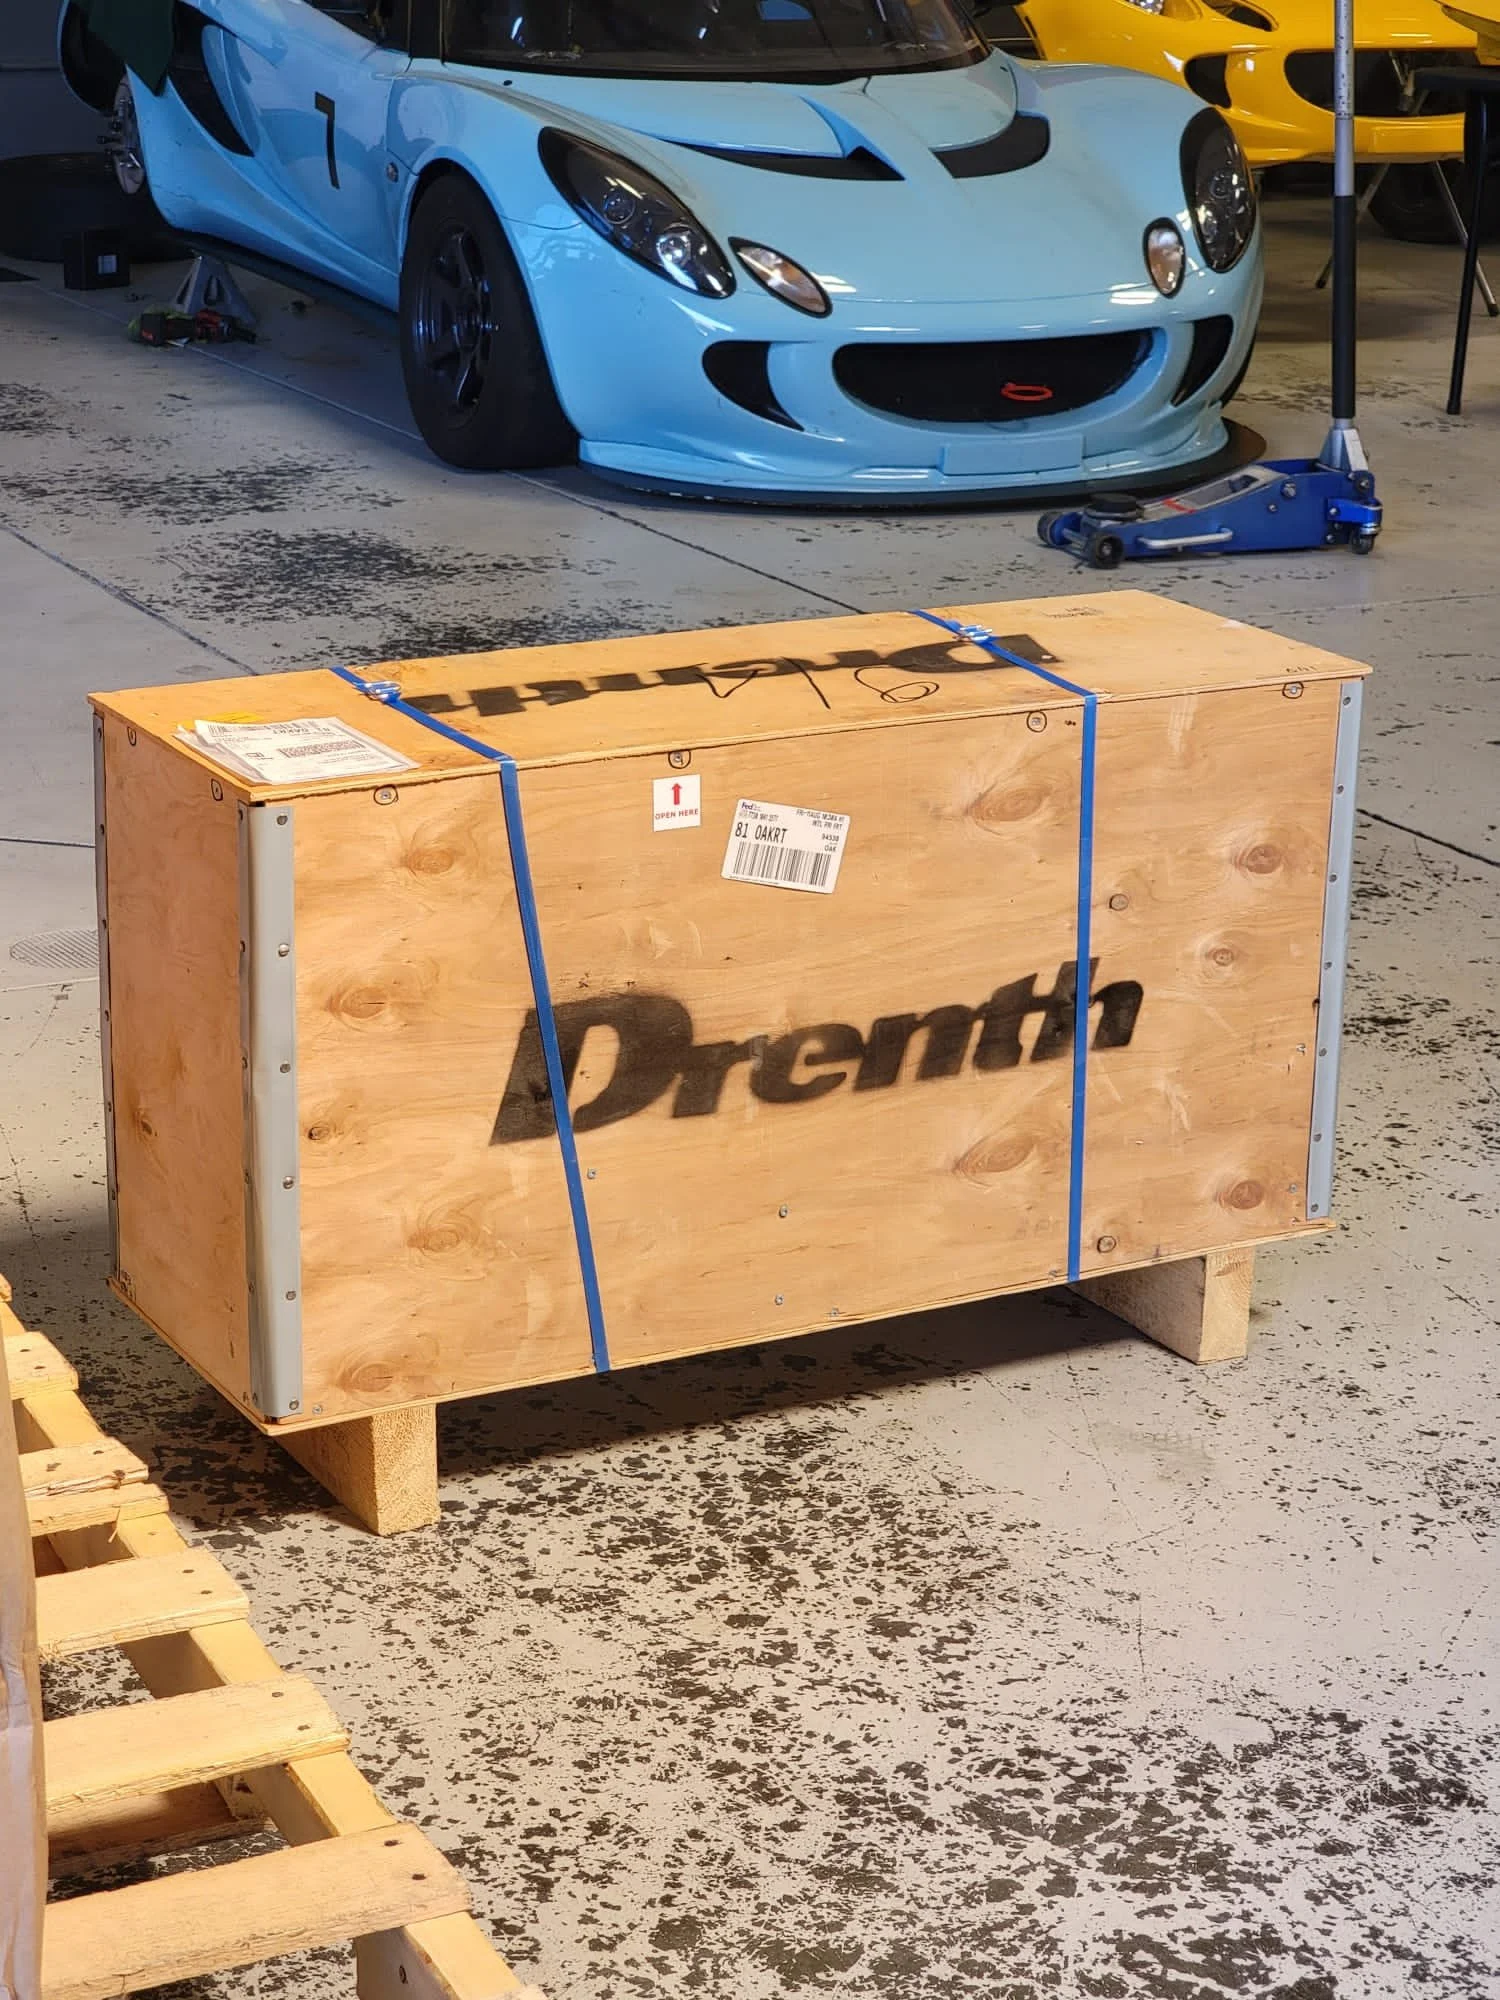
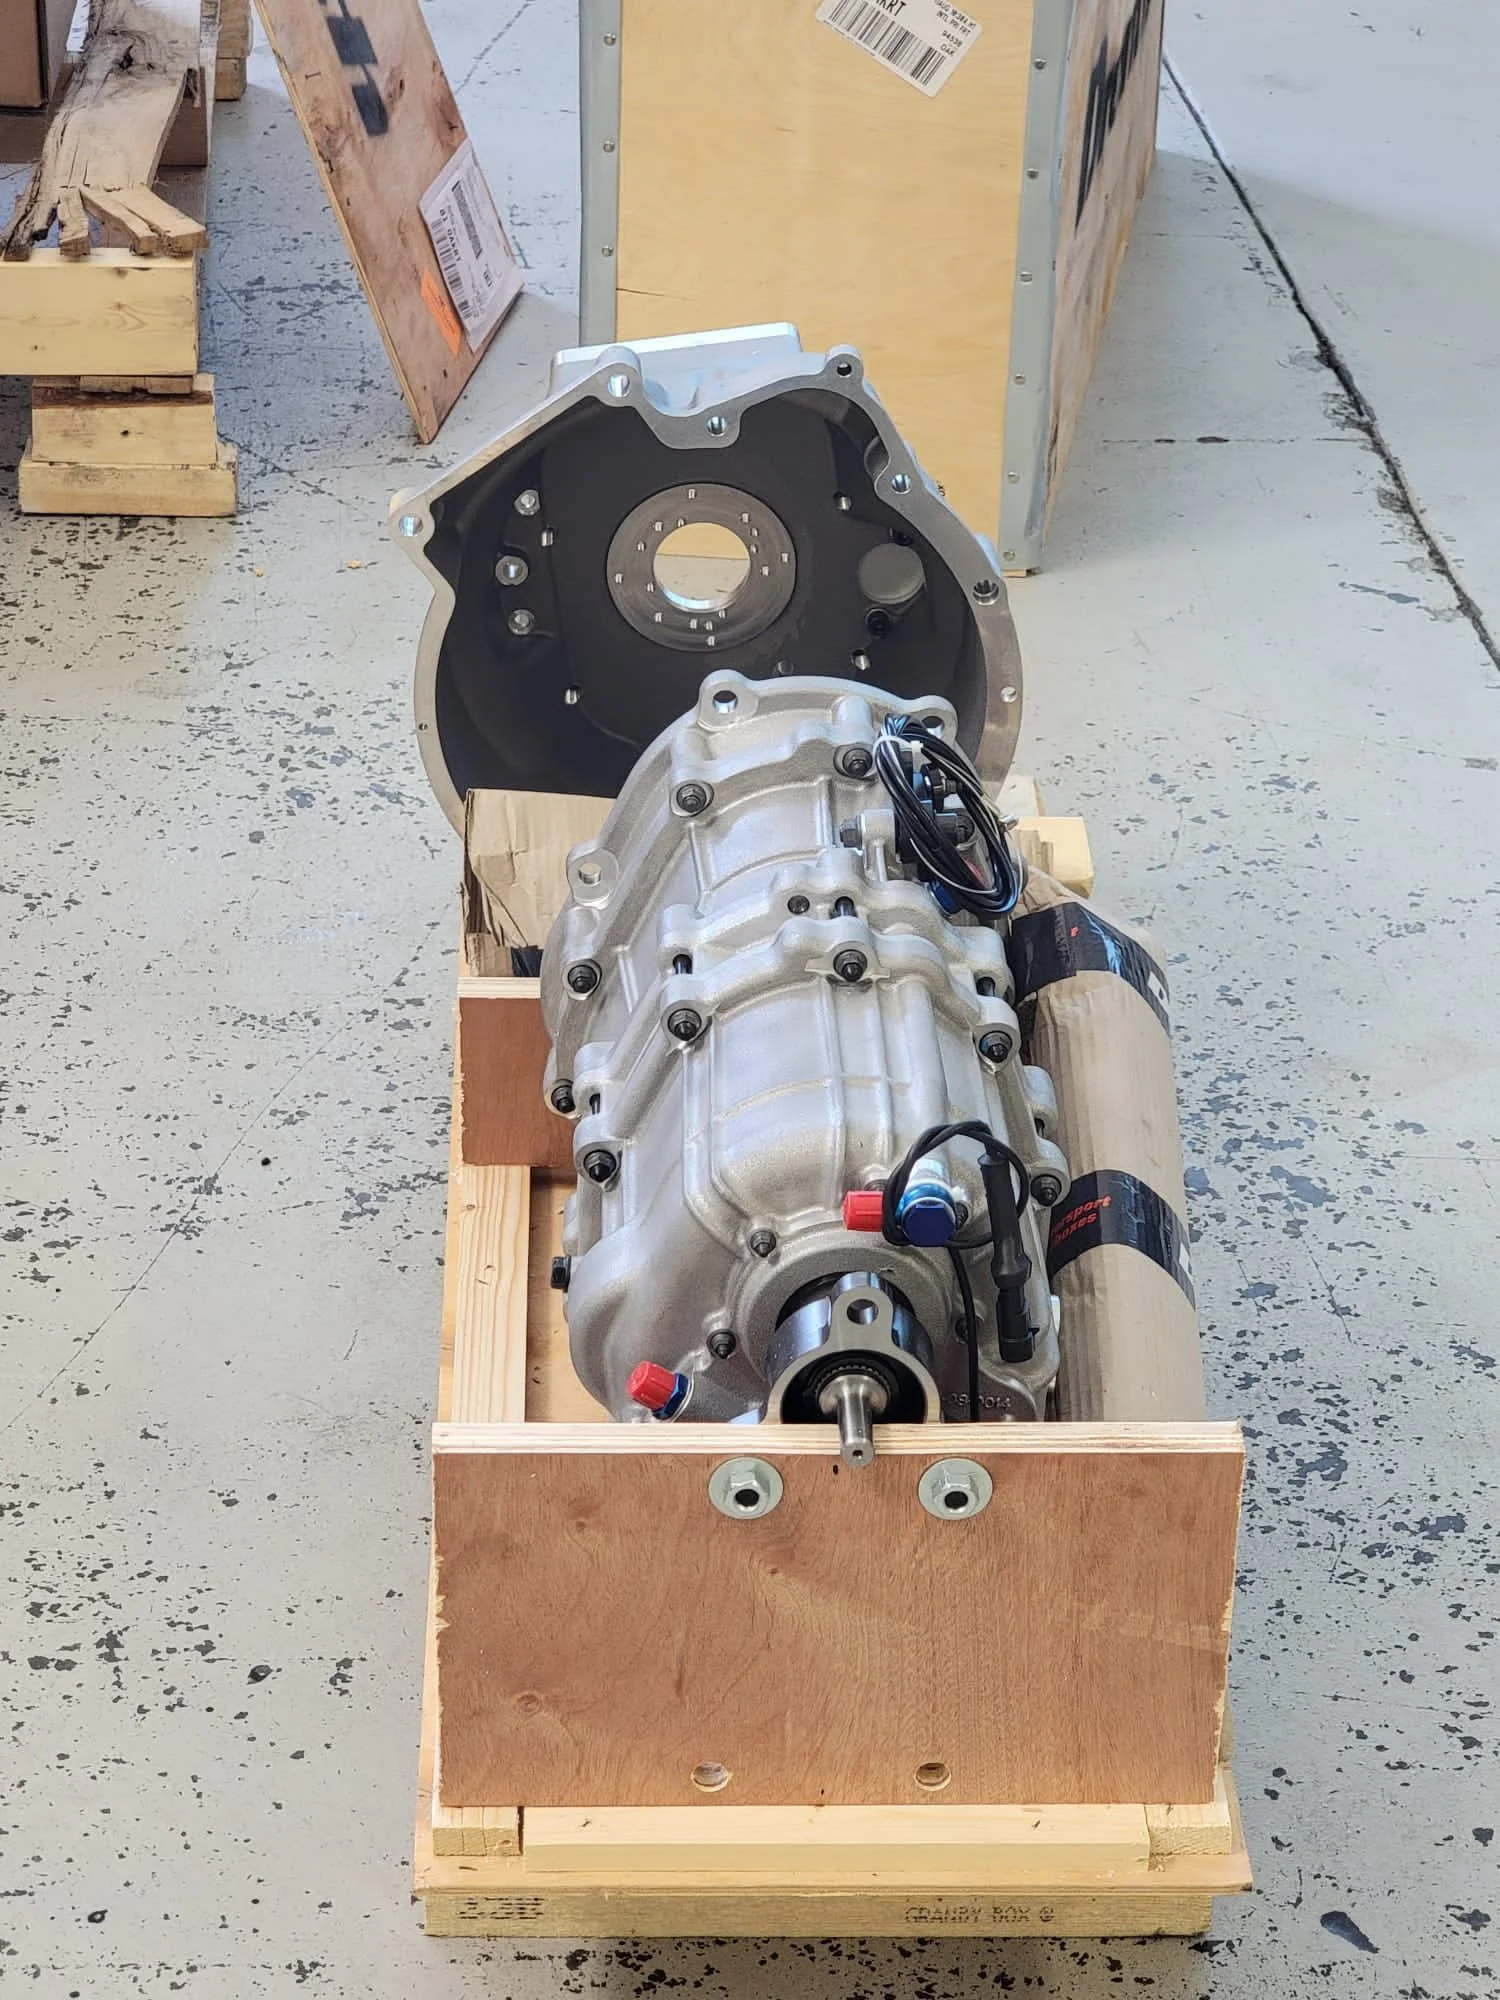
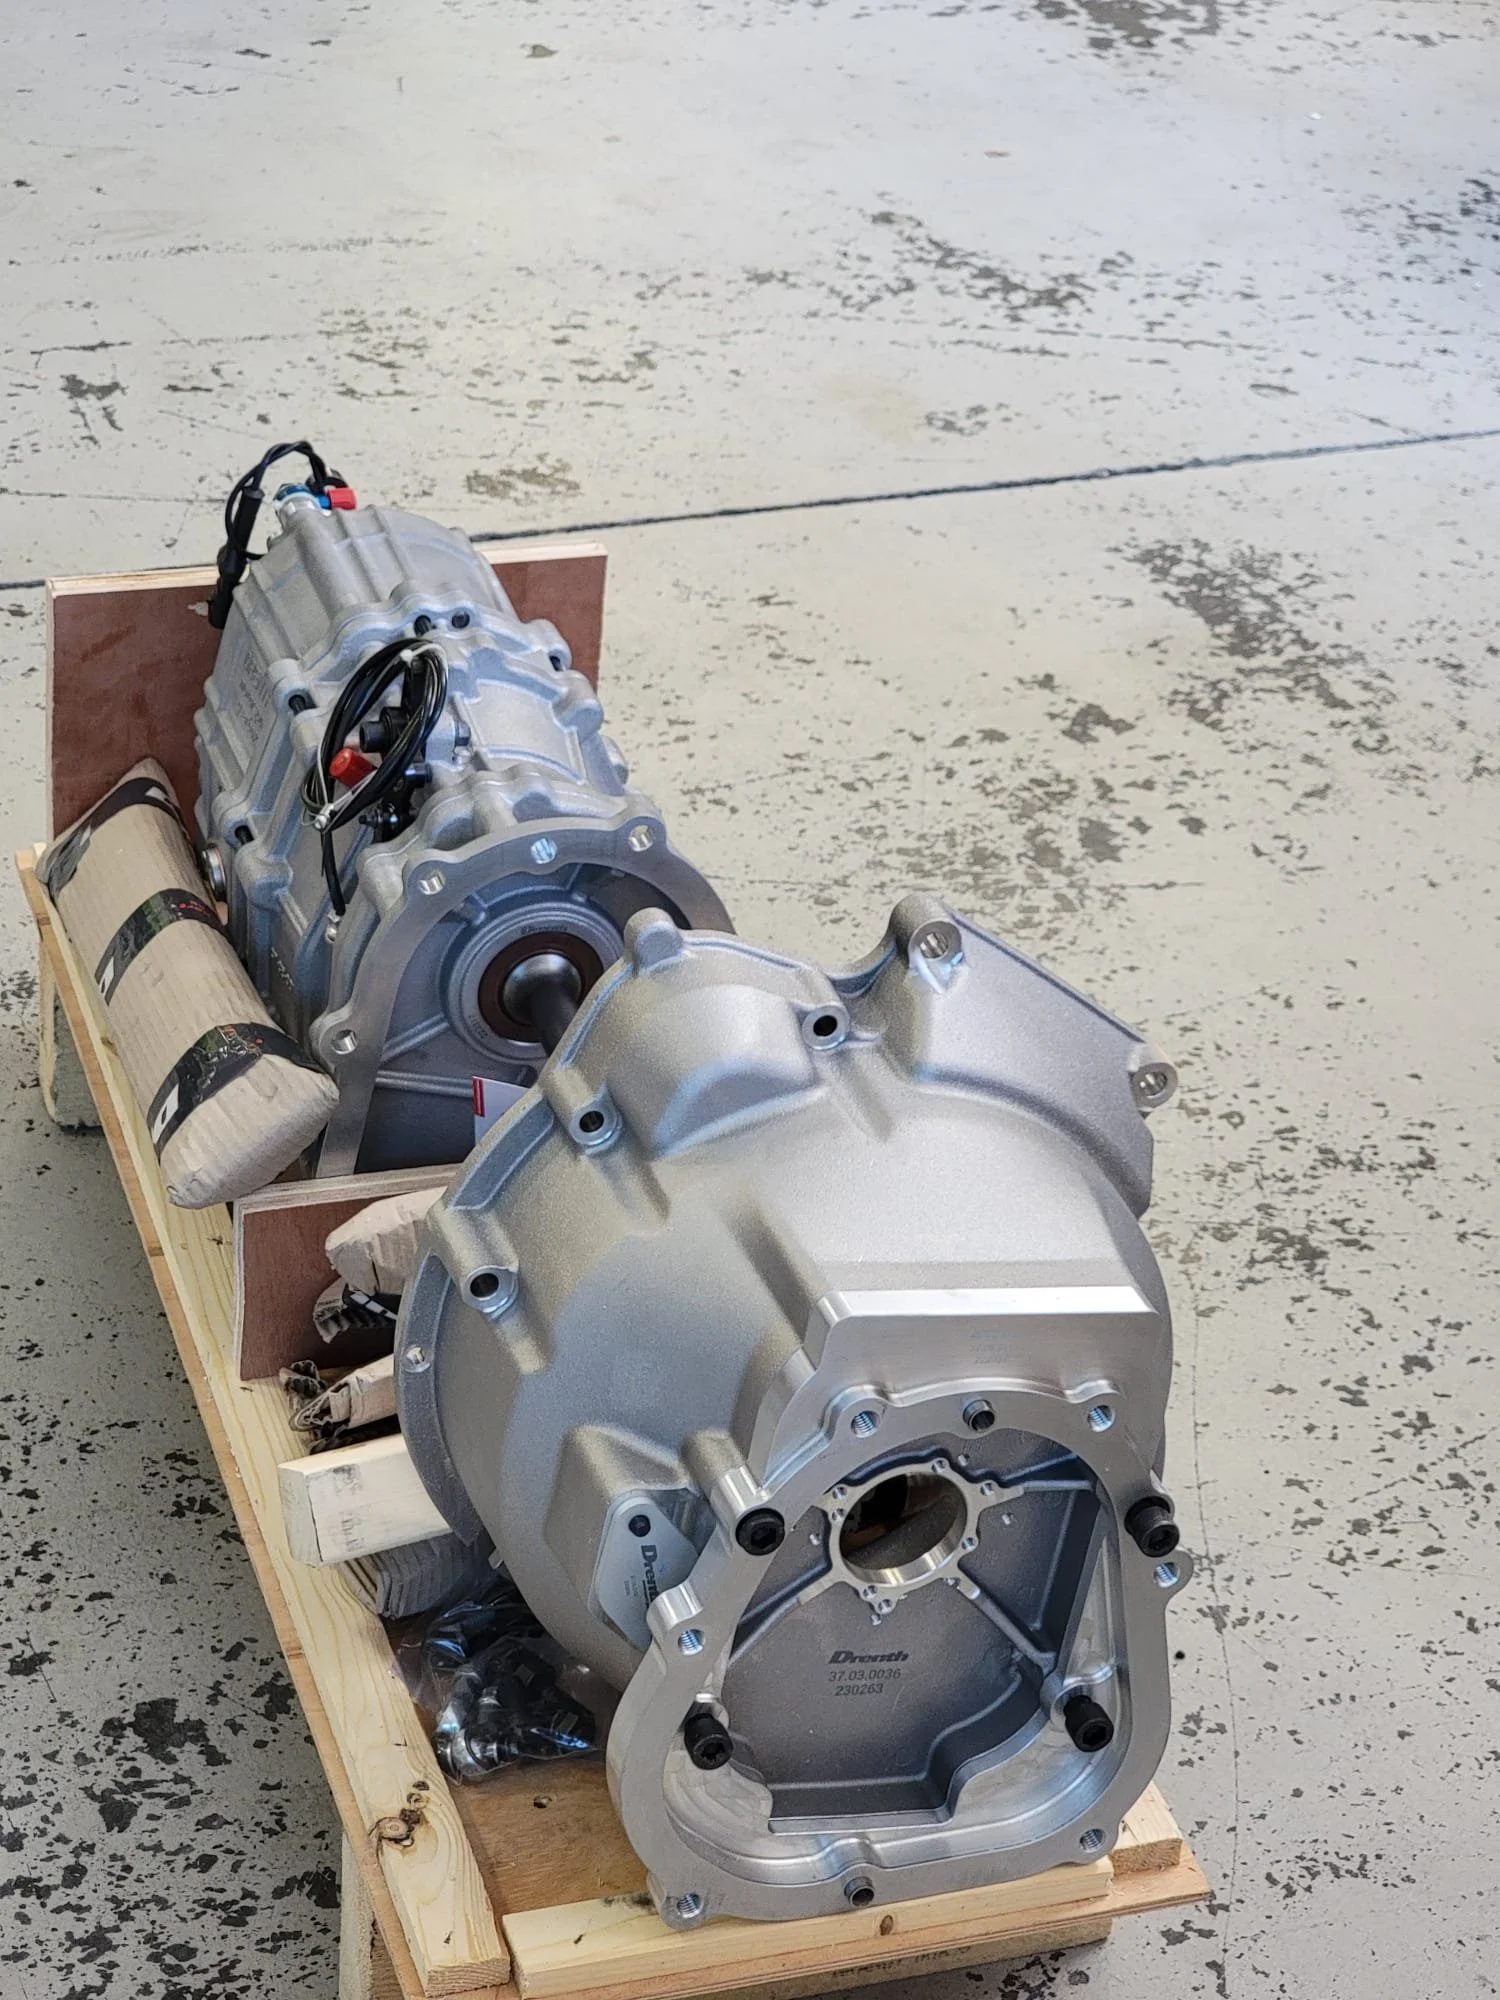
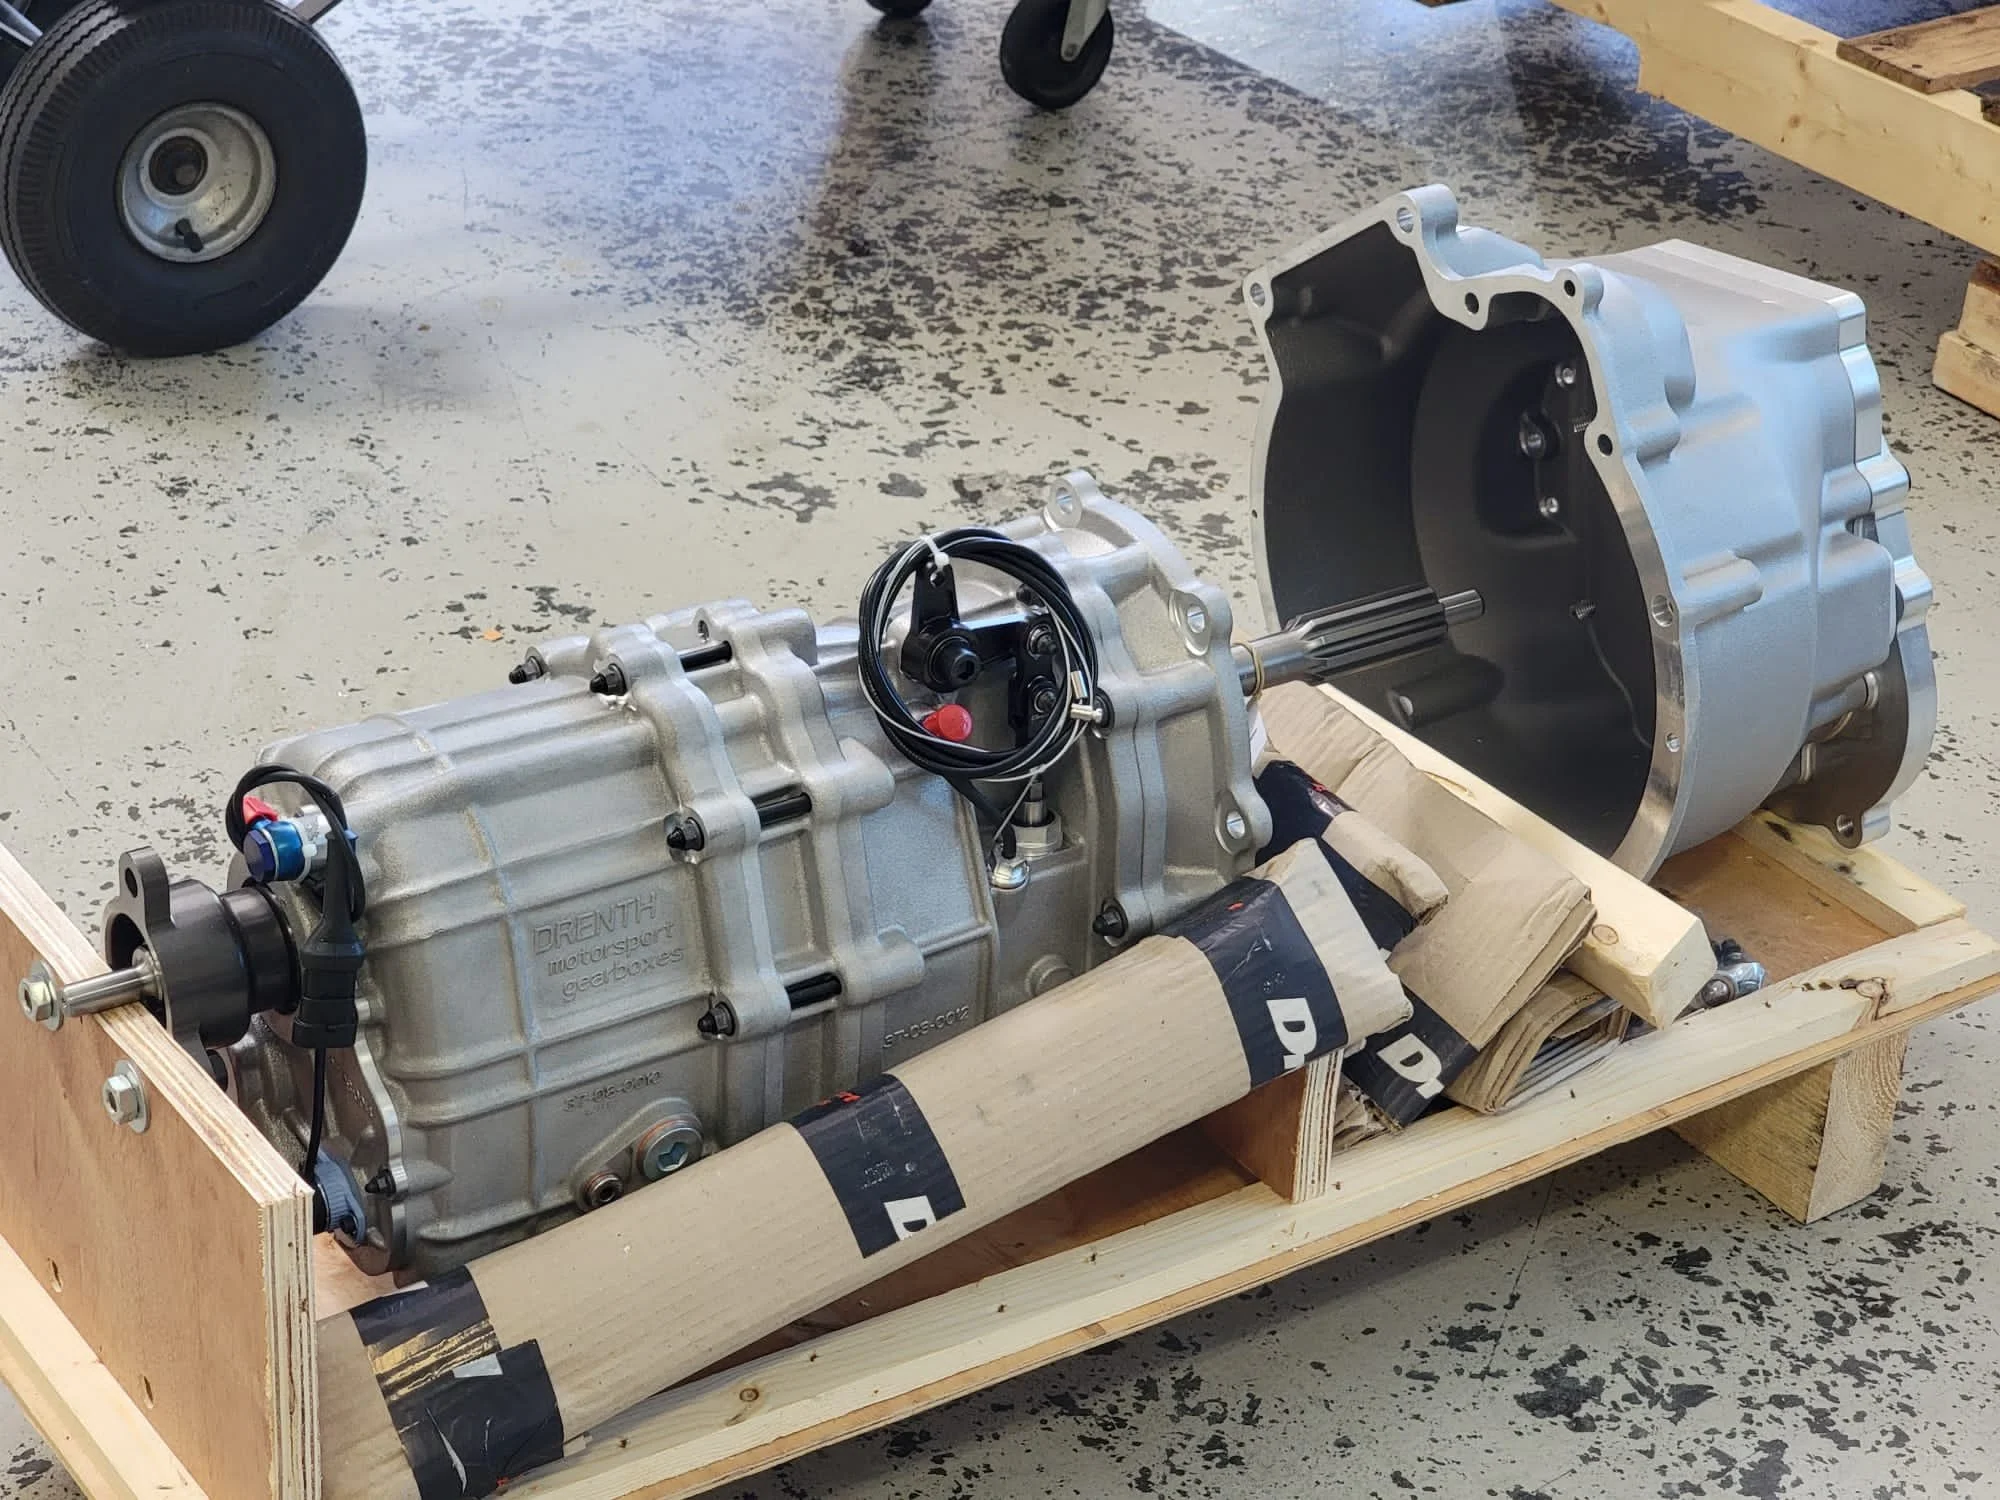
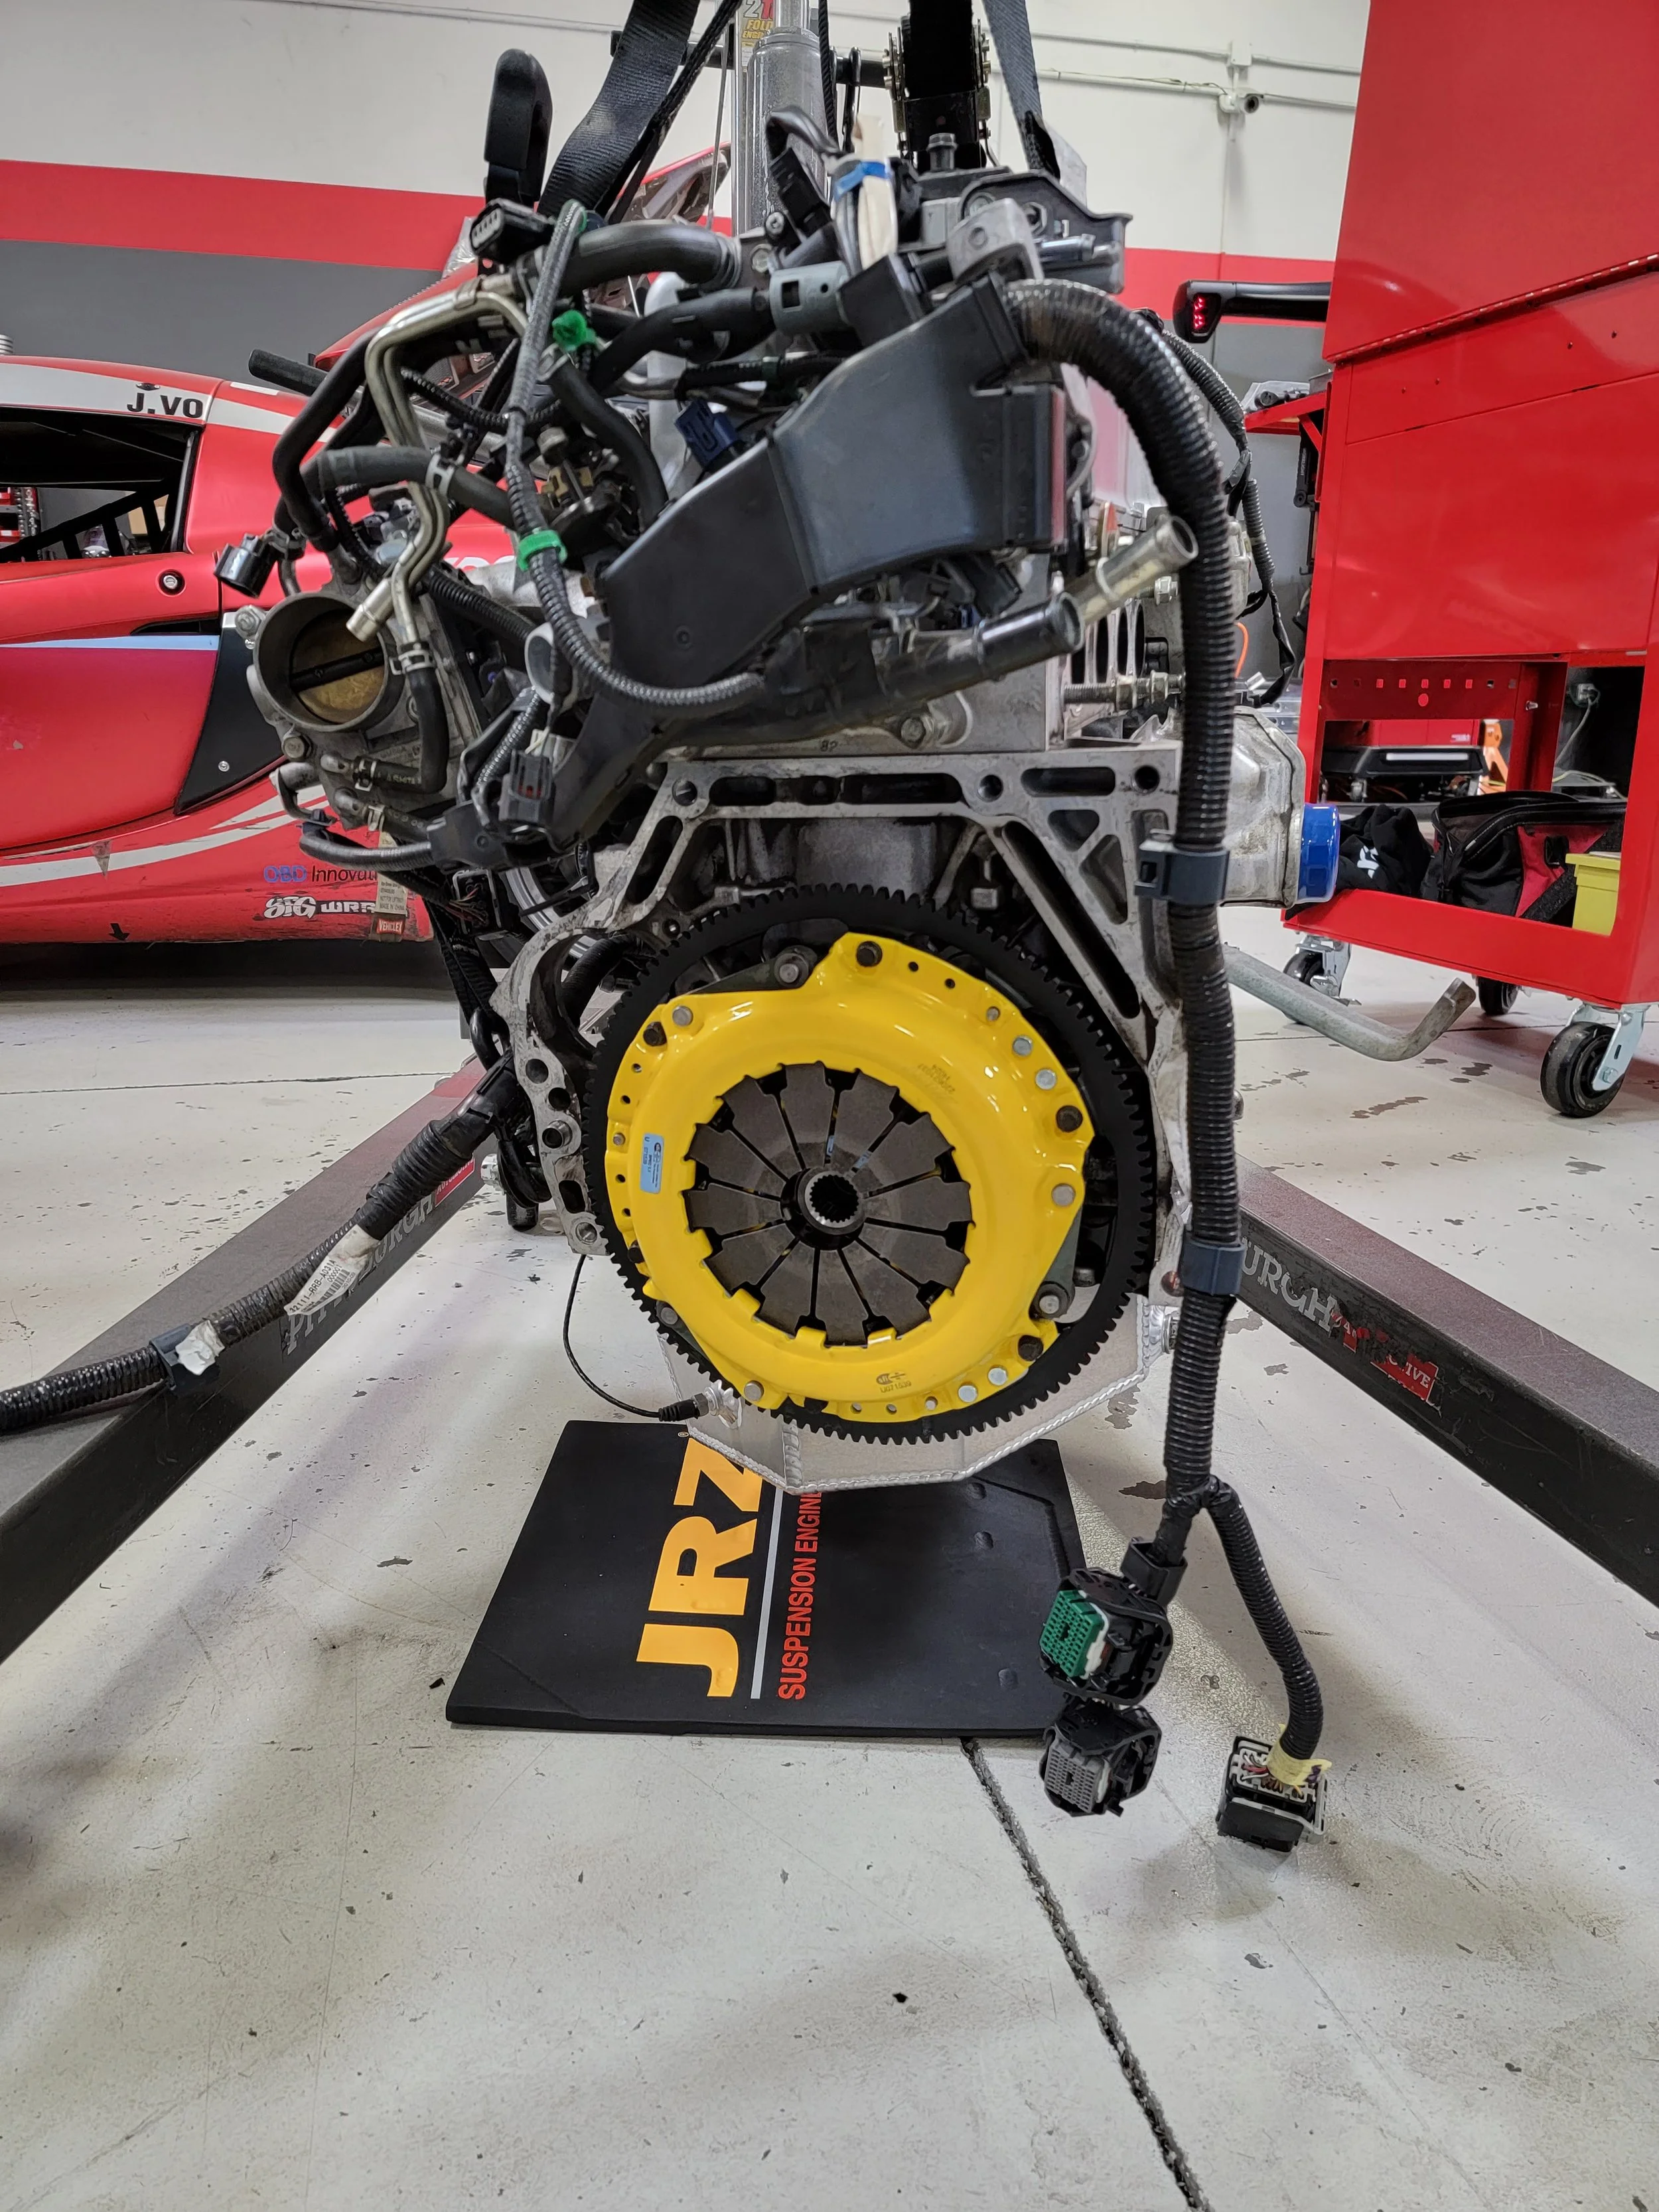
While Nate and Steeldust were busy building my engine, we got to work on installing the new Drenth DG-500 sequential transmission. This unit comes to us via our friends at VAC Motorsport and is made in the Netherlands. It’s a gorgeous gearbox.
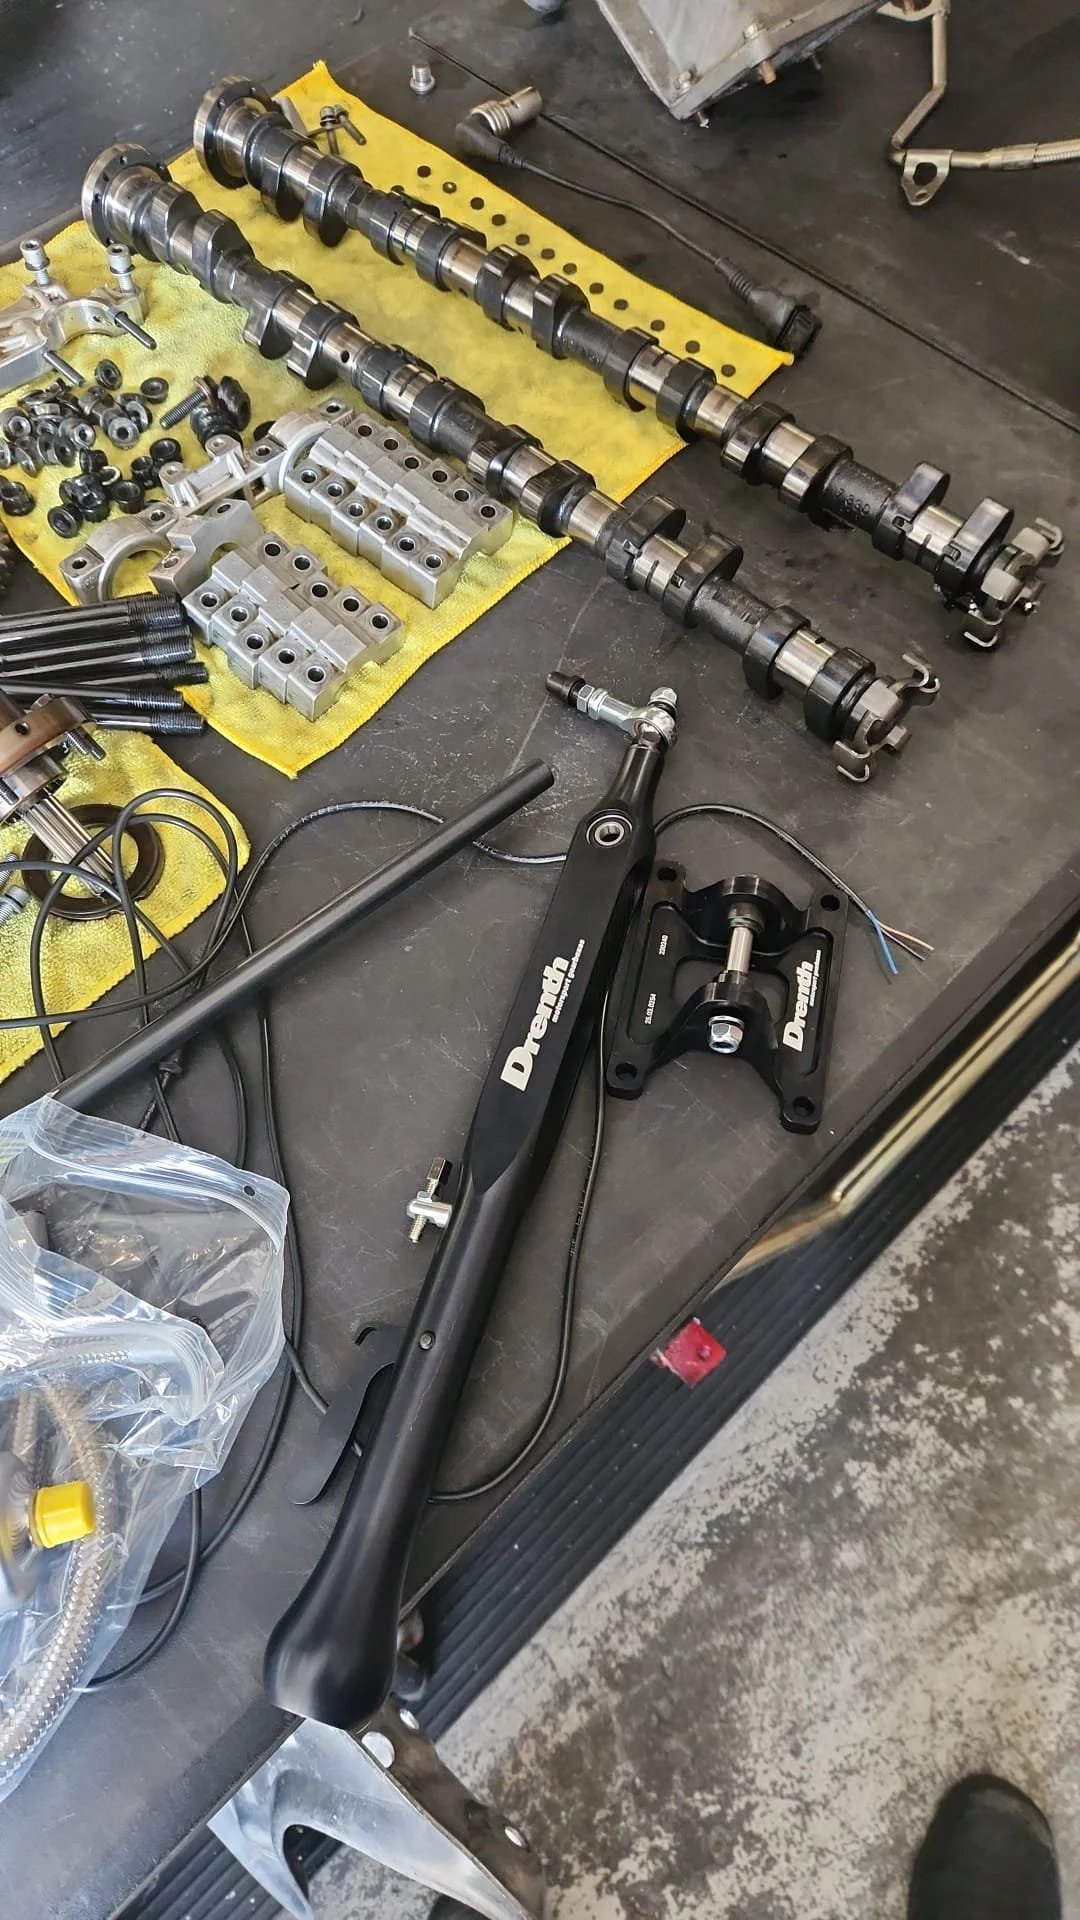
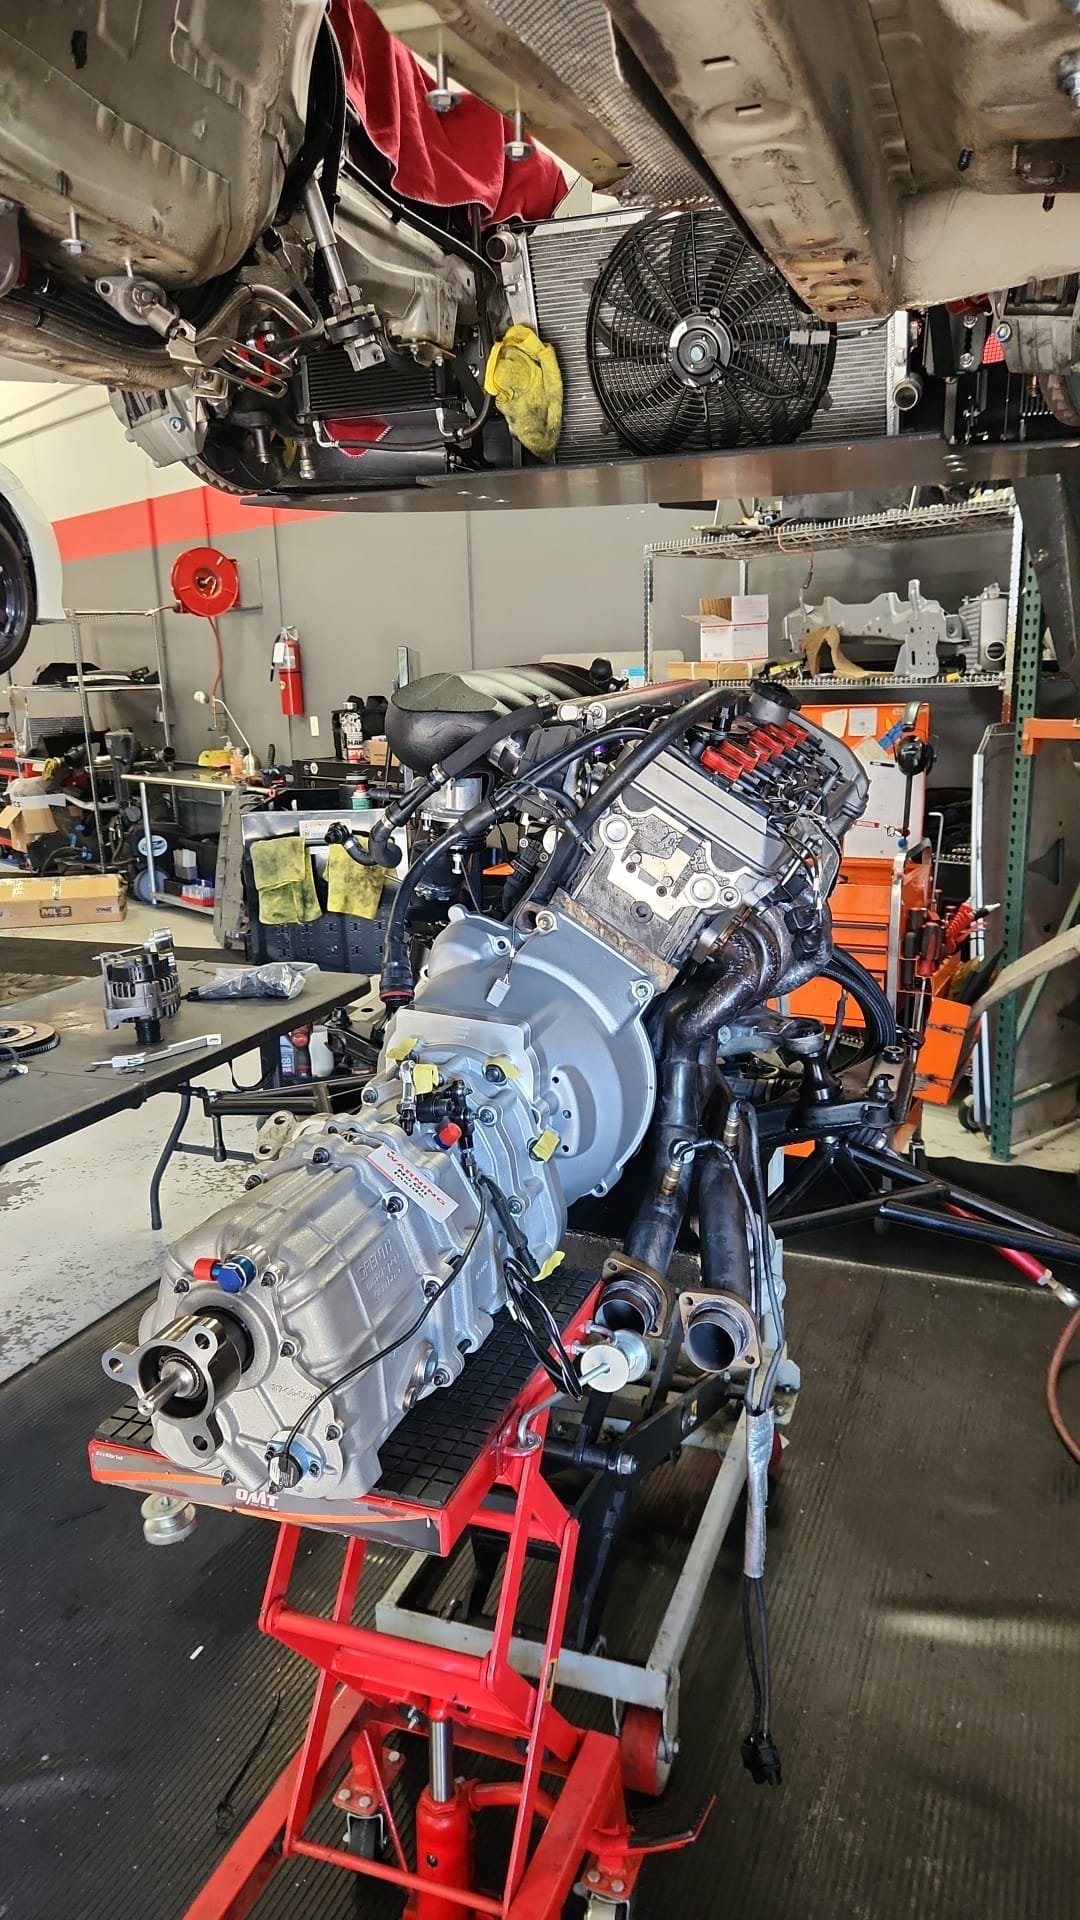
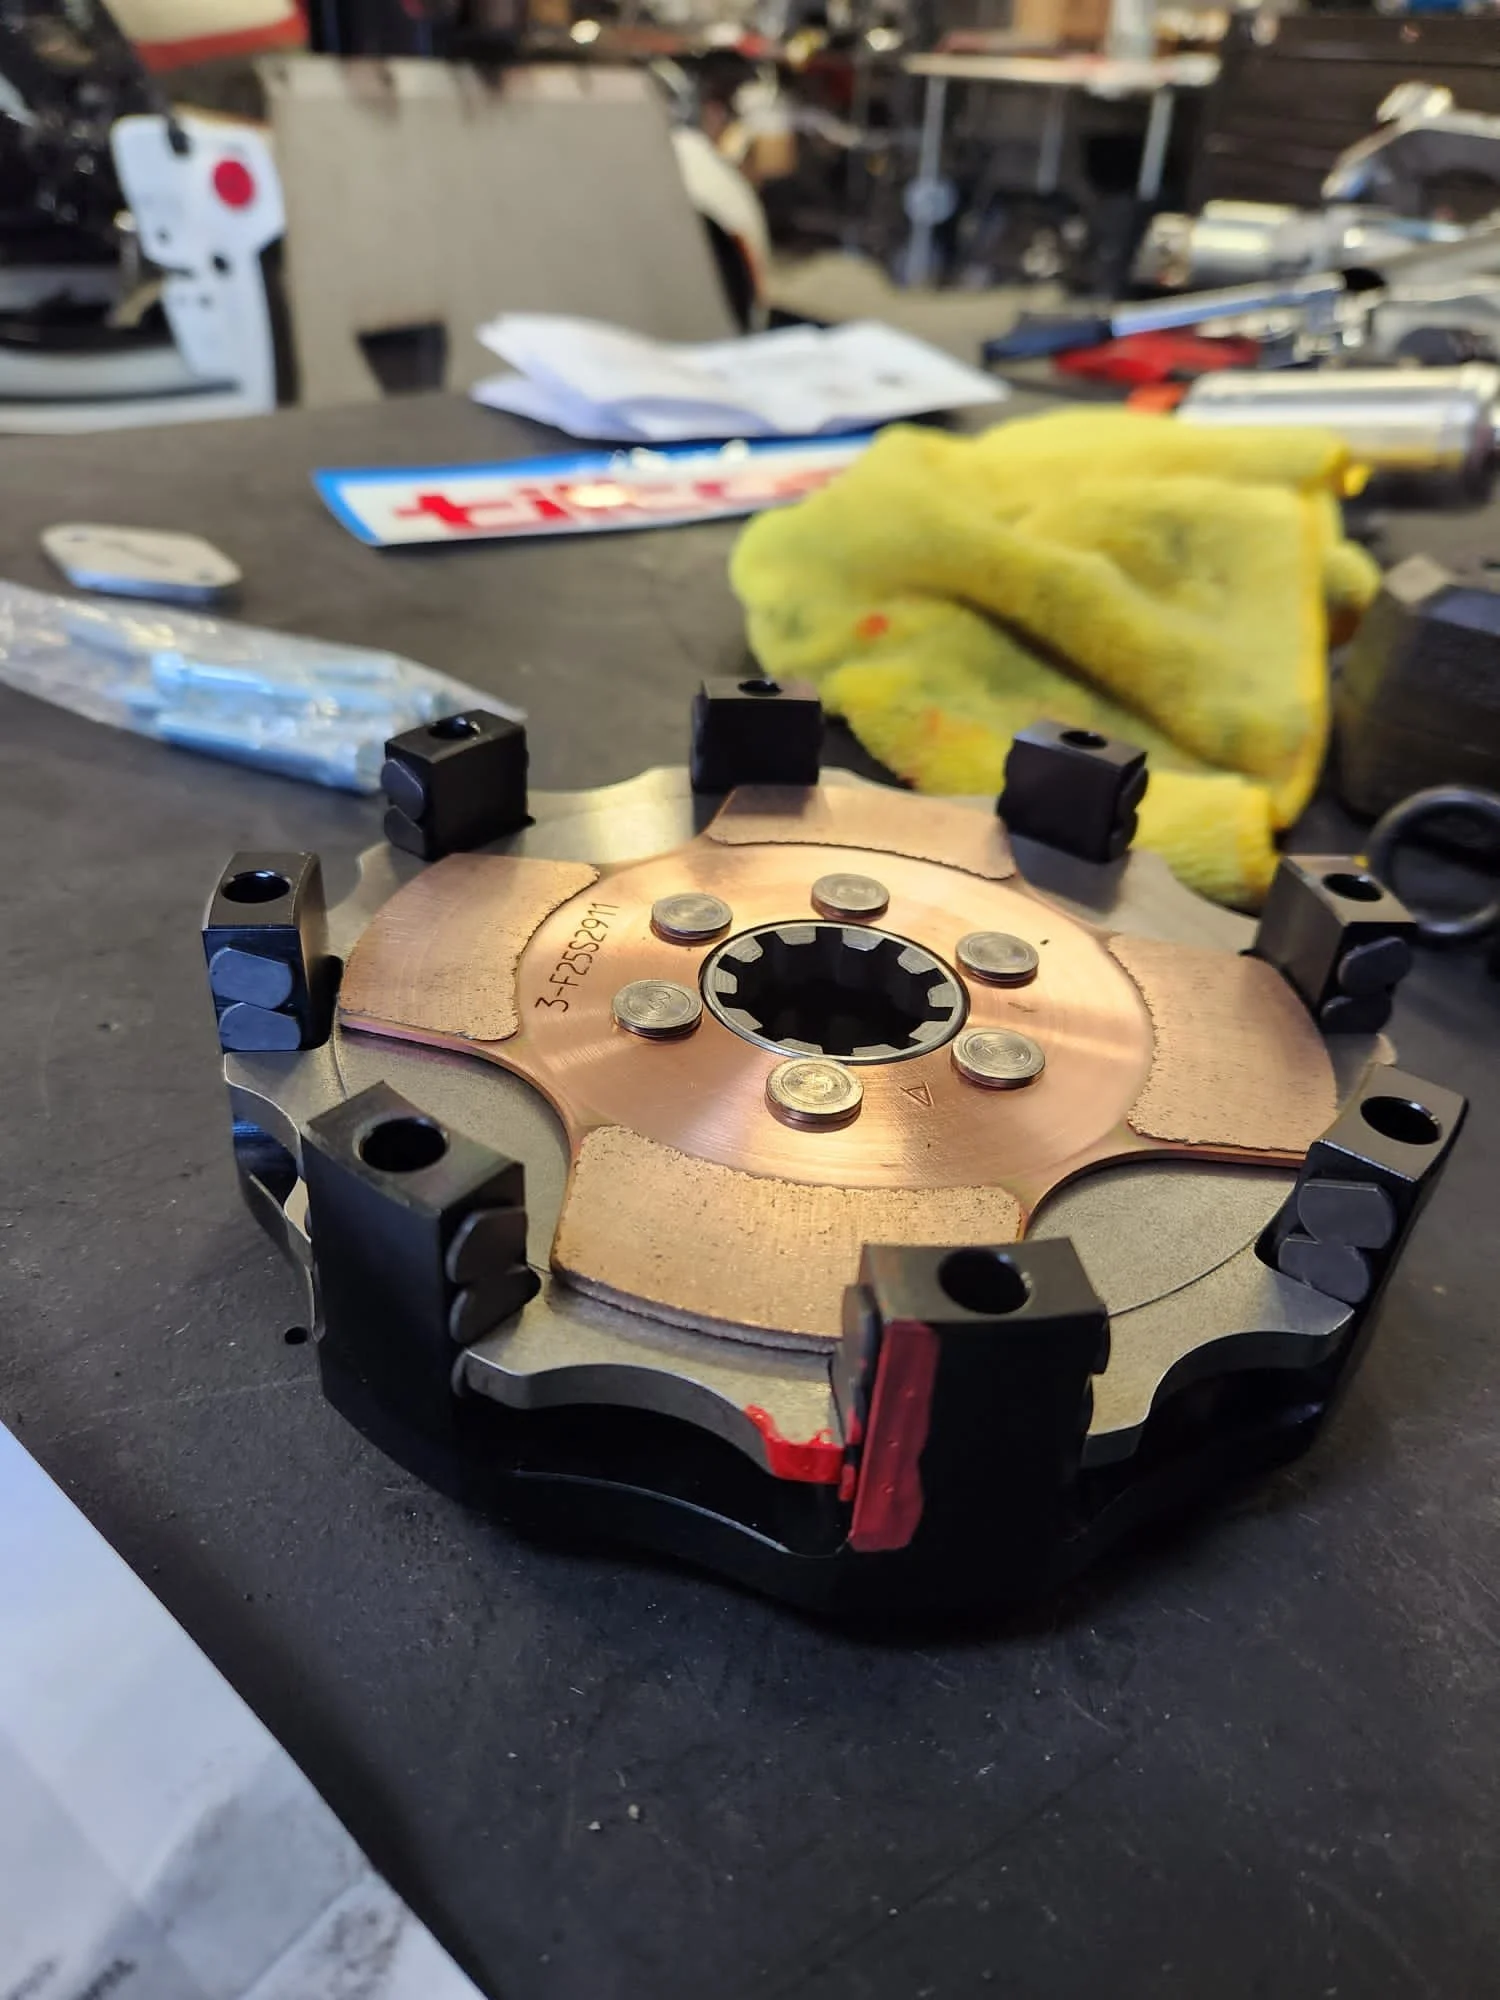
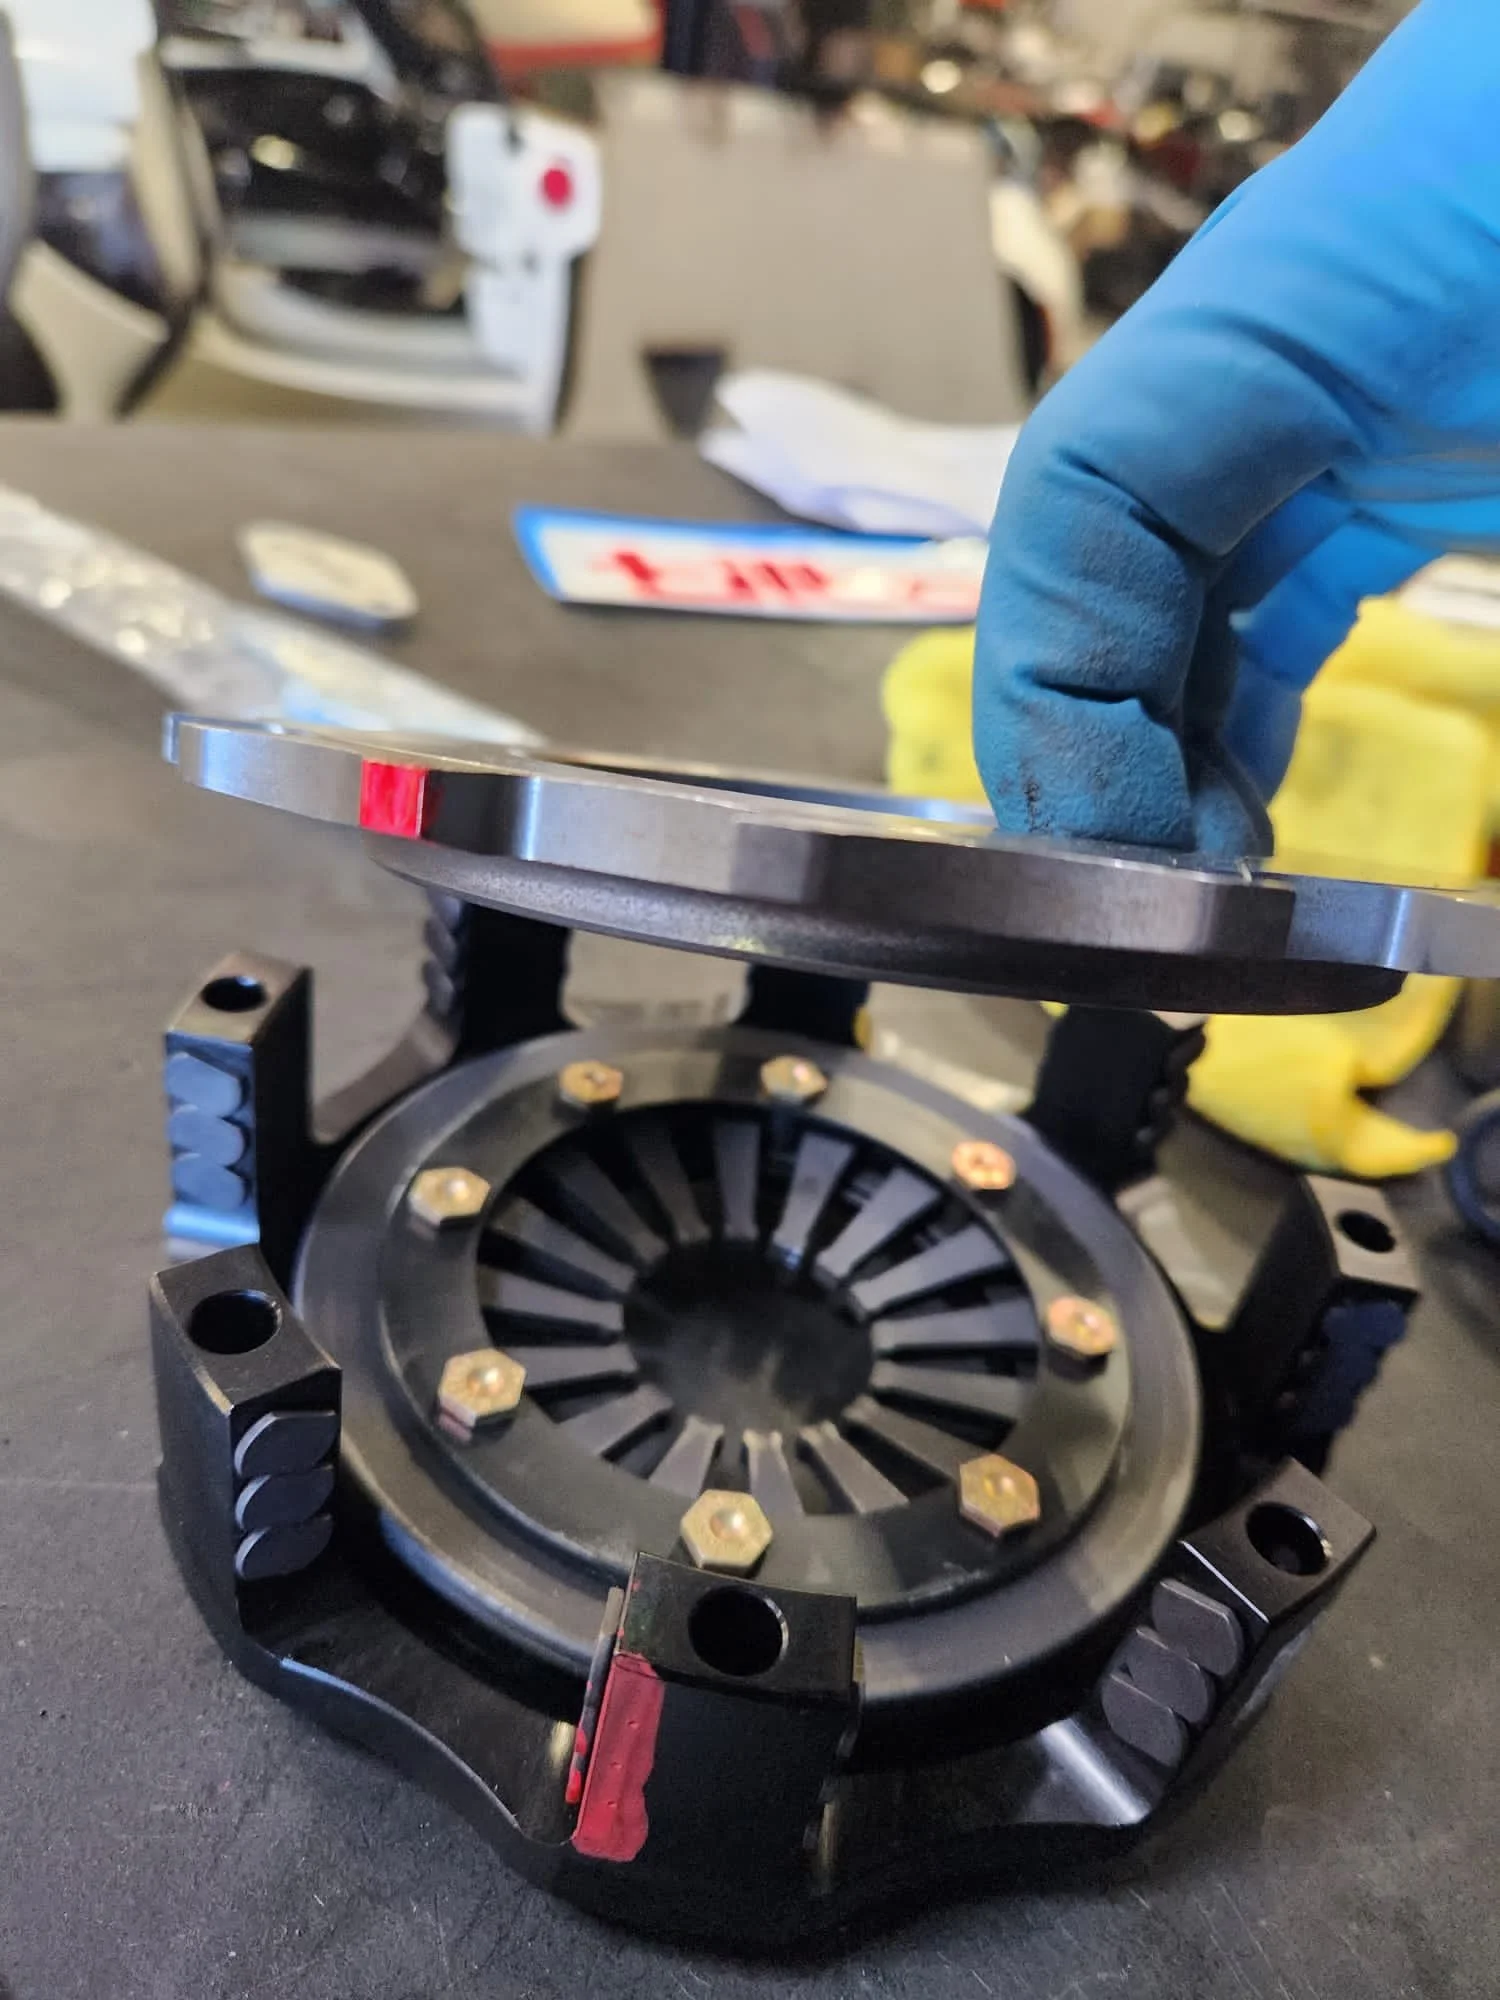
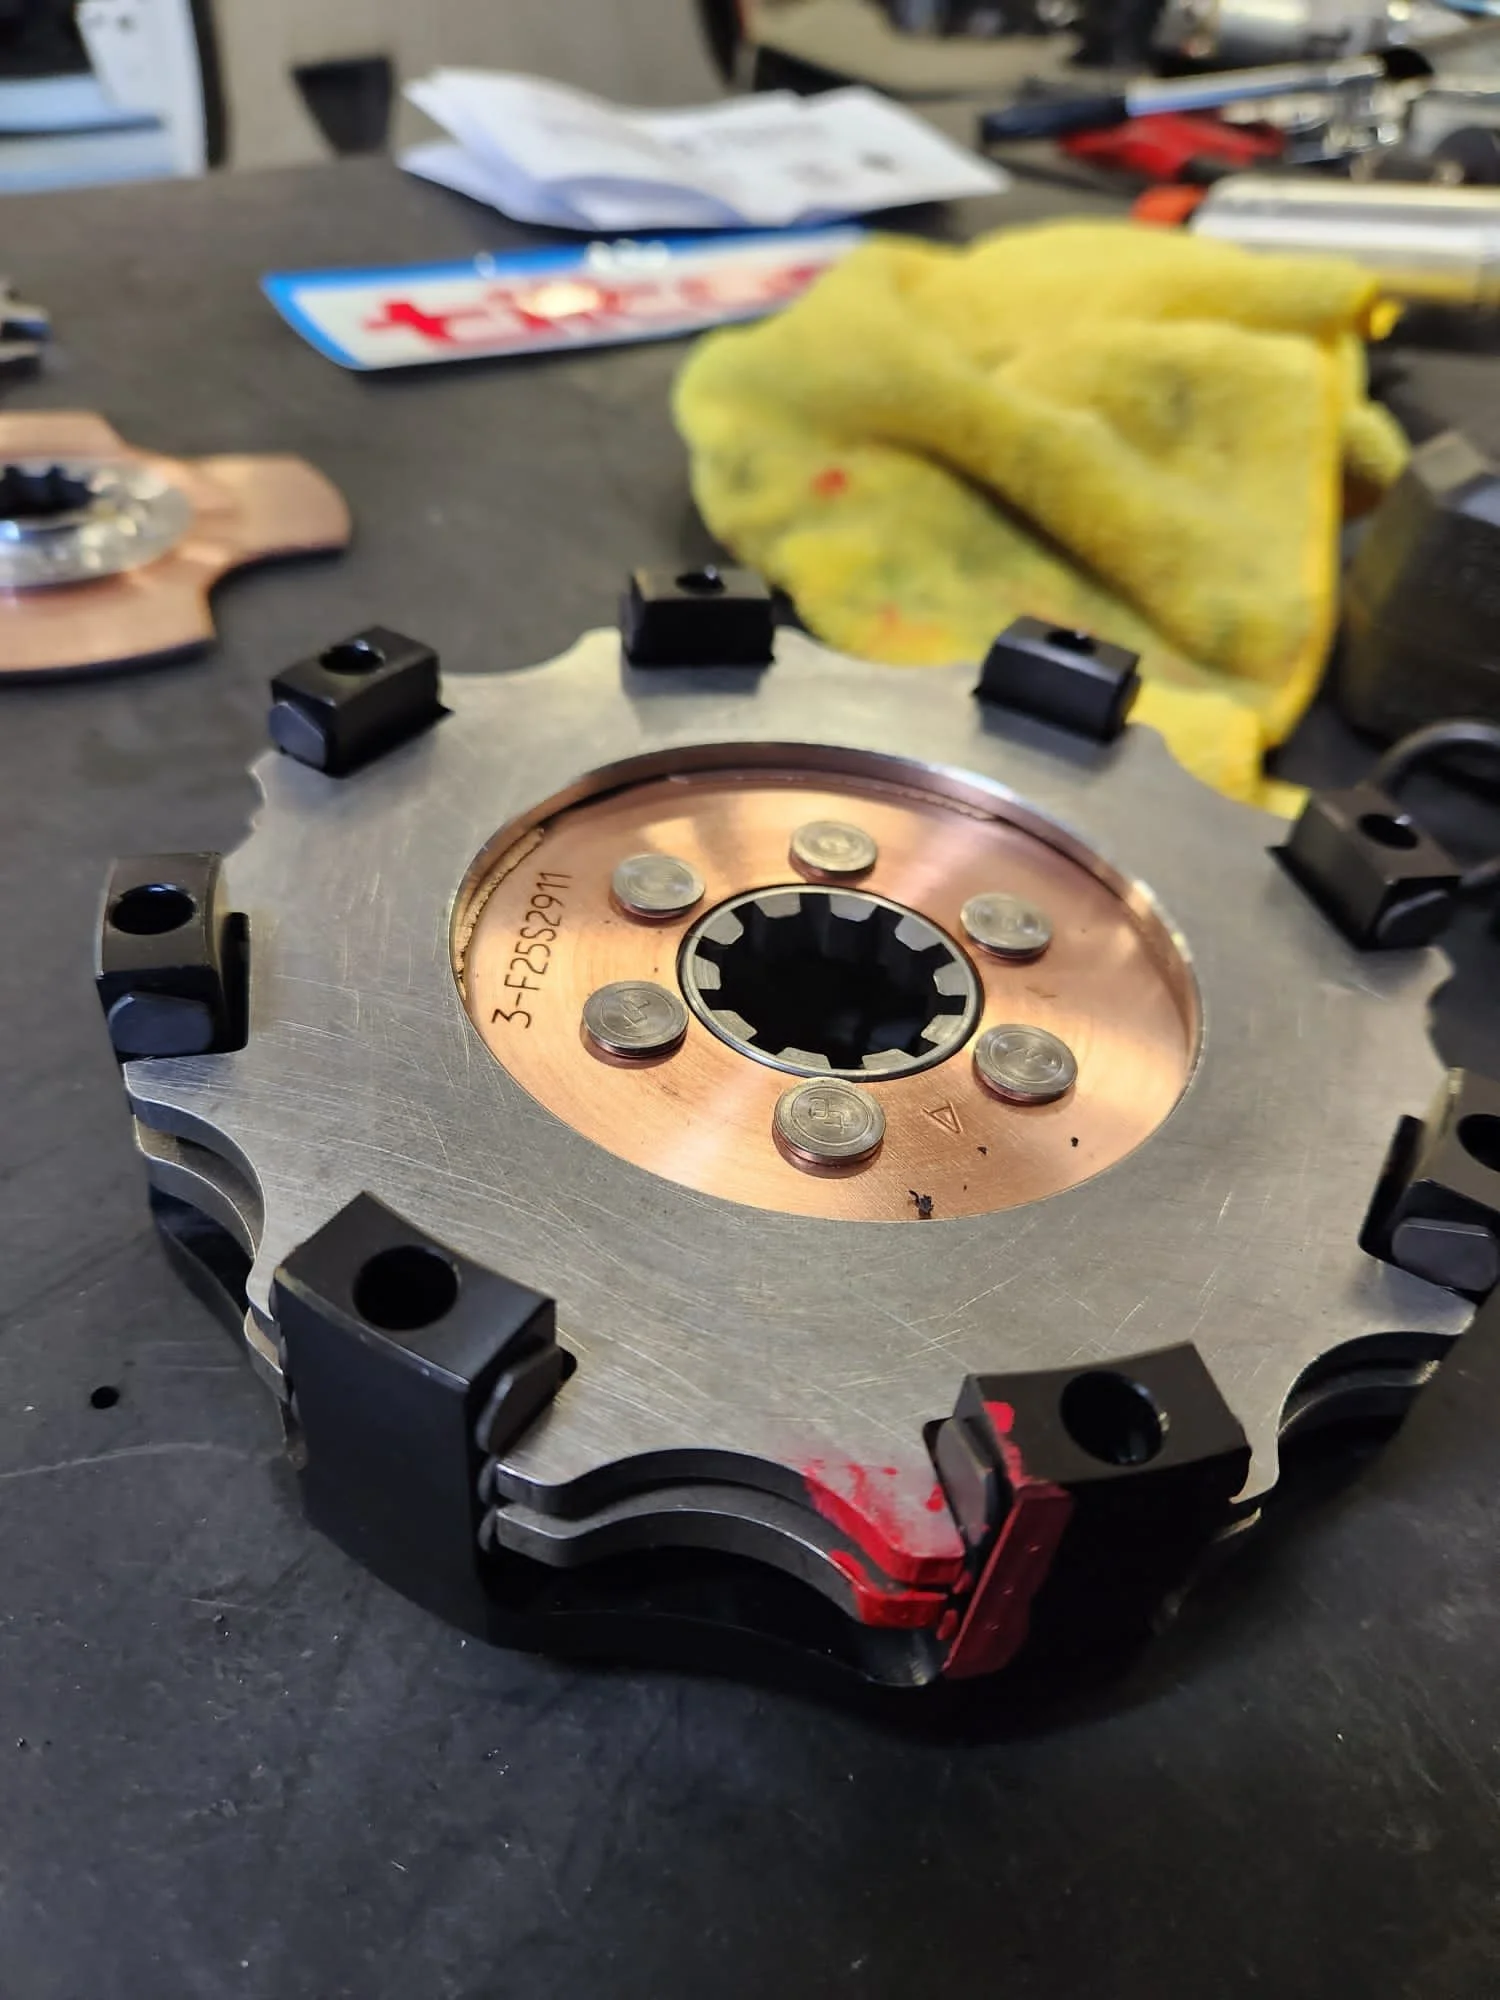
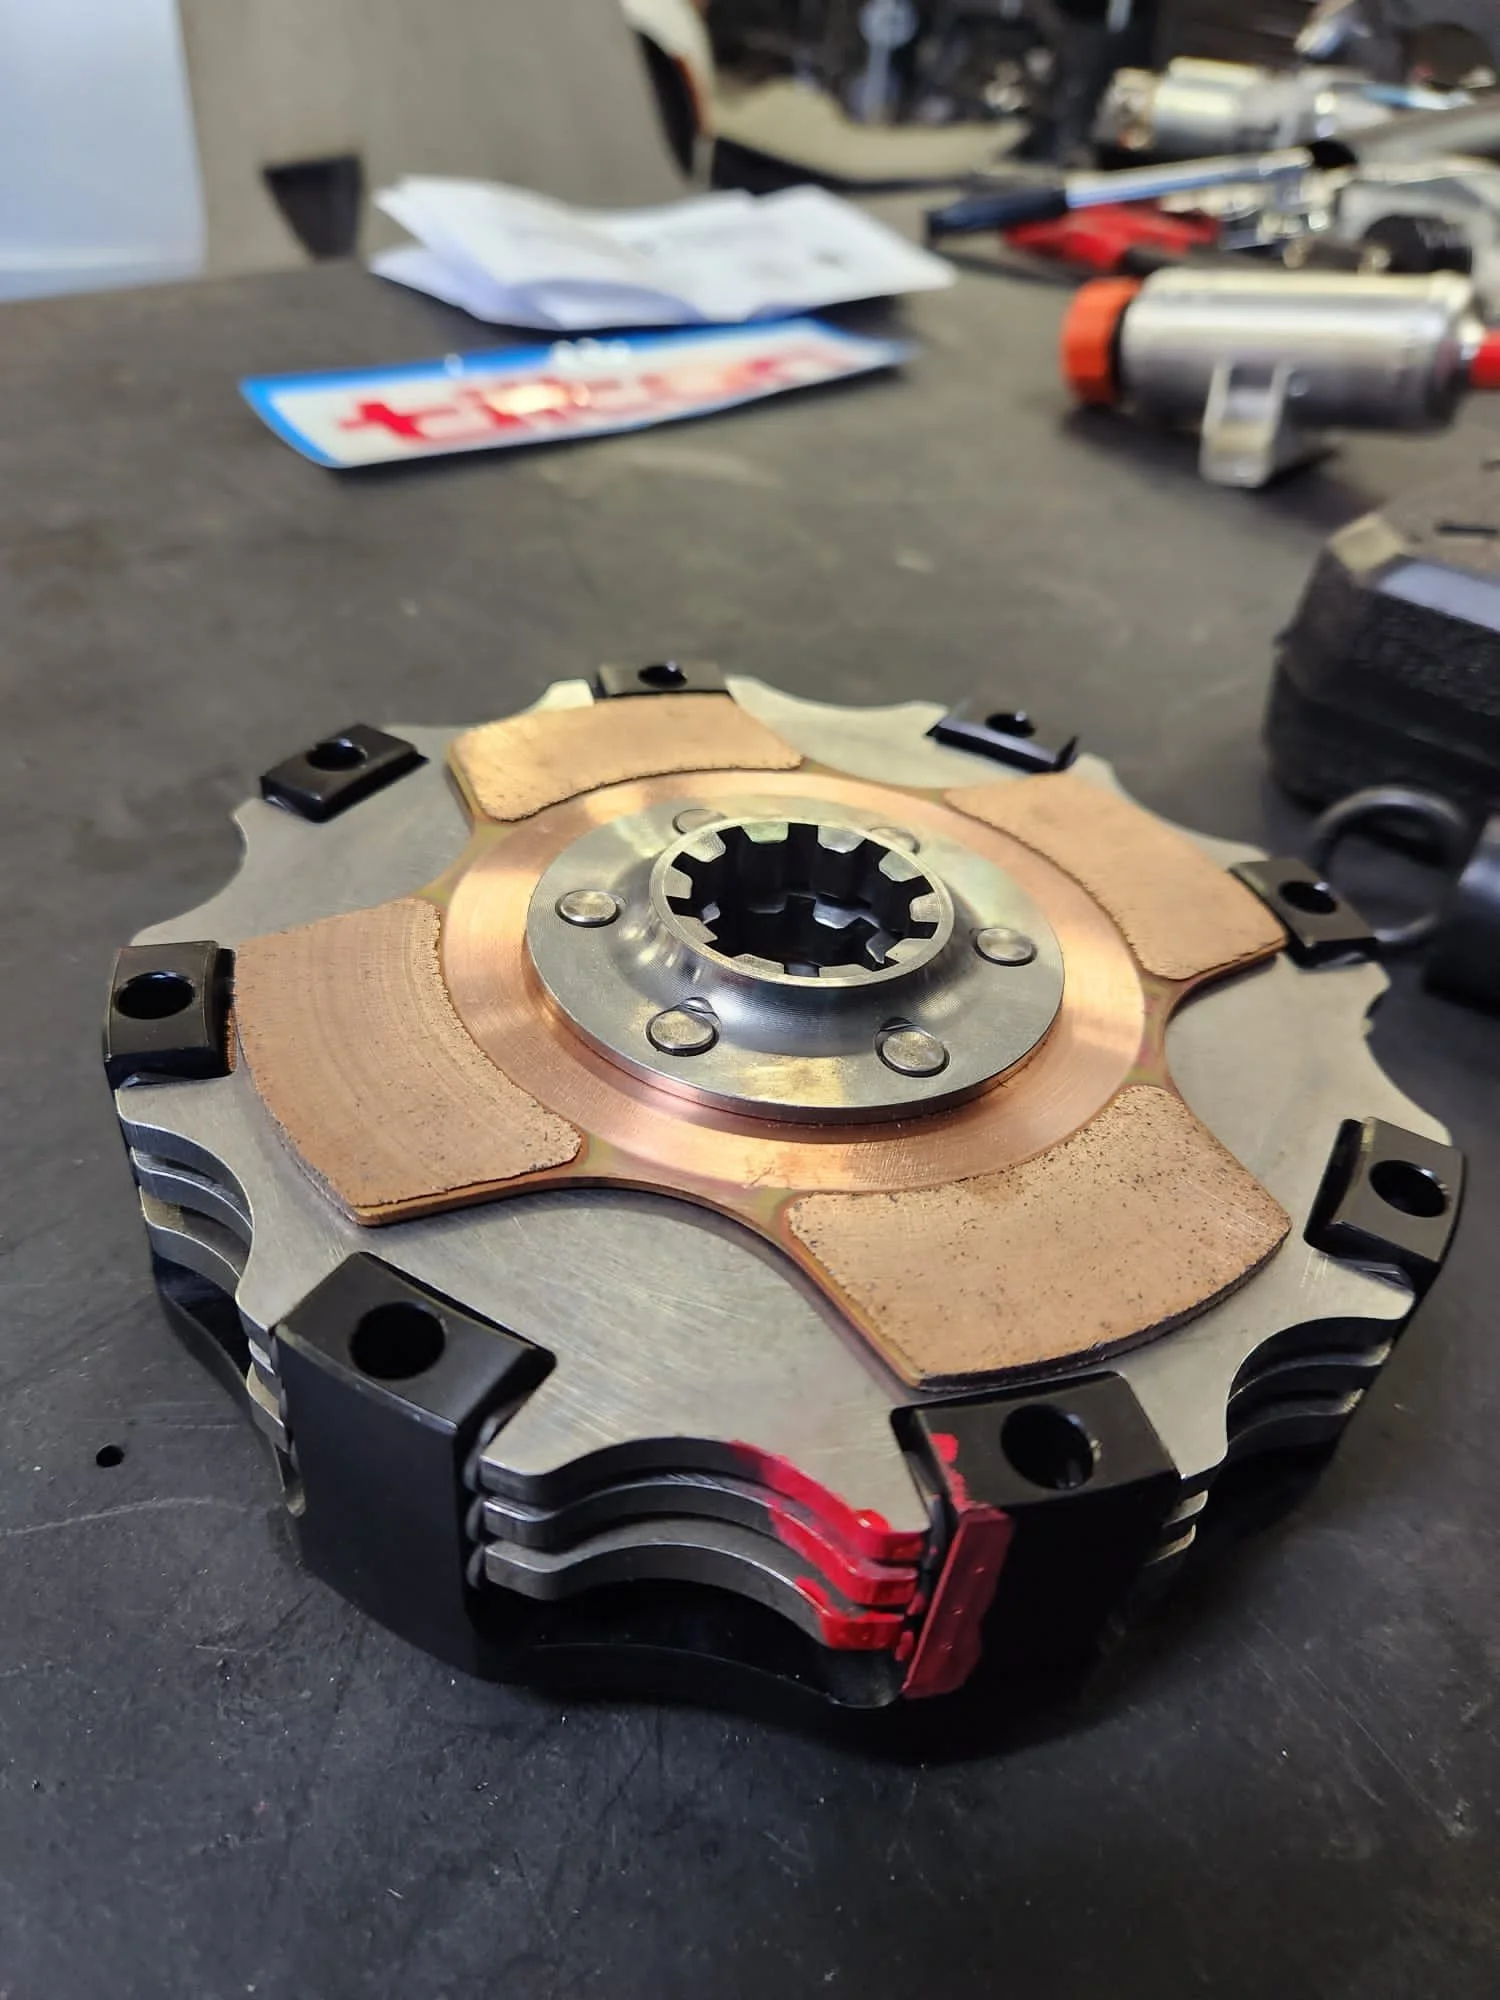
To transfer power from the engine via the drivetrain, we decided to run an industry-best Tilton triple 5.5” disc clutch with lightweight flywheel kit from, you guessed it, our friends at VAC Motorsport.
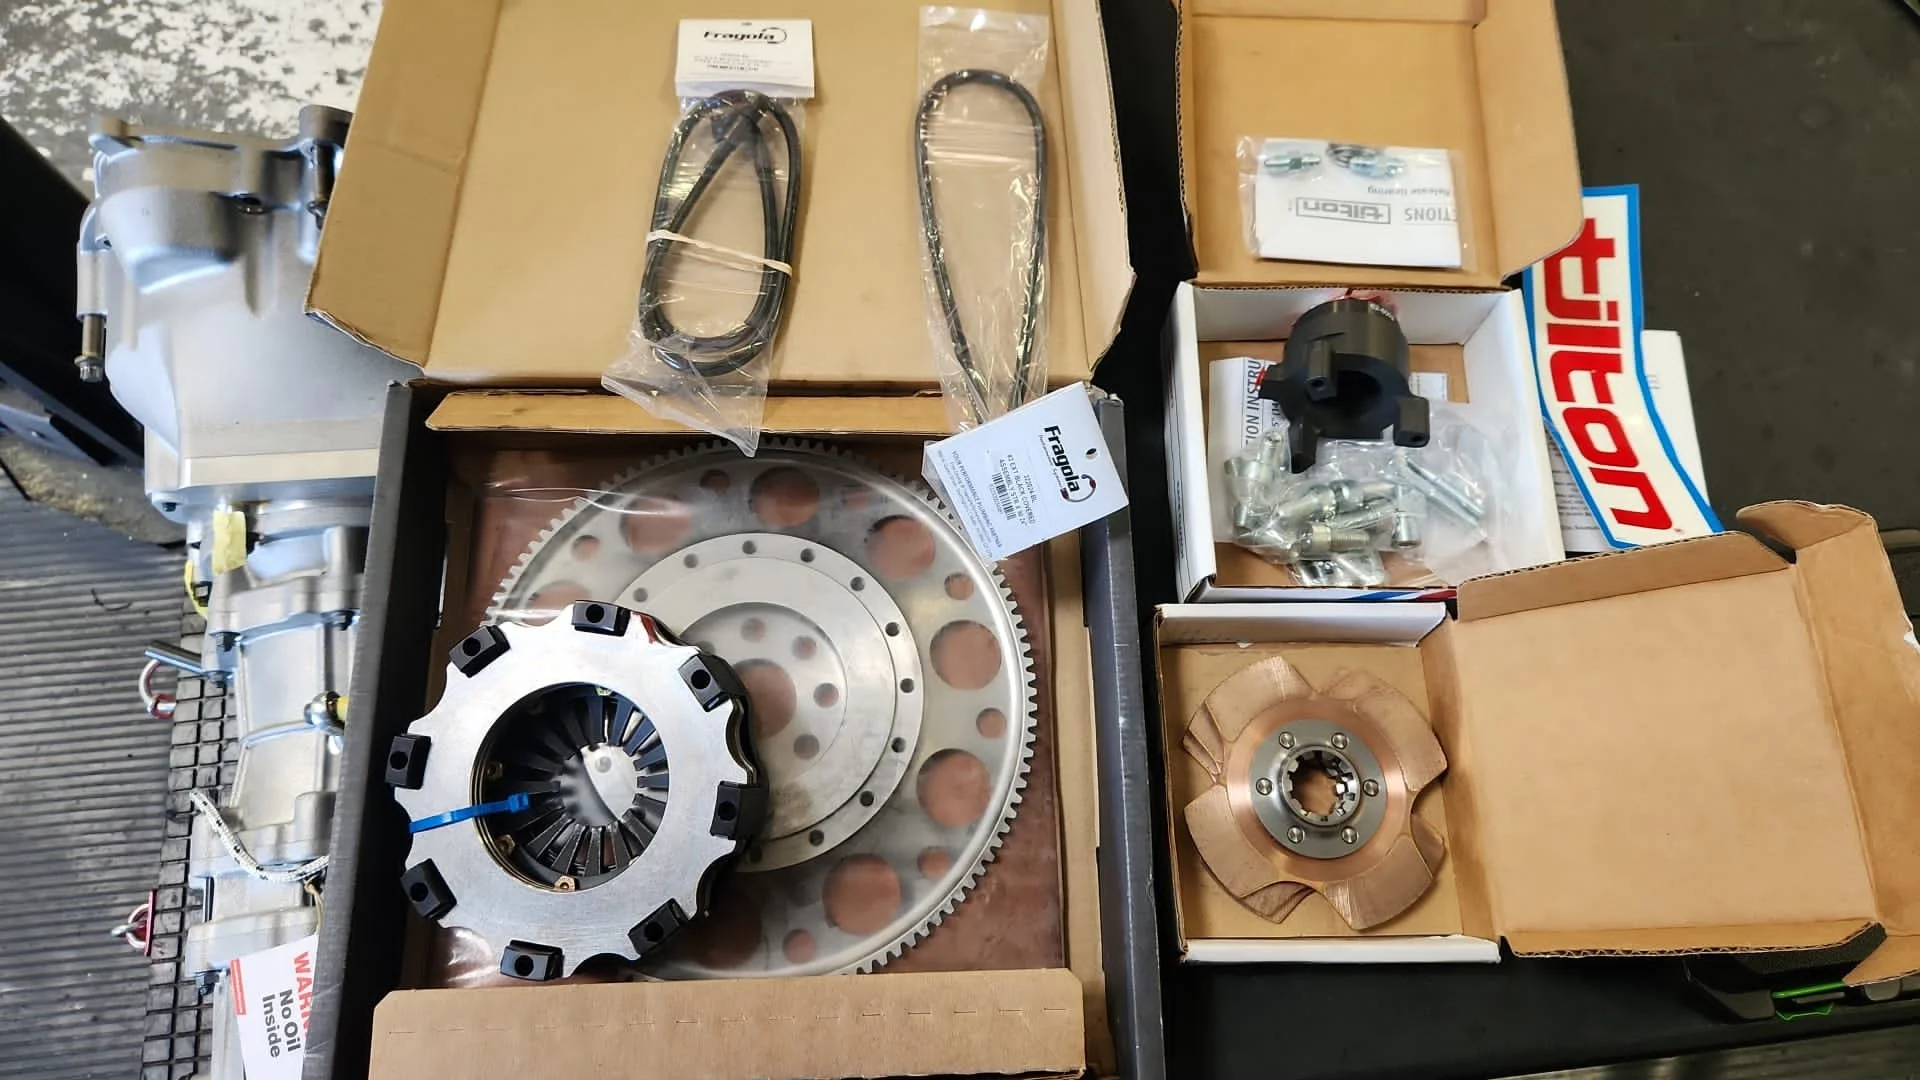
These clutch discs are a work of beauty.
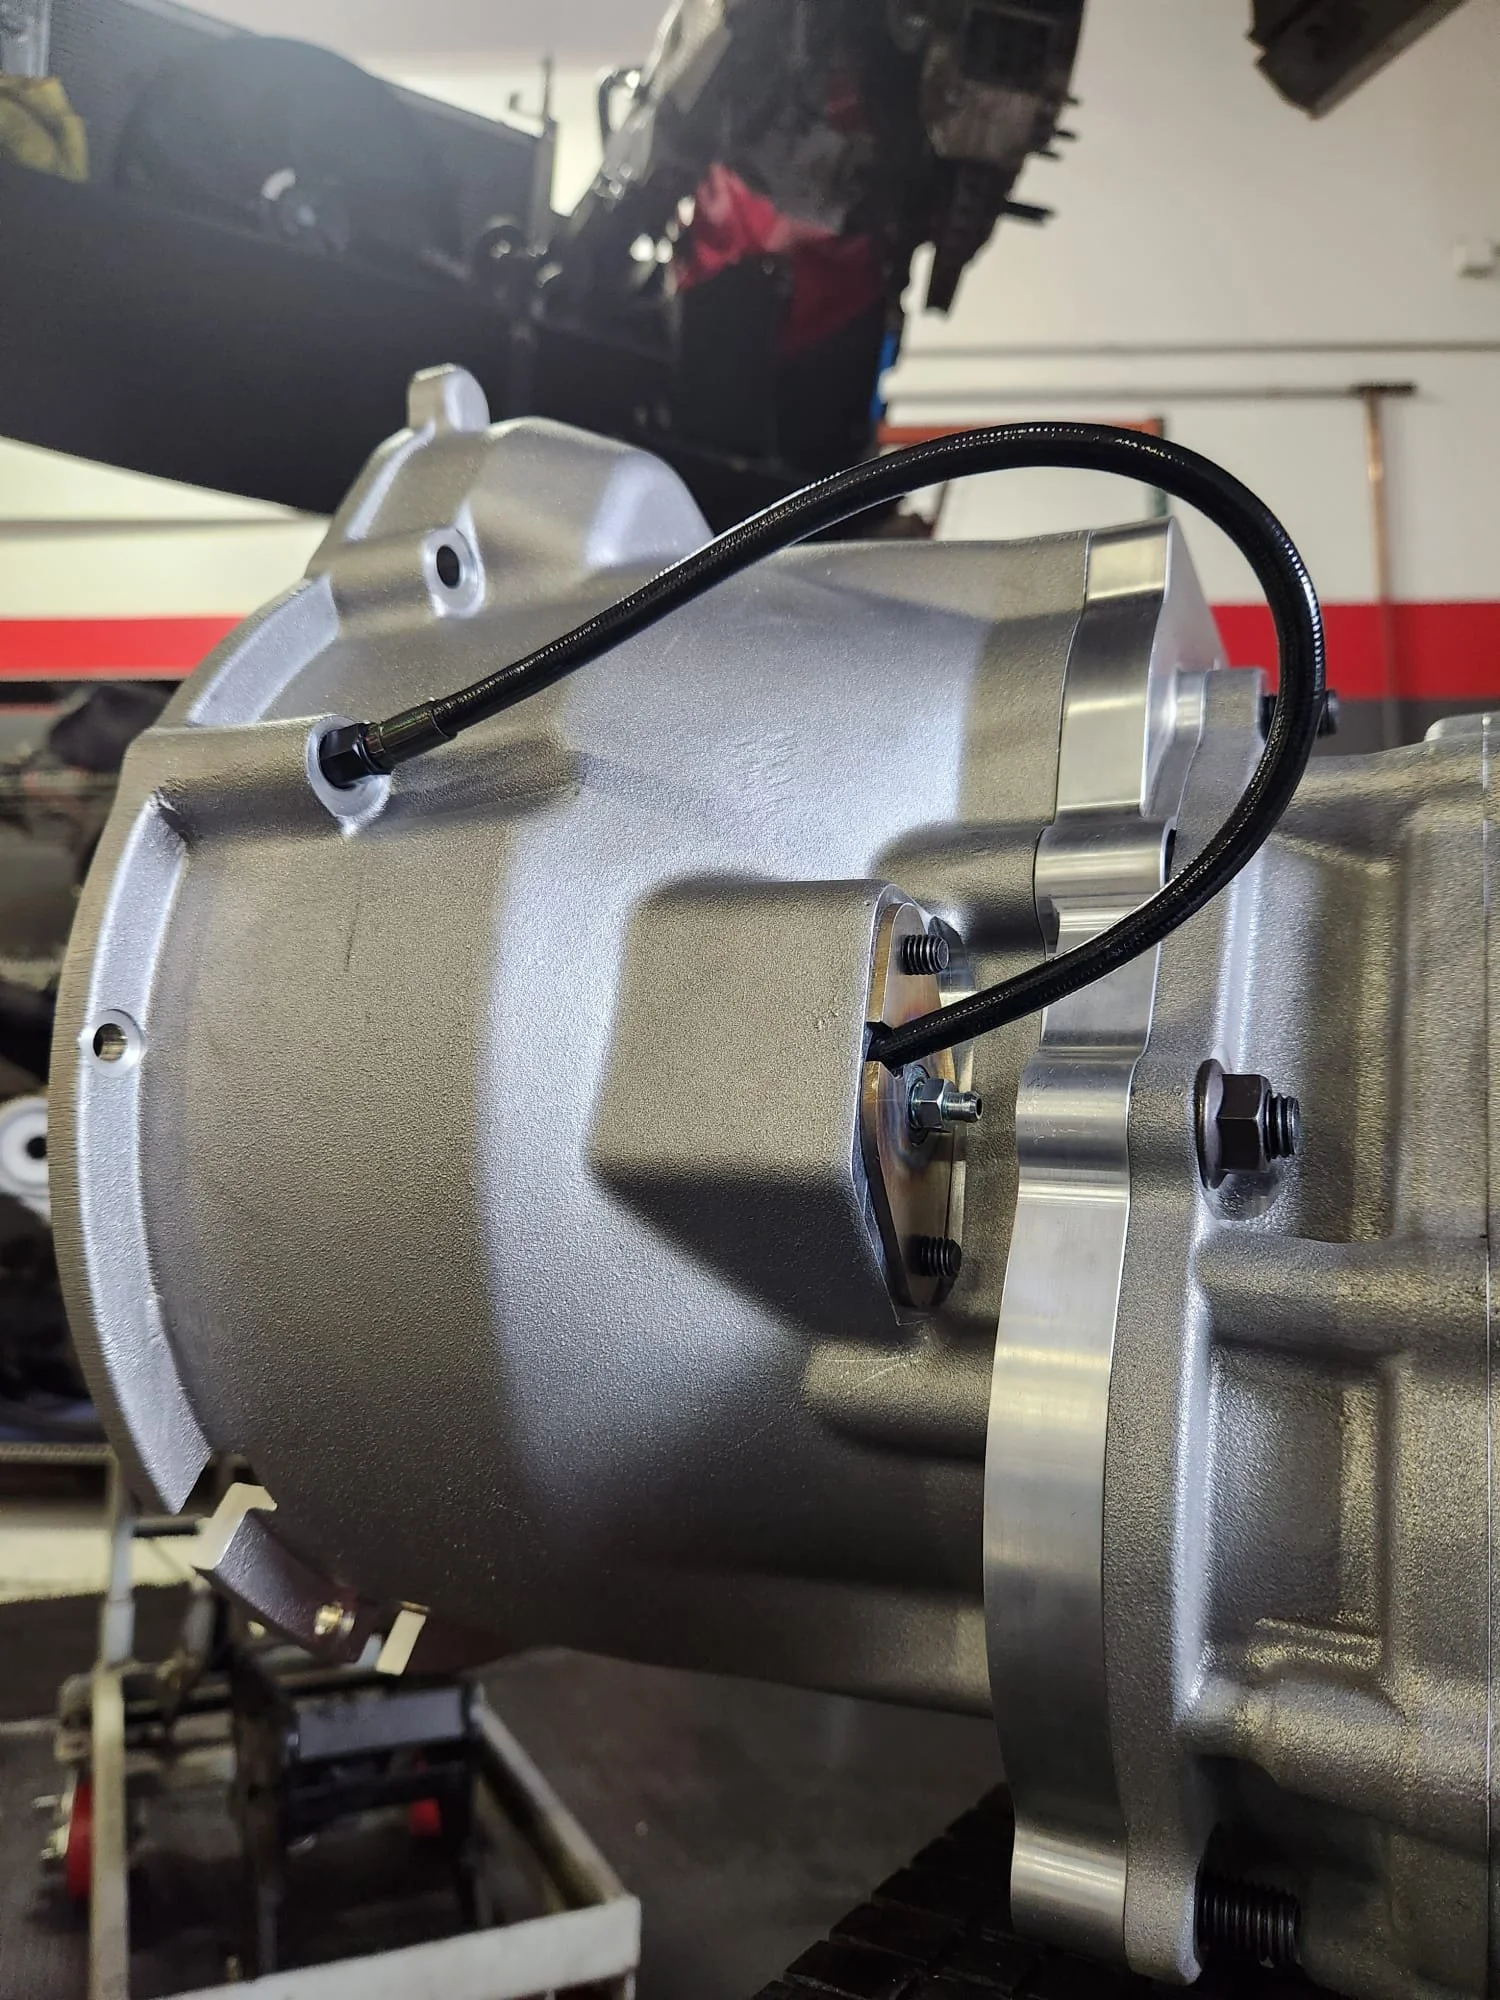
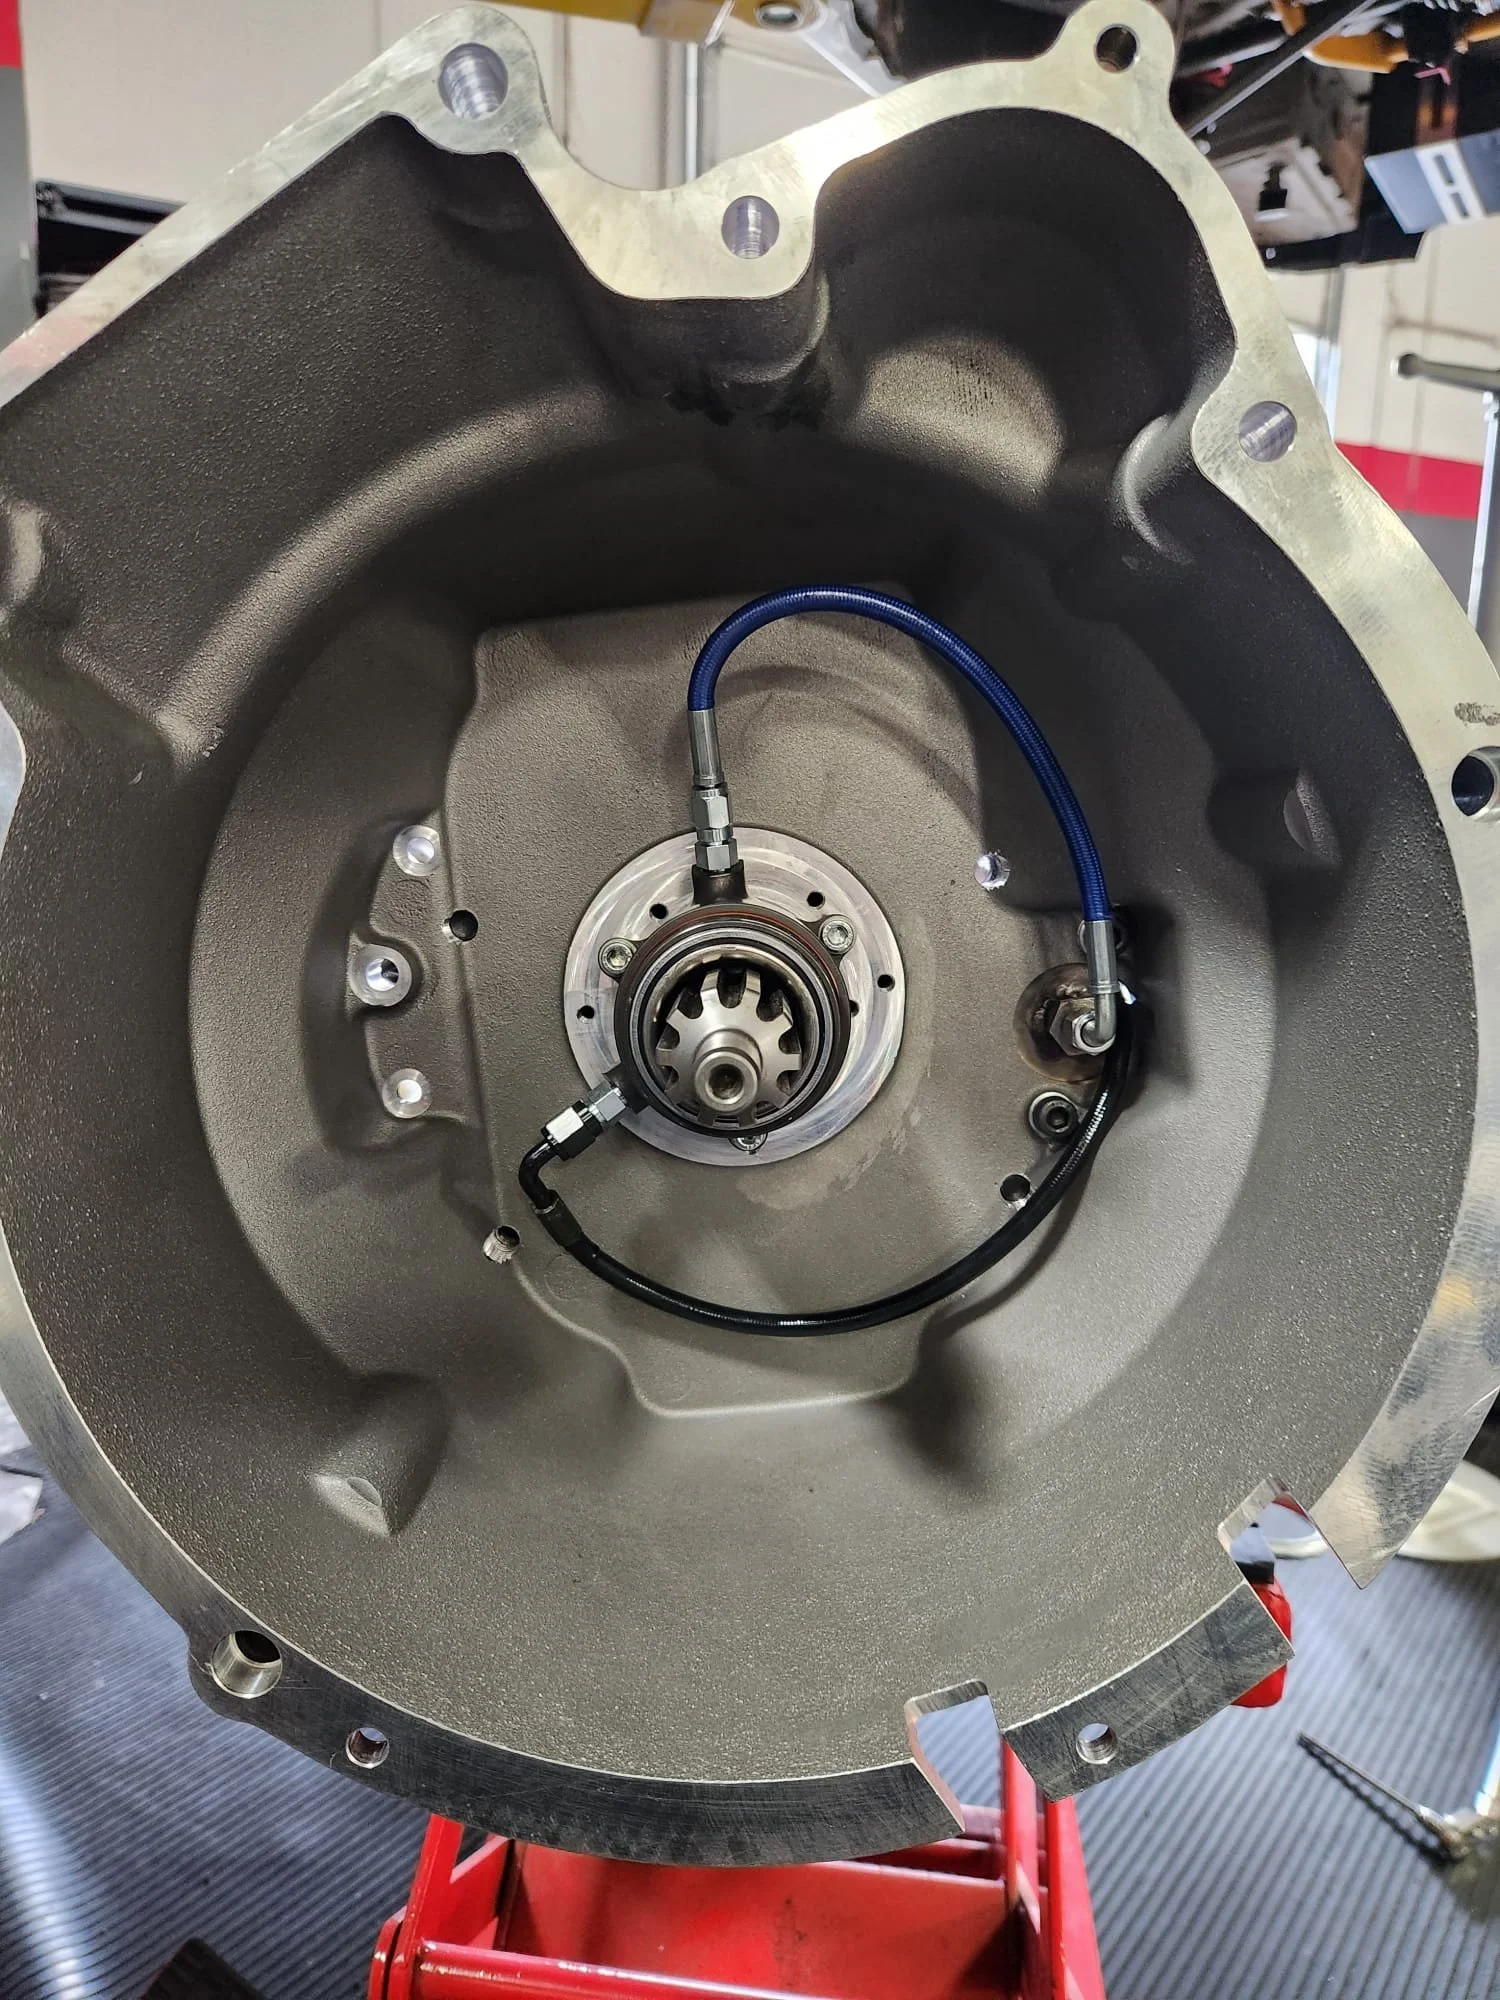
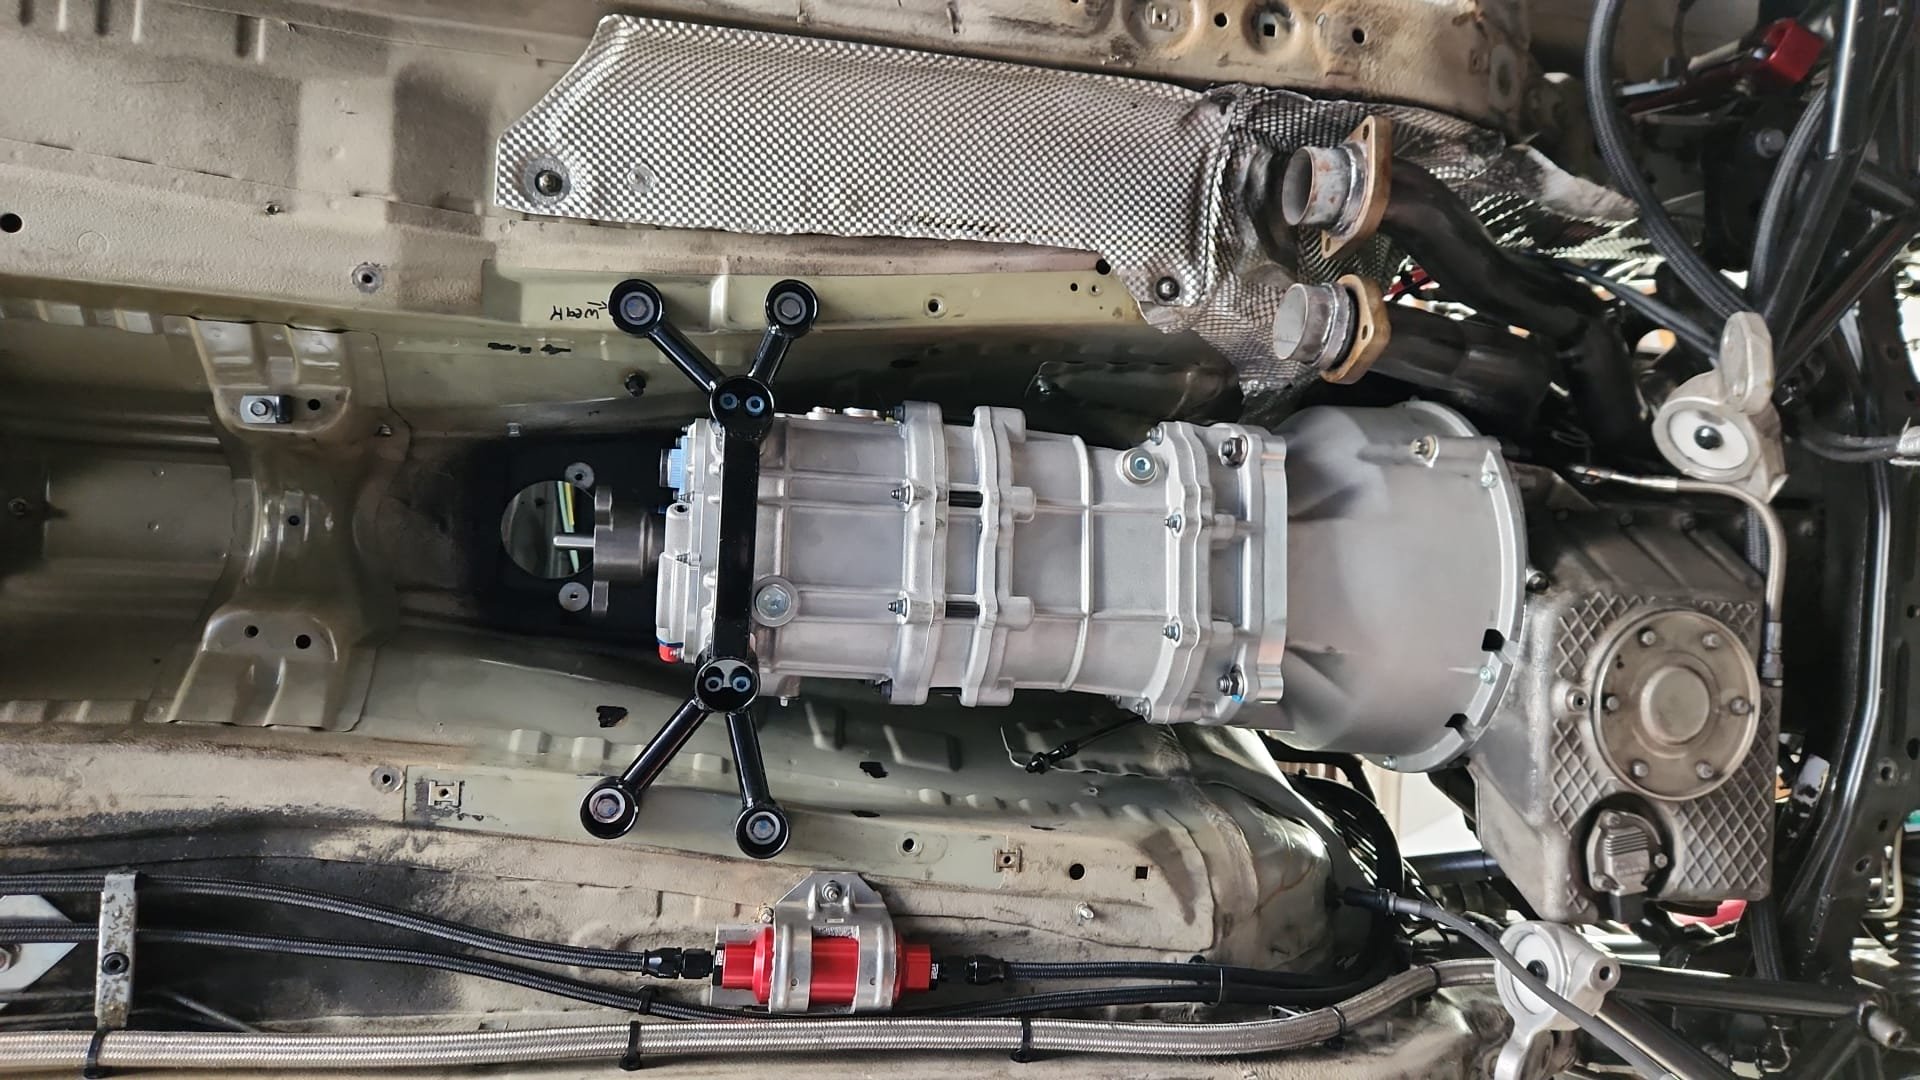
The S54 specific bell-housing and VAC Motorsport transmission cross-member. Fits like a glove!
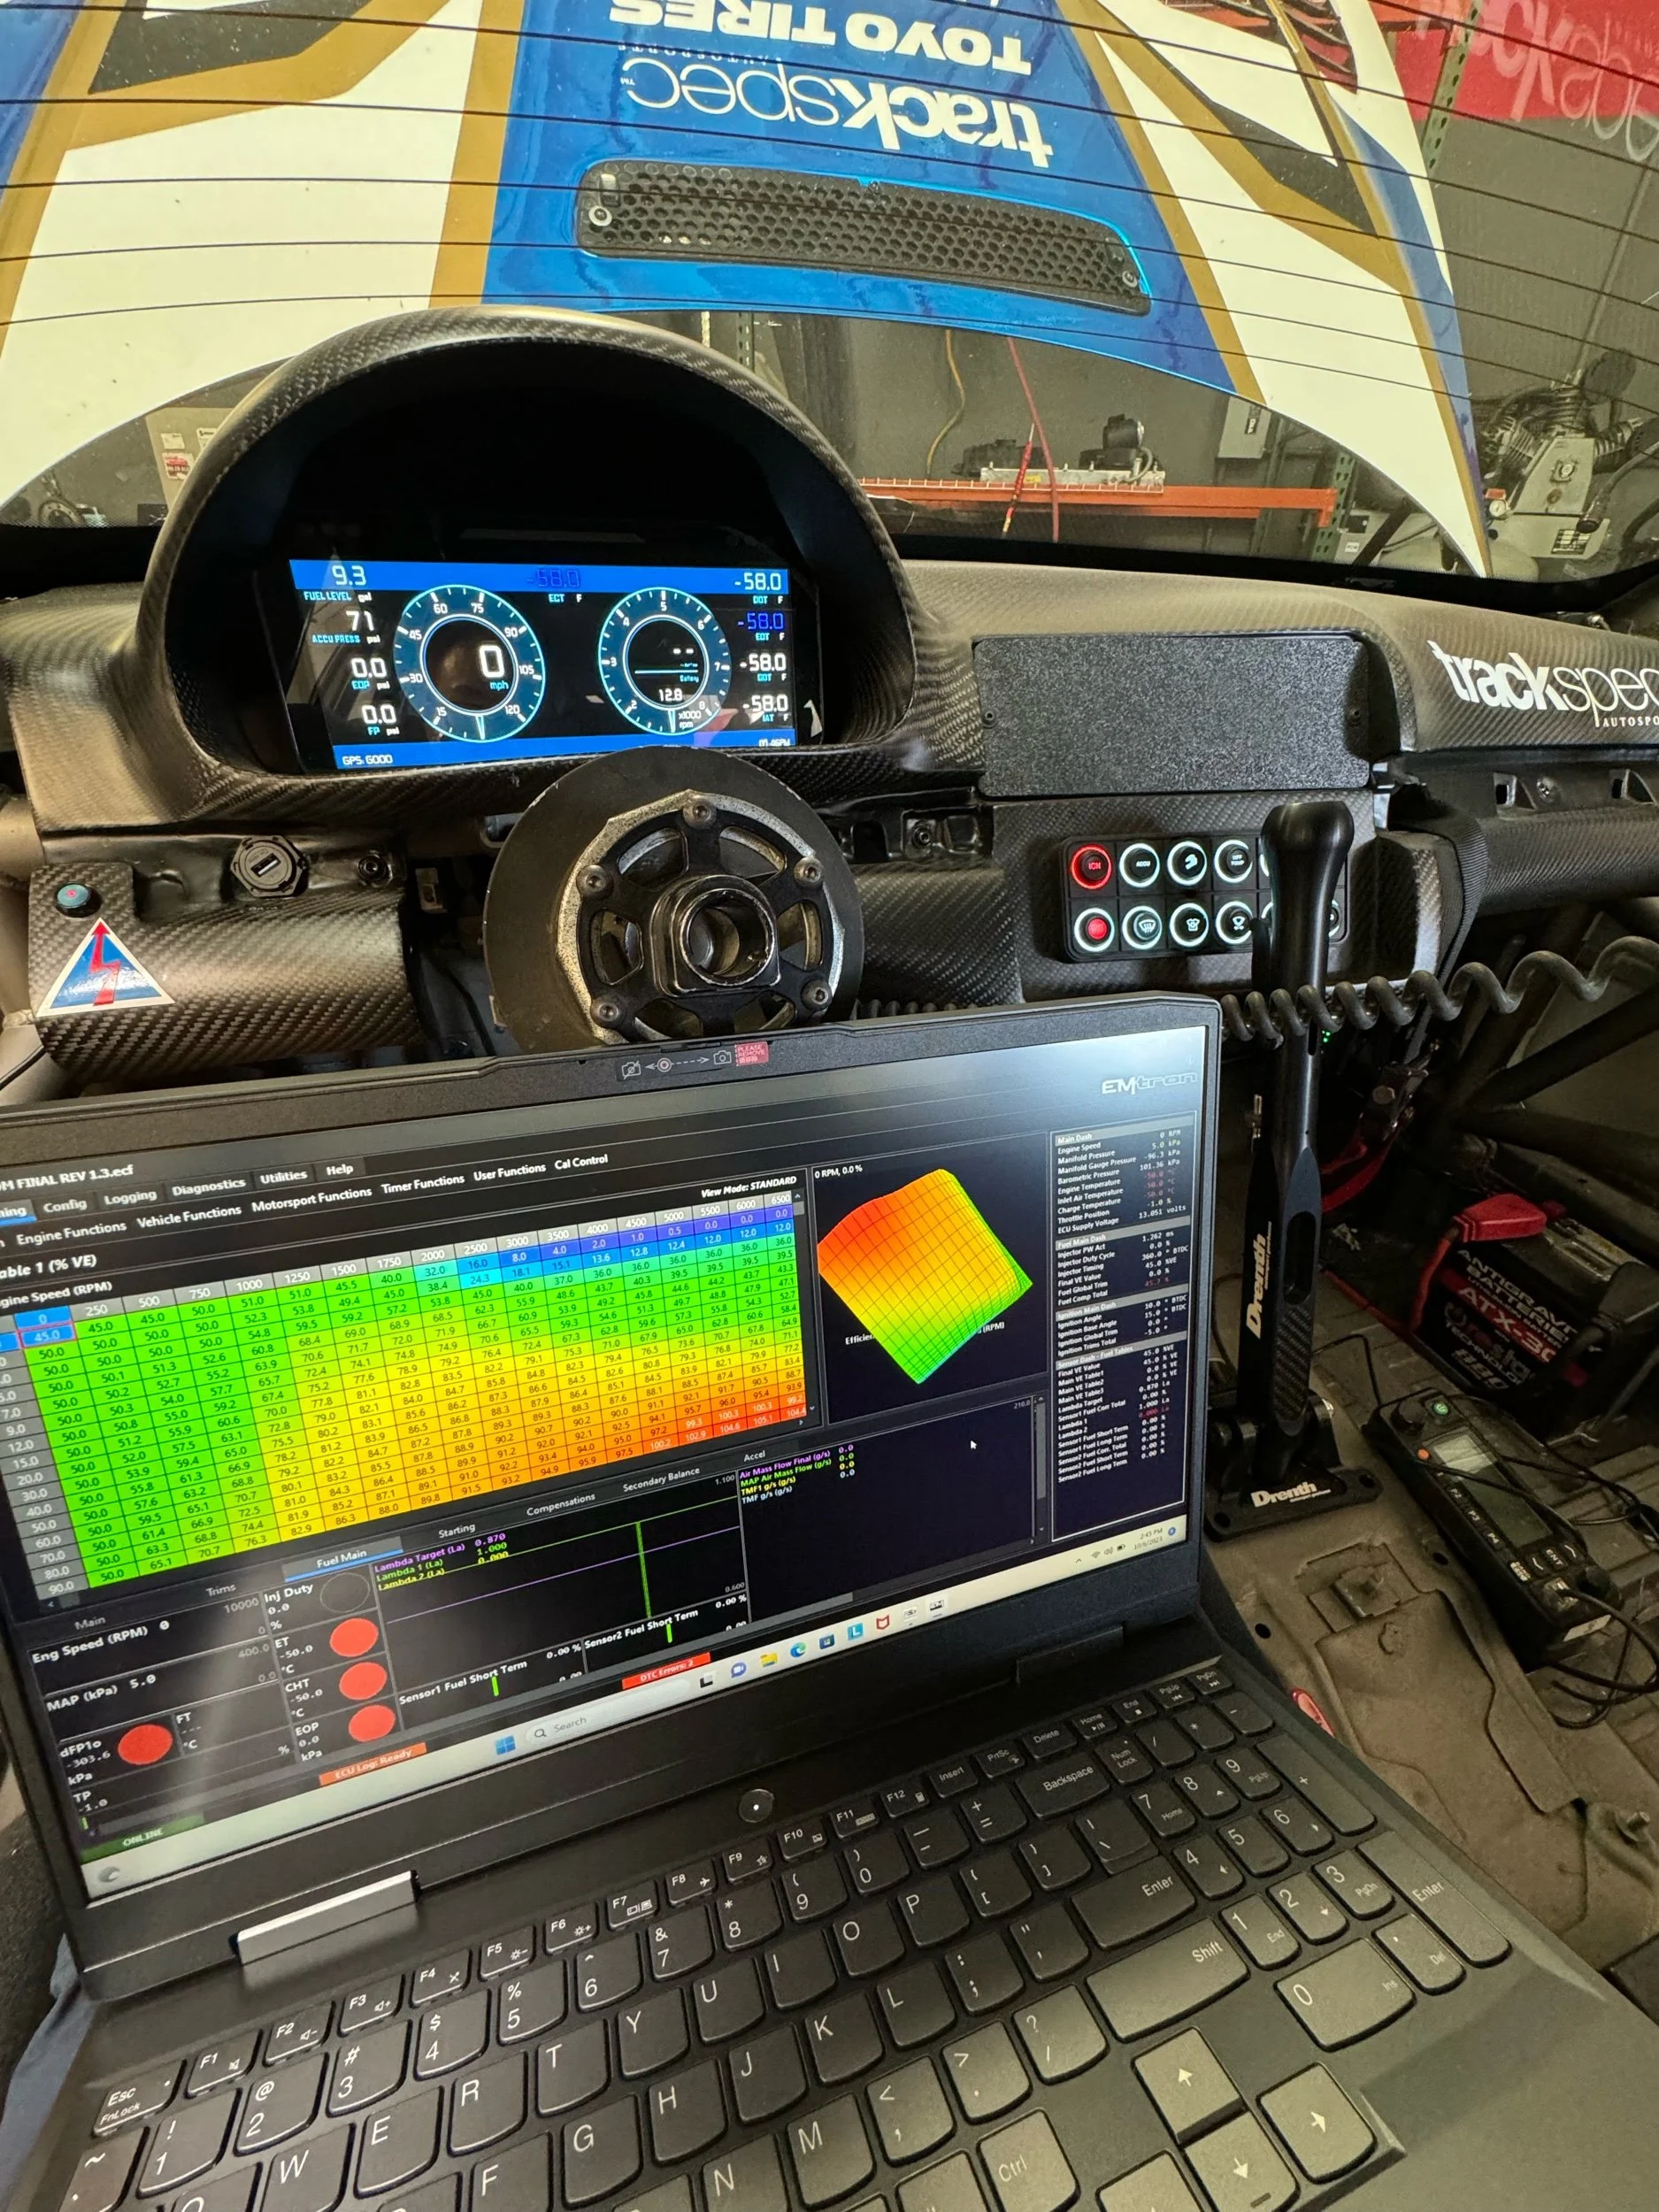
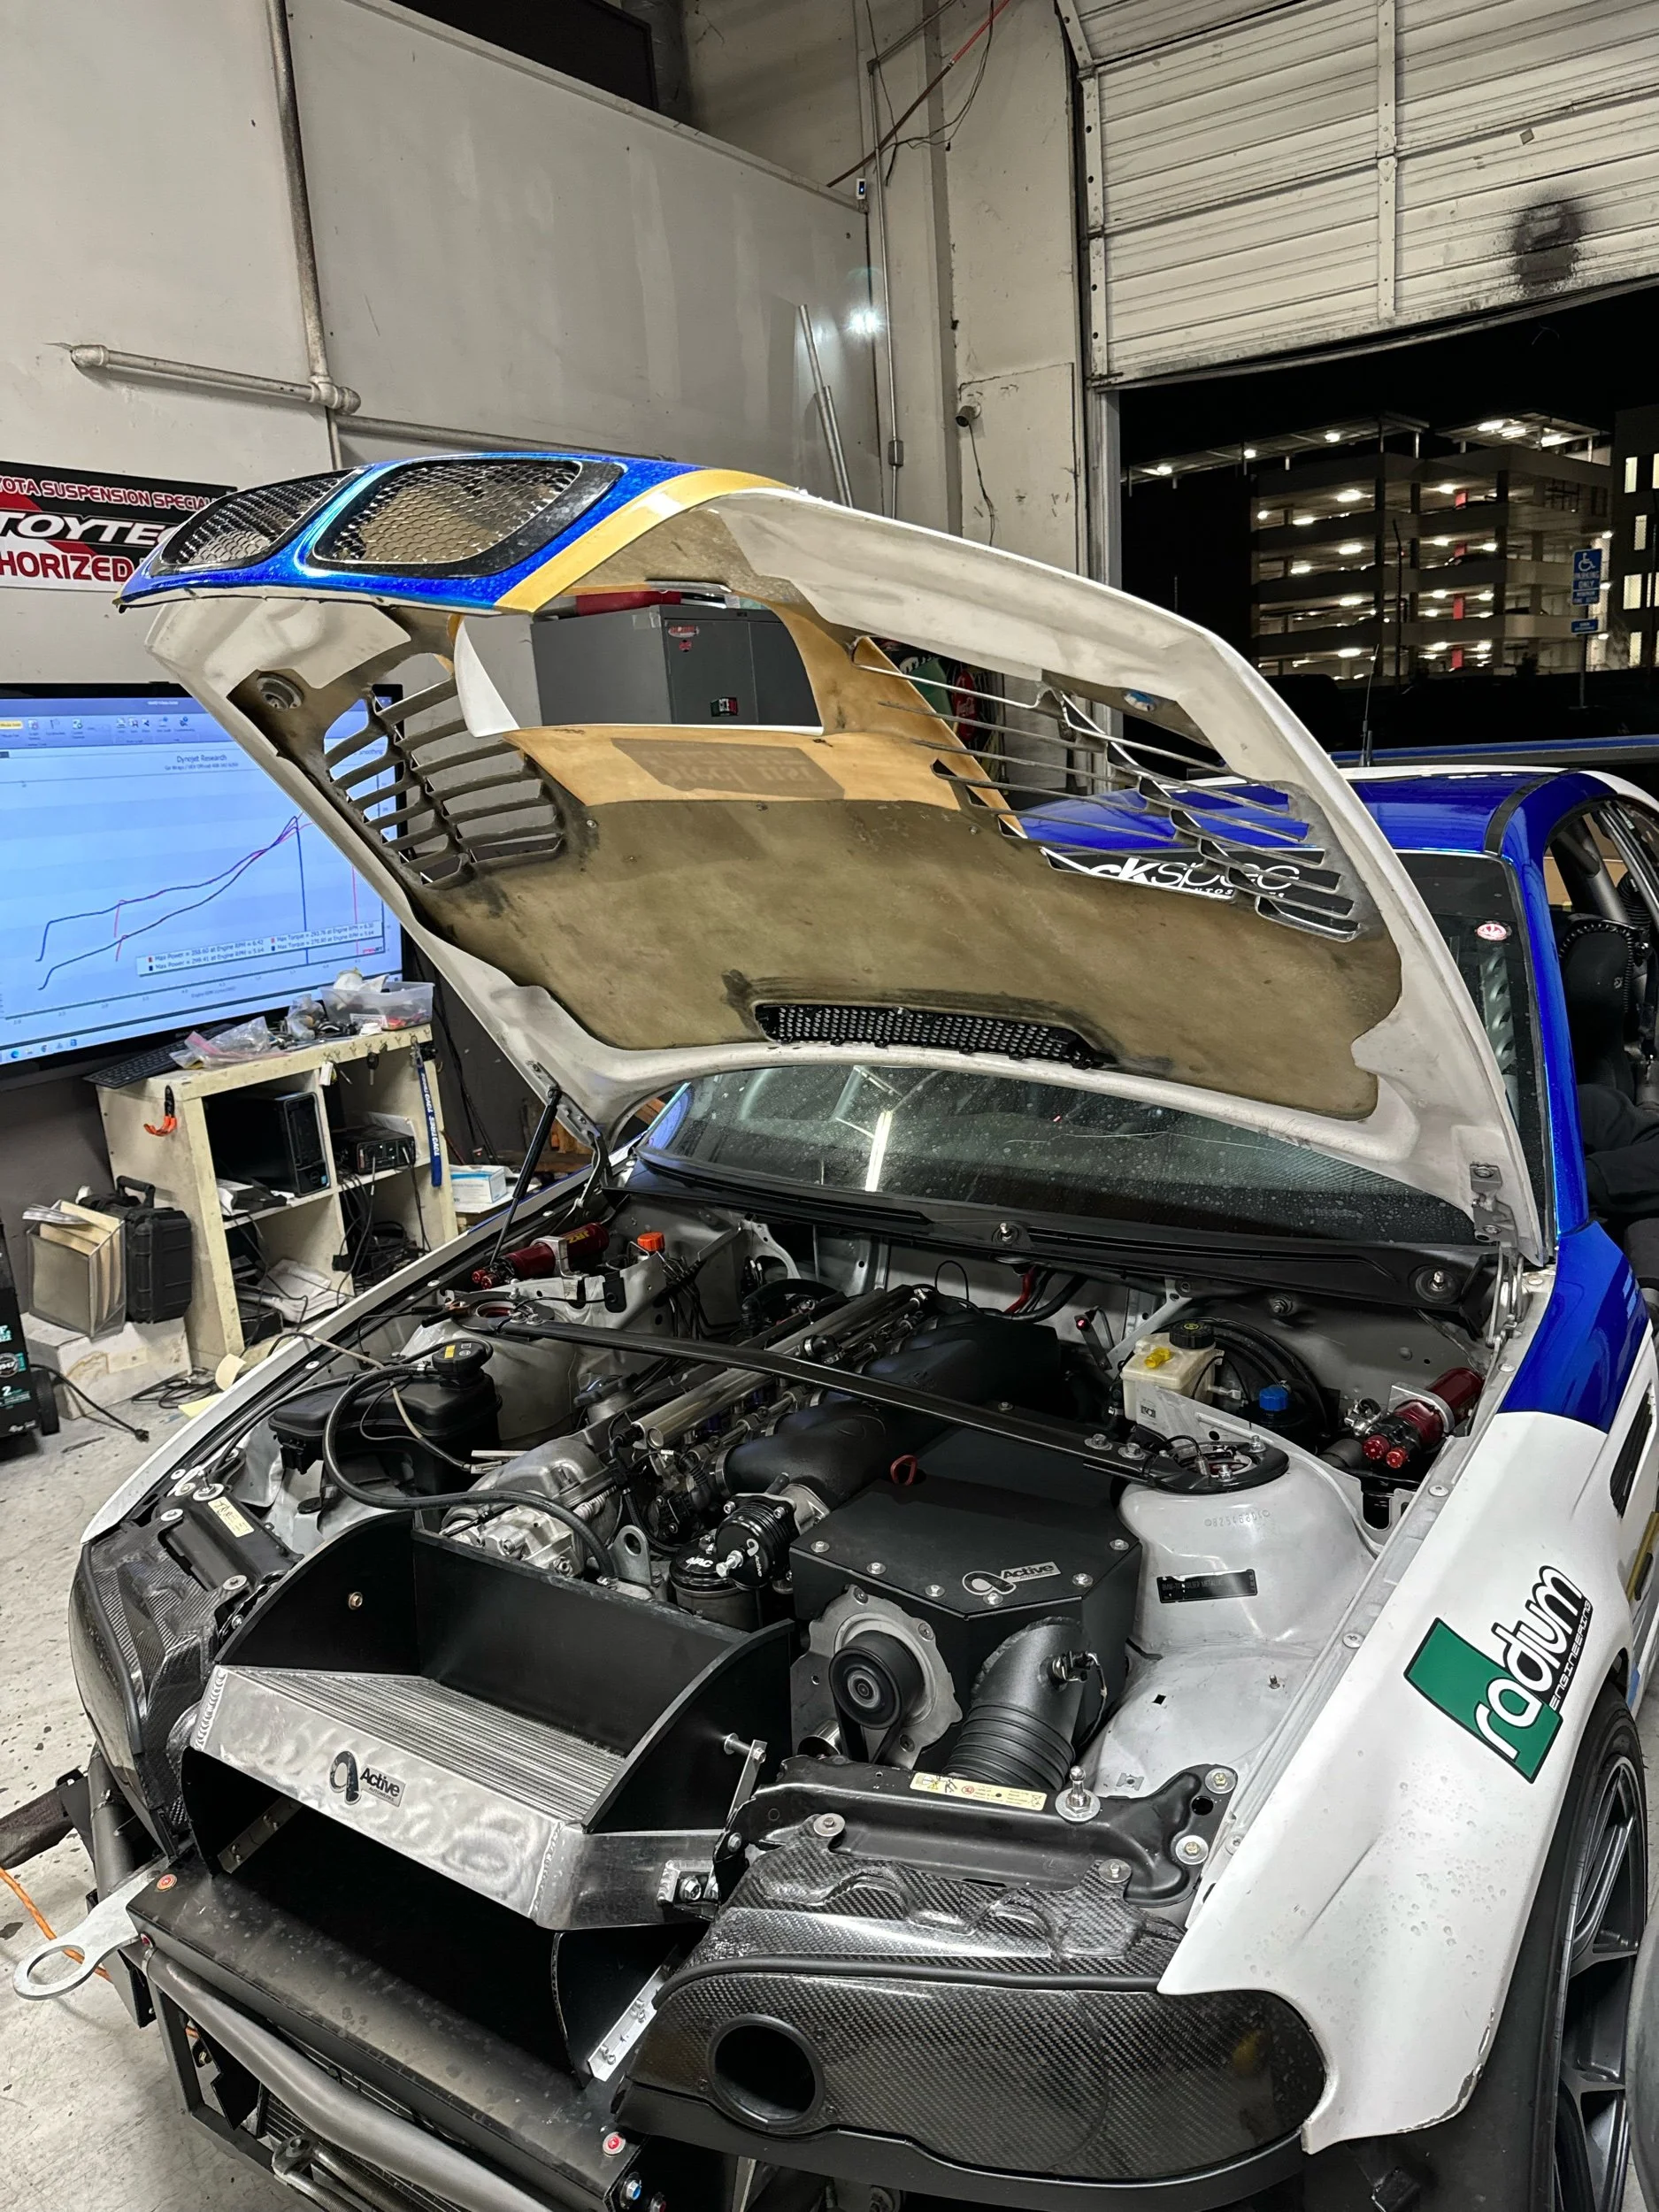
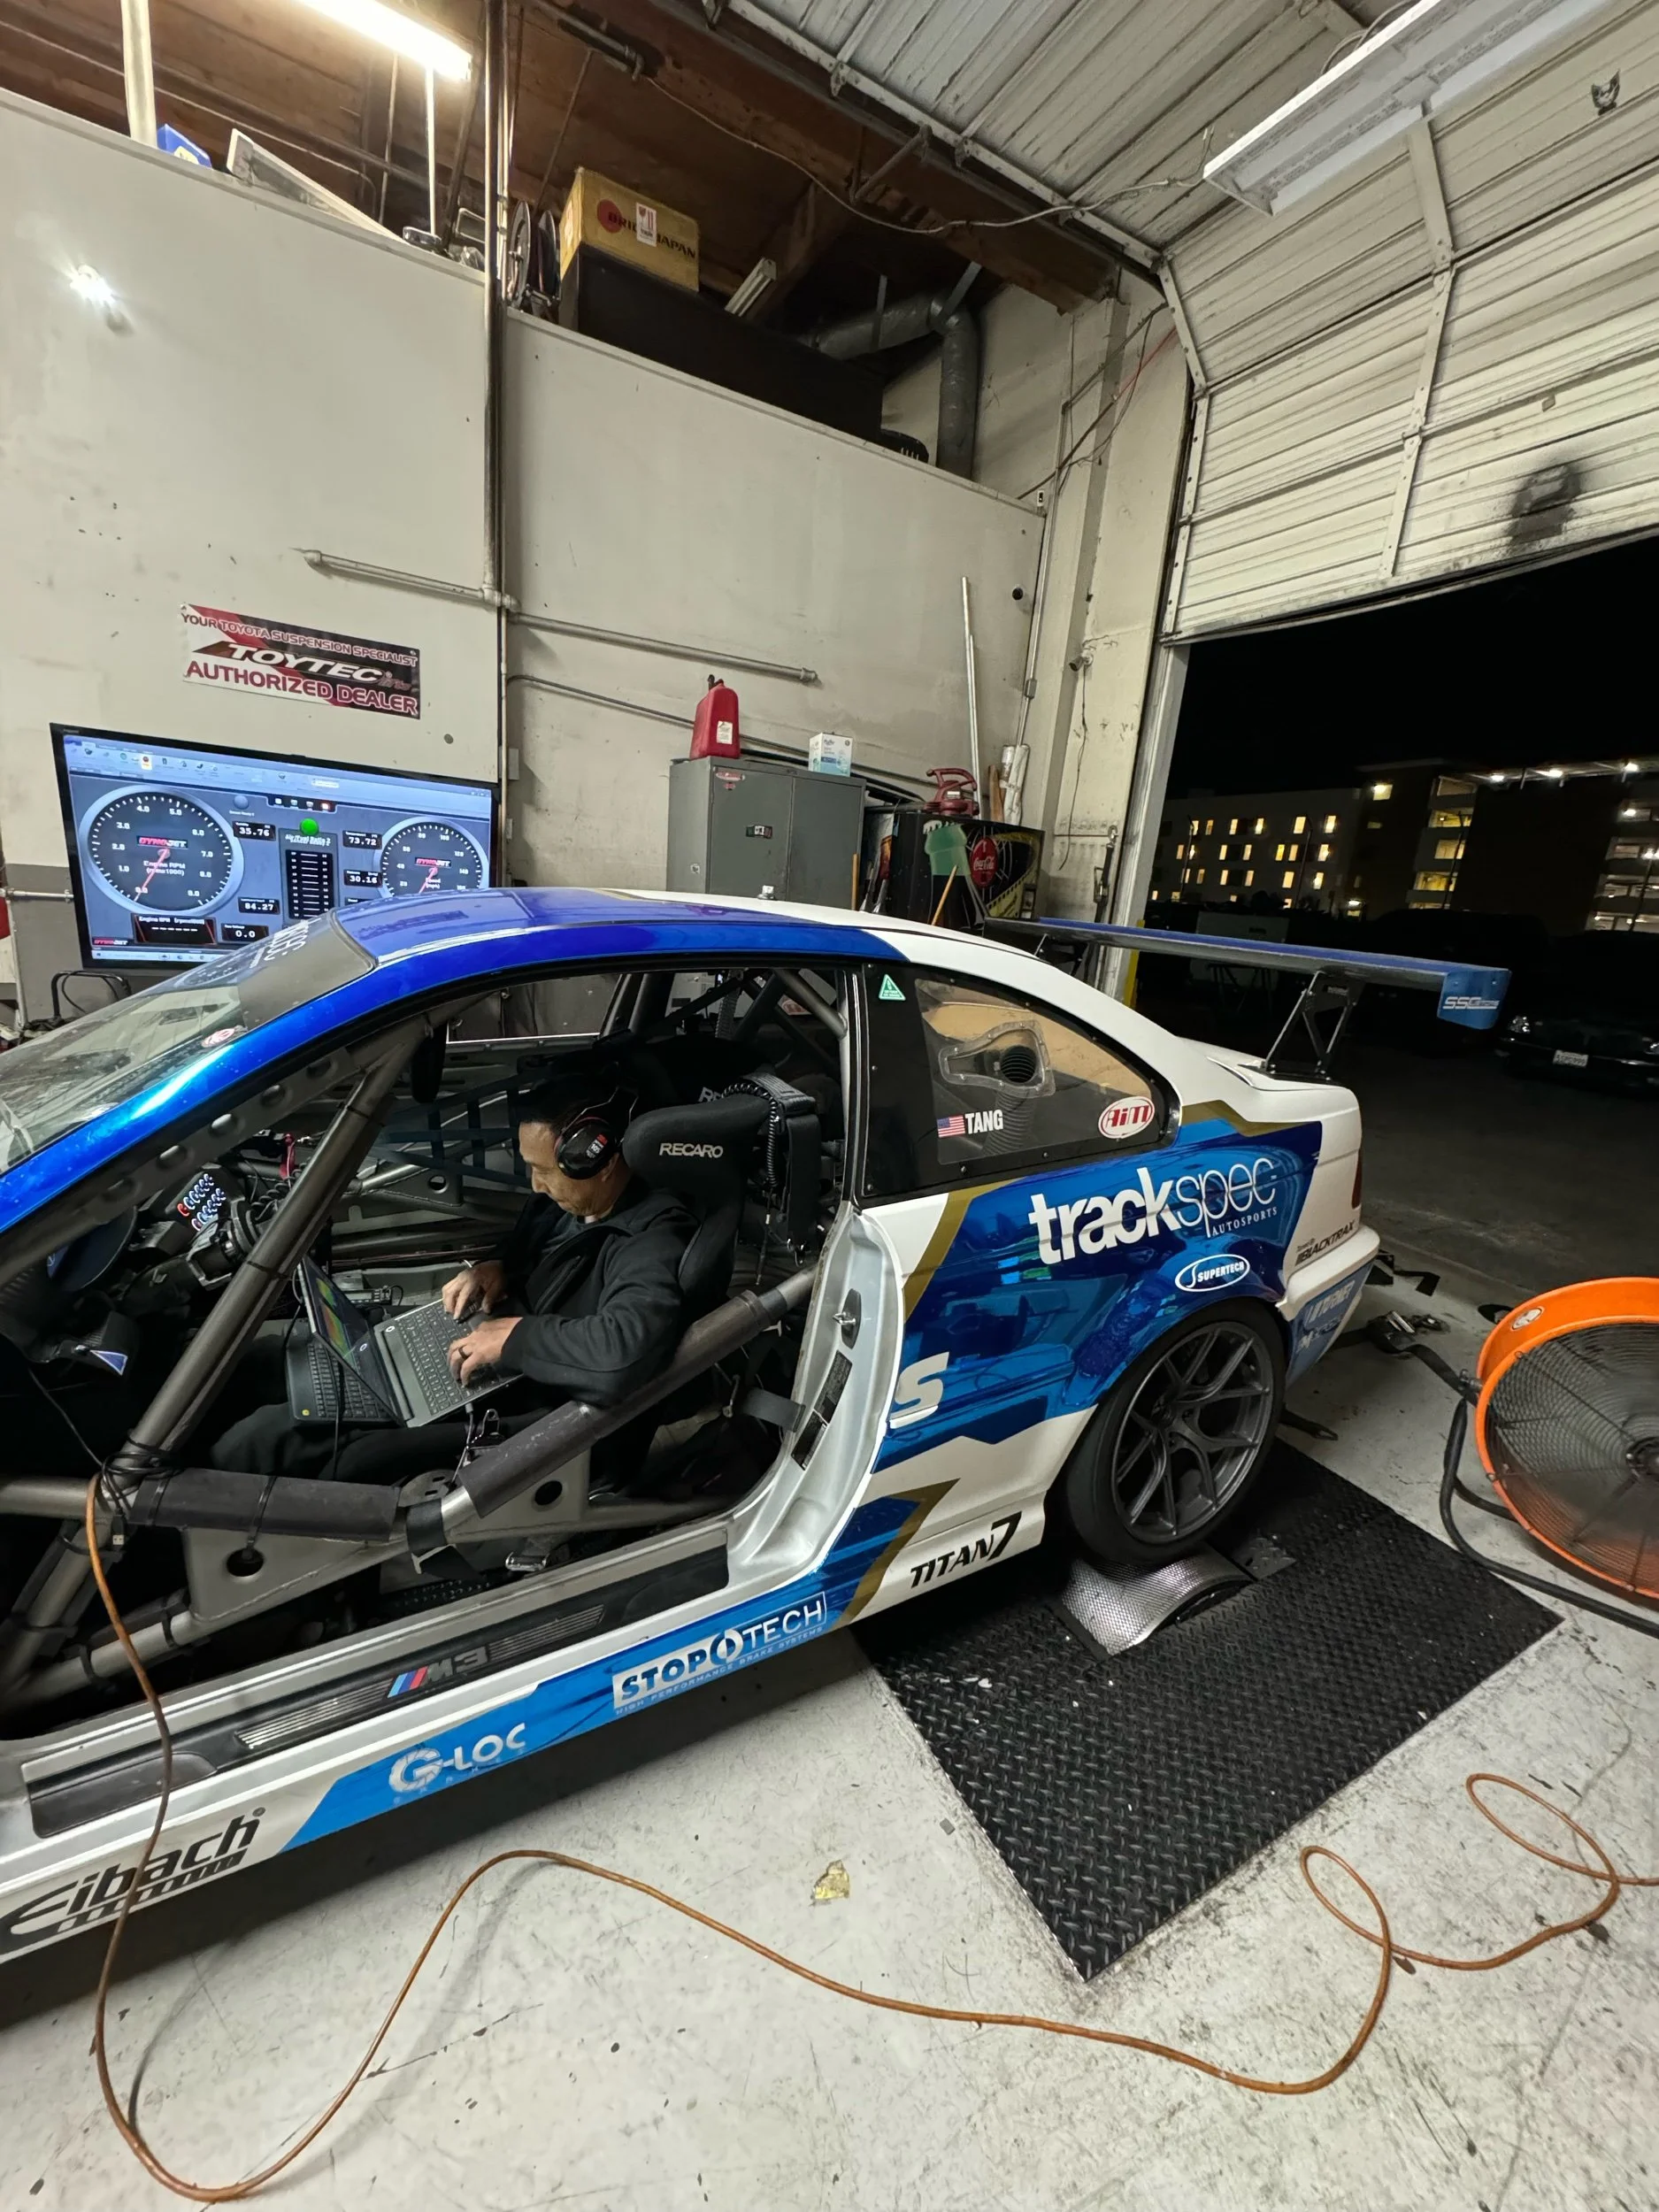
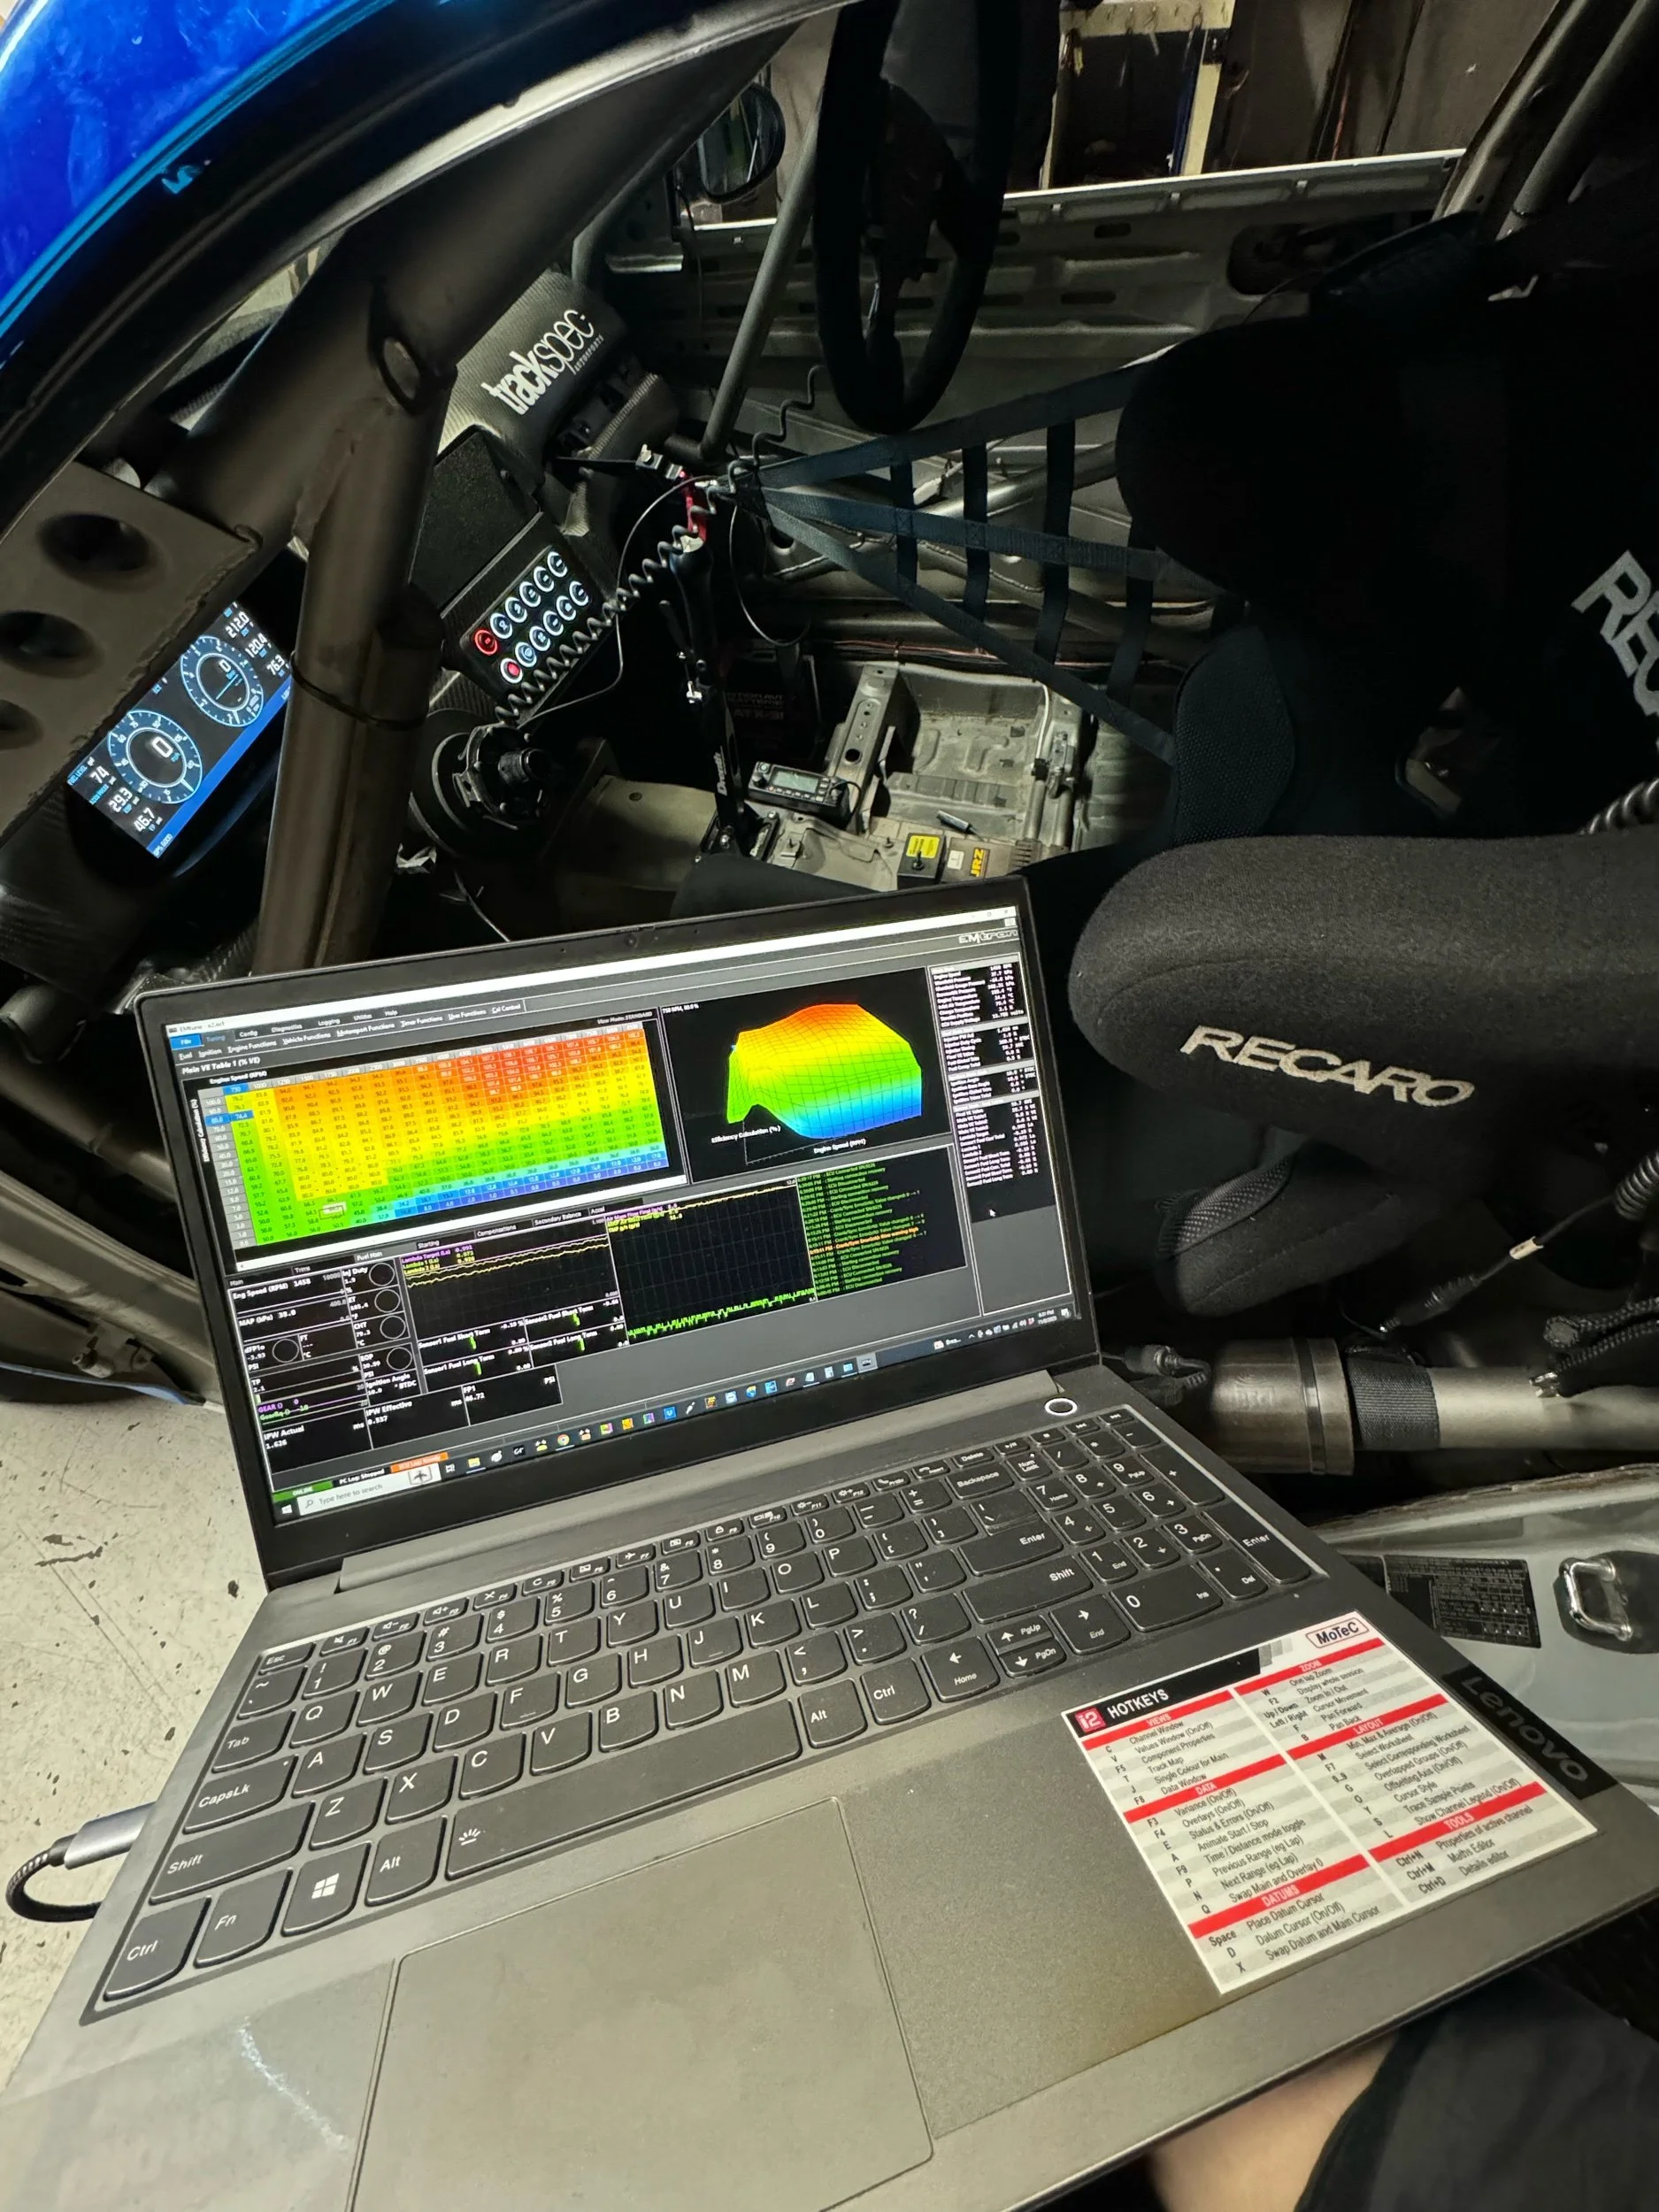
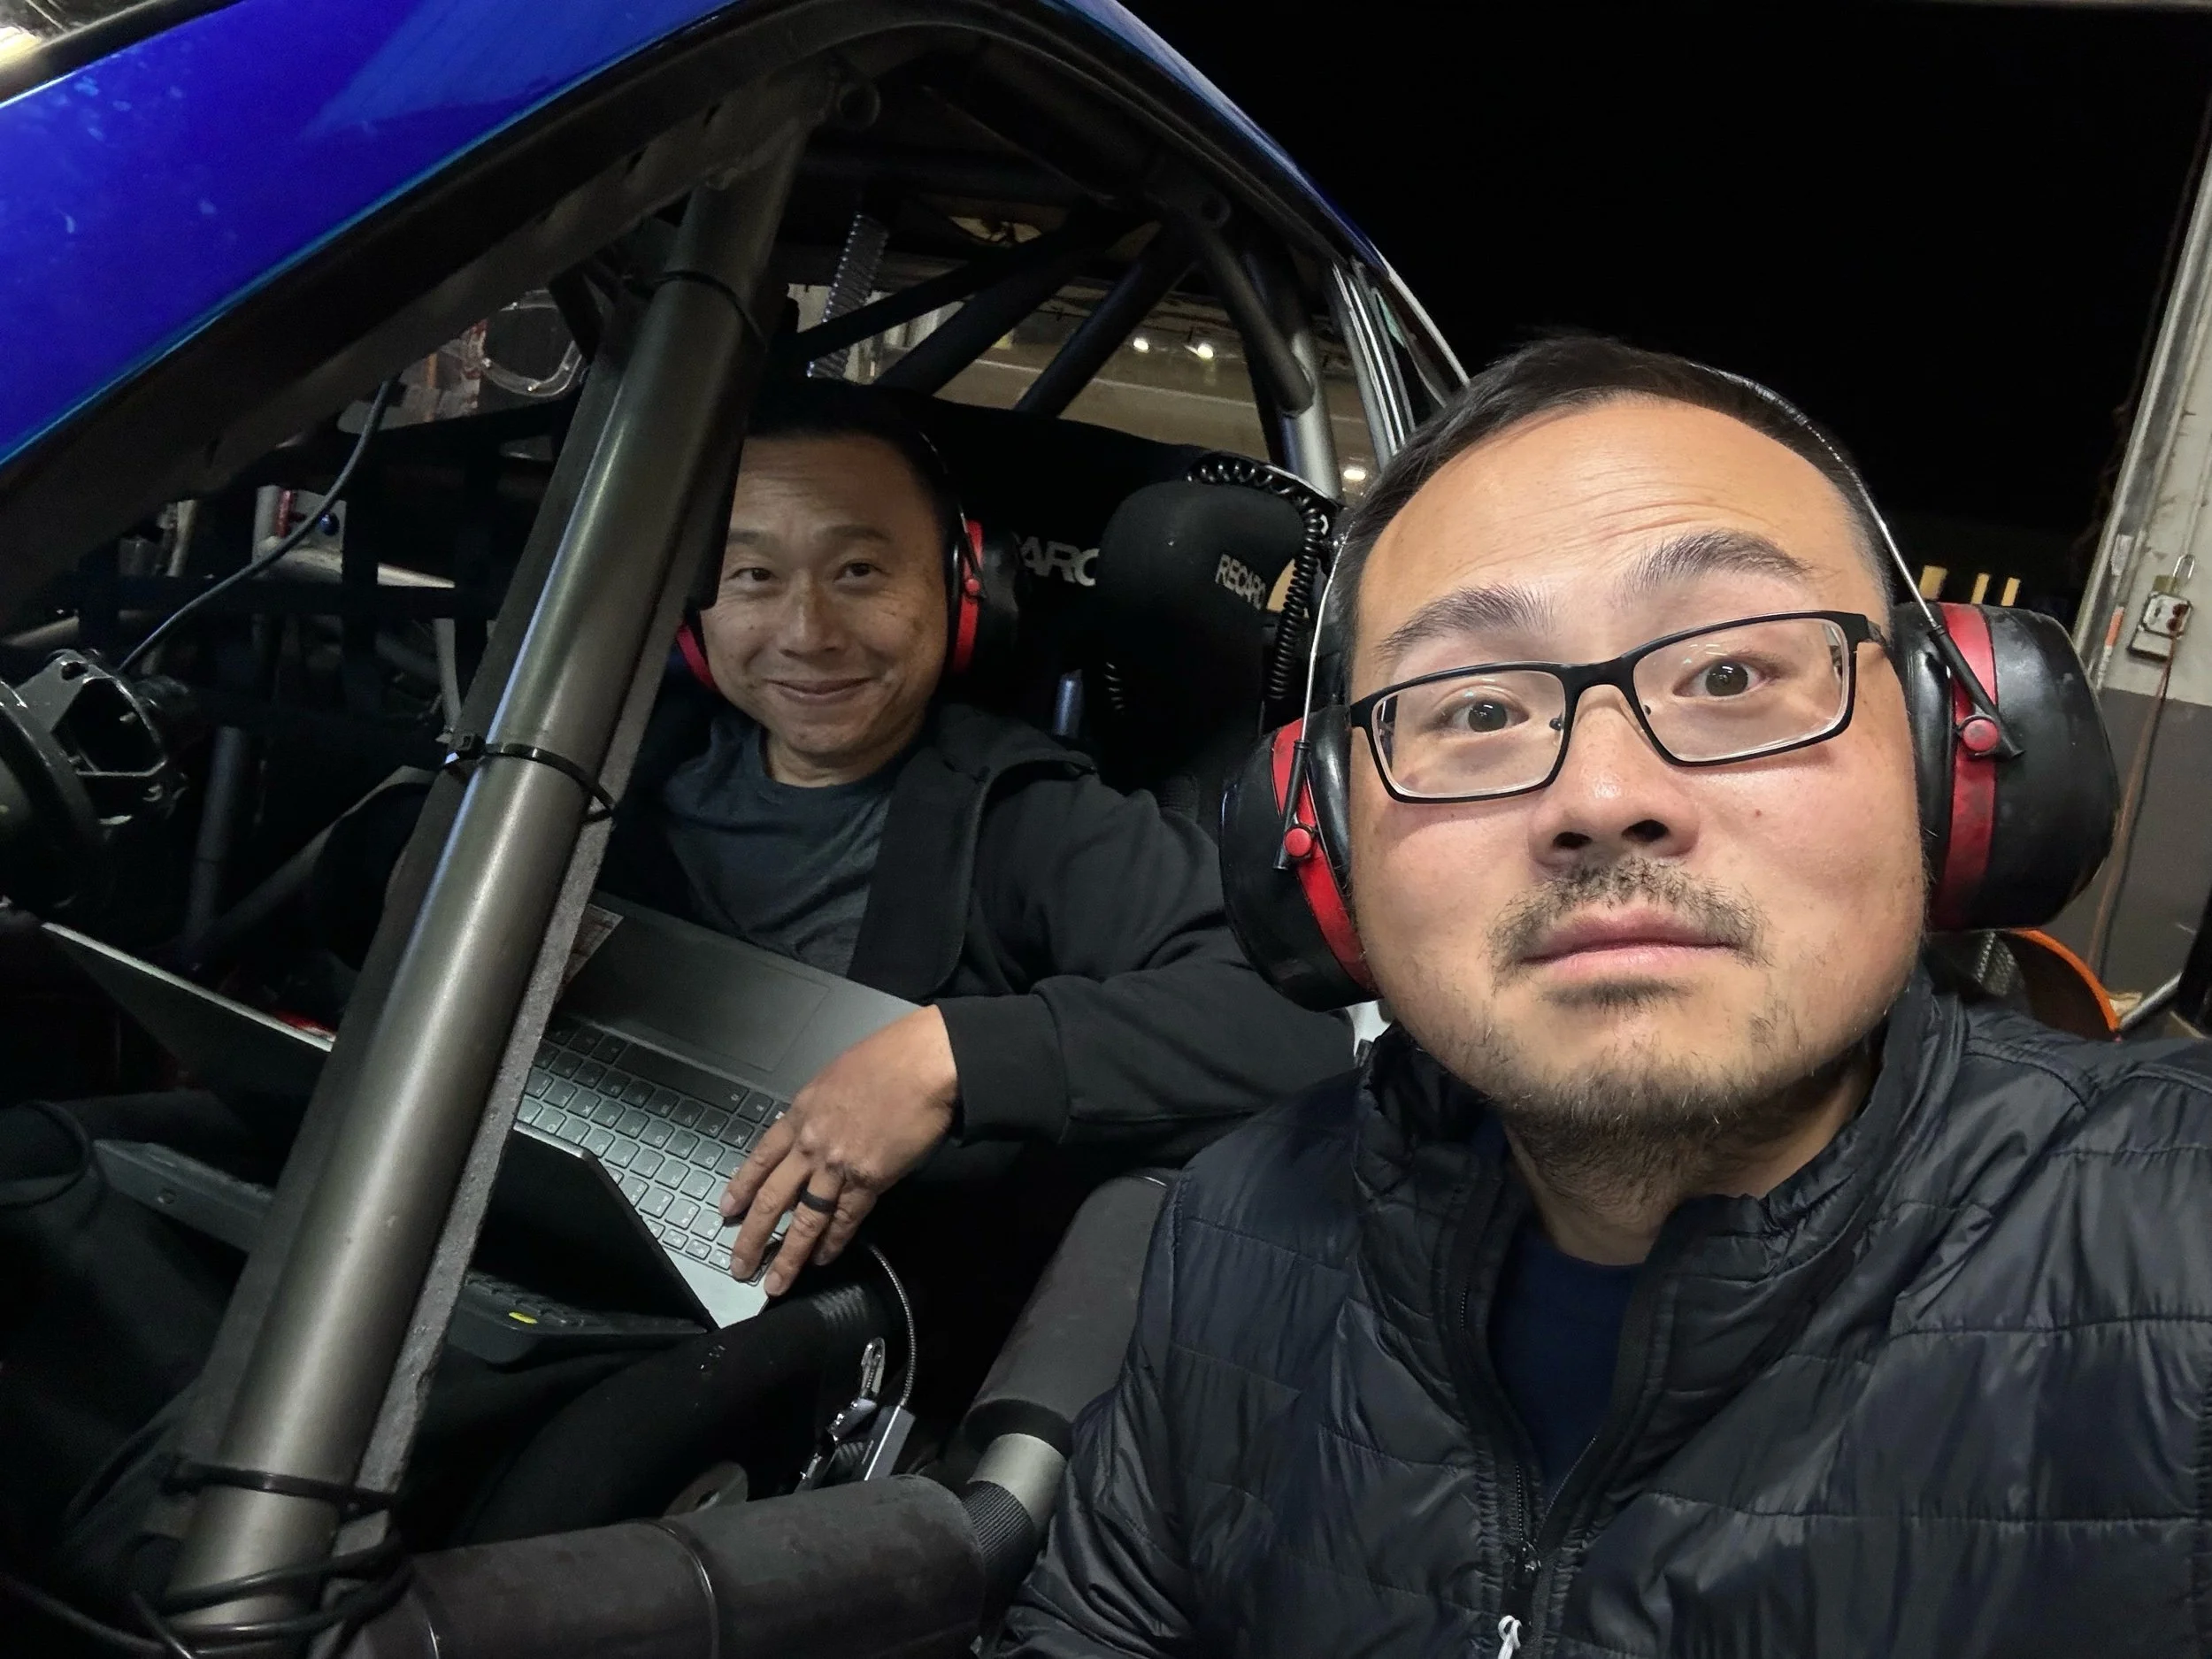
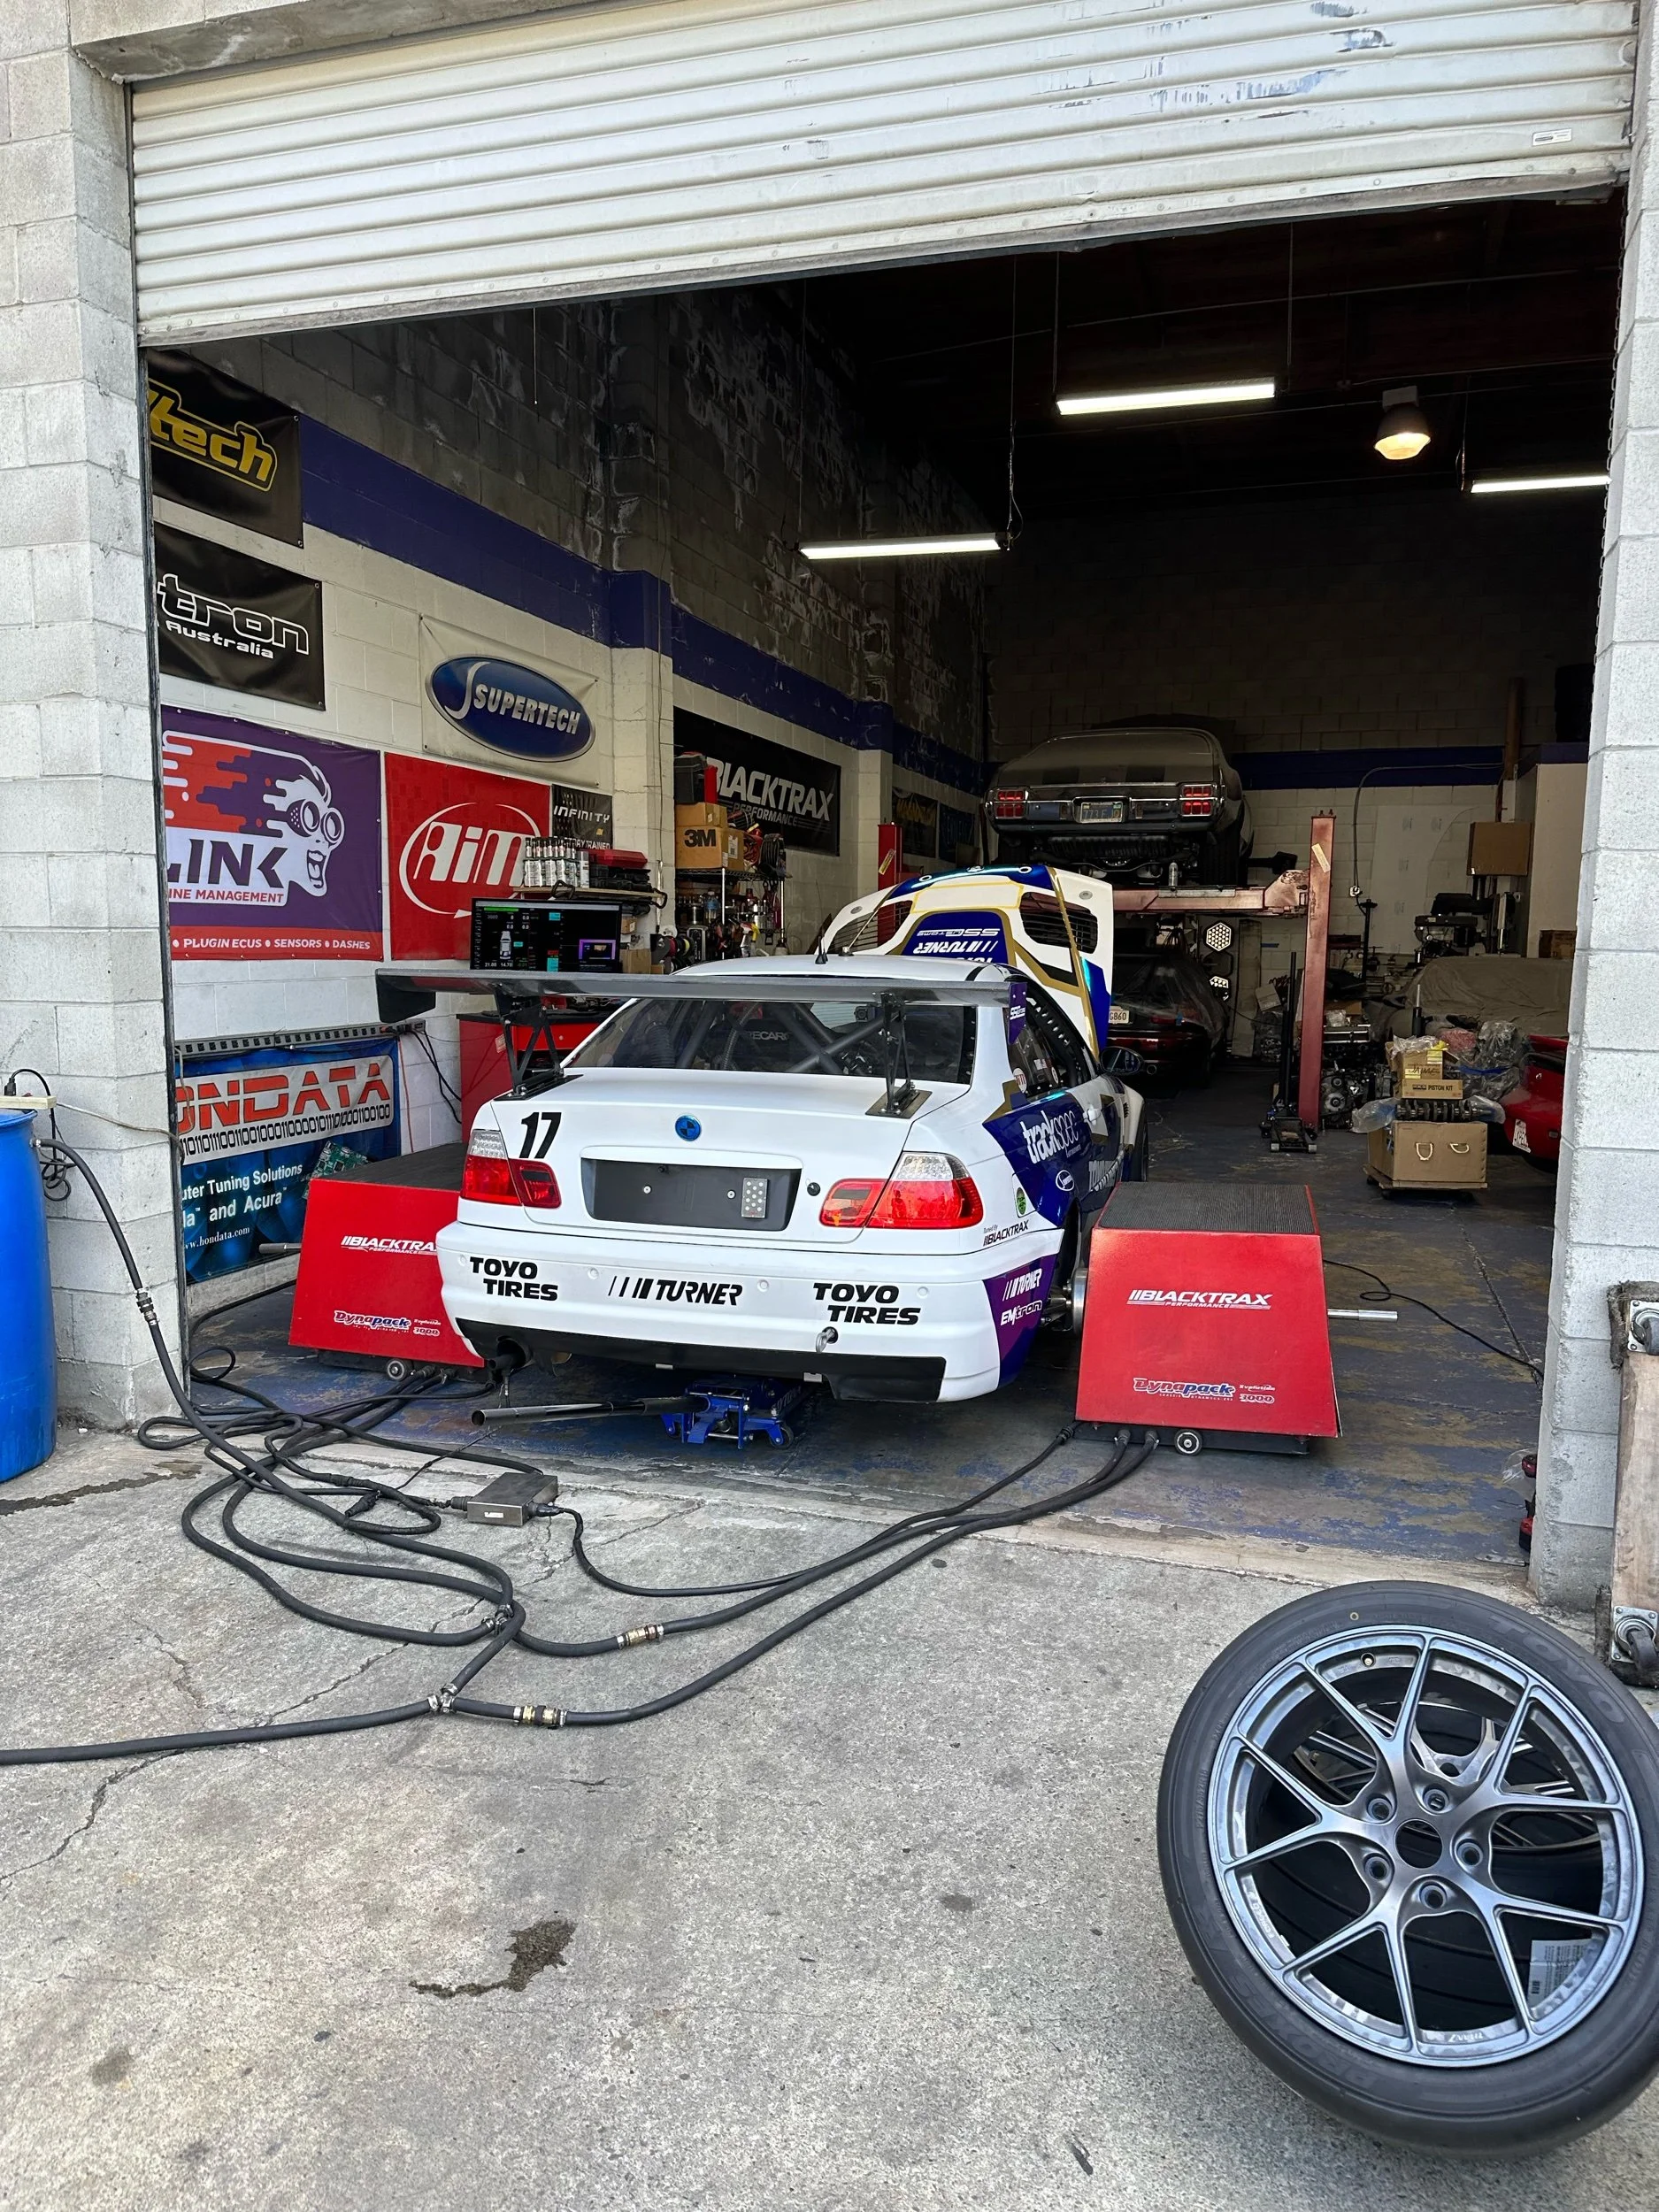
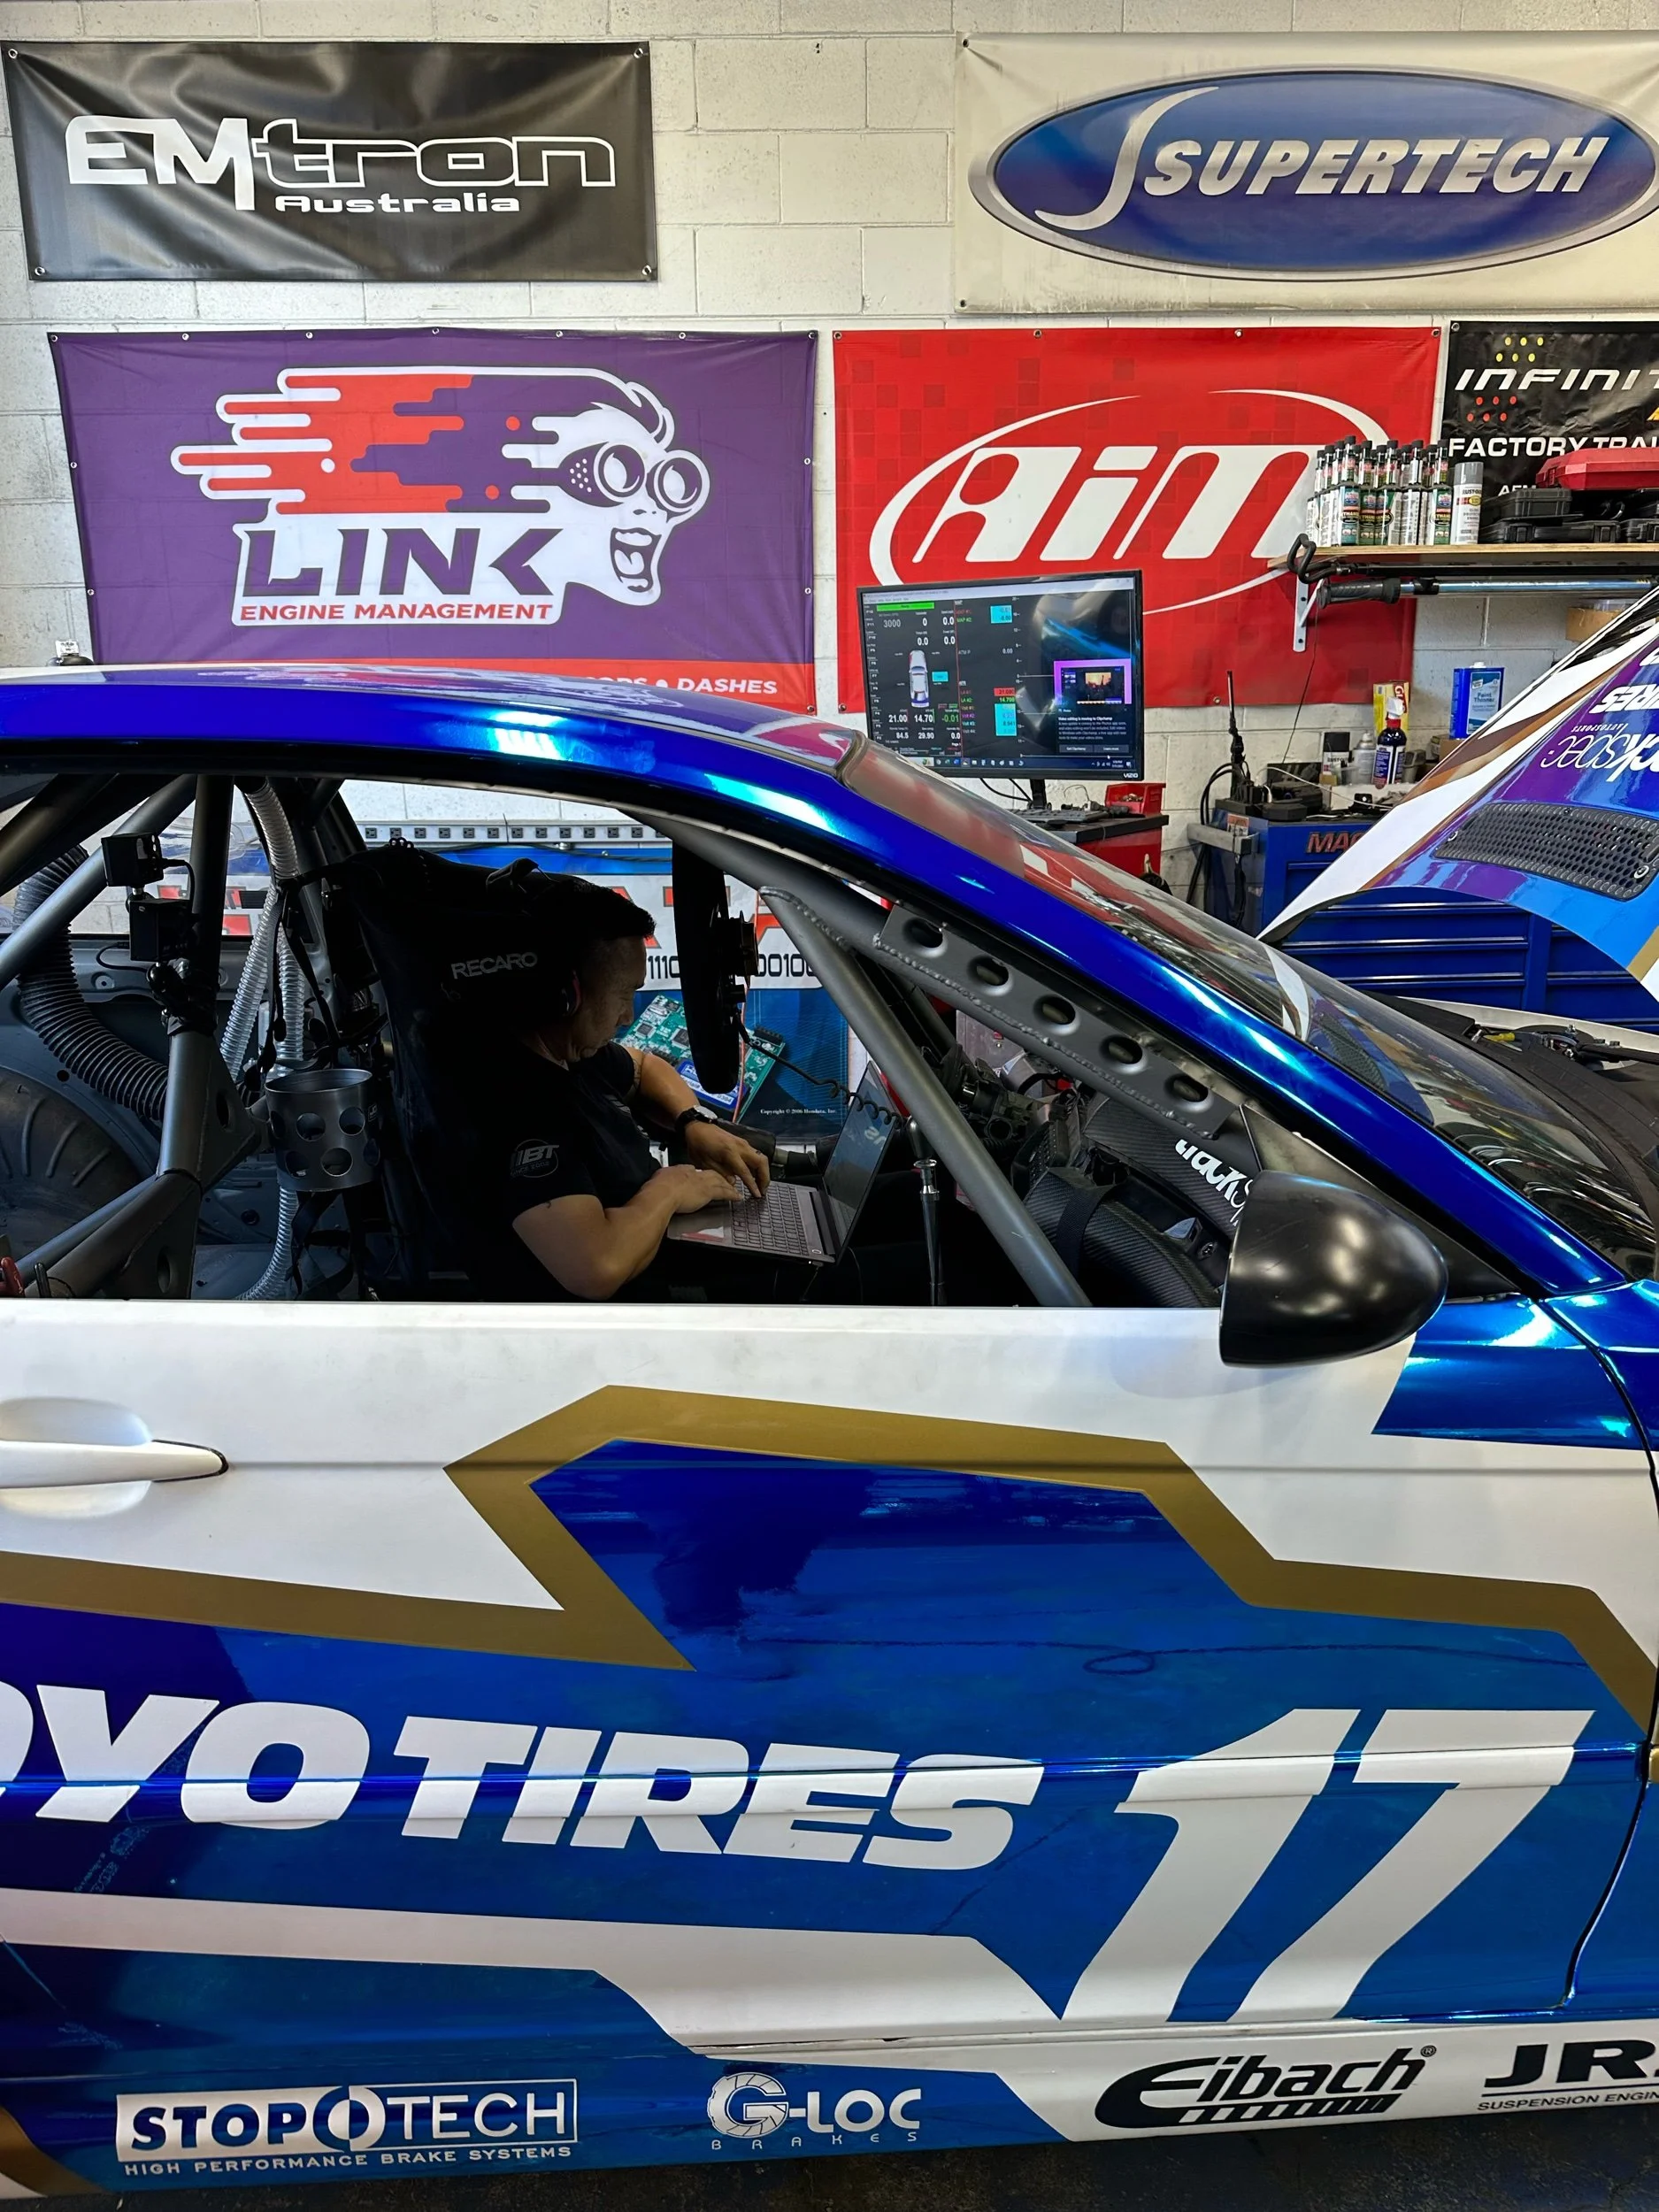
spare engine and gearbox tuning on the dyno
Once everything was on the car and ready to go, I went over to VEX Offroad (thanks, Jessie, Jay, and Dean) for some dyno time with Jei. We needed to use dyno jet rollers in order to simulate the track for purposes of tuning the clutchless no-lift auto blip downshifts and clutchless “flat-foot” upshifts.
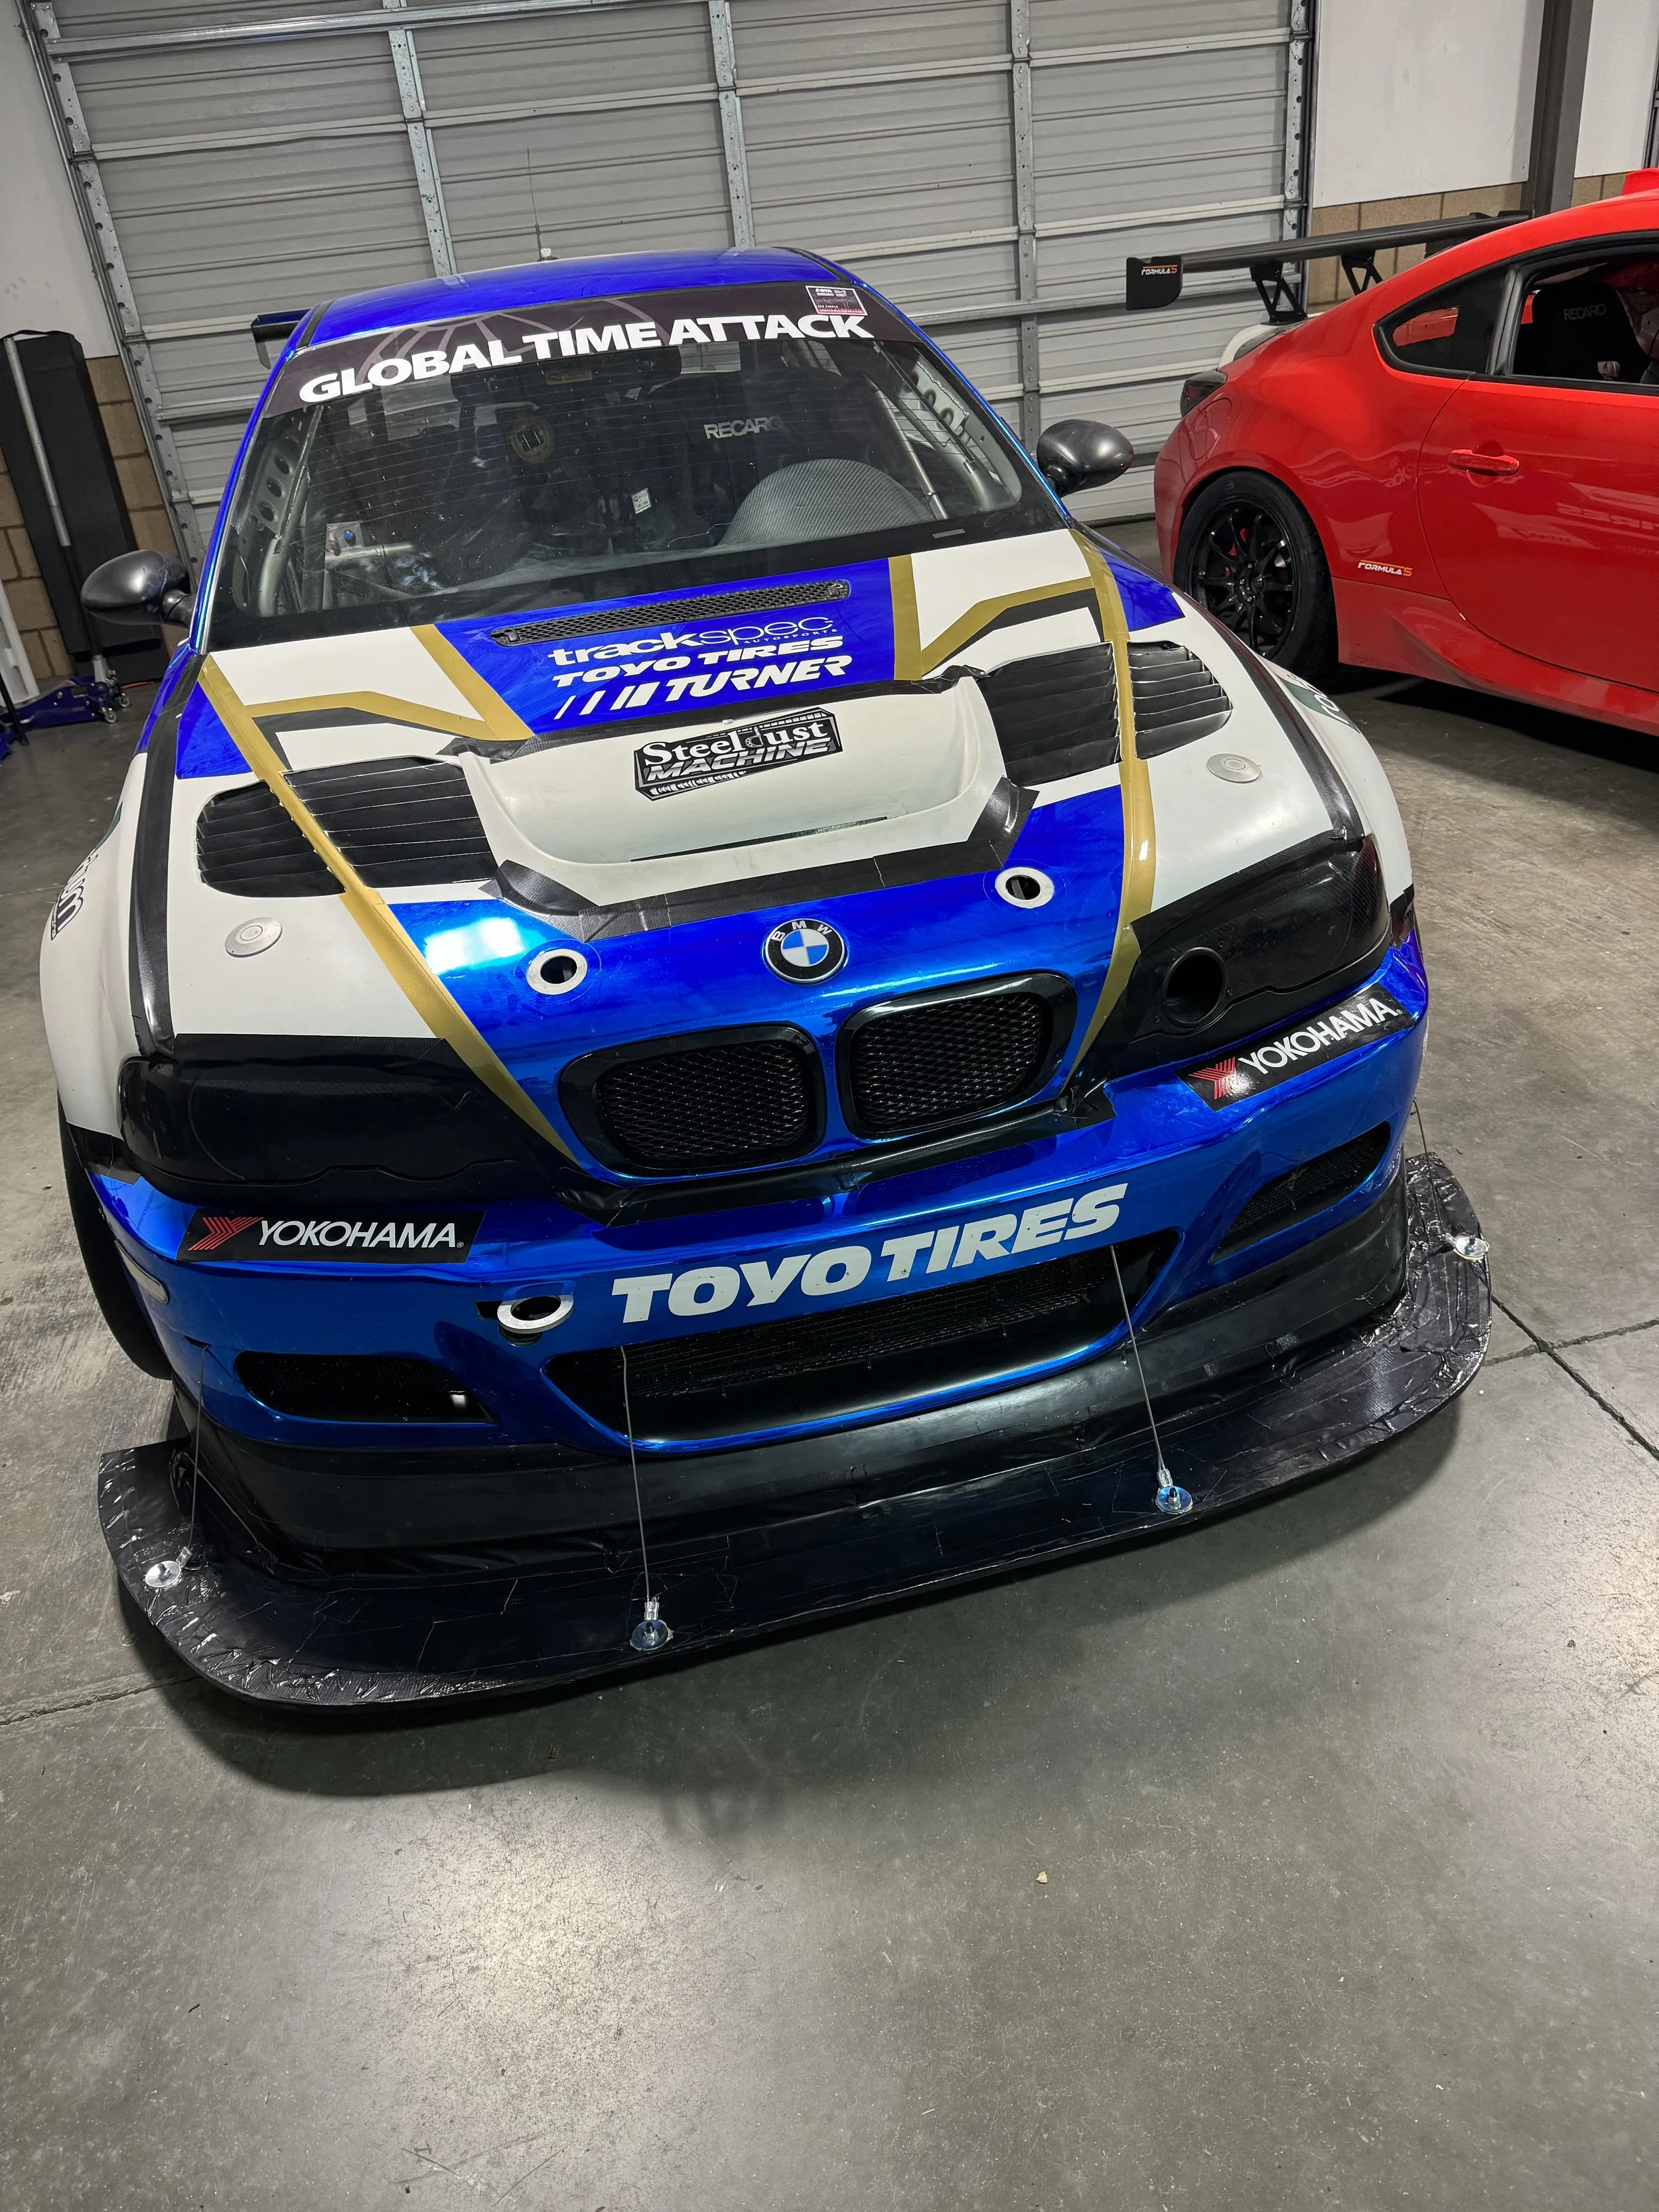
Global Time Attack Finals Nov 10th-12th
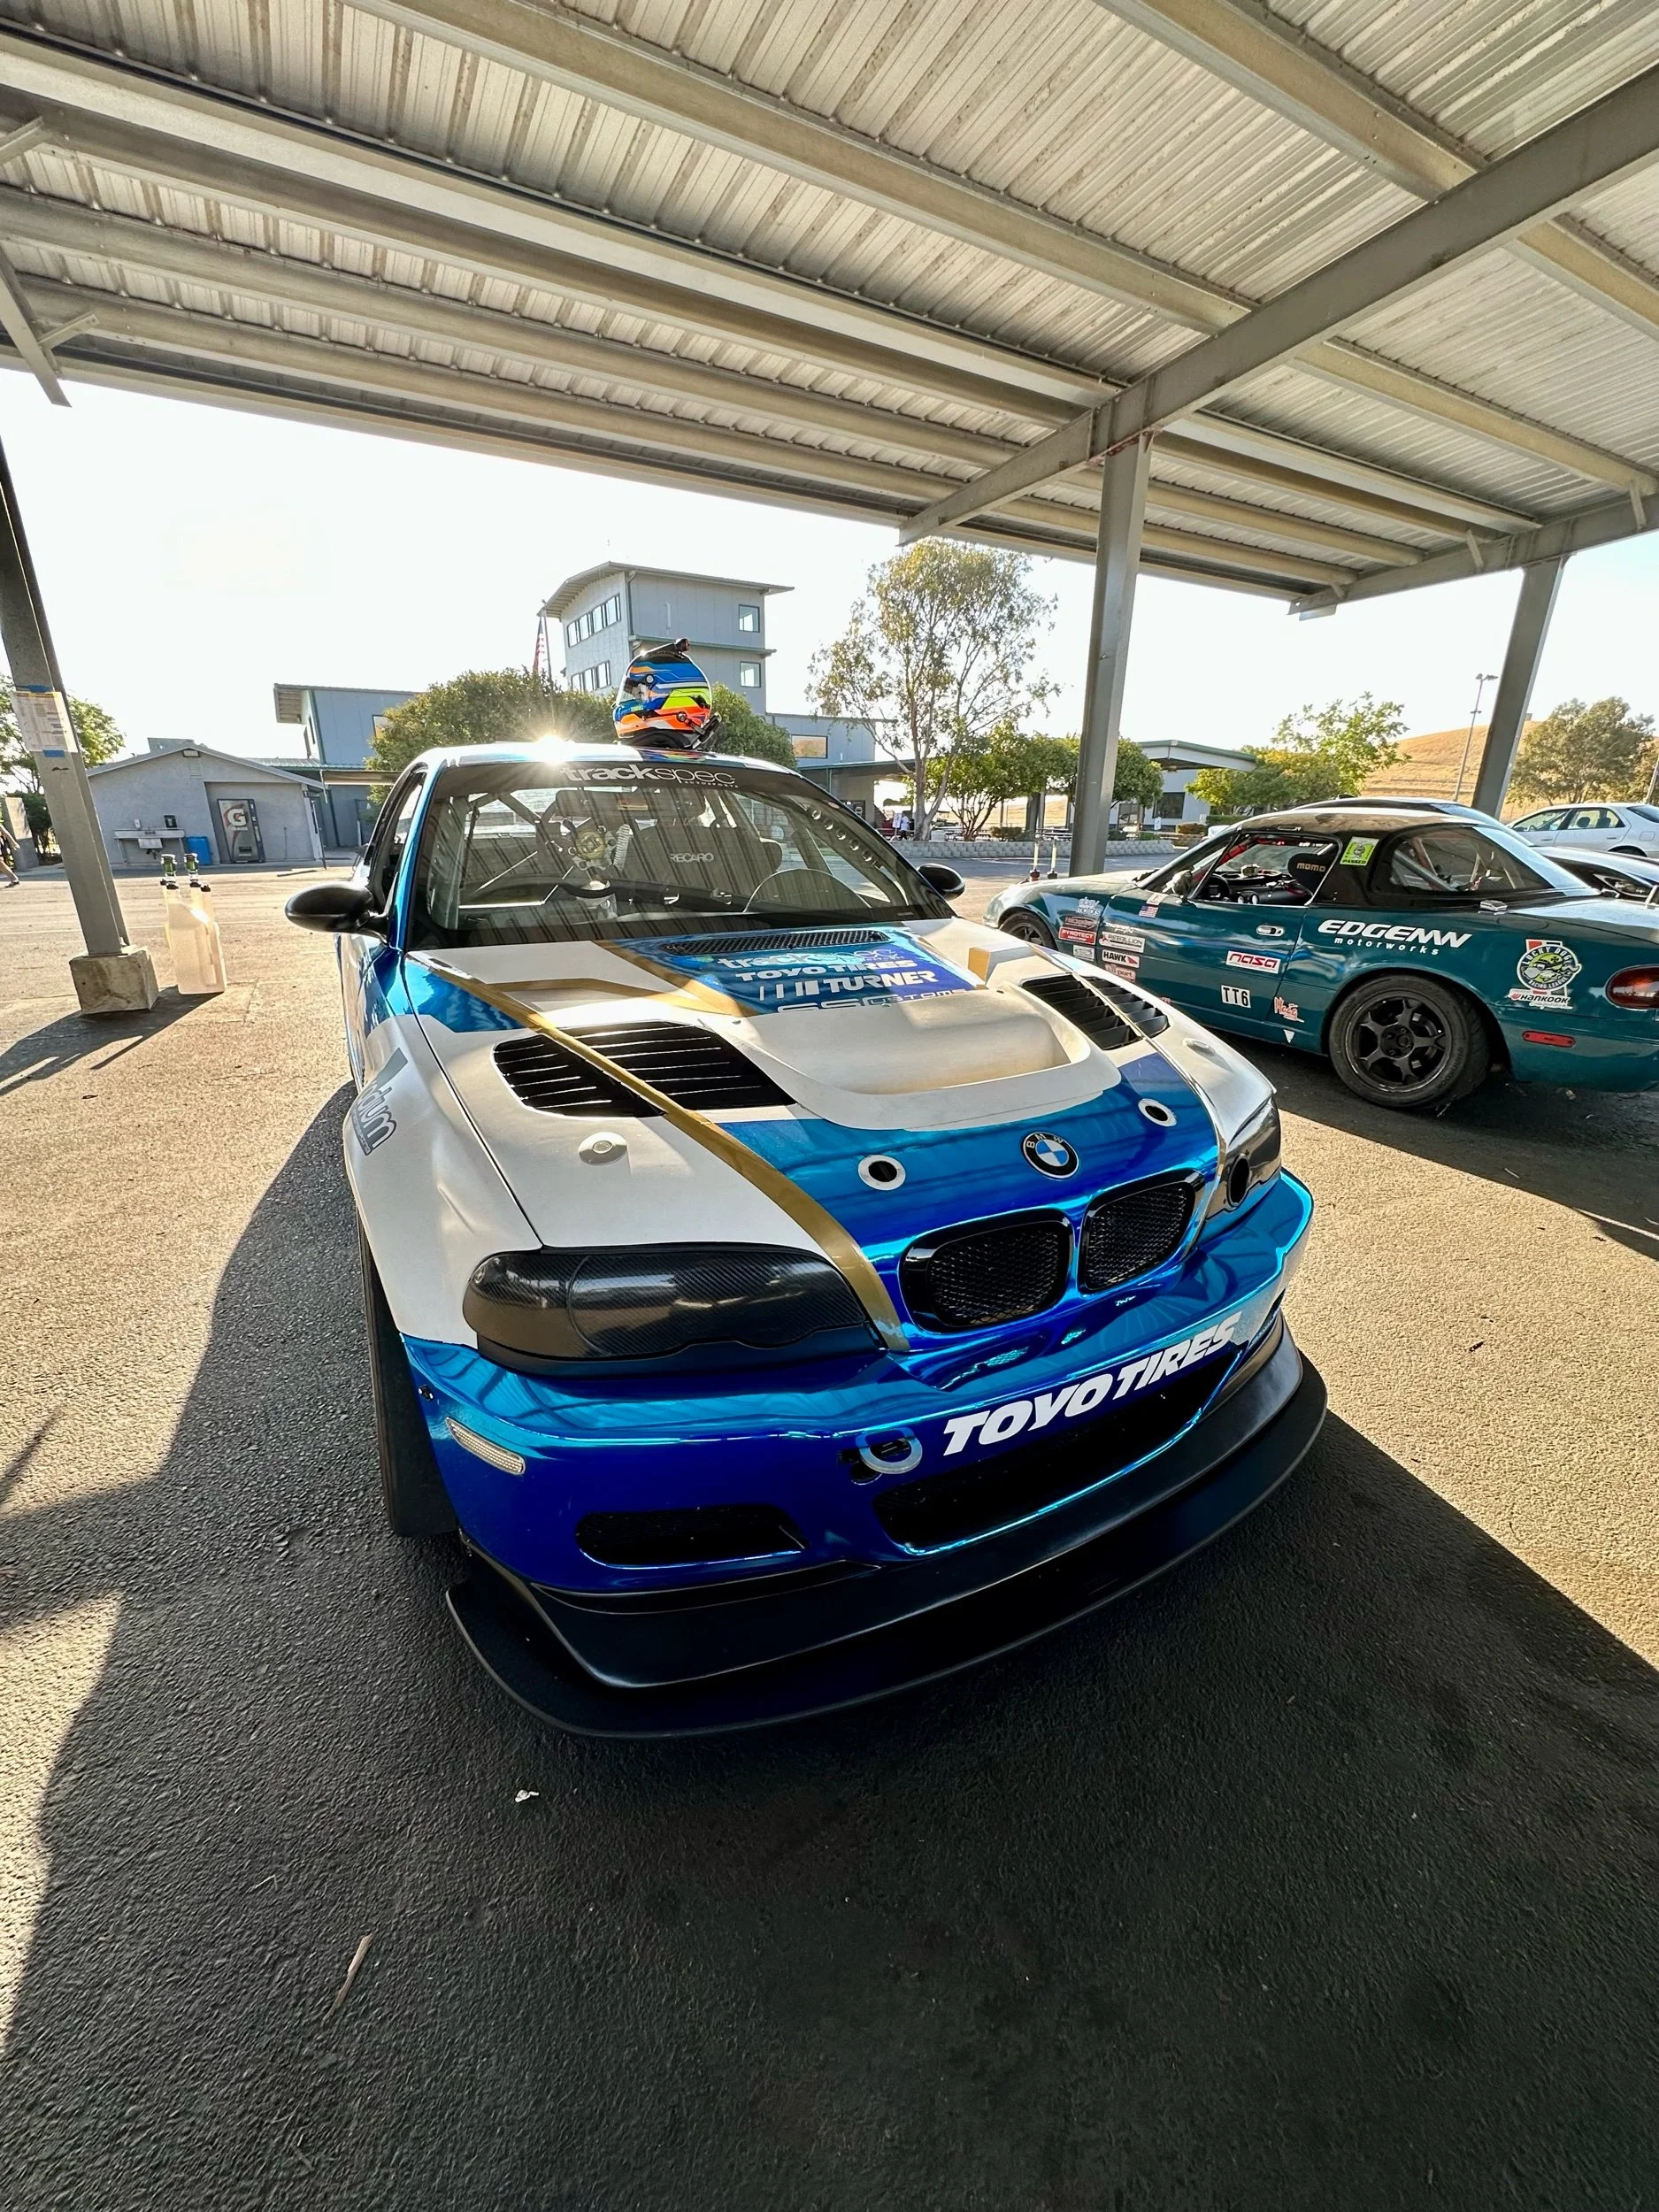
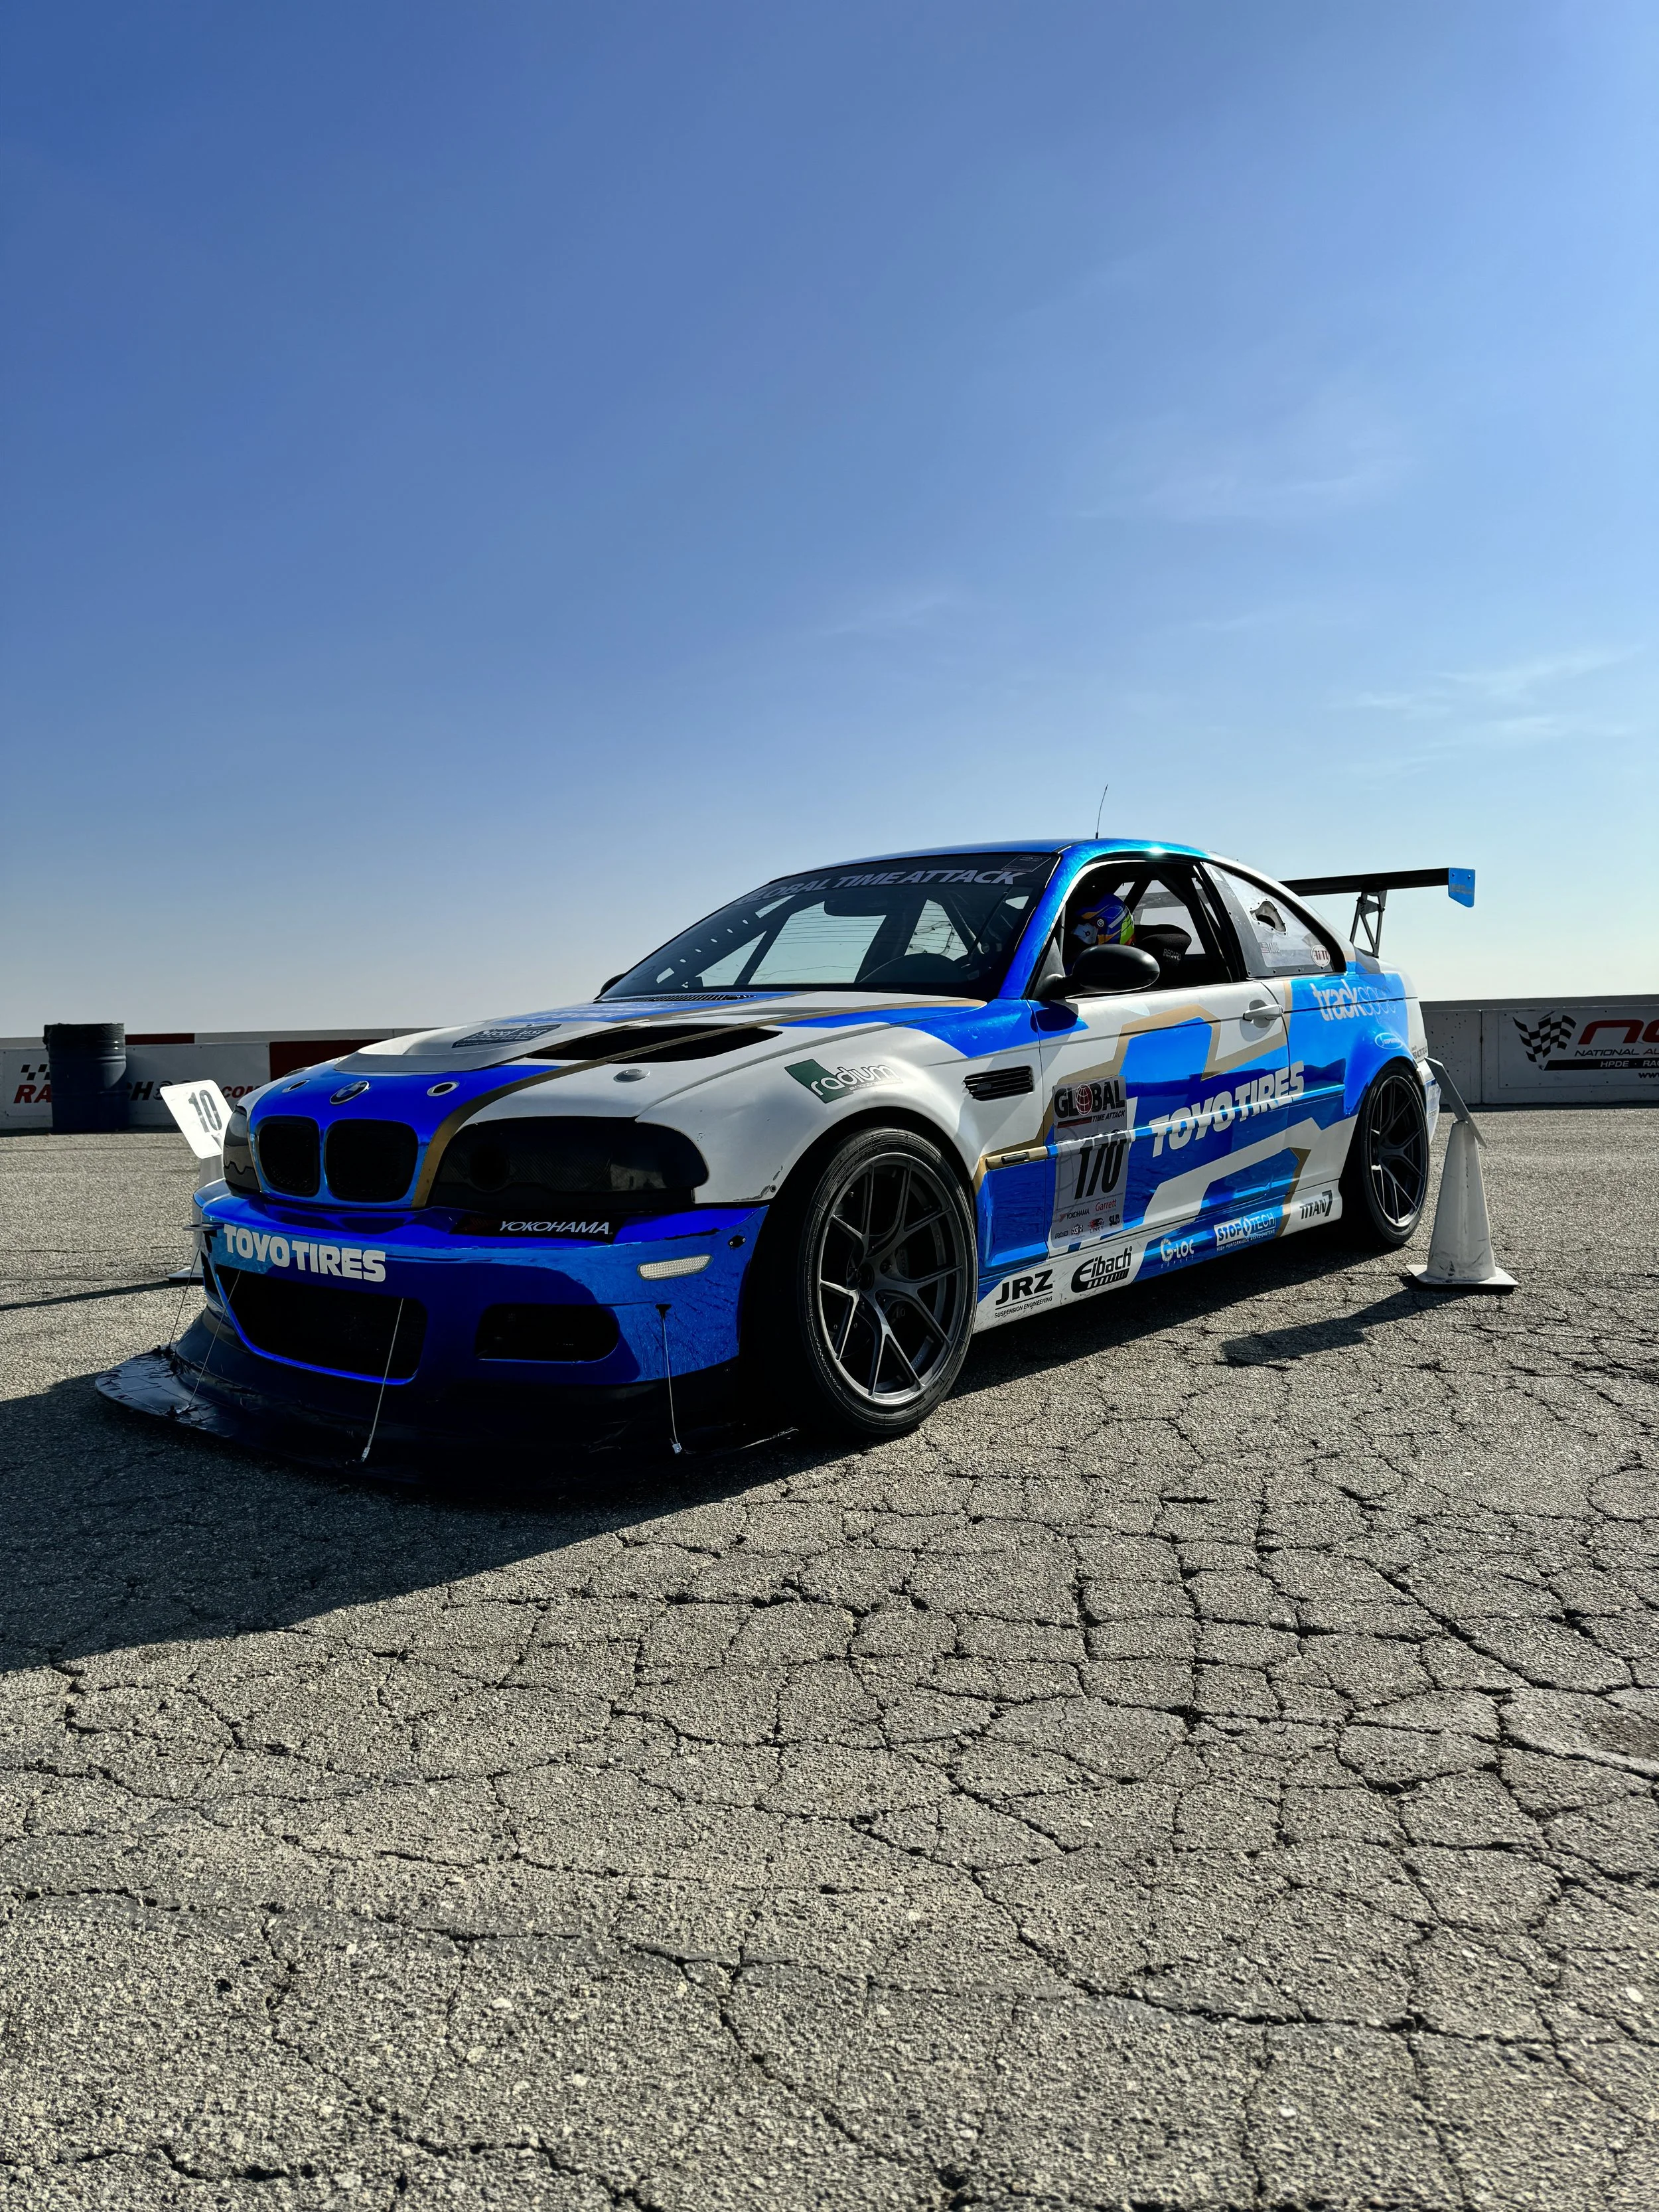
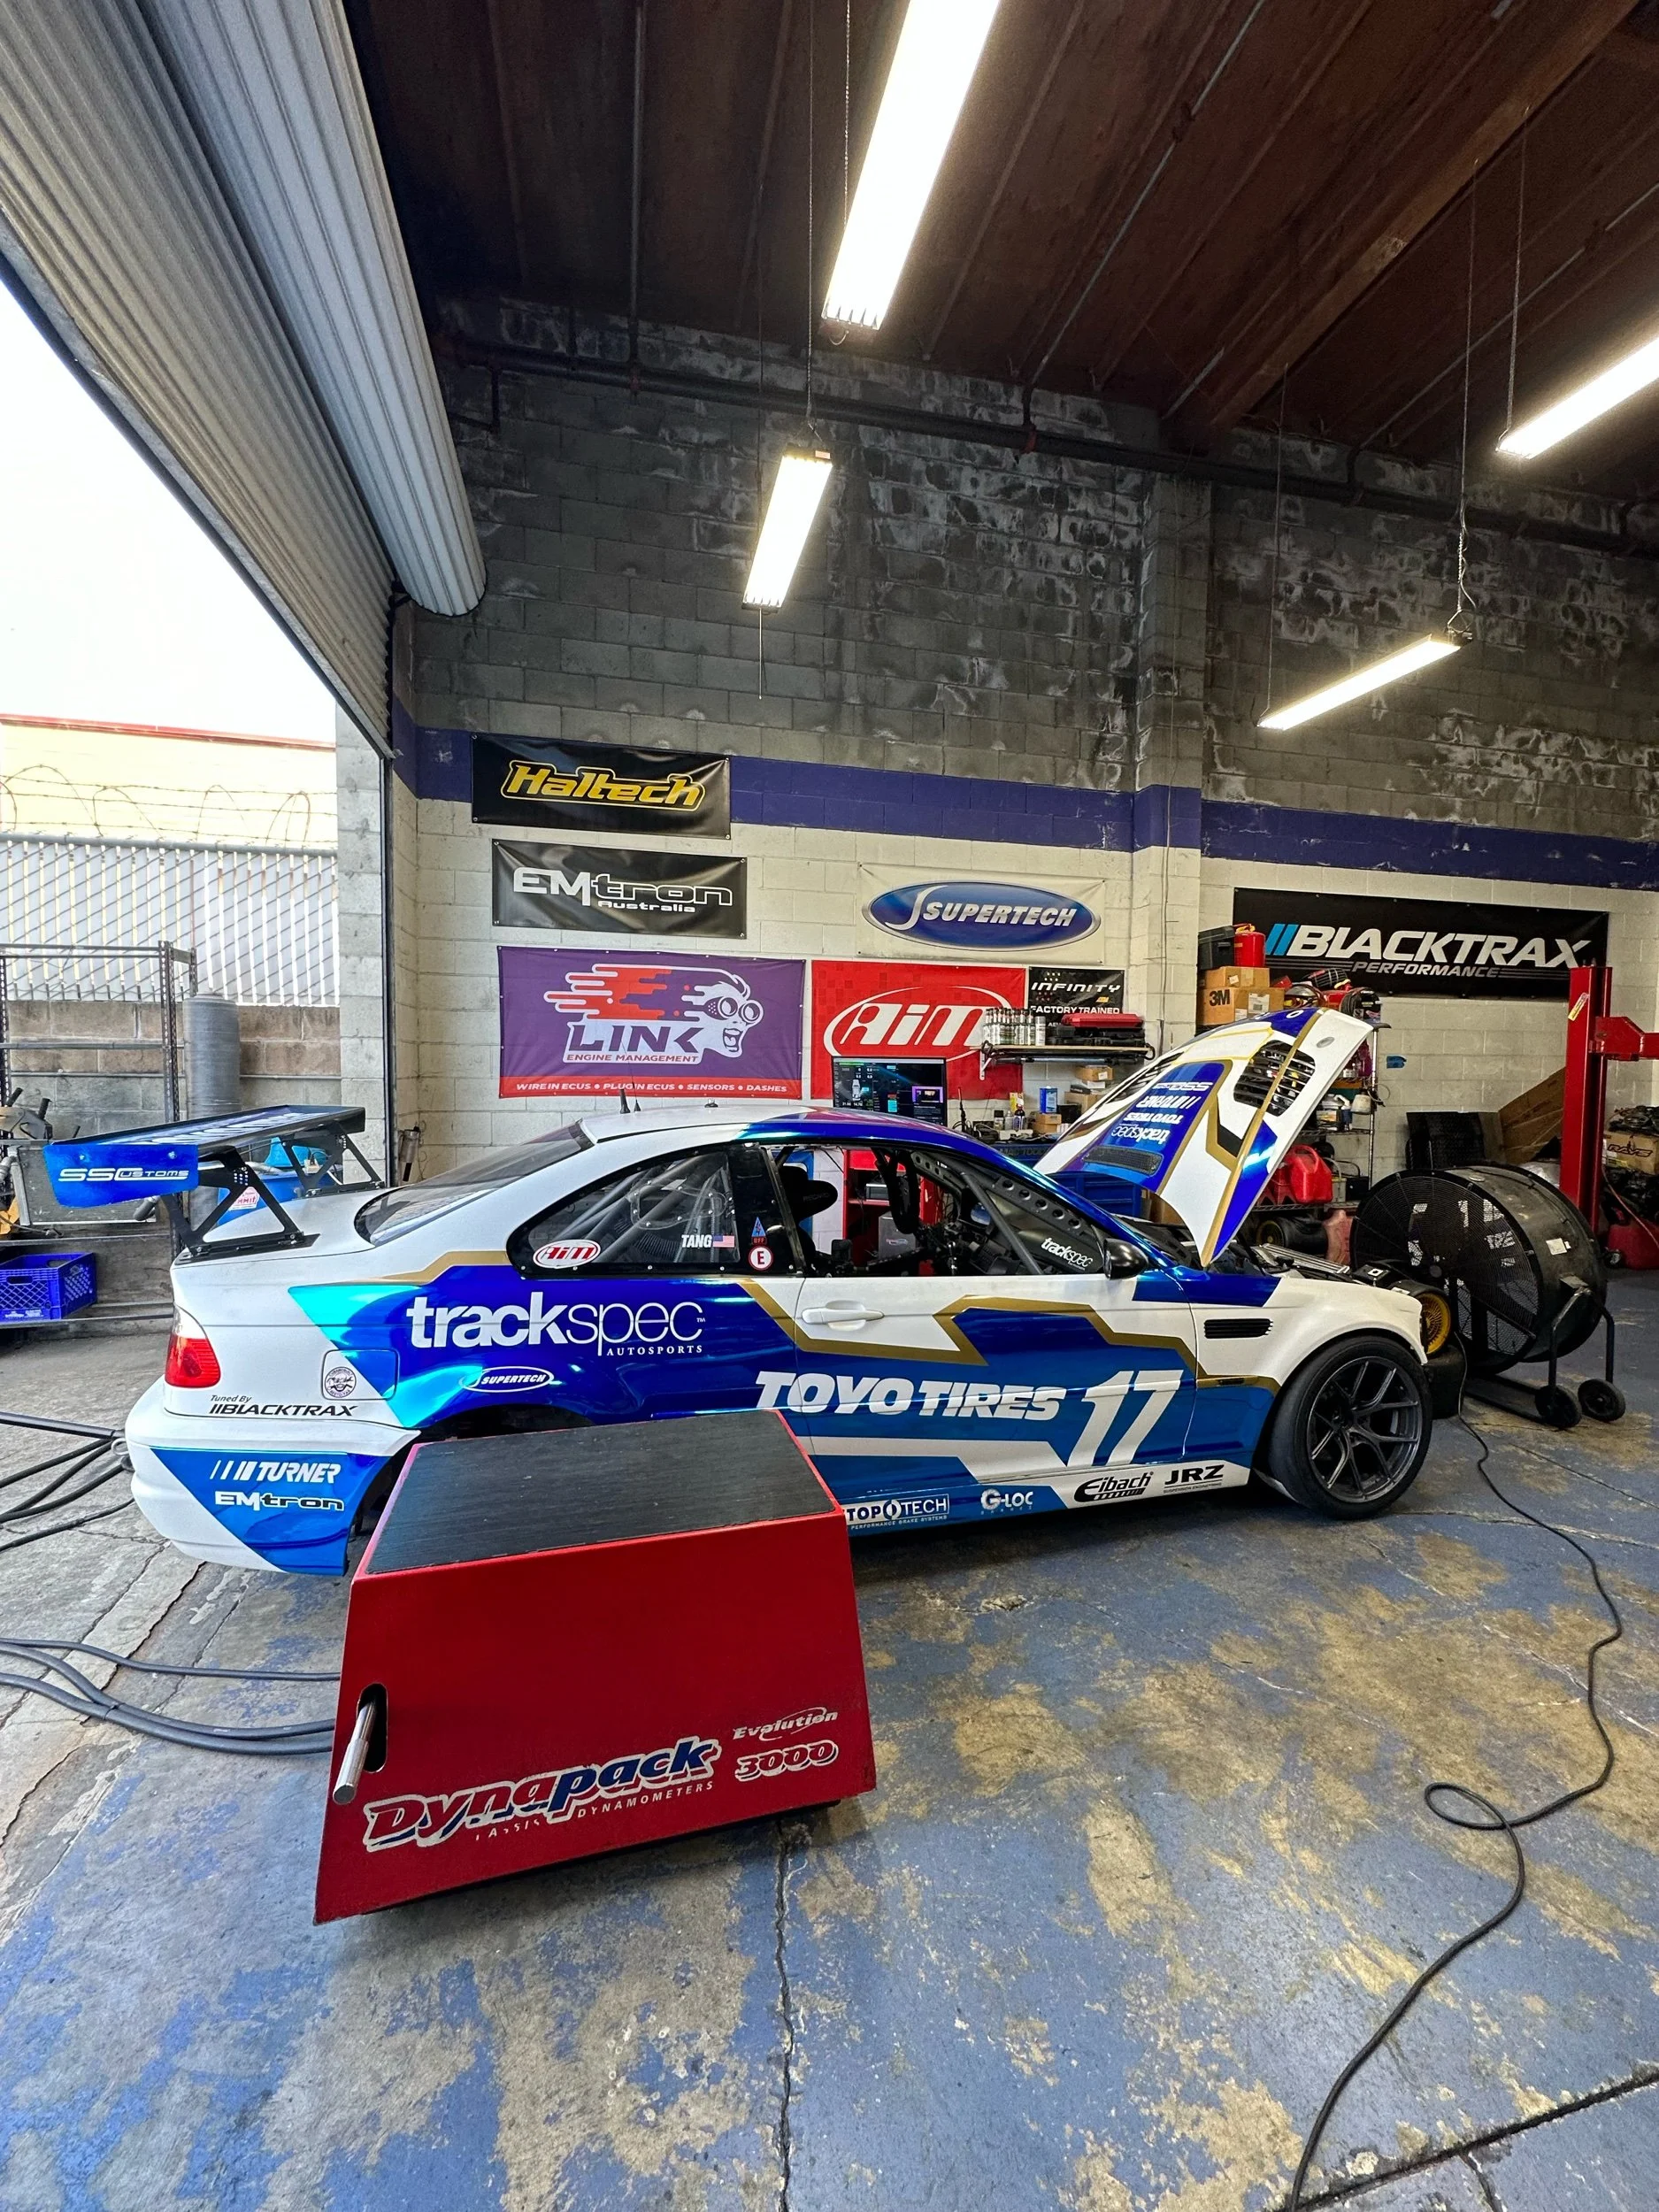
The next day, Marc, Mike and me headed down to Buttonwillow Raceway after work for Global Time Attack Finals. I still can’t get over how good the car looks…

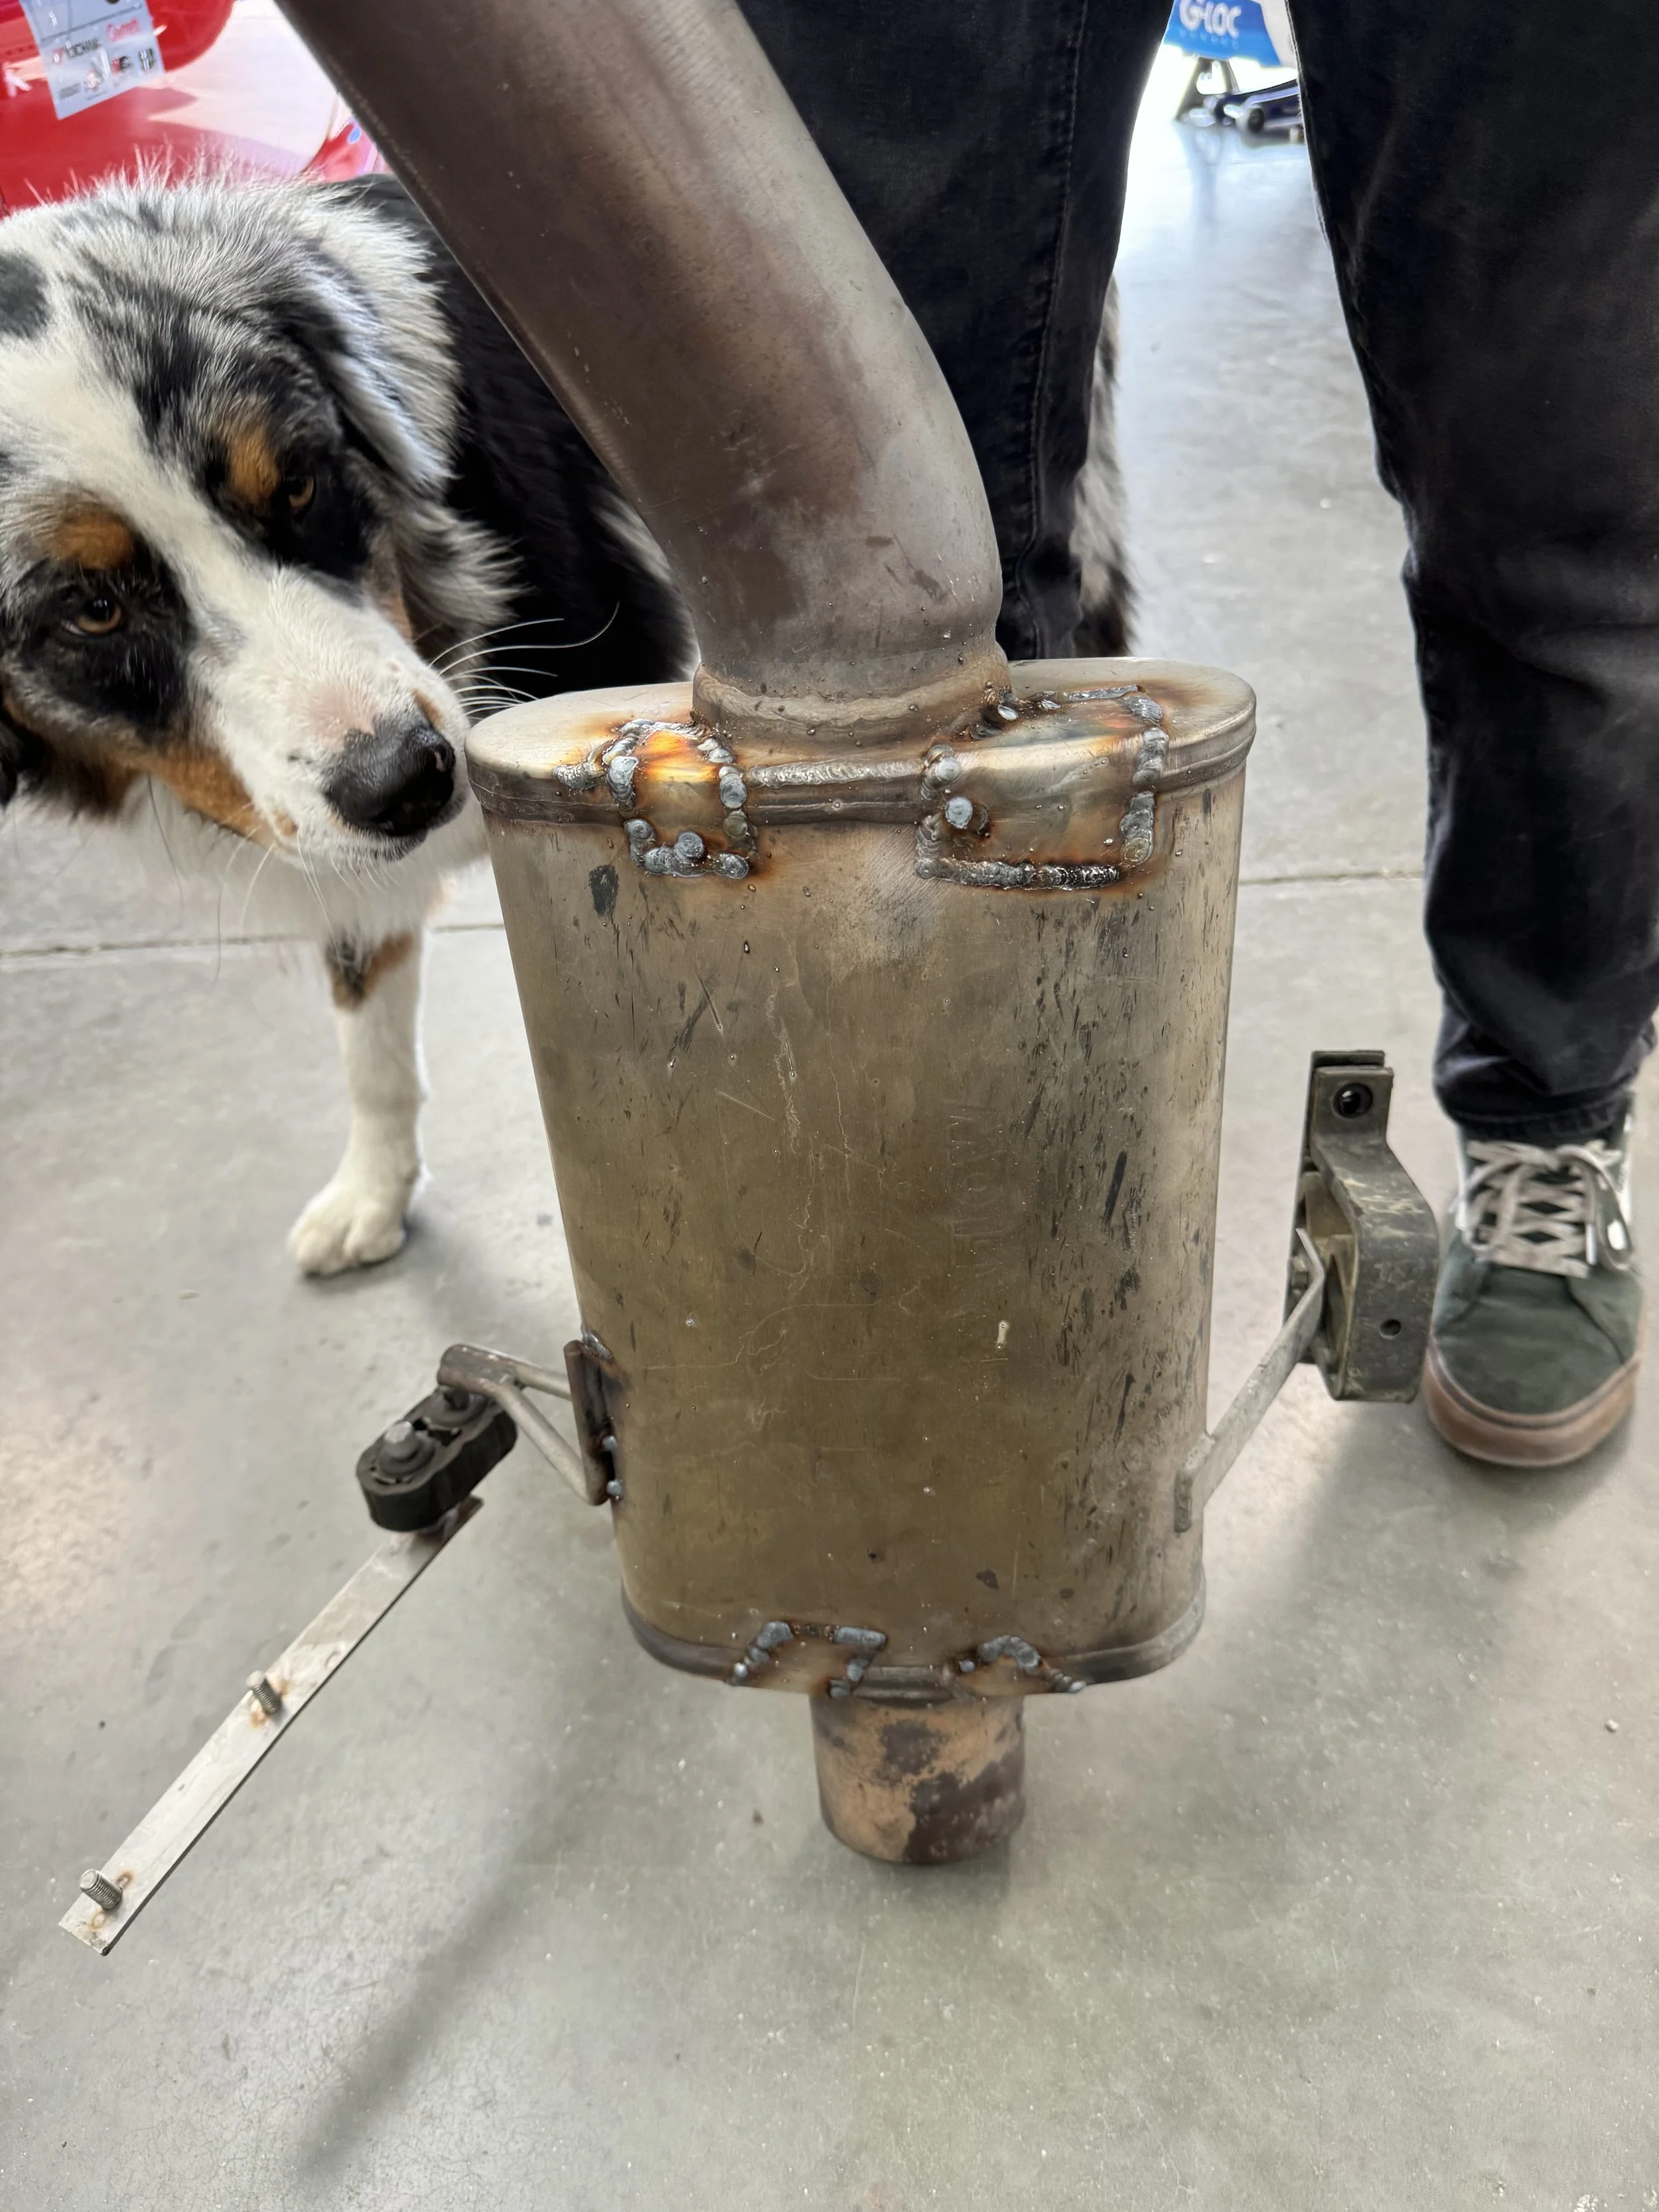
broken muffler
Friday practice threw quite a few curve-balls at us. We blew out our already tired muffler early in the morning and ended up welding some reinforcement plates on both ends to ensure it lasted for the event. Son’s dog, Camber, approves.
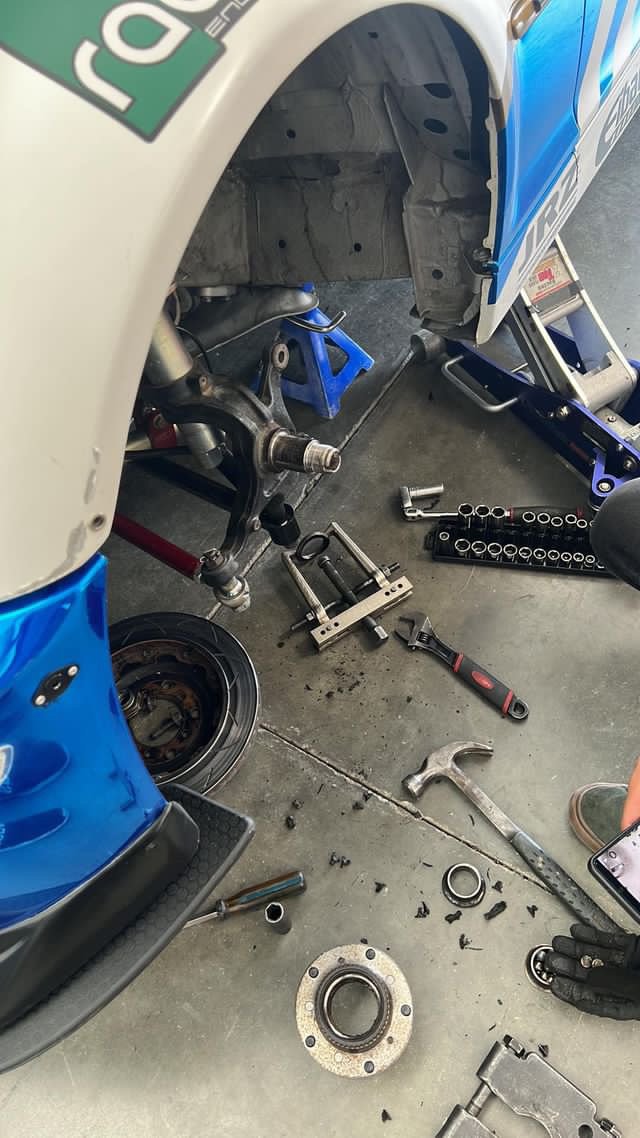
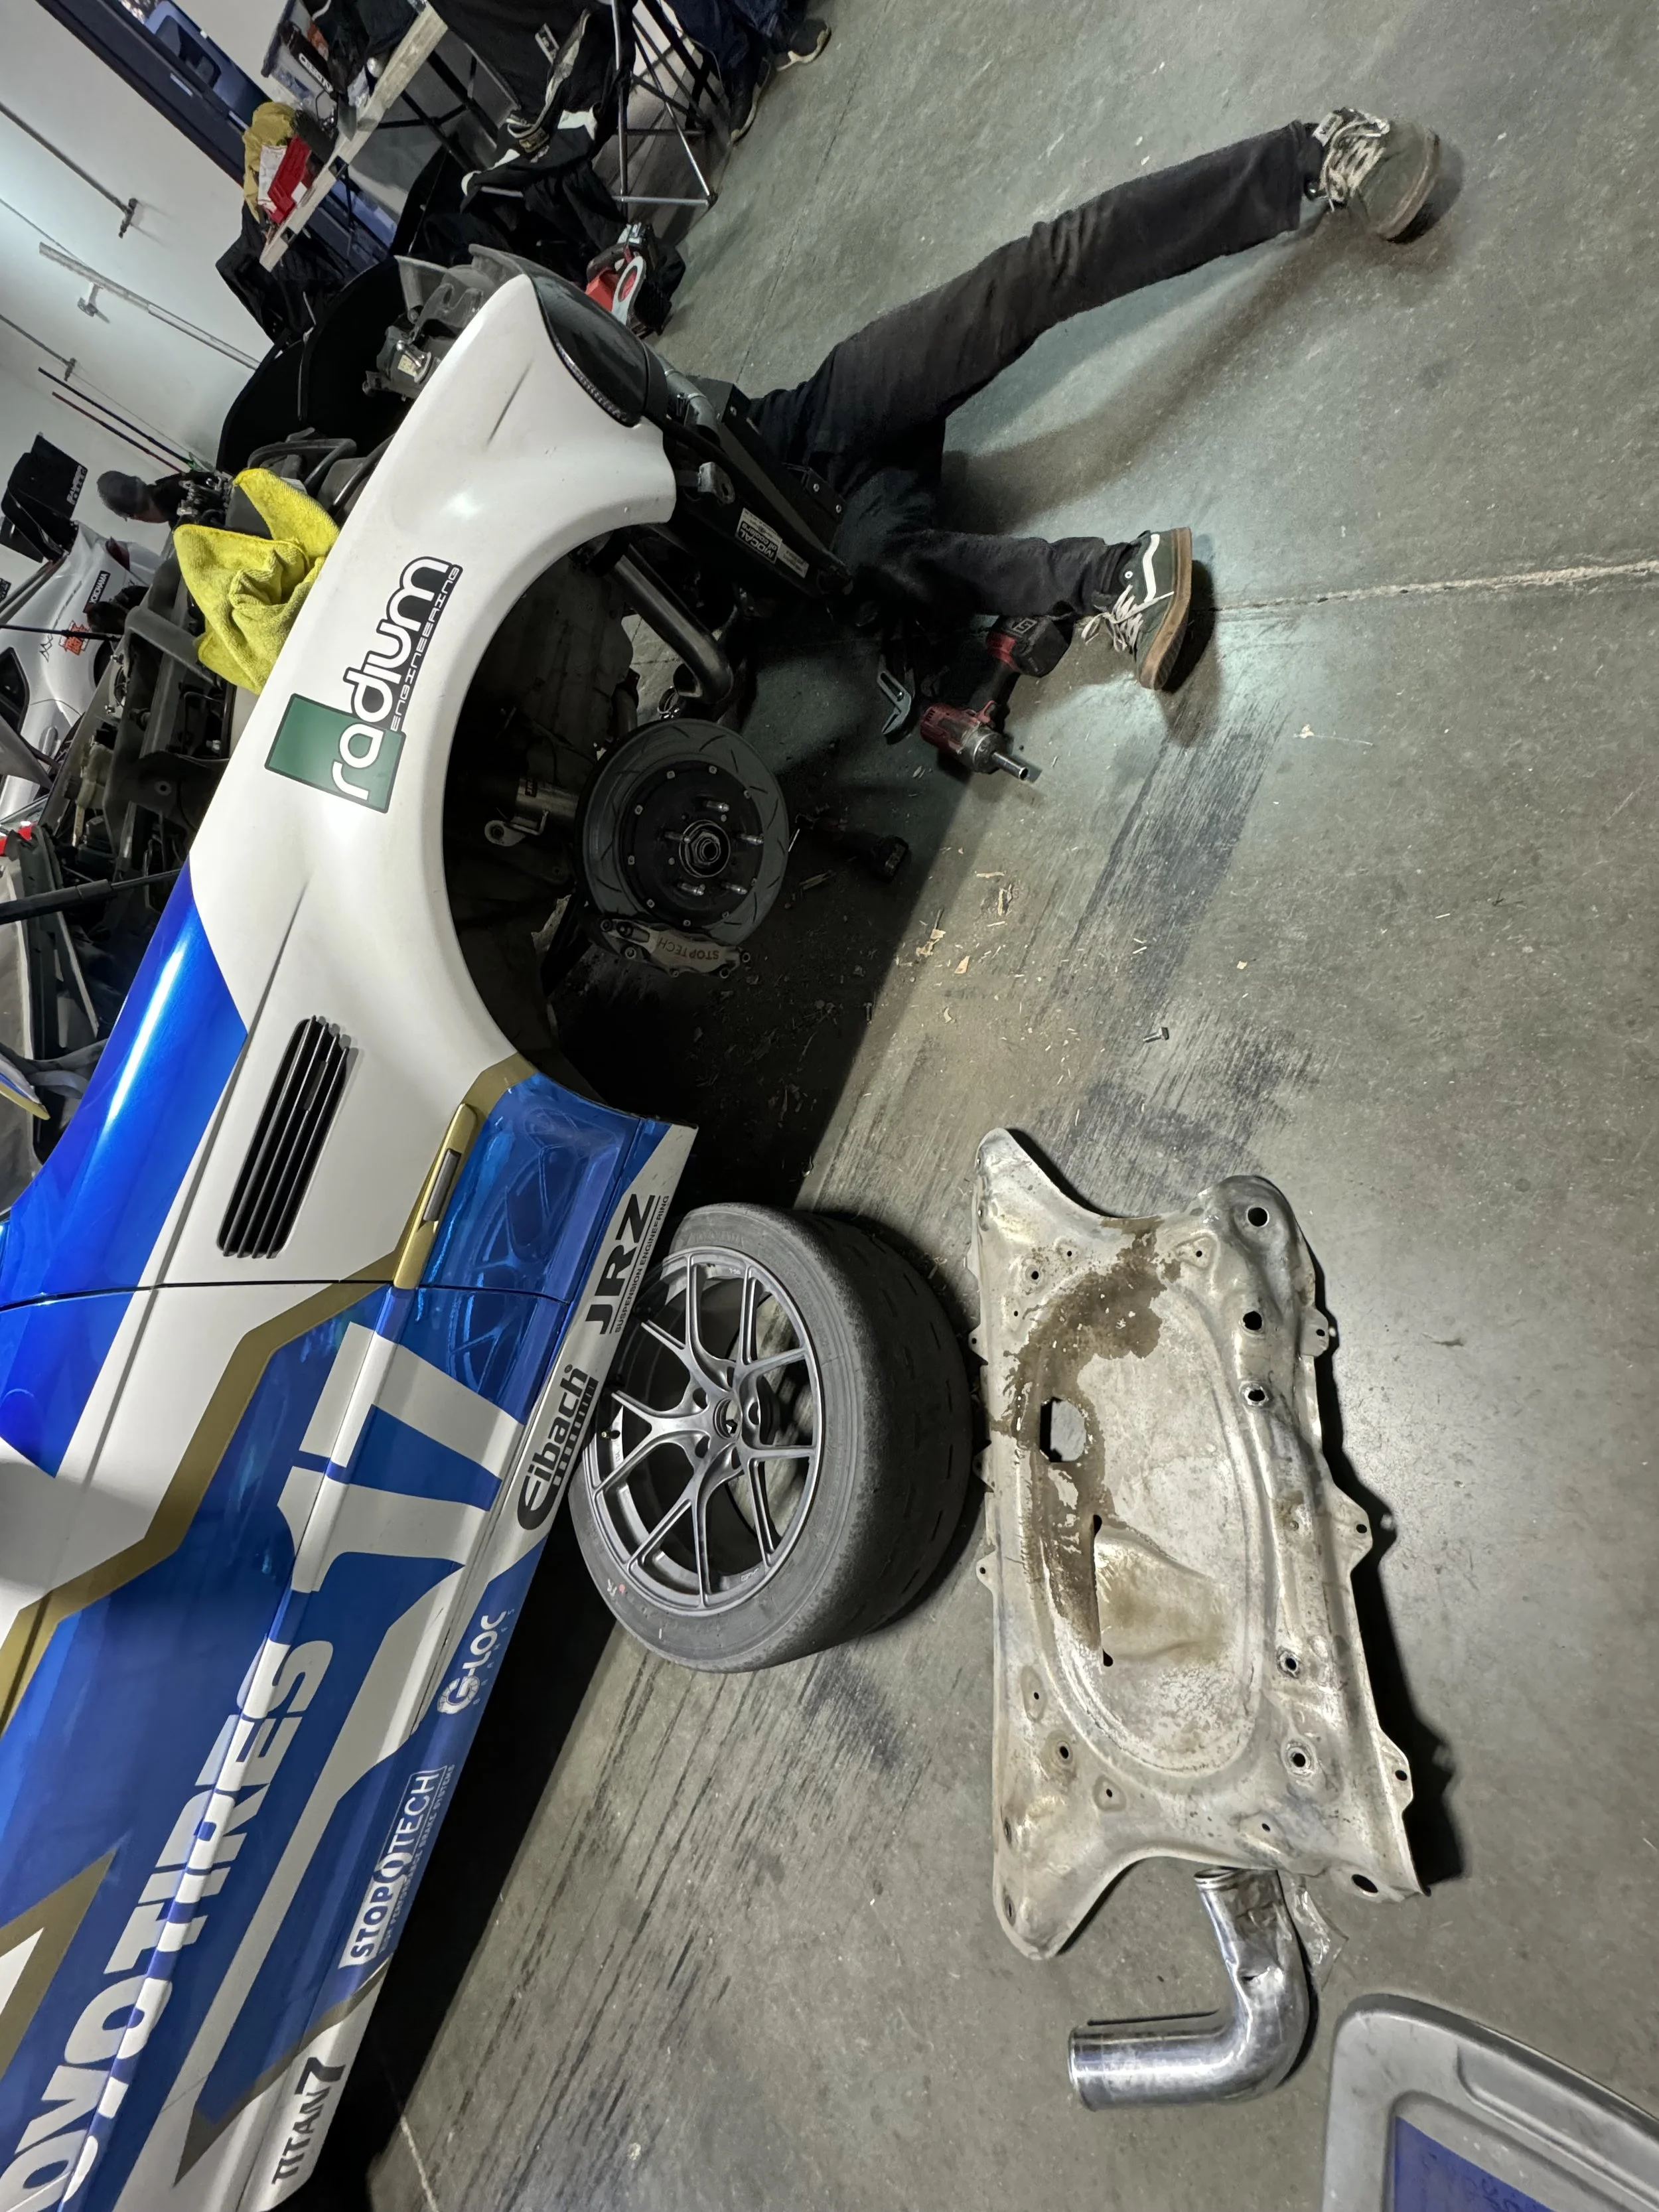
broken wheel bearing
Then, on a solid lap during session two, I felt the brake pedal go long into Phil Hill and suddenly I noticed a really bad burning smell and smoke. I decided to bring the car in right away and after pulling into the garage we discovered the front left wheel bearing had suffered a catastrophic failure. One of the ball bearings seized/snapped and sent shrapnel everywhere. Yikes! Fortunately the brake caliper, rotor, and wheel were all fine.
broken front splitter
After sourcing two new wheel bearings locally (thanks Marc, for going to pick them up in Bakersfield), we were back in business. For the afternoon session, I made a mistake and went wide at the exit of Bus Stop. Normally, I would’ve just kept my foot in it and driven through the flat dirt section and back on track. However, I seemed to have found a huge crater in the dirt and as the car sank when it landed, the front splitter caught the berm and ripped off. It destroyed the lower support beam, a charge pipe, radiator fan, and quite a few other things. Fortunately, nothing critical was damaged.
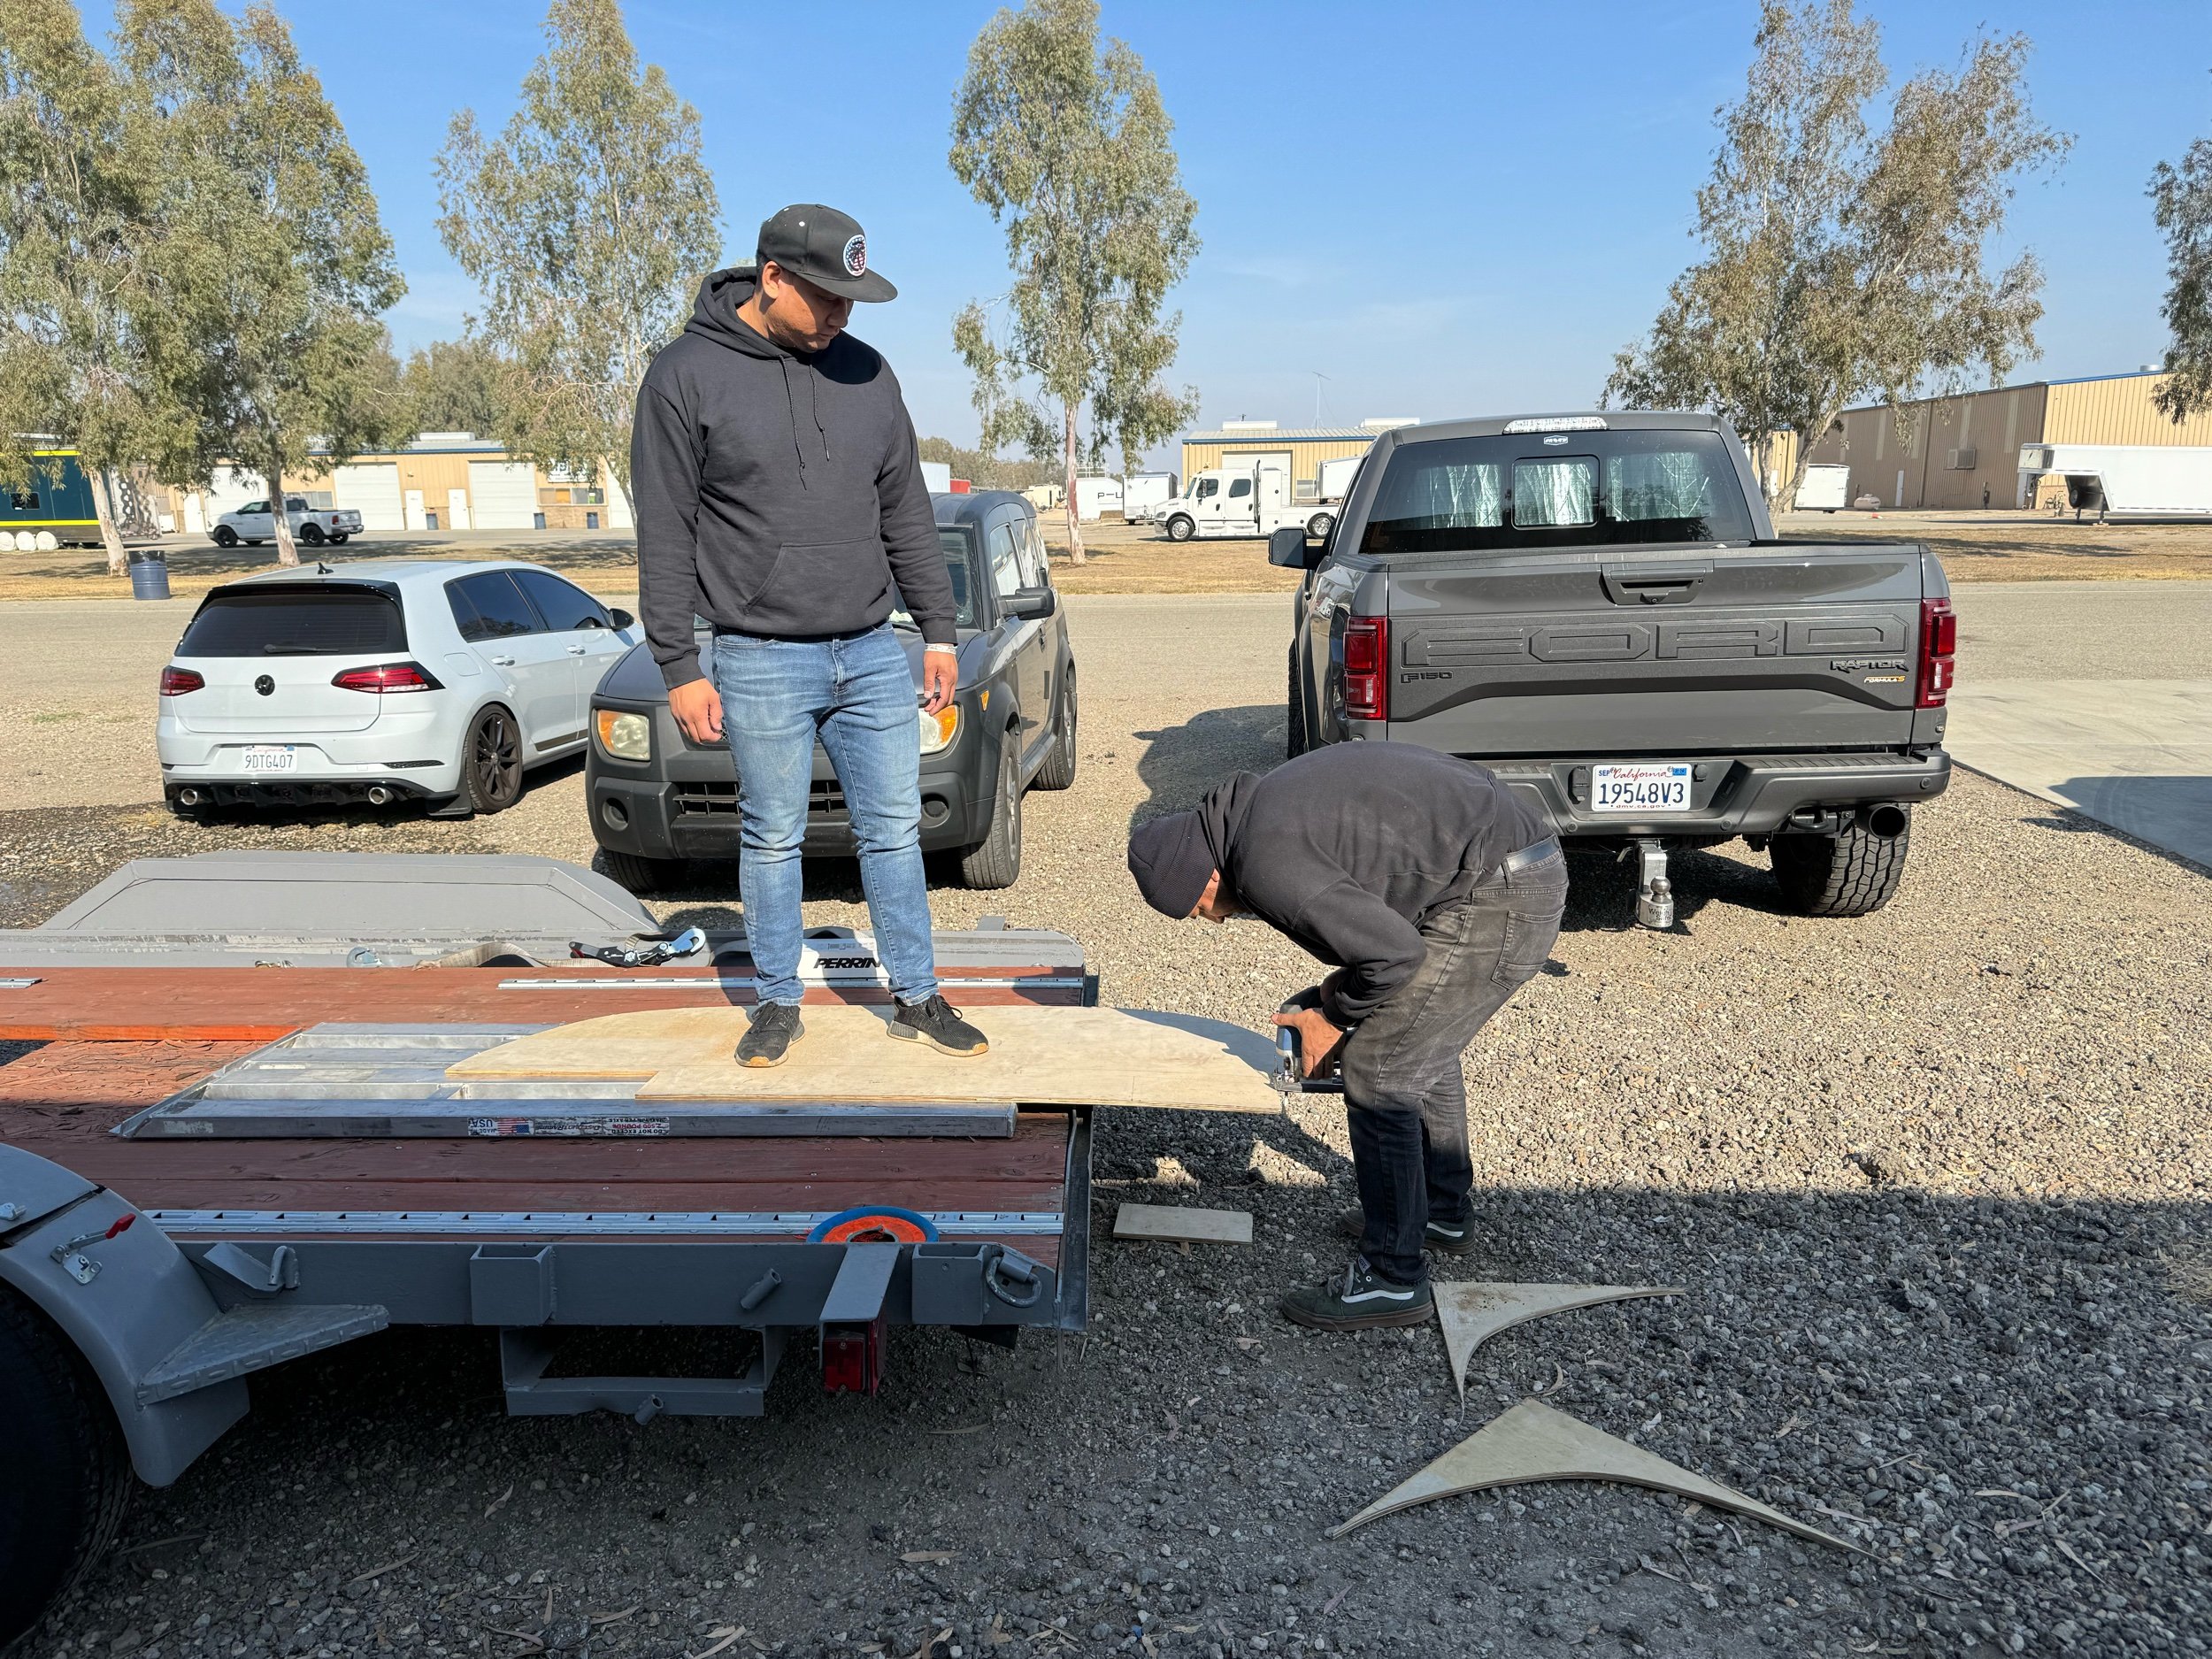
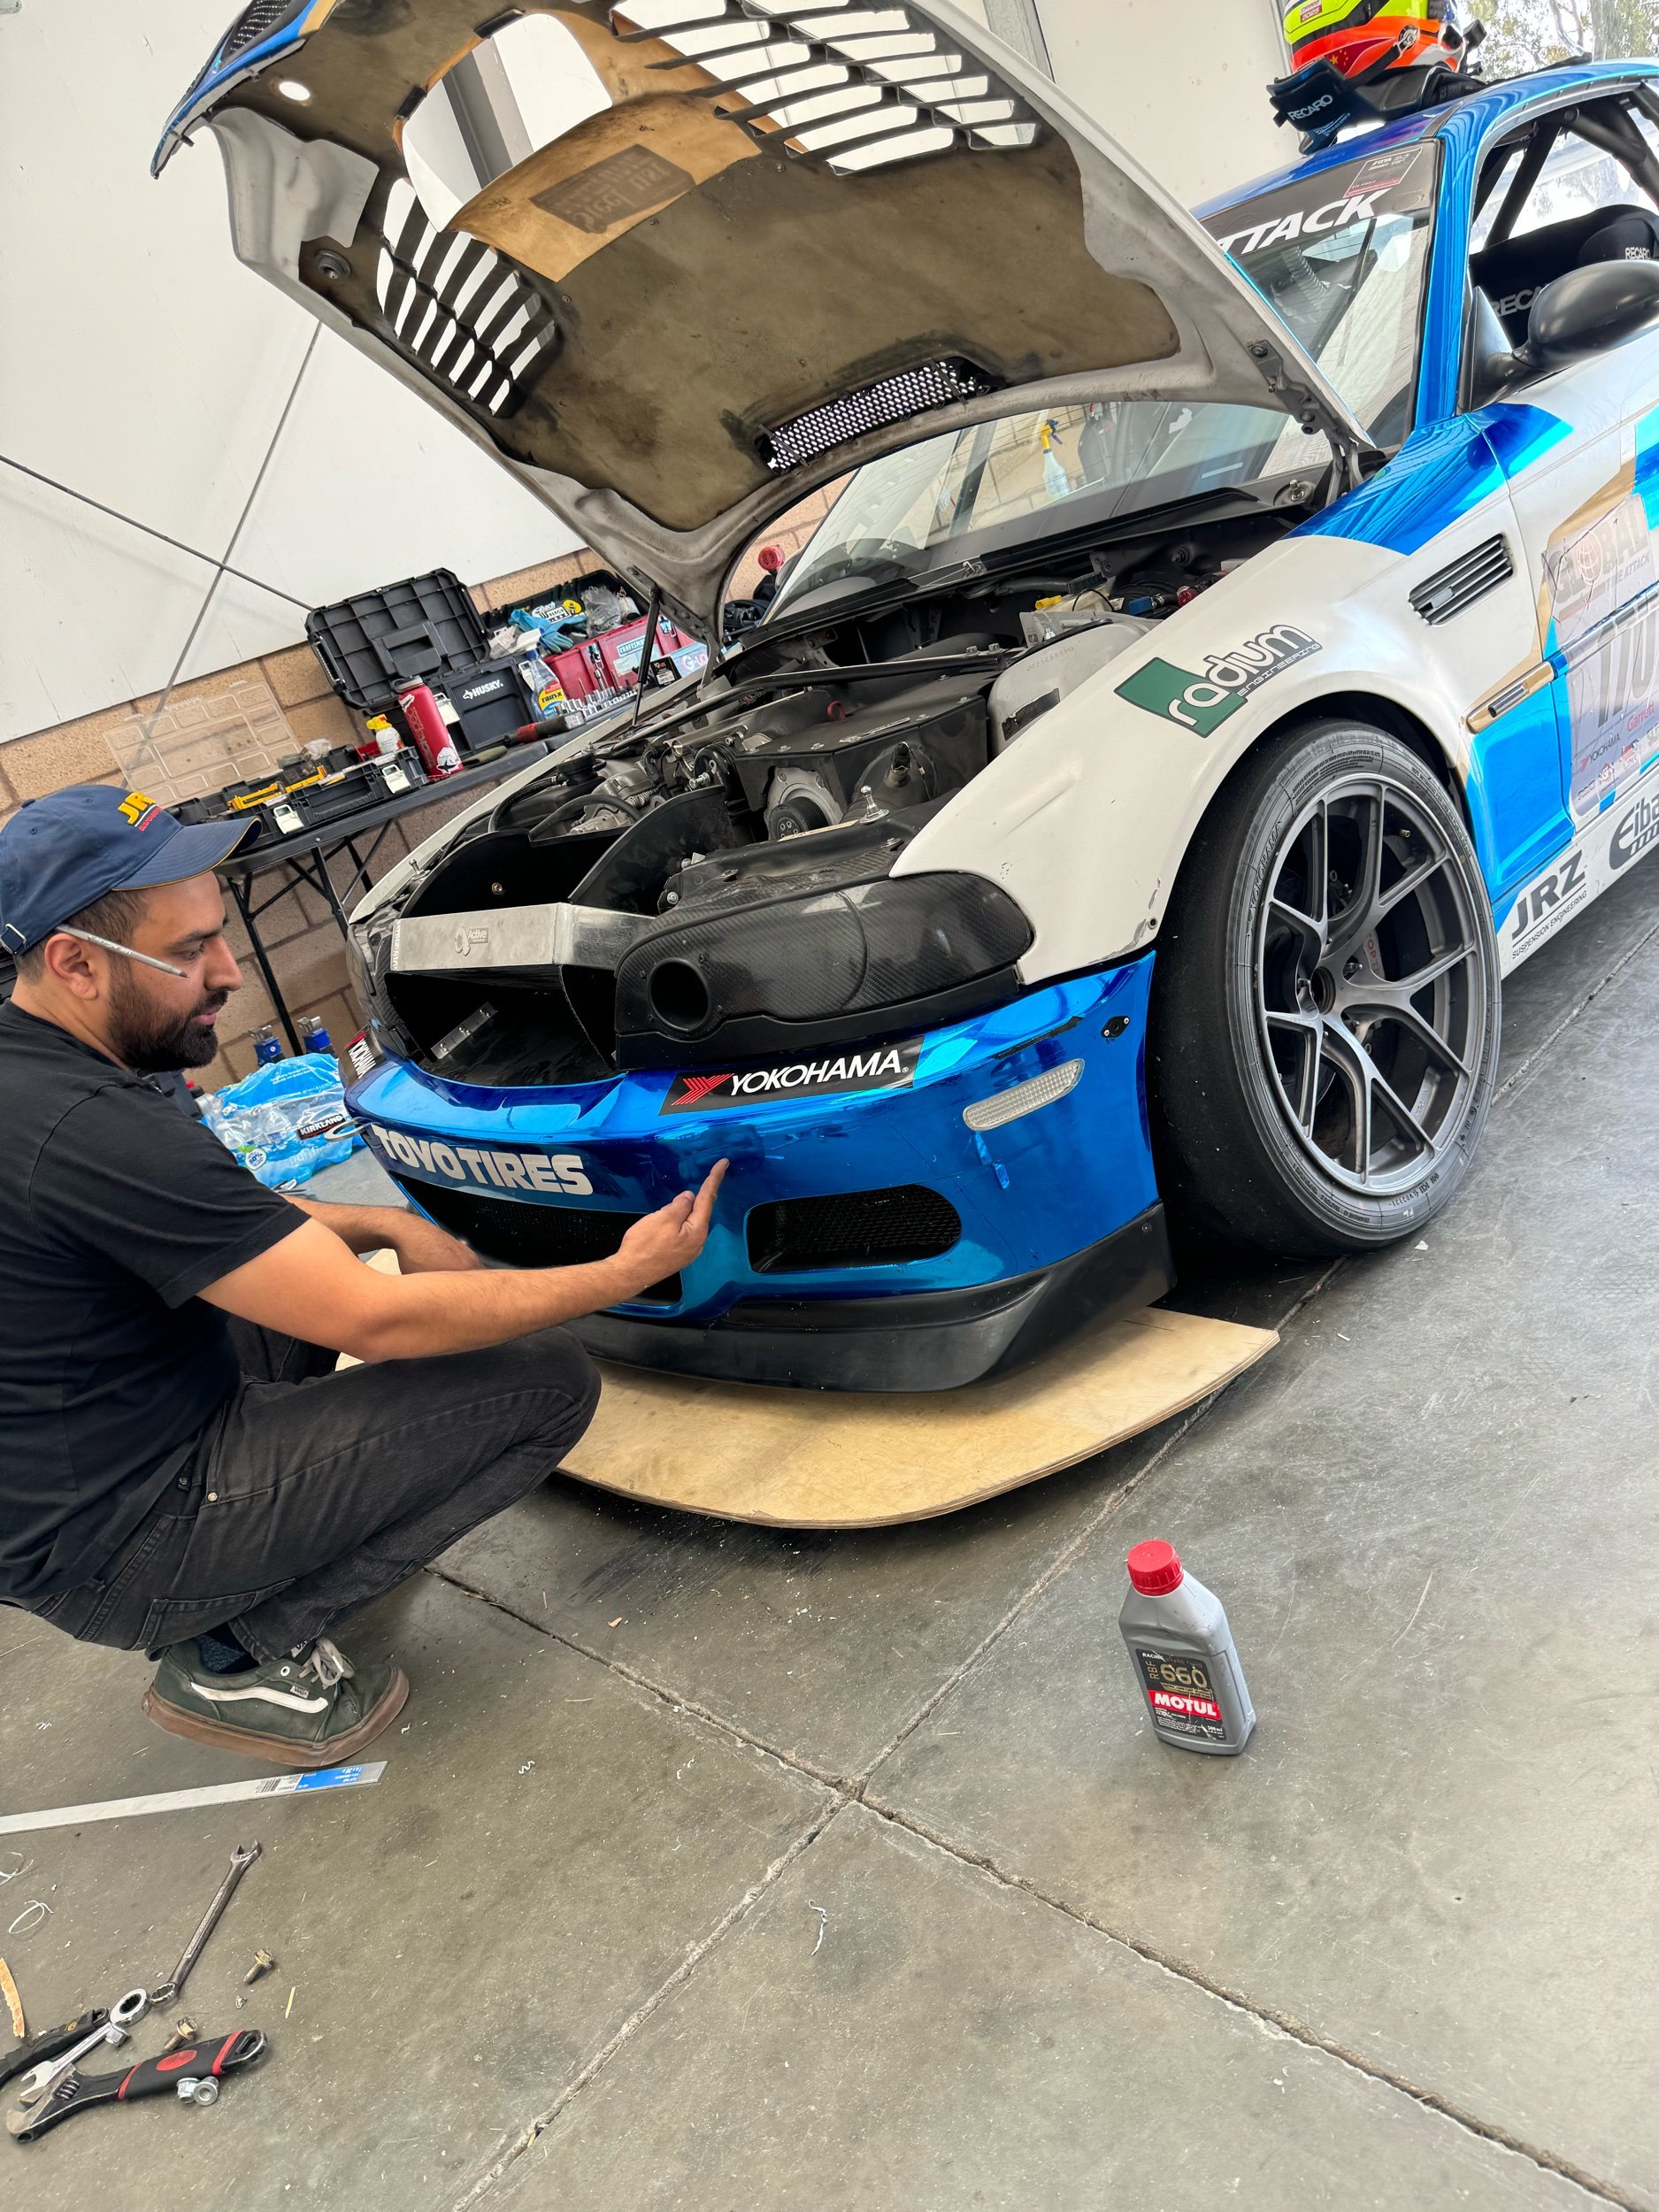
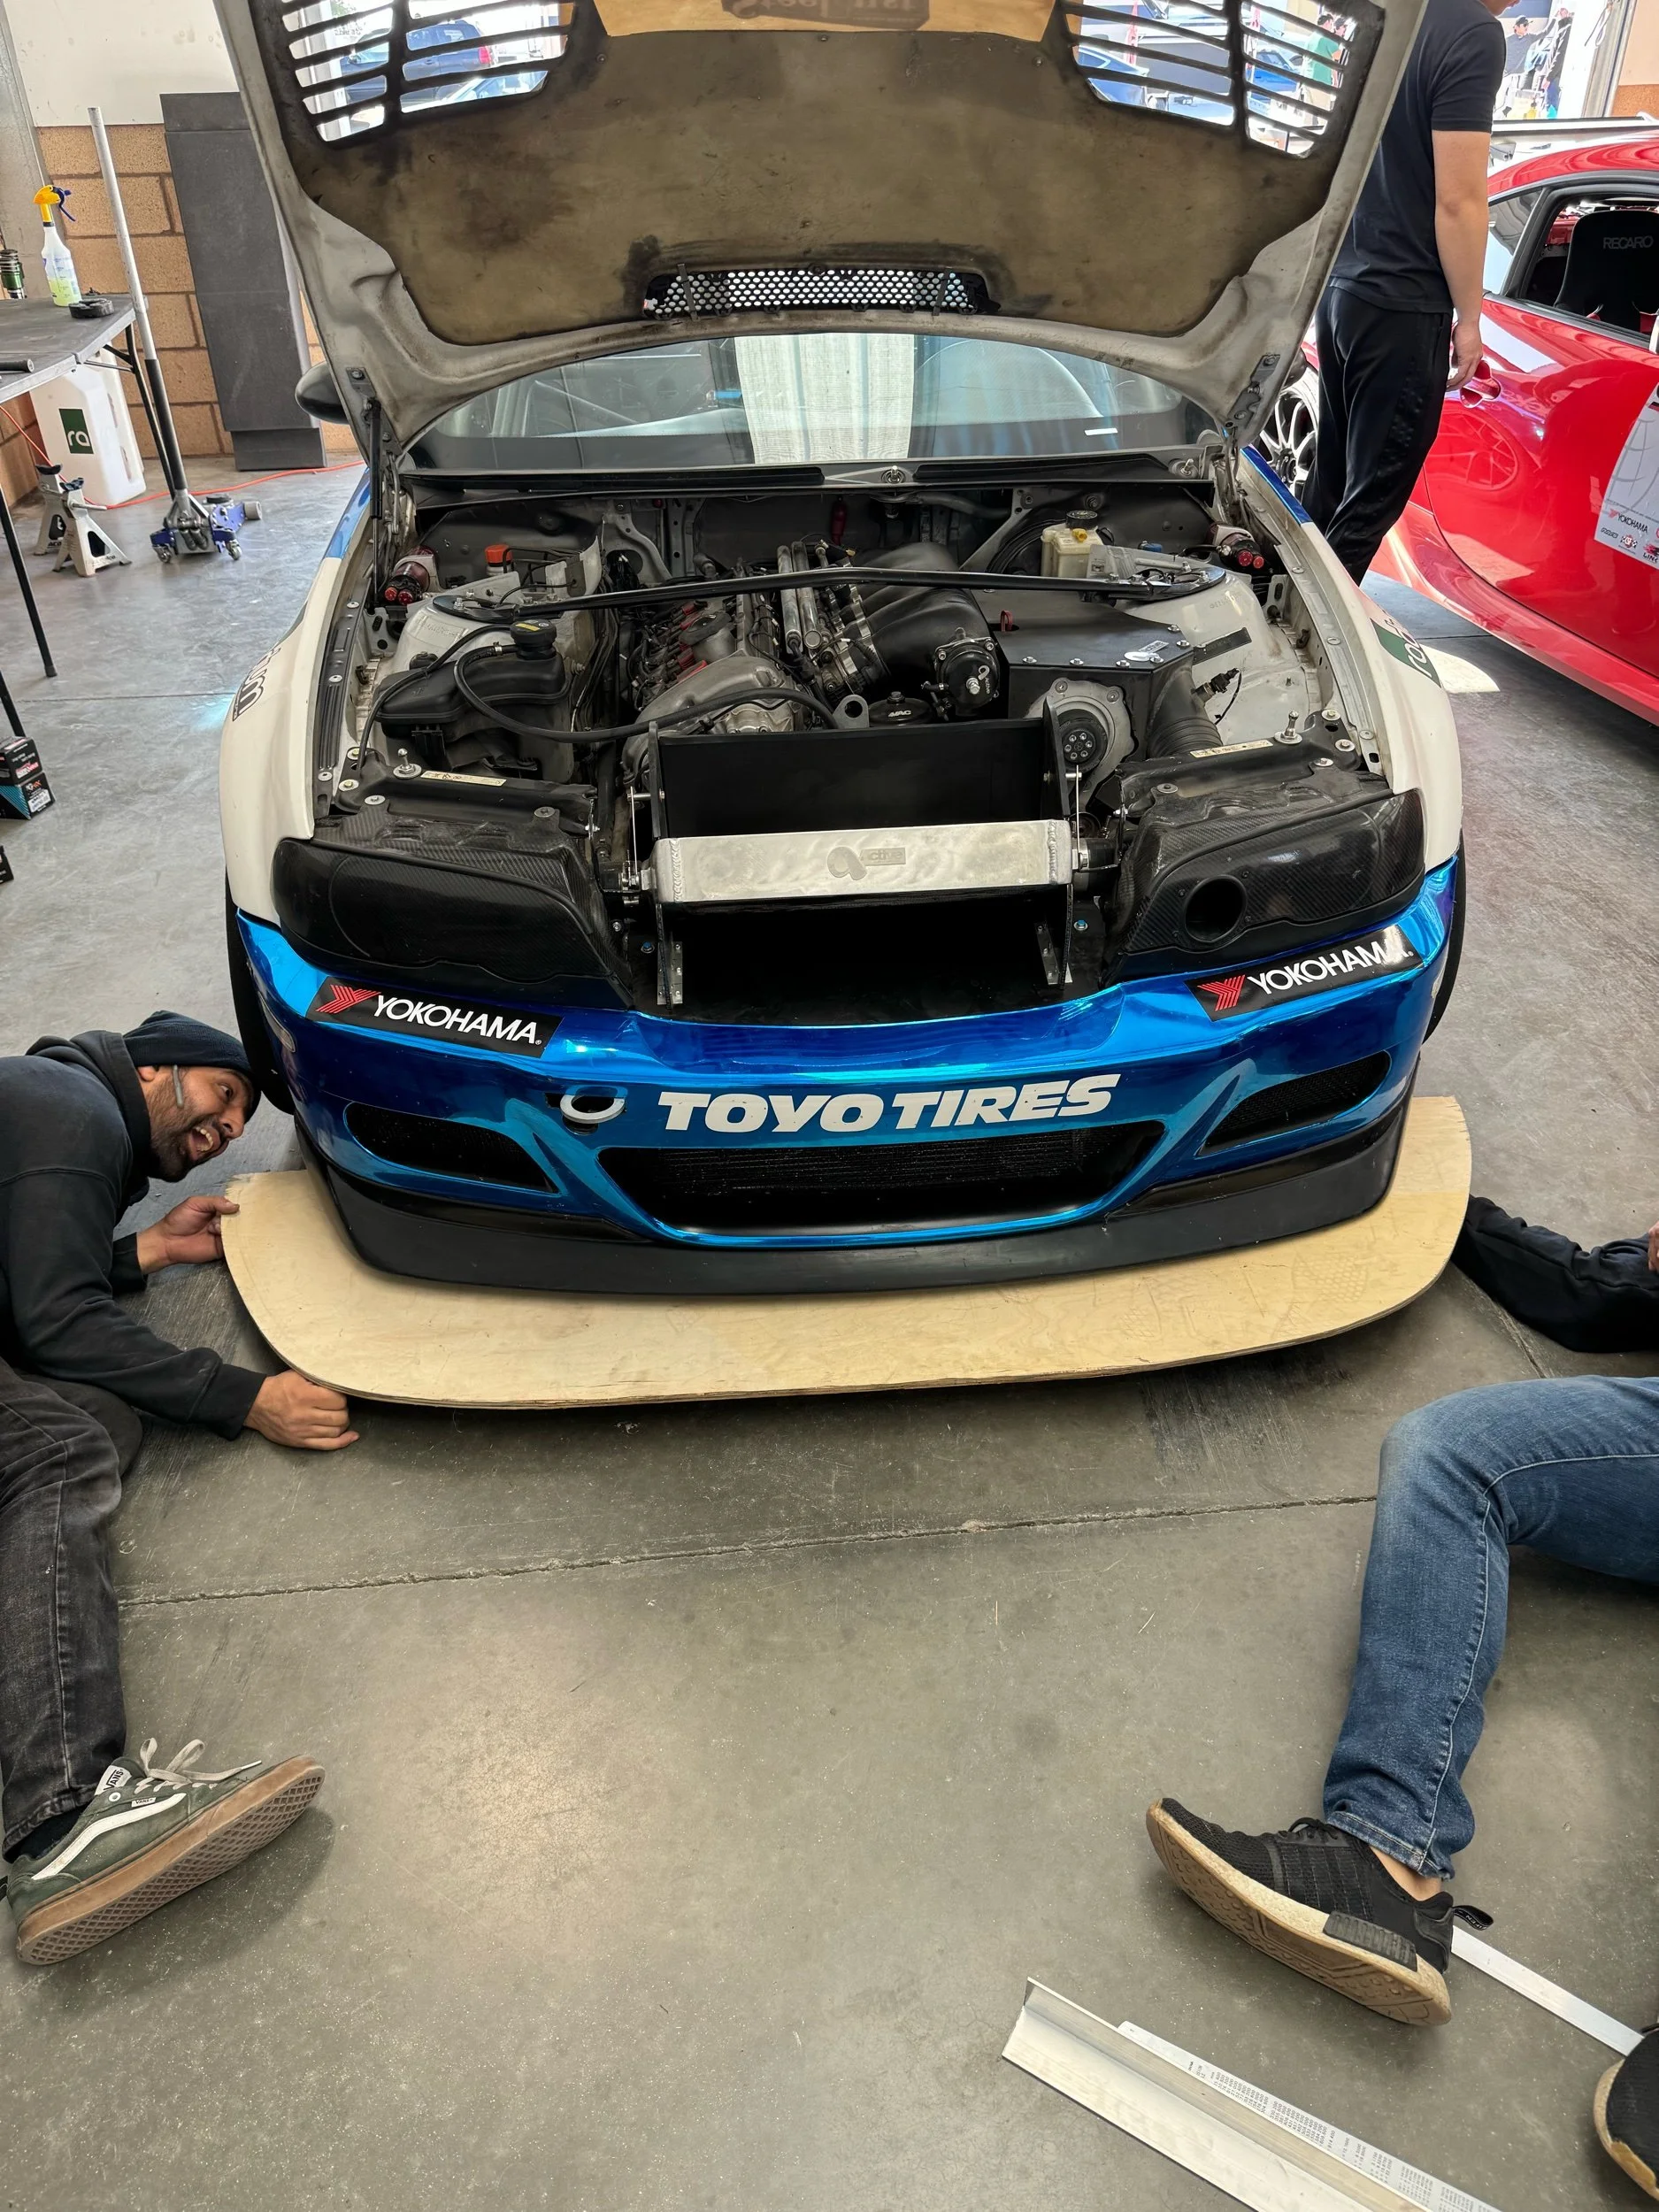
After getting the car back together, we decided to call it a day in terms of Friday practice and went back to the hotel for some much-needed rest. The next day, I decided to try driving the car sans splitter just to see how it felt and quickly confirmed we needed one because we were 2.5 seconds slower without it. Luckily, our friends over at 7’s Only Racing had everything we needed to build a fully functional new-splitter out of plywood, support wire, and black duct-tape. After a few hours of hard work (and forgoing 2 sessions), we were back in business.

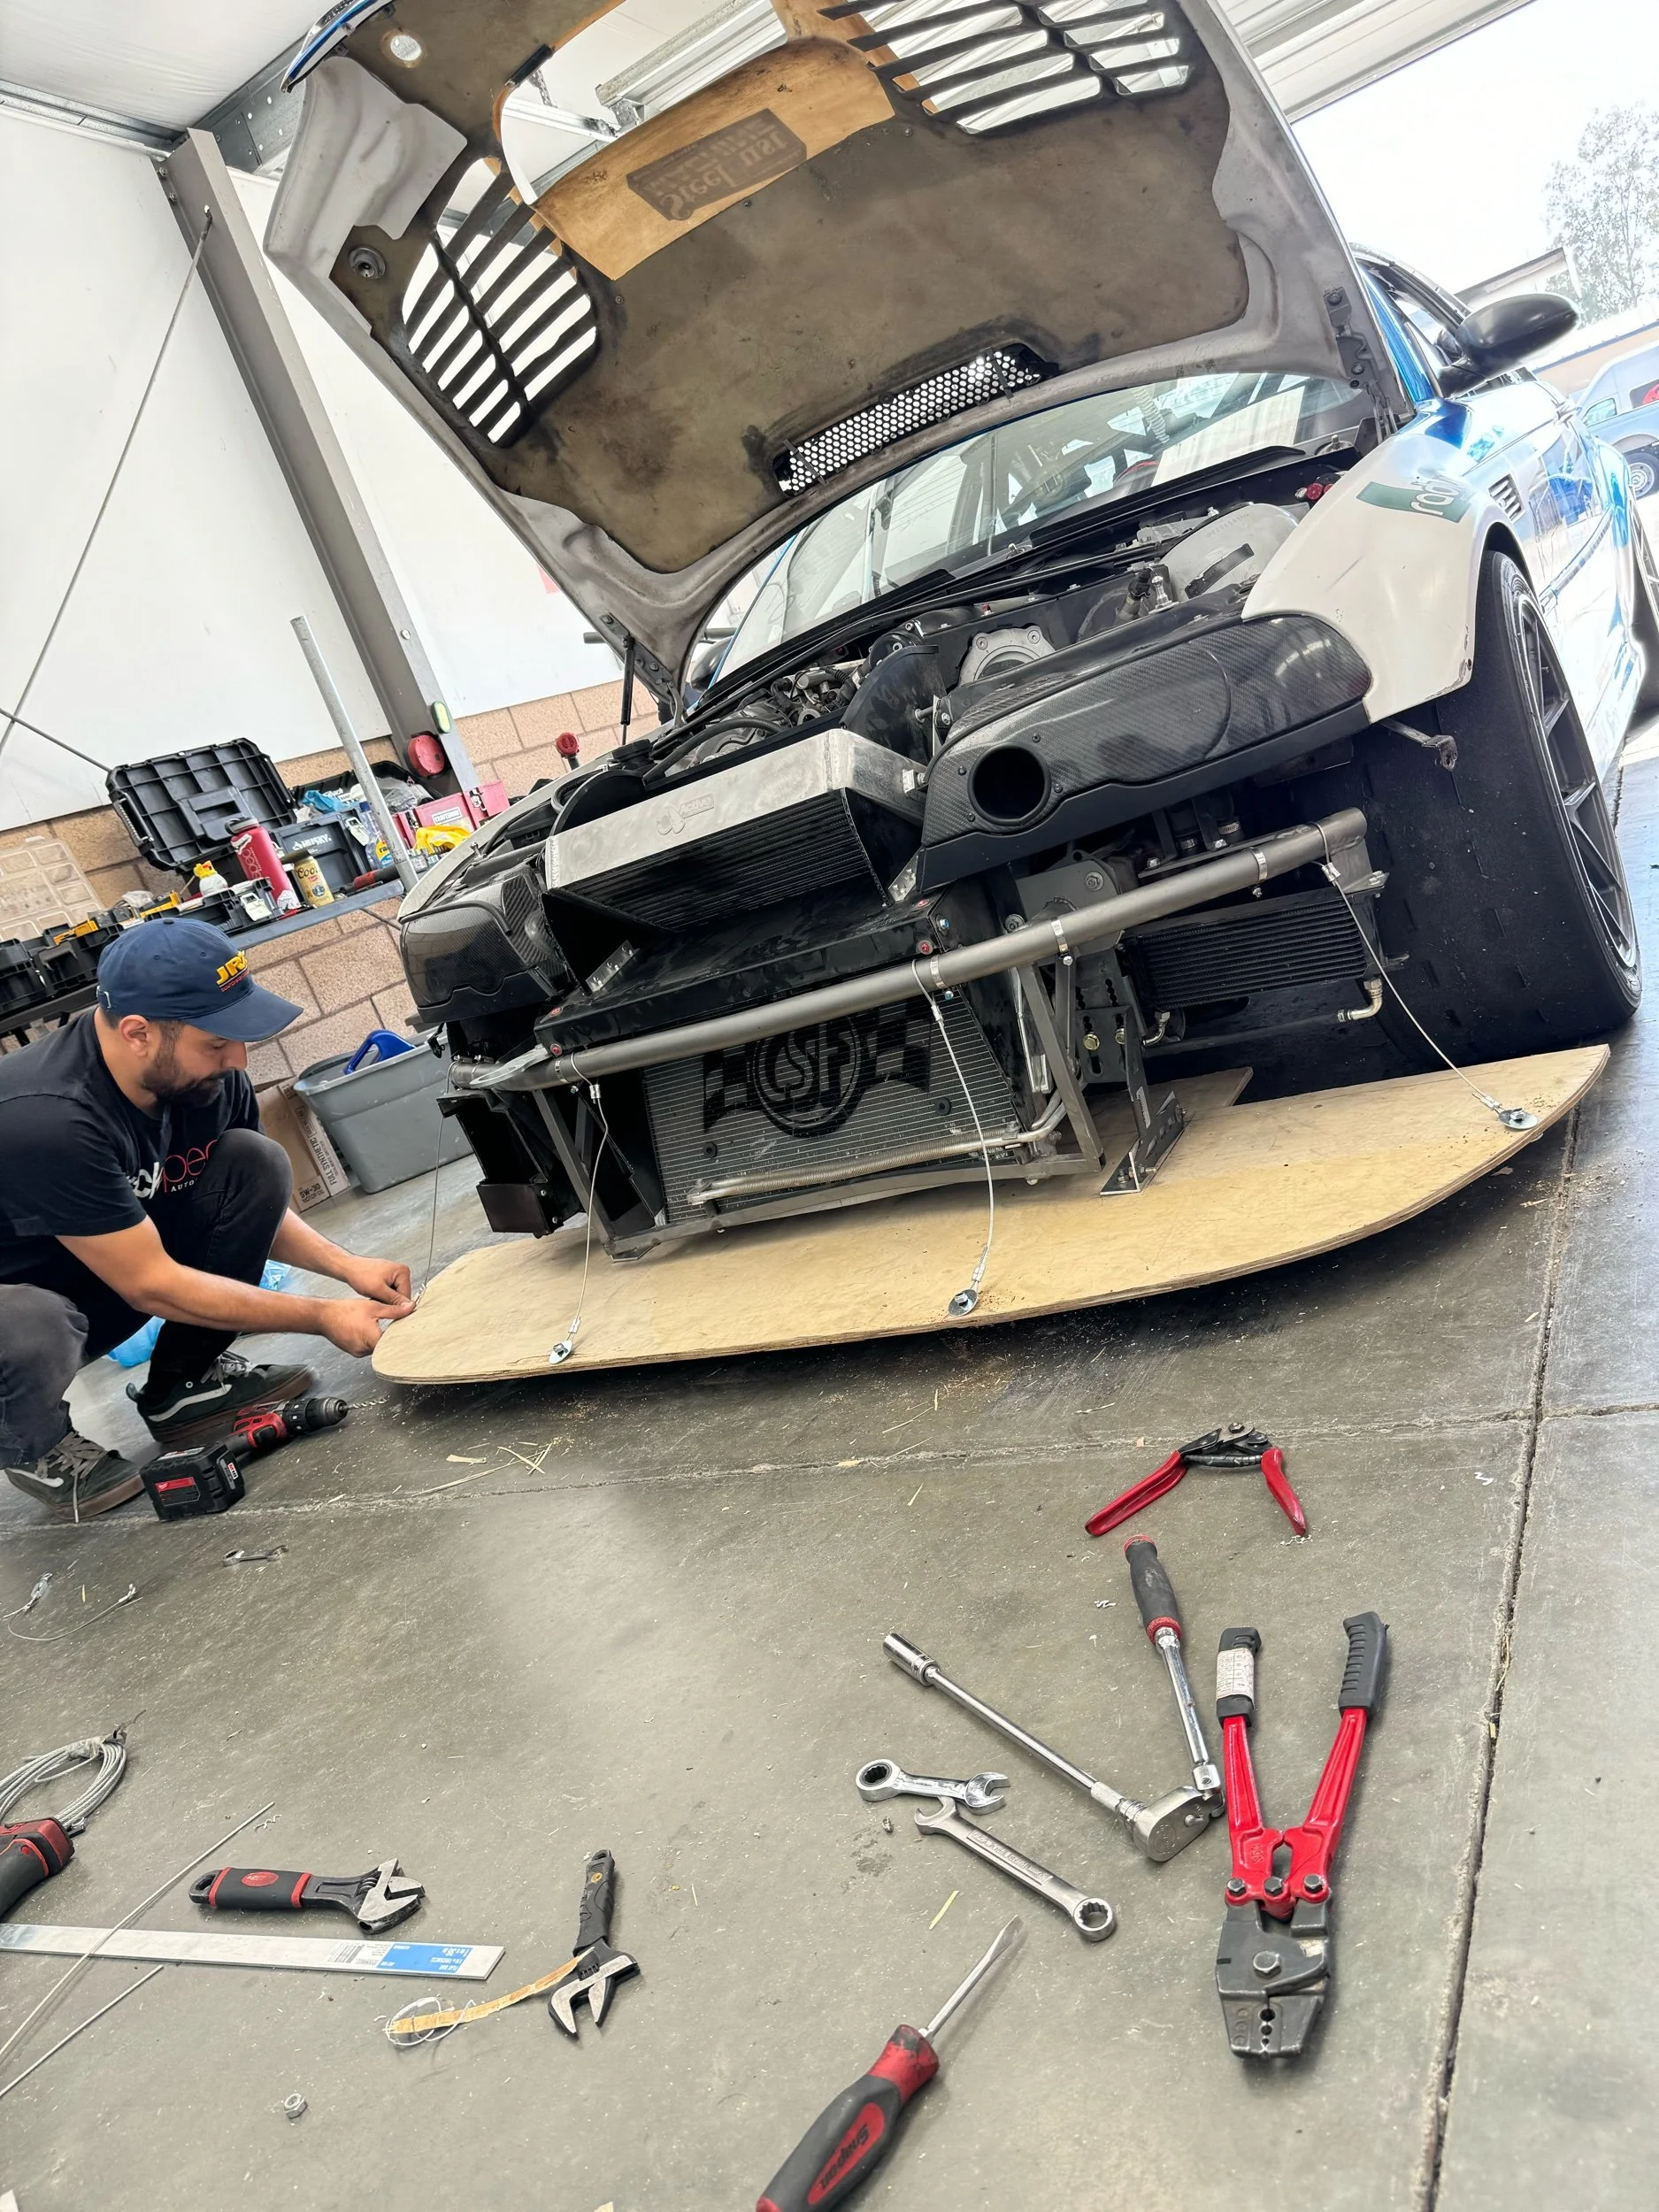
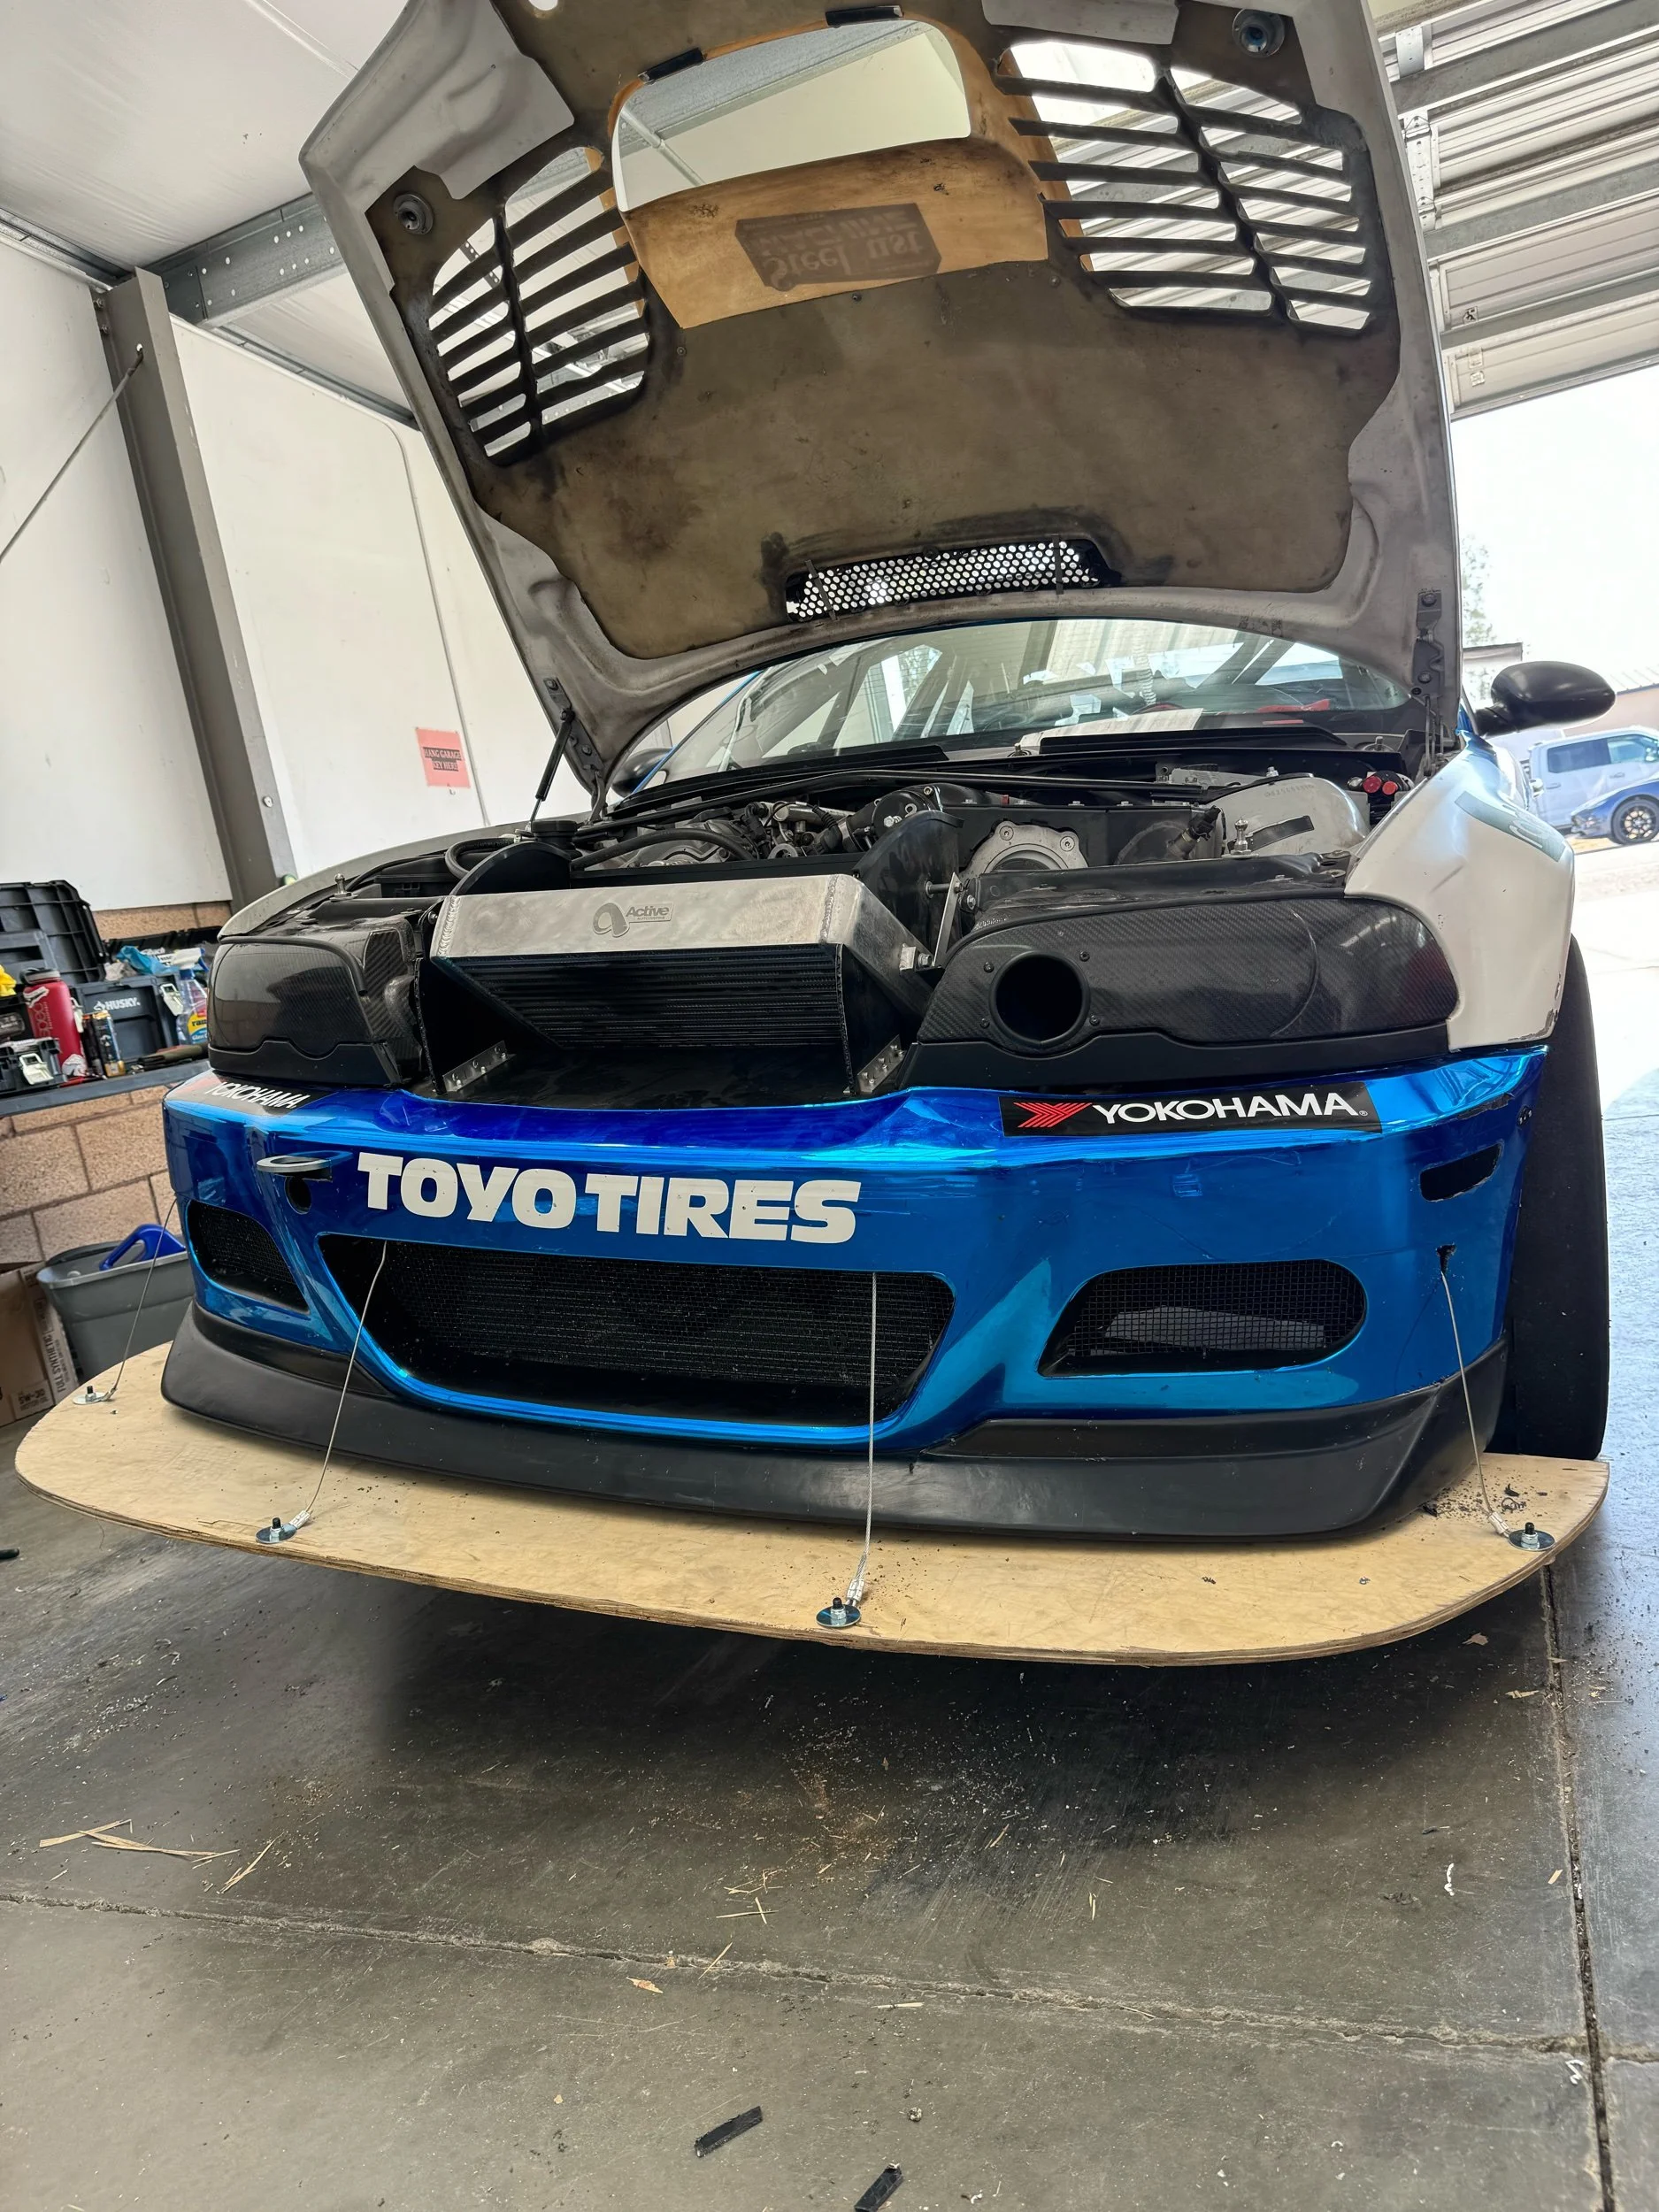
new front splitter
Sitting nicely in the sun…I decided to use the last session of the day on Saturday to give everything a solid try on track. The plan was to come back Sunday morning and go for it on fresh tires.
Looks pretty good, right? Mike and Marc did all of the hard work. I mostly helped with taping. I also might have gone a bit overboard in taping some of the gaps to make the car more slippery through the air. Haha.
New PB for the car around Buttonwillow CW13
Sunday morning came and I knew I needed to lay down a good lap. While I was on a mid 1:49 lap I began to notice growing vibration from the front left, and because I lost focus momentarily going into the highest-speed section of the track (Riverside). I dipped a tire in the dirt at entry, and went full opposite lock sideways at over 100MPH. Fortunately, the car was completely fine. But I did miss out on the best session of the day and my best opportunity to go faster. By the time session 2 rolled around, between cars going off, drifting, and hotter temps I was not able to go any faster. Ride-along with me for my fastest lap of the weekend, a 1:50.4 which was good enough for 5th in Unlimited Class and 14th Overall:
Key Takeaways
Setting aside our finishing position and my own frustration at not driving better, I am super happy about several things from GTA Finals. We went to the event with the primary purpose of shaking down the car. This was the first time I’ve ever driven with a sequential gearbox (not counting my street GT3 with PDK). The setup is awesome! I know we will continue to work with Jei to make the shifting smoother and we will try and minimize the fireballs (even though they’re super cool to hear/see, haha). Mechanically, the car was also nearly flawless. We saw excellent temperature and pressure ranges over 3 days, confirming that our cooling setup “should” be more than adequate for Pikes Peak.
tremendous gratitude for so many
Where do I even begin? A huge thank you to everyone back at the shop for grinding over the past few weeks and months to get the car done. I know it took a huge toll on Jon, Mike, Matteo, and Isaac in terms of long days and late nights. Thanks, boys. Shout-out to Marc for helping with so many different things, including letting me take the engine out of your own car. You’re an amazing friend. Thank you to Jei for working with us before and during the event to refine the engine and gearbox tuning. Thank you to Erik for helping me with the damper setup. And special thank you to our friends at 7’s Only Racing for lending us whatever we needed at Buttonwillow during GTA Finals. You guys are a big reason as to why the car ran all 3 days. I also want to give lots of love to Son and crew at Shop Formula S — thanks for feeding us all weekend long! And last, but certainly not least thank you to Bobby Yu and Yia Lor for some of the epic on-track photos. You guys rock!
Coming up in chapter 4
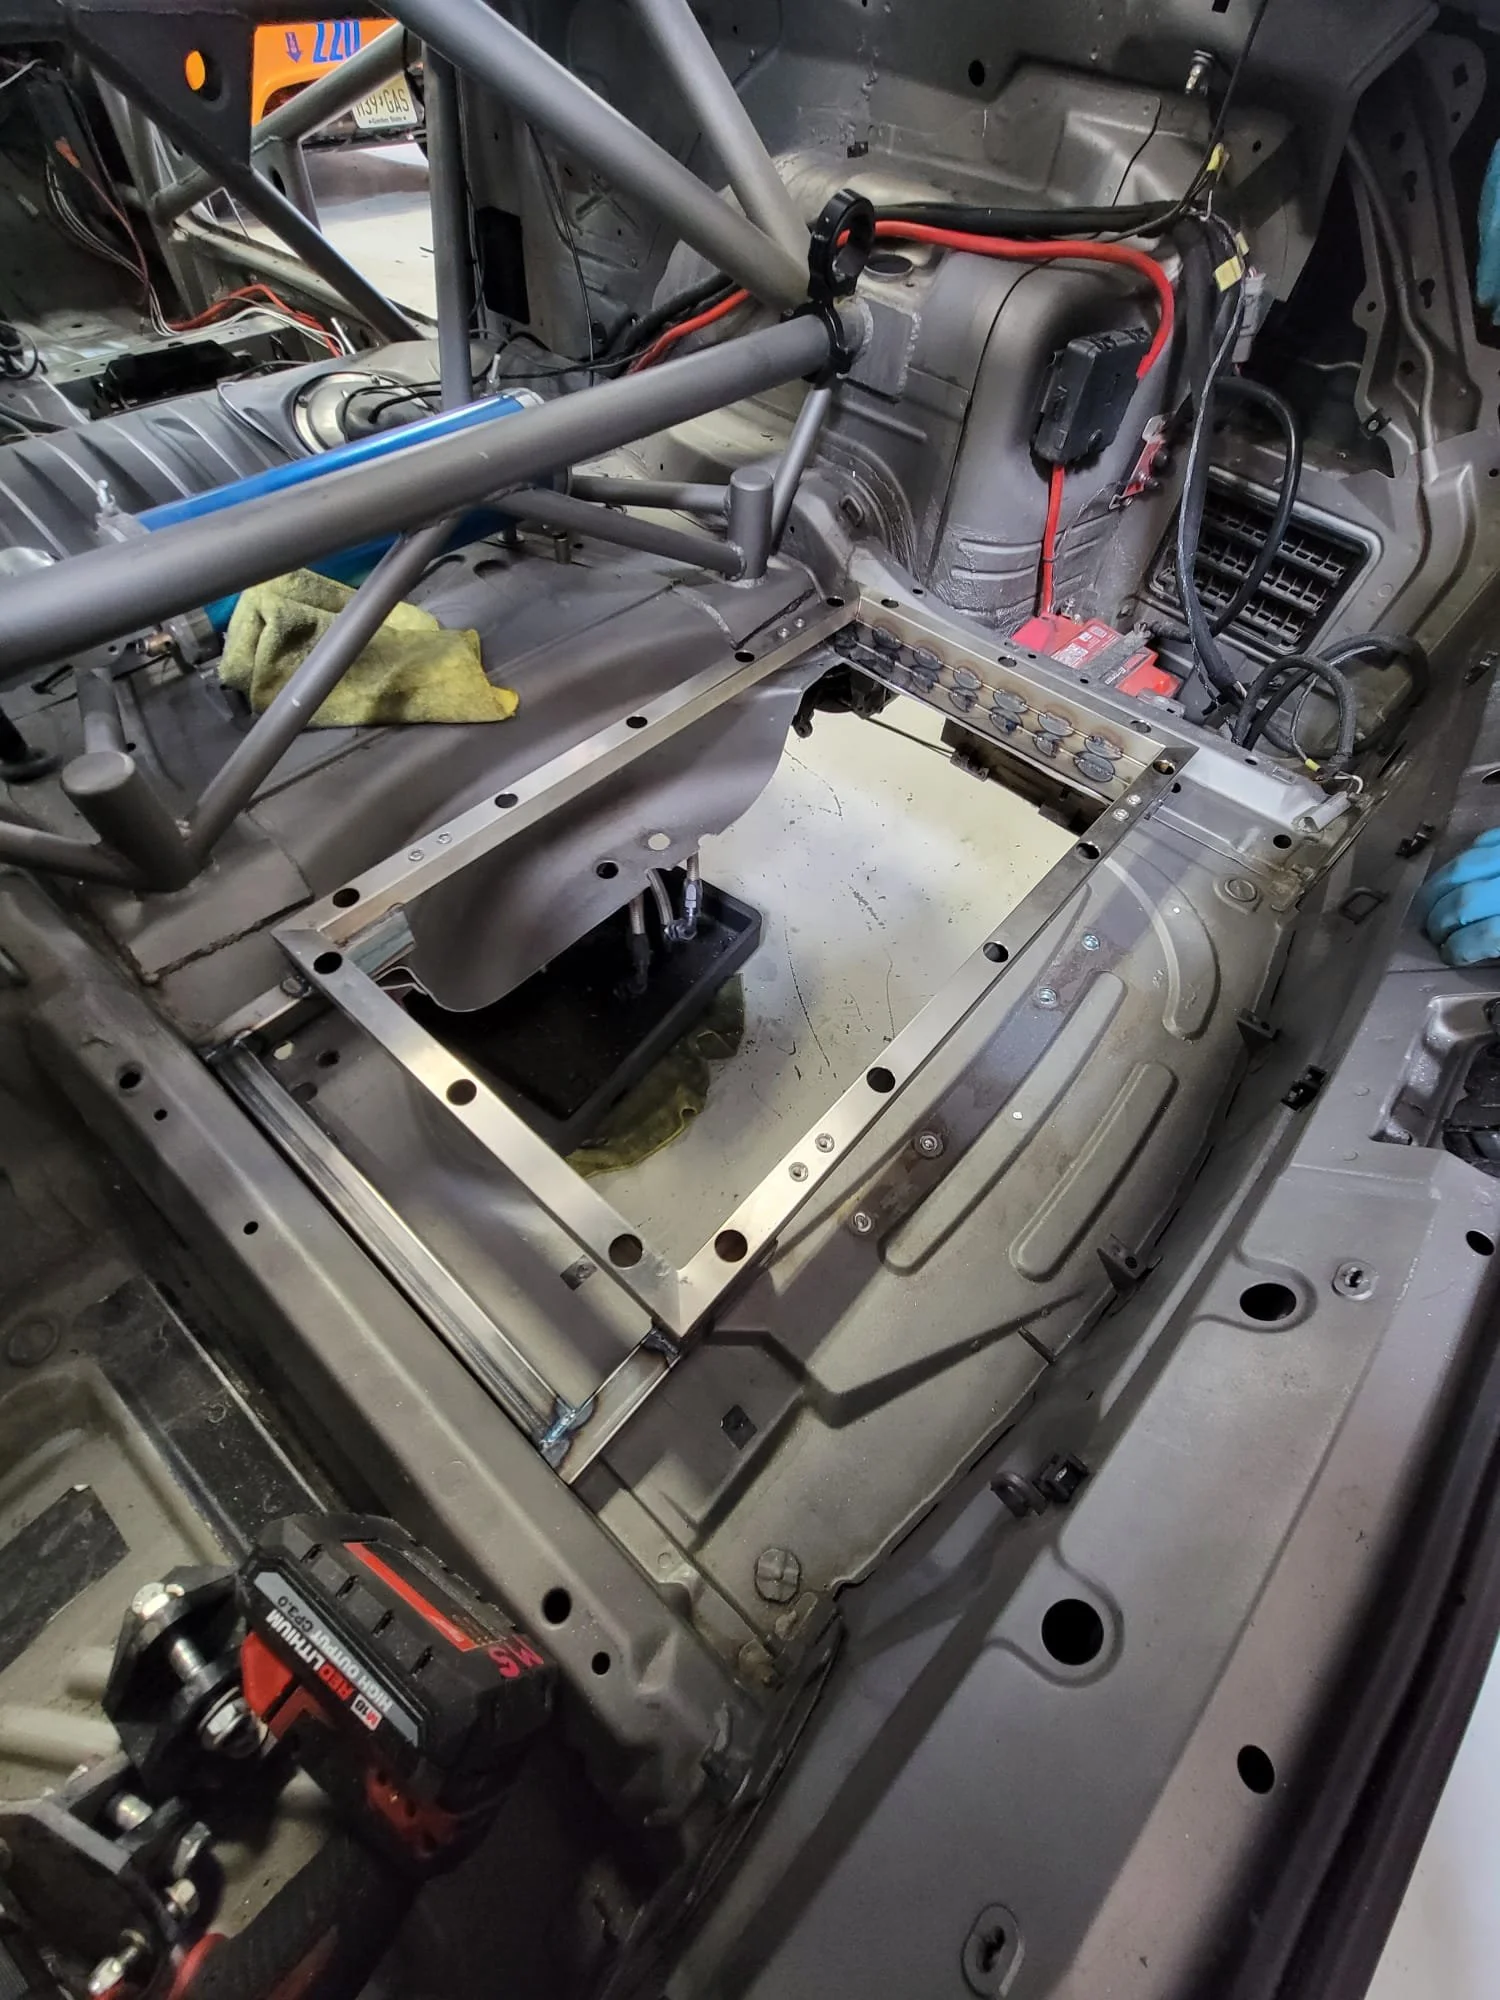
New rear firewall between the driver cabin and the fuel-cell (so the car is extra safe ahead of Pikes Peak)
Improvements to the shift-tuning
New built motor and high boost tune
Traction control
And much much more!

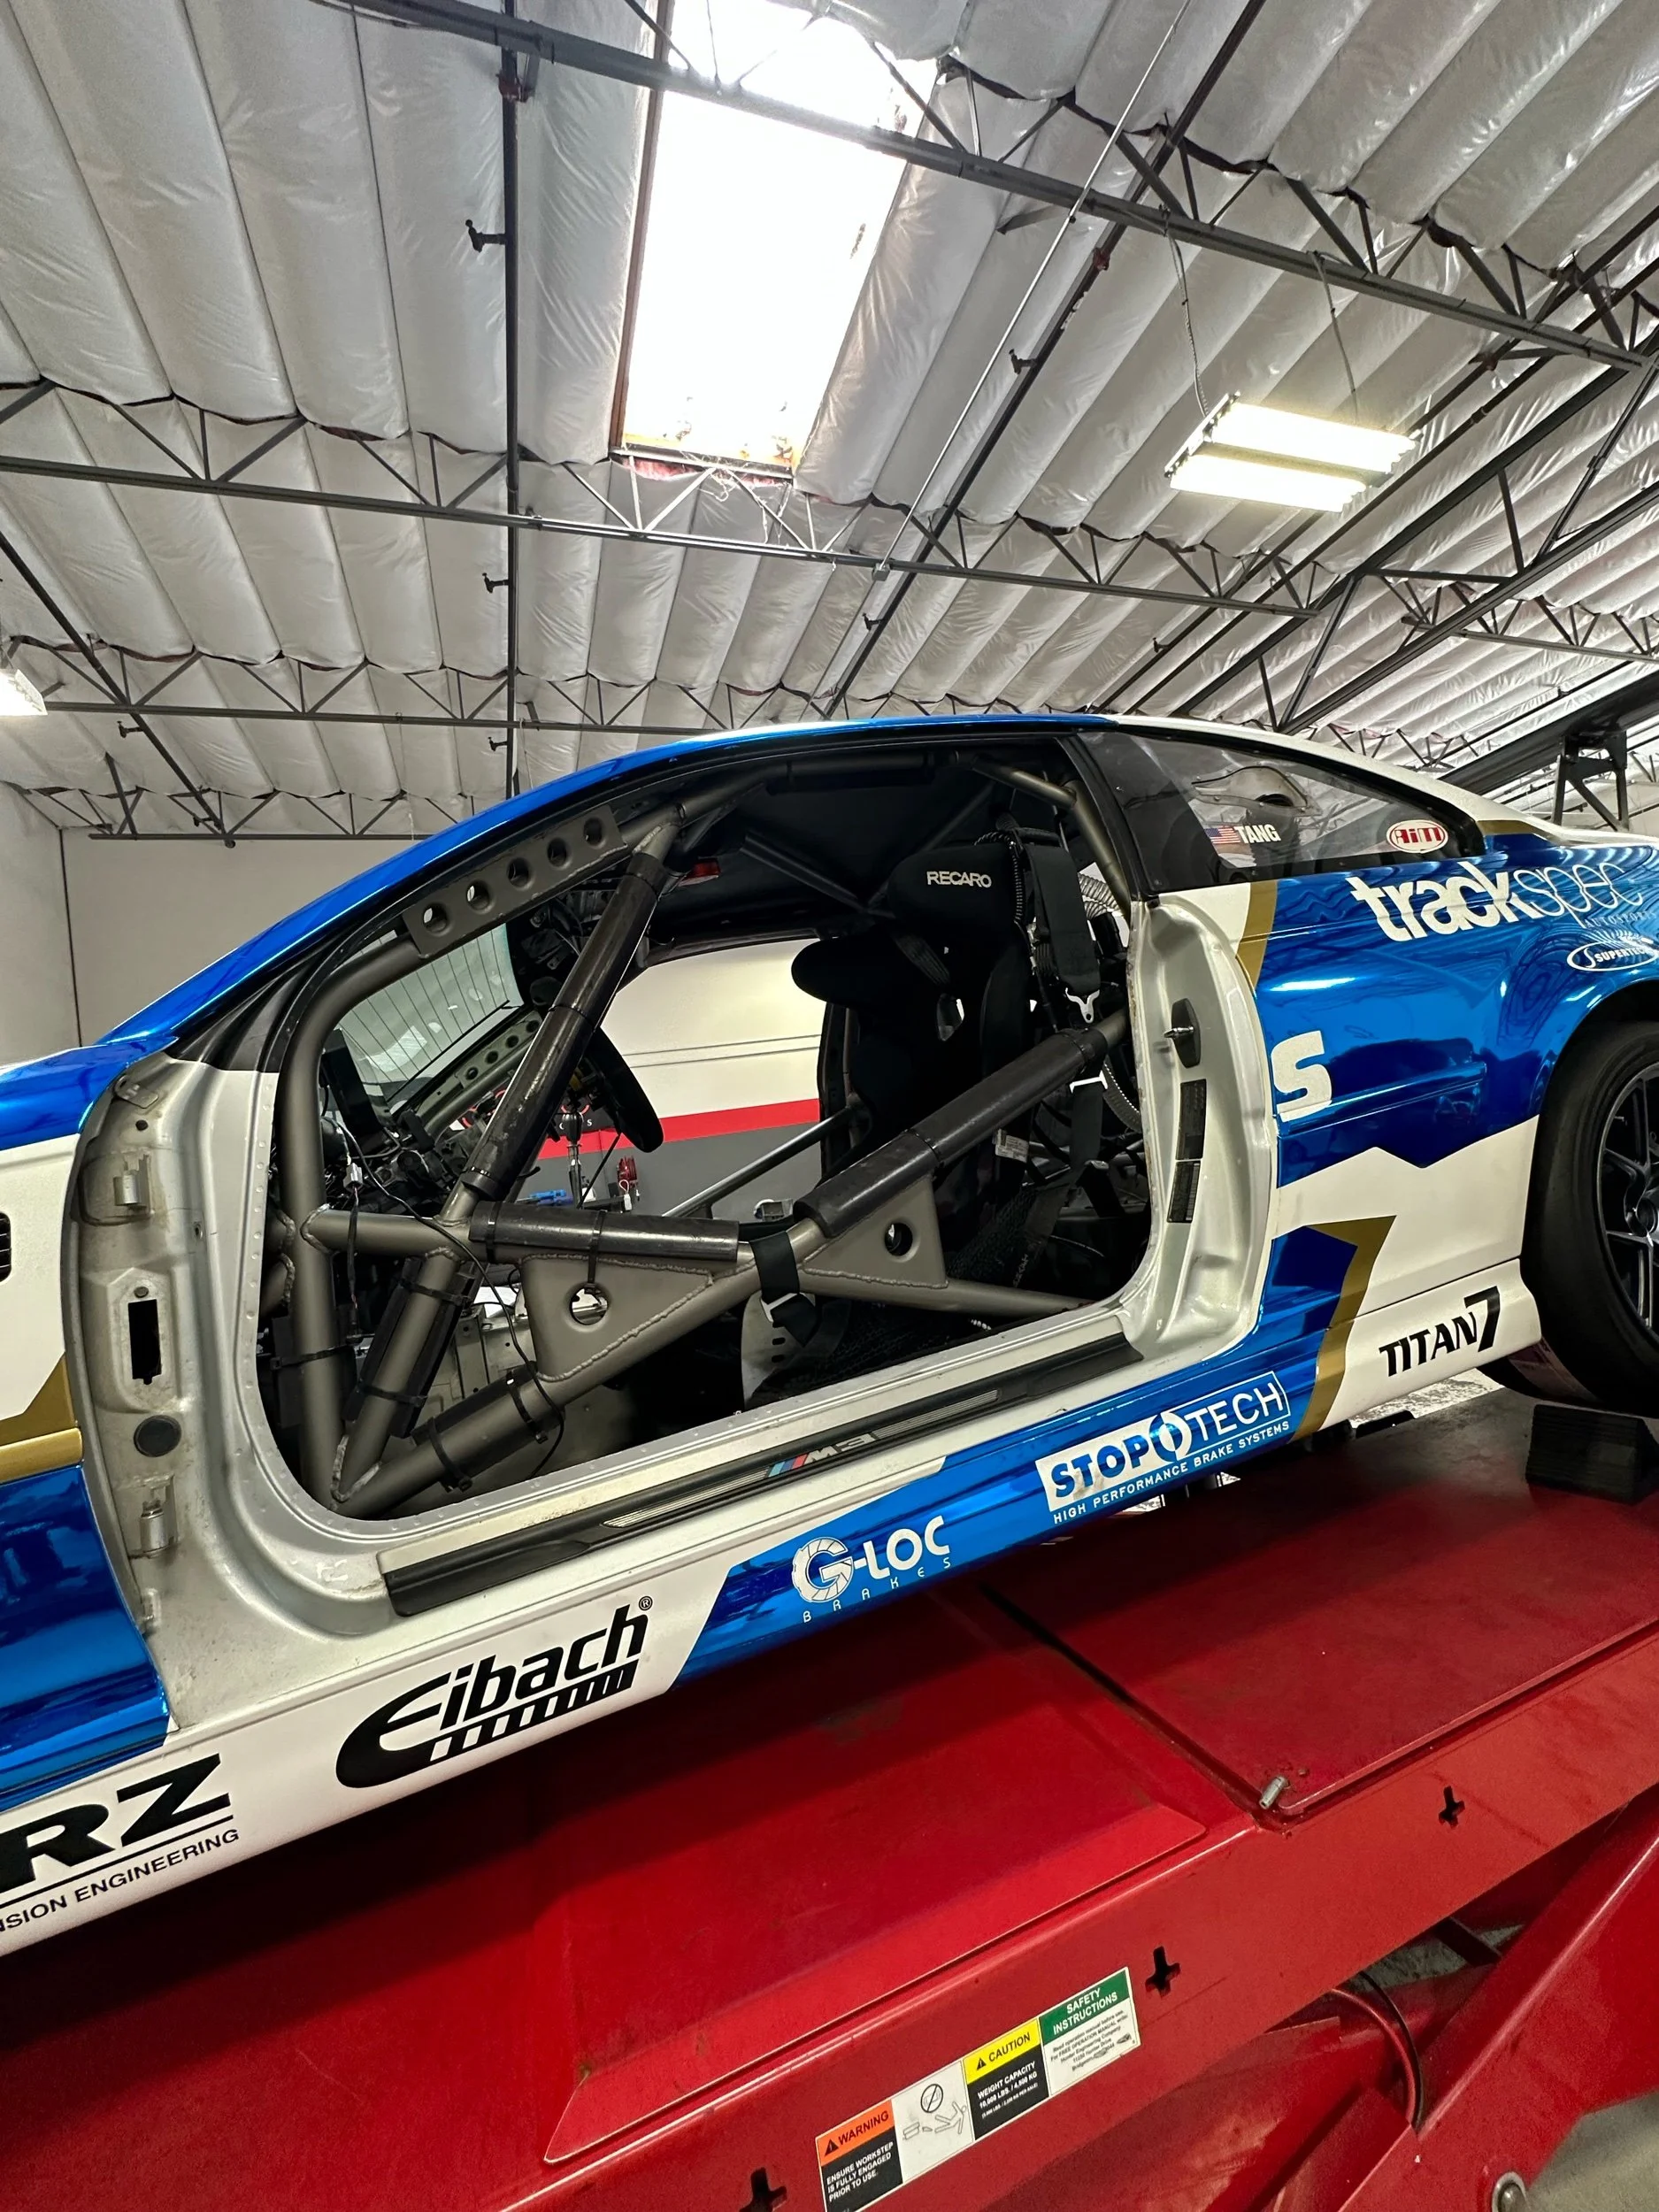
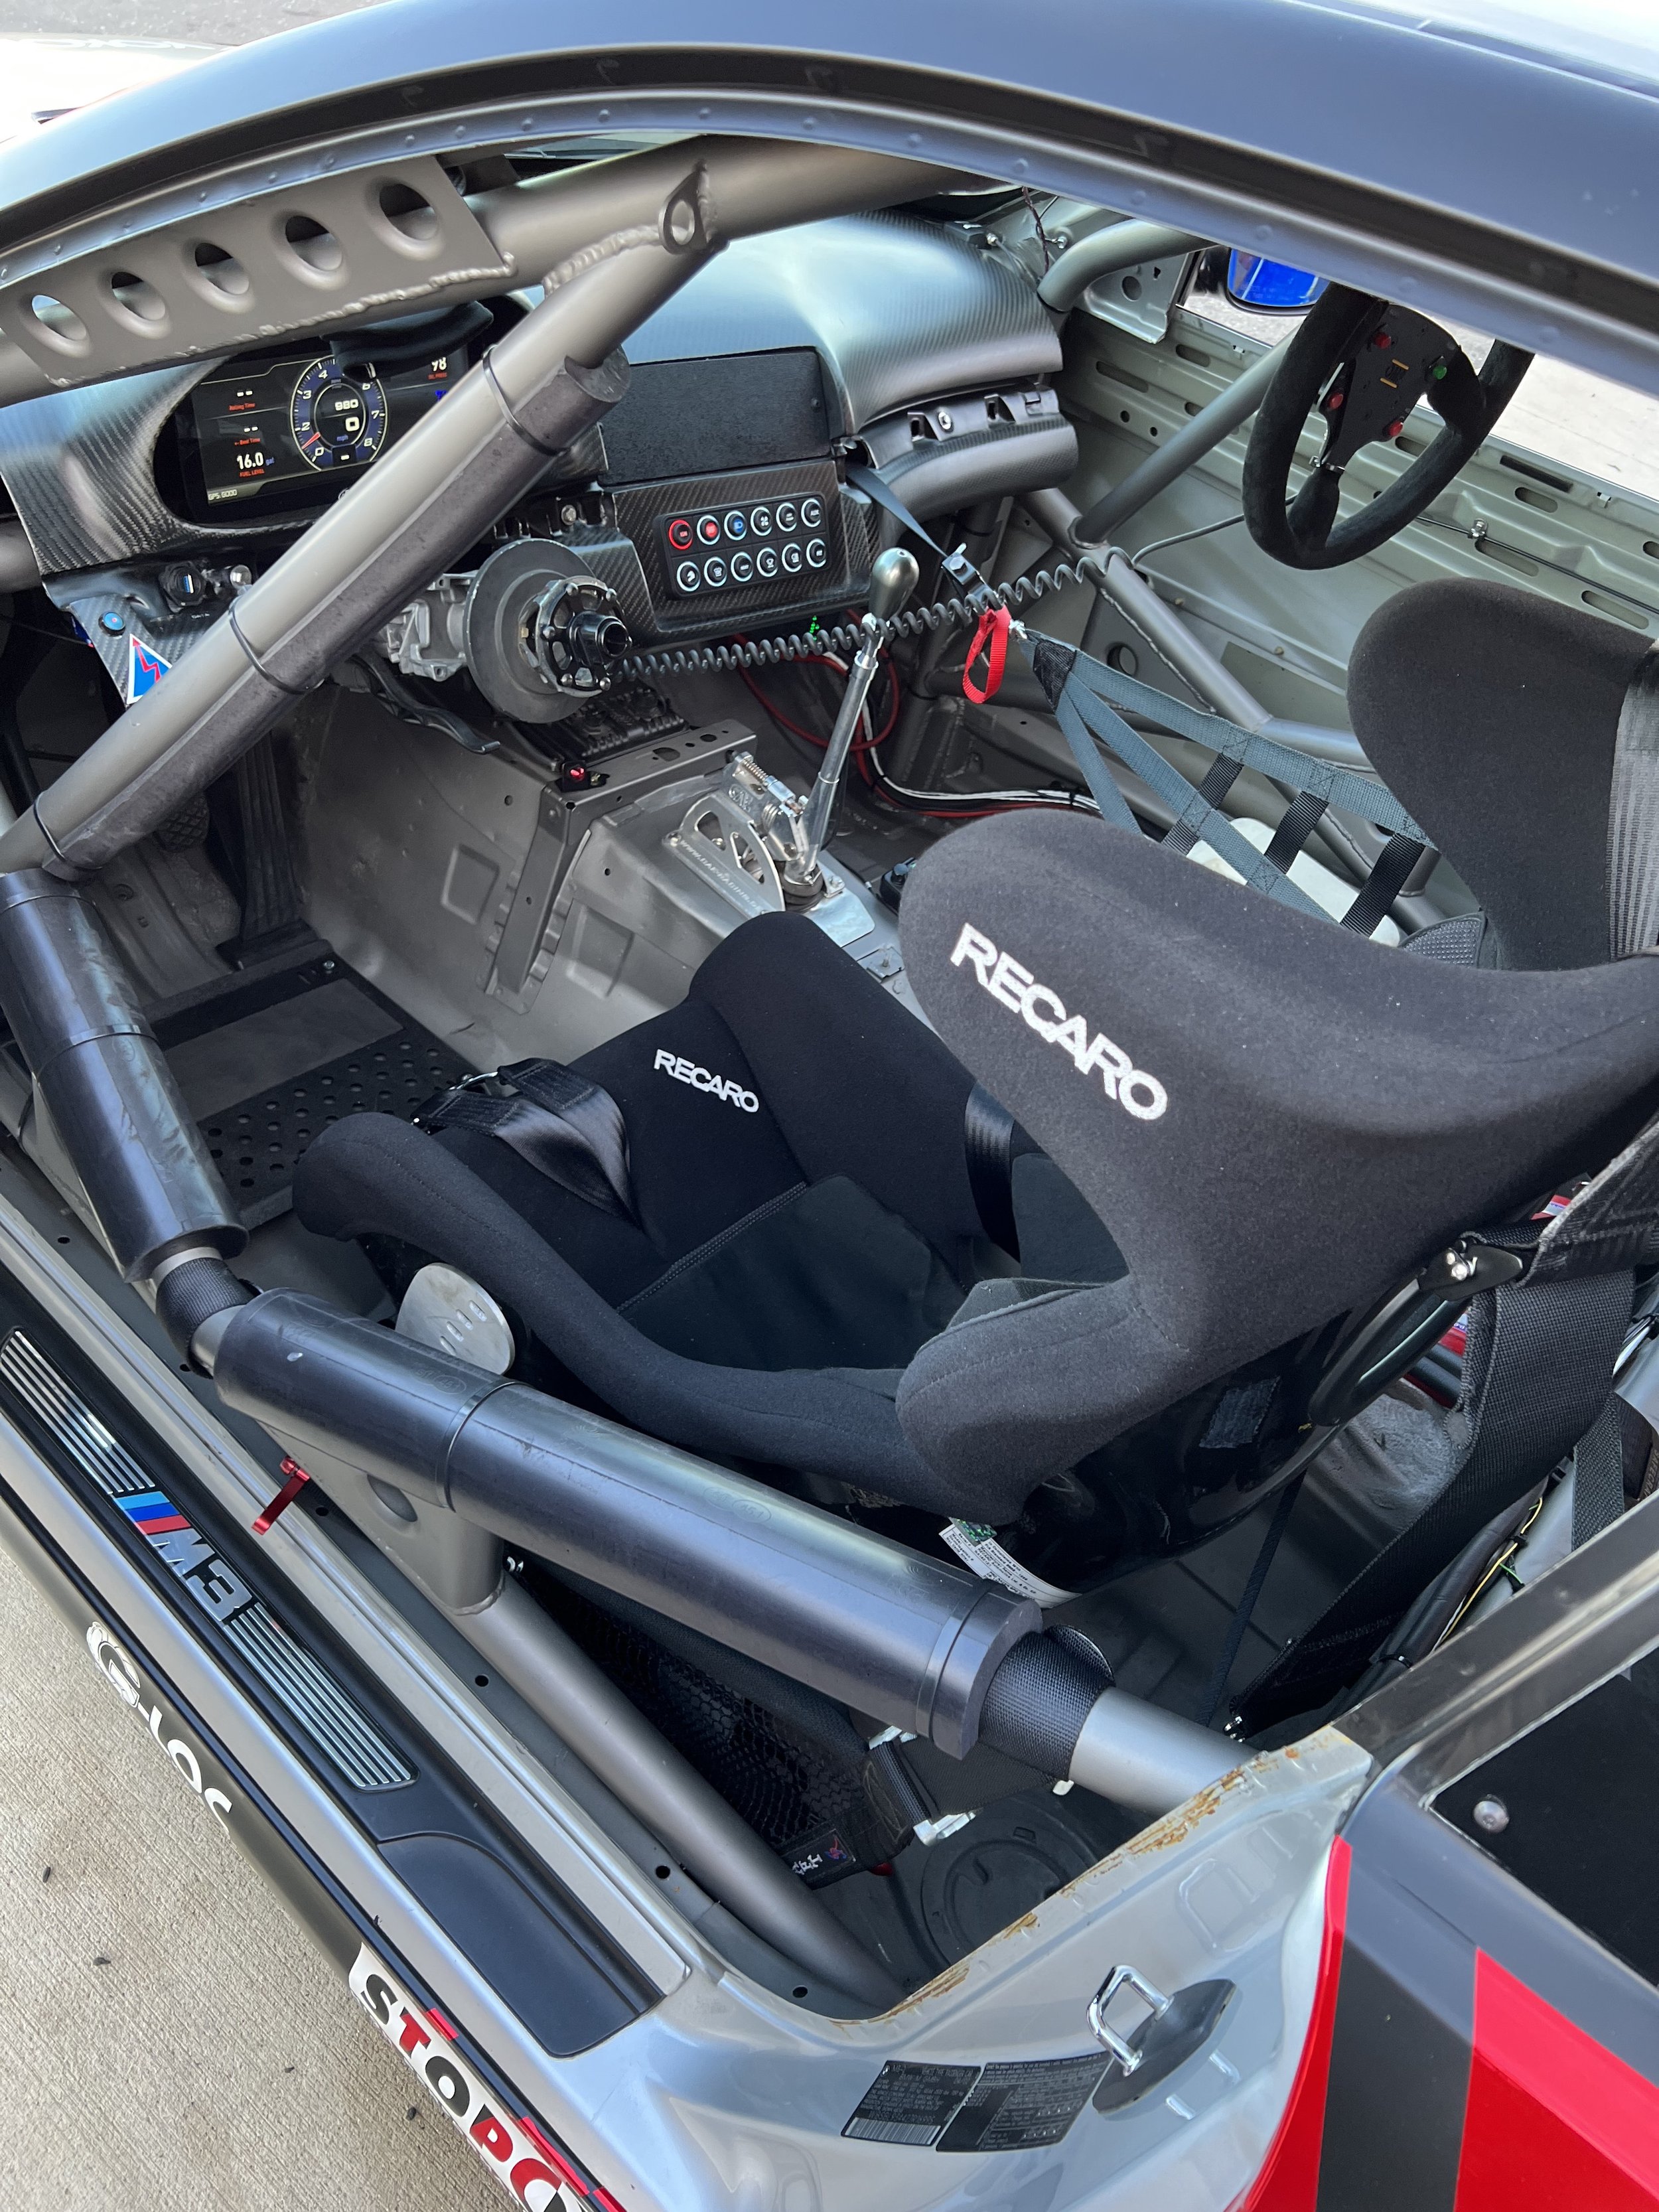
Trackspec's K24 Exige- Brake Bias Cage
About two years ago, we decided to run a 15/17” wheel stagger for more tire selection, and in doing so, we had to install smaller front calipers (More detail on that here). The Cup brakes that our S240 came with were too big for 15” wheels. We were able to get a few 15” wheels to fit over them, but it required running some large wheel spacers. The set up we decided on were the AP Radical front calipers and the OEM 2 Pot calipers in the rear. Since the changes, the brakes never felt as good as the stock set up. The larger calipers require more fluid volume, and with the stock master cylinder, that meant the pedal had more travel and felt softer. We also noticed more ABS “ice mode”, which could be related to the change in brake bias and front to rear tire diameter.
Brake Changes
About two years ago, we decided to run a 15/17” wheel stagger for more tire selection, and in doing so, we had to install smaller front calipers (More detail on that here). The Cup brakes that our S240 came with were too big for 15” wheels. We were able to get a few 15” wheels to fit over them, but it required running some large wheel spacers. The set up we decided on were the AP Radical front calipers and the OEM 2 Pot calipers in the rear. Since the changes, the brakes never felt as good as the stock set up. The larger calipers require more fluid volume, and with the stock master cylinder, that meant the pedal had more travel and felt softer. We also noticed more ABS “ice mode”, which could be related to the change in brake bias and front to rear tire diameter.
We did some things to help remedy the issue like run different brake pad compounds front to rear to change the bias and adjust the master cylinder, but the biggest change was disconnecting the brake booster. Powerless brakes gave us more much pedal modulation and made it less like an on/off switch. The increased pedal effort also made it harder to initiate “ice mode”, which a lot of times is caused by stabbing the brake pedal to quickly before getting any weight transfer on the front tires. I quickly realized that the next best step was to delete the brake booster all together and install a dual master cylinder set up so that I could use to control the front to rear brake bias.
BOE Brake Bias Cage
BOE Fabrication came up with a dual master cylinder set up that uses Tilton master cylinders and a their bias knob. You can order the kit with different master cylinder sizes, but their default sized worked out perfect for our set up. A smaller bore would decrease the pedal effort, but increase the pedal travel. A larger bore would increase the pedal effort and decrease the pedal travel. You can also order the kit to be plumbed with and without the factory ABS. We decided to keep the ABS, mostly to experiment and see if getting the proper brake bias will help reduce the “ice mode”. We can easily disable the ABS by pulling the fuse, or installing a toggle switch to cut power to the module.
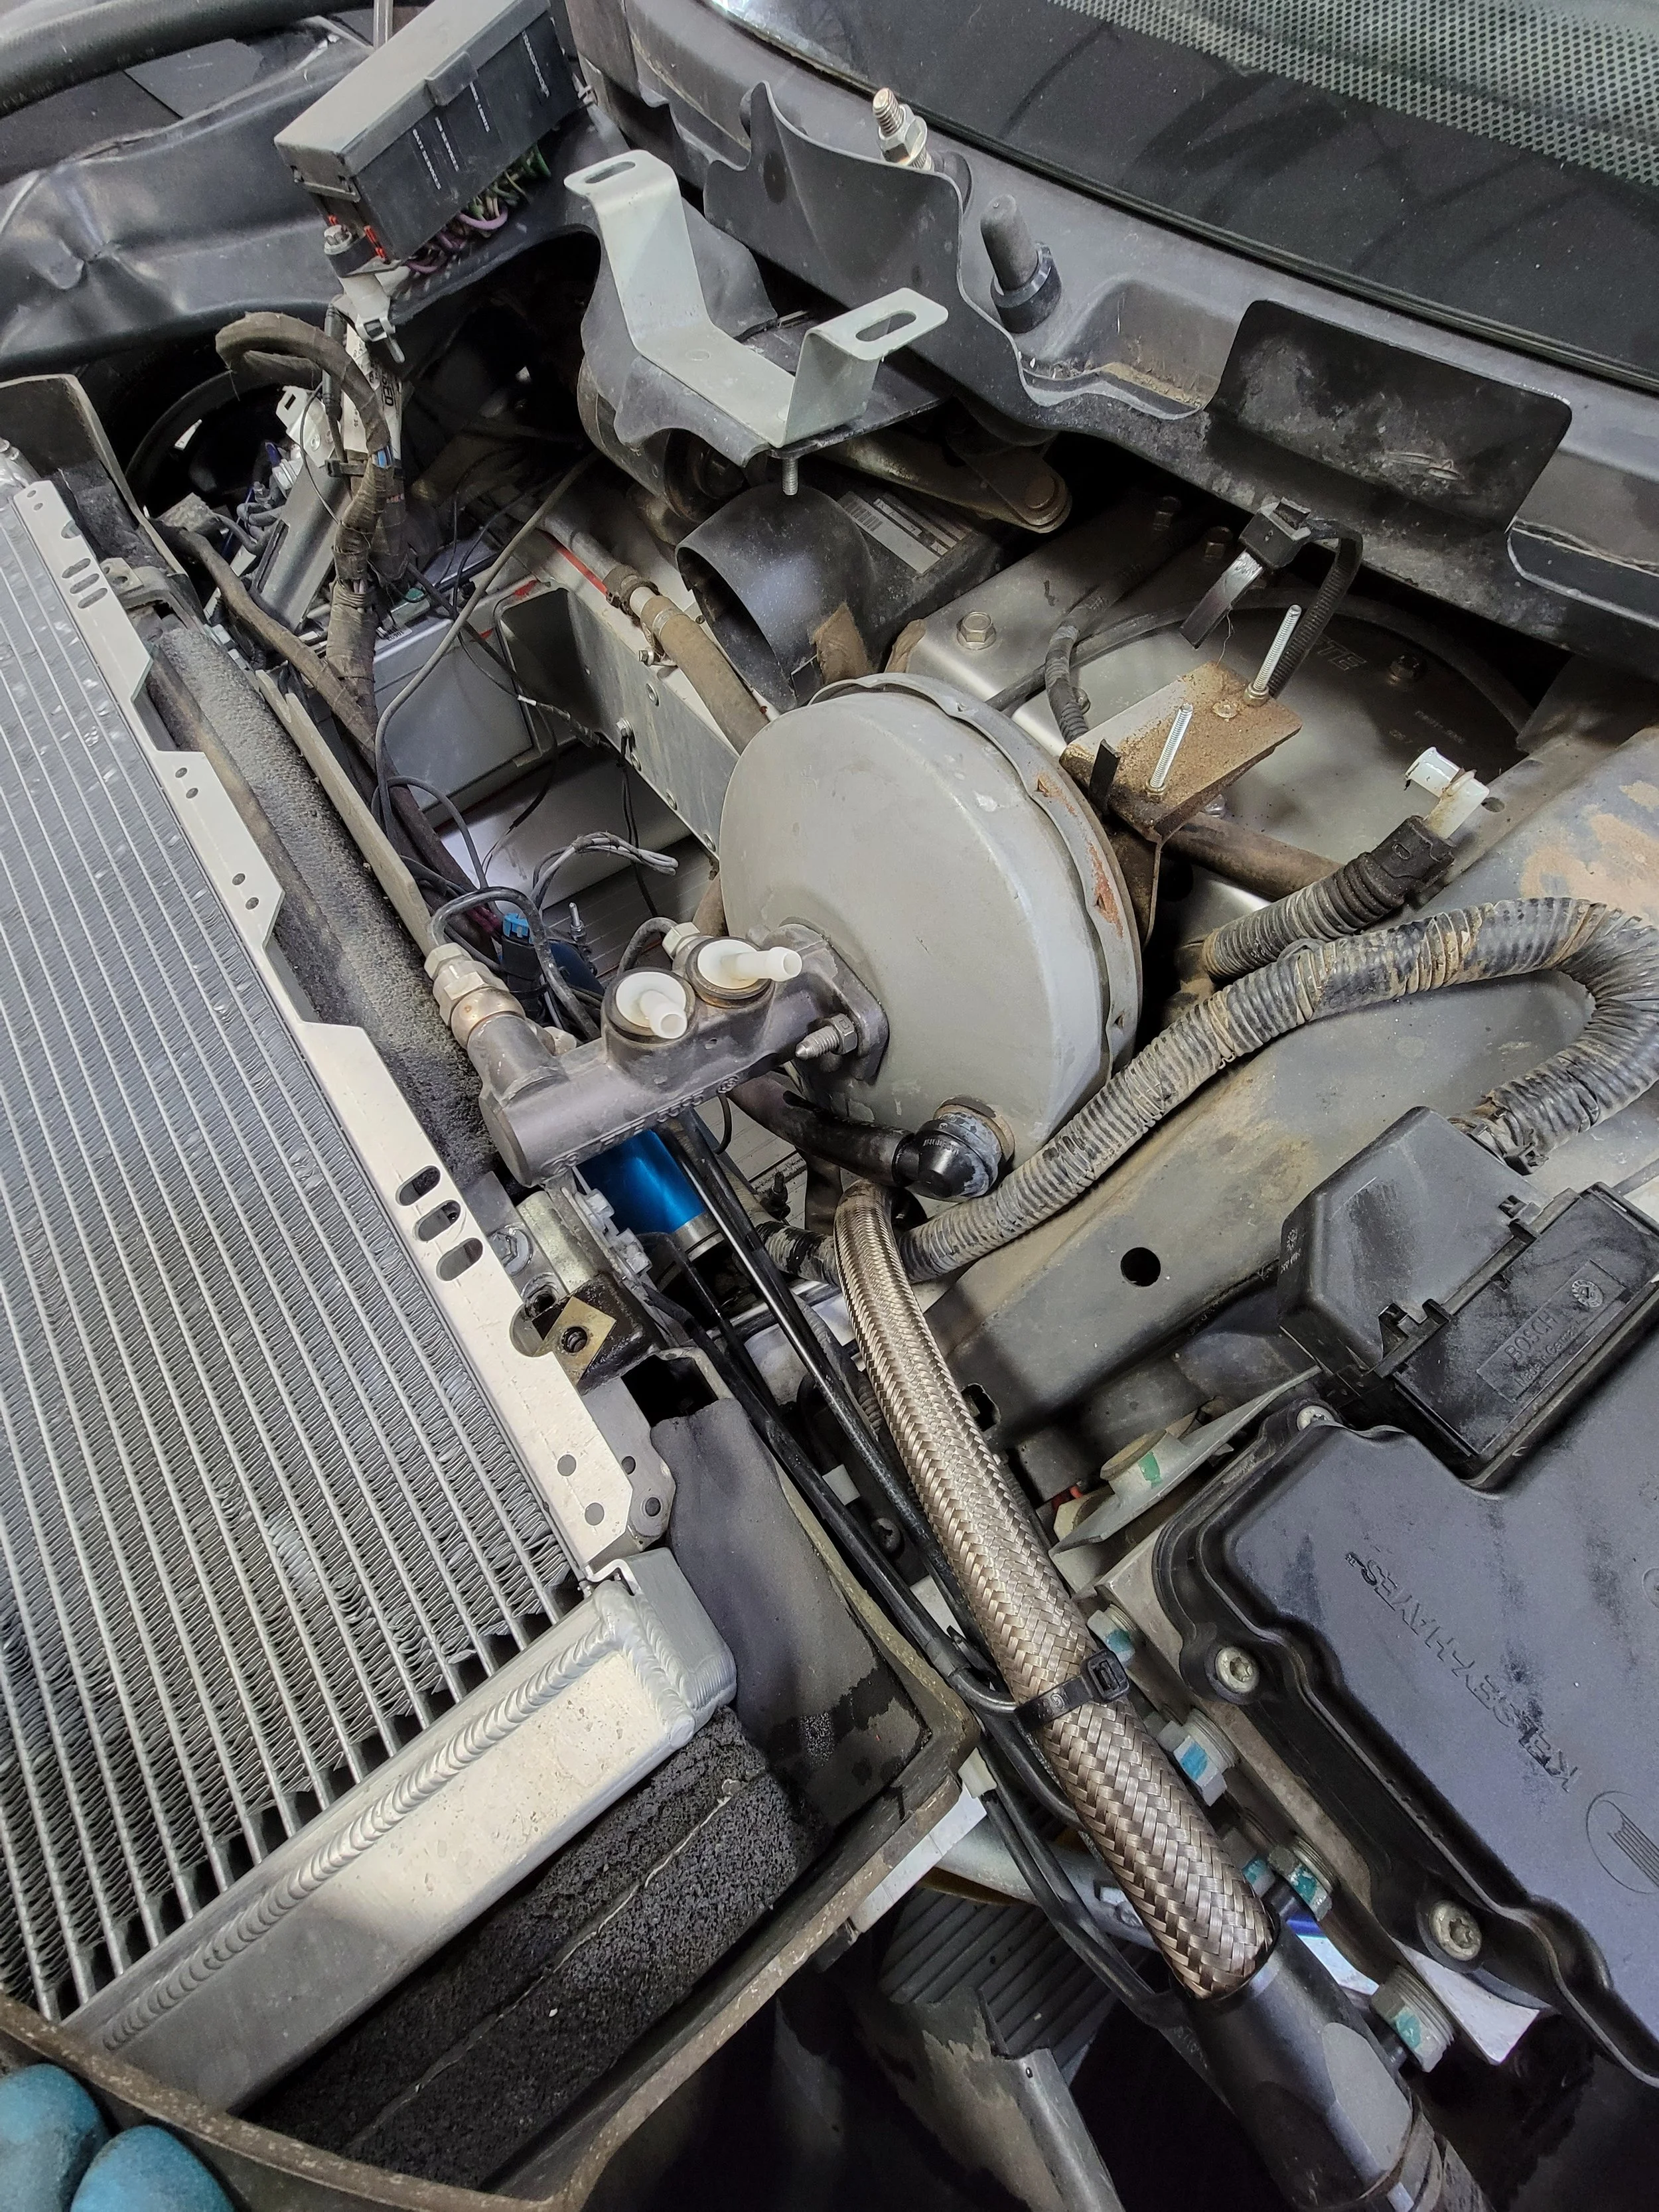
OEM Brake booster and master cylinder


The installation was relatively straight forward. Once the front clam is off, the stock booster and master cylinder come off easily and the bias cage goes in. We did end up trimming the radiator and using different fittings so that the master cylinders wouldn’t have to be touched if the radiator needed to be removed in the future. The lines that come off the master cylinders go straight into the ABS module, where there is a Banjo fitting for a brake pressure sensor. You then have to route the bias knob cable into the cabin and figure out where you want to mount the bias knob.
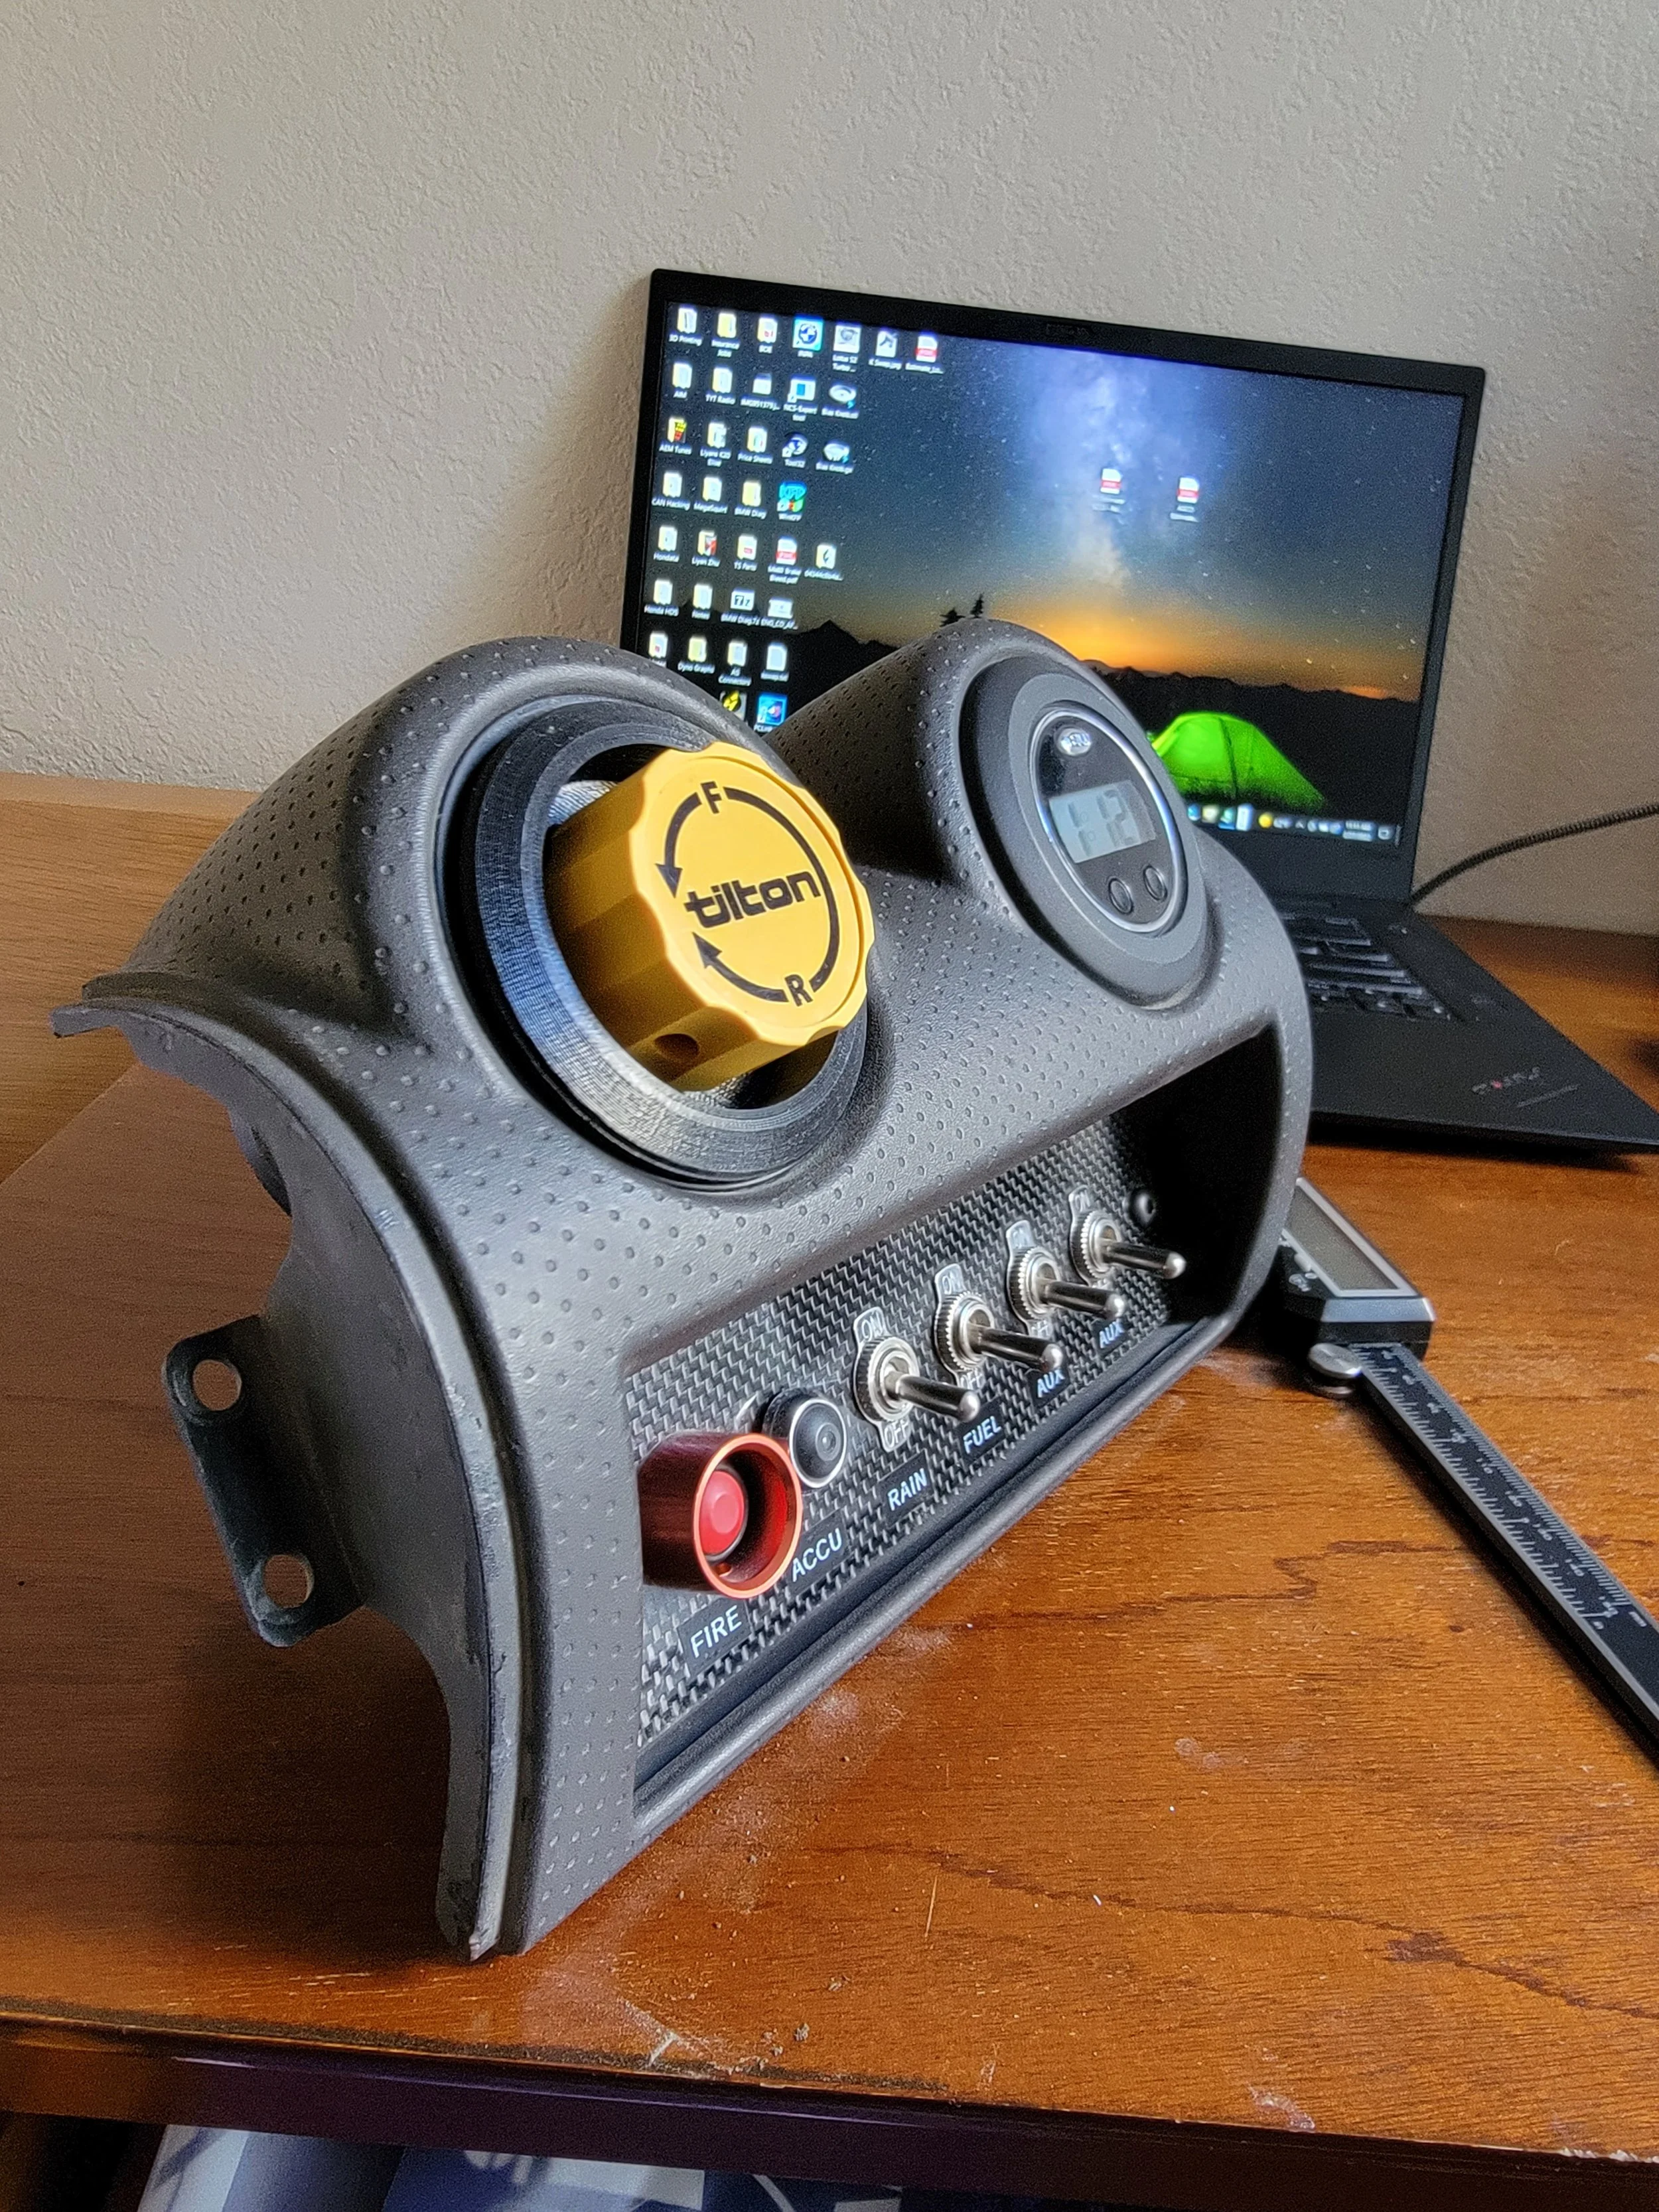
We ended up mounting the knob on top of one of the HVAC vents, and wasn’t really happy with the outcome.


We decided to 3D print a part and hope for something more OEM looking. It took some extra time, but we were pretty satisfied with the way it came out!


Once everything was installed, we bled the brake system, including the ABS using a Lotus scan tool. Immediately, we felt an improvement in the pedal feel. The brake pedal was very firm and had little travel. We had to adjust the push rod so that the brake and gas pedal were at the right level for heal-toe downshifting.
Testing
We took the car to Thunderhill West with Ongrid for a two day event. We started with the bias more towards the front and worked our way towards the rear as the day went on. We got it to a point where the car stopped well and felt balanced, but we may need some more tweaking on different tracks. In hindsight, we should have disabled the ABS, set it where we like it the best, then enable the ABS again to see how well it works. The biggest improvement was how much better the brake pedal felt, but being able to adjust the bias will really allow us to tune the brakes the way we want it.
On Saturday, we went clockwise, and then counter clockwise on Sunday. Here are the best laps from the weekend.

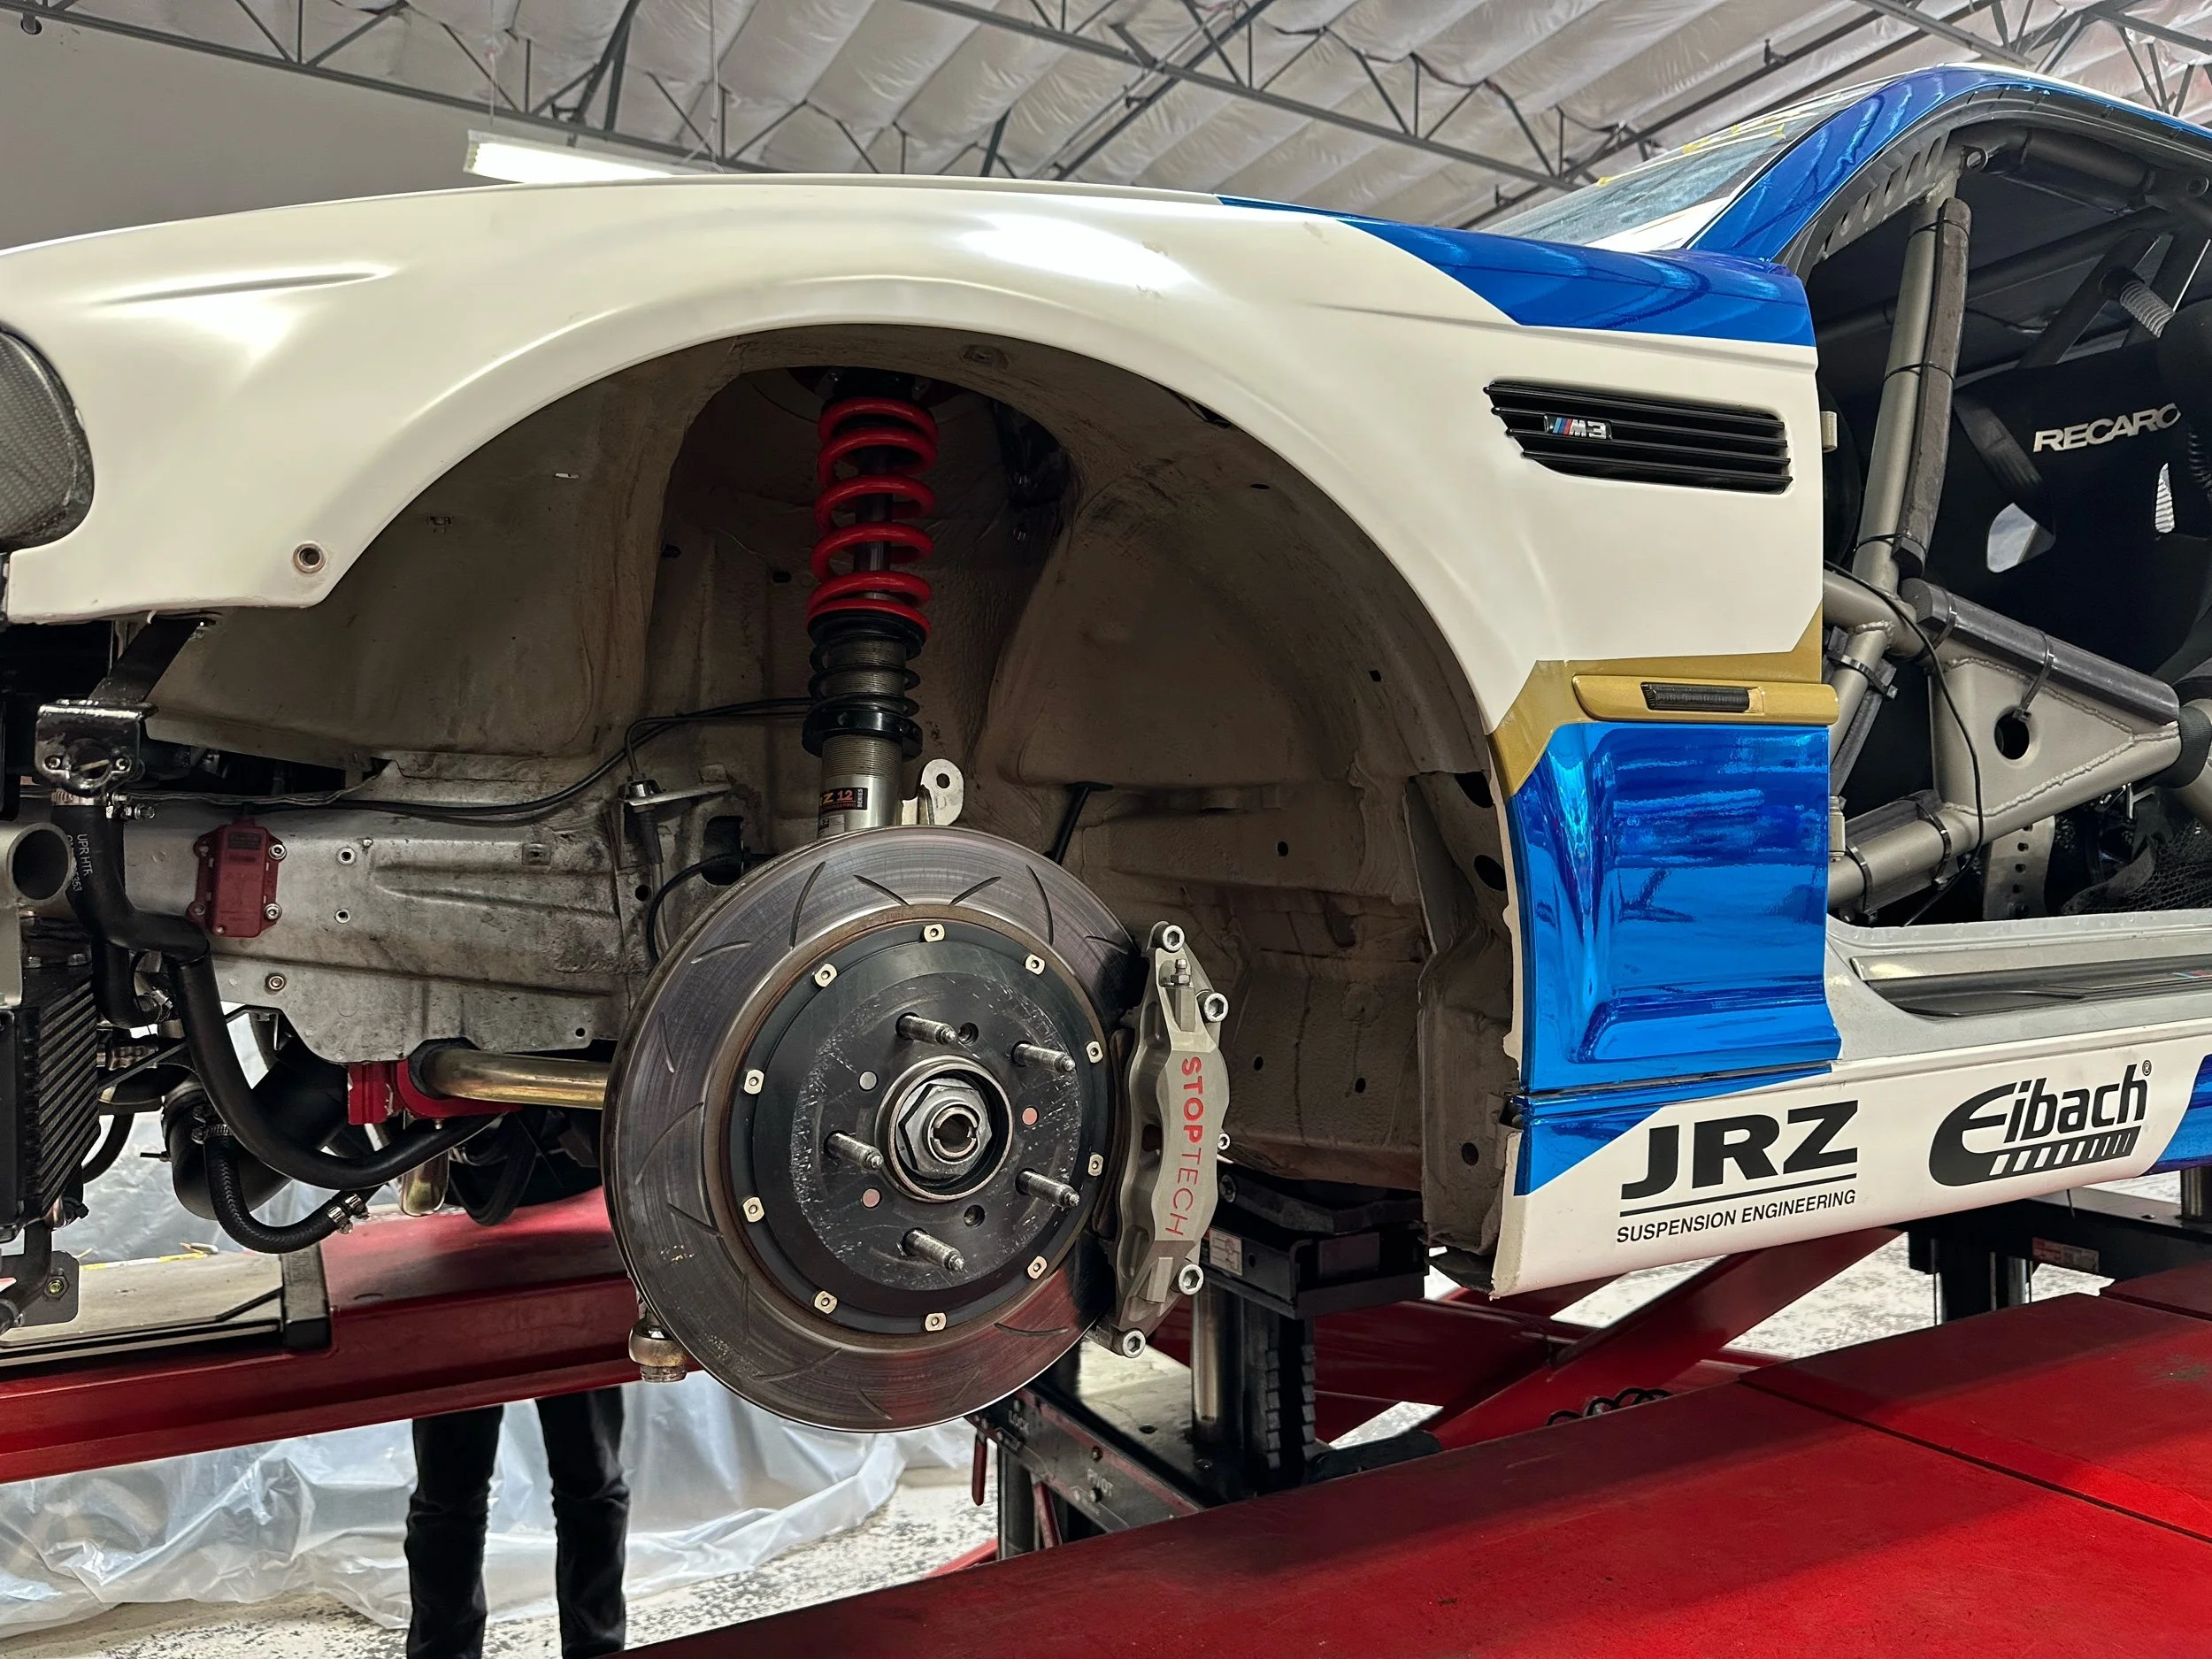
Pikes peak Build: Part 2
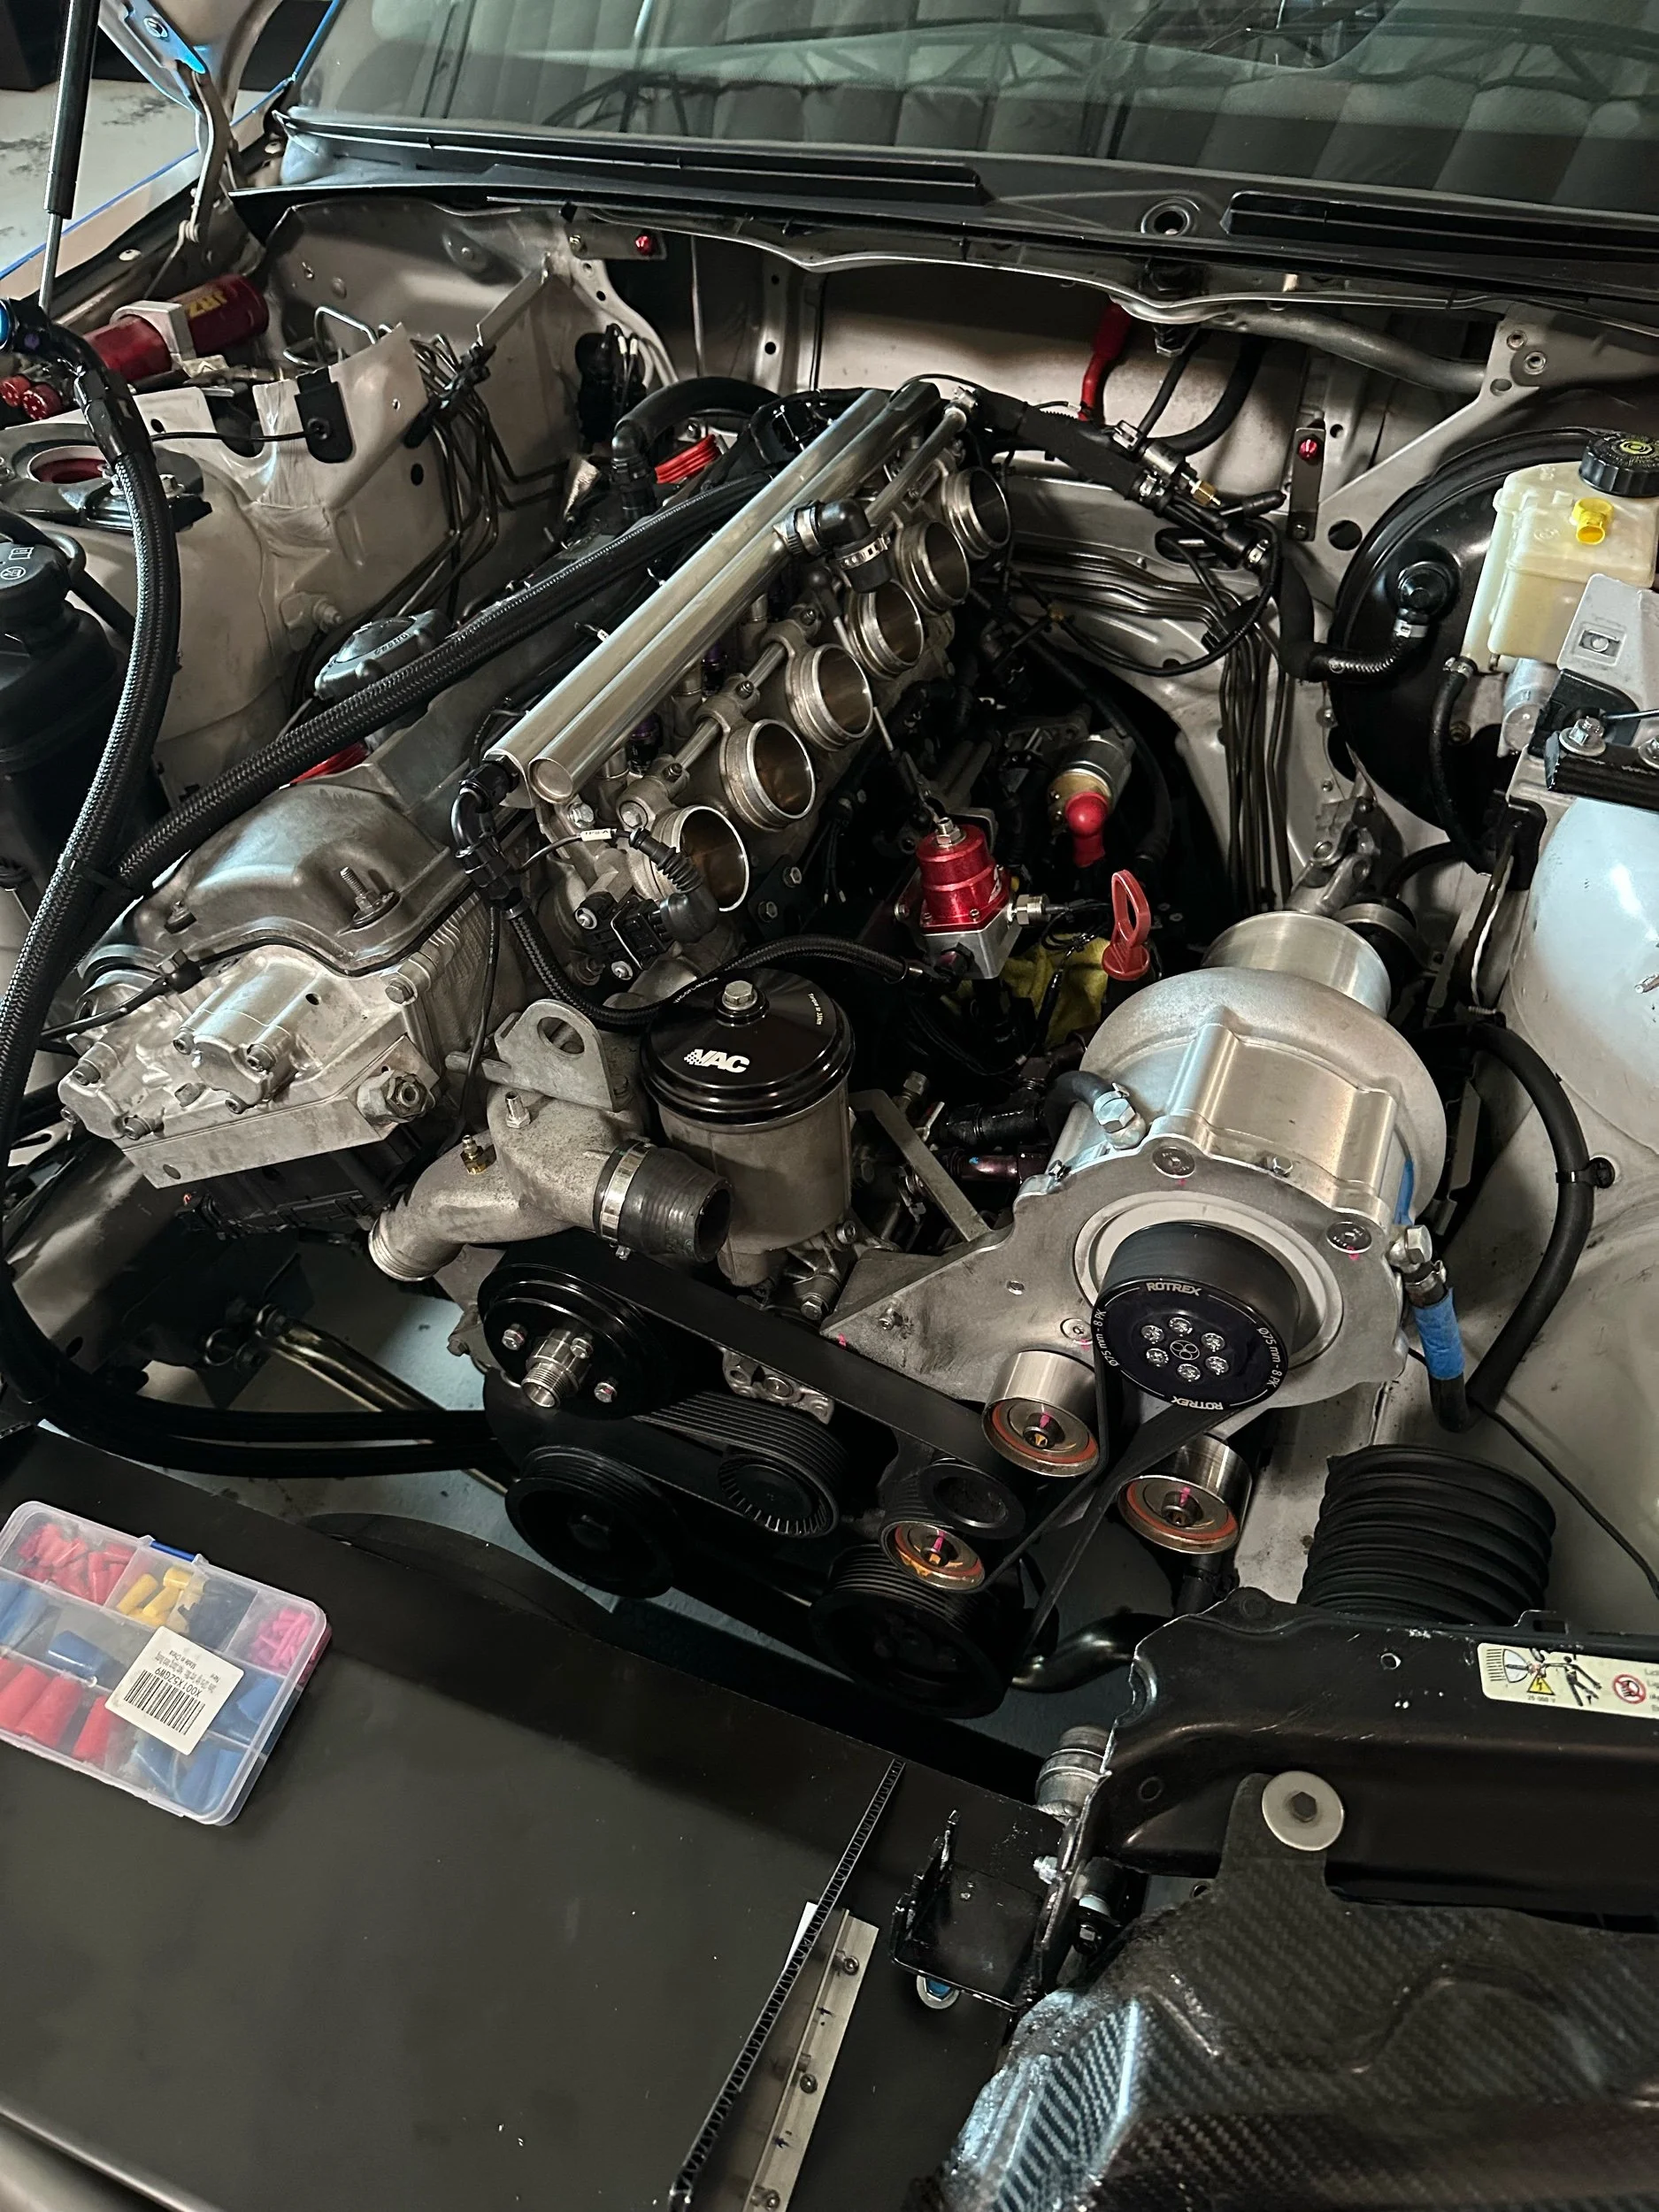
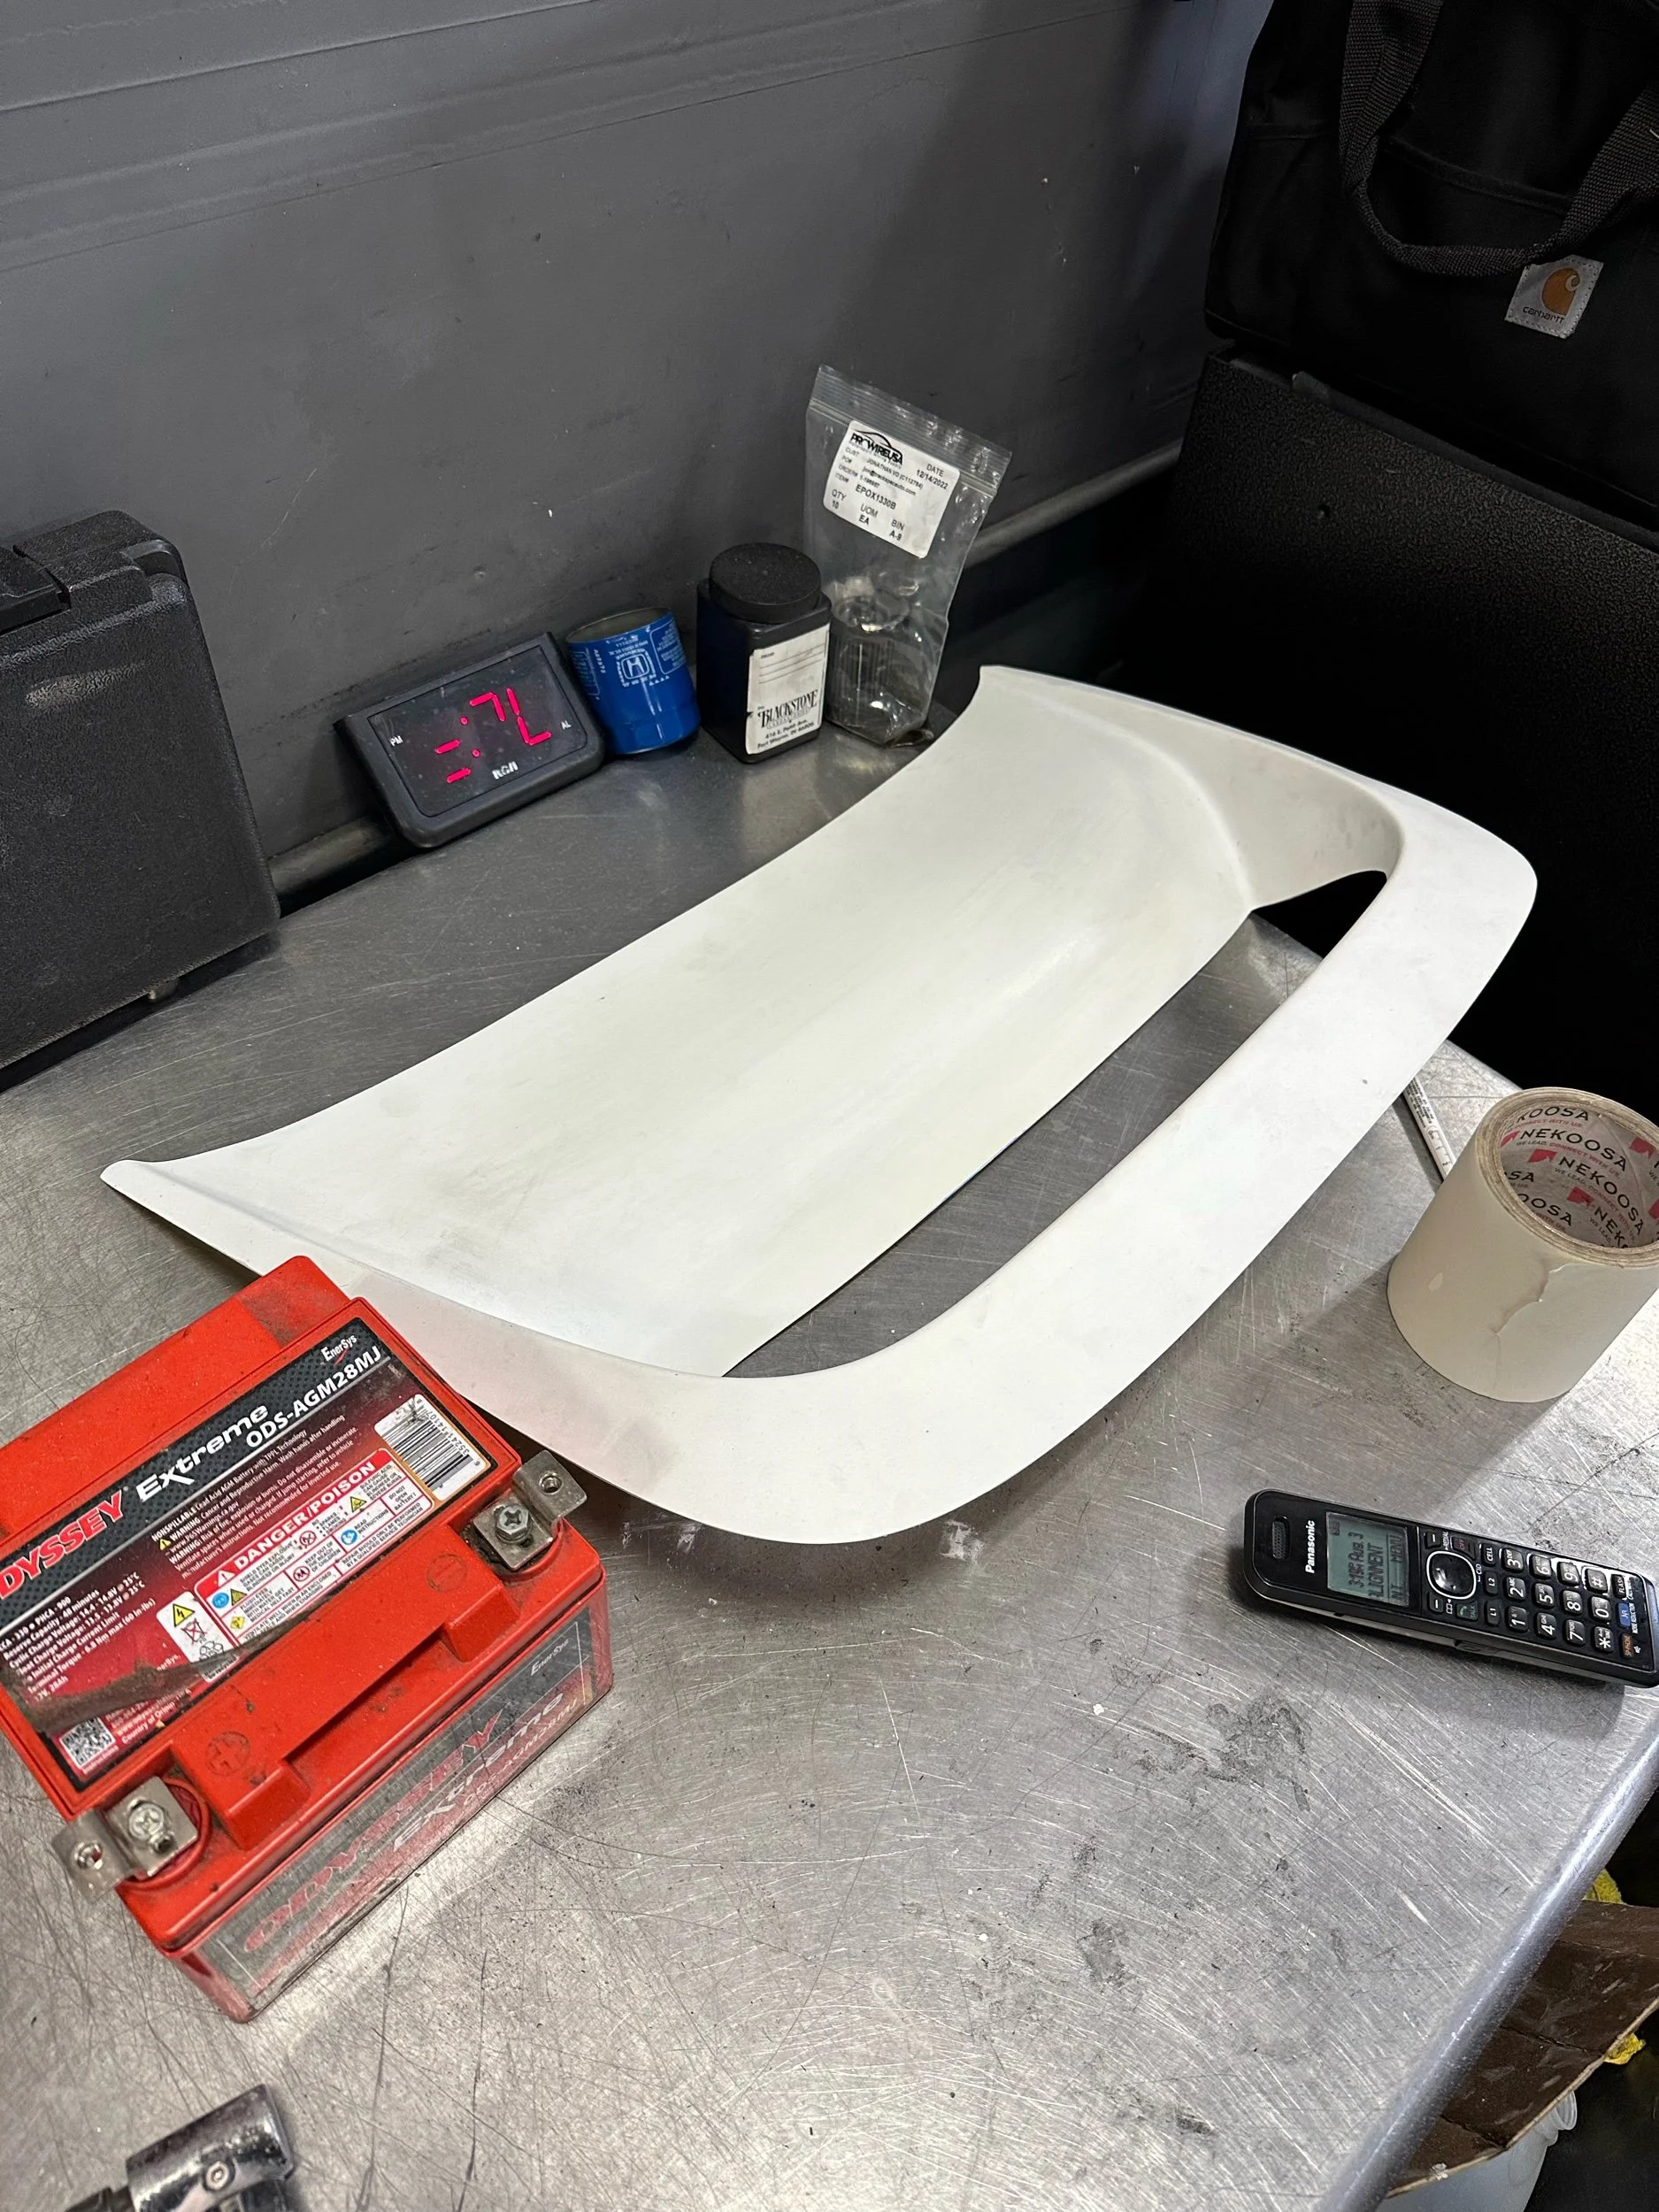
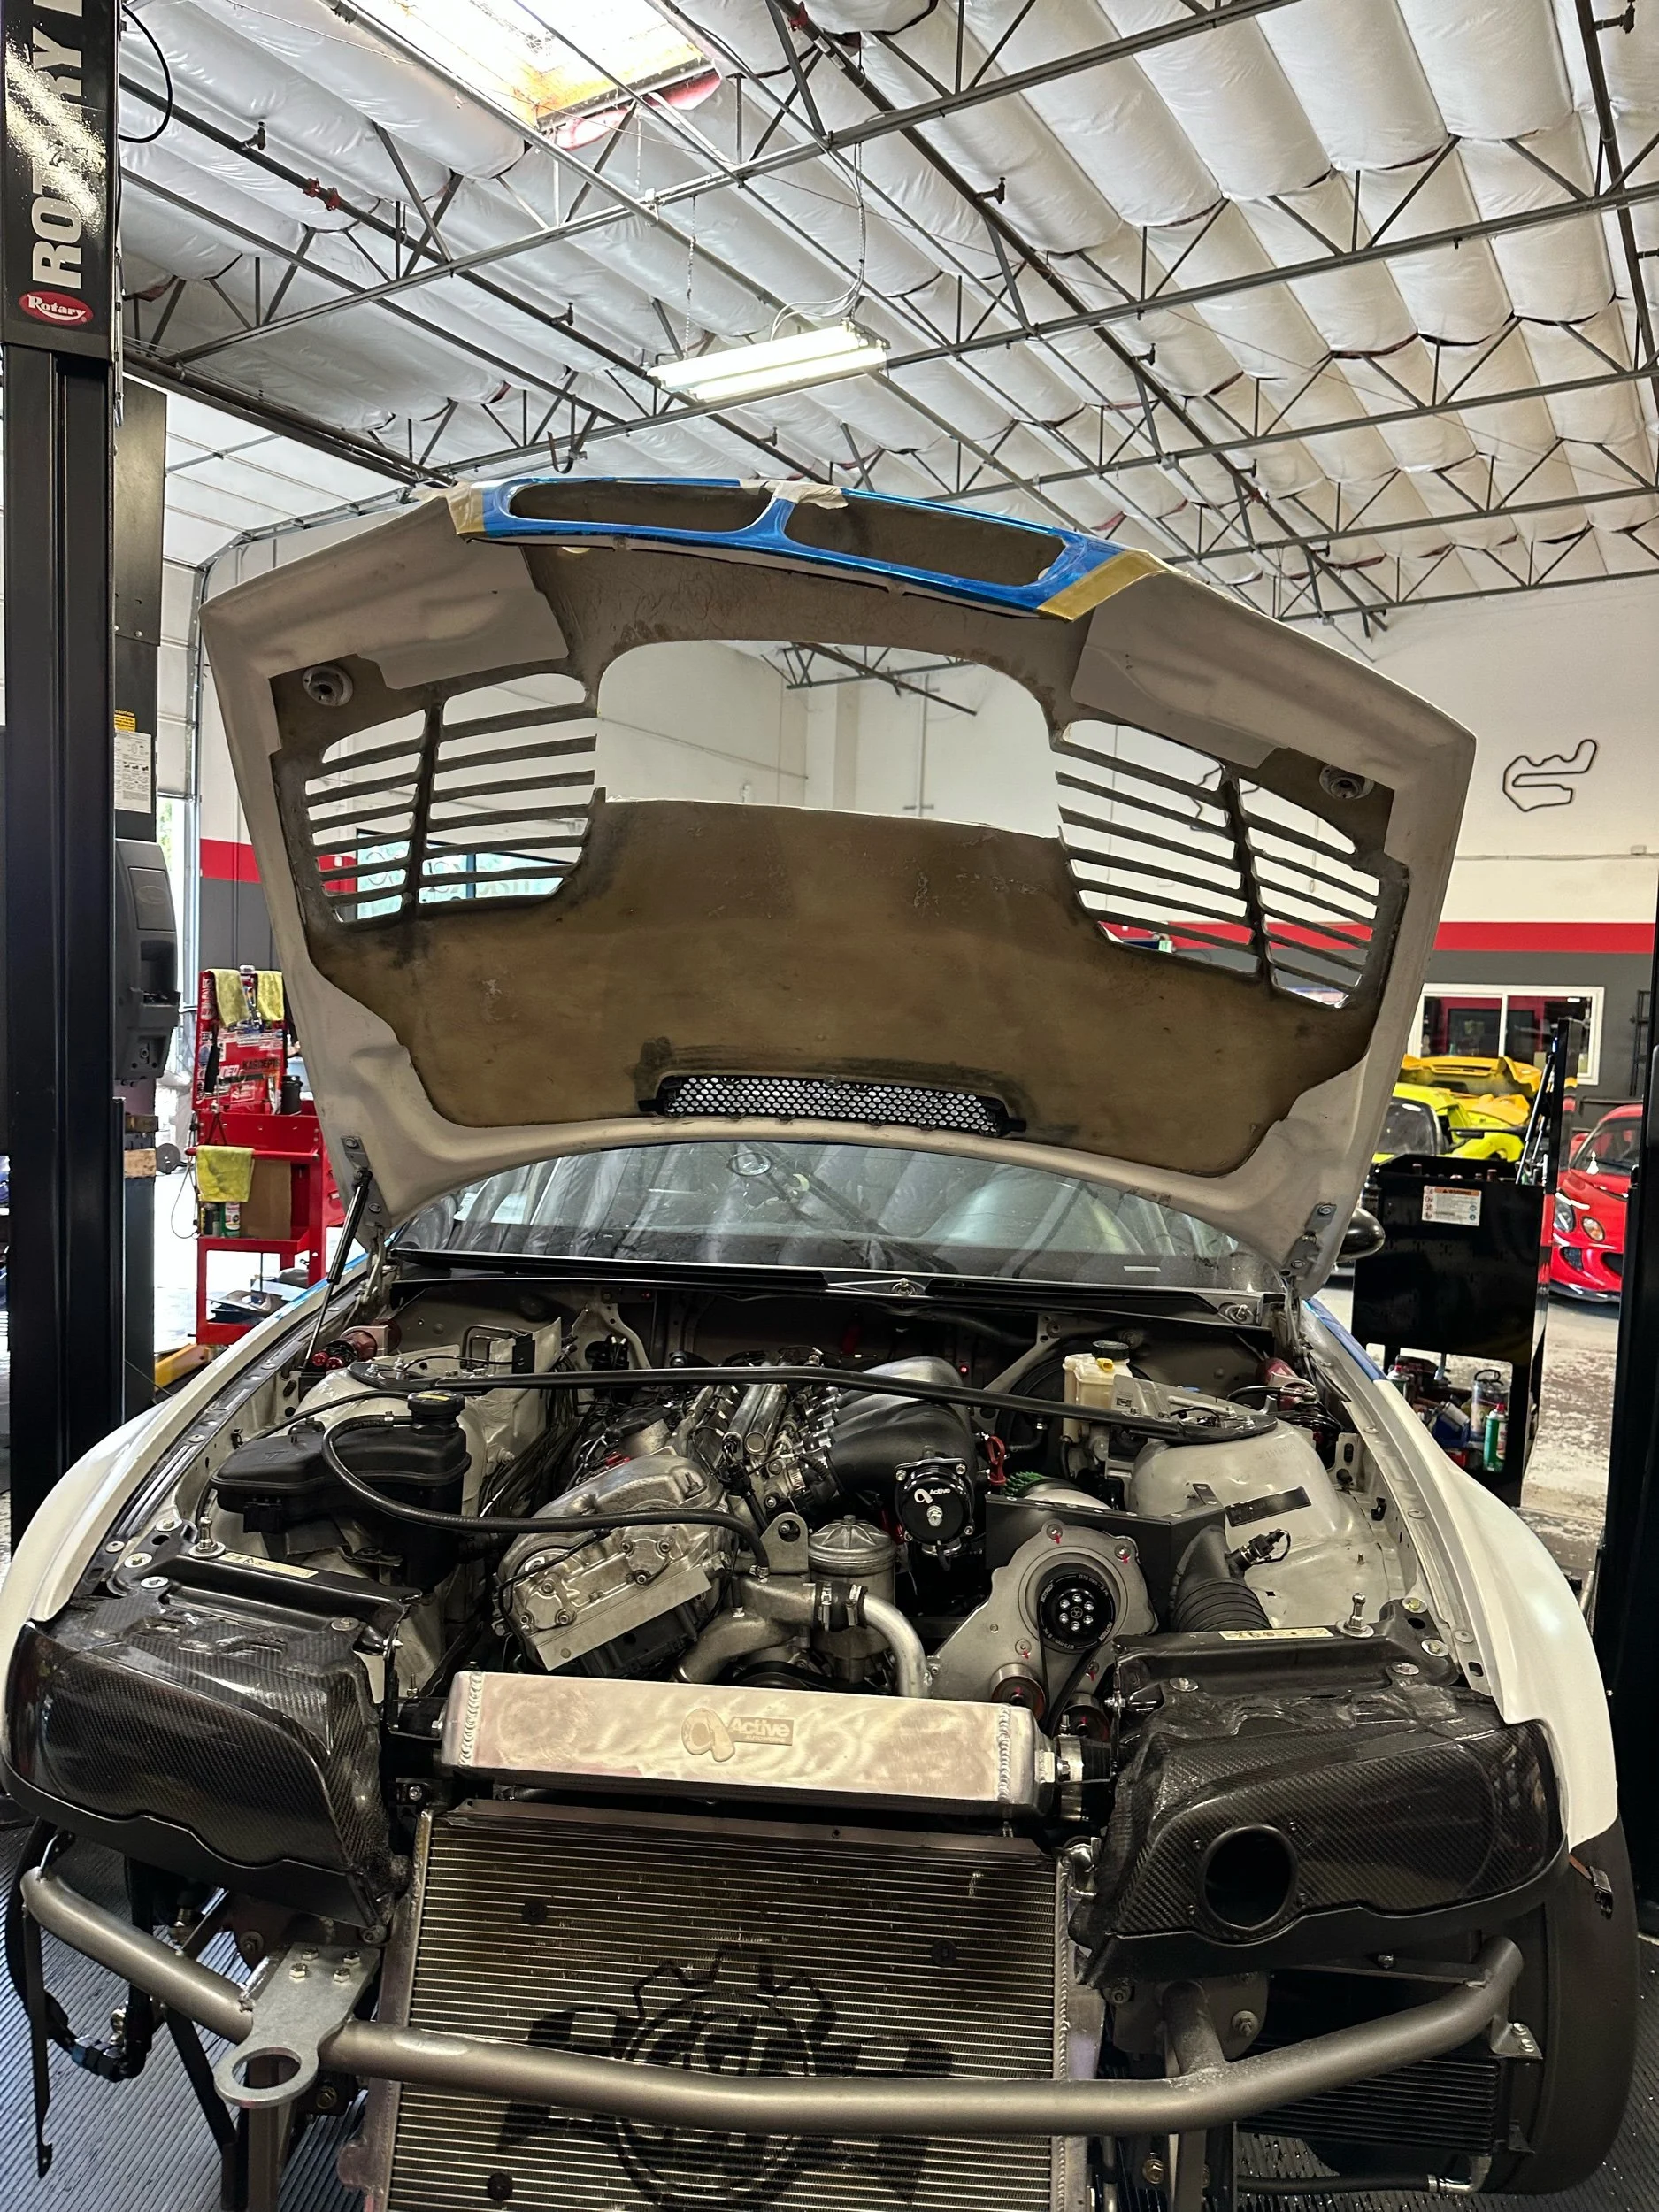
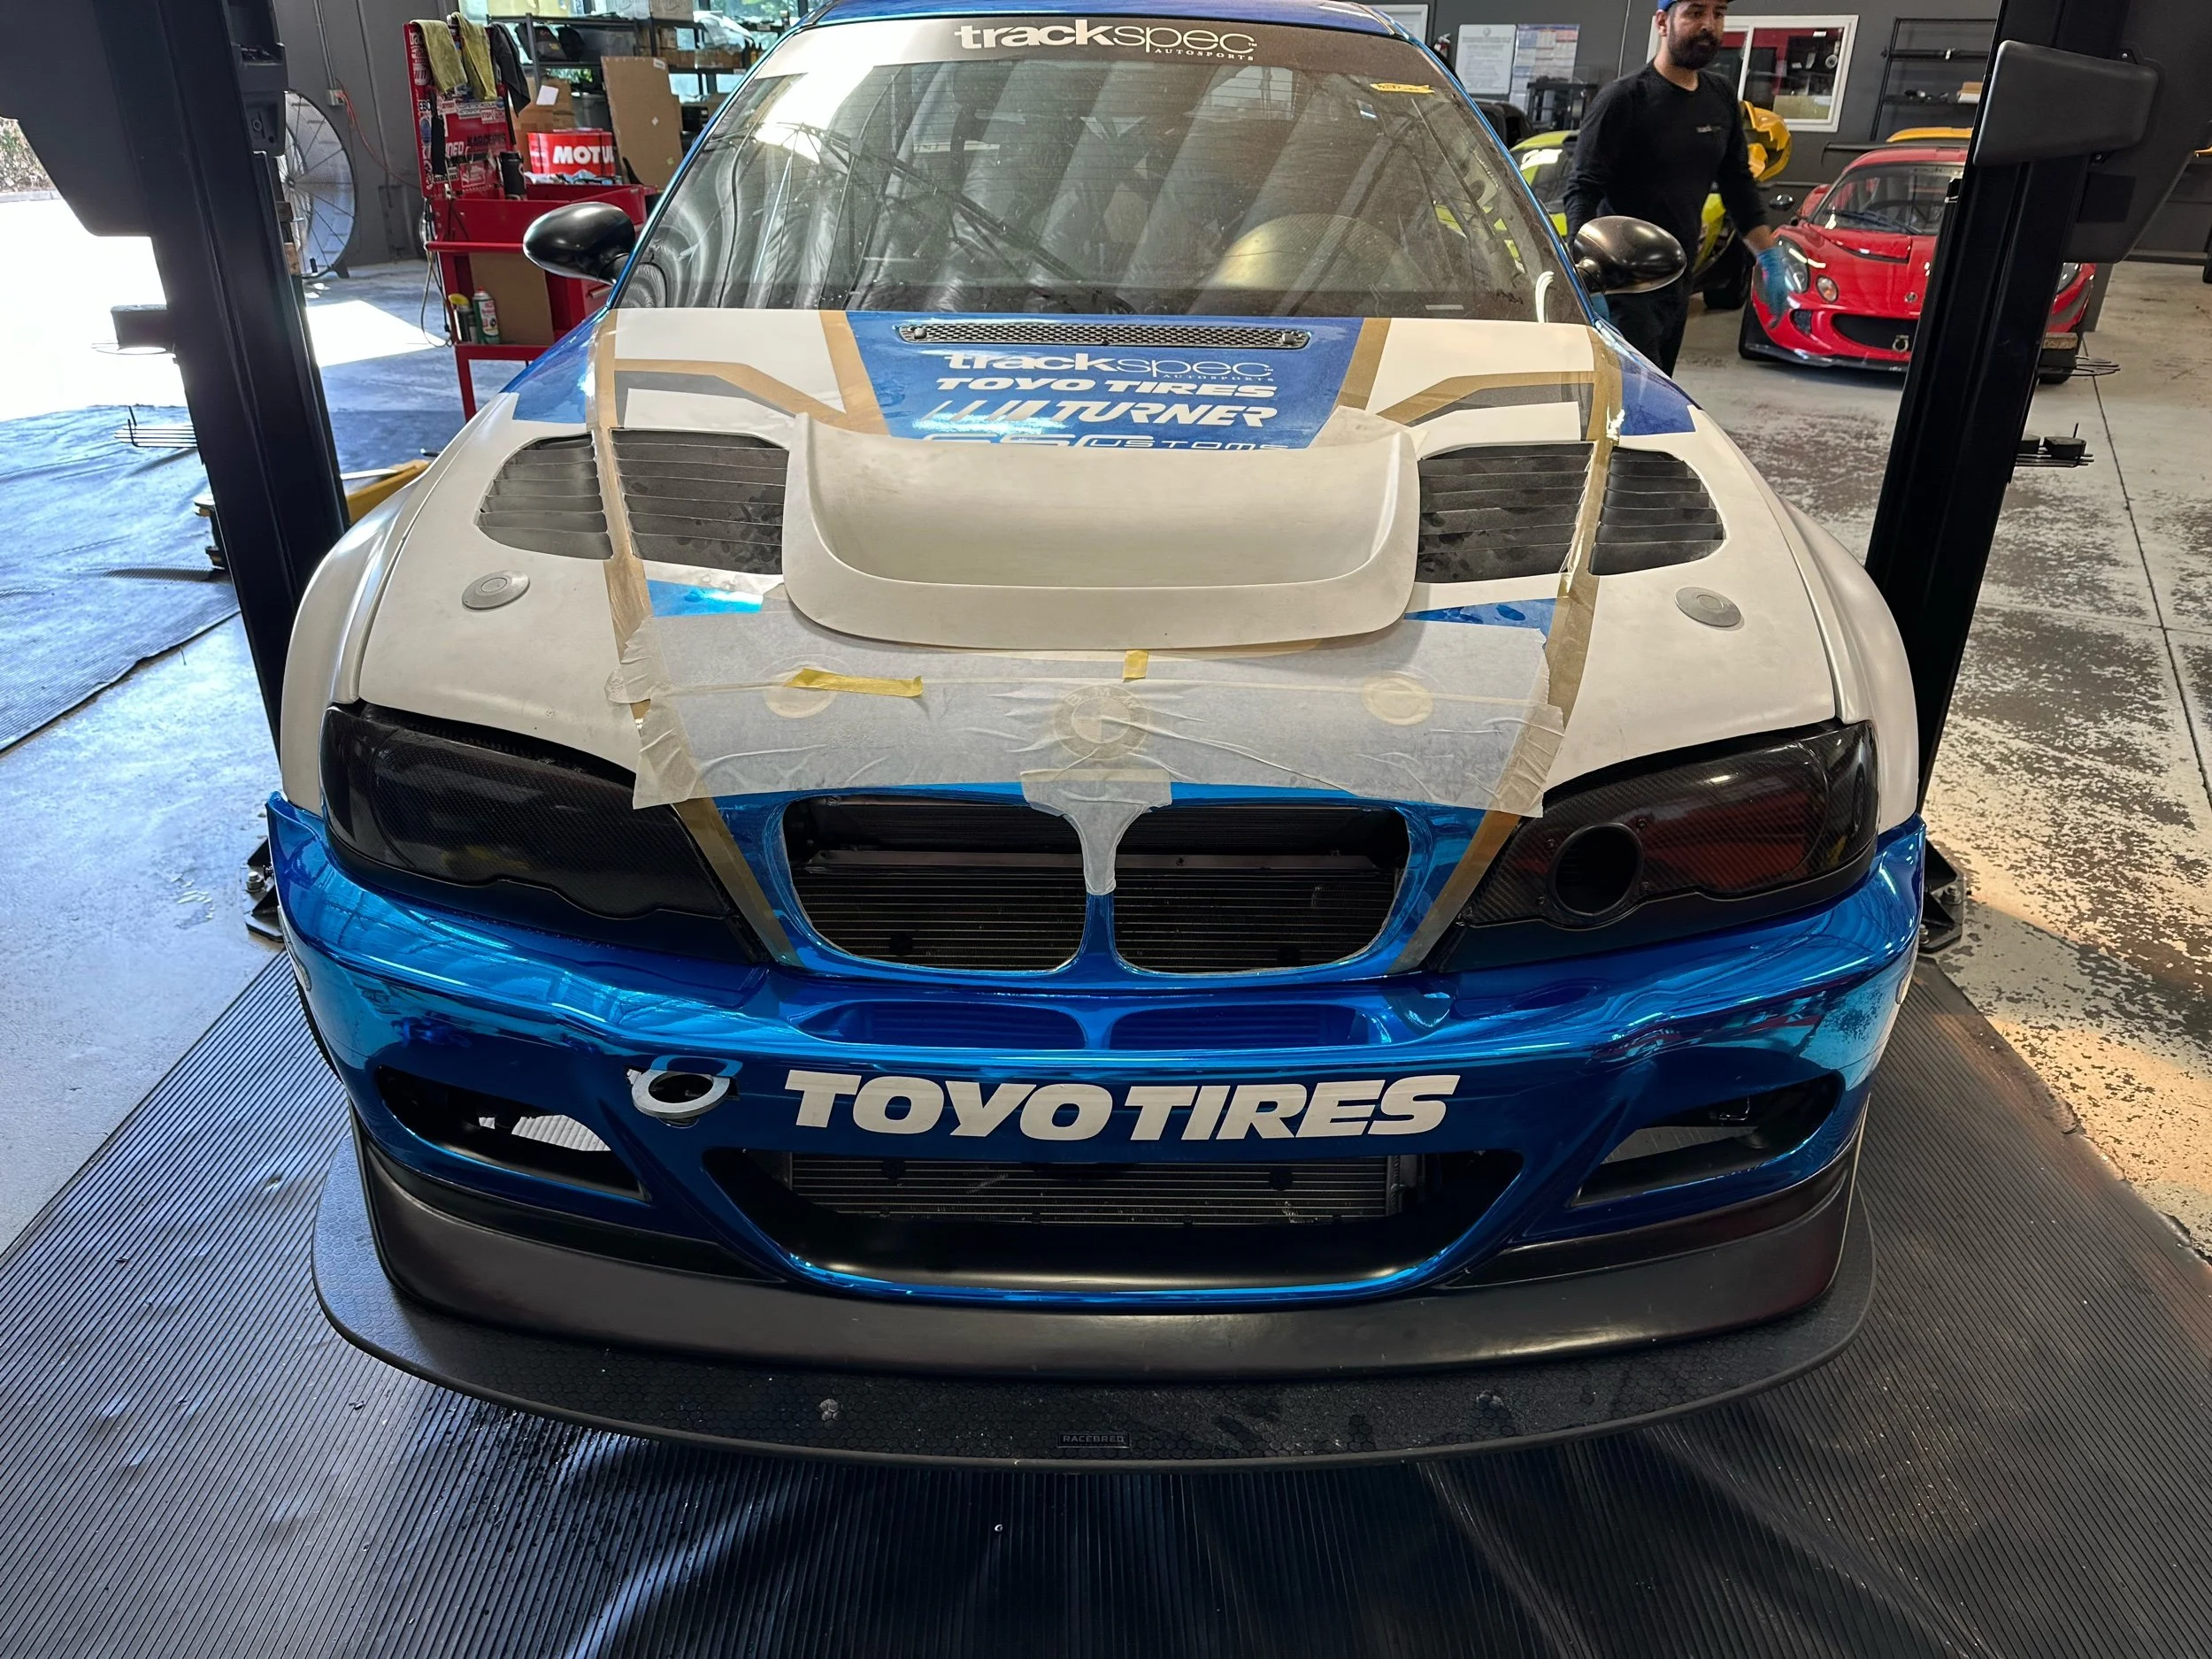
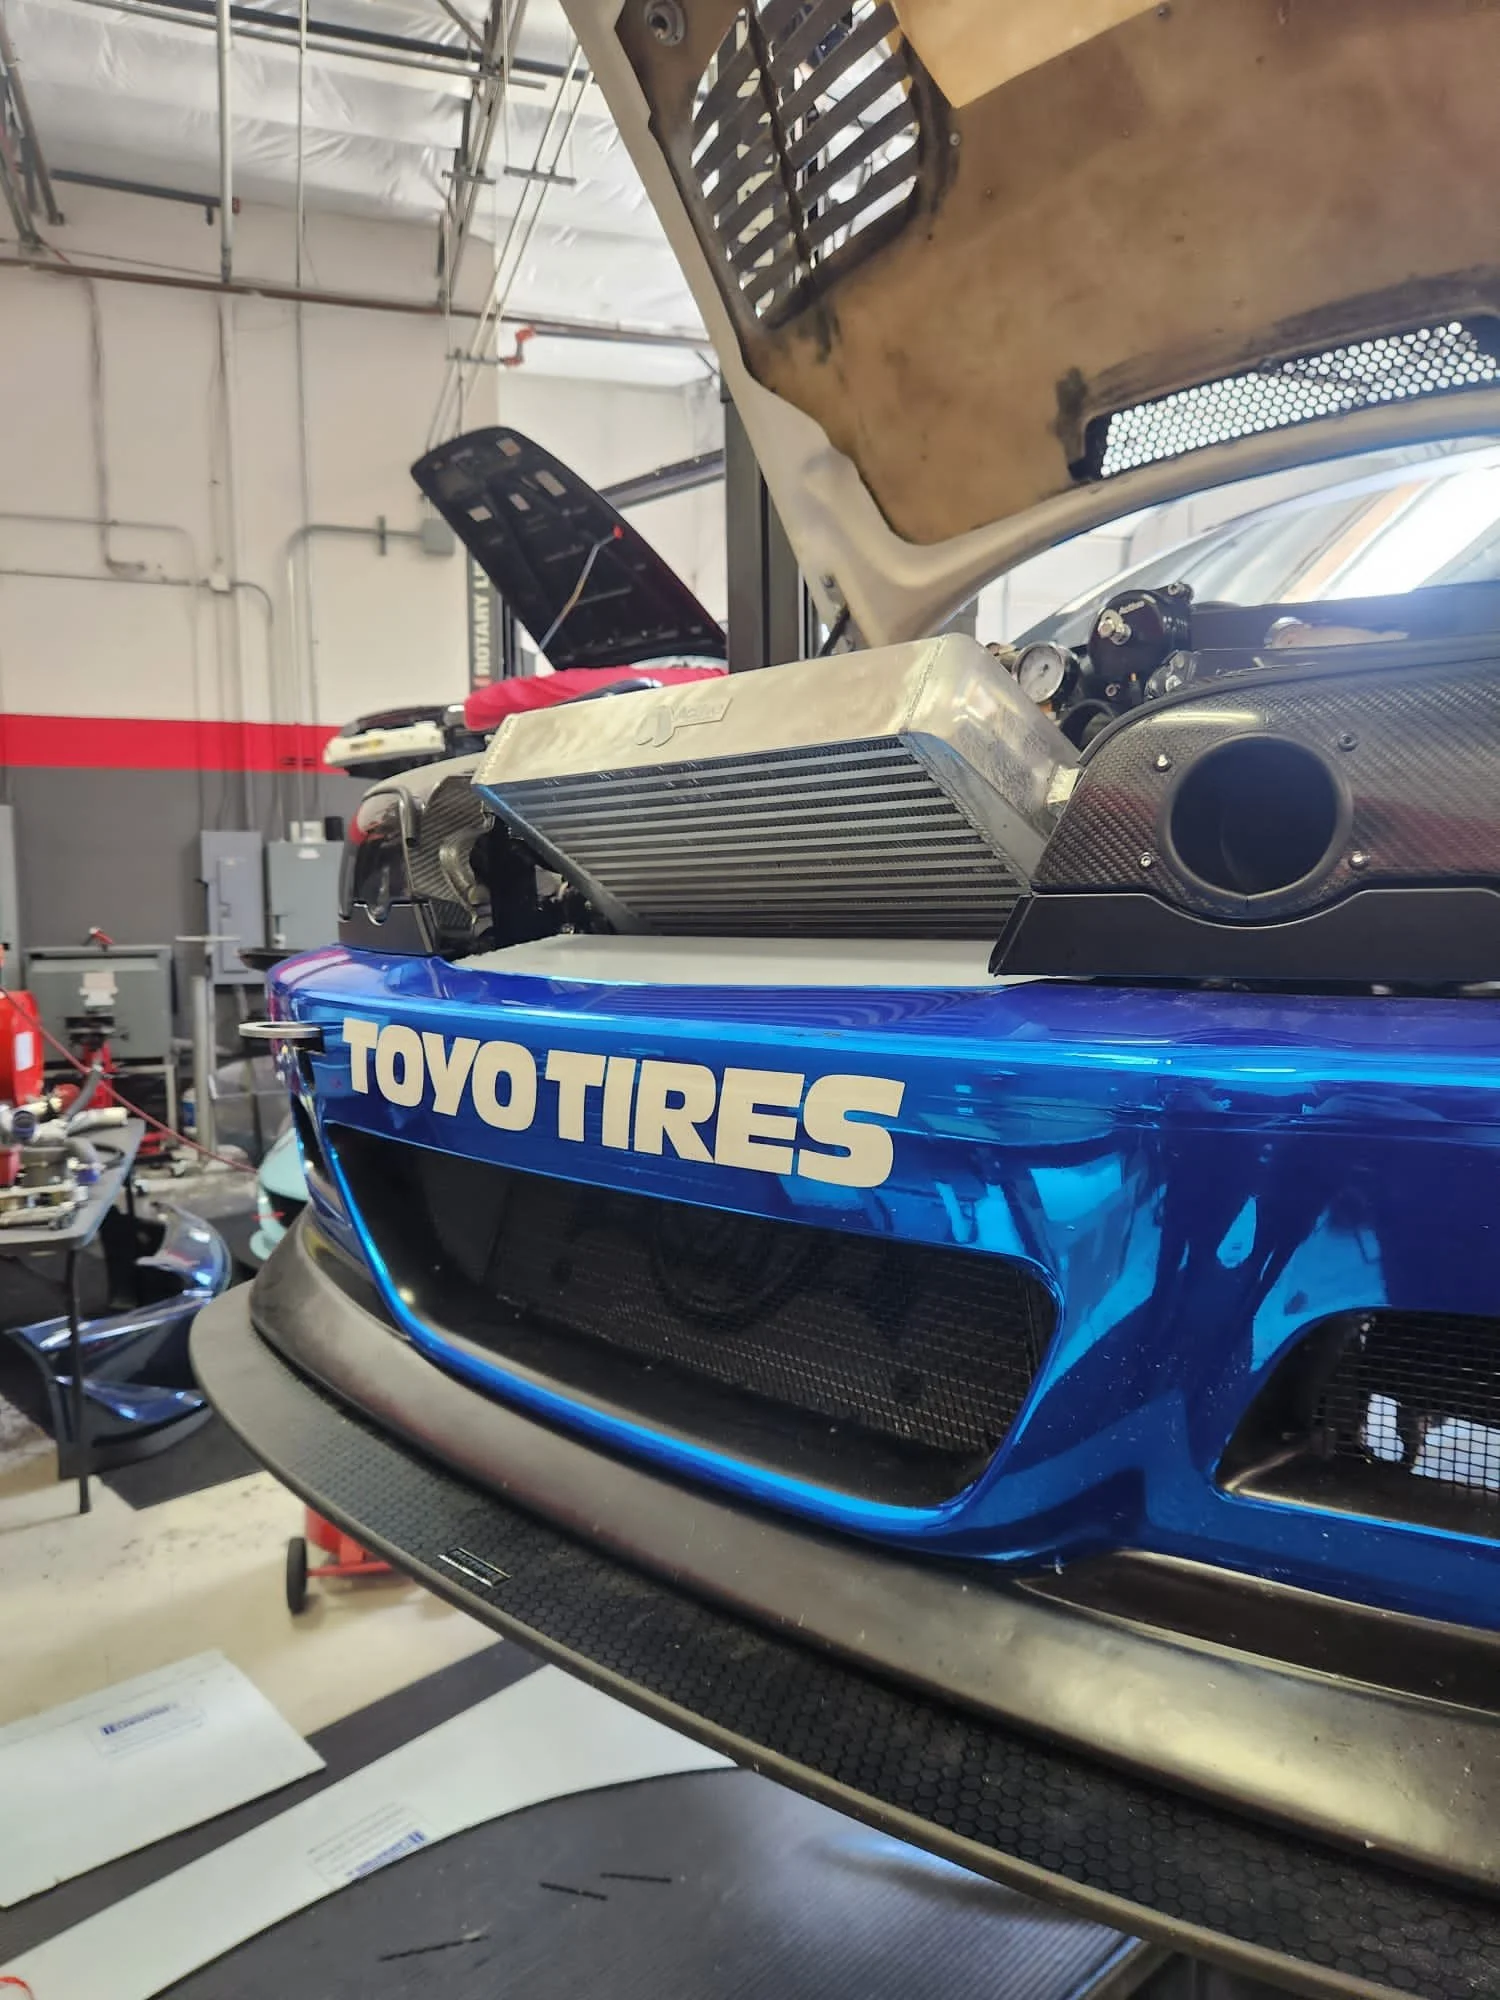
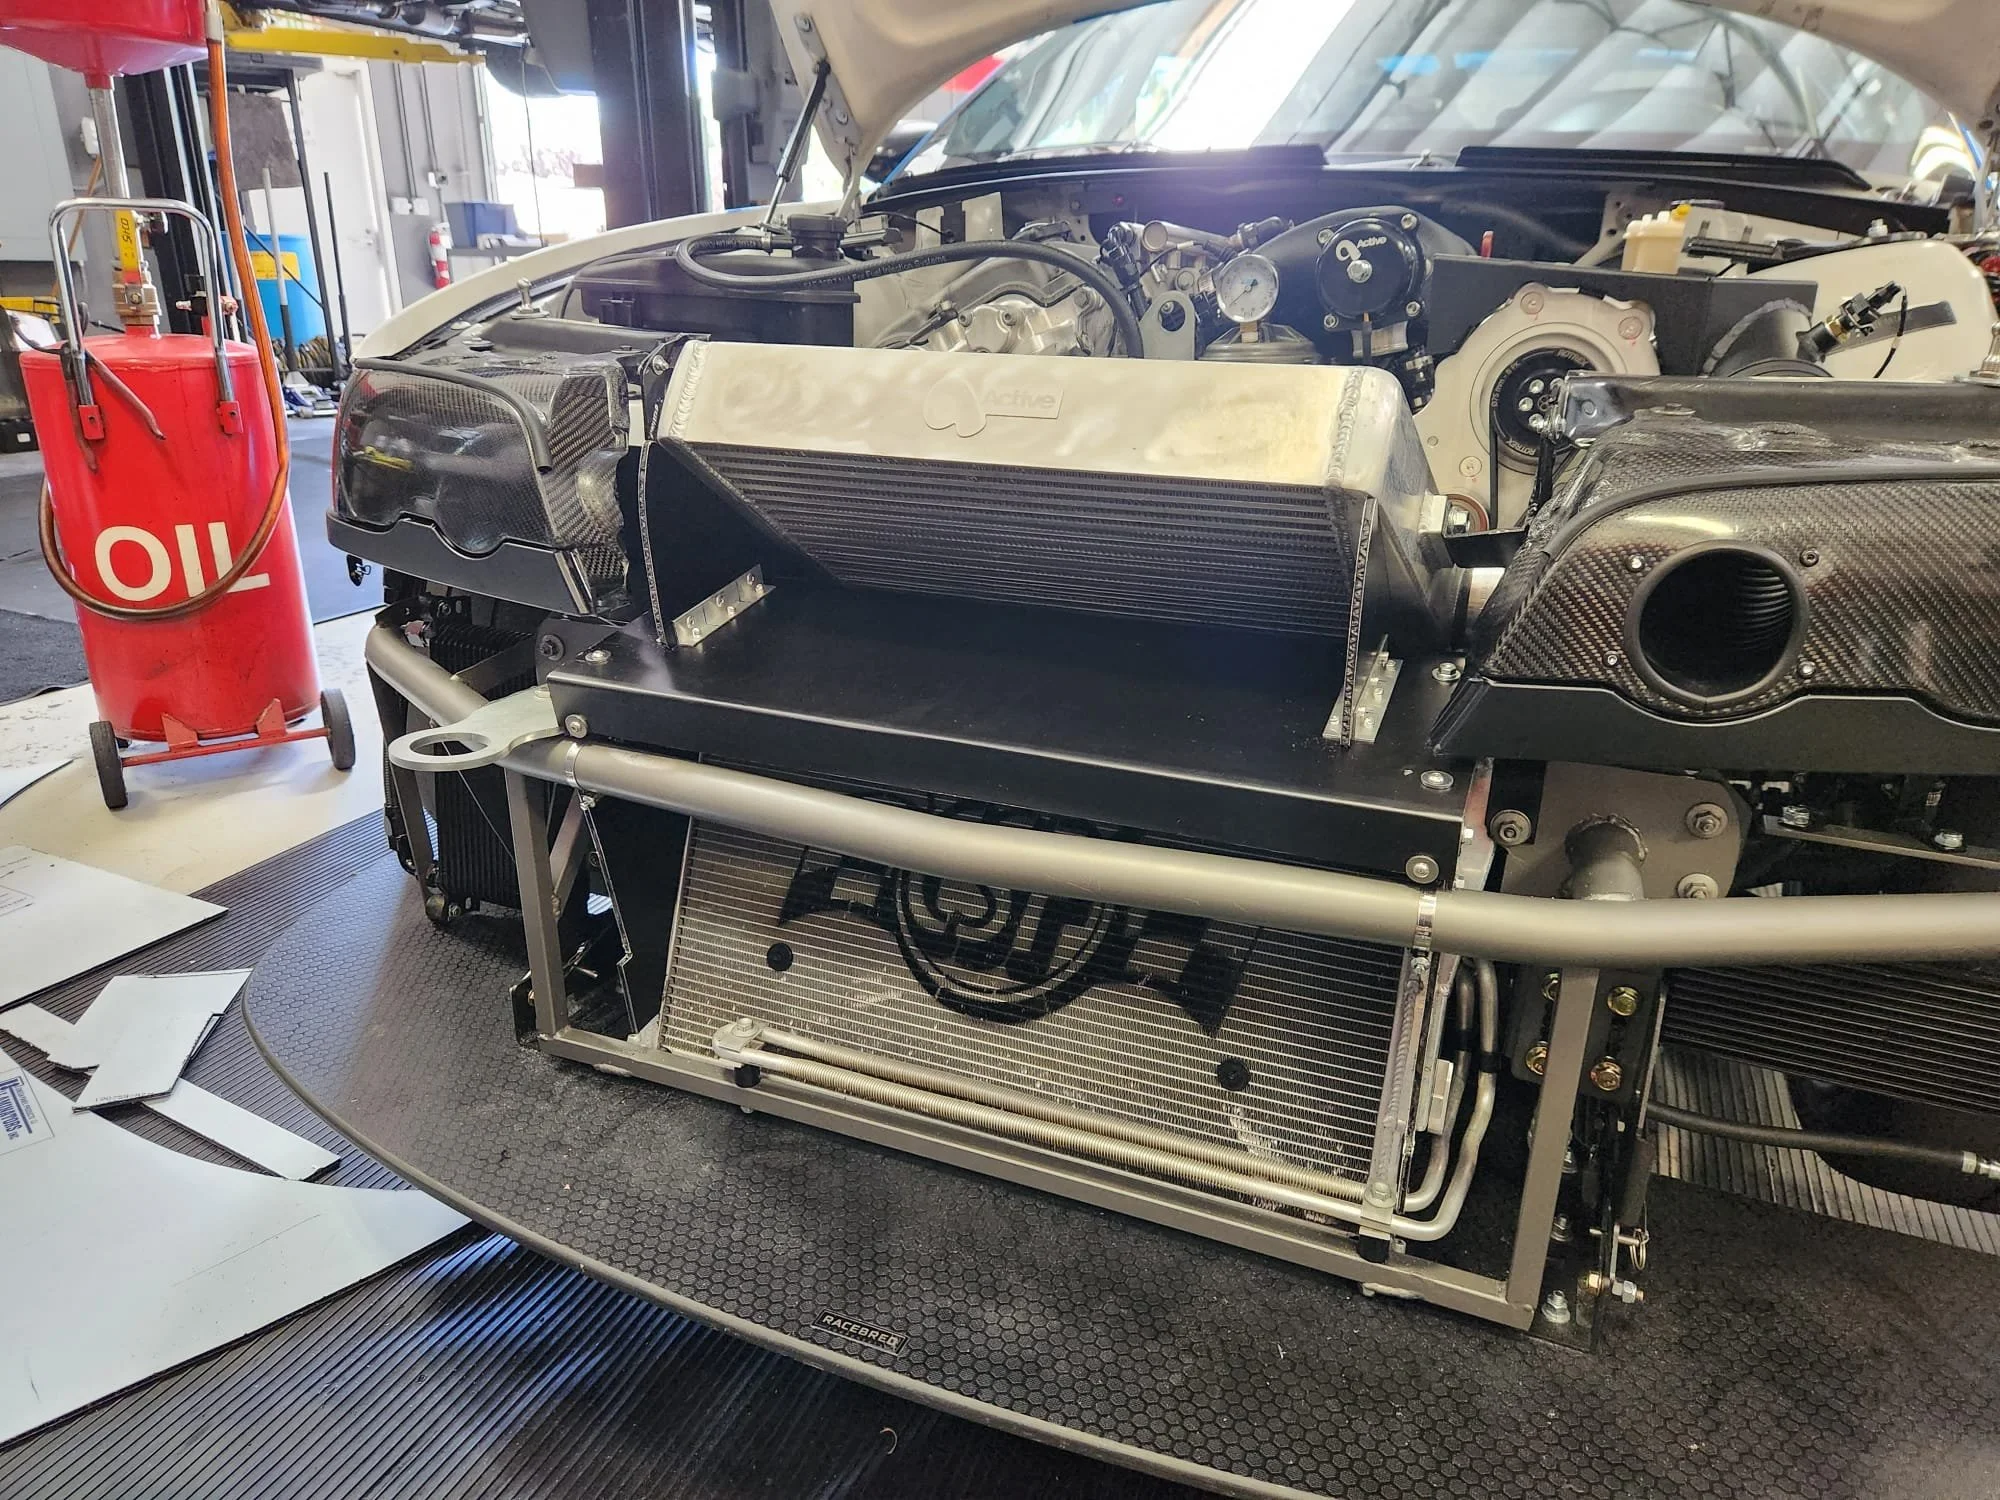
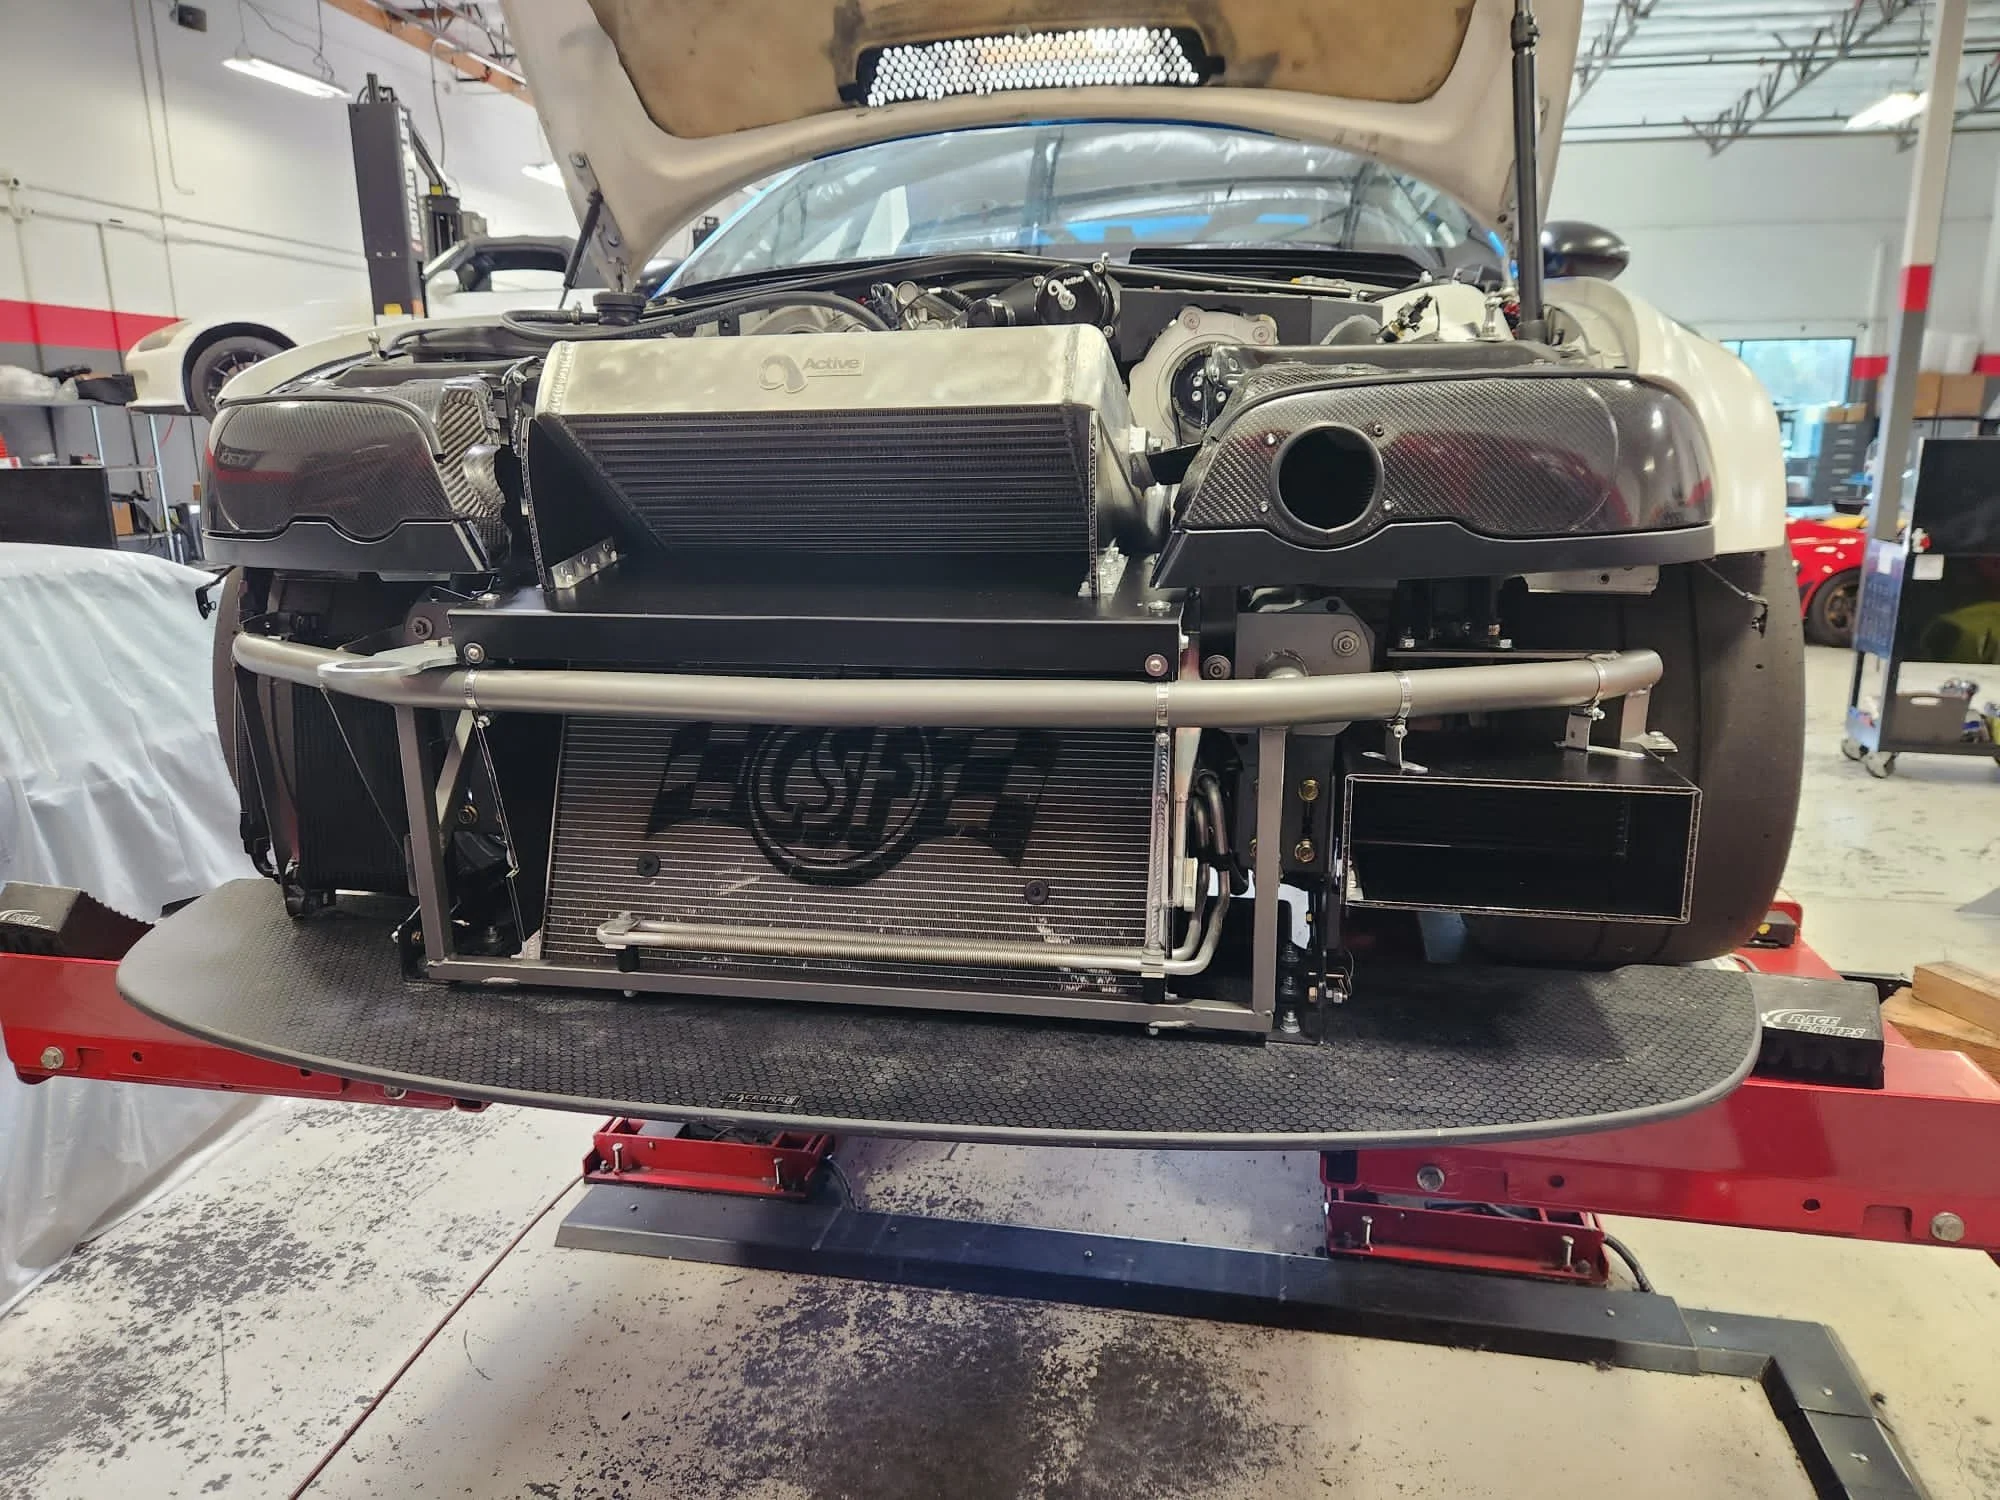
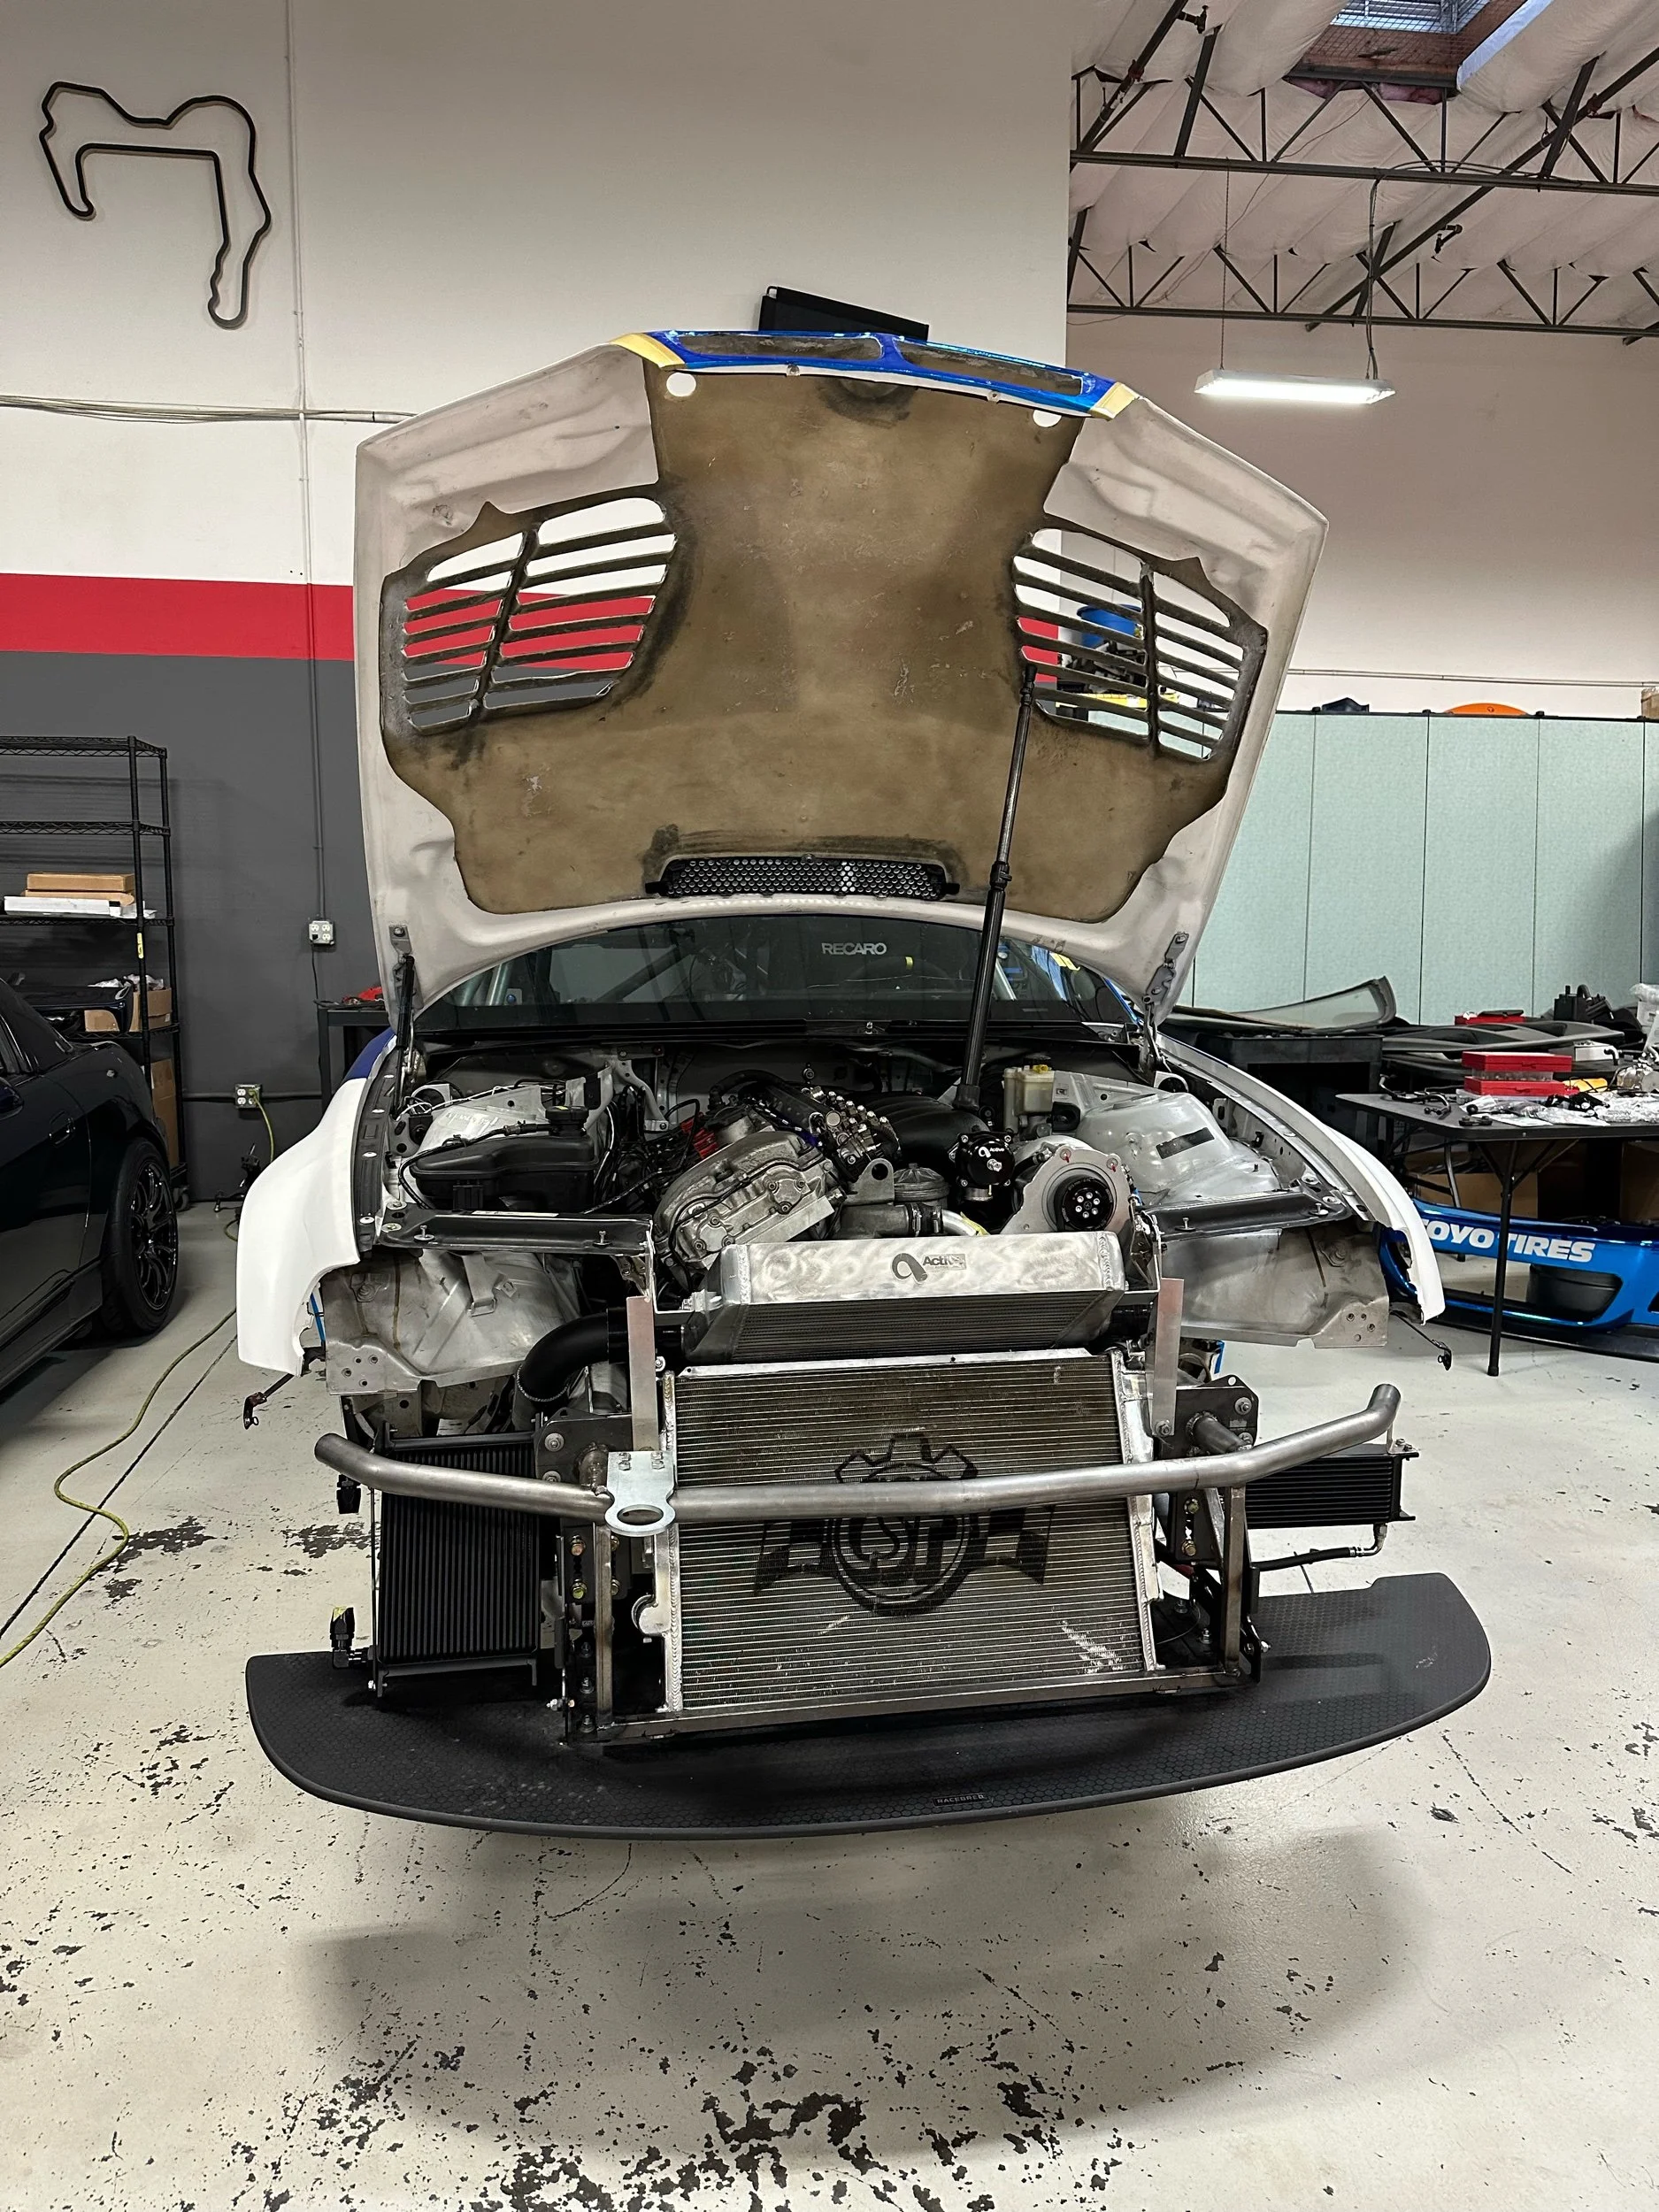
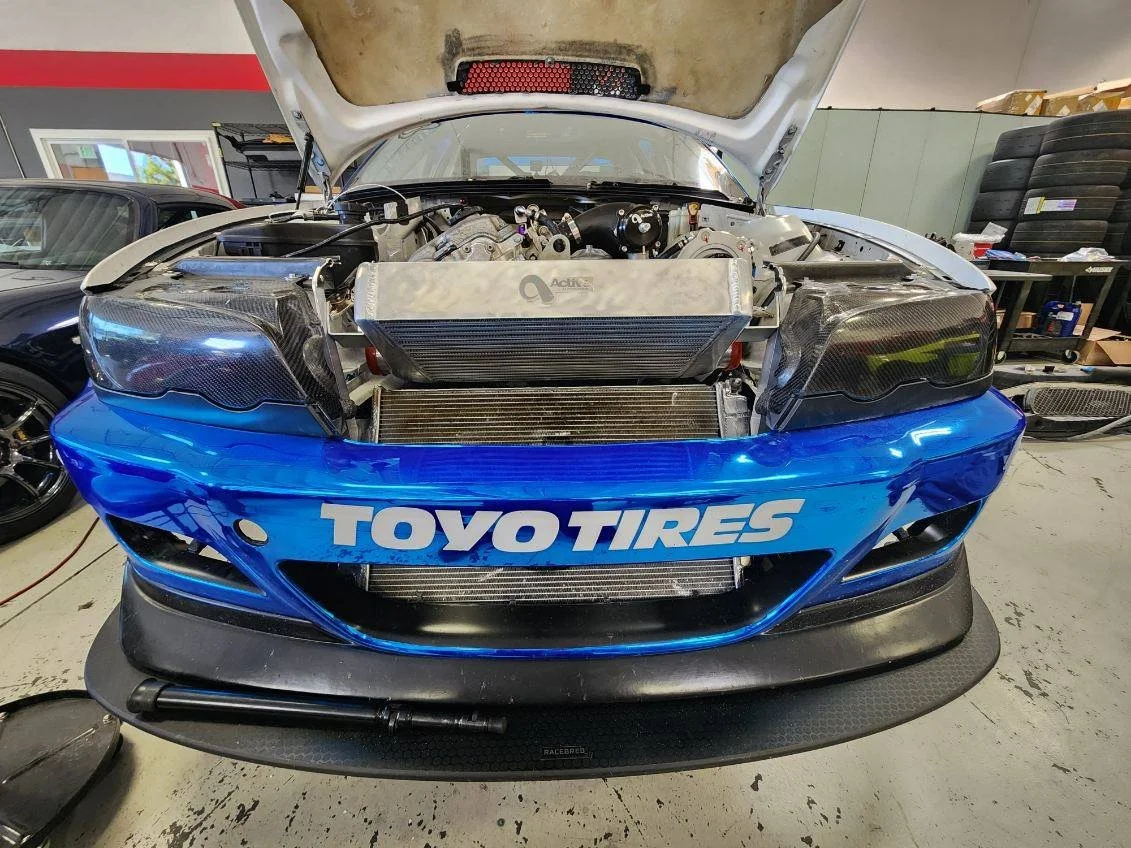
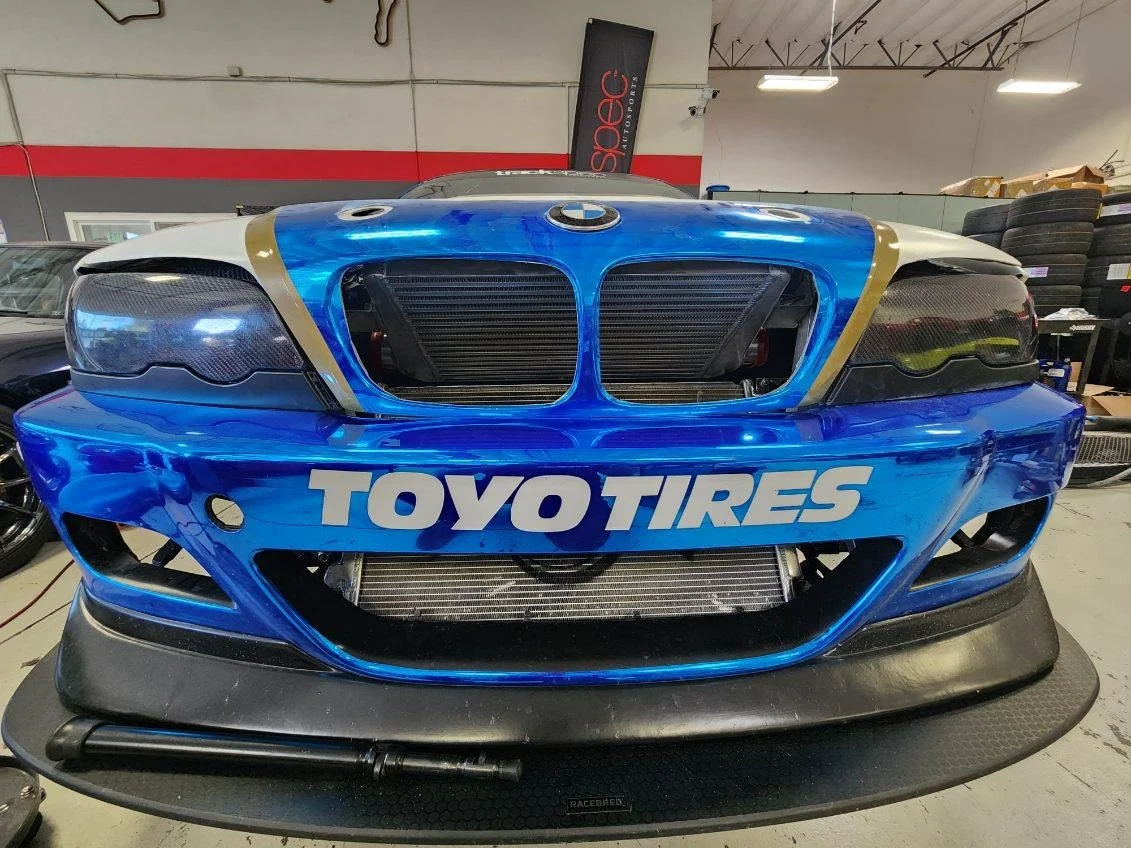
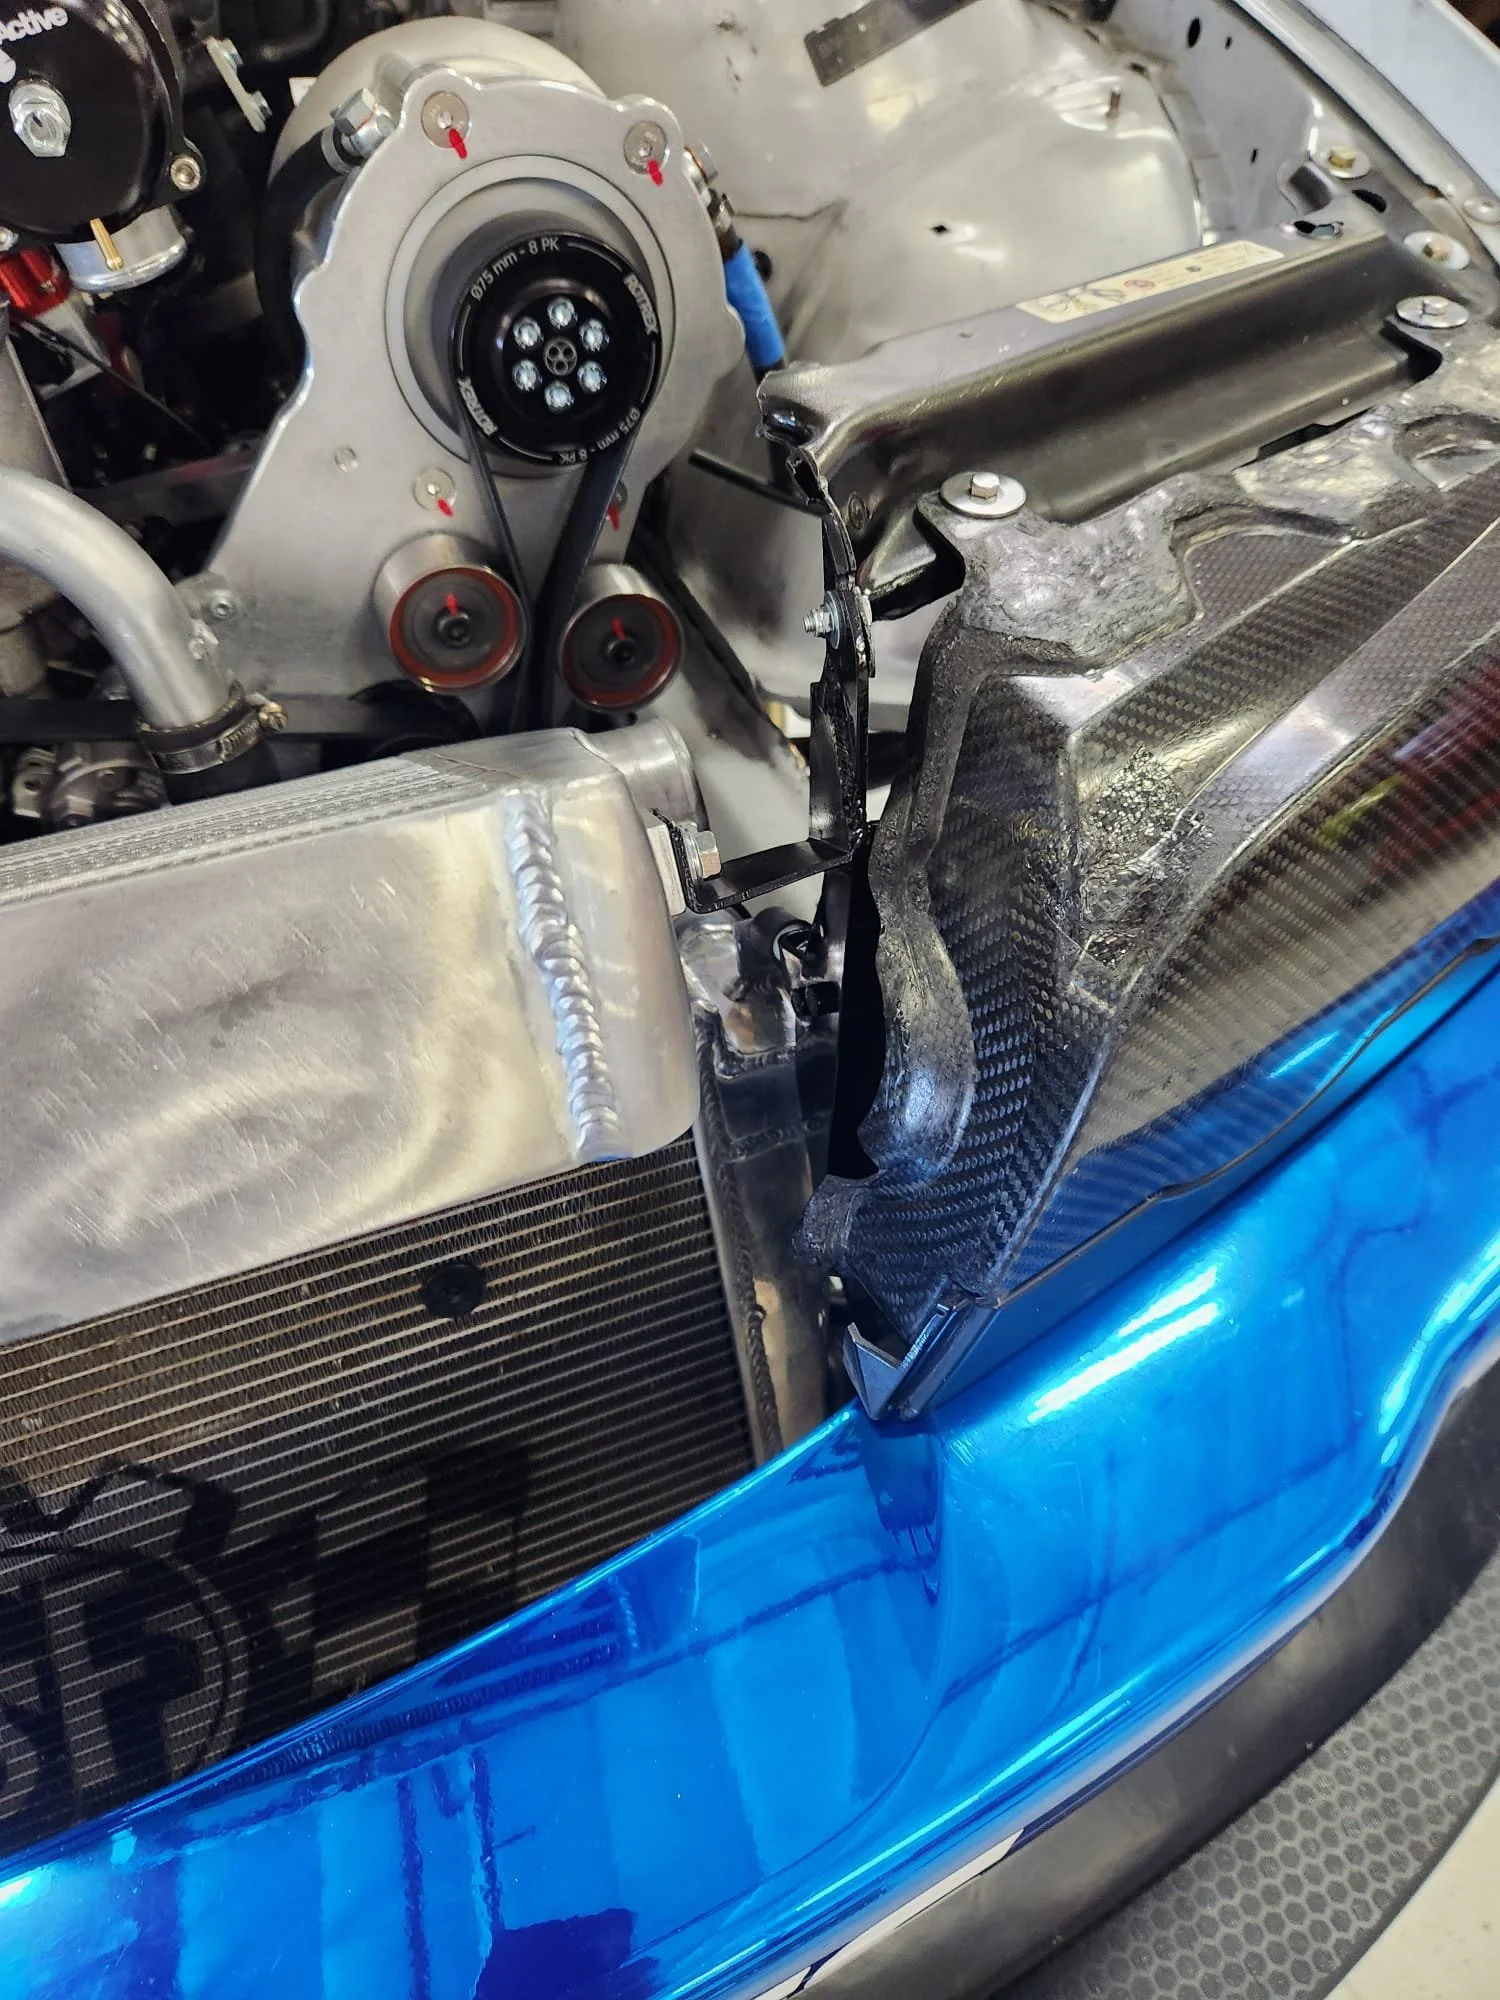
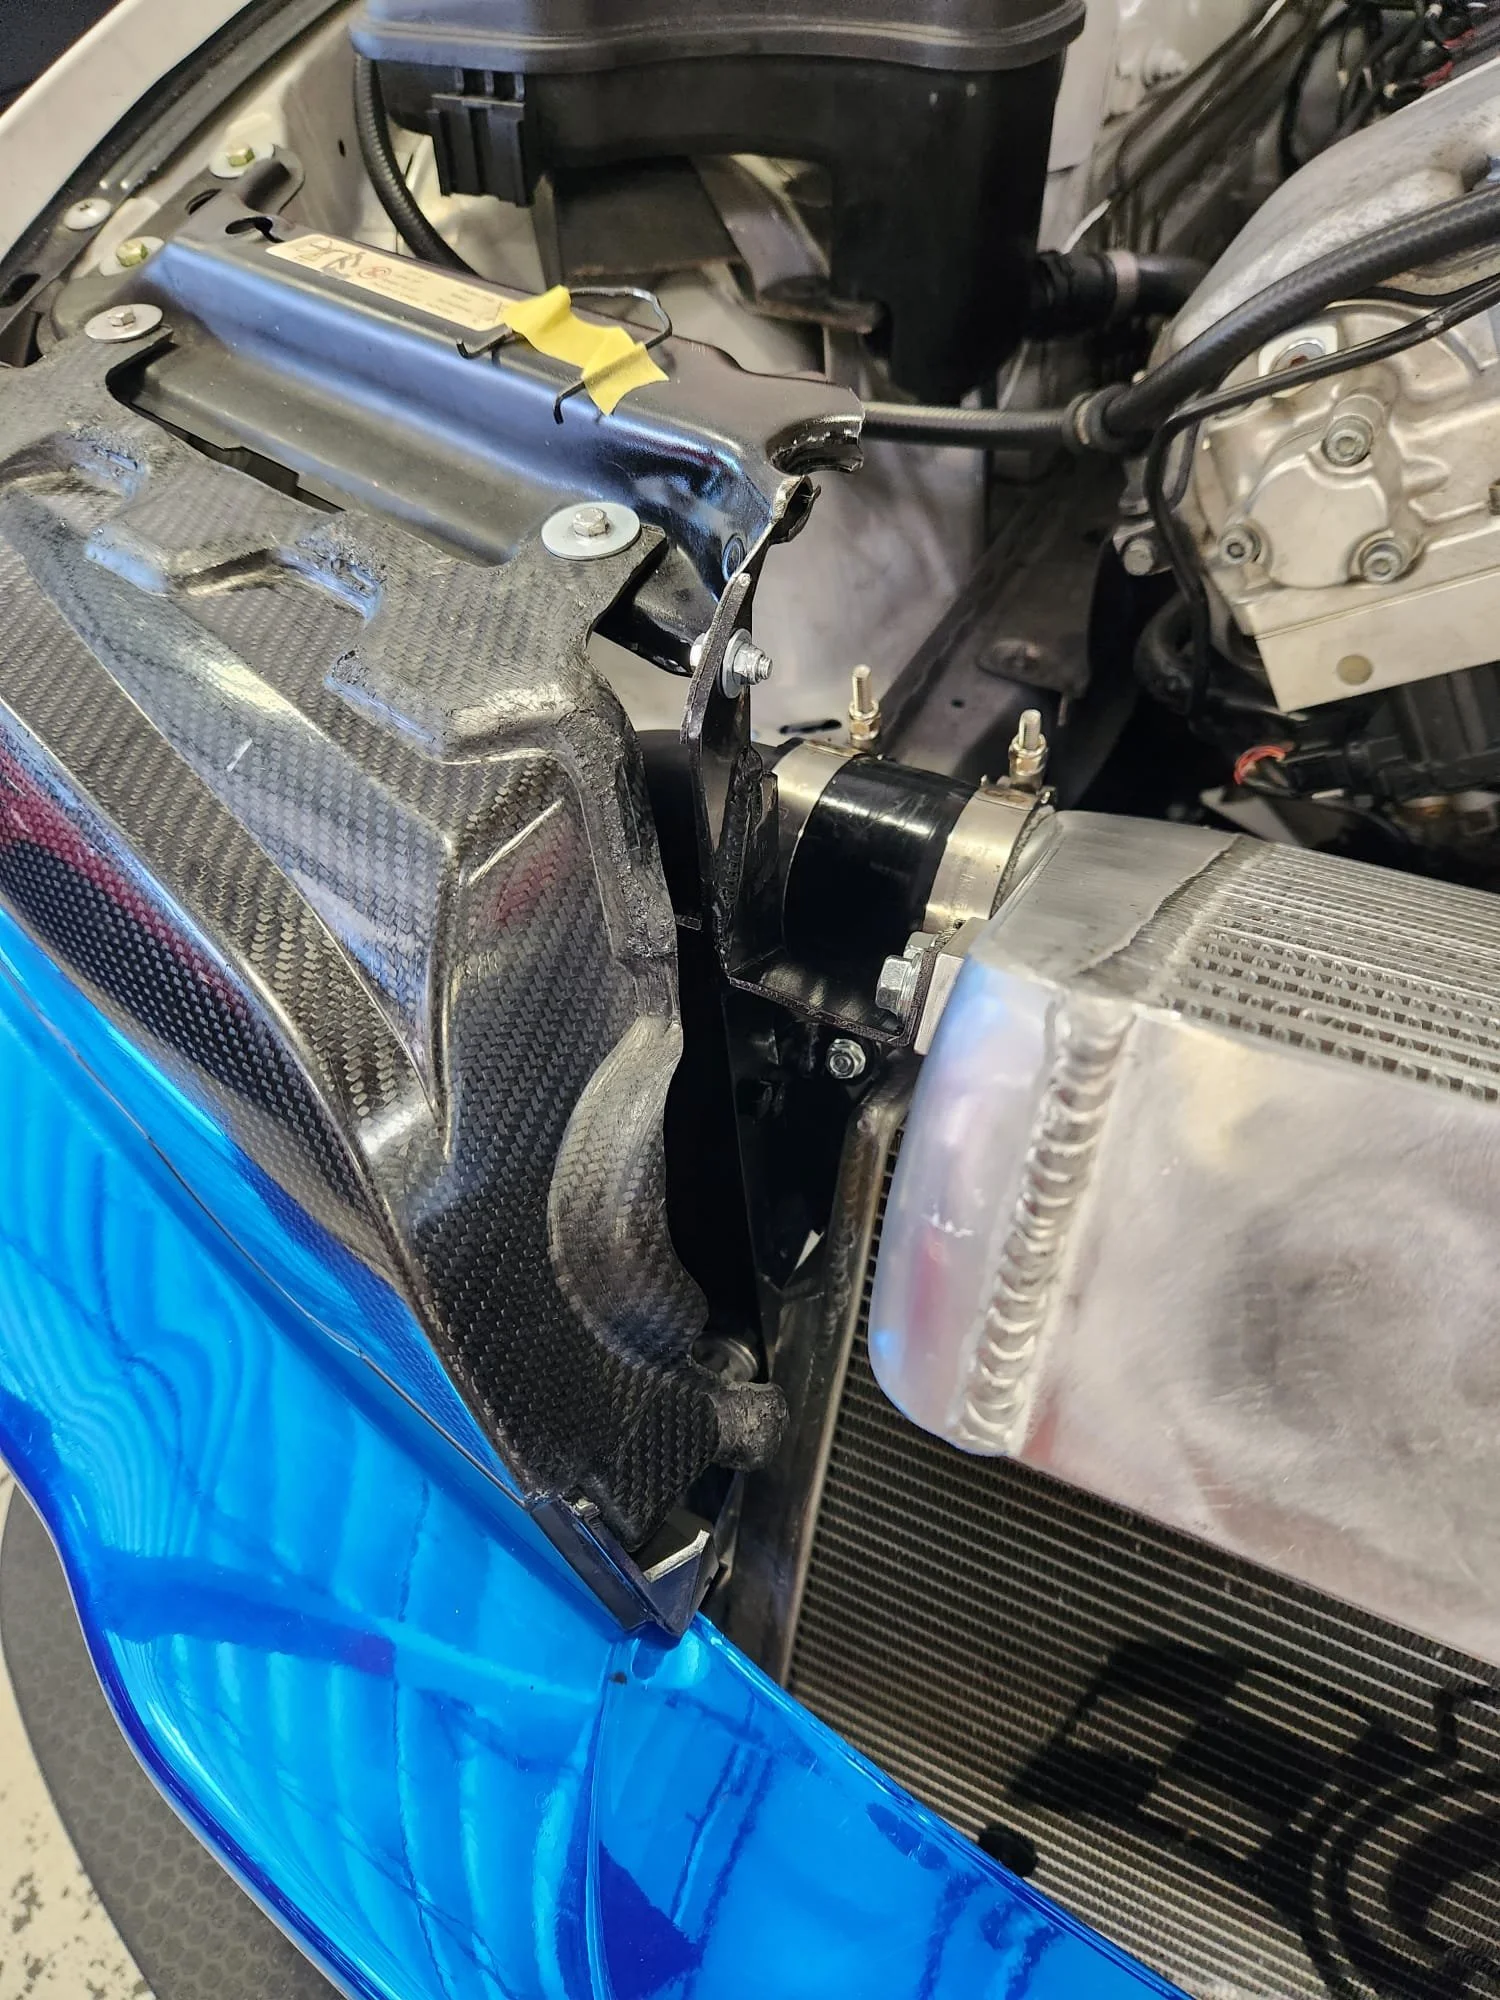
Picking up from where we left off in Part 1…over the past few weeks we have continued to work on ensuring our BMW E46 M3 survives the thin-air and increased cooling demands of Pikes Peak. I sourced a KSR hood vent (thanks Ken) which is the perfect size to serve as a ducted exit for the v-mounted intercooler. We also added an inlet to the driver side carbon fiber lens to feed the hungry Active Autowerke Rotrex C38 supercharger.
Cooling Continued
Picking up from where we left off in Part 1…over the past few weeks we have continued to work on ensuring our BMW E46 M3 survives the thin-air and increased cooling demands of Pikes Peak. I sourced a KSR hood vent (thanks Ken) which is the perfect size to serve as a ducted exit for the v-mounted intercooler. We also added an inlet to the driver side carbon fiber lens to feed the hungry Active Autowerke Rotrex C38 supercharger.
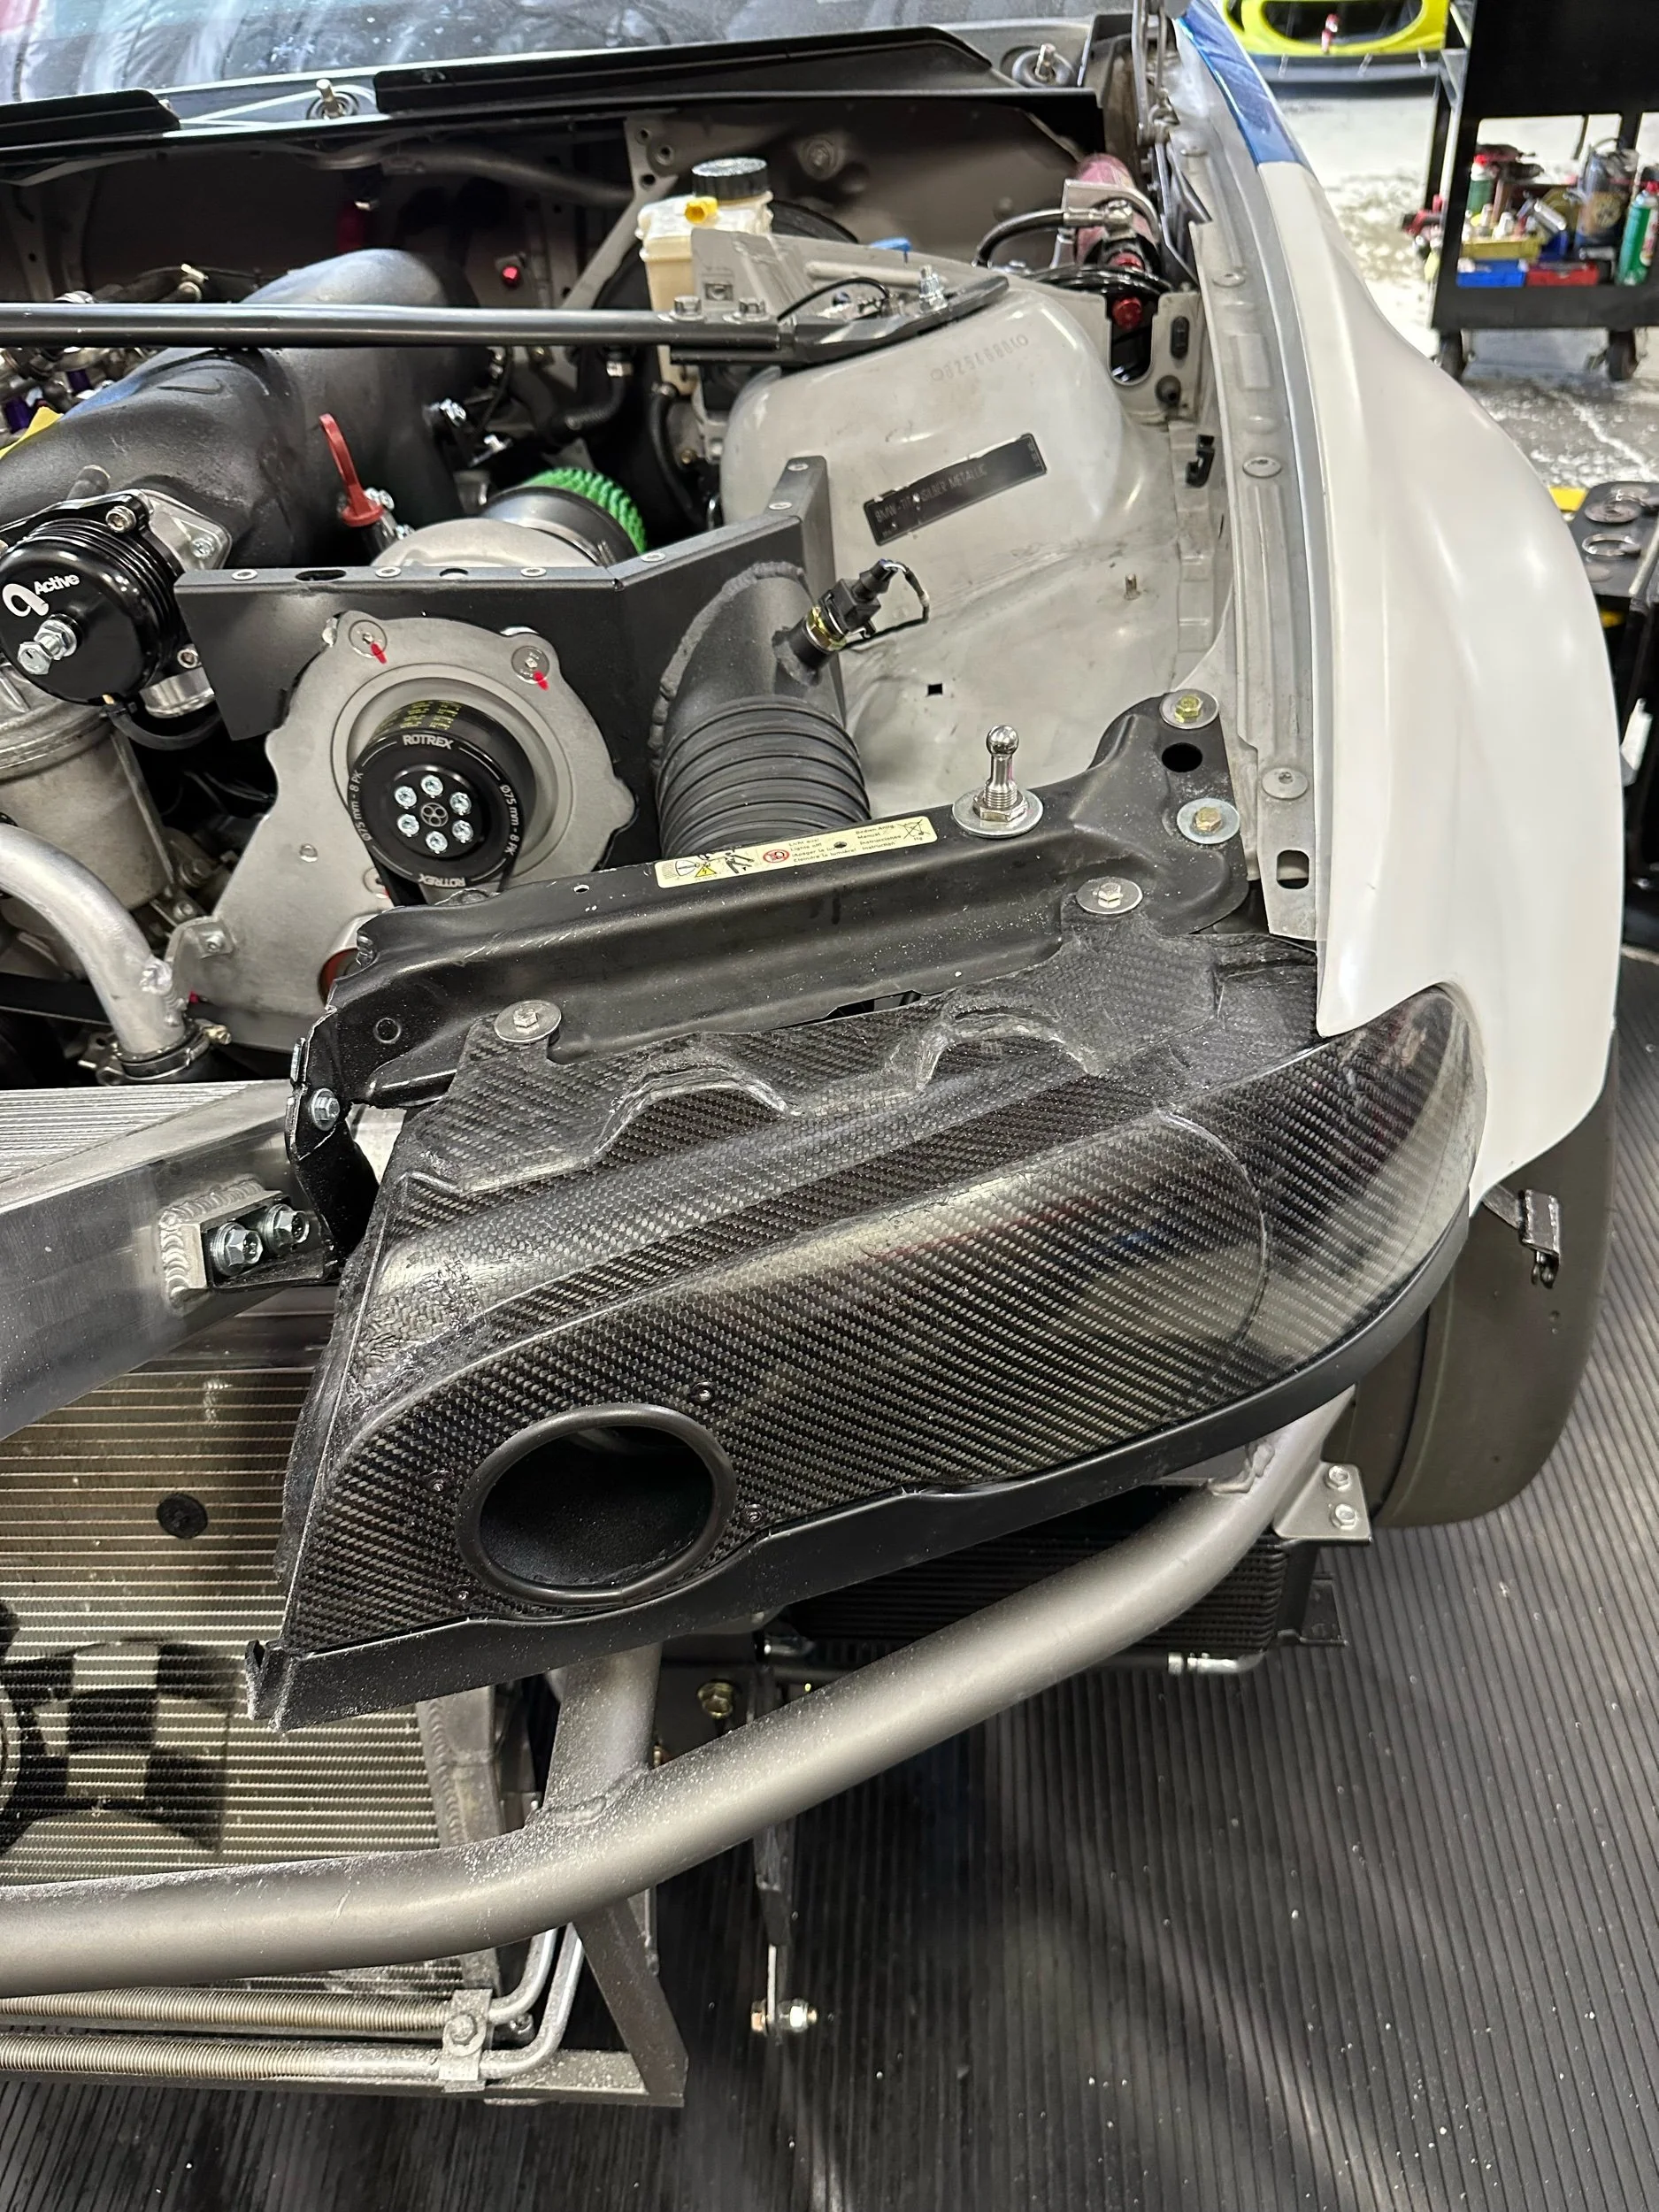
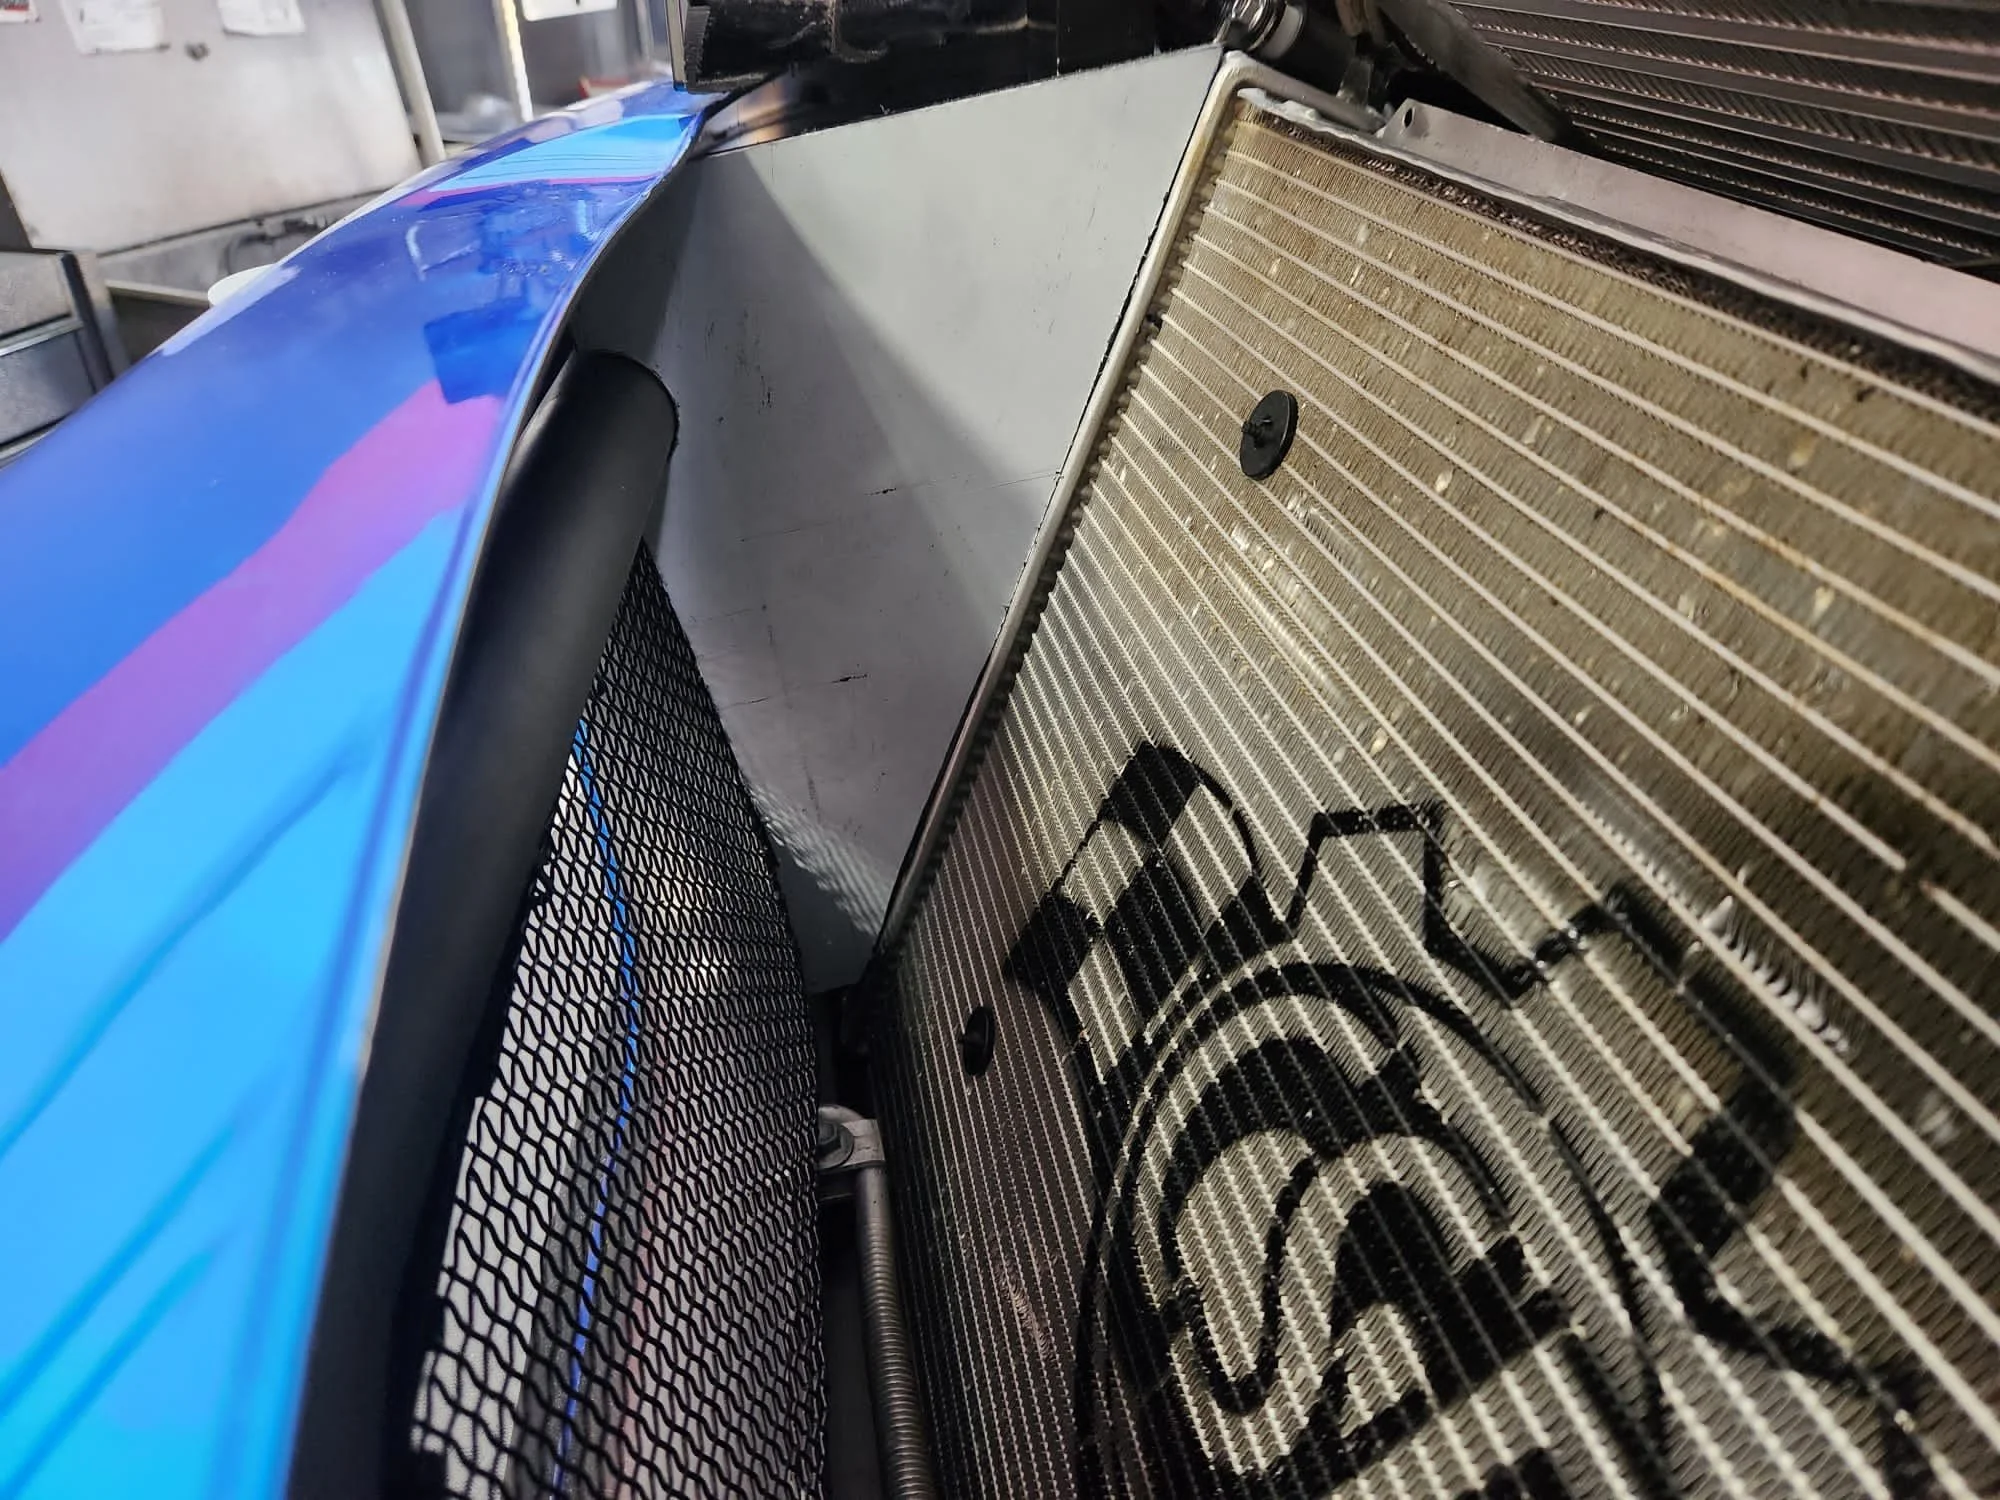
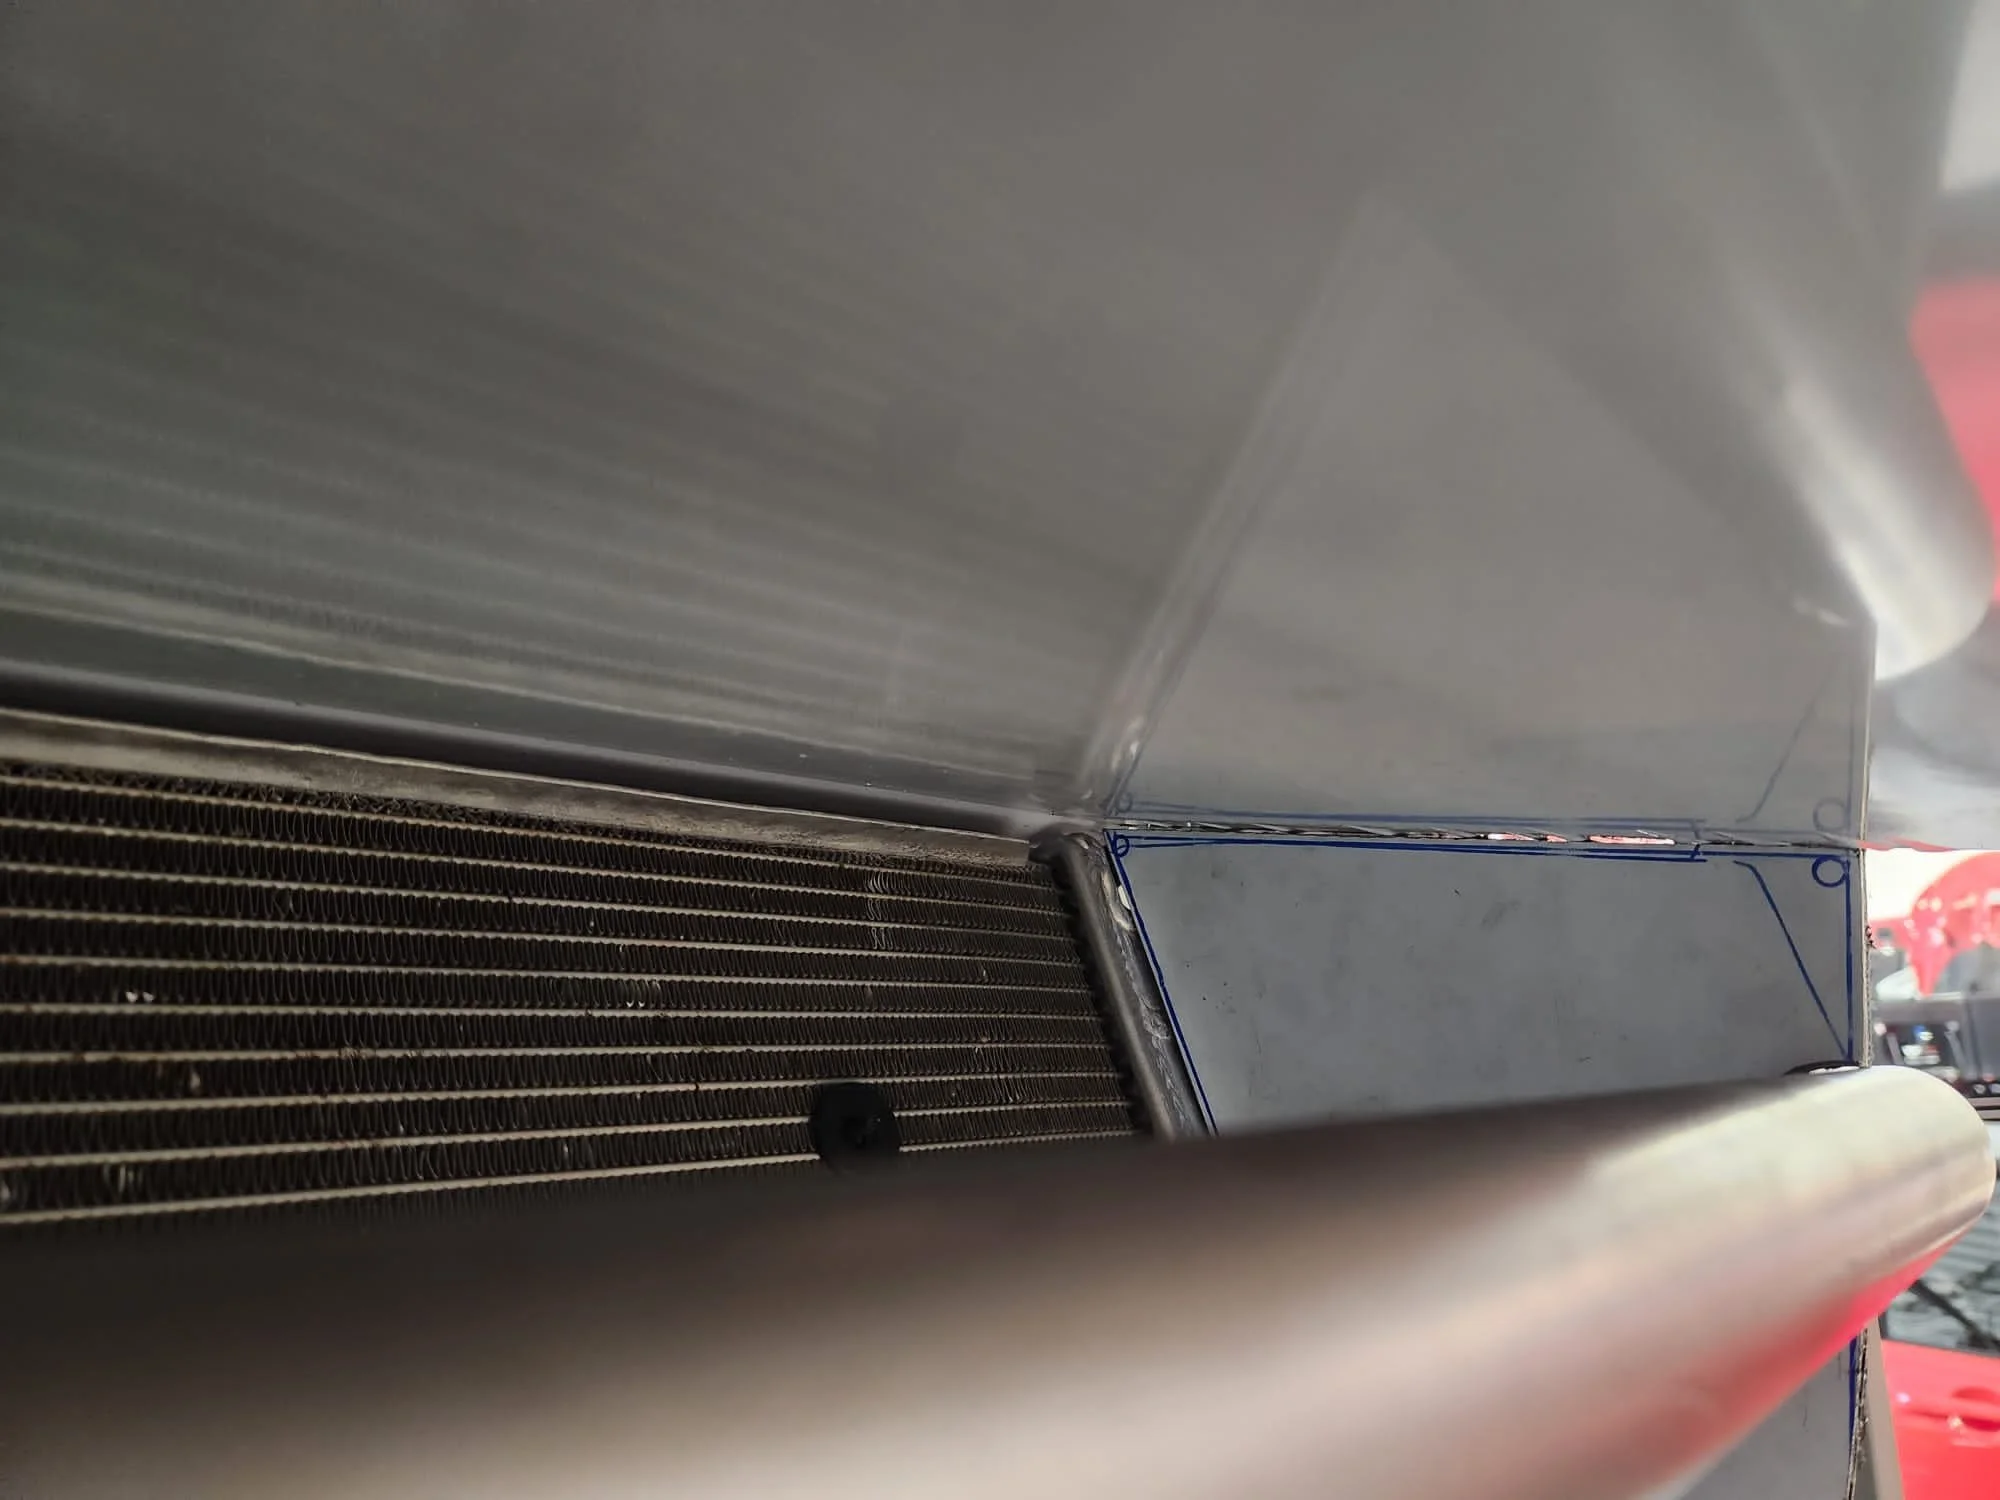
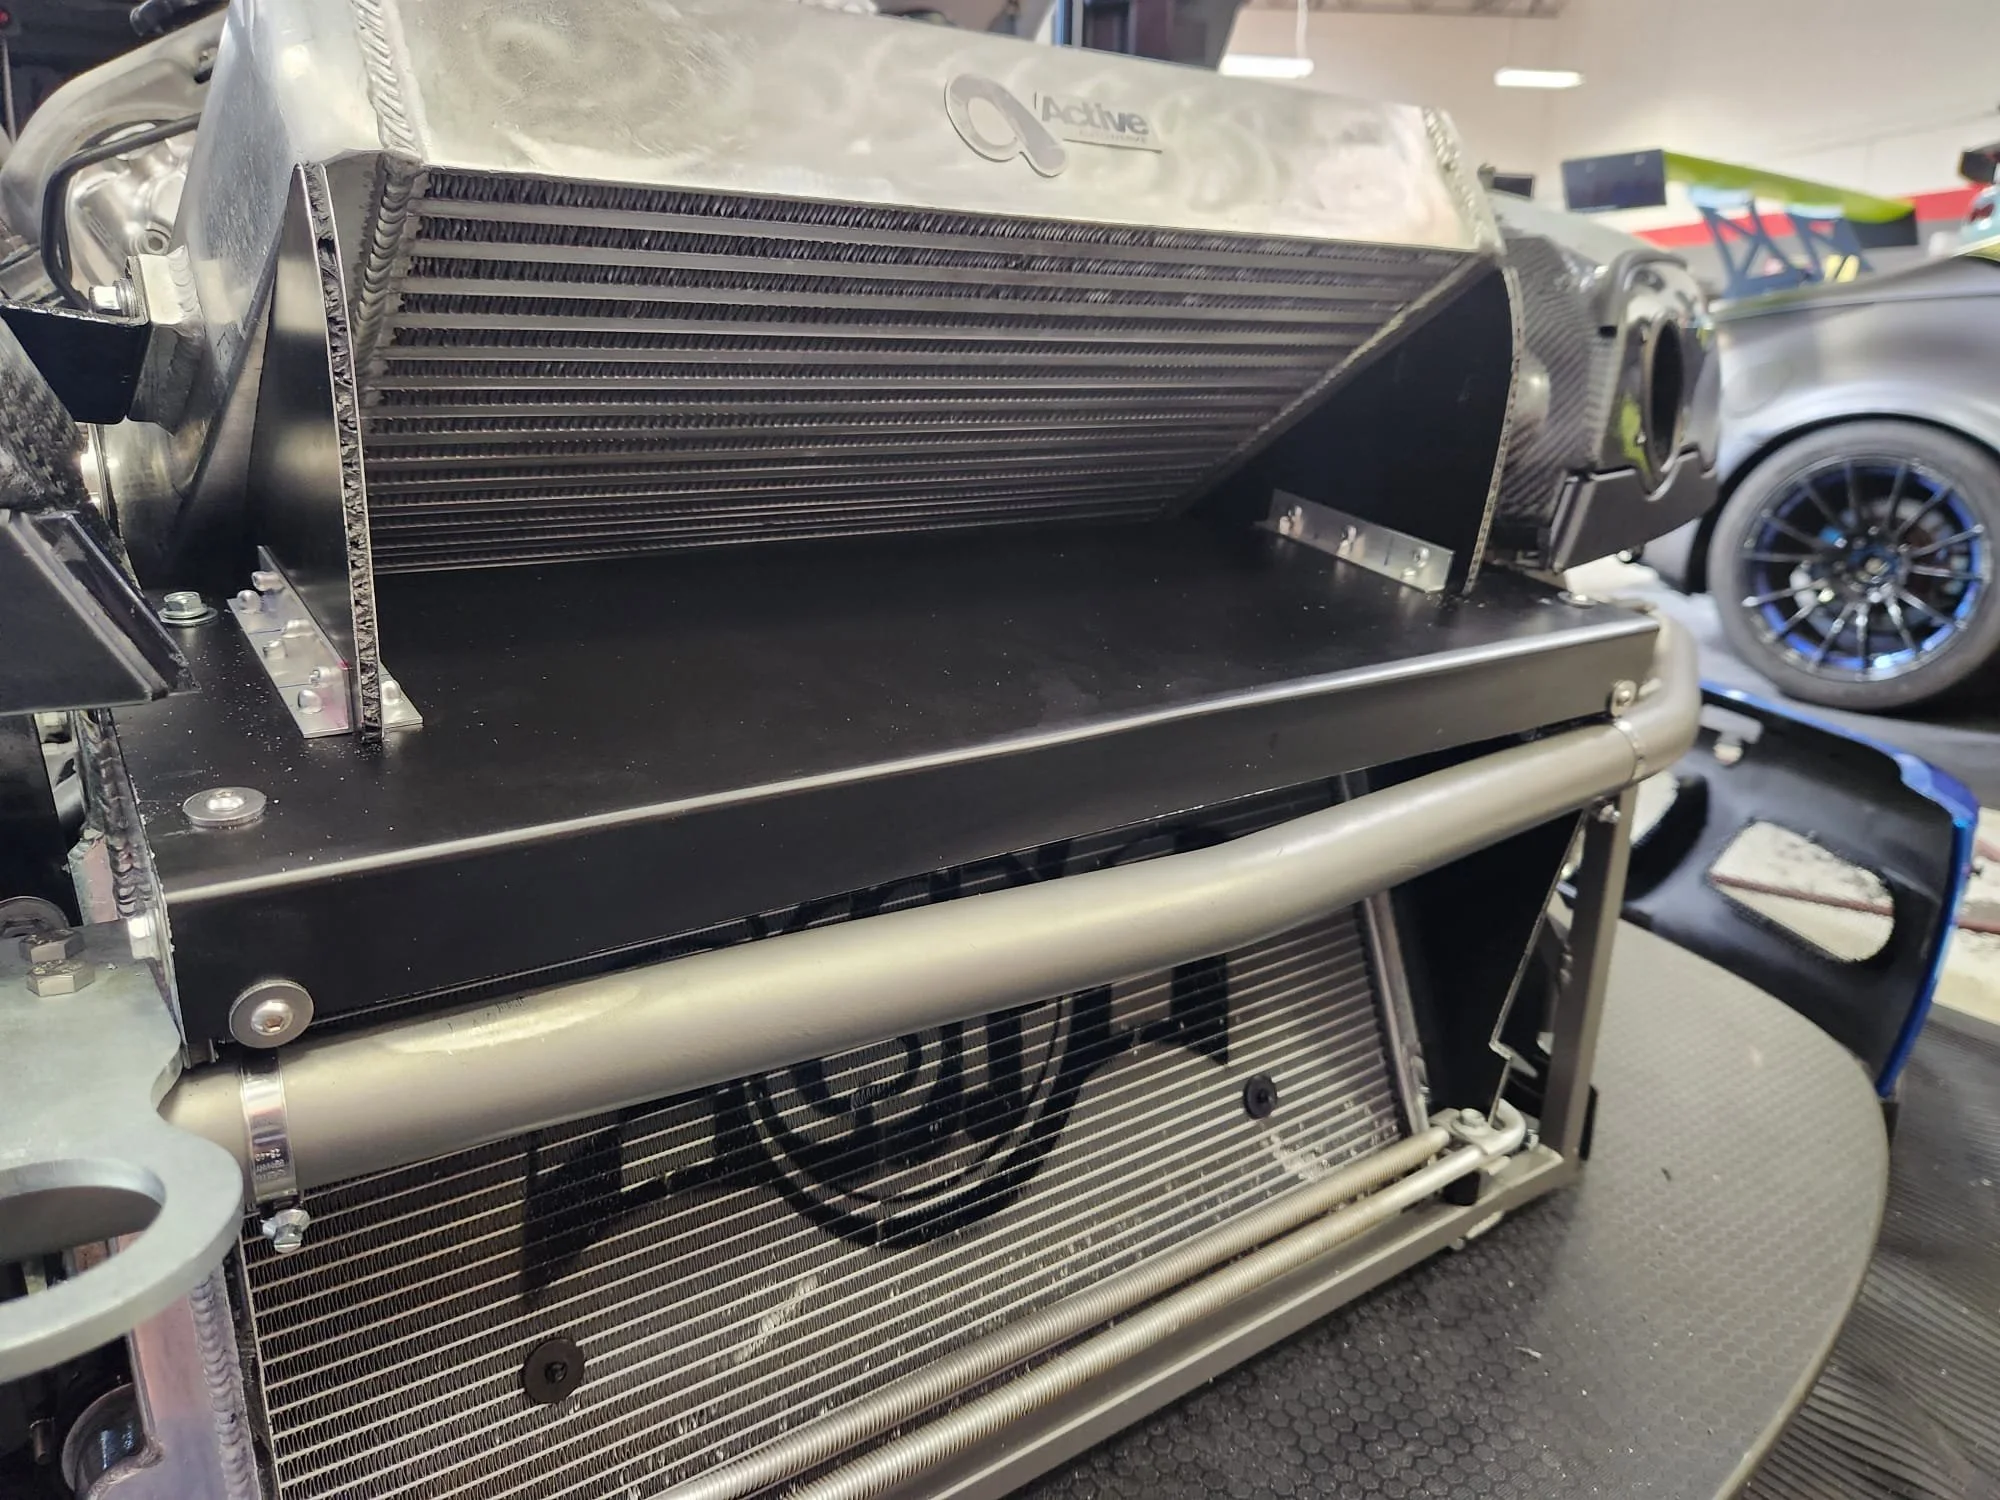
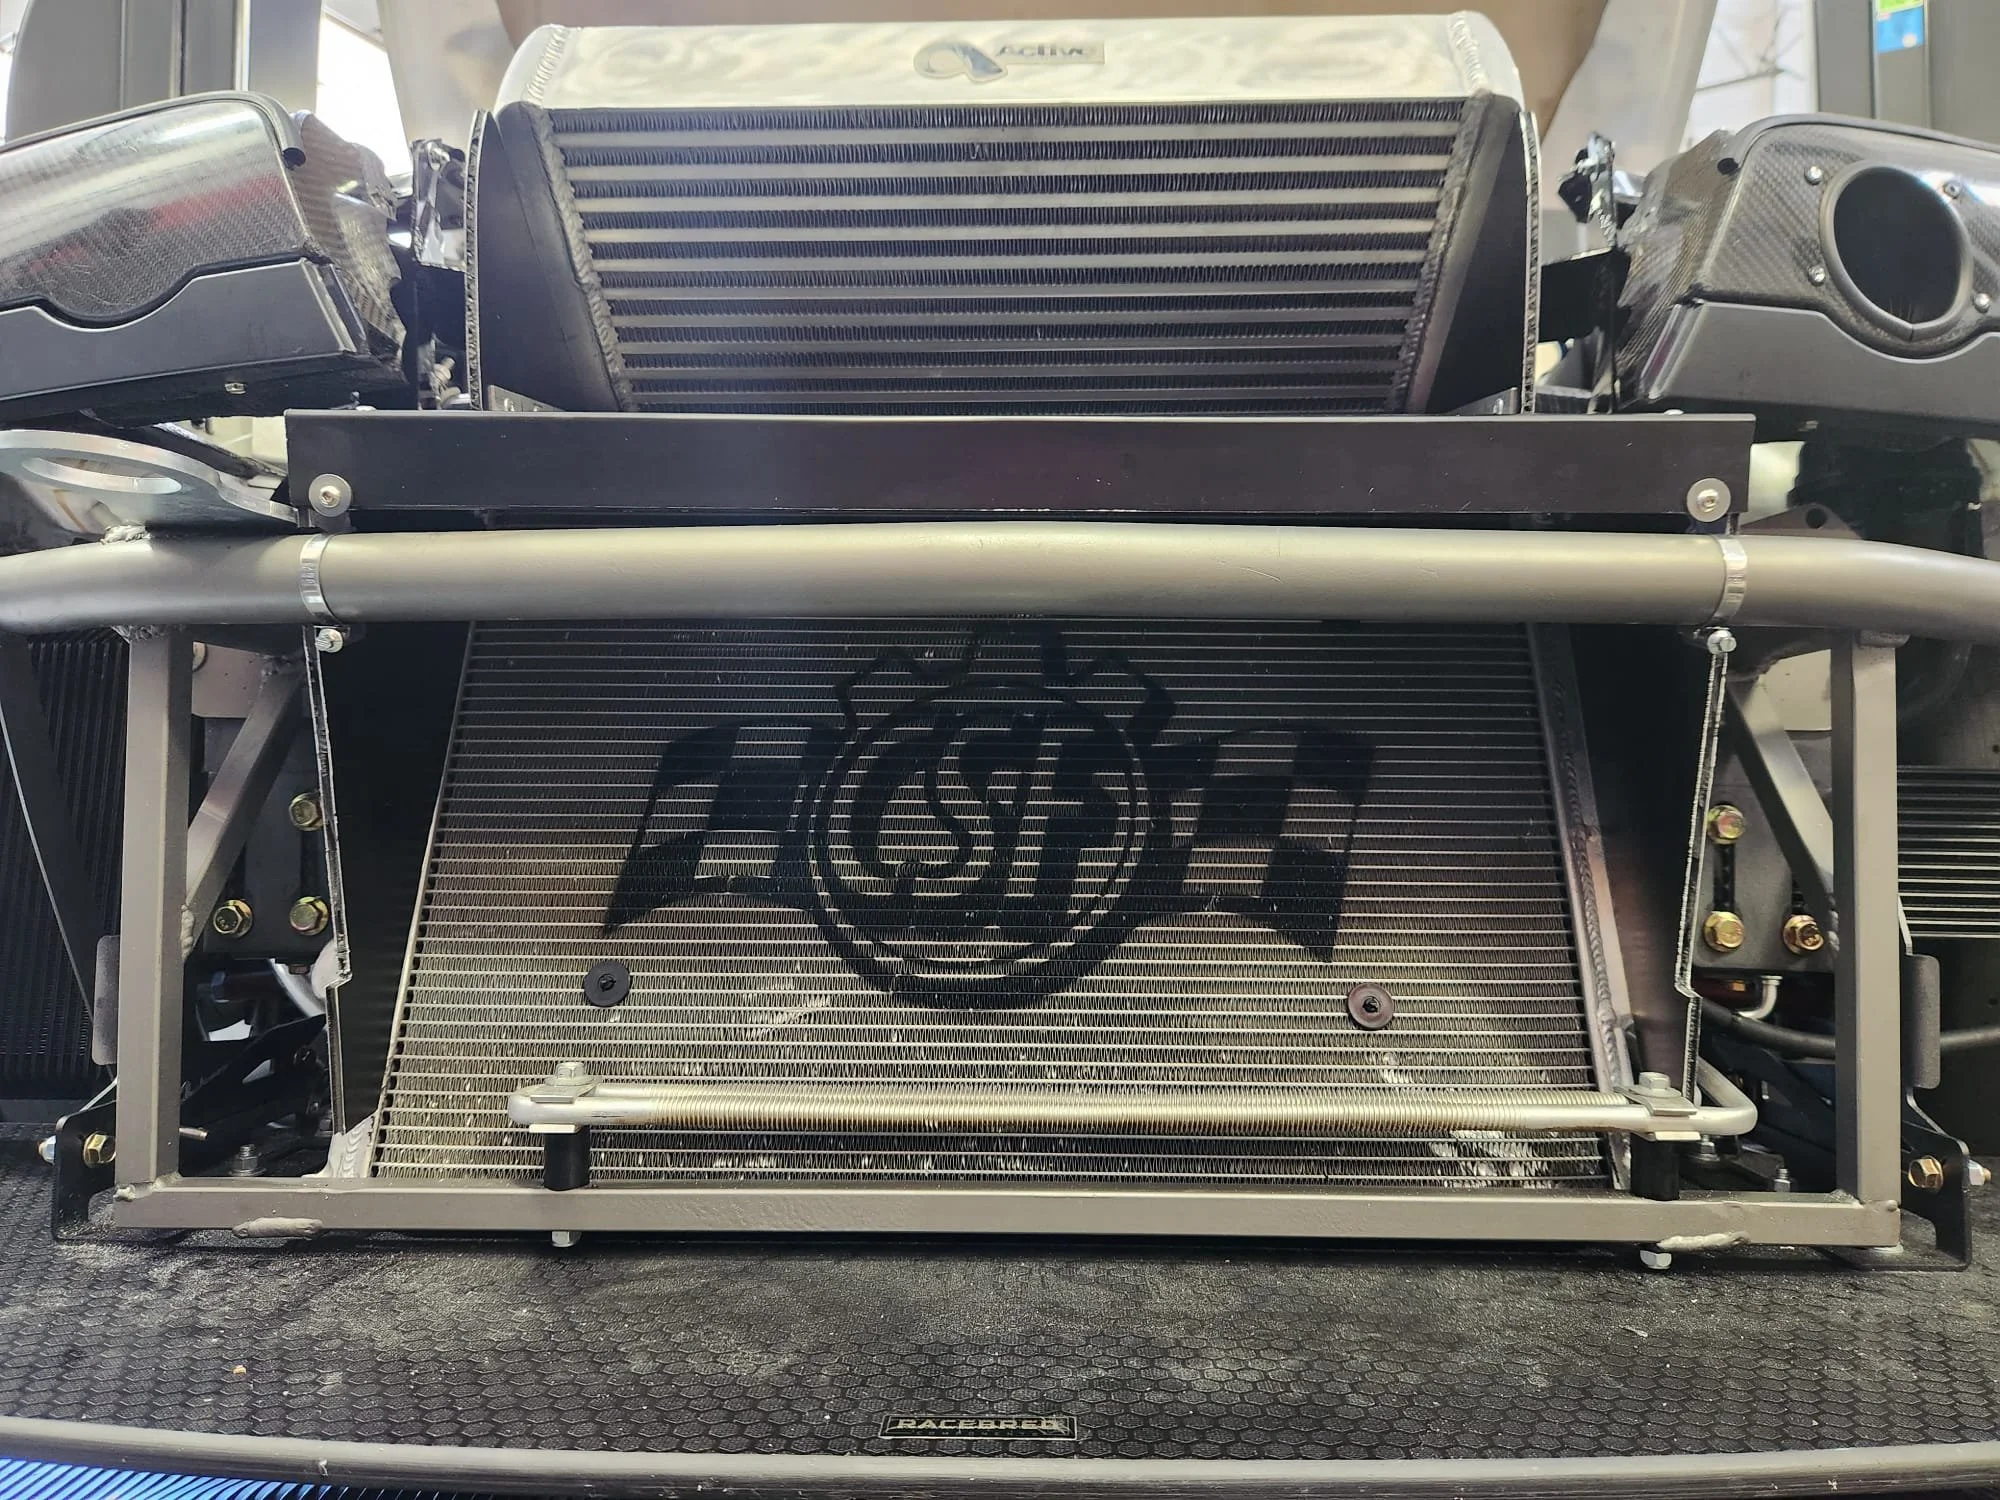
Ducting Continued
Mike did an awesome job of building the ducting between the intercooler and the radiator. I always find that form follows function. I especially love the details that went into ensuring air flows properly through the supercharger cooler and the engine oil cooler.


Lots of dyno Time with jei at blacktrax
We made multiple trips to Blacktrax in order to build a really robust and useful tune for Pikes Peak. Jei had a great idea to start by building an “NA tune” by disconnecting one of the charge pipes. This way, if we blow one off on the mountain I can still finish the race and make it to the checkered flag; albeit with much less horsepower. He then built the “boost tune” on top in a way where we can properly account for the altitude throughout the run. Really neat.
As she sits now, the car makes 543.89 wheel horsepower and 369.08 ft lbs of torque. Woo!

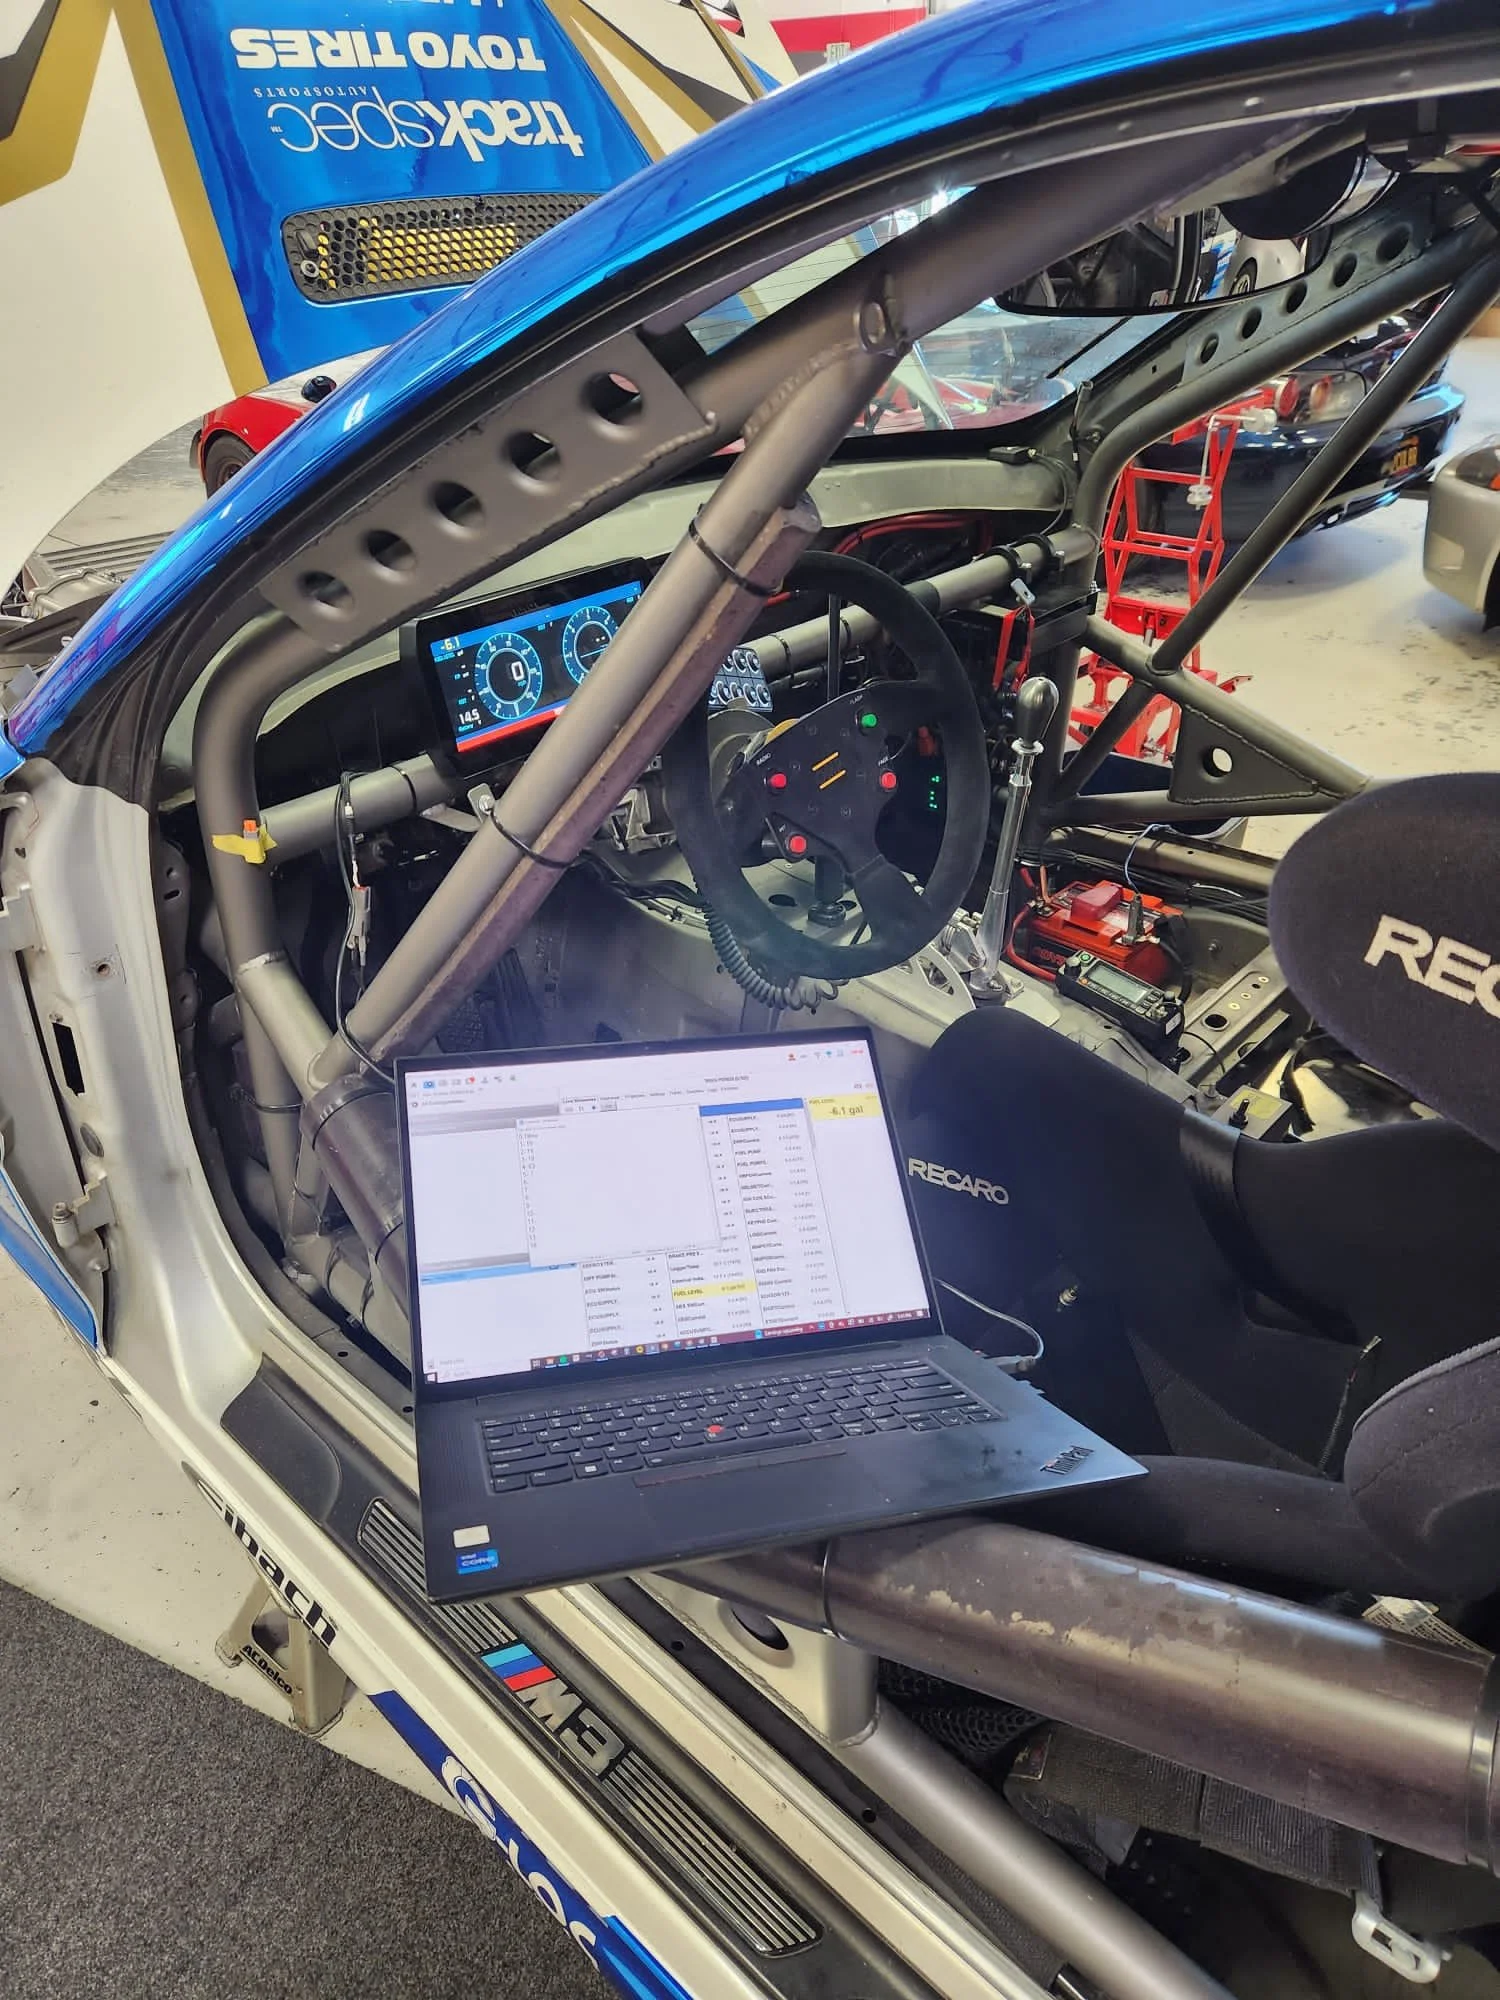
ready to shakedown
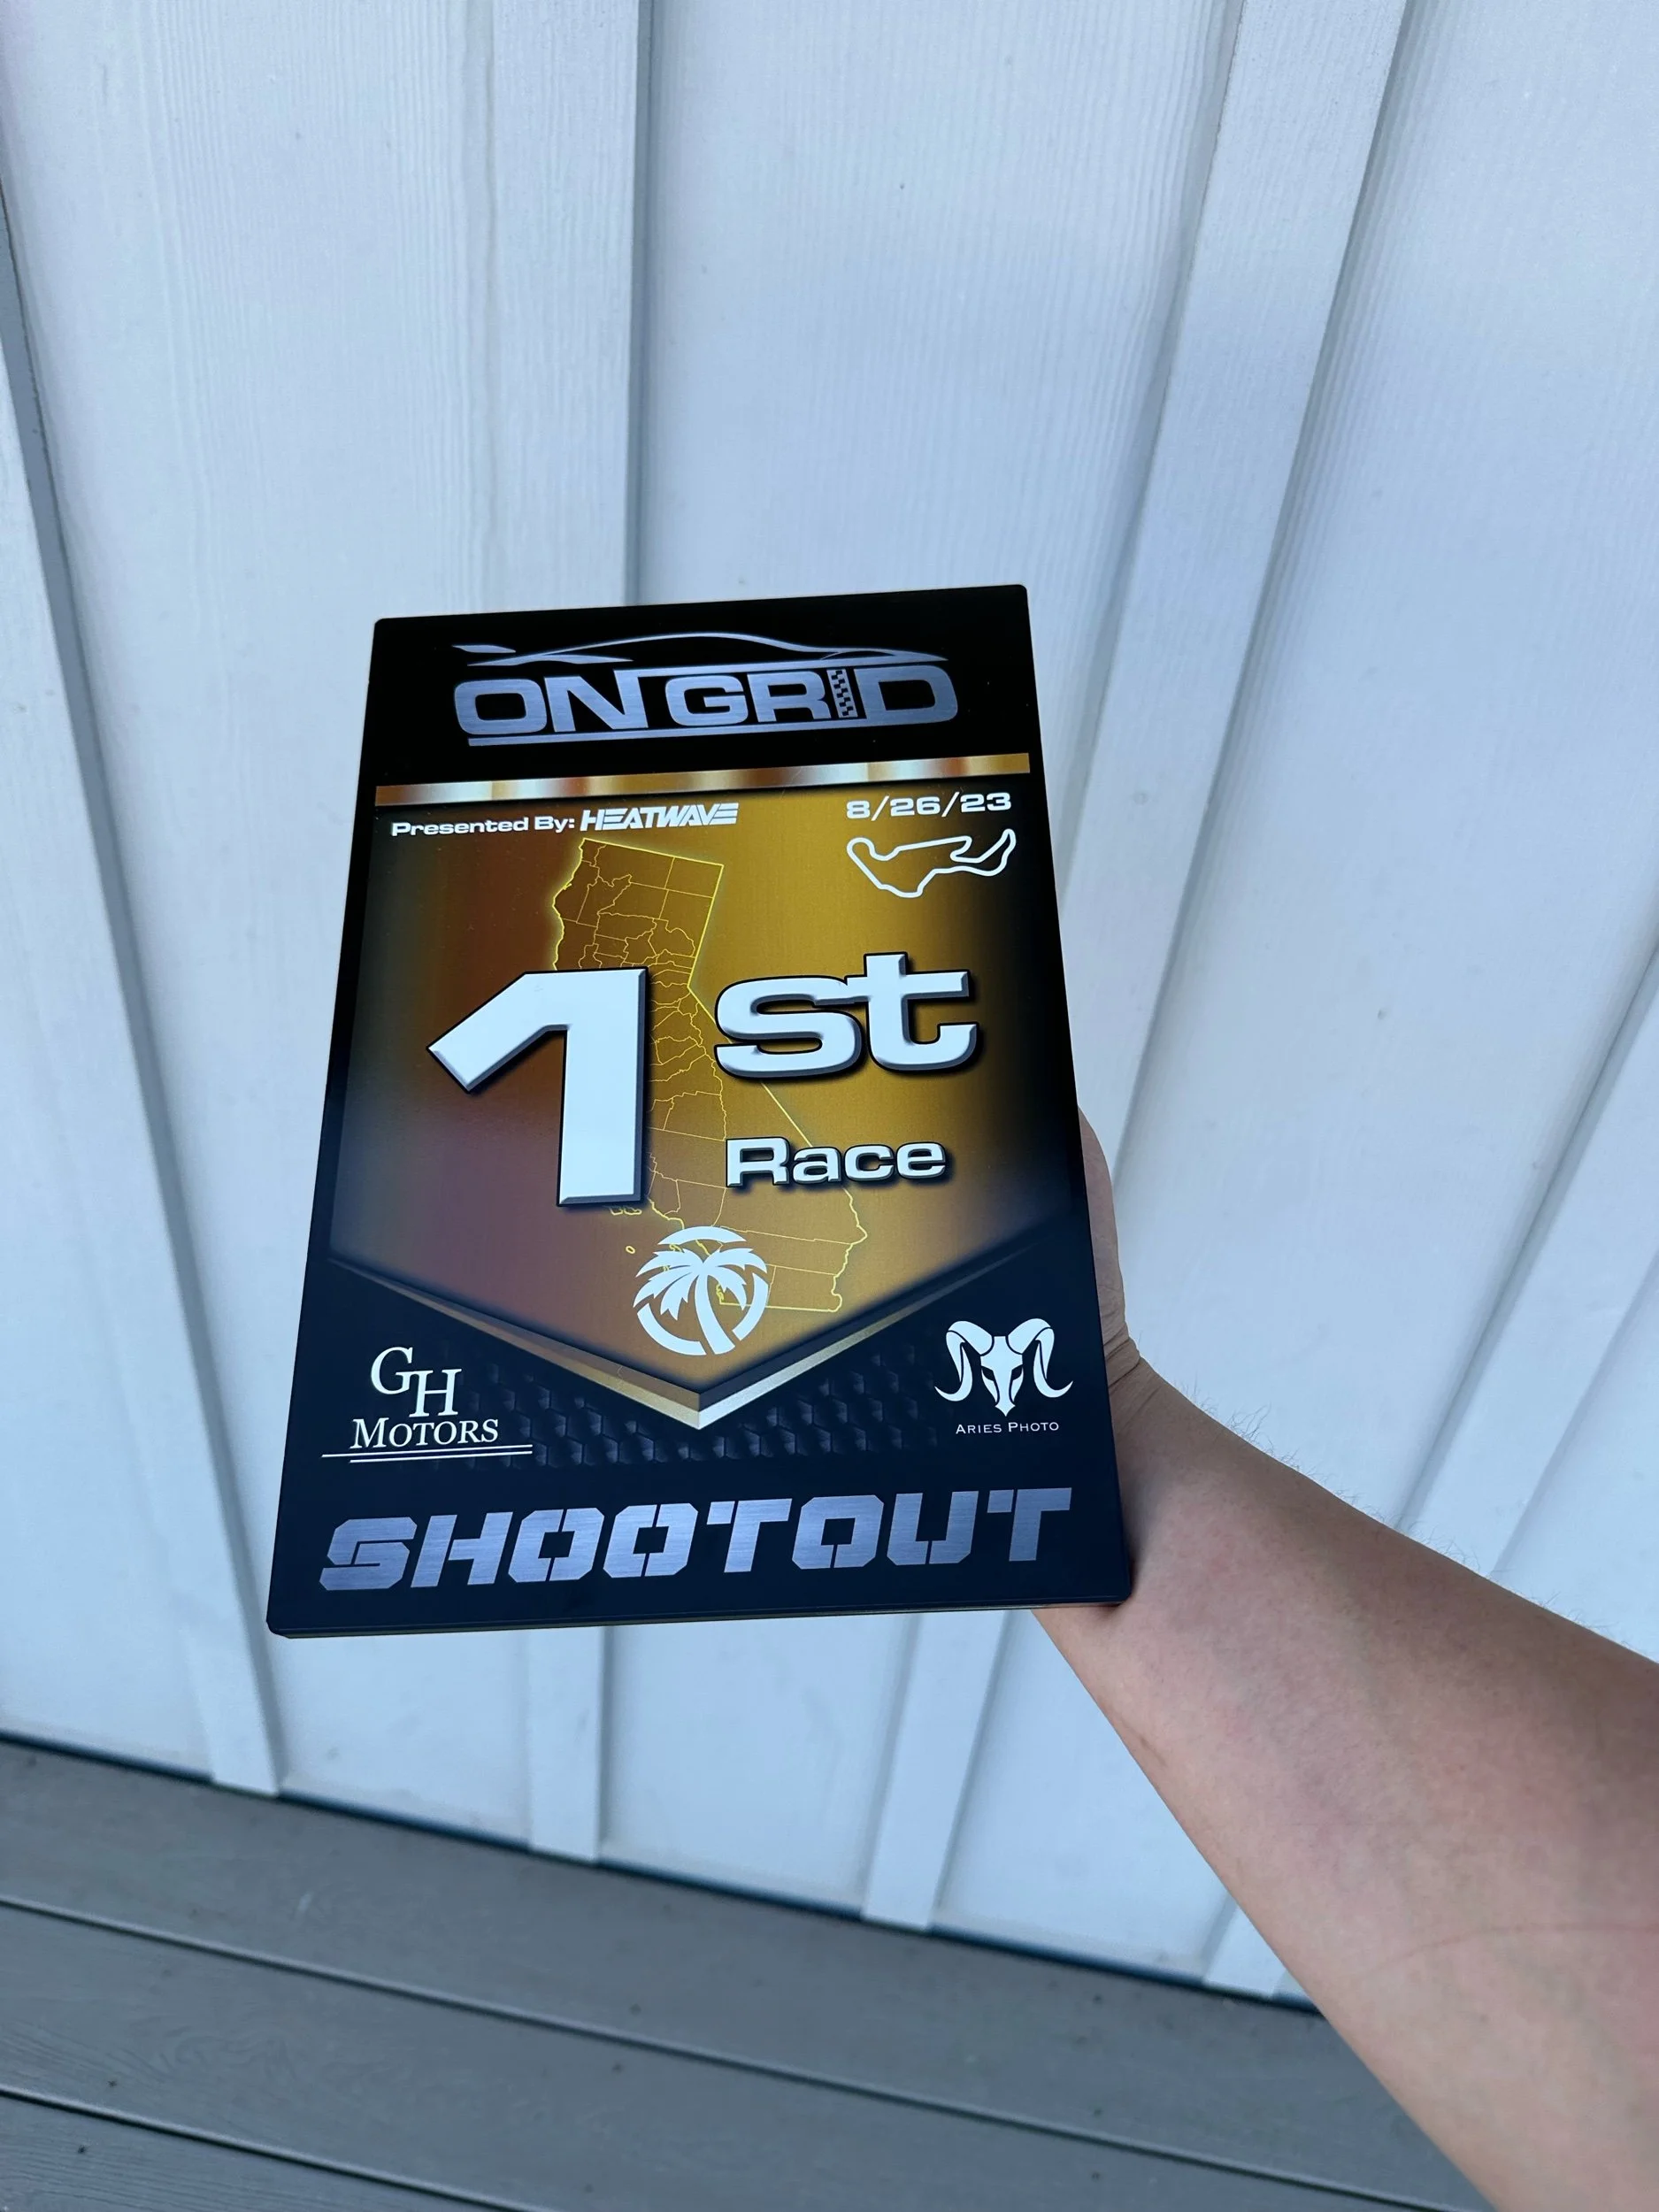
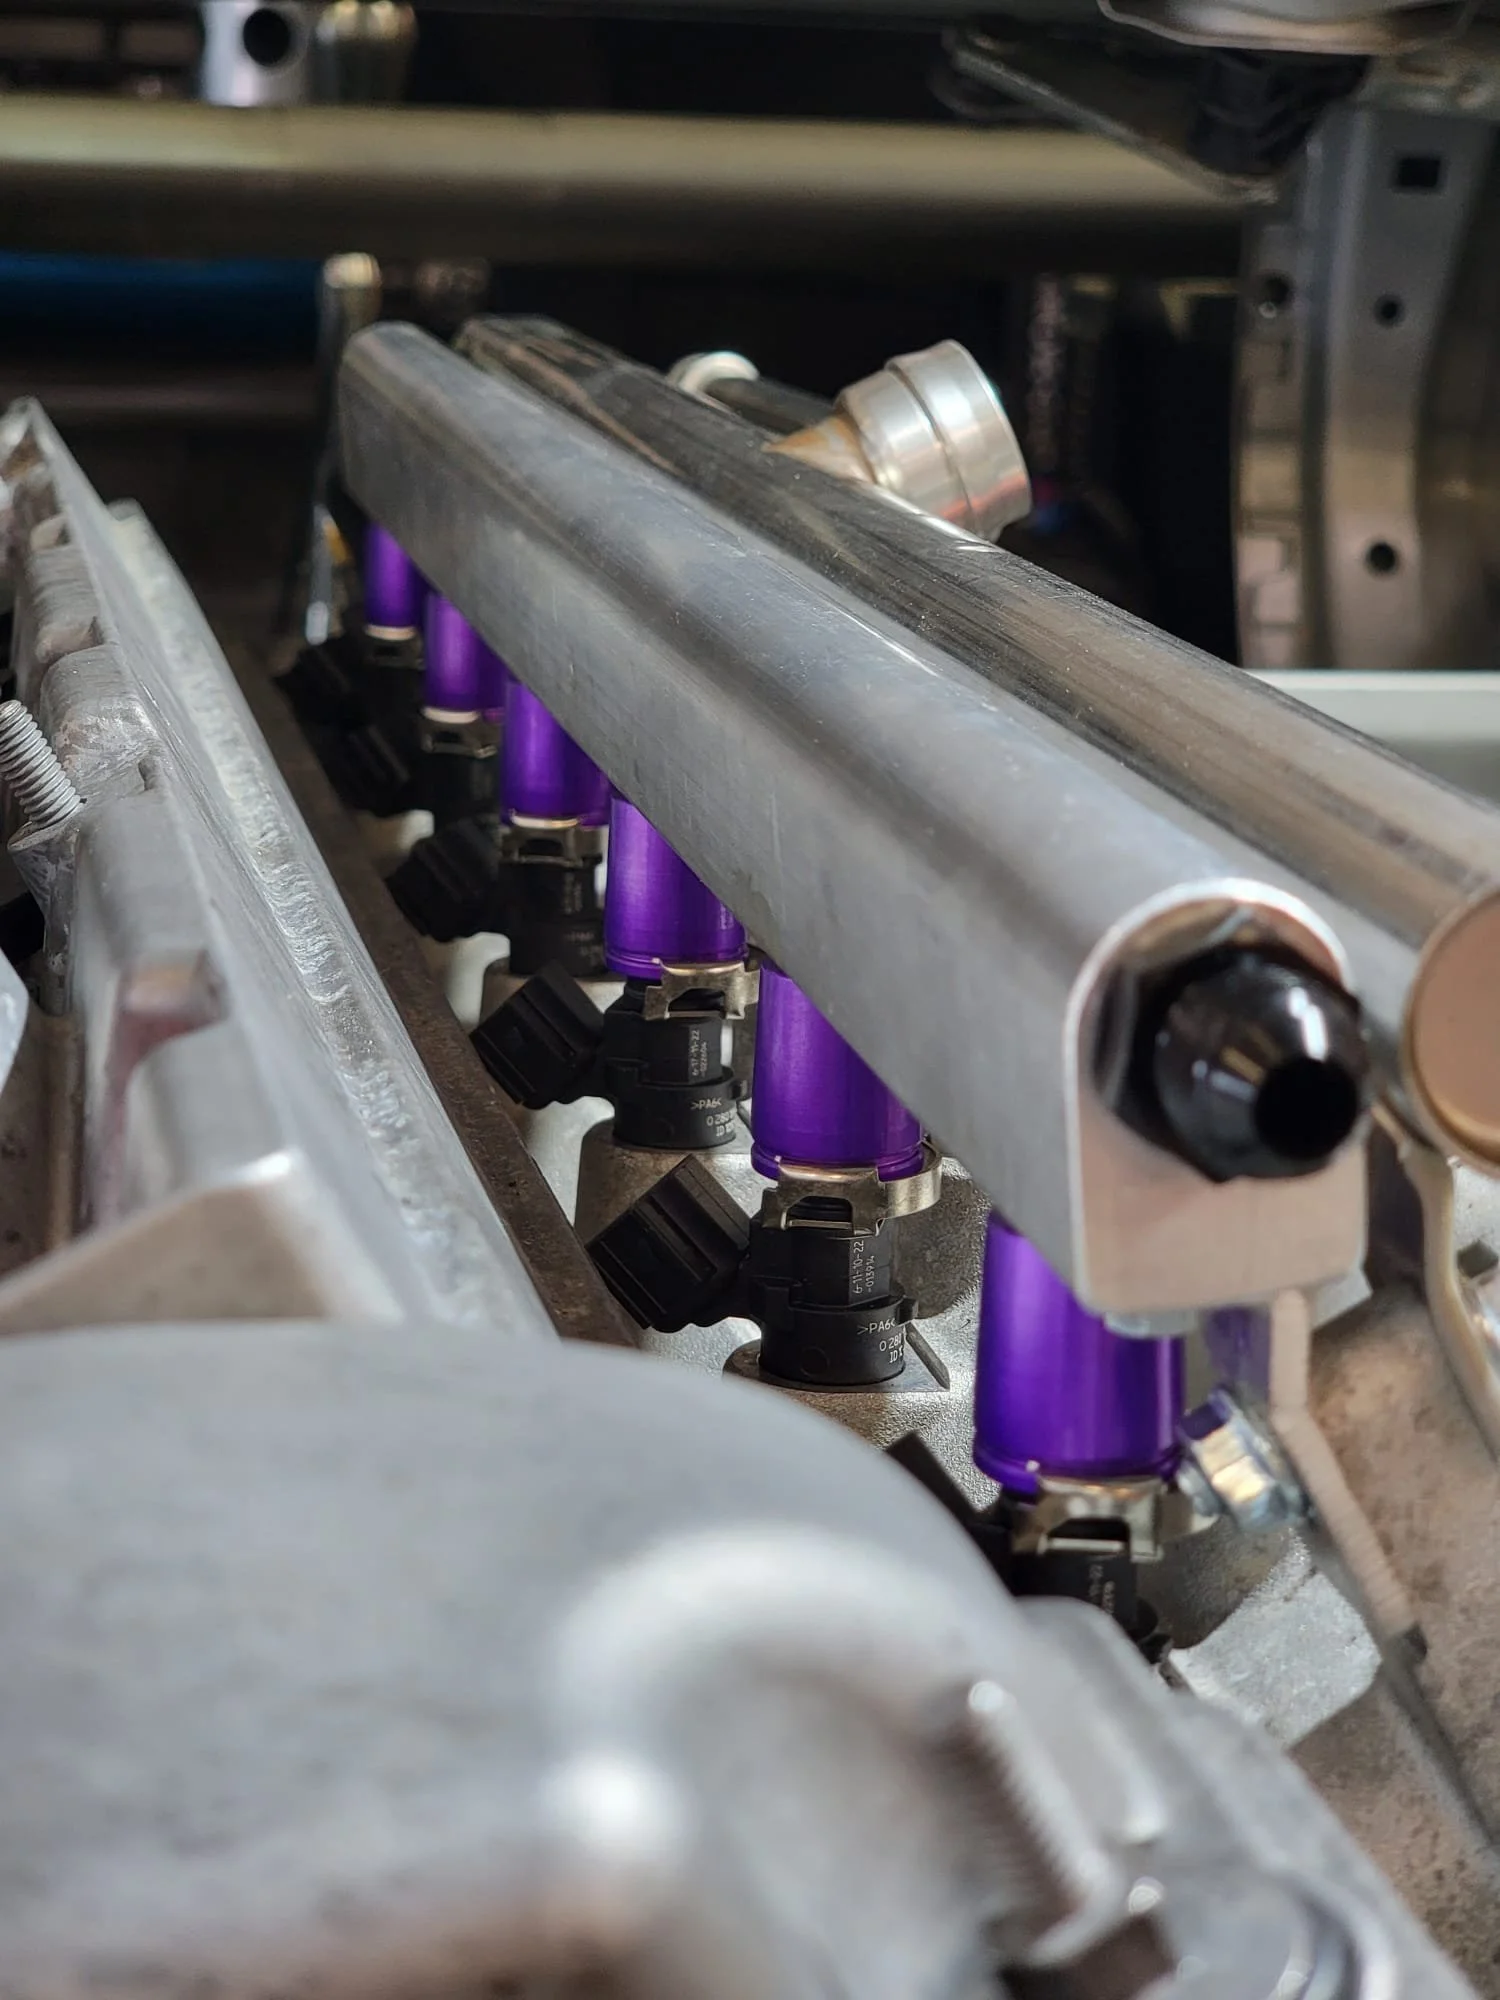
After making good power using only 1 (of 2) Radium fuel pumps and about 60% duty cycle of the injectors, we decided it was time to drive the beast on track. We decided to bring the car to Thunderhill West on Saturday, August 26th for the Shootout Time Attack series hosted by OnGrid.
not without some issues
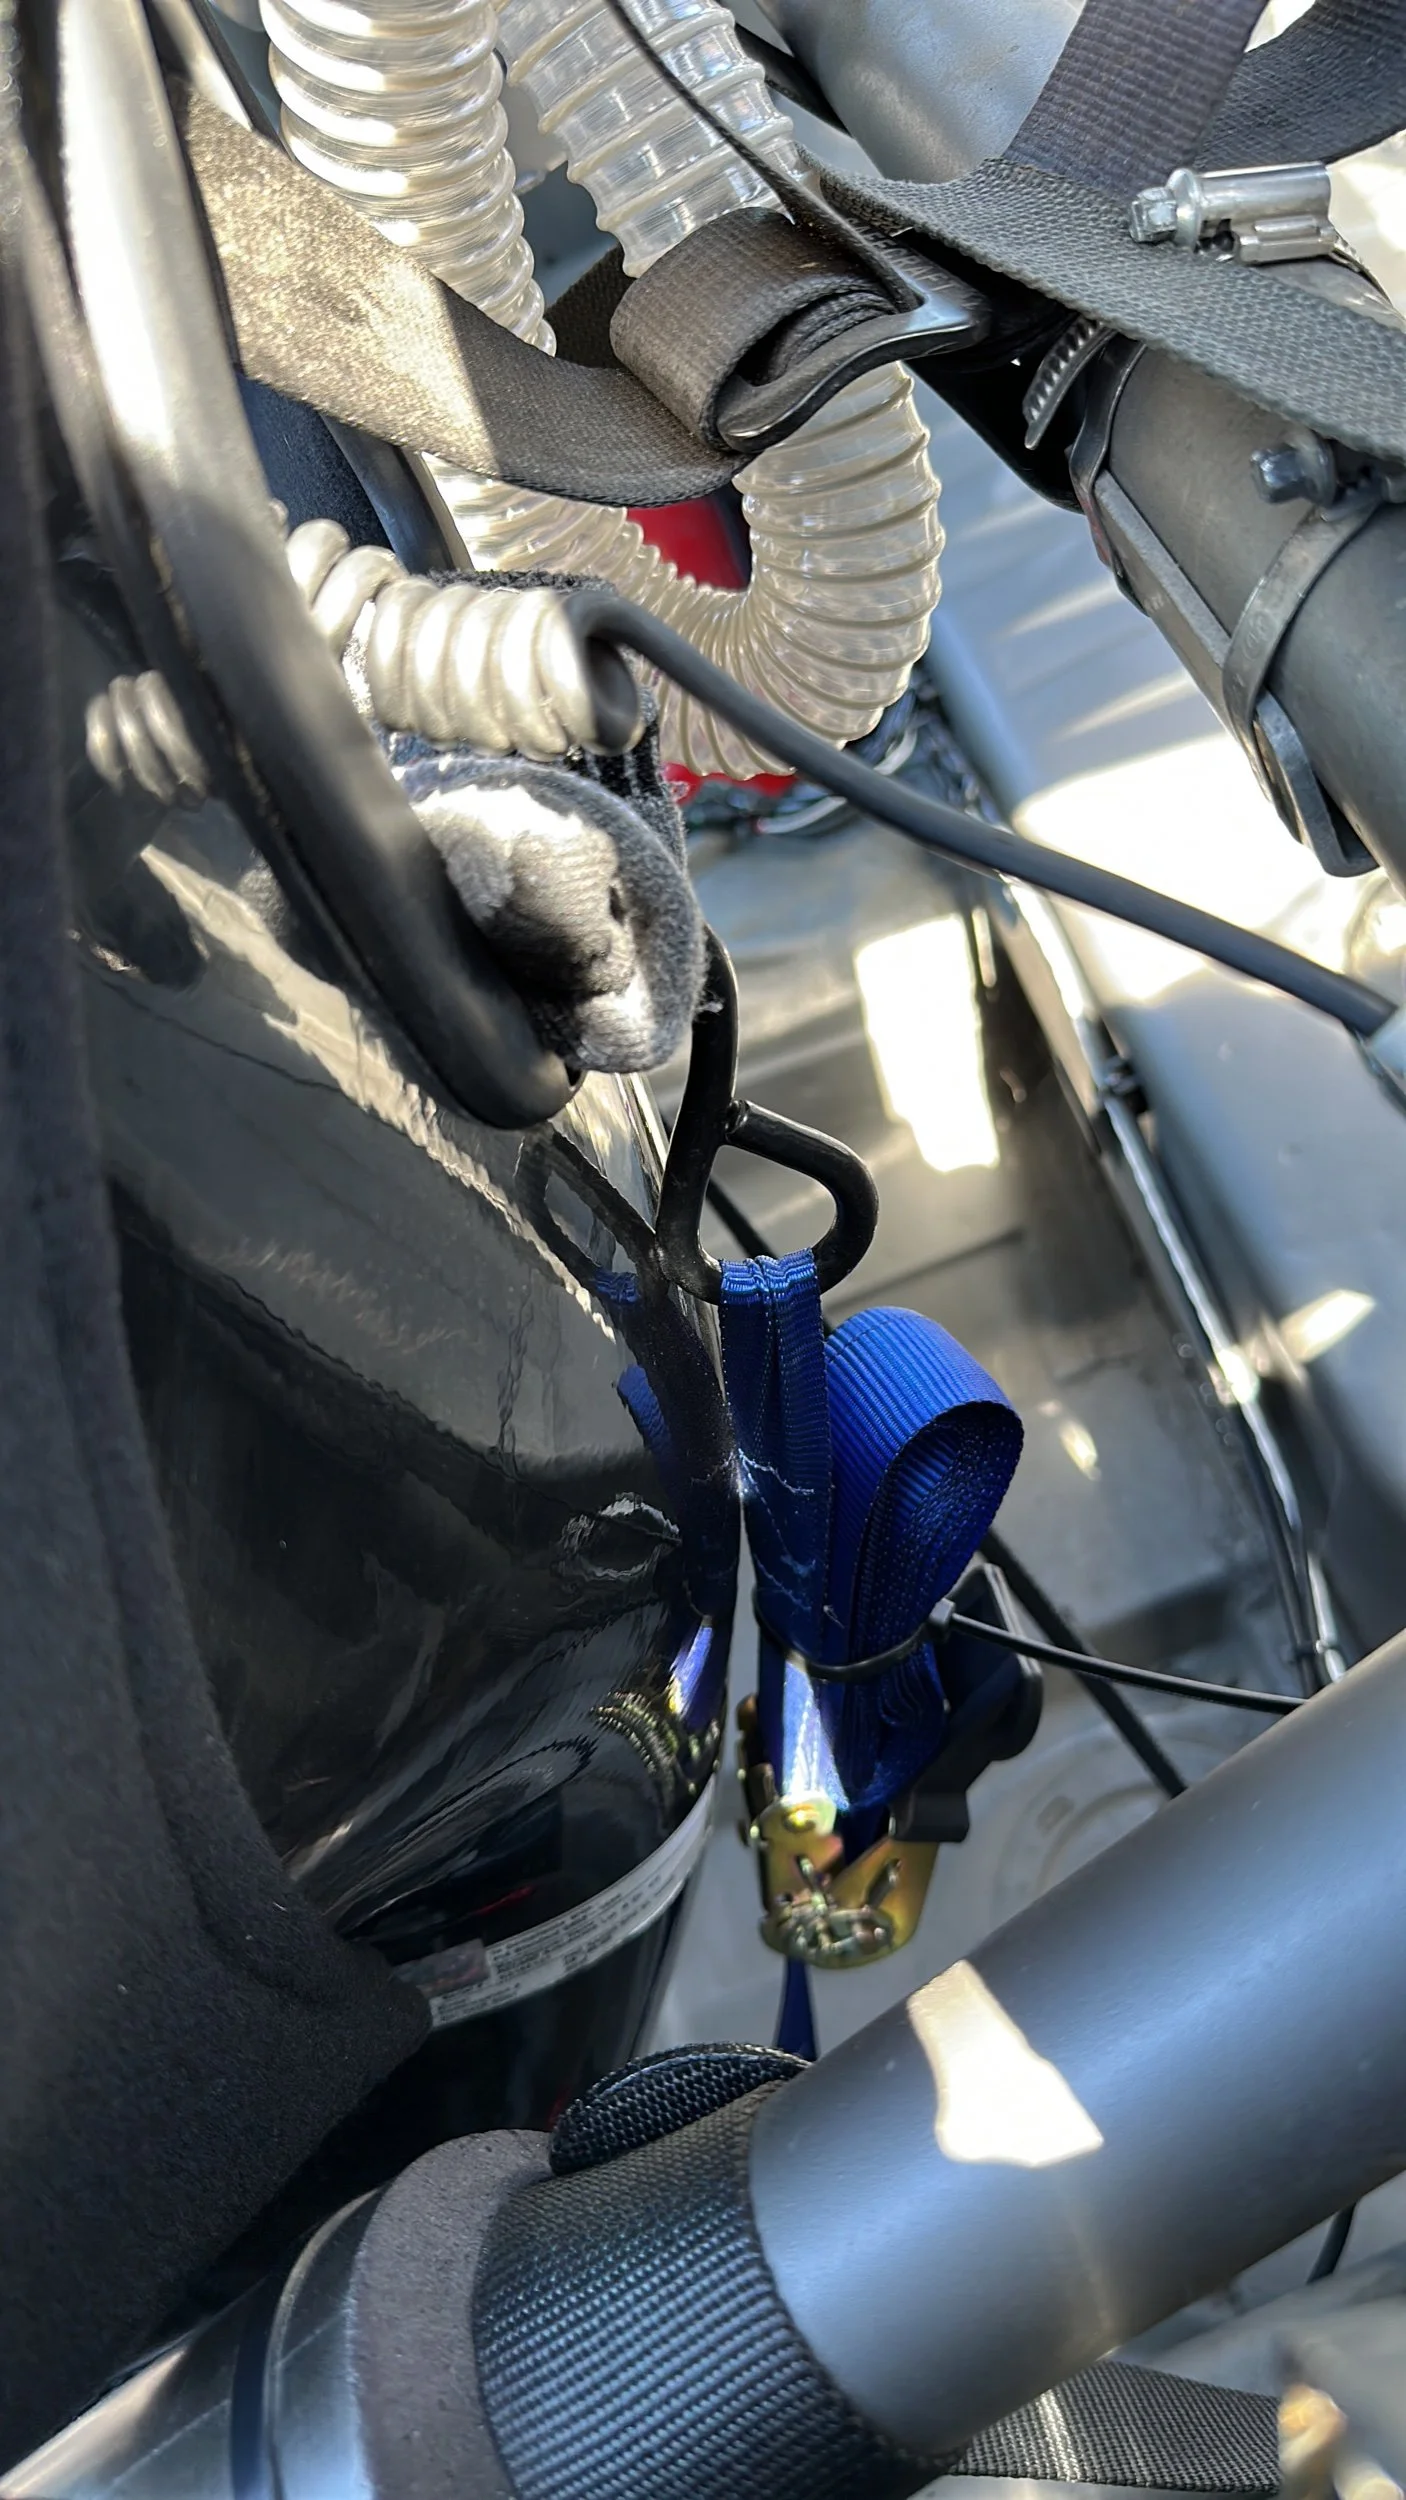
Overall, our first shakedown was a huge success. The car ran very well, pressures and temps were good, and I was careful about not blowing up my H-pattern gearbox. The car was very easy to drive, the new JRZ active dampers are amazing and we are only just beginning to scratch the surface with what they’re capable of. At the same time, the day wasn’t without it’s challenges. During session 2, I suddenly felt like something in my seat bracket had broken because I was moving around a ton on track. Turns out, we snapped a seat bolt and didn’t have a way to fix it at the track. Fortunately, we had a small ratchet strap and a clean Costco sock which seemed to do the trick for the rest of the day.
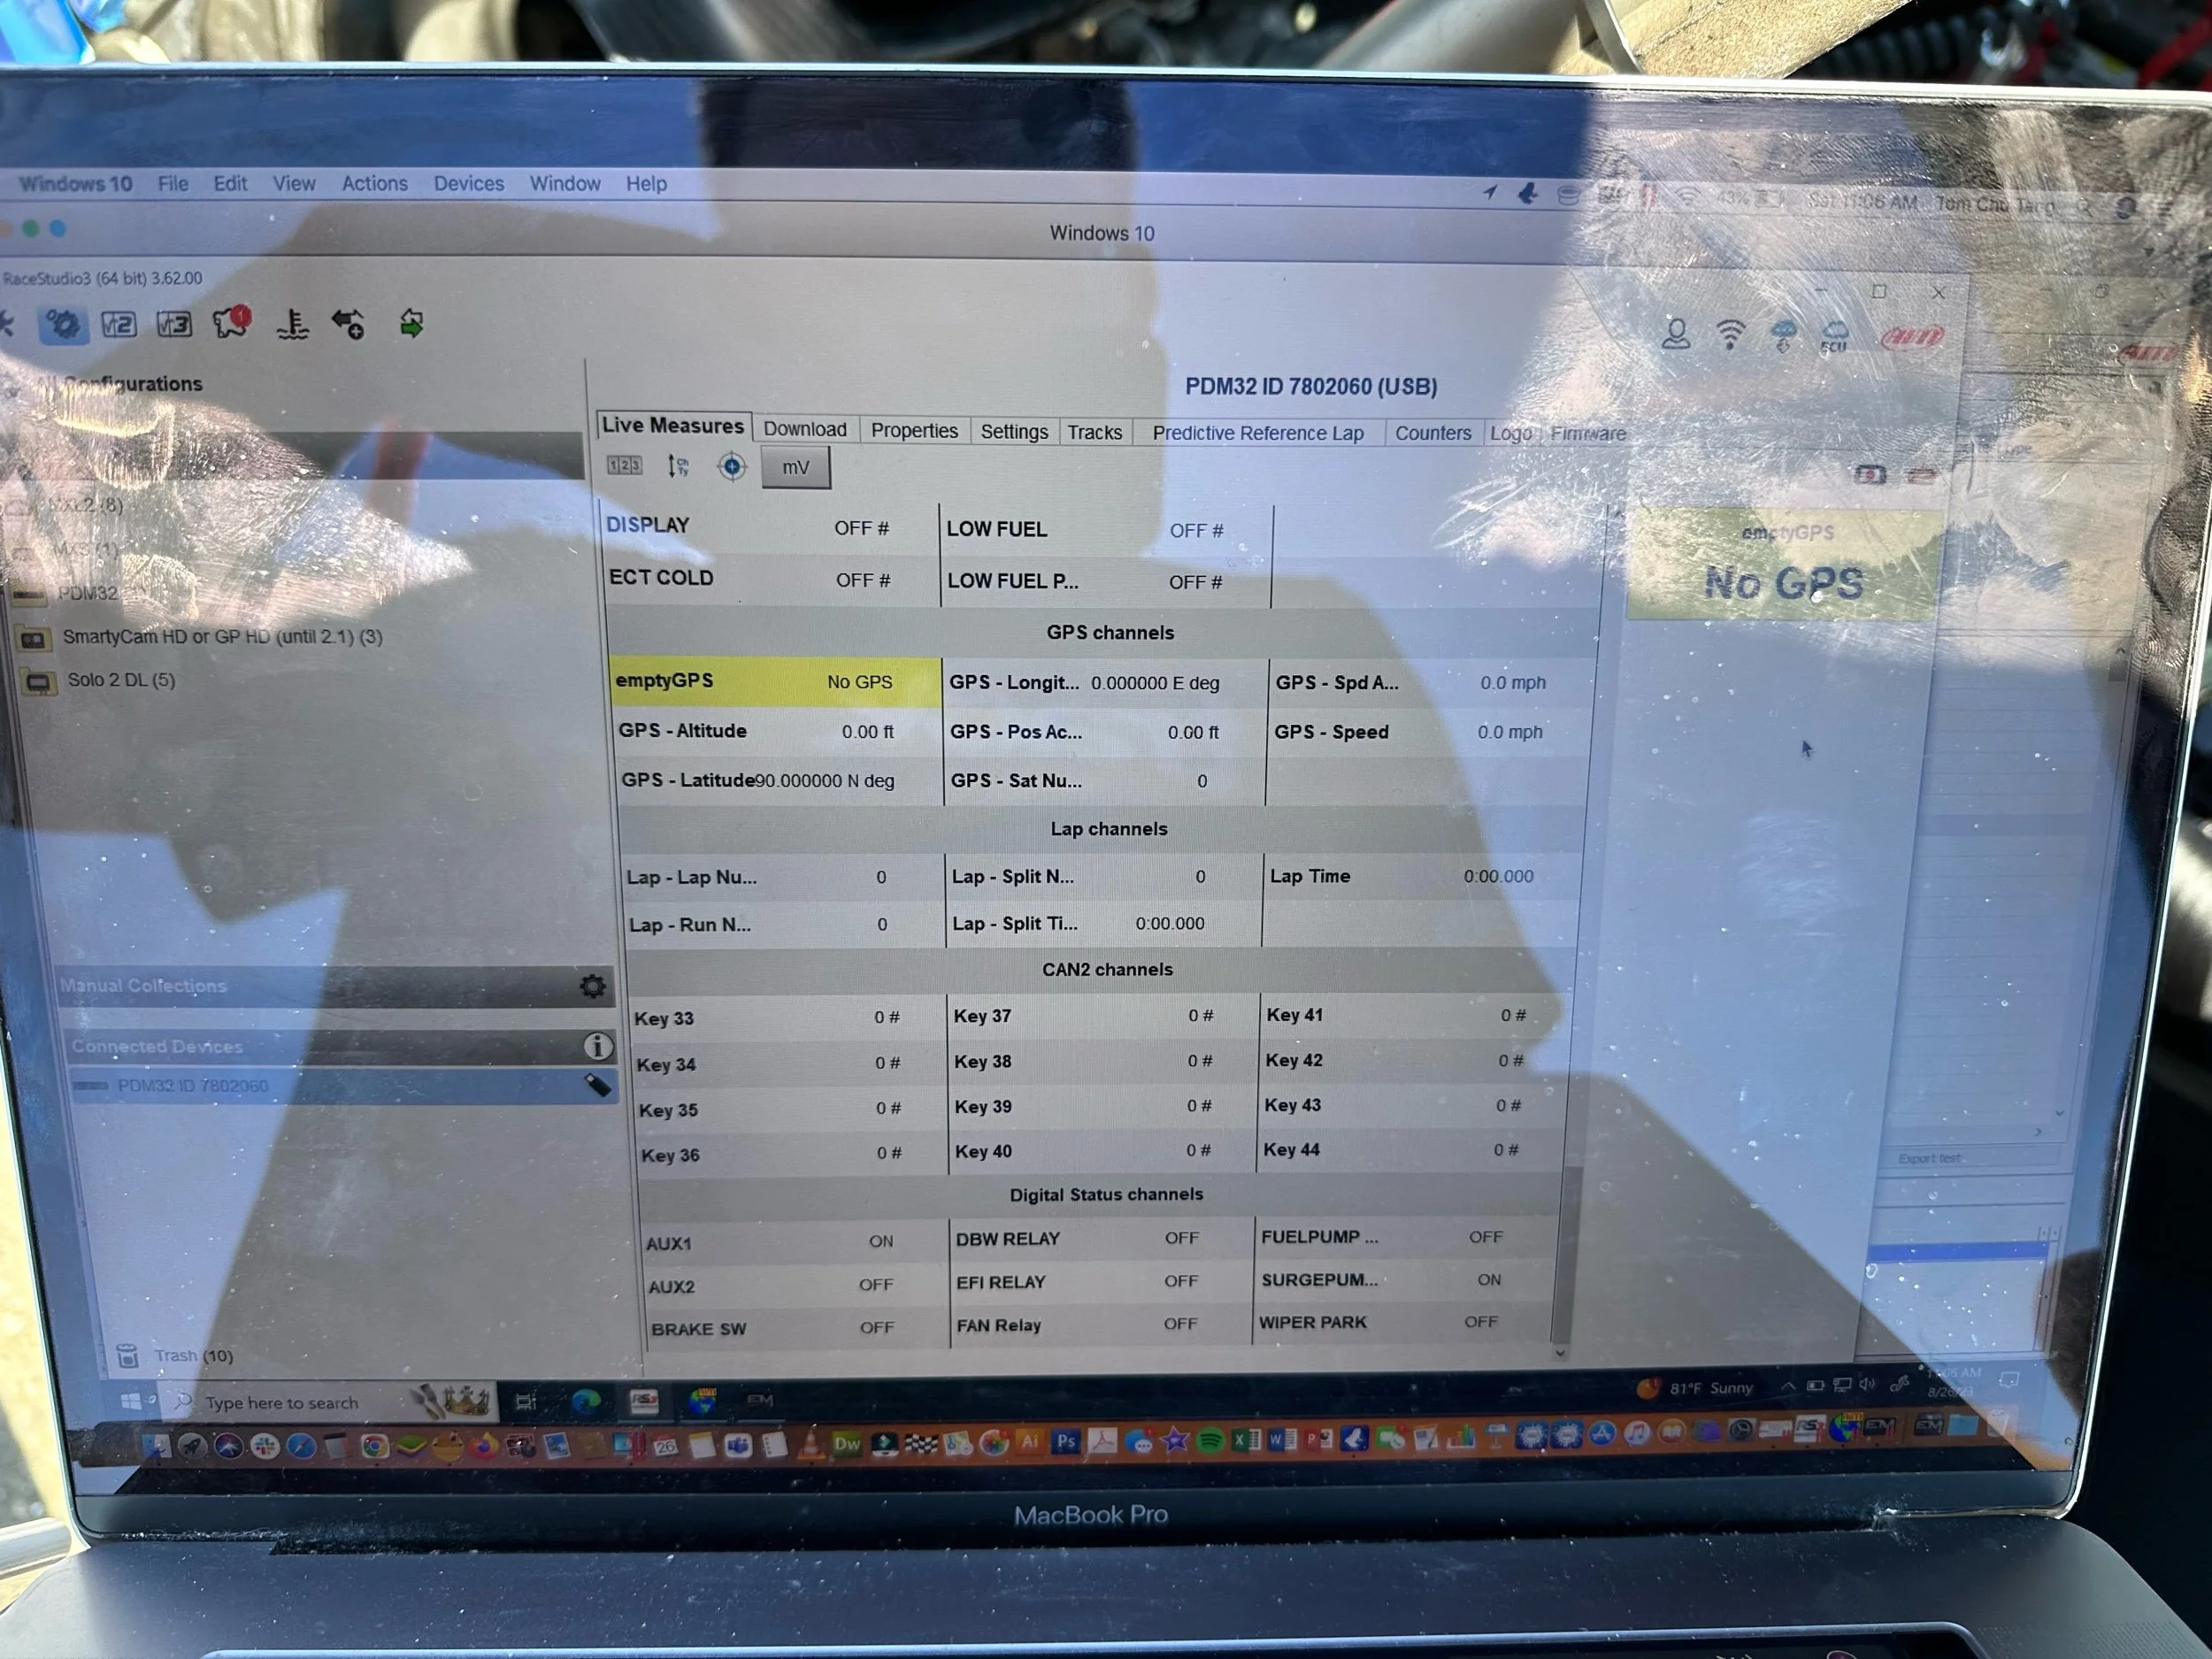
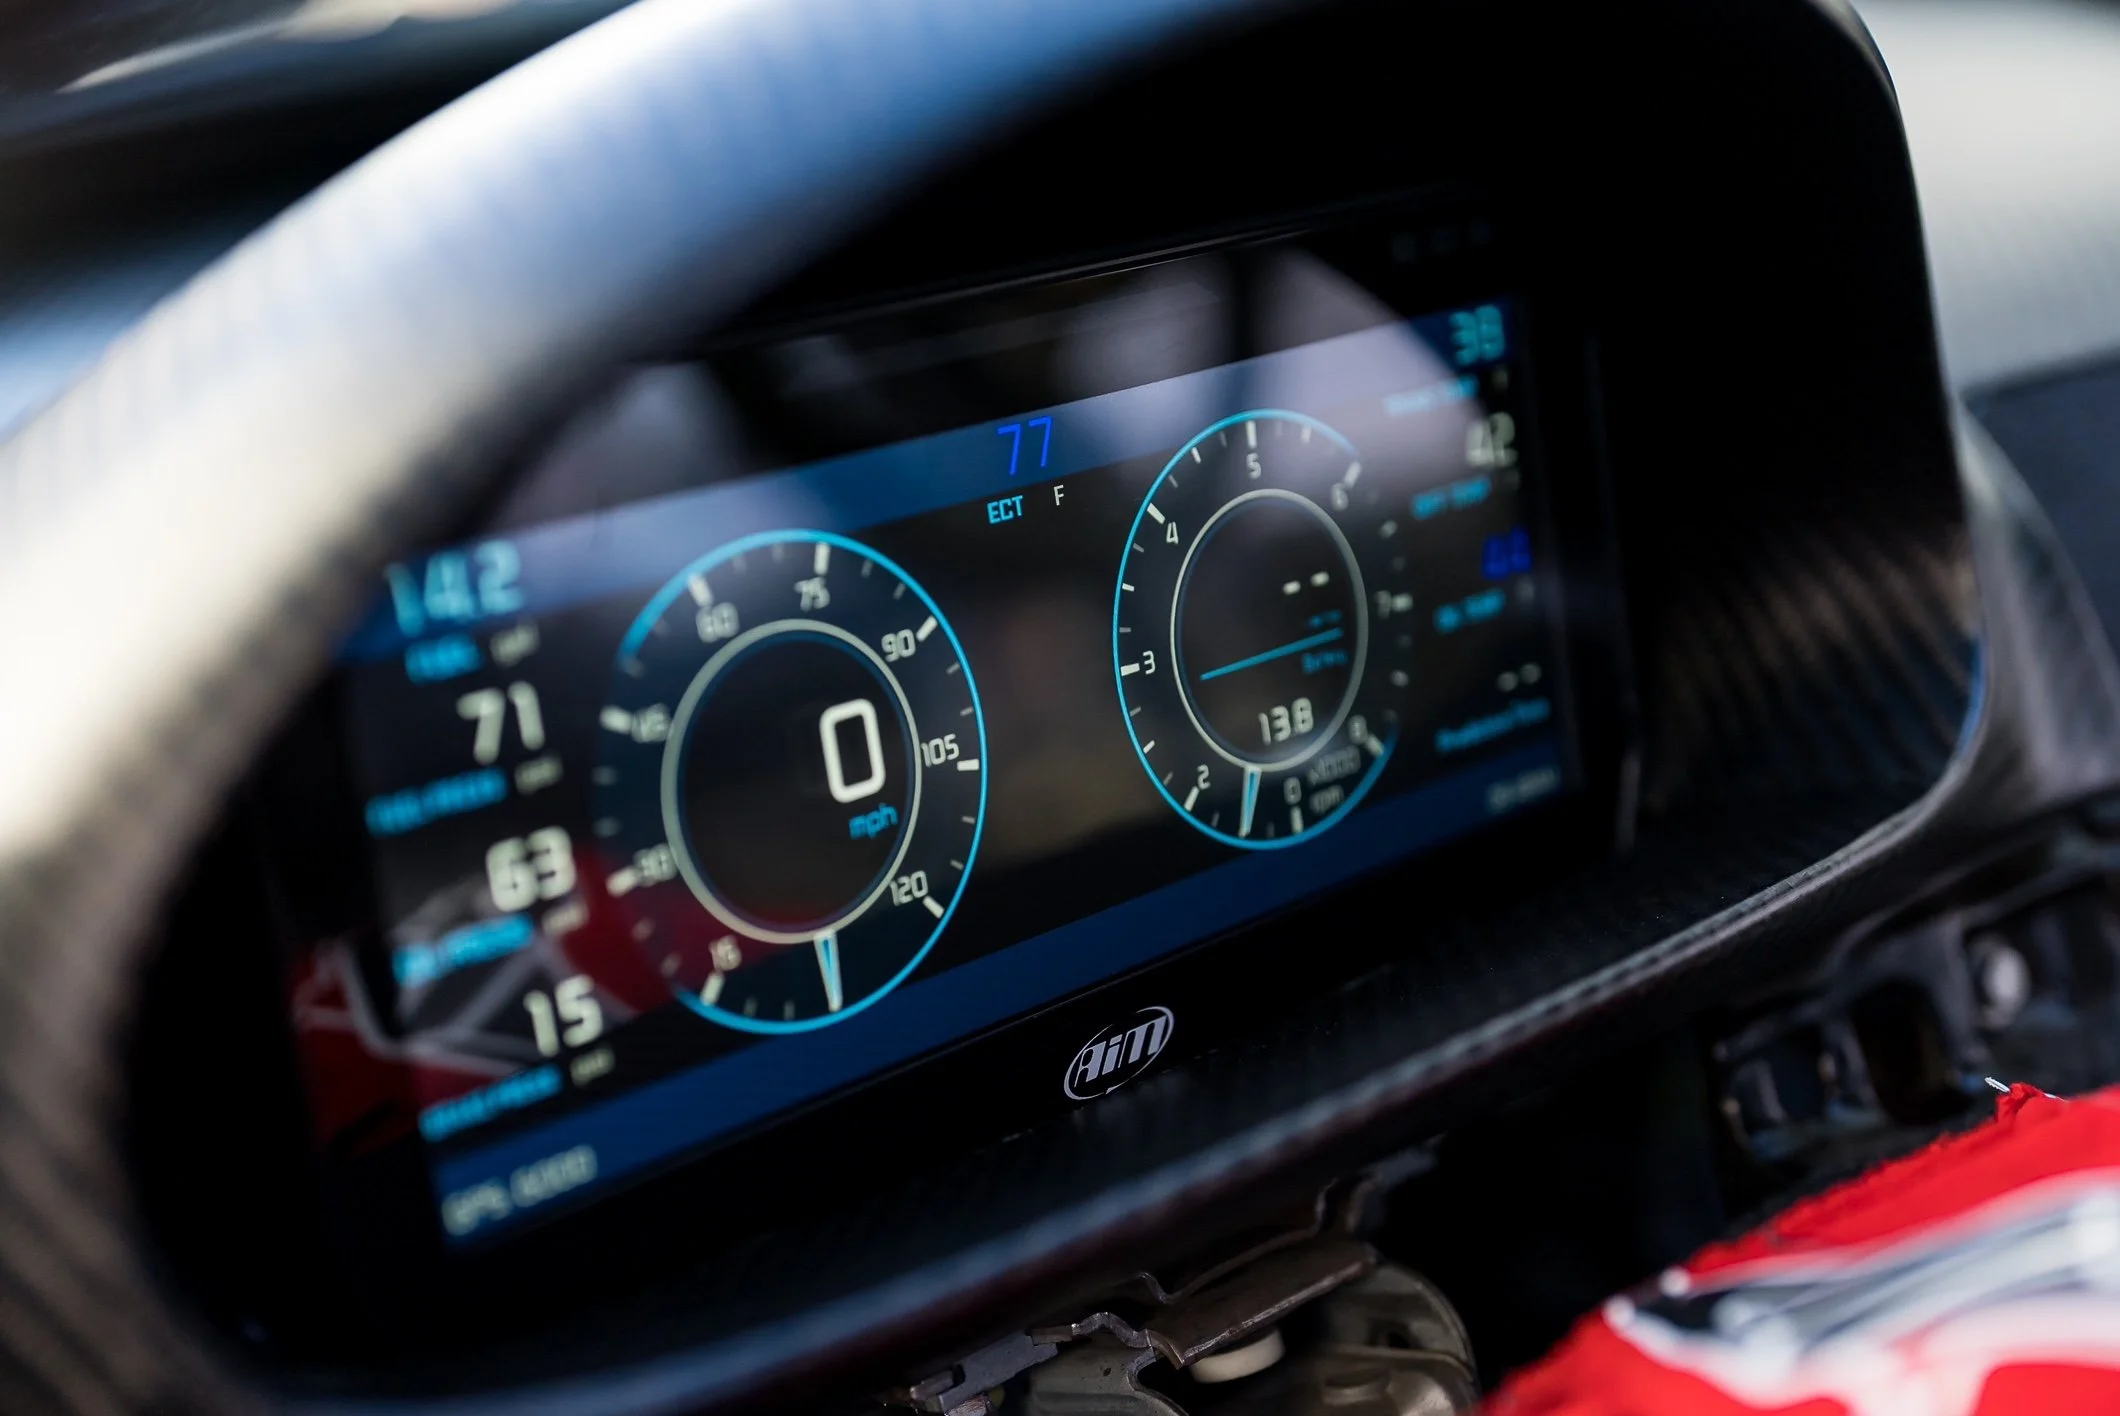
I was also struggling to get any GPS data. For some weird reason, the AIM PDM wasn’t picking up the GPS beacon. As such, I drove a bit blind by not having MPH or any lap data. Normally, I use the predictive lap time indicator as well as the +/- reference lap data while driving. Both are really helpful tools for quickly improving my pace on track. Oh, well. I look forward to figuring out what’s going on with Robbie, Roger, Mike, and team after the weekend.
So, while the purpose of going to Thunderhill was to shakedown the car, I did mention earlier that we had signed-up for the Shootout Time Attack series. Based on the rules, we were in the top-class (Race) and we ended up taking 1st Place as well as FTD (fastest-time-of-day) honors. Definitely a nice surprise!

Unfortunately the in-car video is lacking a lot of useful data we’re all used to seeing because of the aforementioned GPS issue, but you can still ride-along with me for a lap around Thunderhill West and enjoy some boost noises.
Next Time…
In Part 3, we’ll be covering the installation of my new Drenth DG500 sequential gearbox, VAC Motorsports prepped custom driveshaft, Tilton triple disc clutch, and much more!

Pikes Peak Build: Part 1
Back in March, we announced our plans to tackle one of the most difficult motorsport events in the world; the 102nd running of the Pikes Peak International Hill Climb in 2024. In preparation for this grueling challenge; which will test us as a team, me as a driver, and the car we build over a distance of 12.42 miles and around 156 turns on the way to a summit elevation of 14,115 feet, we decided to spend the next year taking our time to thoughtfully plan for a successful race to the clouds. While my mental-state and physical conditioning are equally important, for purposes of Part 1 let’s just focus on what most people care about more…the car!
New year - new lots of Things
Back in March, we announced our plans to tackle one of the most difficult motorsport events in the world; the 102nd running of the Pikes Peak International Hill Climb in 2024. In preparation for this grueling challenge; which will test us as a team, me as a driver, and the car we build over a distance of 12.42 miles and around 156 turns on the way to a summit elevation of 14,115 feet, we decided to spend the next year taking our time to thoughtfully plan for a successful race to the clouds. While my mental-state and physical conditioning are equally important, for purposes of Part 1 let’s just focus on what most people care about more…the car!
Let’s start with some context first. Getting a car to the top of Pikes Peak quickly requires horsepower. And a lot of it. Because an internal-combustion engine can see up to 40% power loss from the start-line to the summit as the air gets thinner (less oxygen density) the farther you climb. That’s why it’s not uncommon to see the front-runners at PPIHC bring over 1,000hp to the race. Phew!
Since this is going to be our first time running the event, I opted for a more reasonable power goal of only 600hp; knowing full well that I might end up with only 360hp by the time I reach the summit. With our S54 powered E46 M3, this meant going the route of forced induction. I spent some time discussing and debating the pros and cons of a supercharger vs. a turbocharger, and in the end I decided the thermal demands of running a turbo didn’t necessarily outweigh the gains for me. Keep in mind, a car also needs way more cooling to run up Pikes Peak than it does on a road course at sea level because of the thinner air, and the fact that you are on-throttle almost the entire time on the way up.
Trackspec Autosports Motorsport-grade harnesses
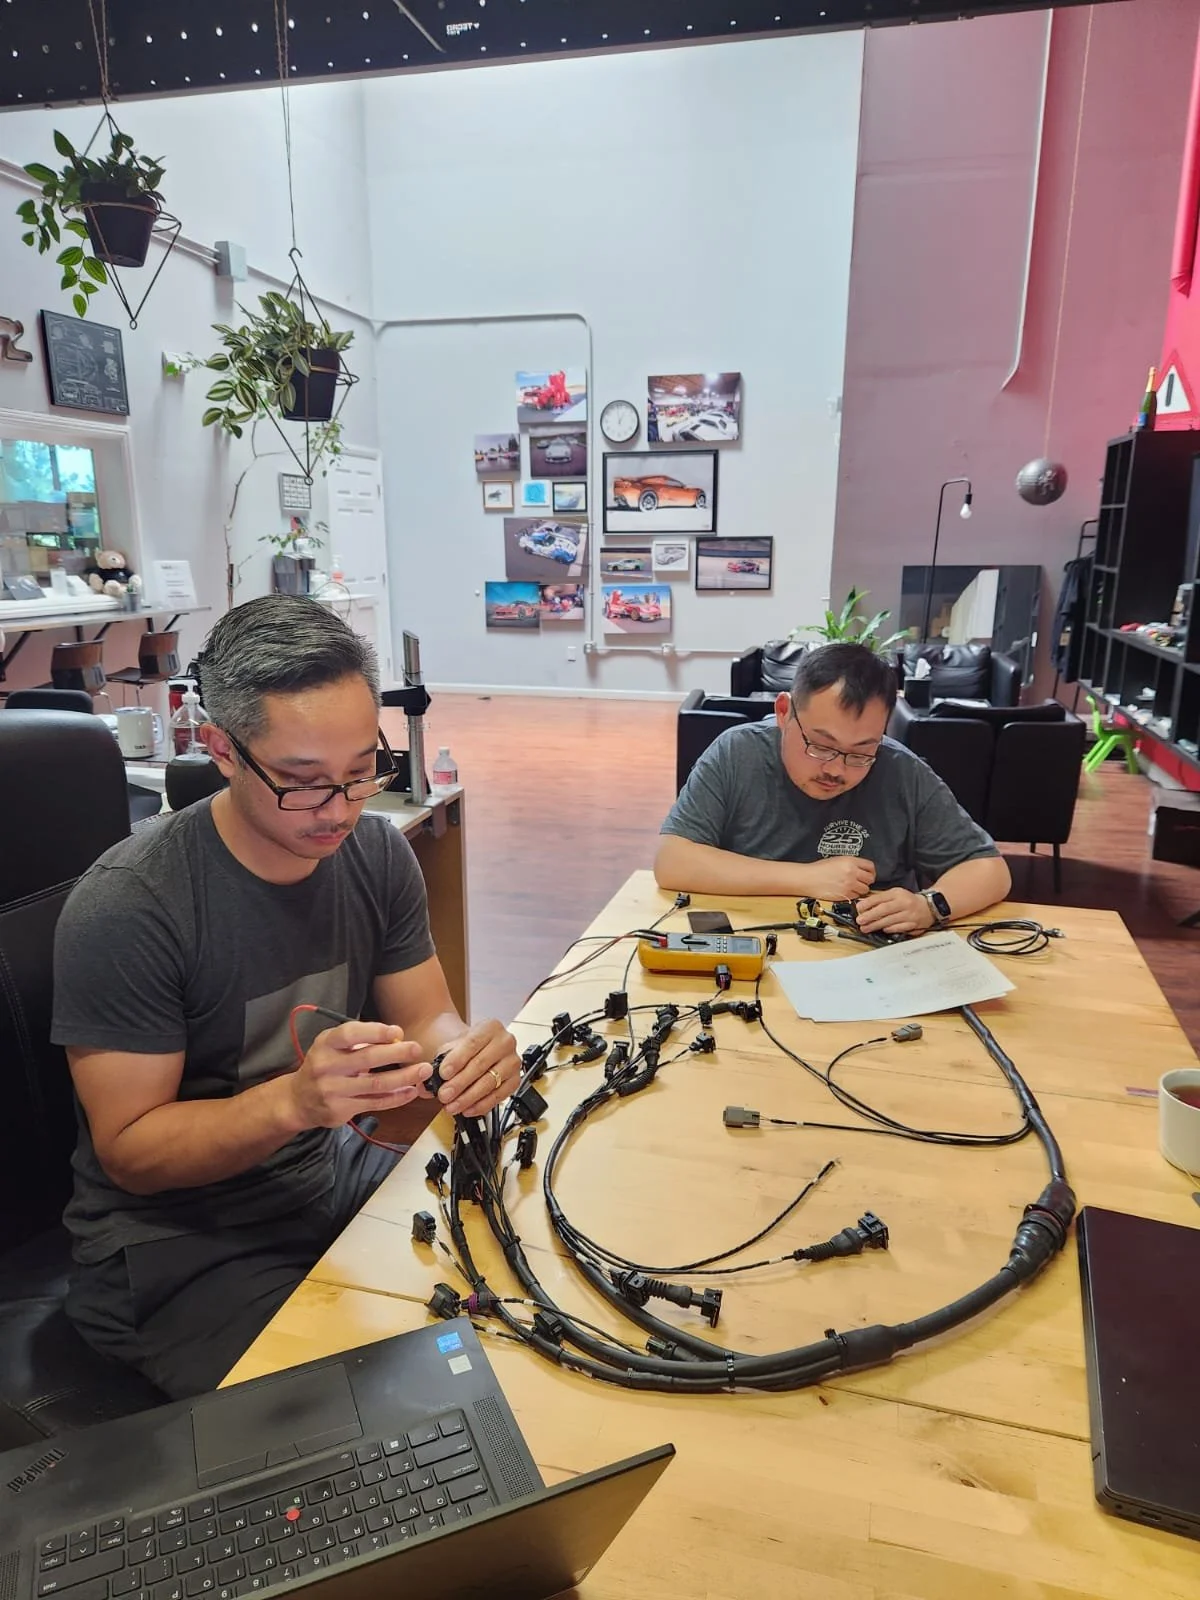
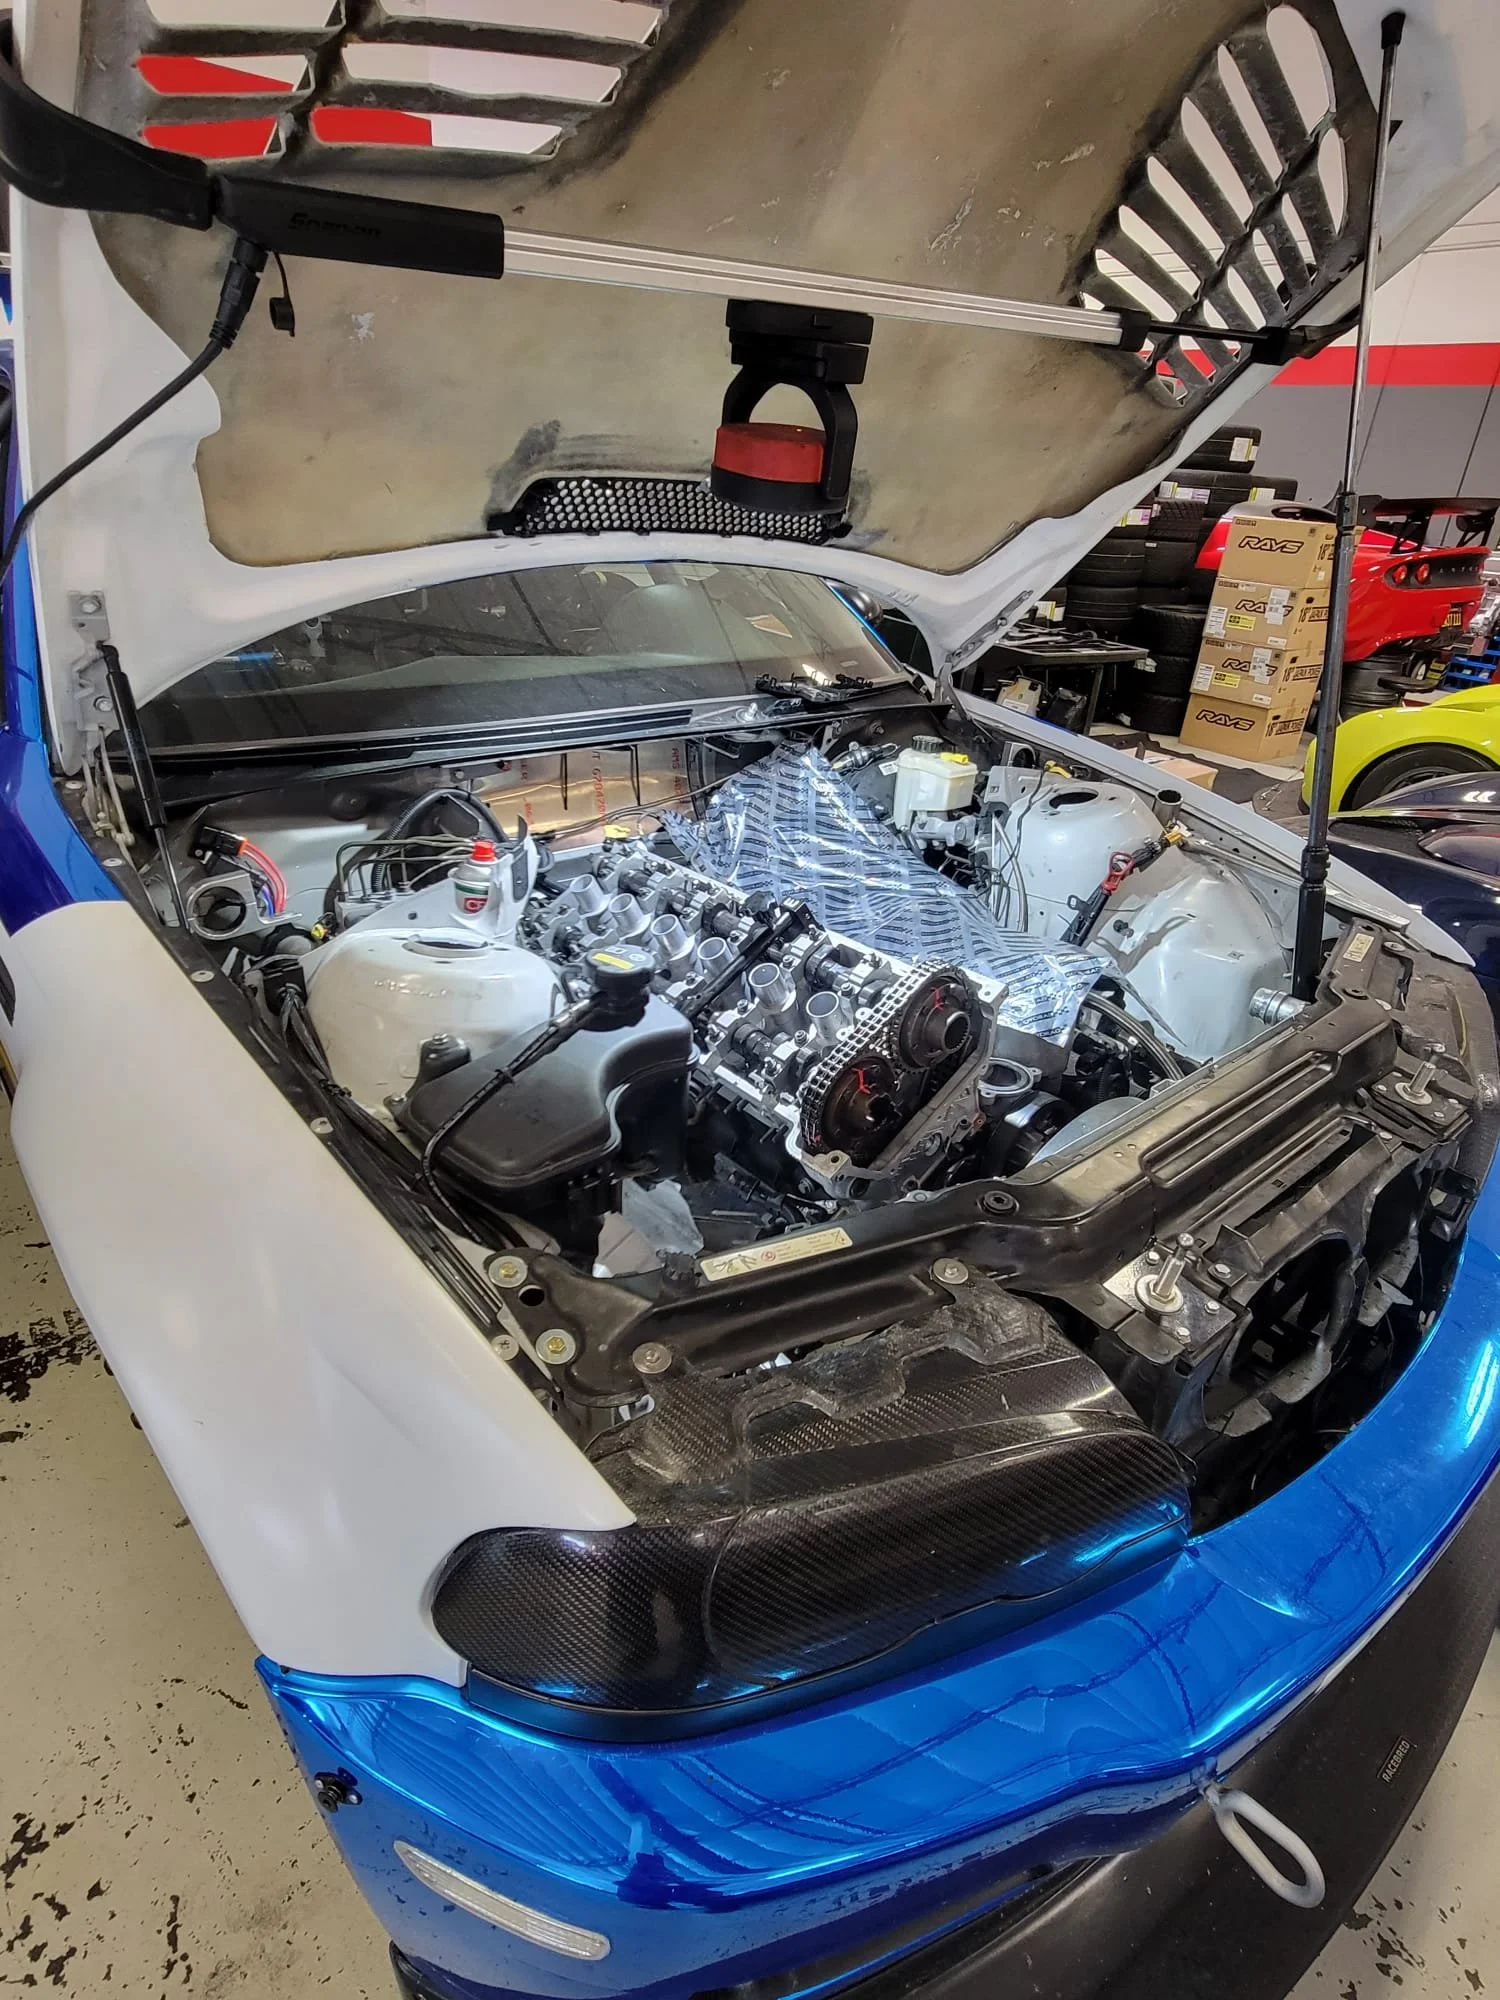
In order to do things right, Jon and I decided that we should re-wire the entire car to get the most out of the new KV8 ECU from EMtron and many other things that the car didn’t have before (I’ll talk more about those later). Over the course of several weeks, Jon methodically built a brand new engine harness, chassis harness, and PDM harness.
EMtron KV8 ECU

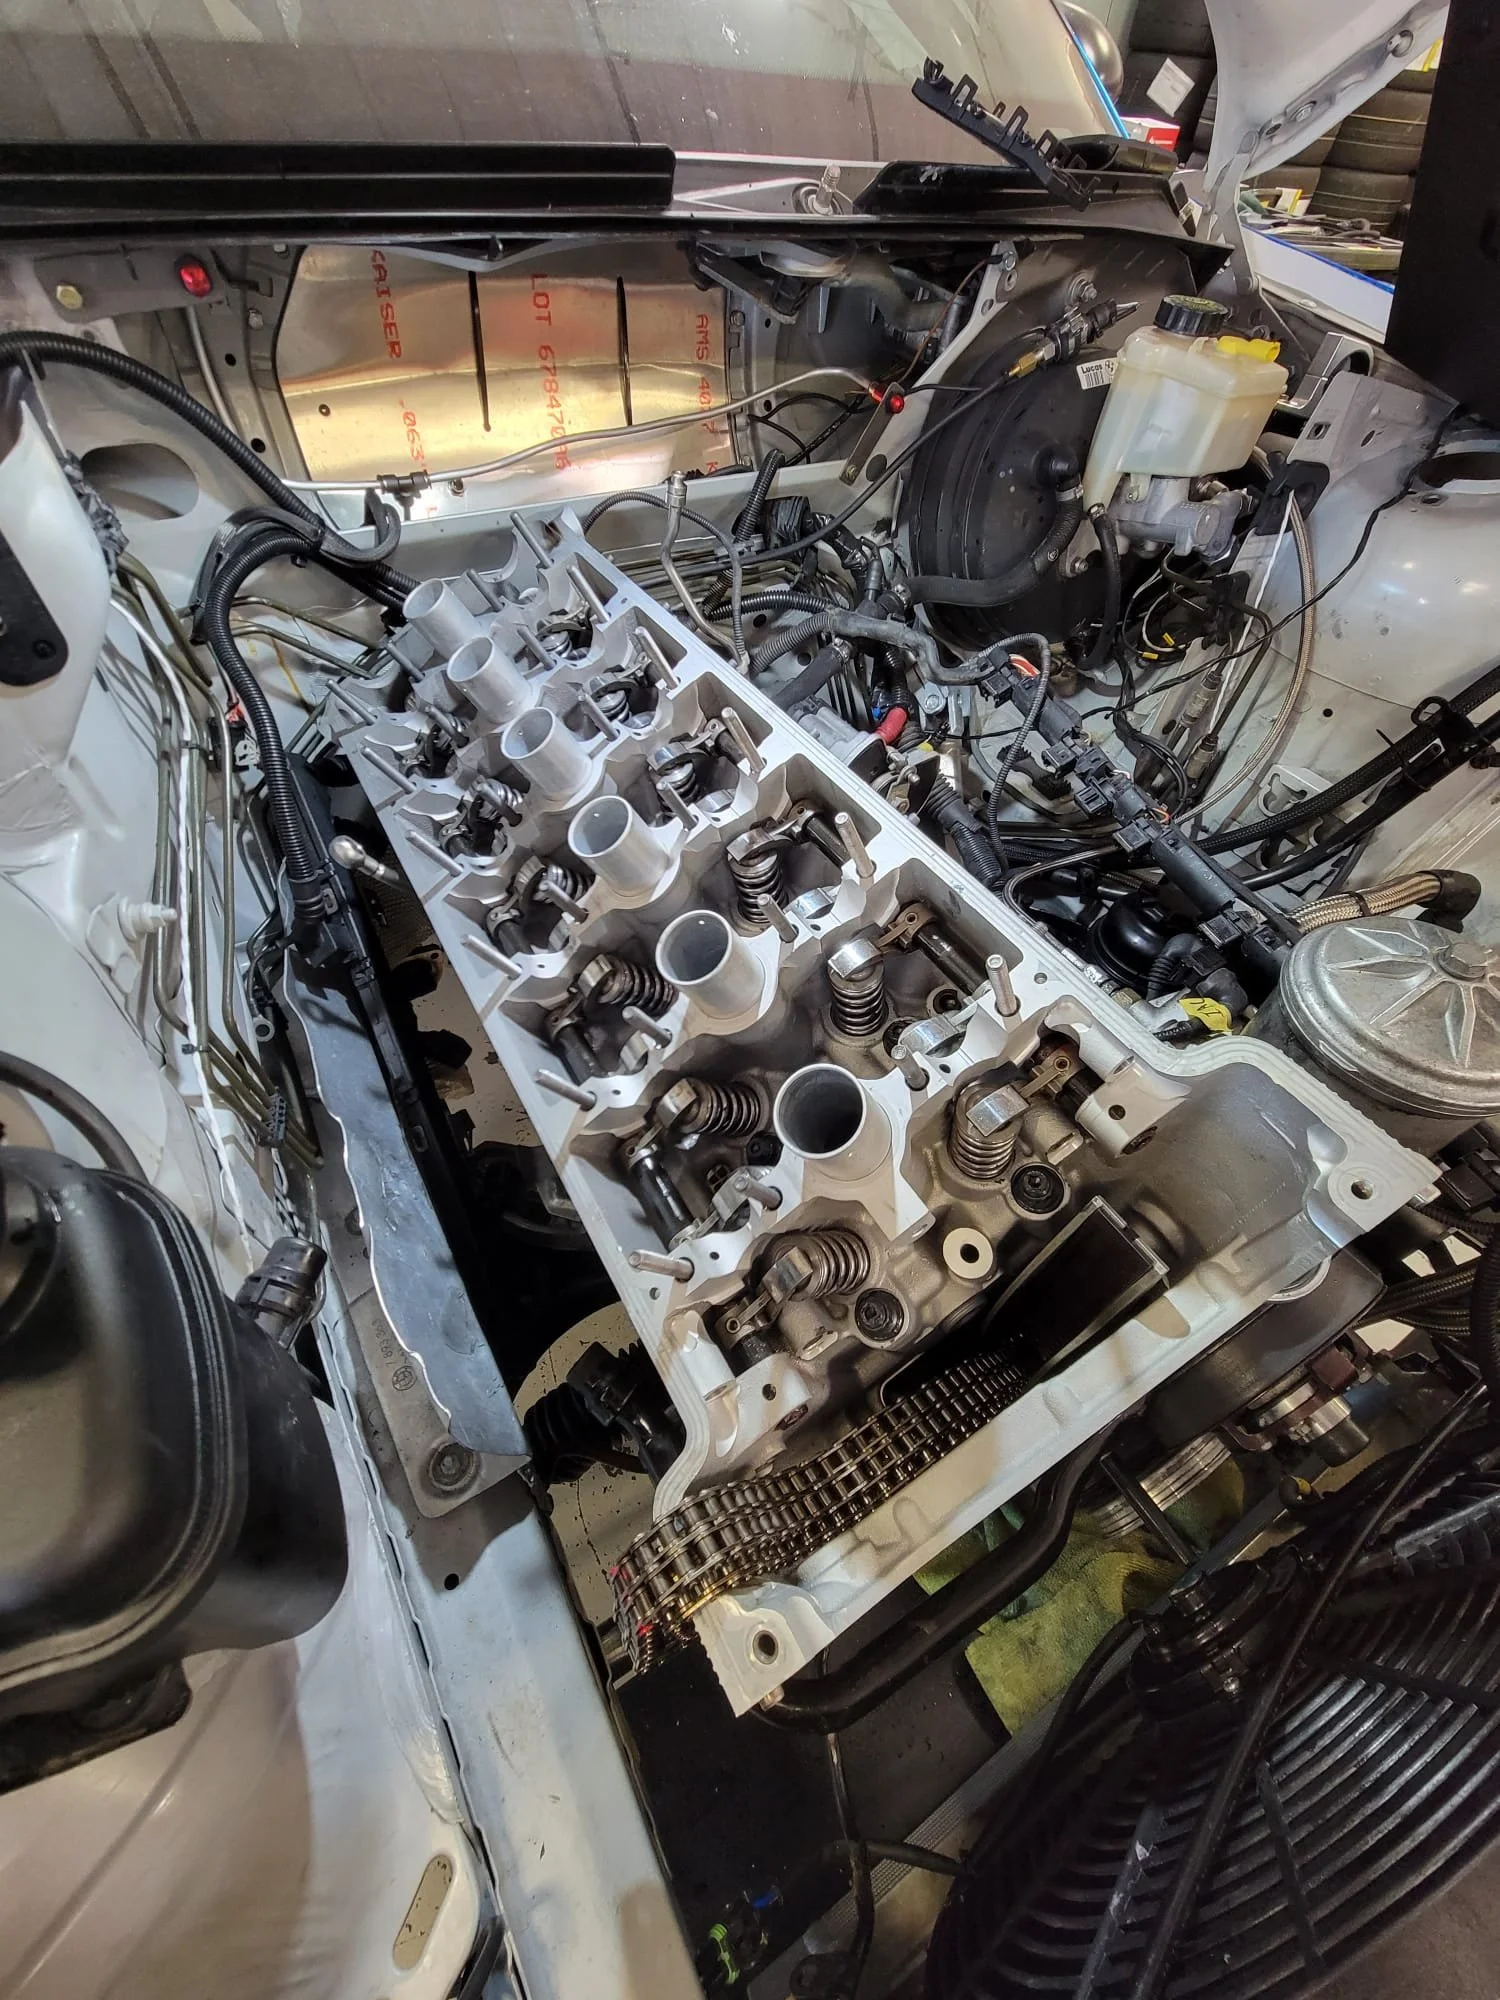
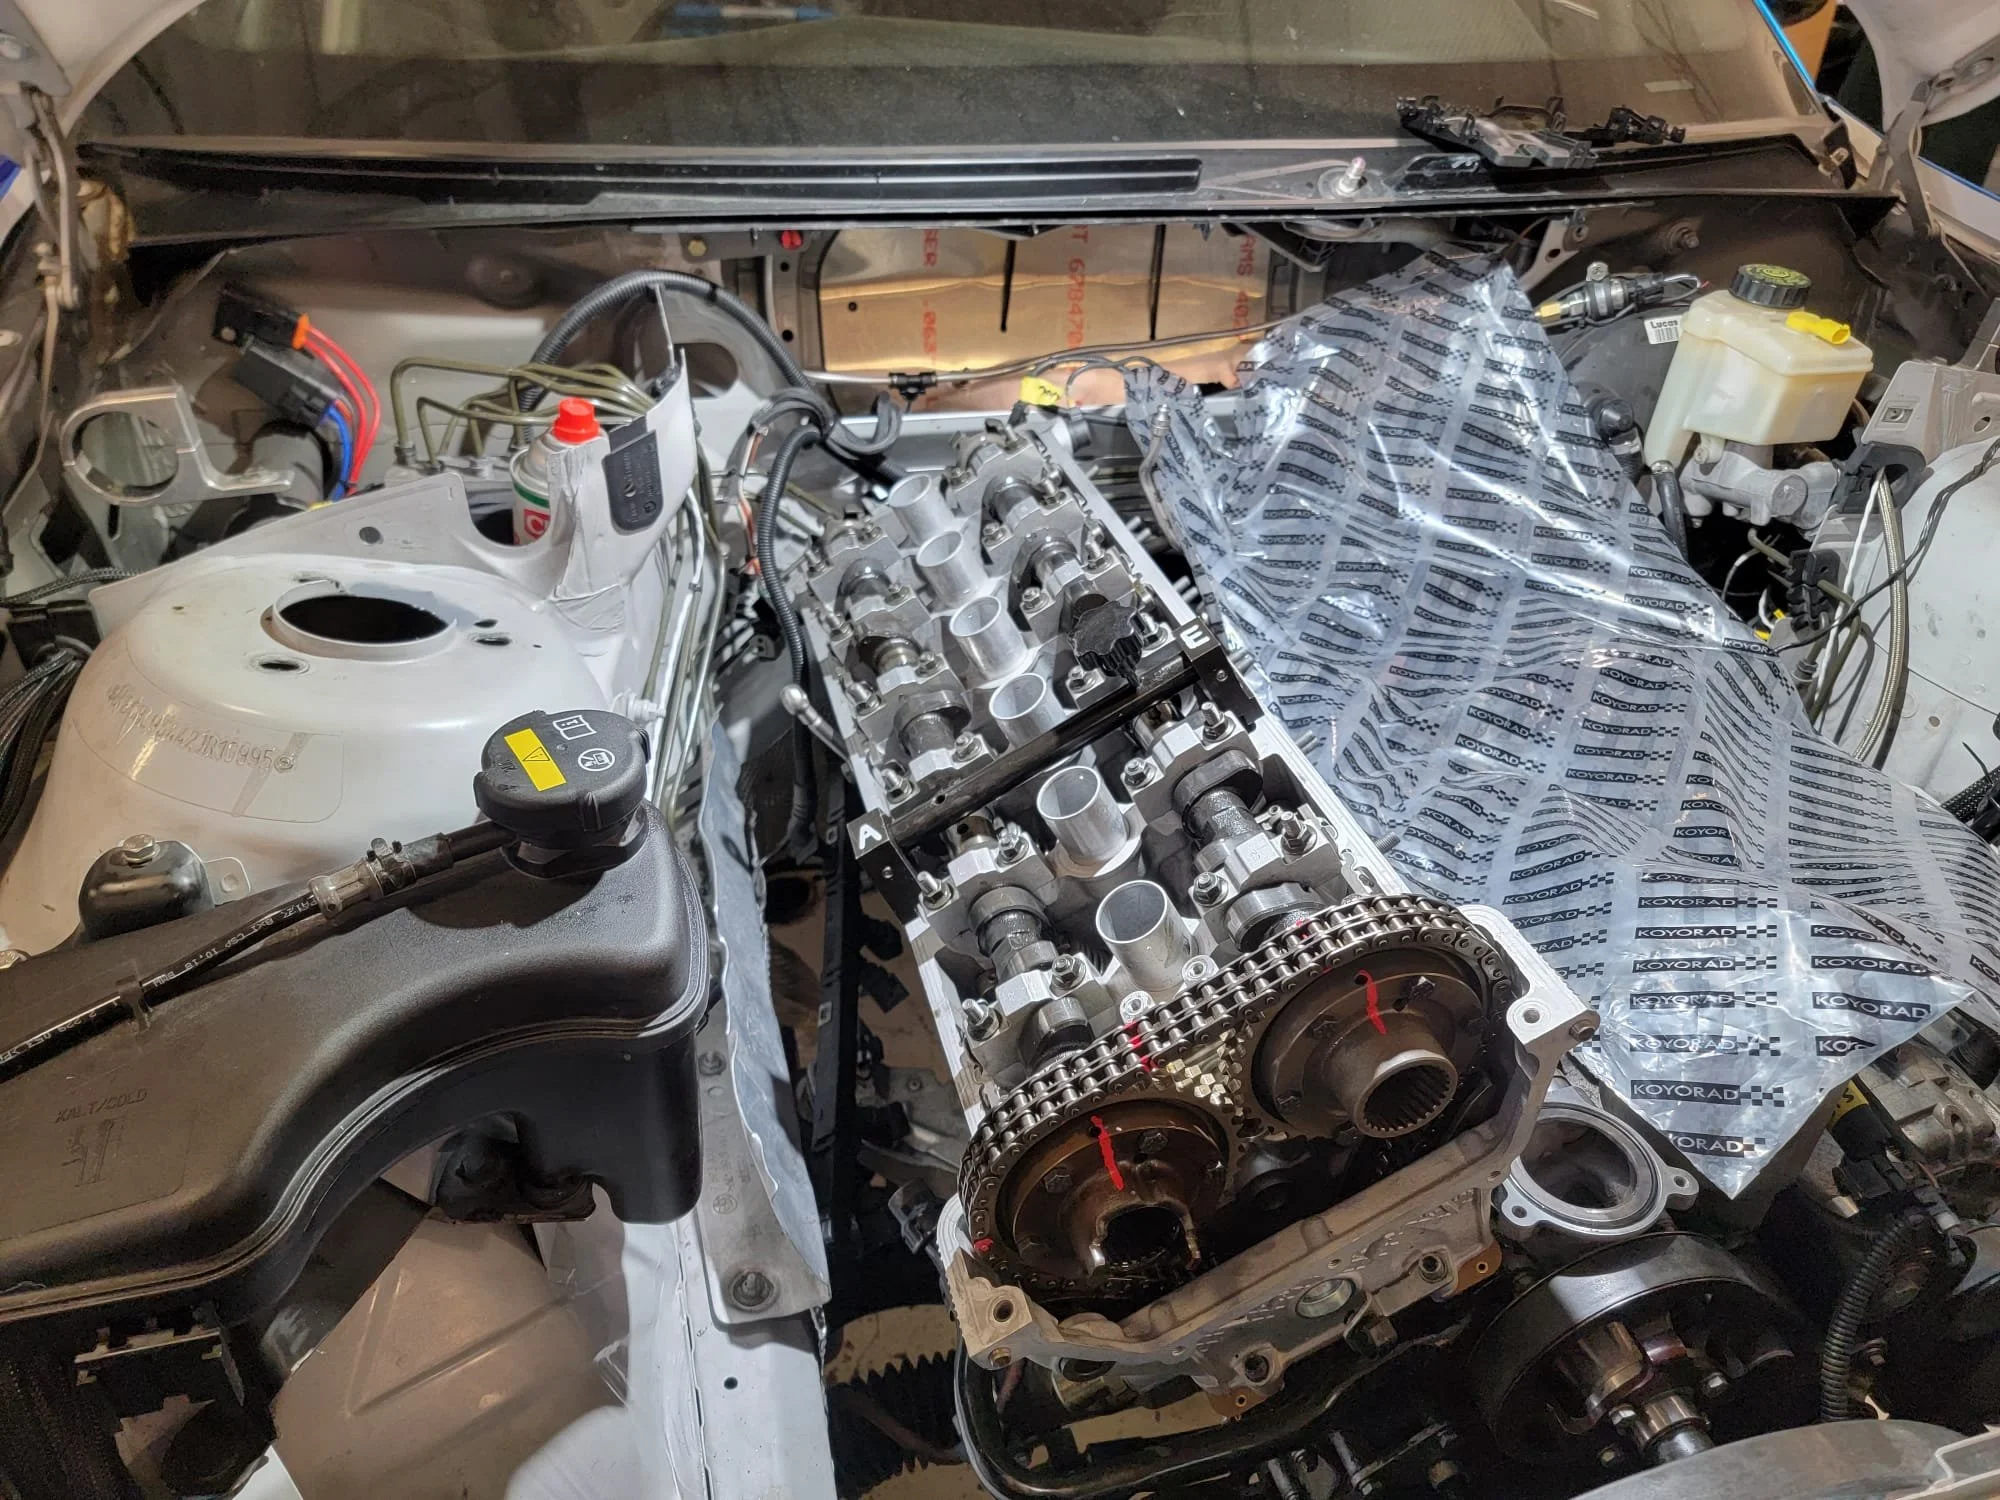
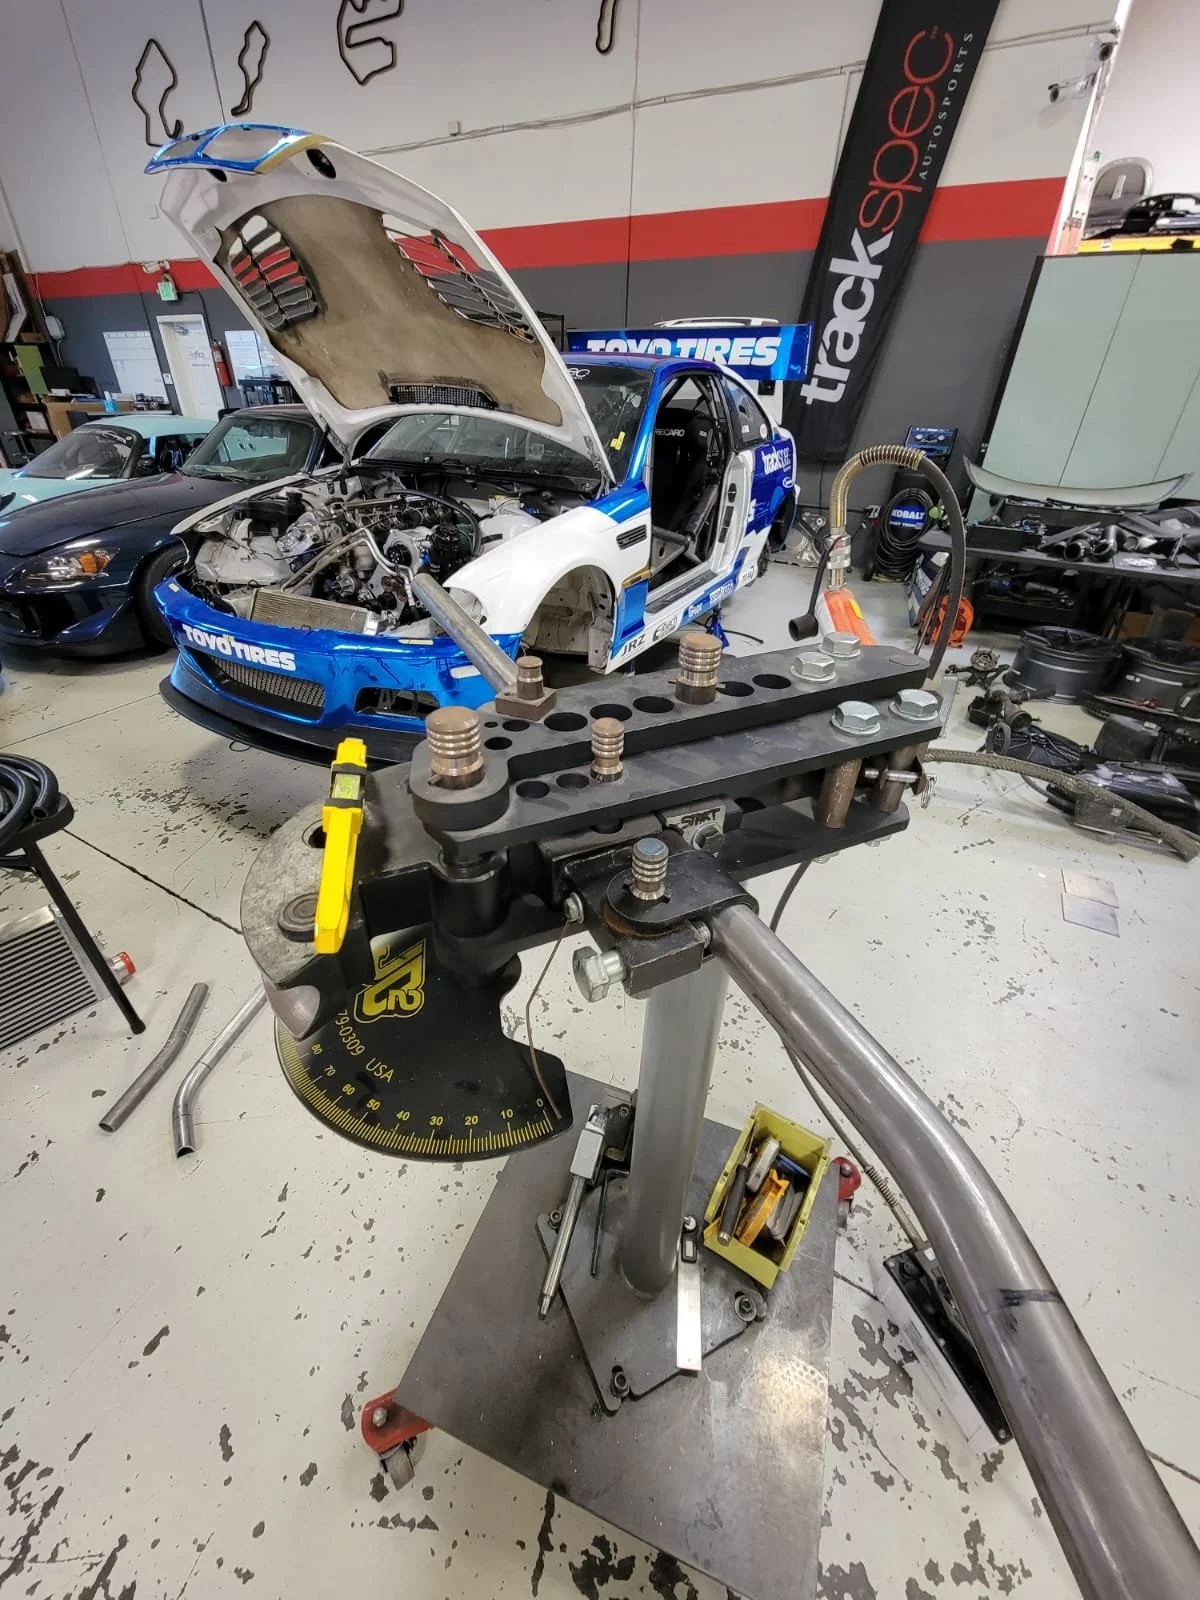
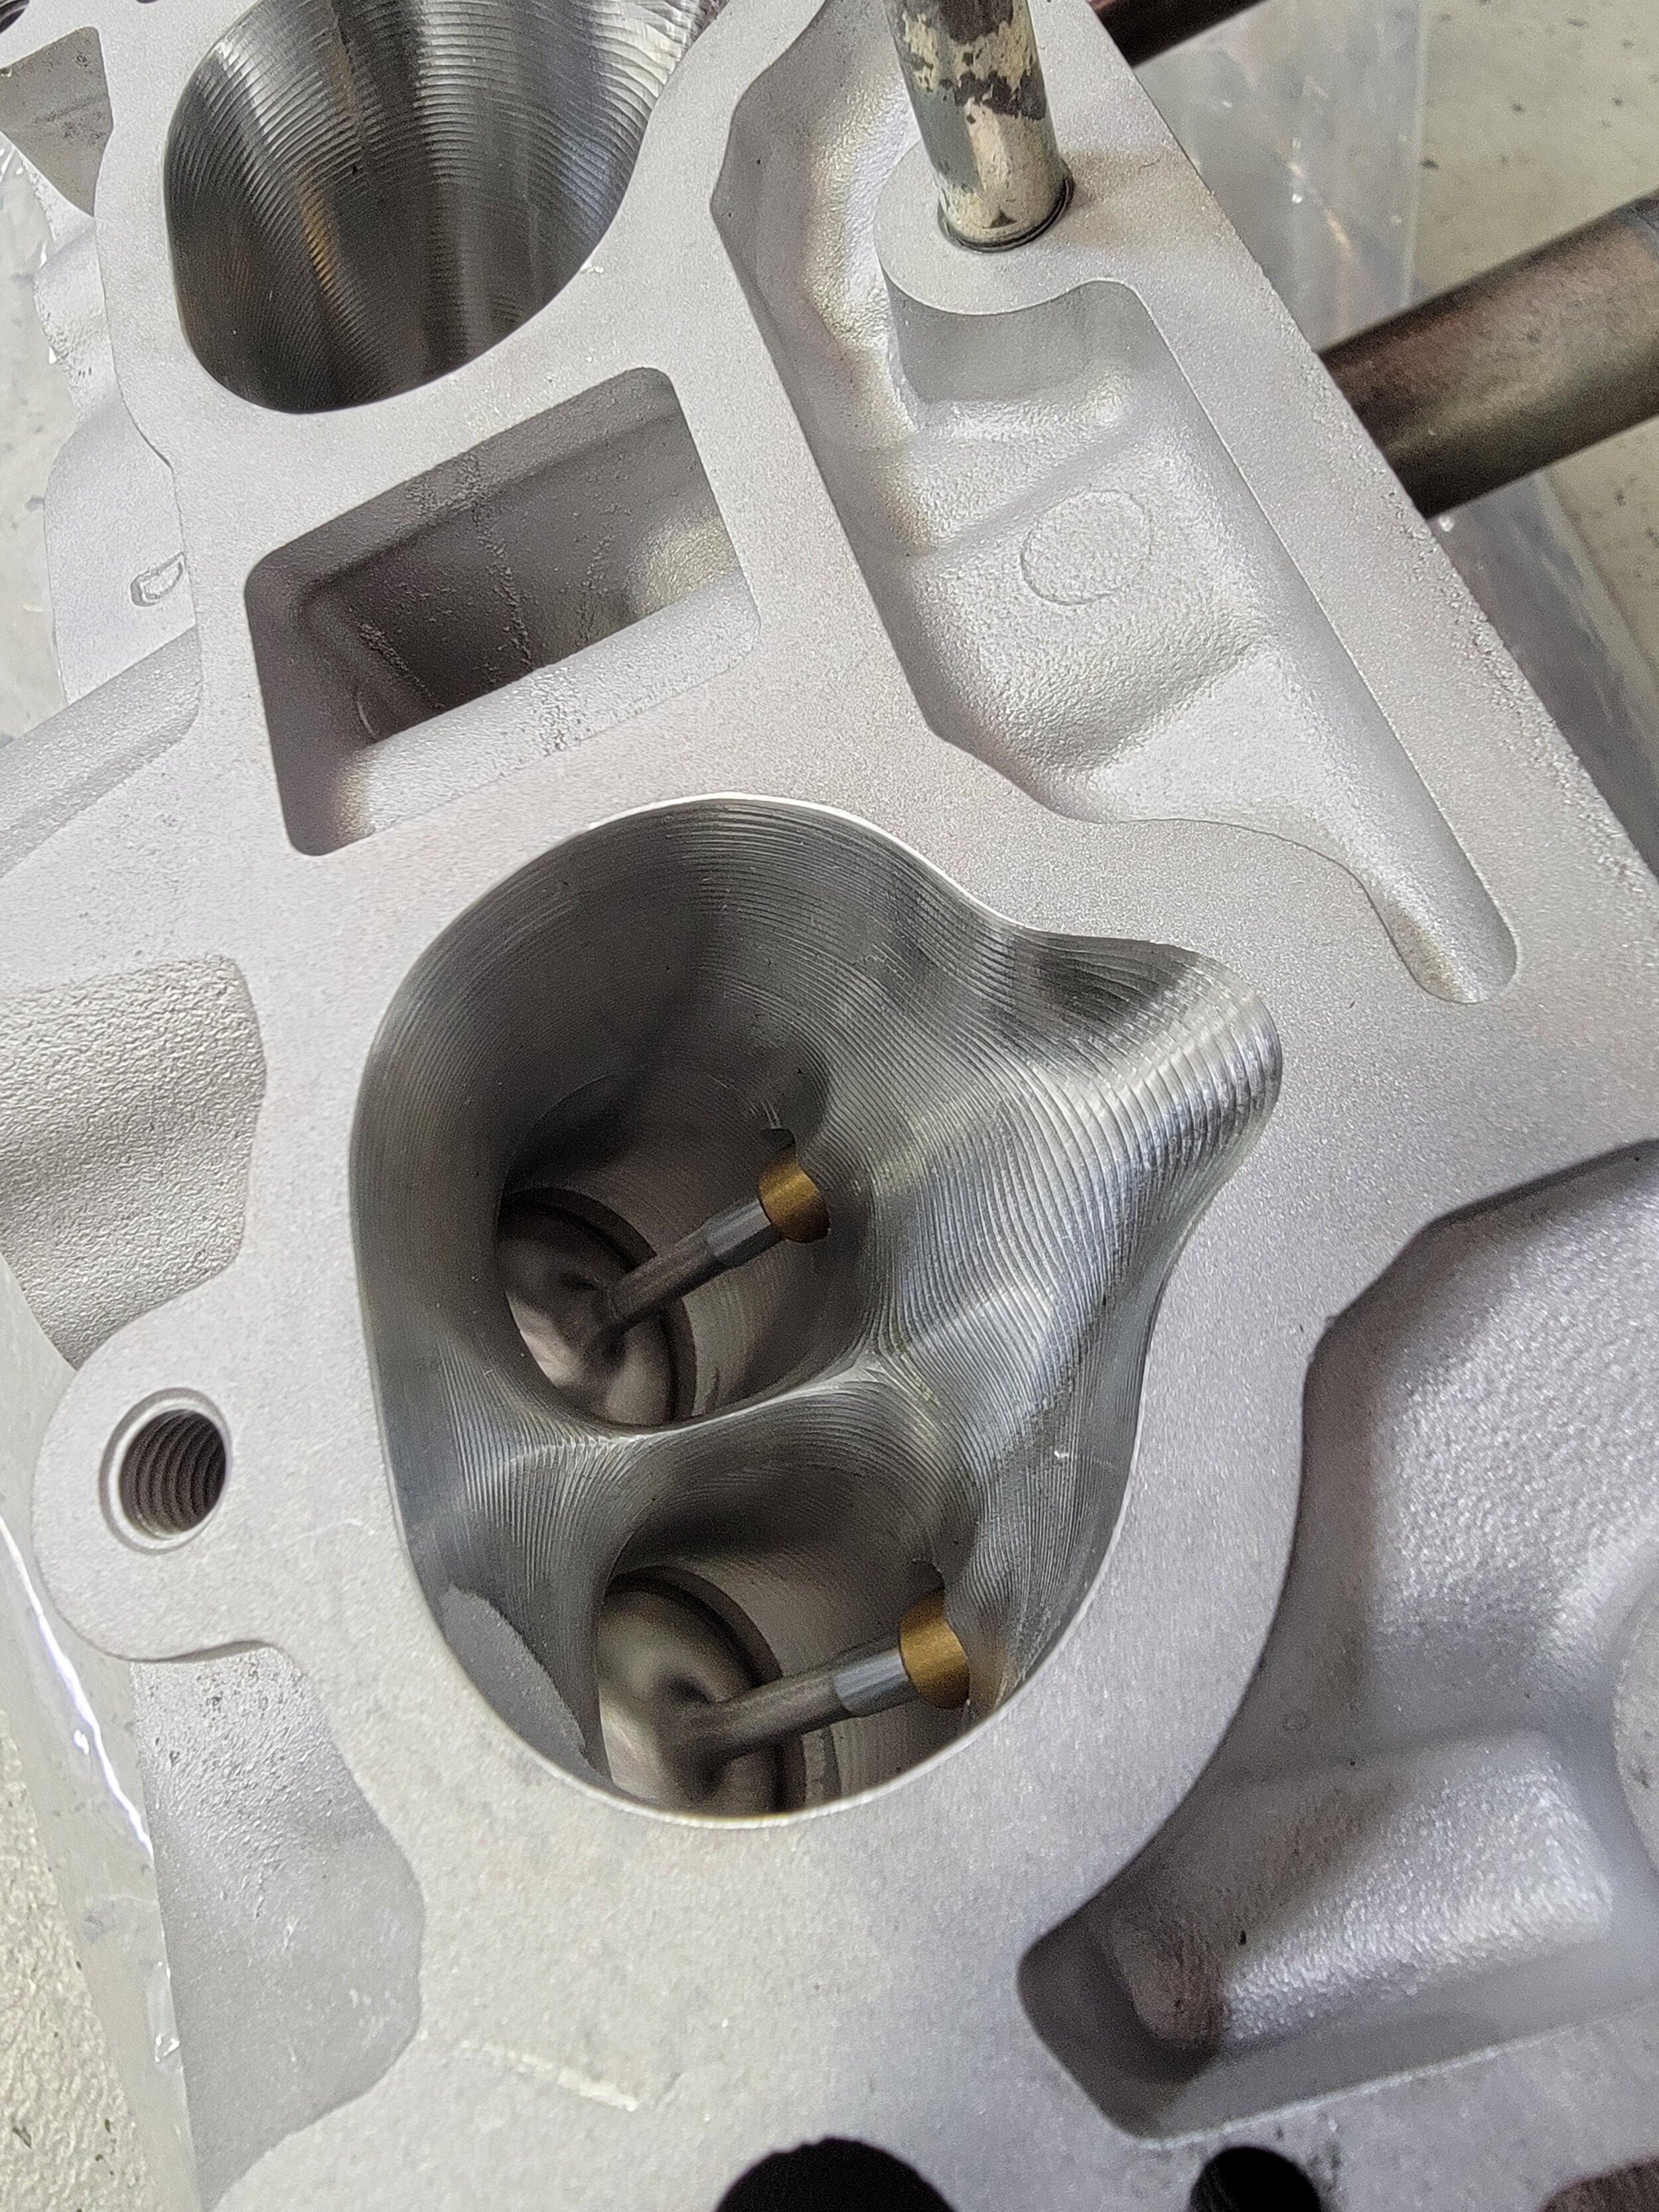
The S54 engine is very capable, but since we’re planning to more than double the original amount of horsepower that BMW intended it to have, we decided to start by doing some head work to handle the boost. Shout-out to Nate and Derek from Steeldust Machine for building us a beautiful head with bronze guides, Supertech Performance valves (oversized intake, standard exhaust), titanium springs, and retainers. It should be more than able to handle the power levels we intend to reach. But we are also working on building another engine with upgraded forged Supertech pistons later in the year. Either one might serve as a great back-up.
Built S54 Head with supertech Valvetrain
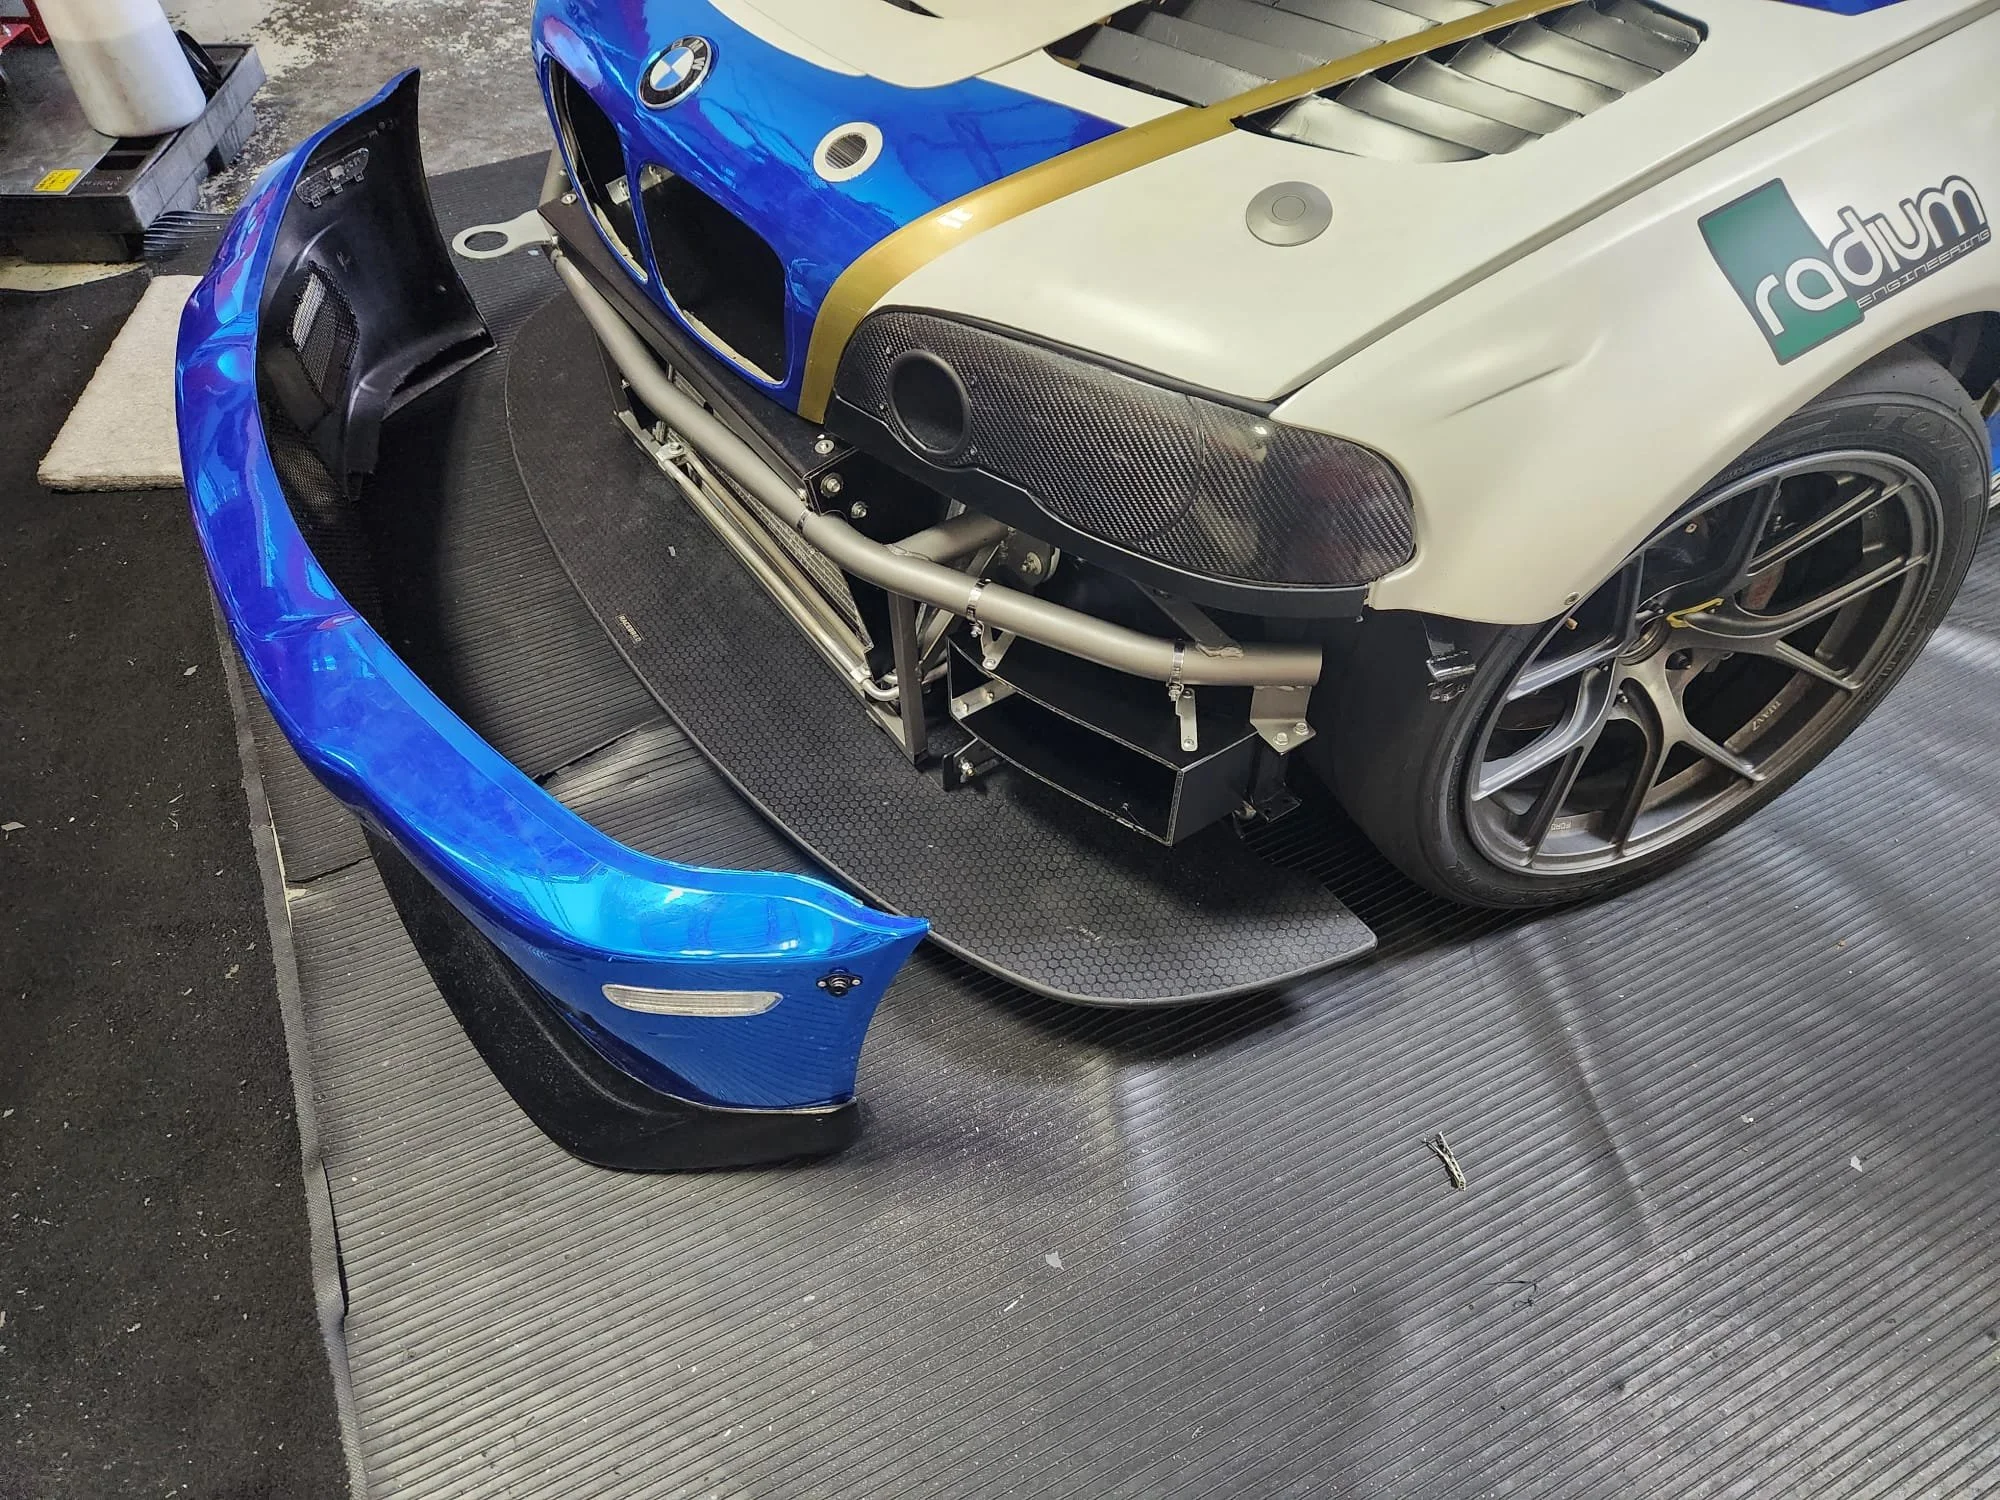
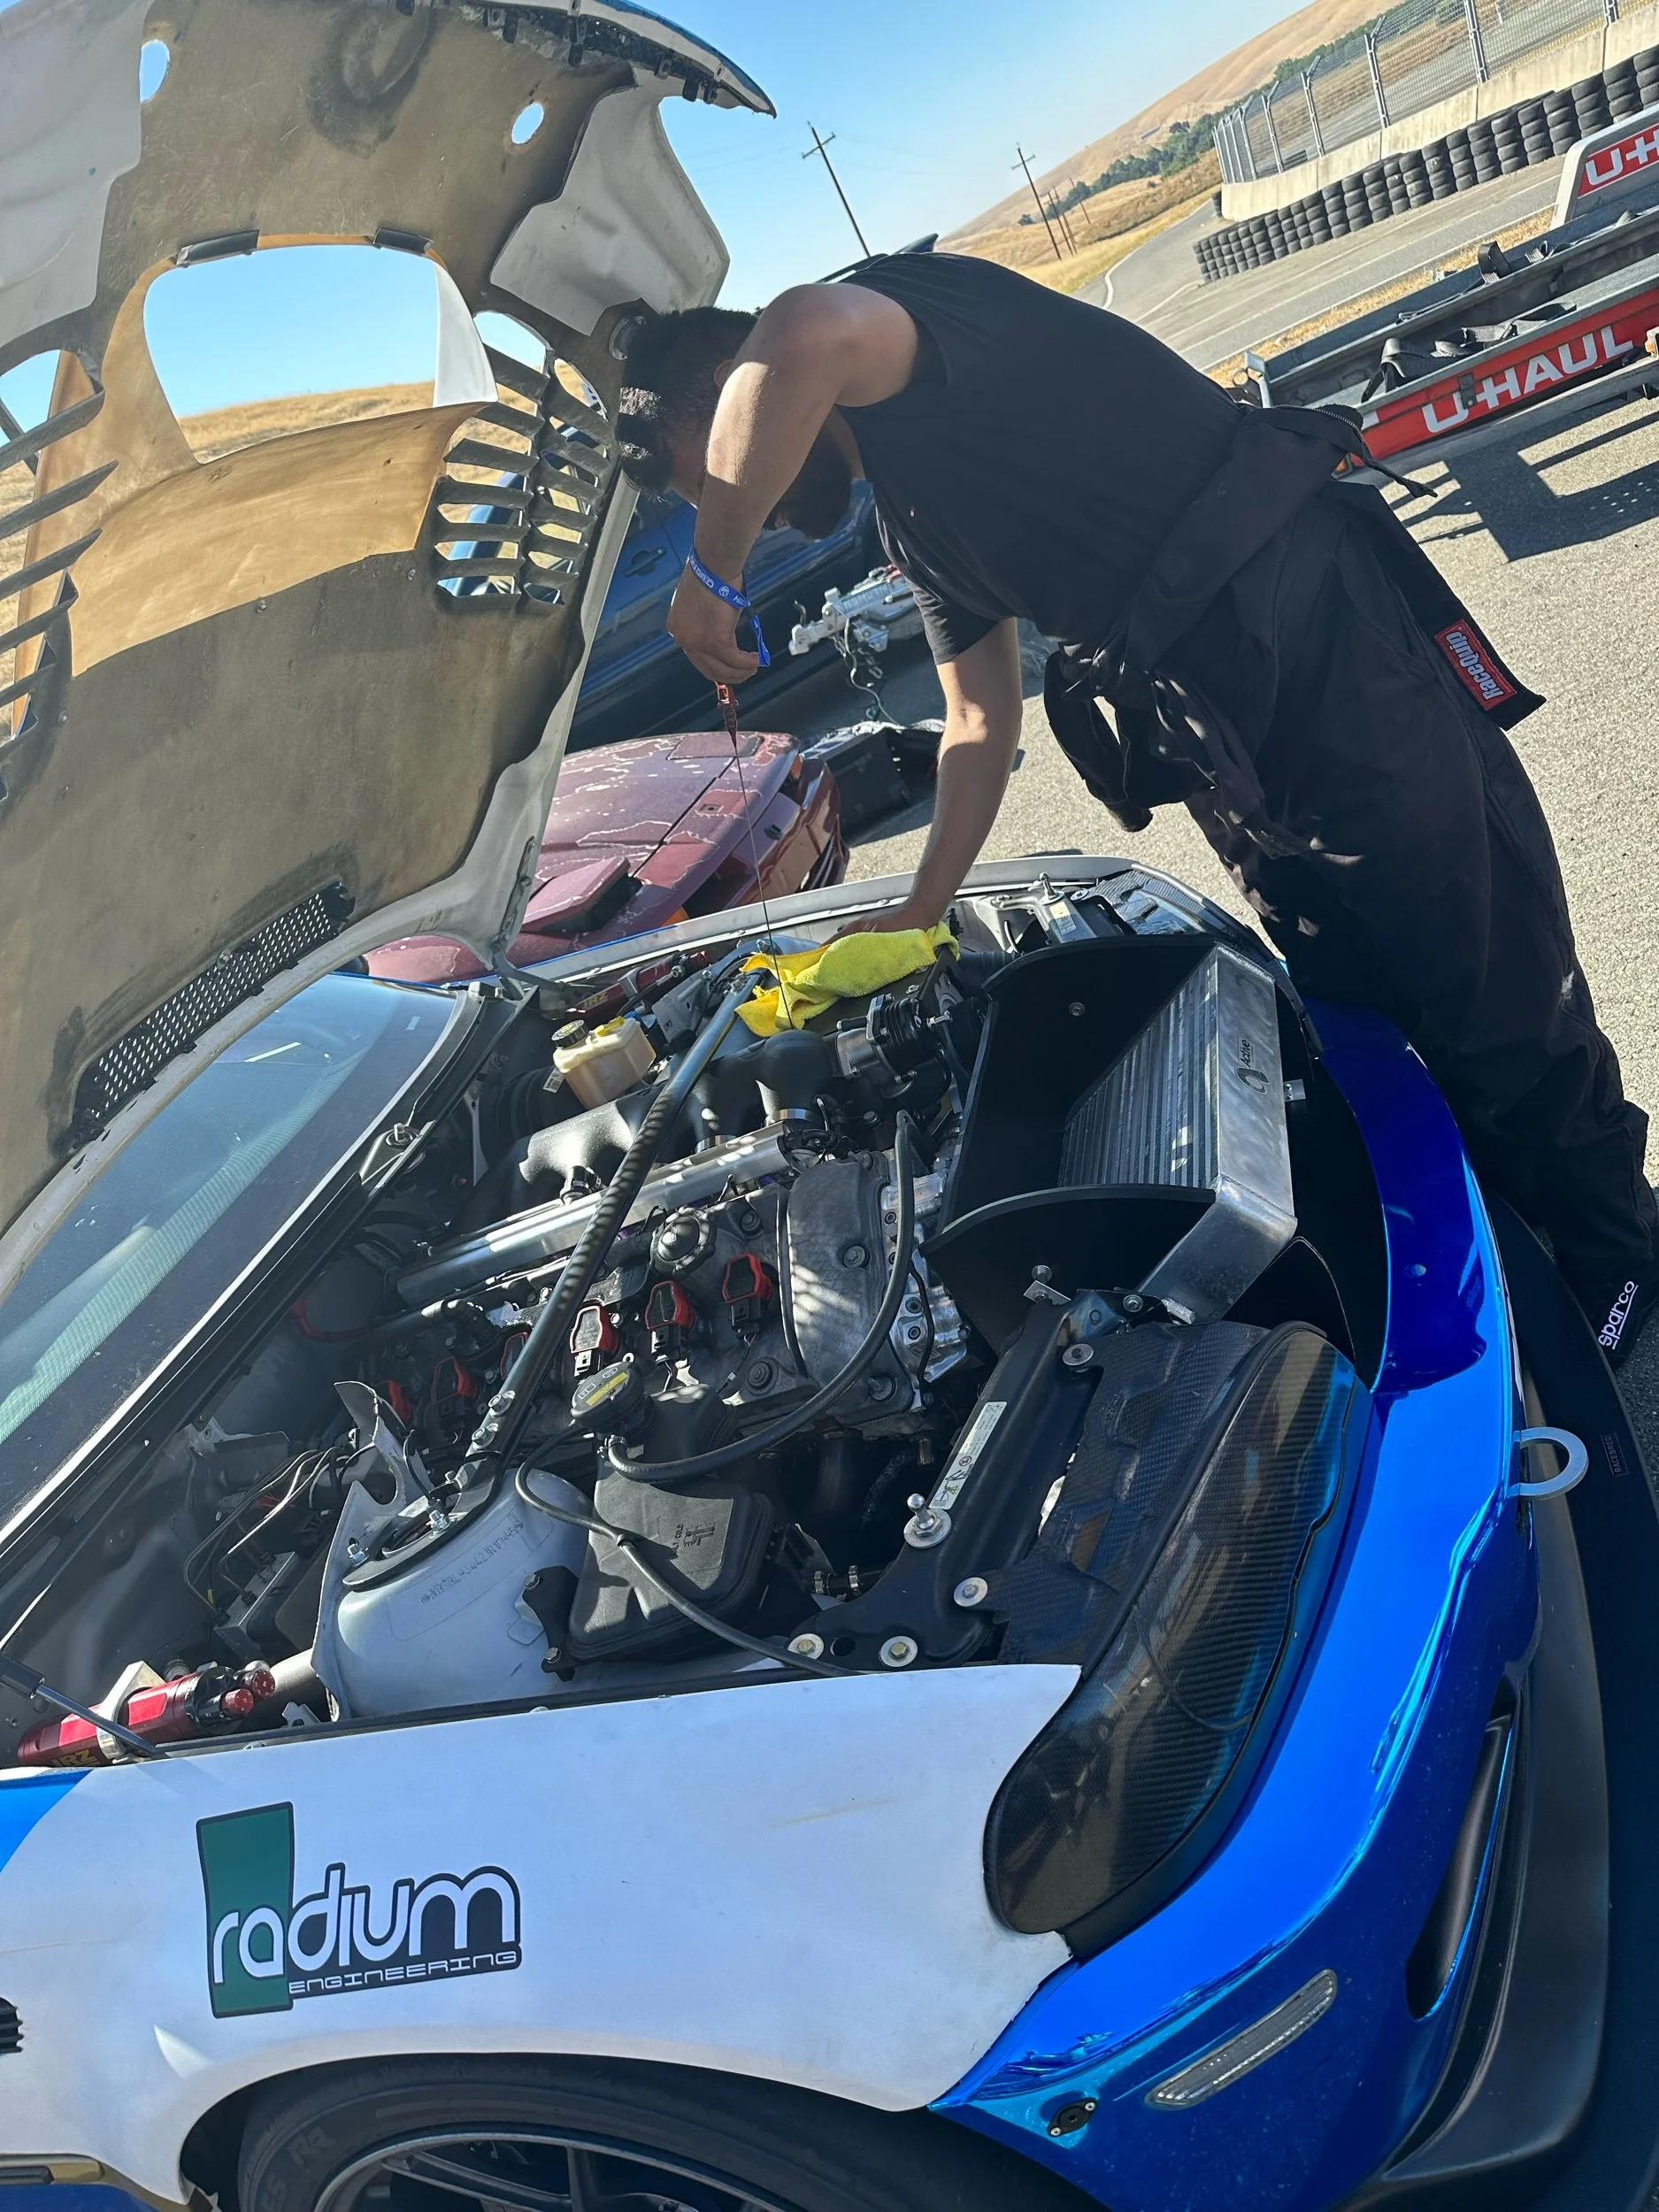
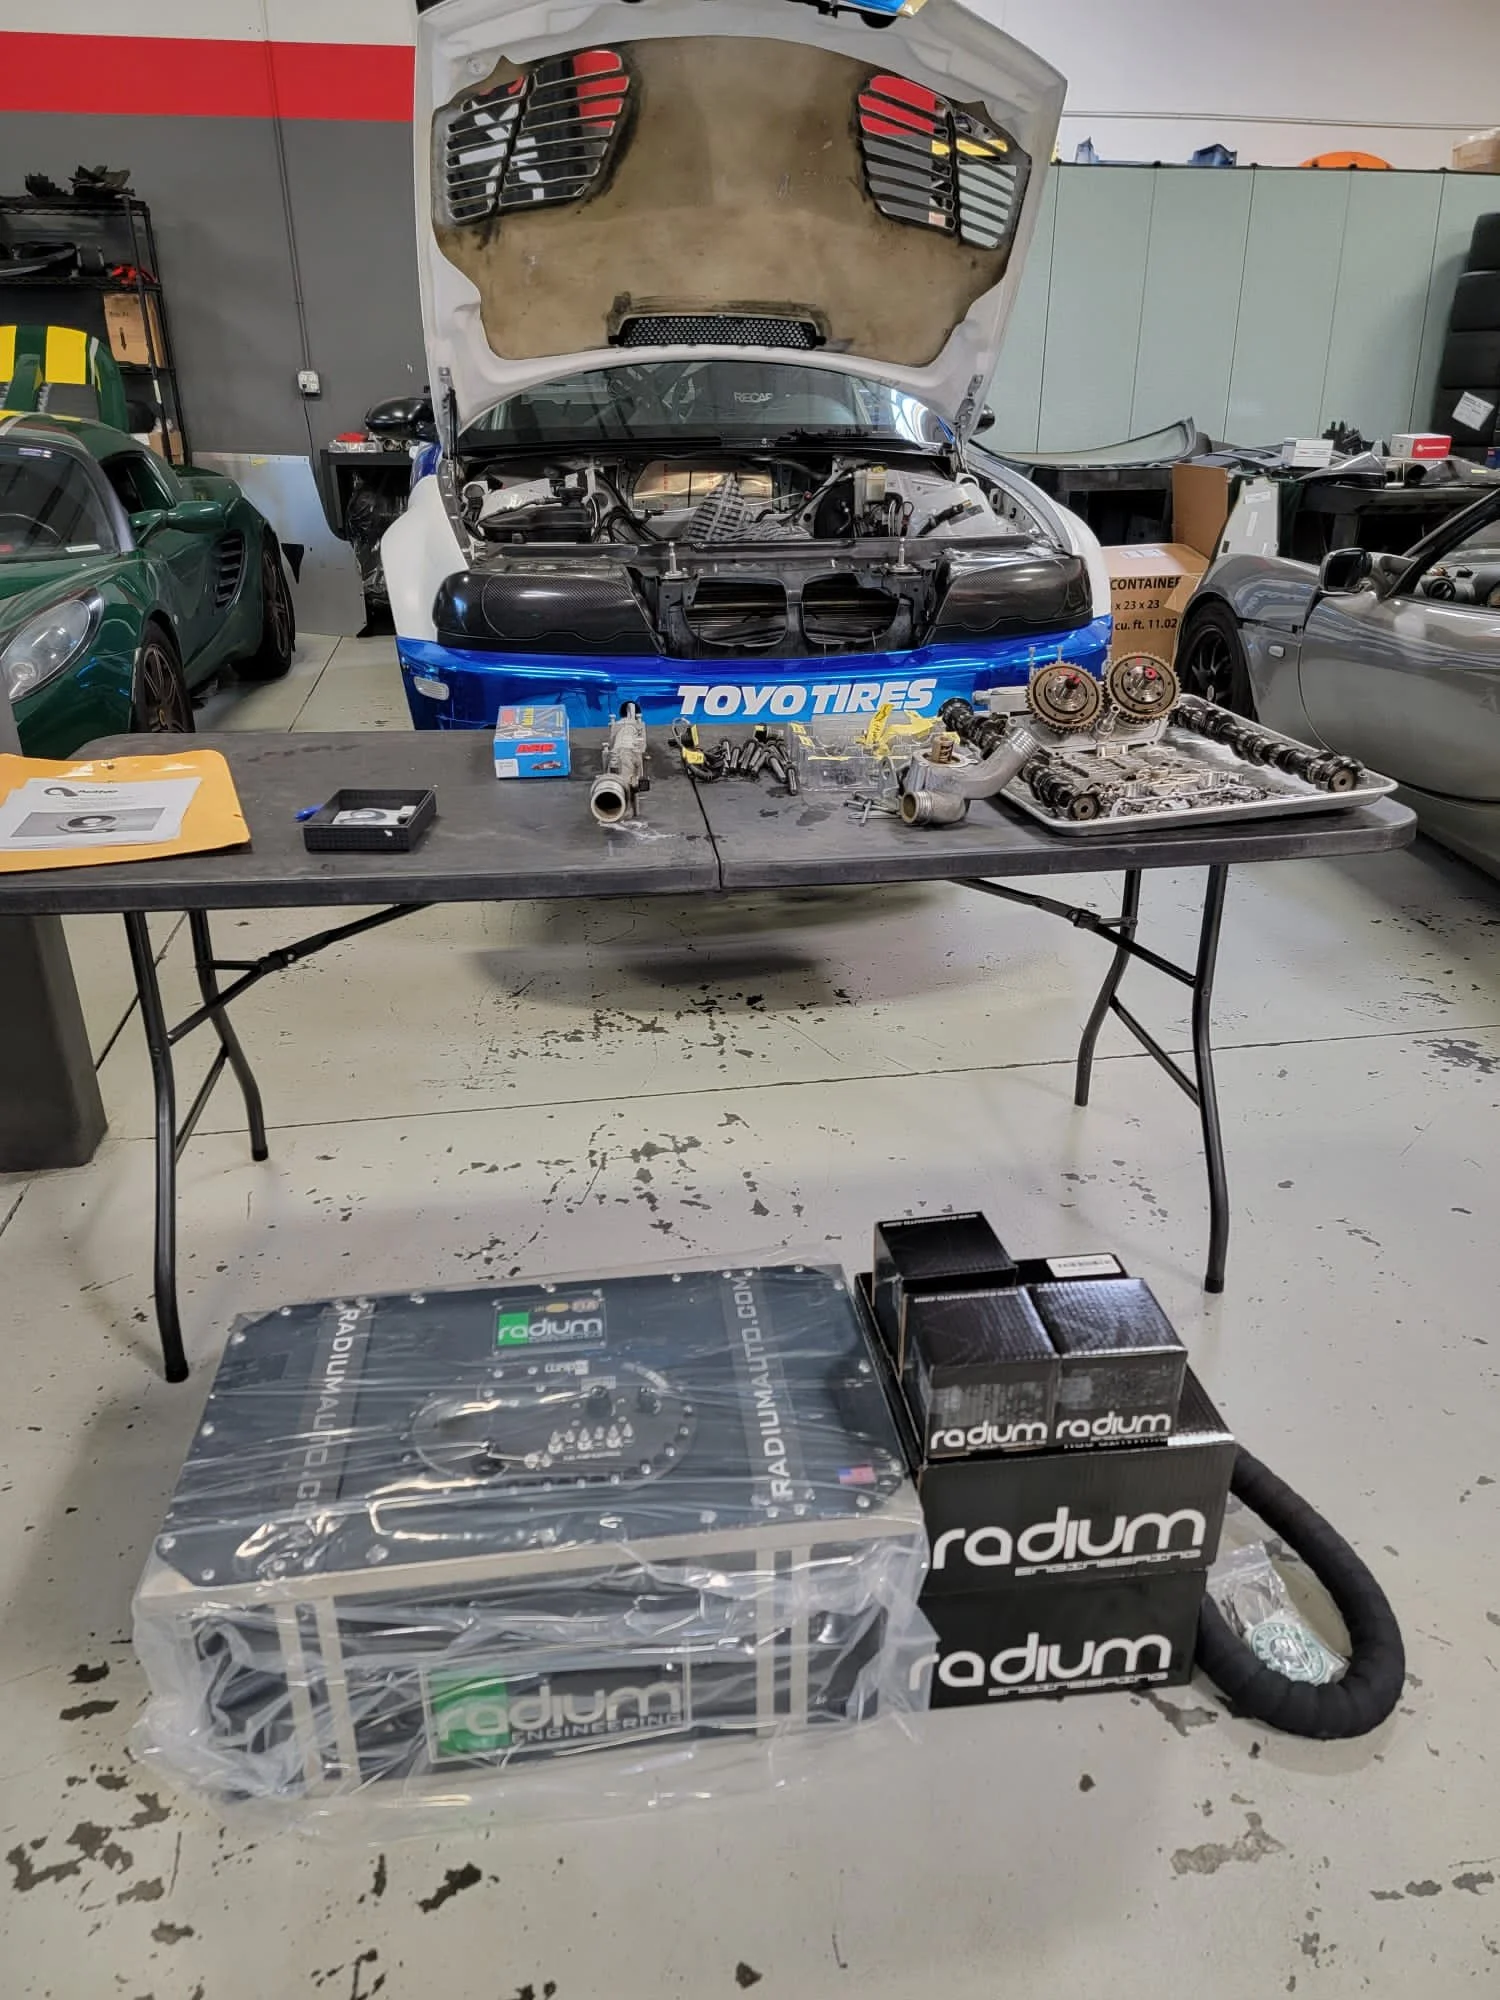
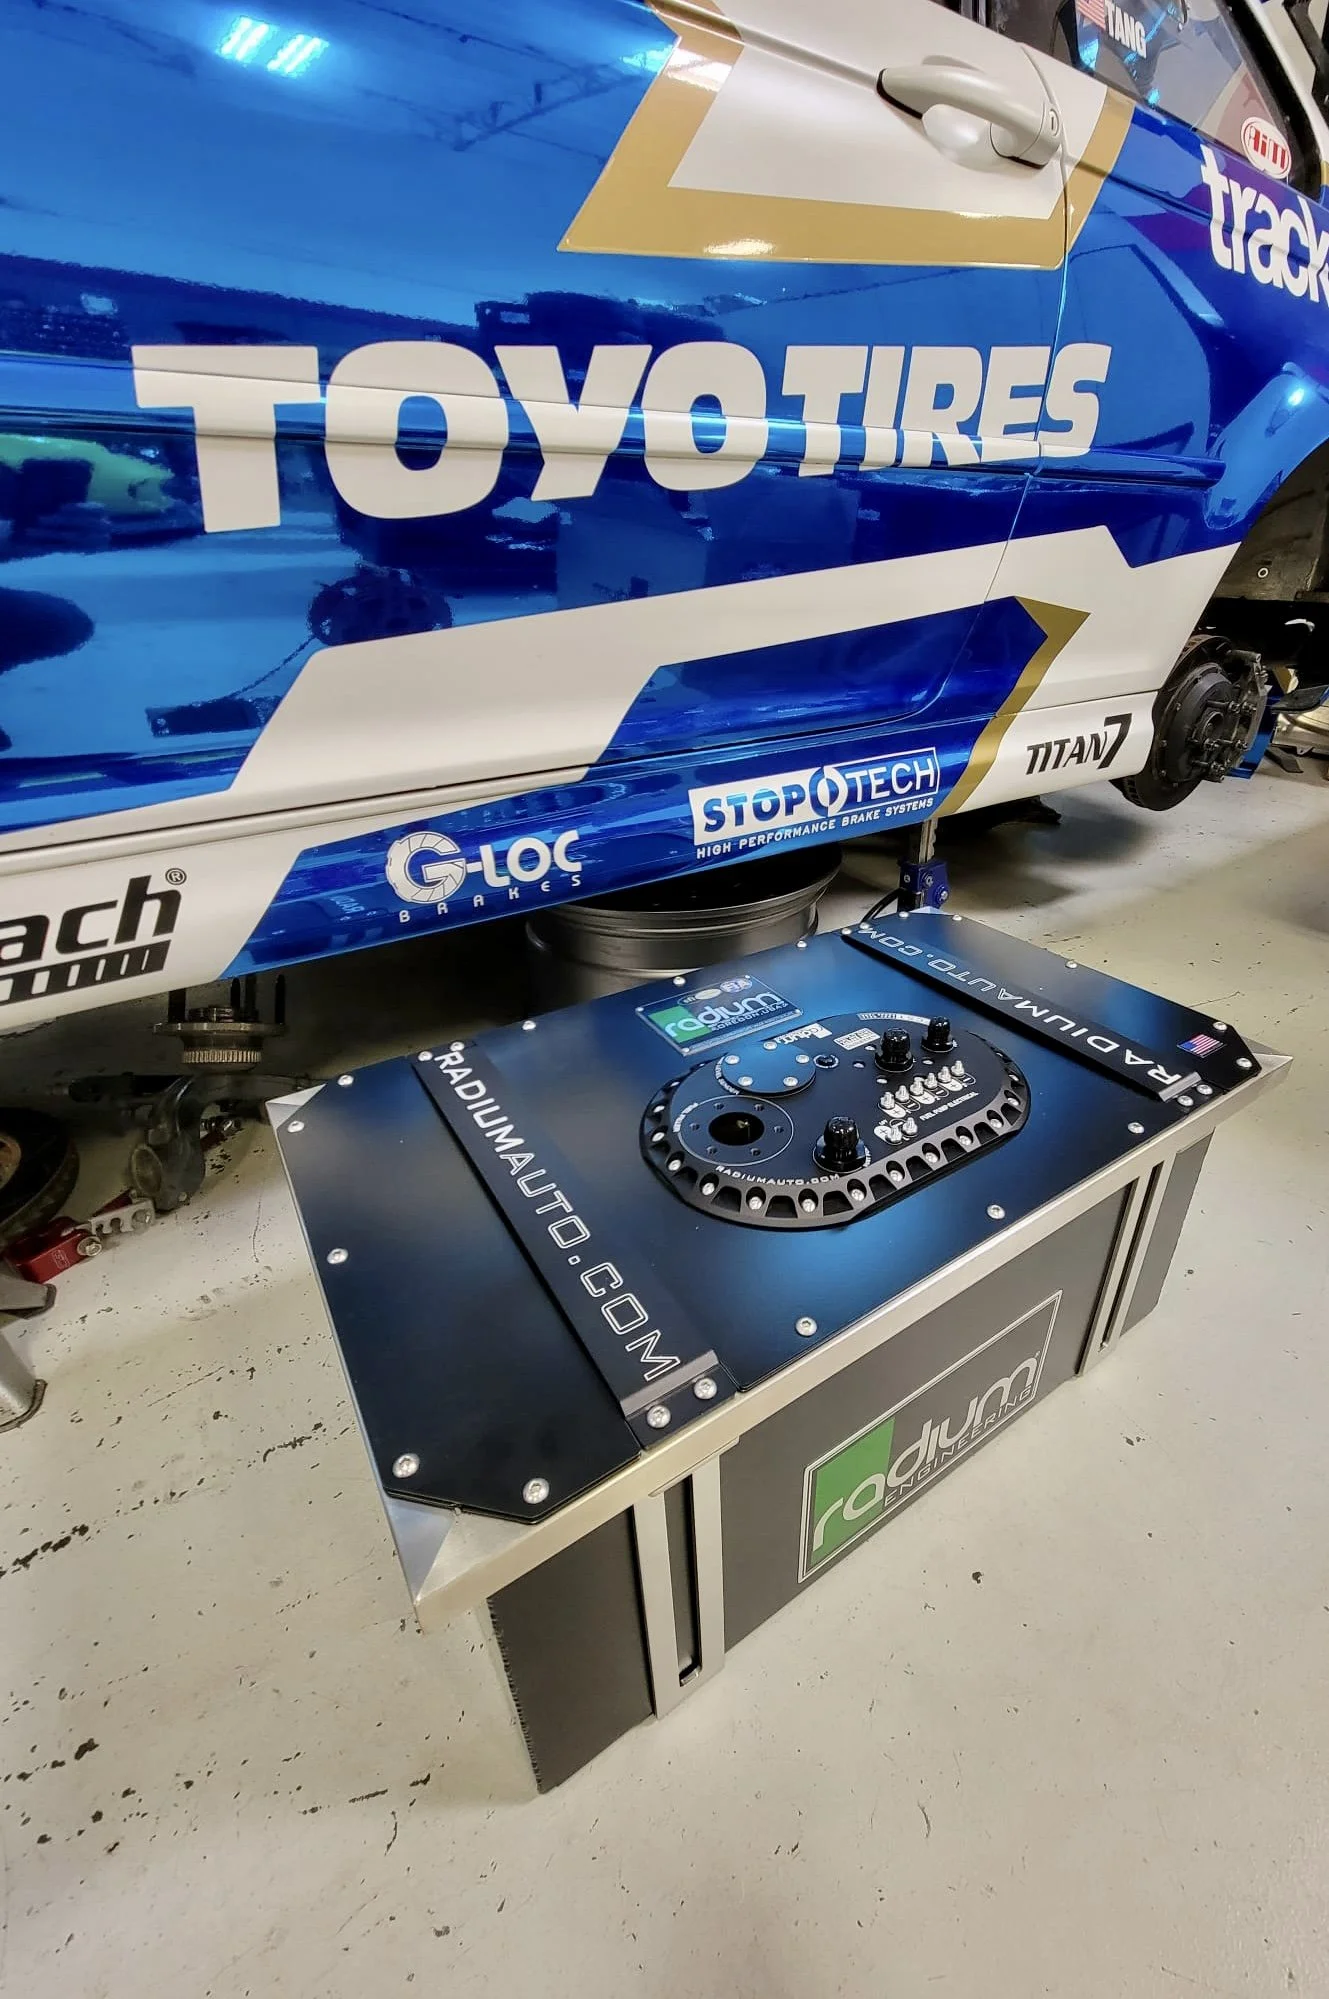
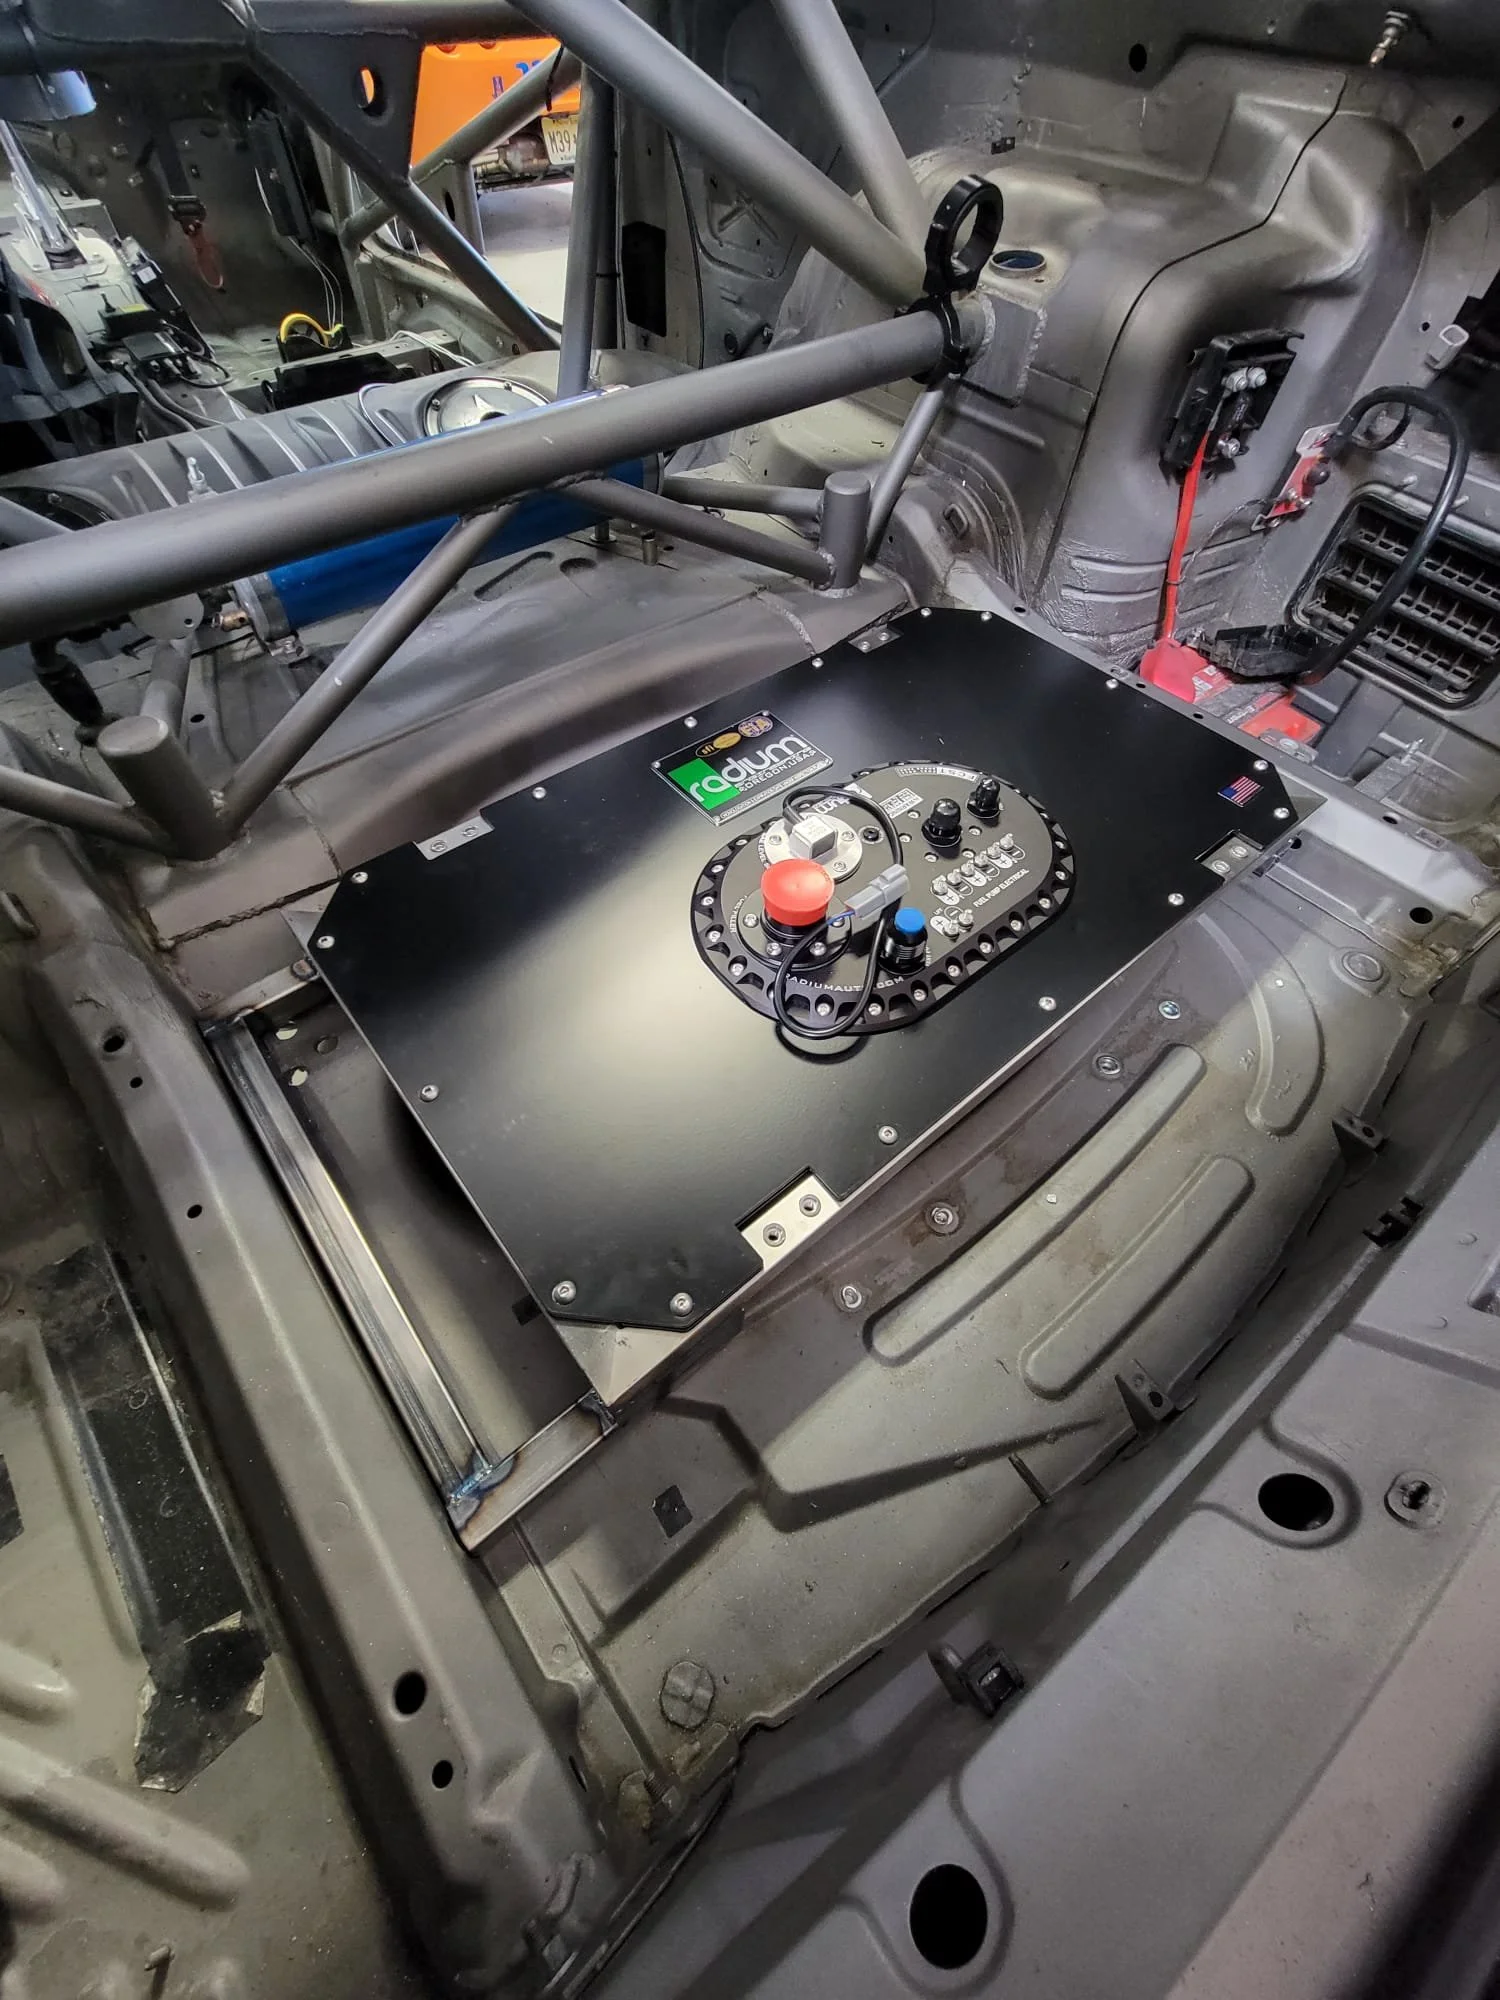
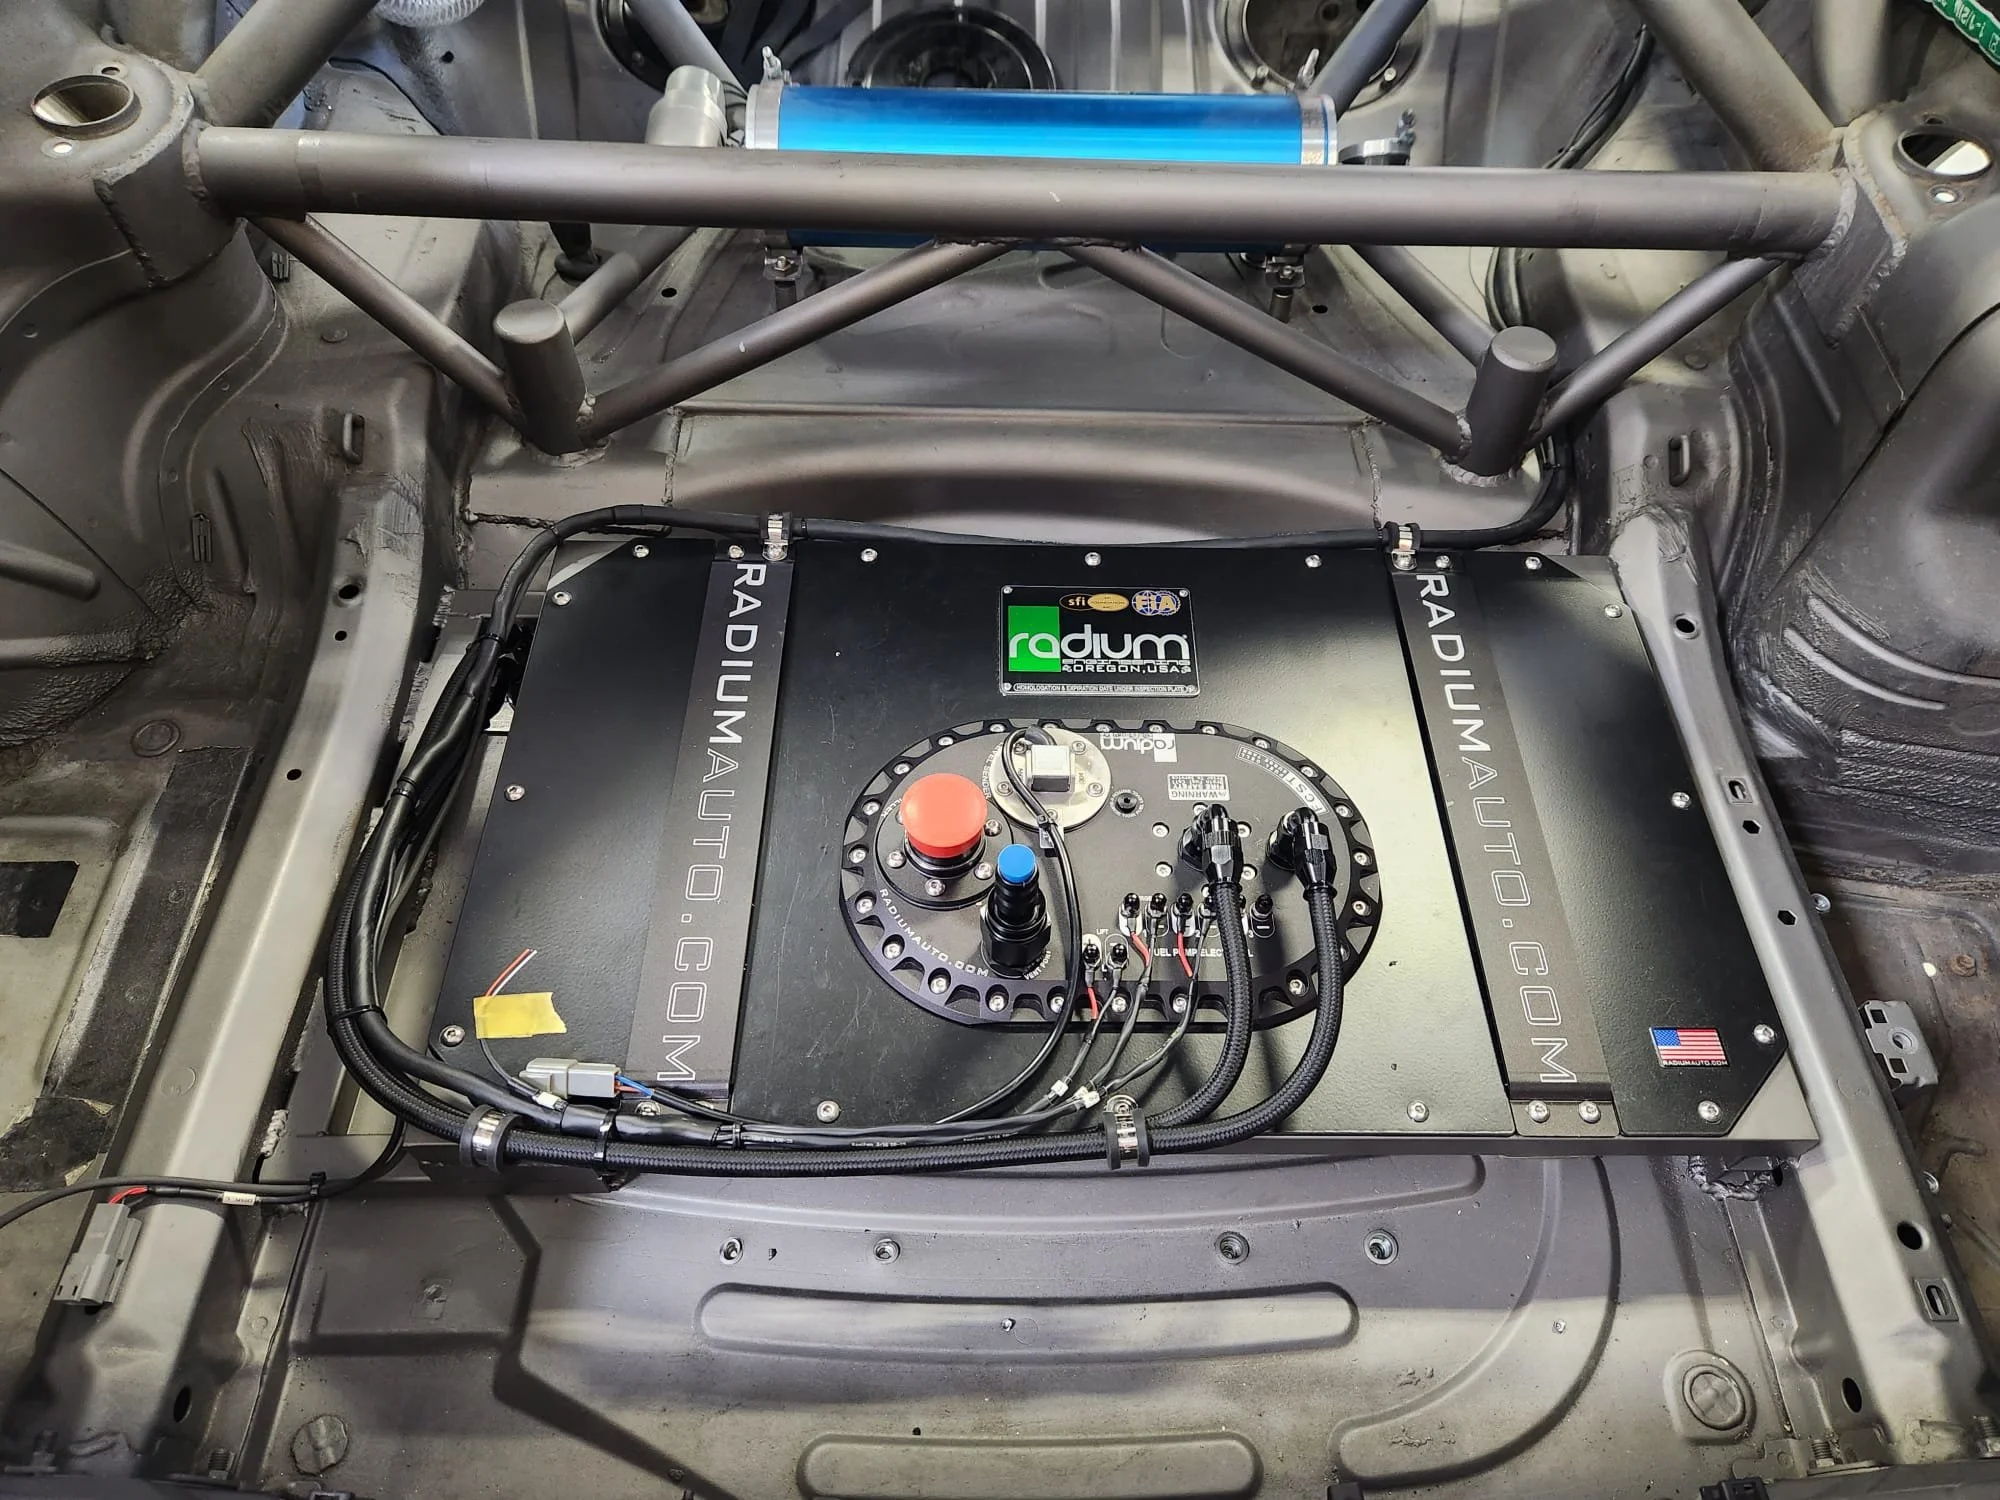
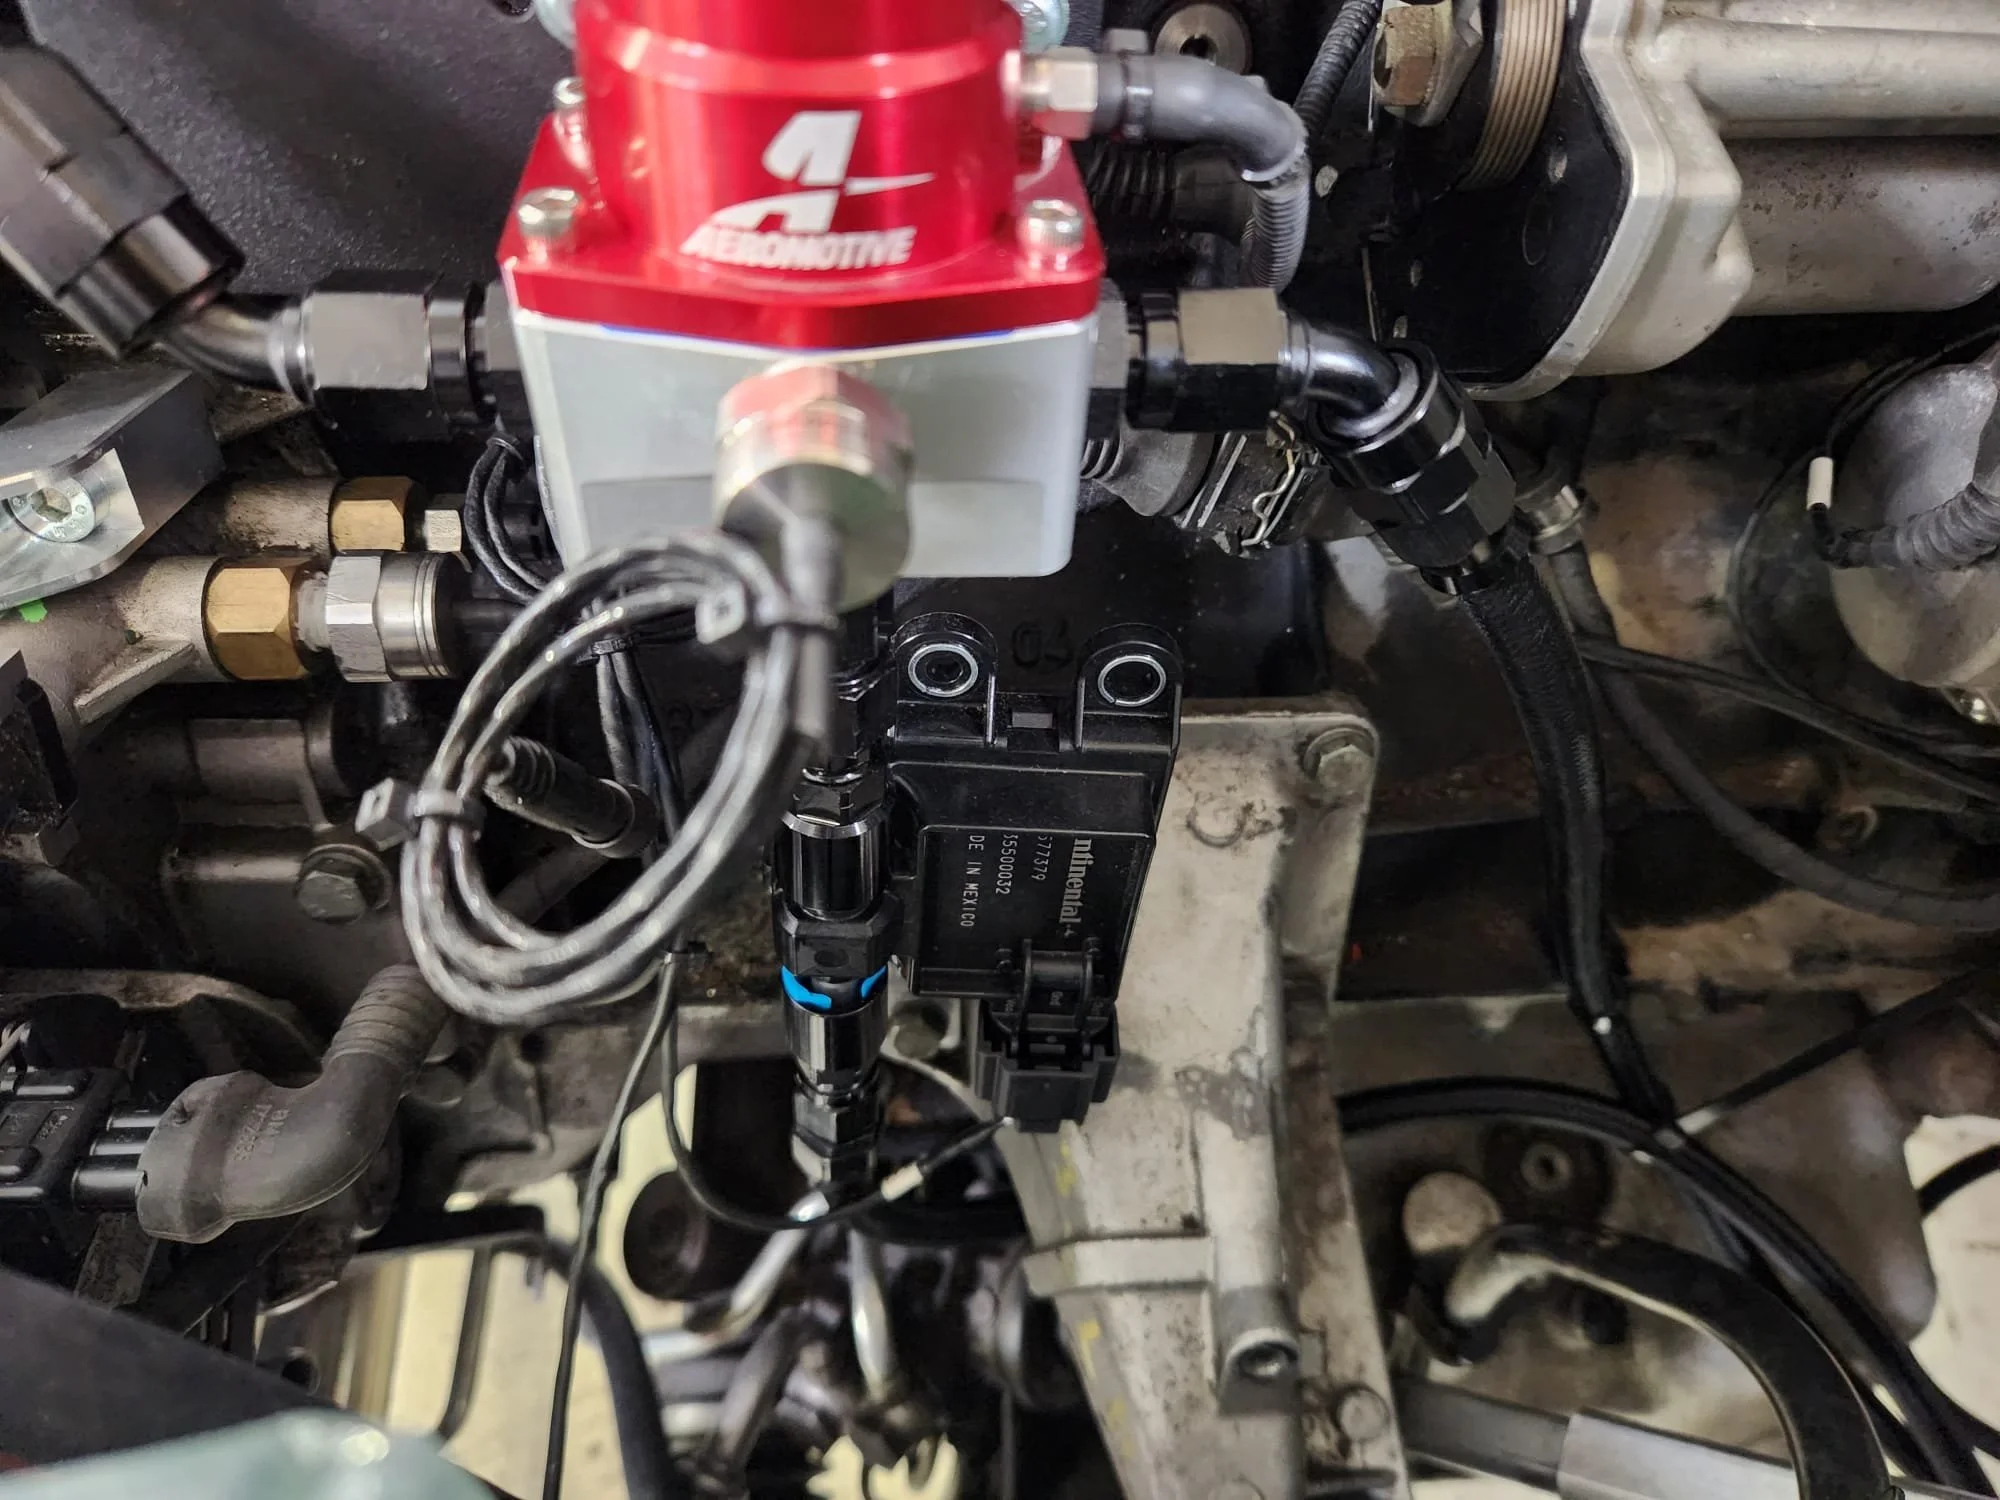
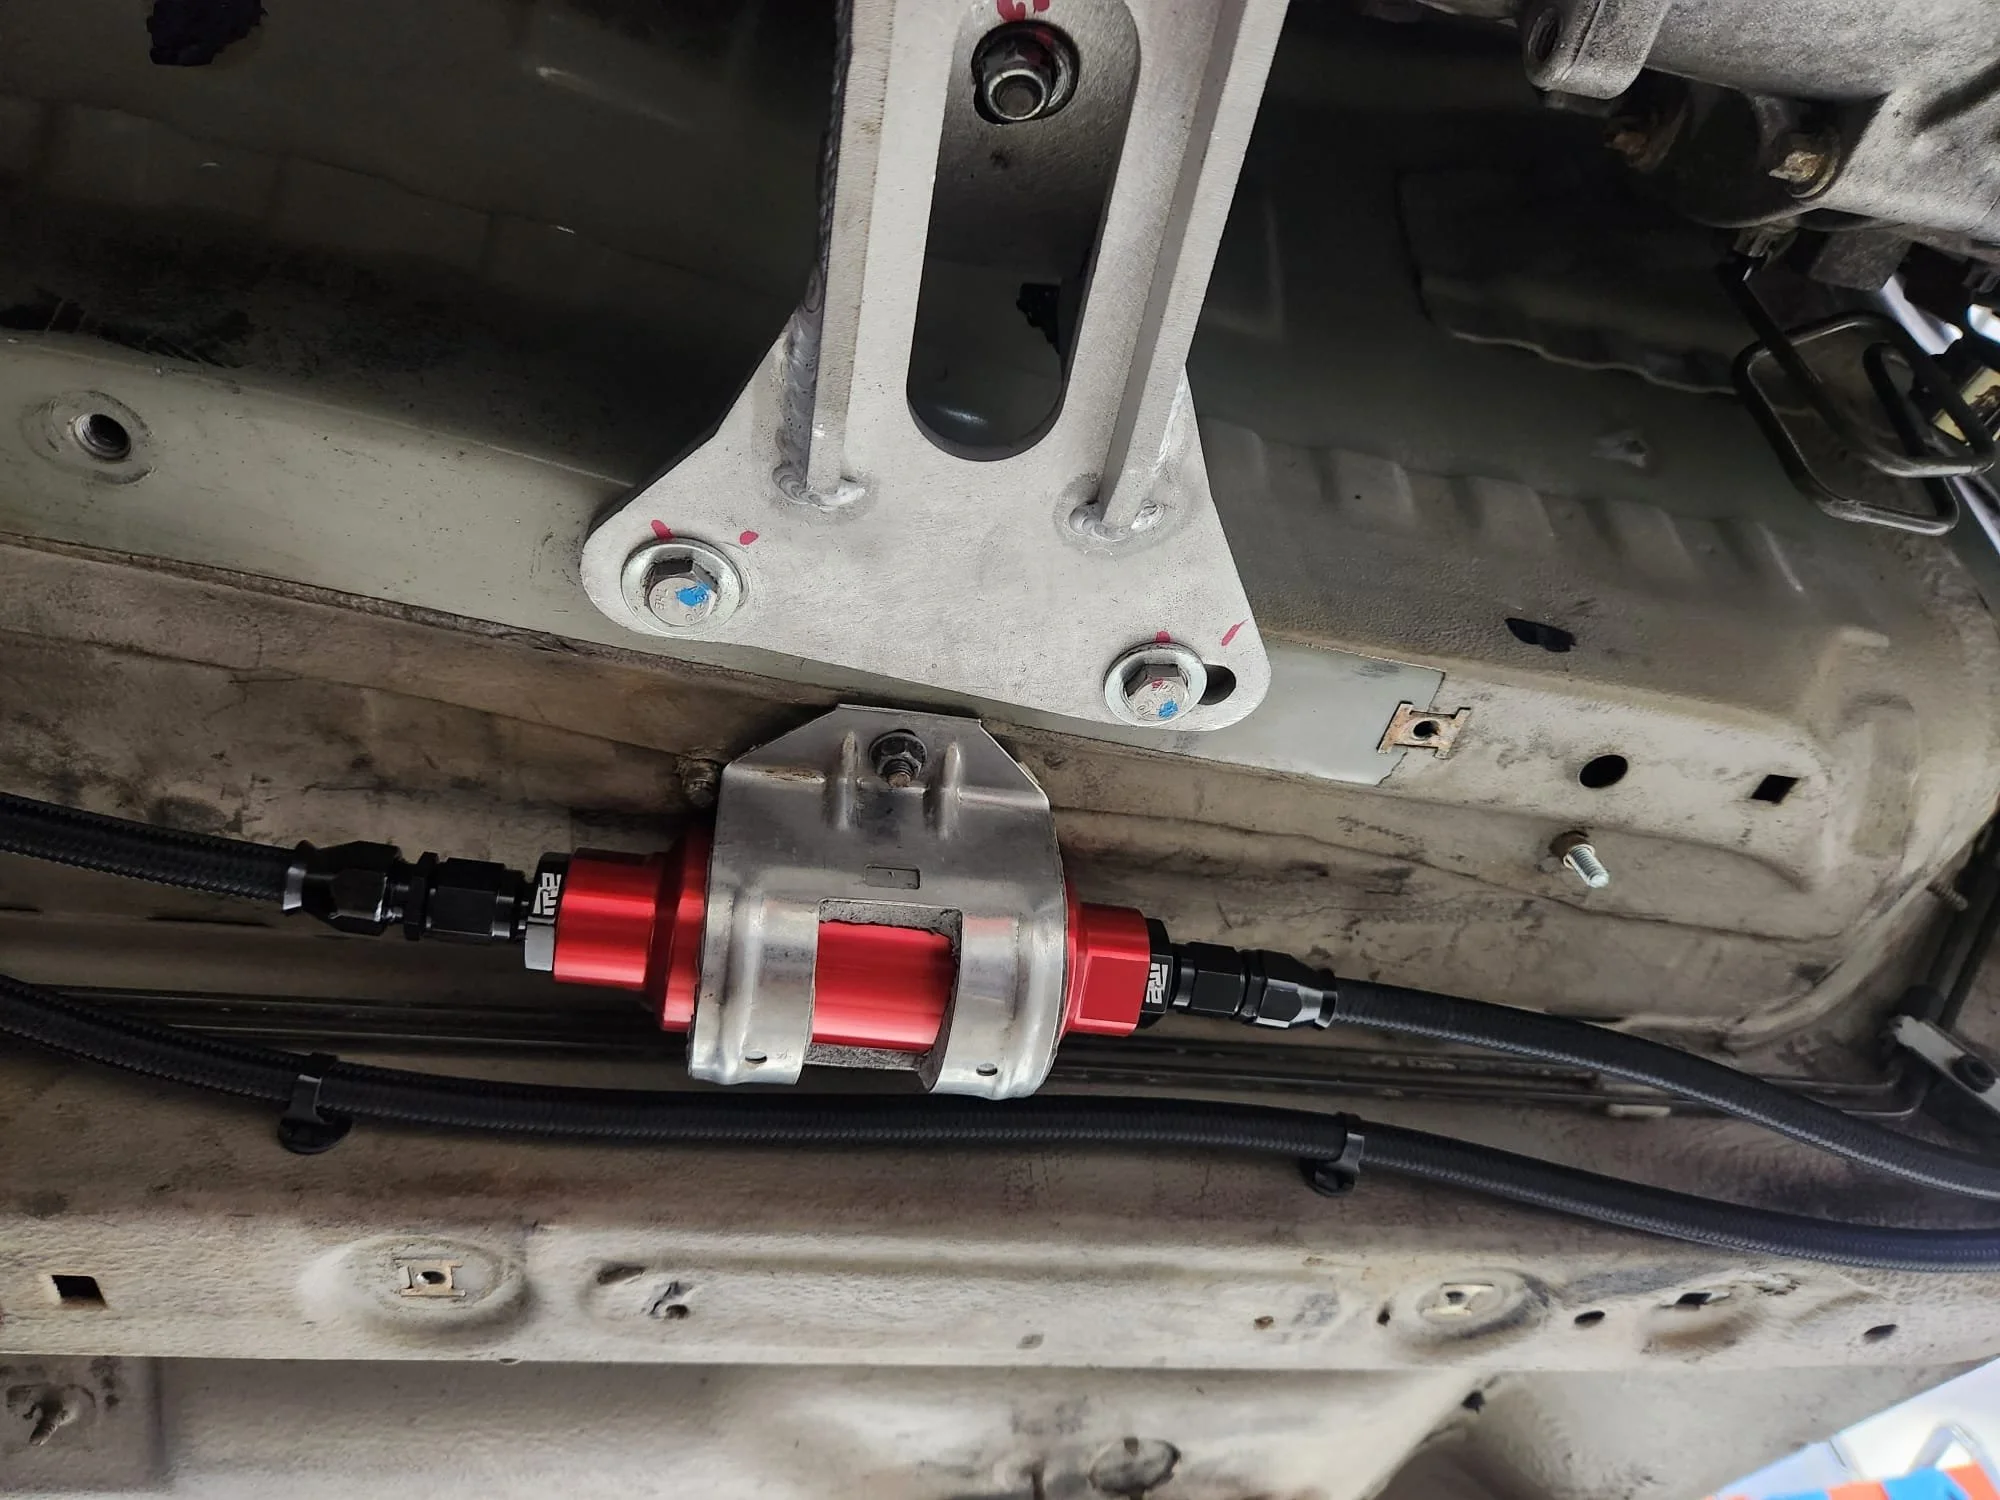
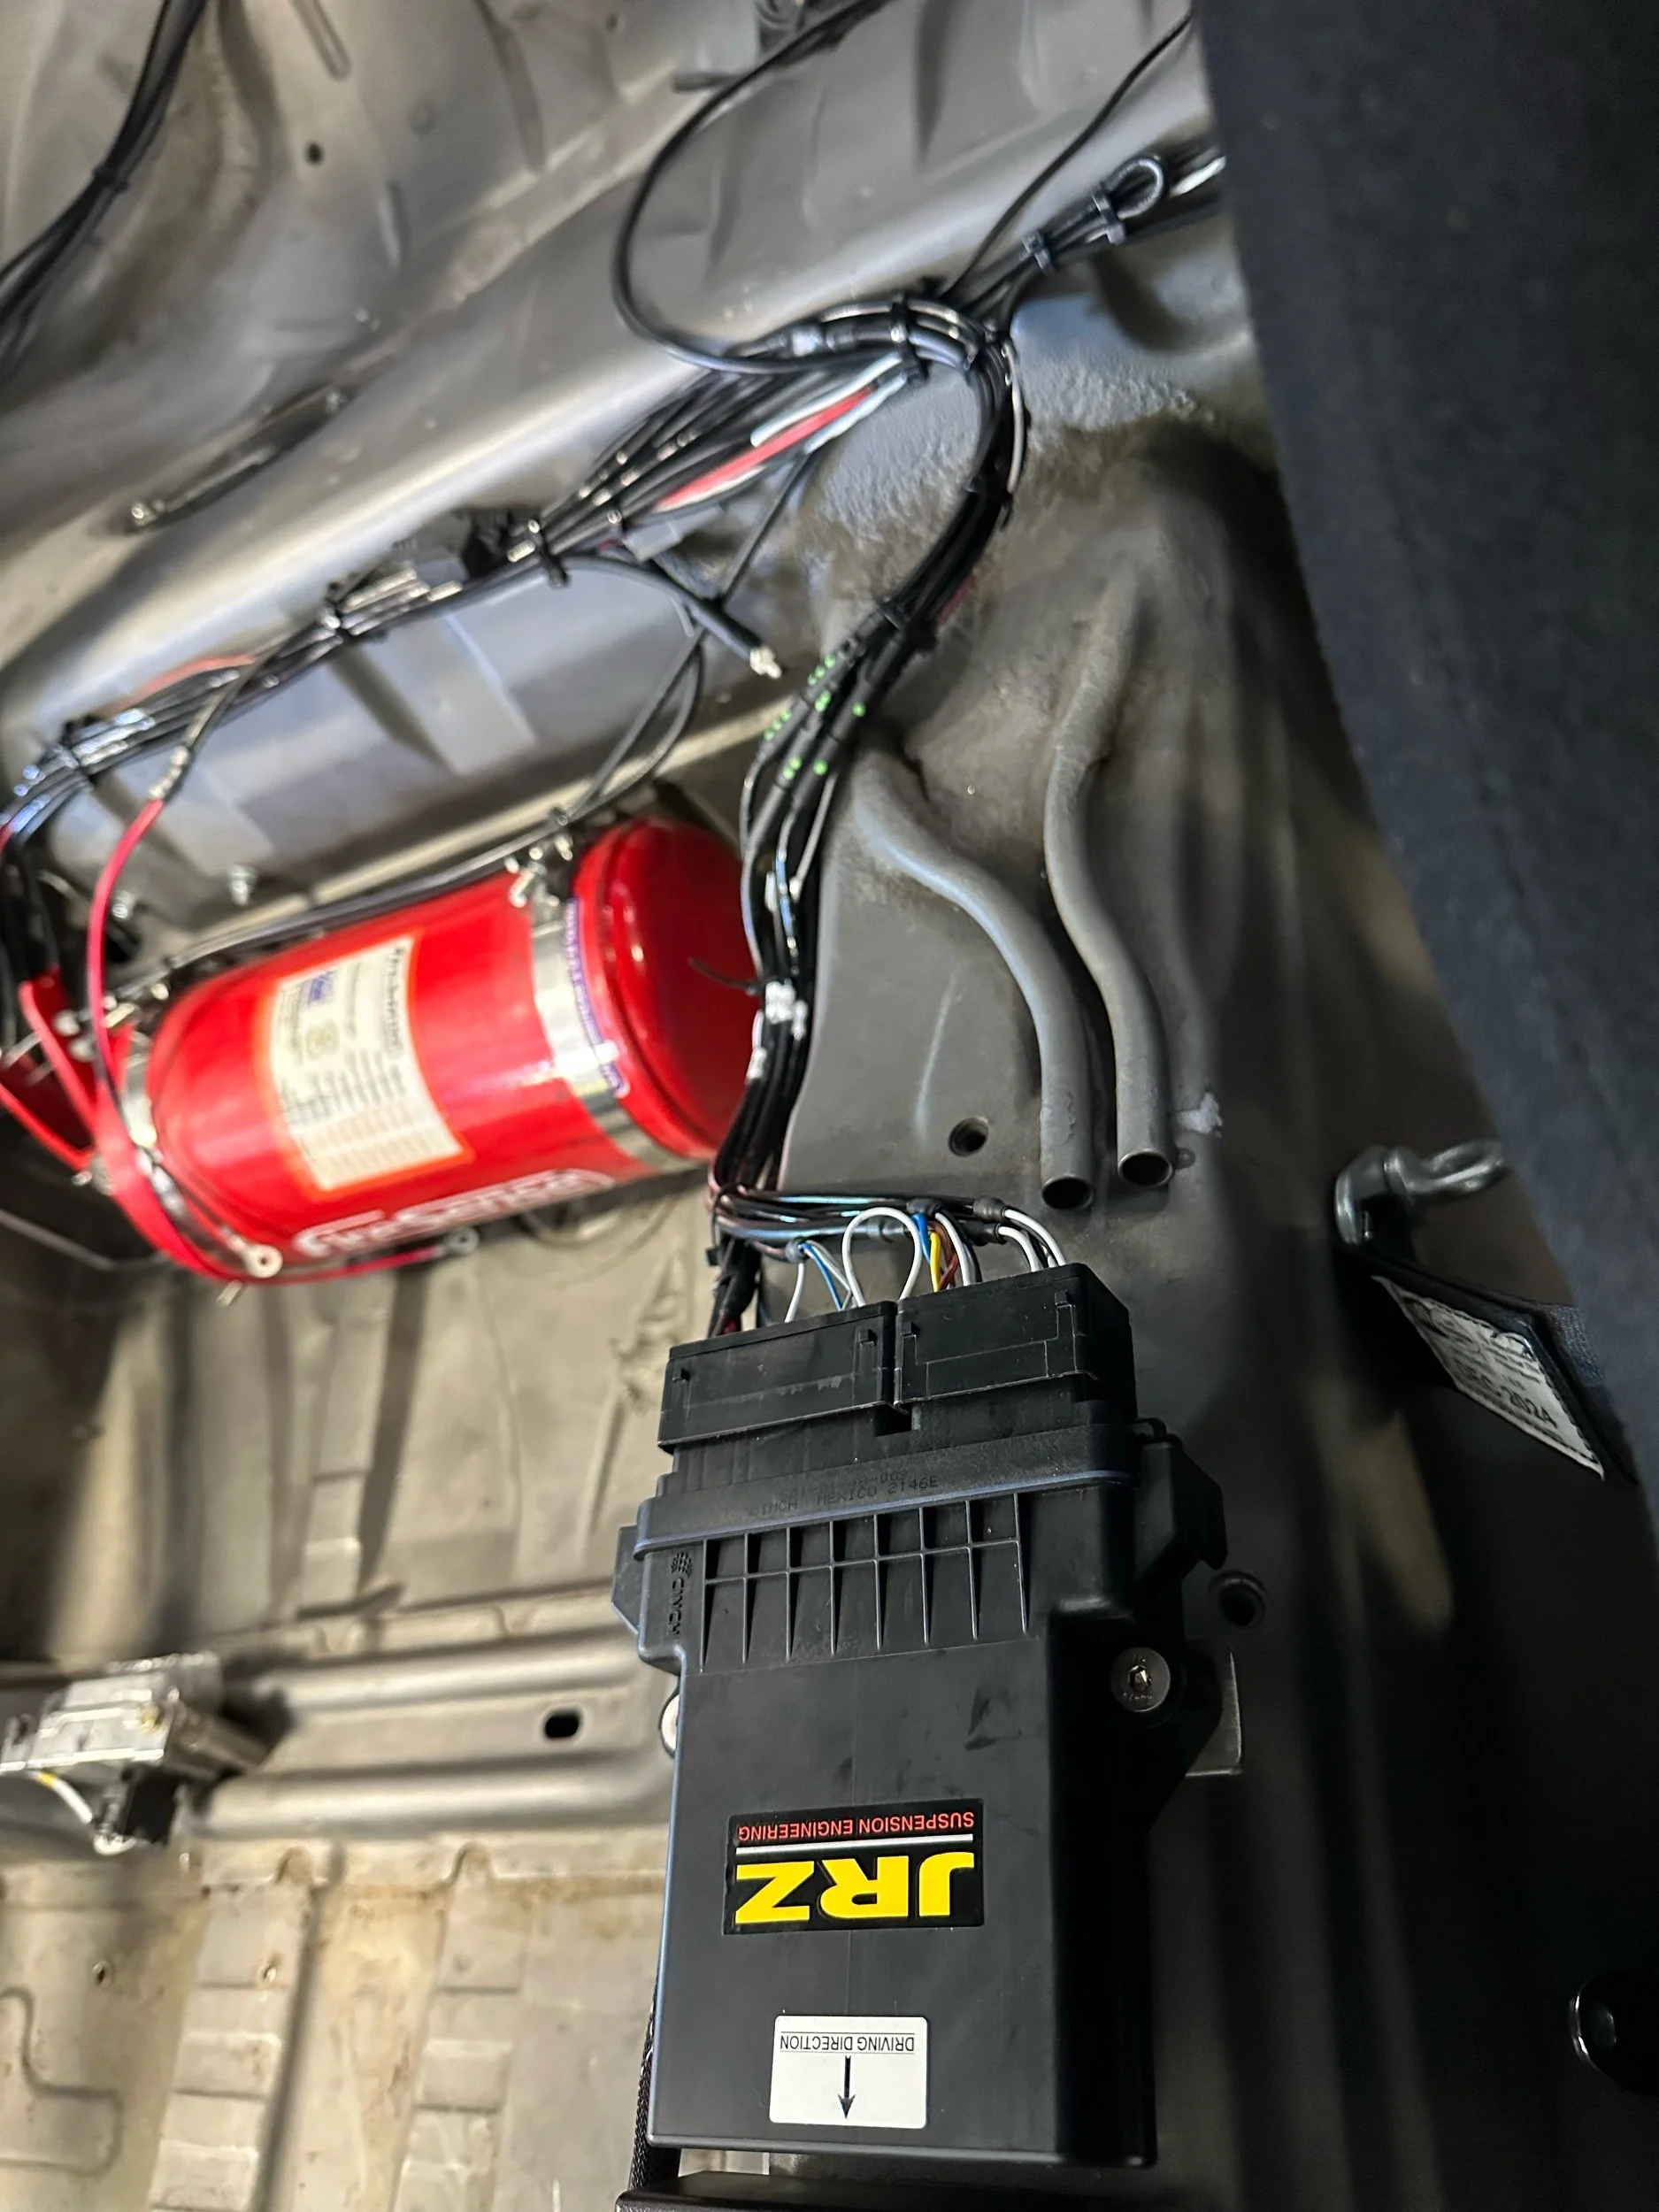
Adequate and safe fuel-delivery is going to be key at Pikes Peak. So when it came time to select a fuel-cell for our build I had only one company in-mind, Radium Engineering. A huge thank you to Aaron and the team at Radium for your many years of partnership across many different platforms. They are terrific technical partners and we are so stoked to be running Radium’s FIA-certified 14-gallon fuel cell, integrated dual surge pumps, and a whole host of other goodies (including dry break quick-fill dump cans).
Radium engineering fuel system
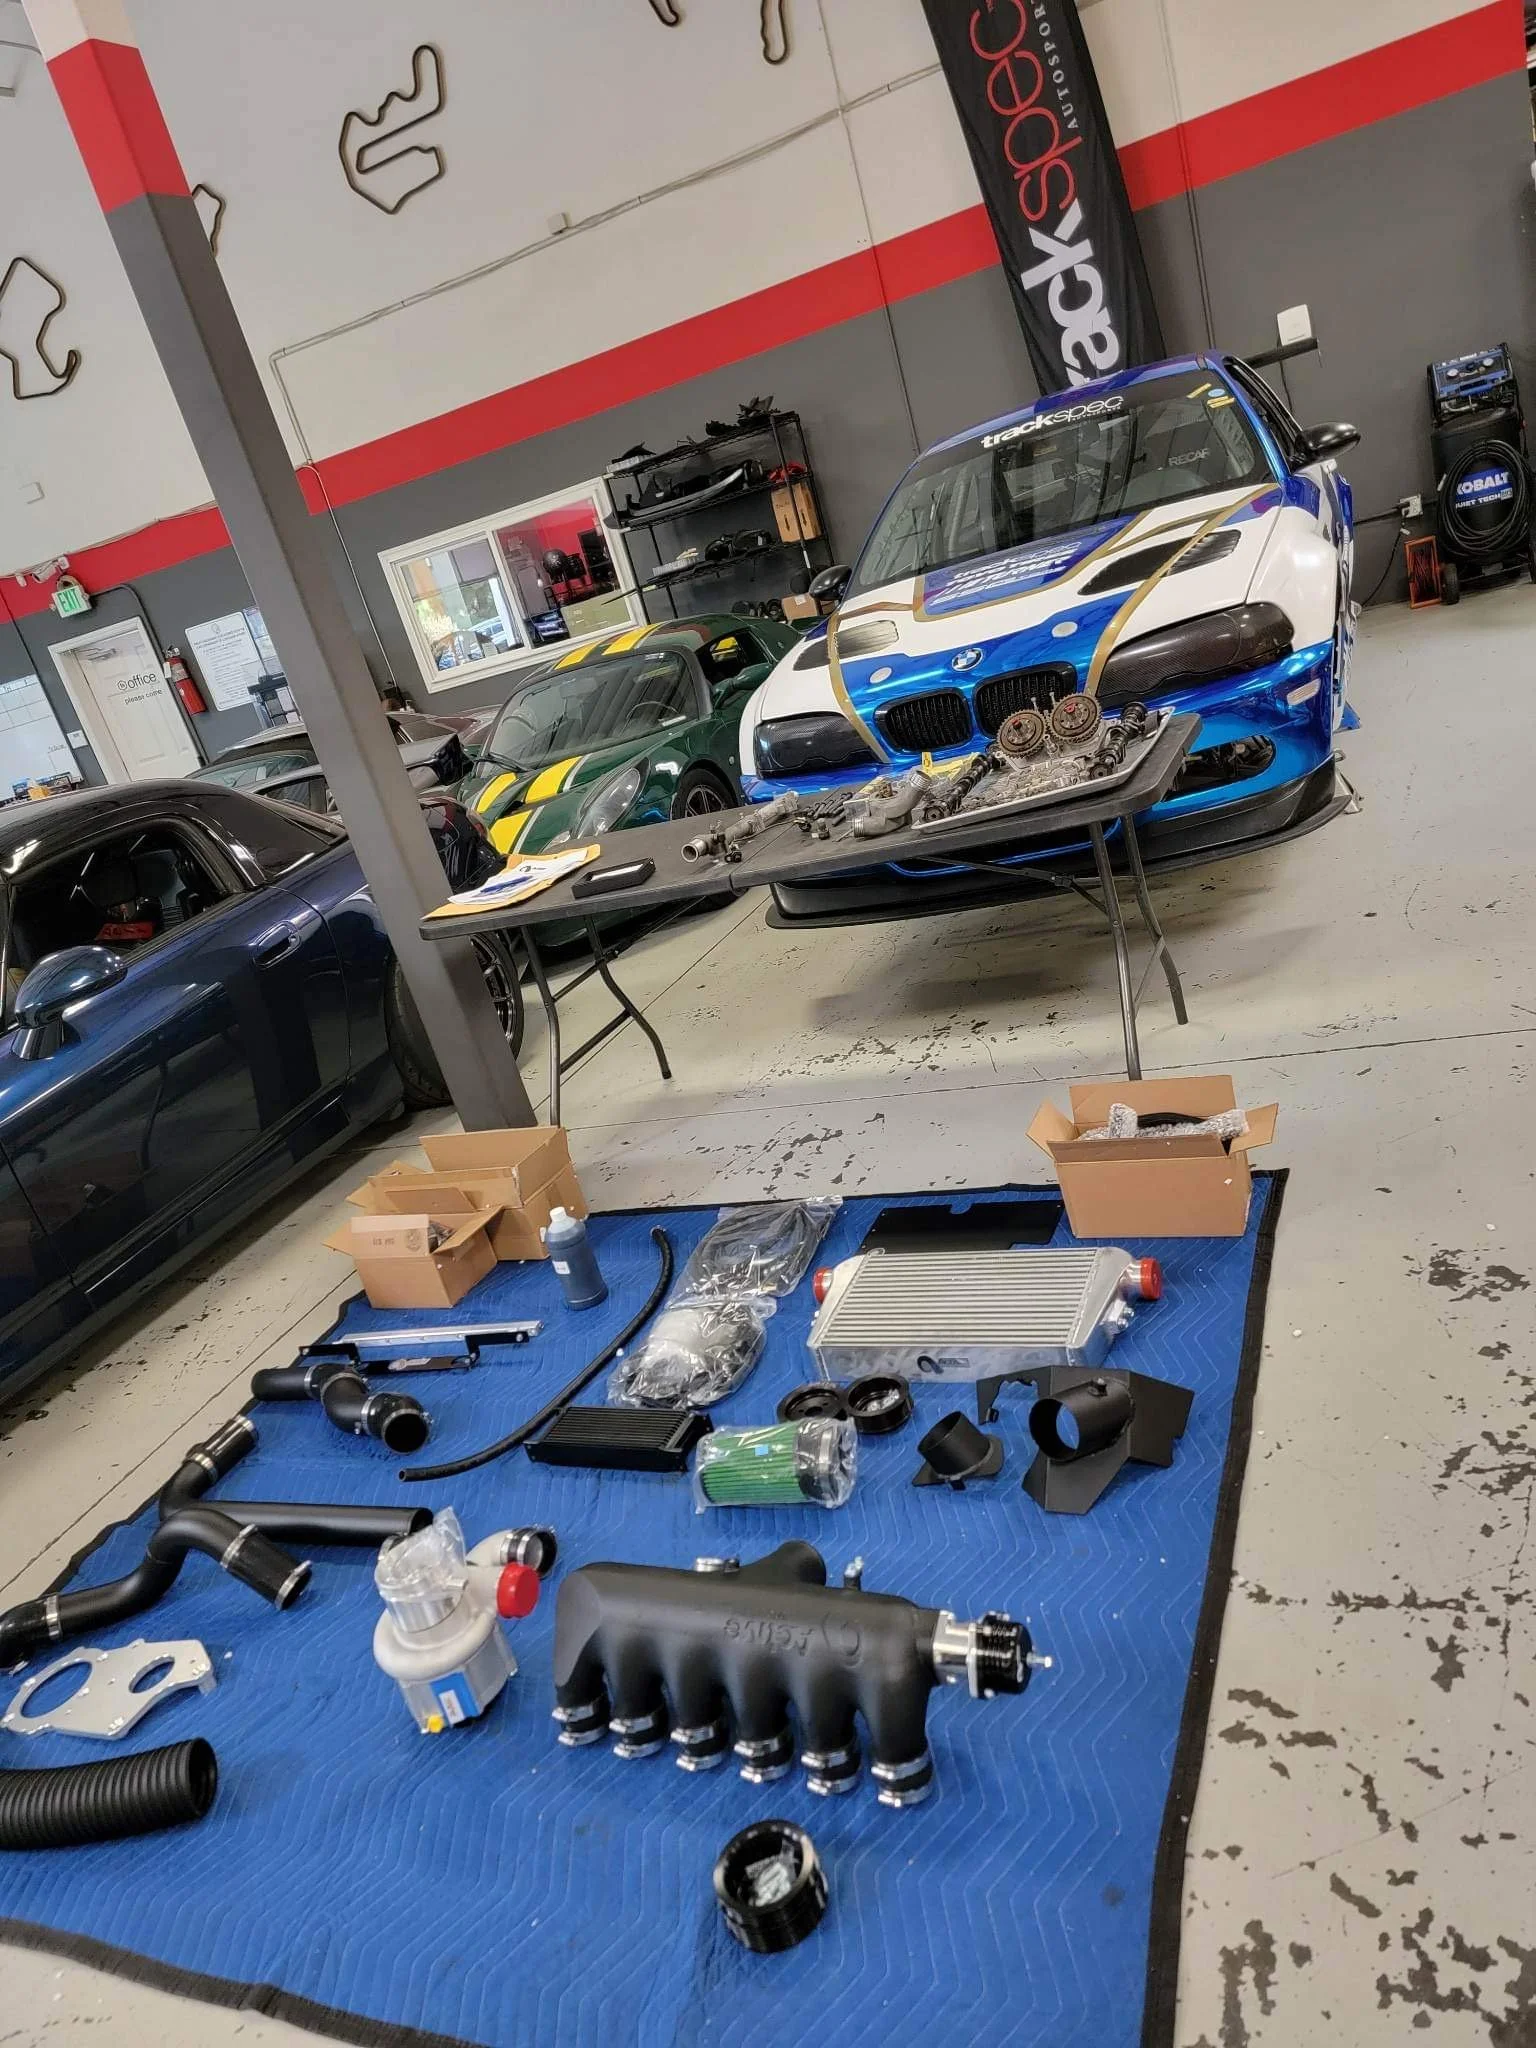
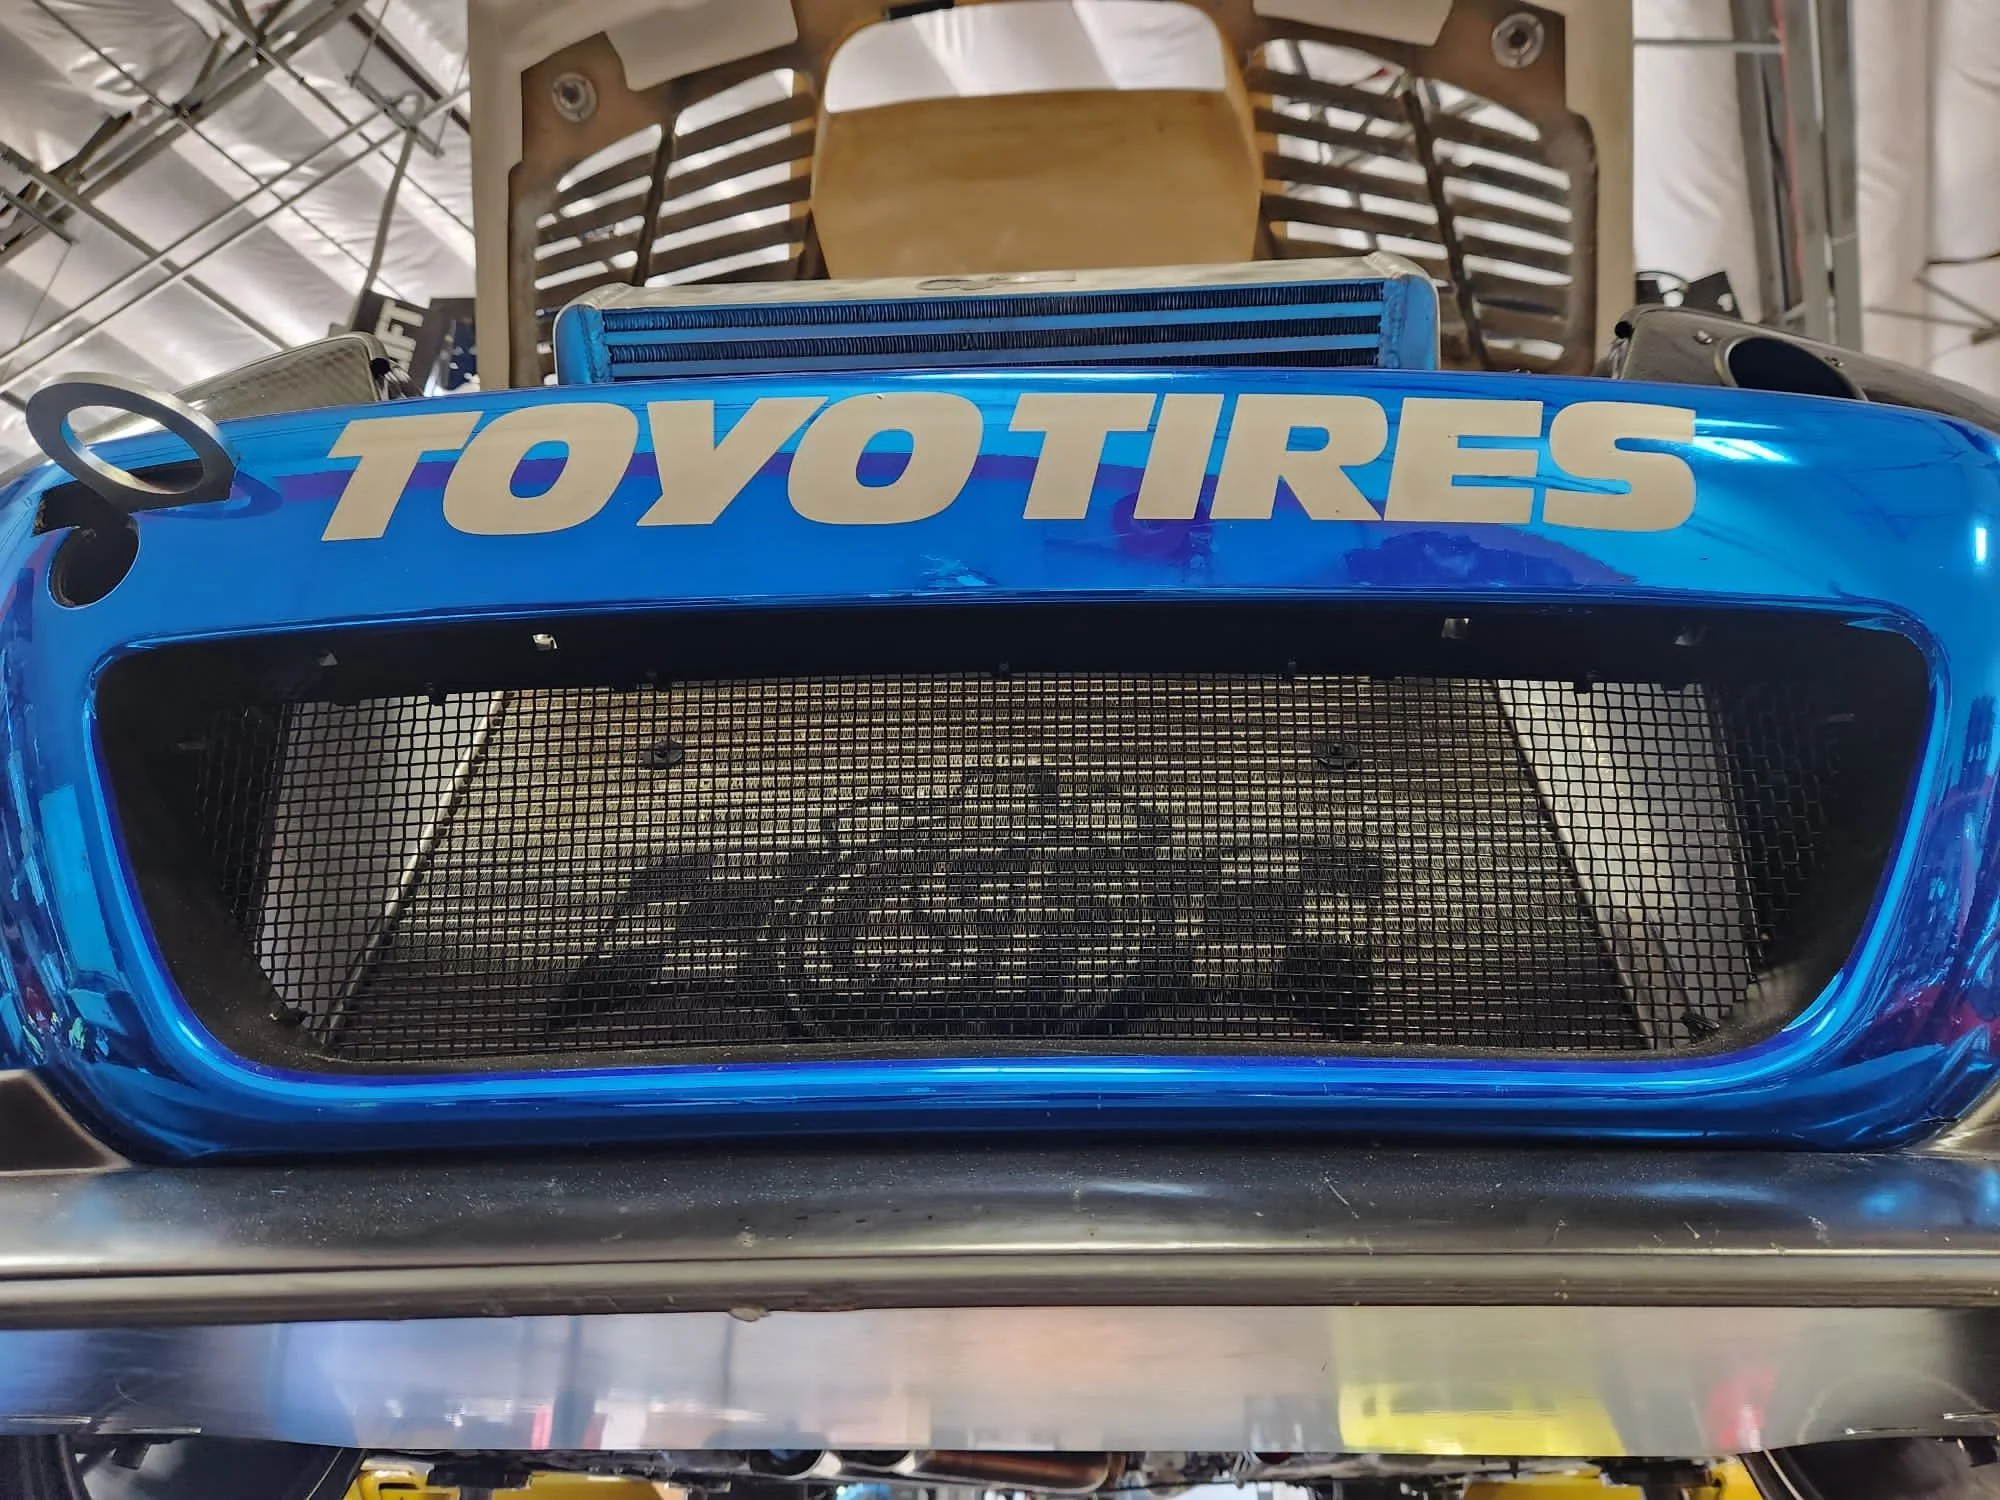
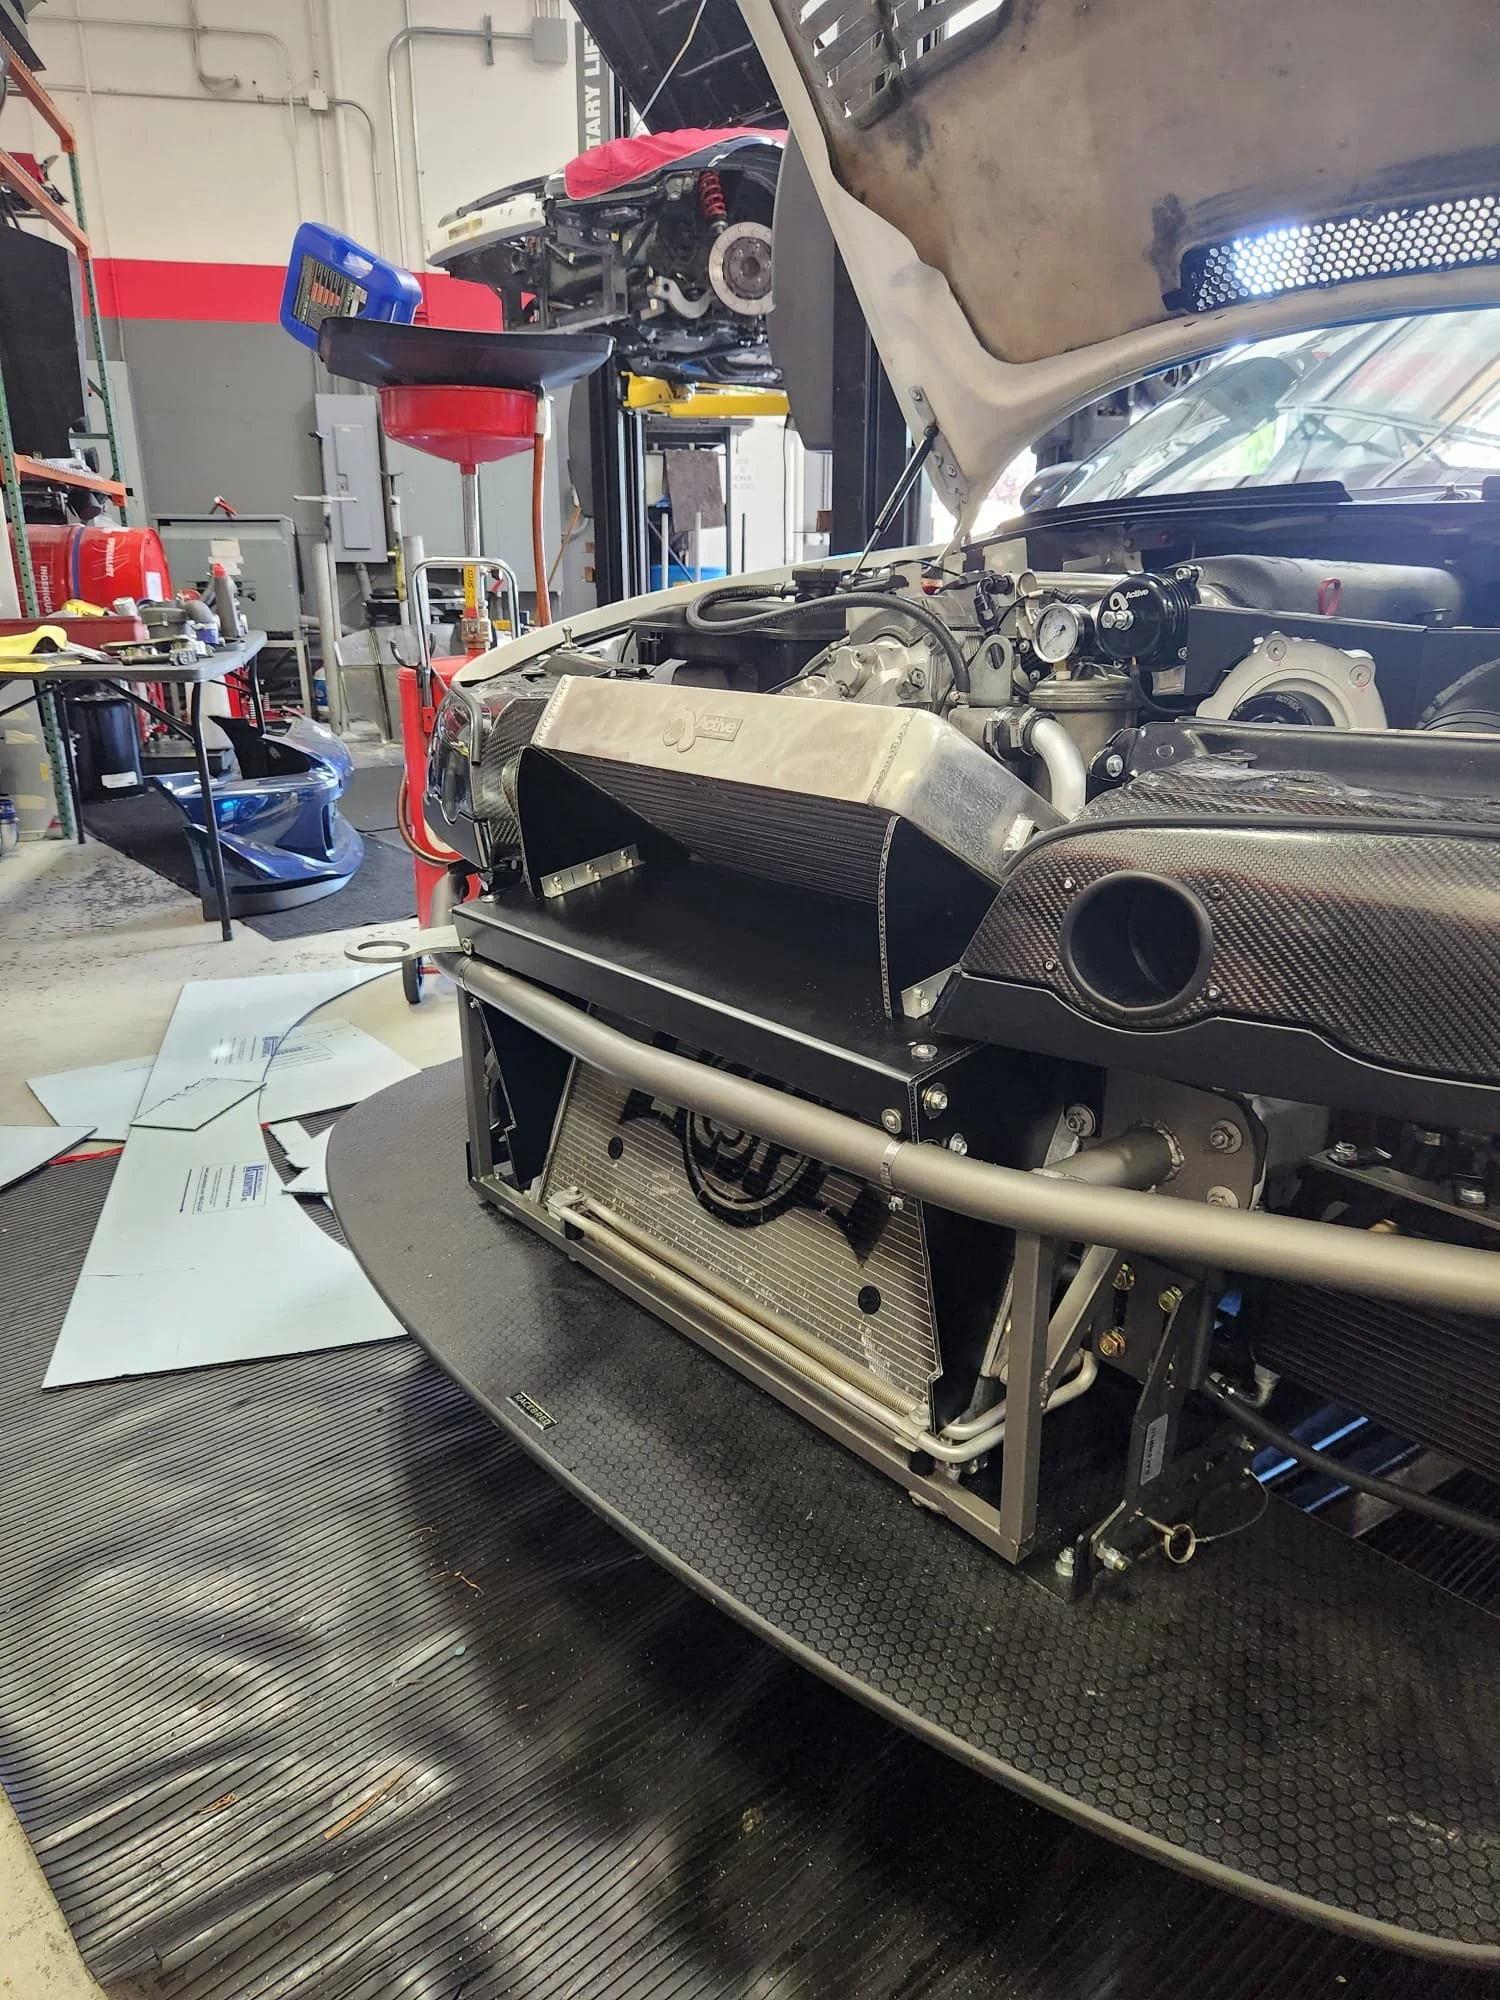
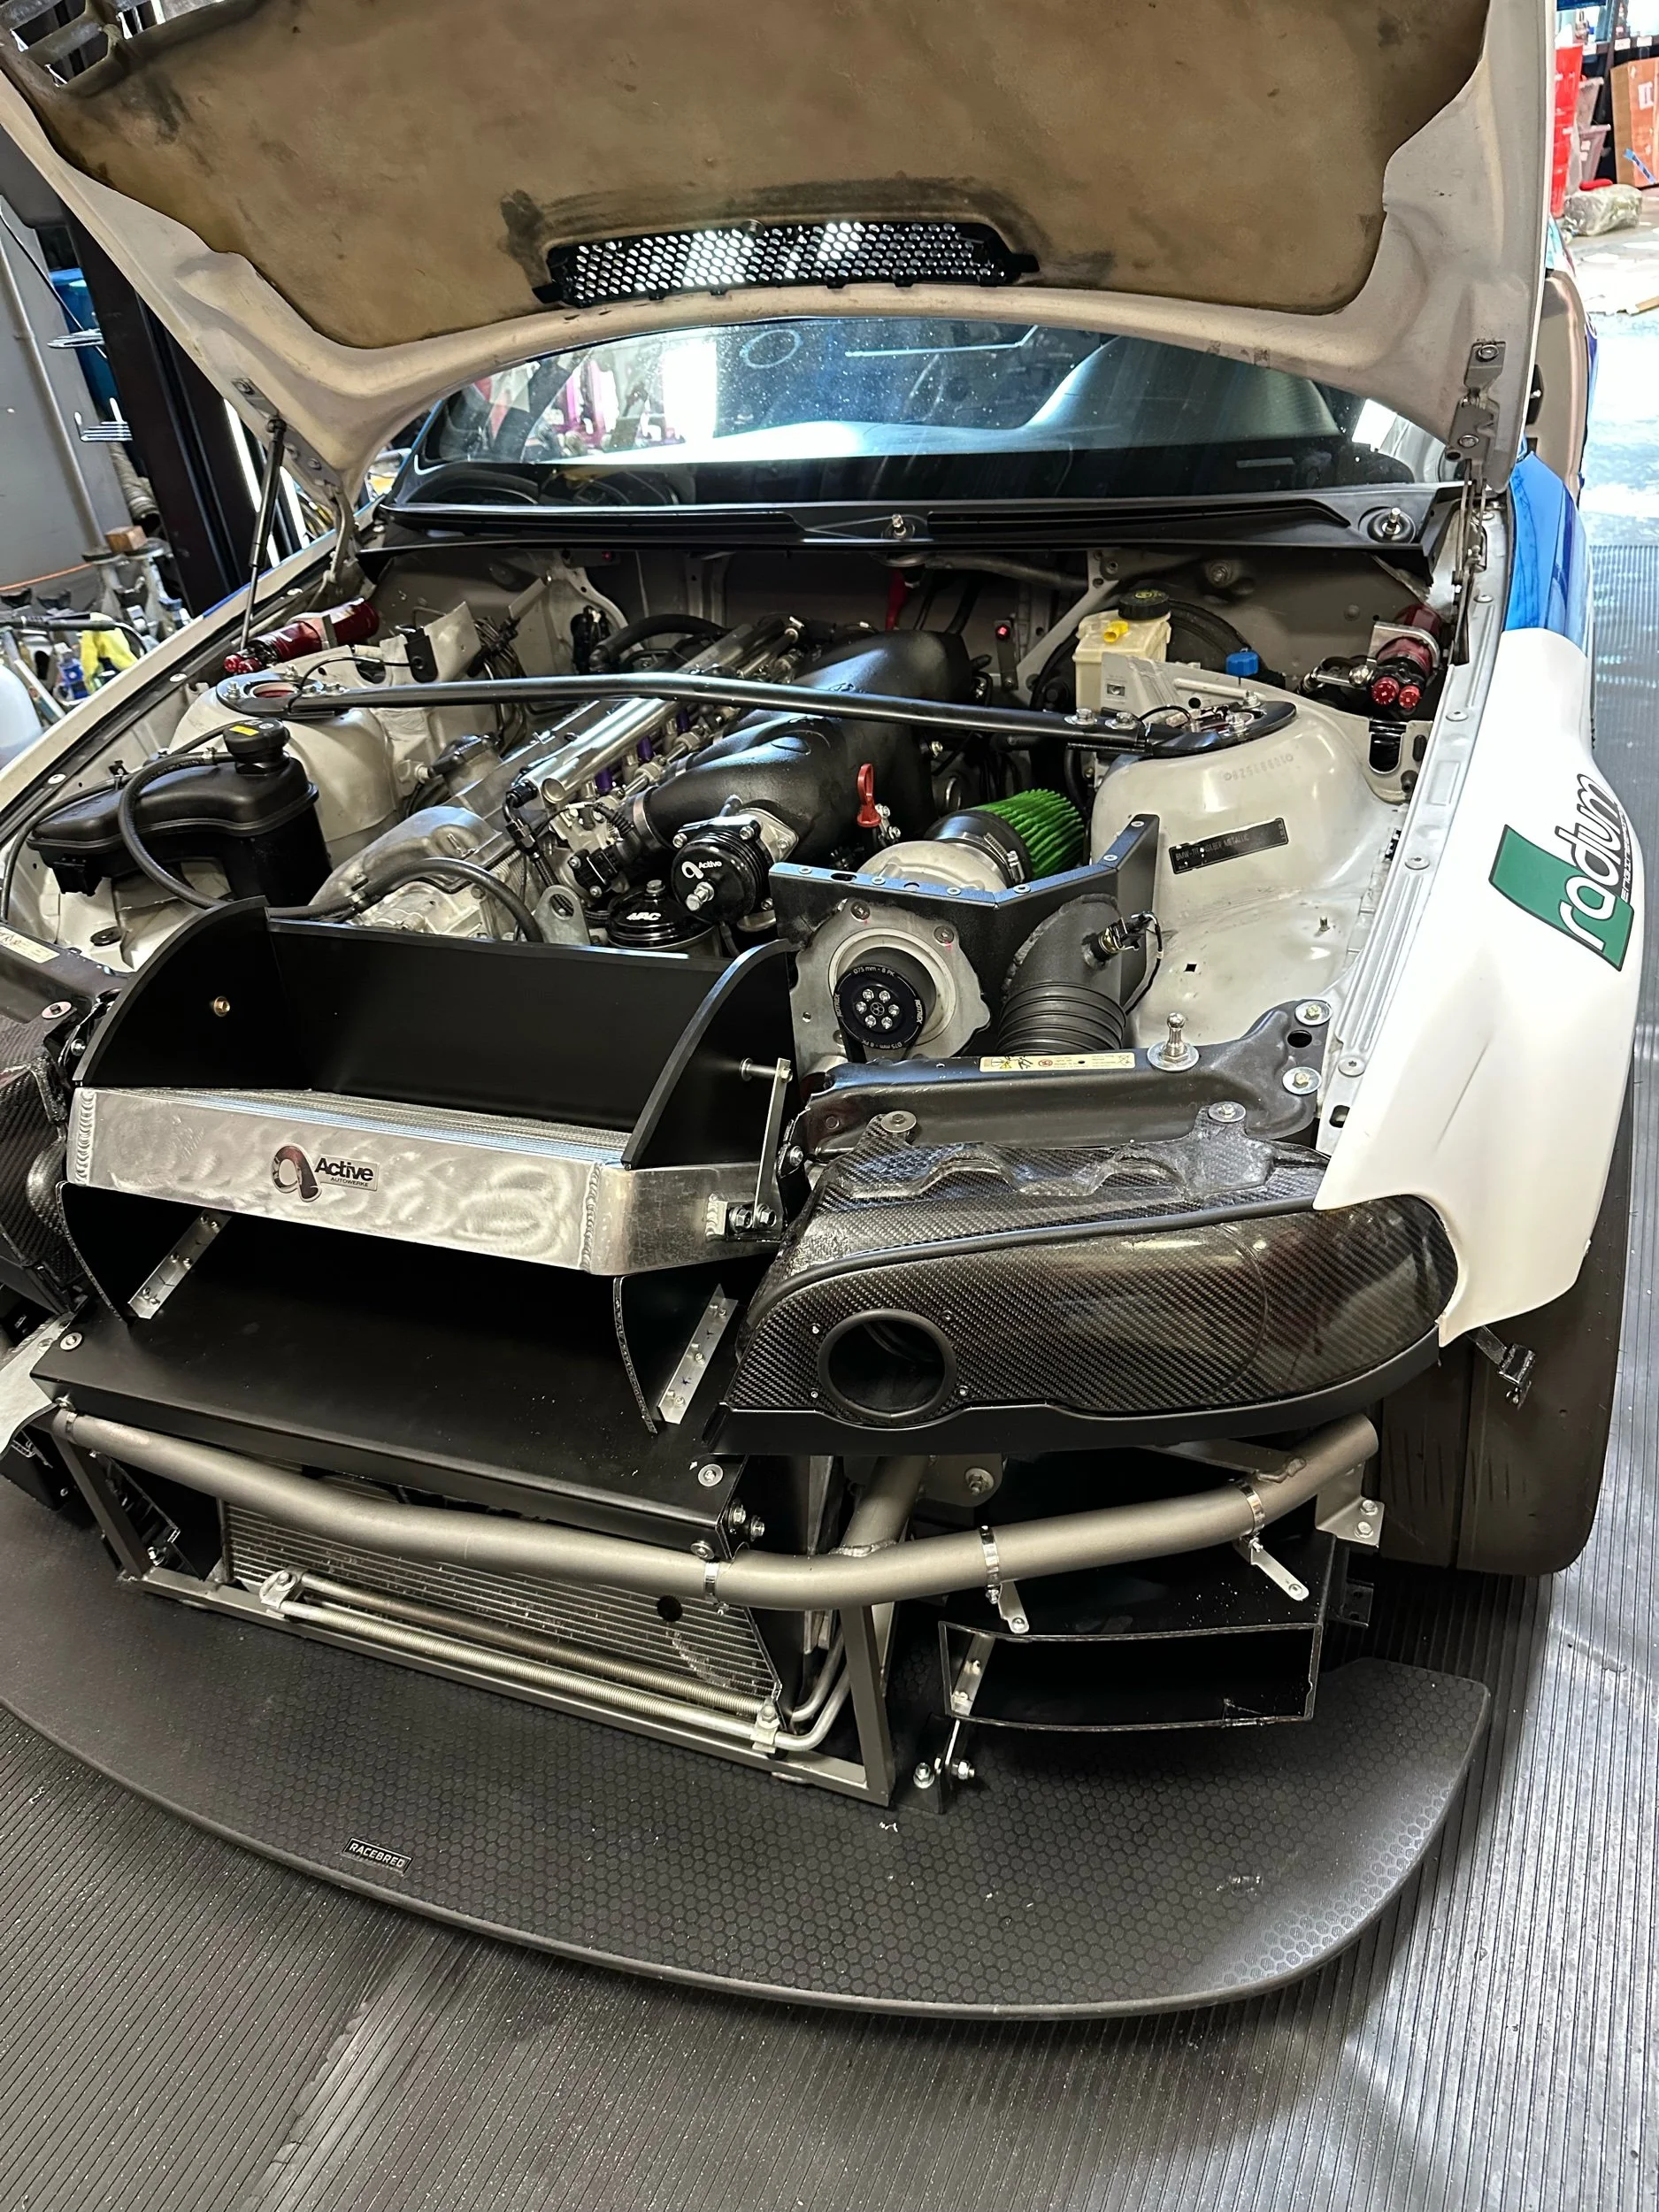
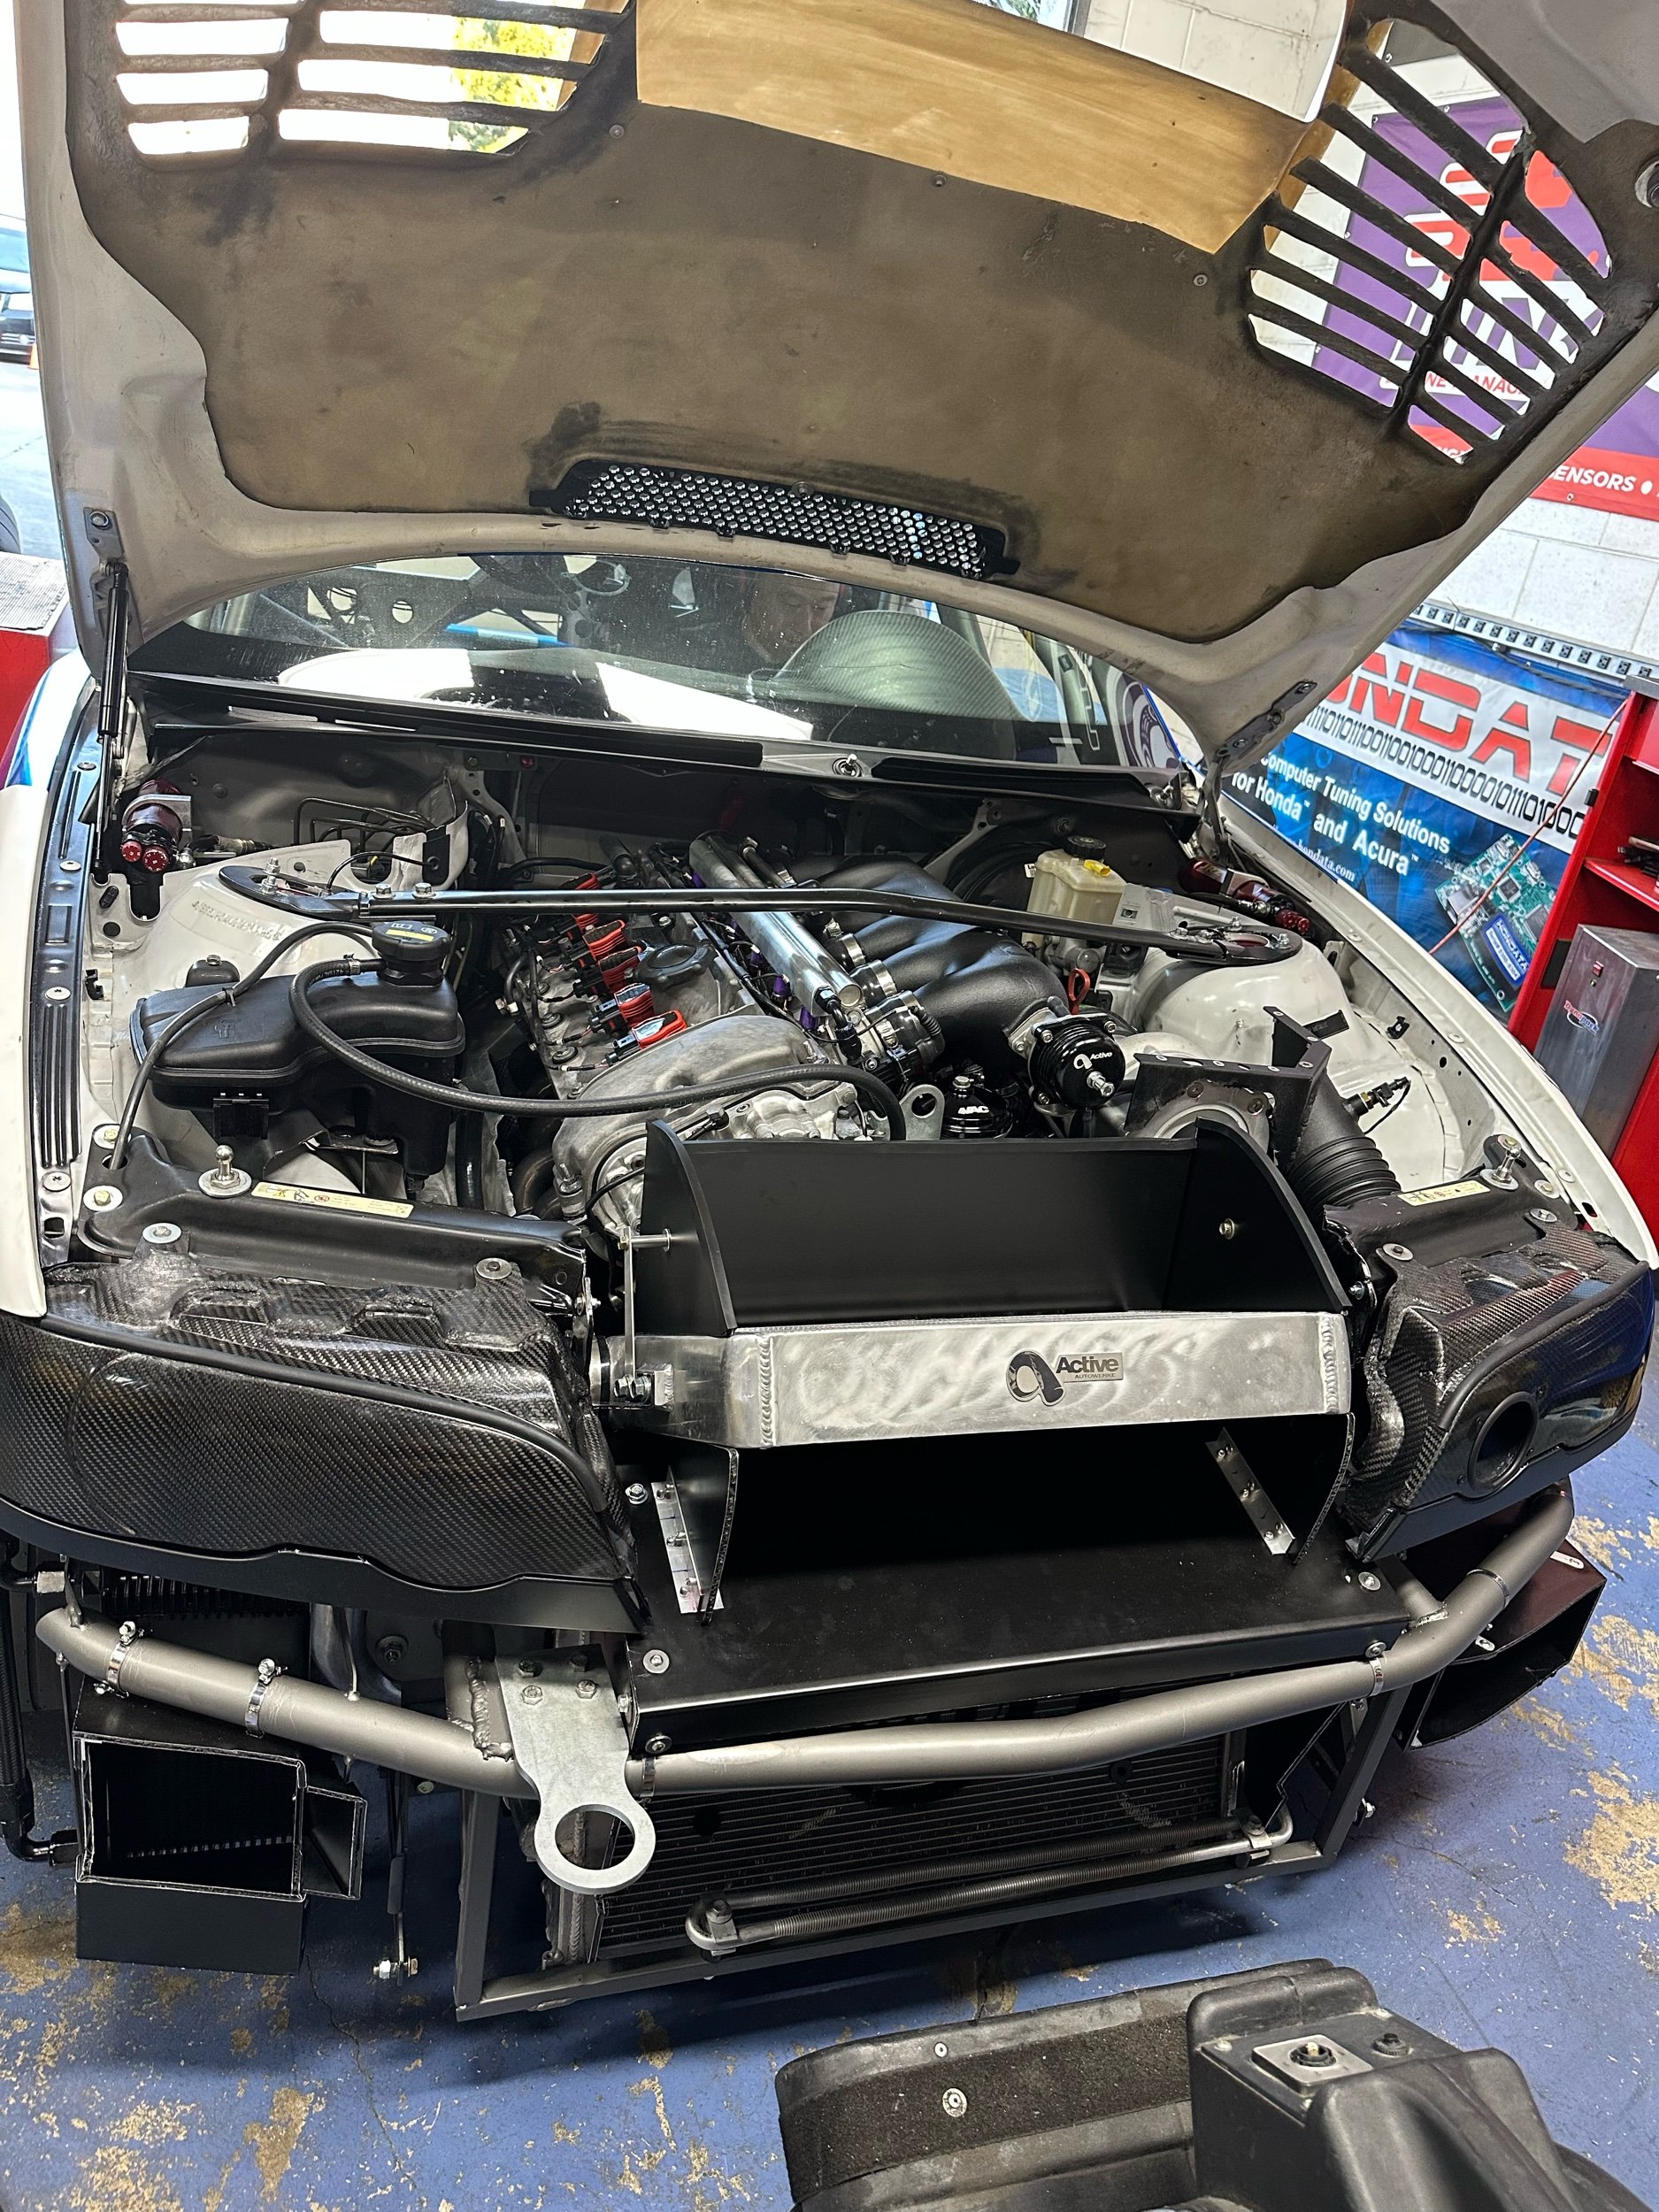
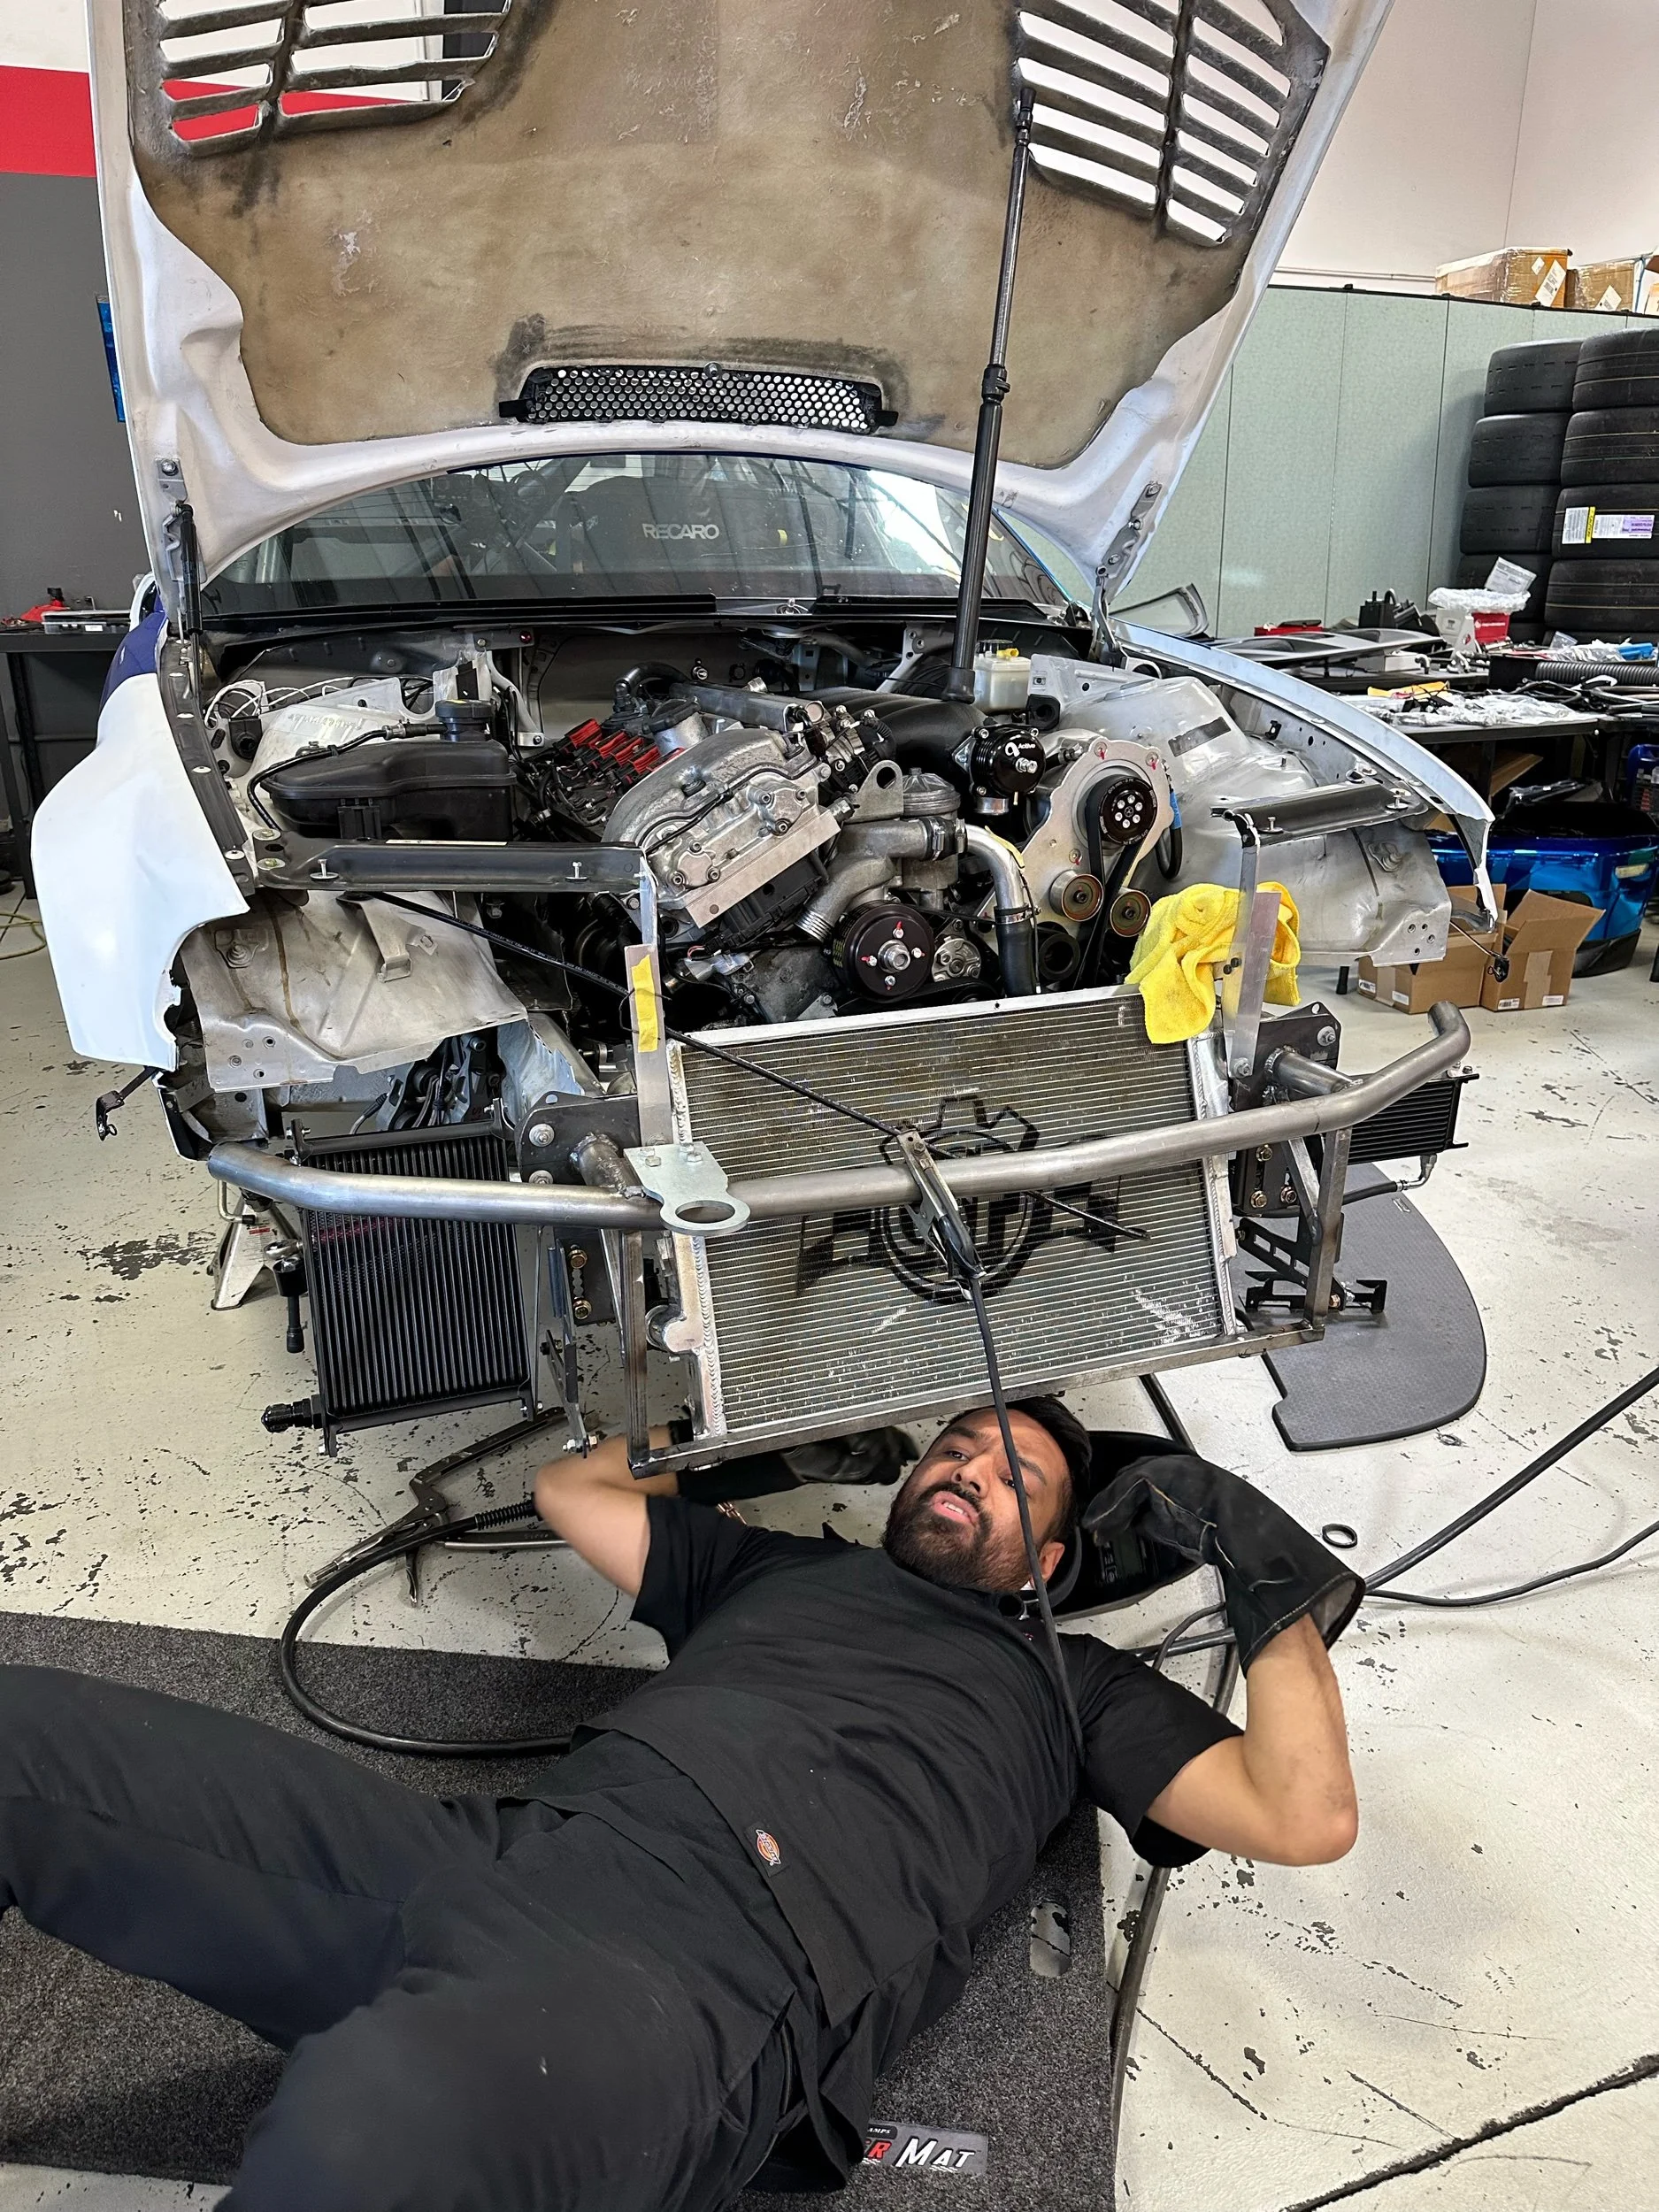
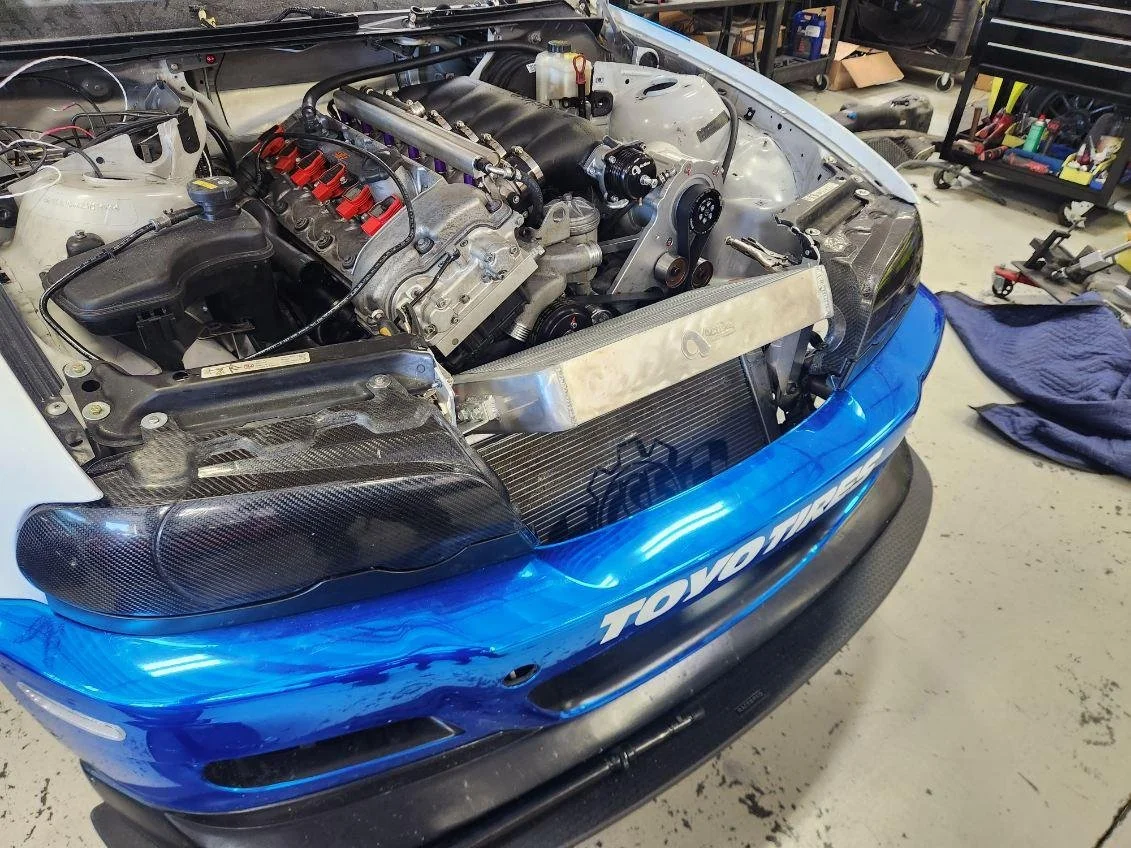
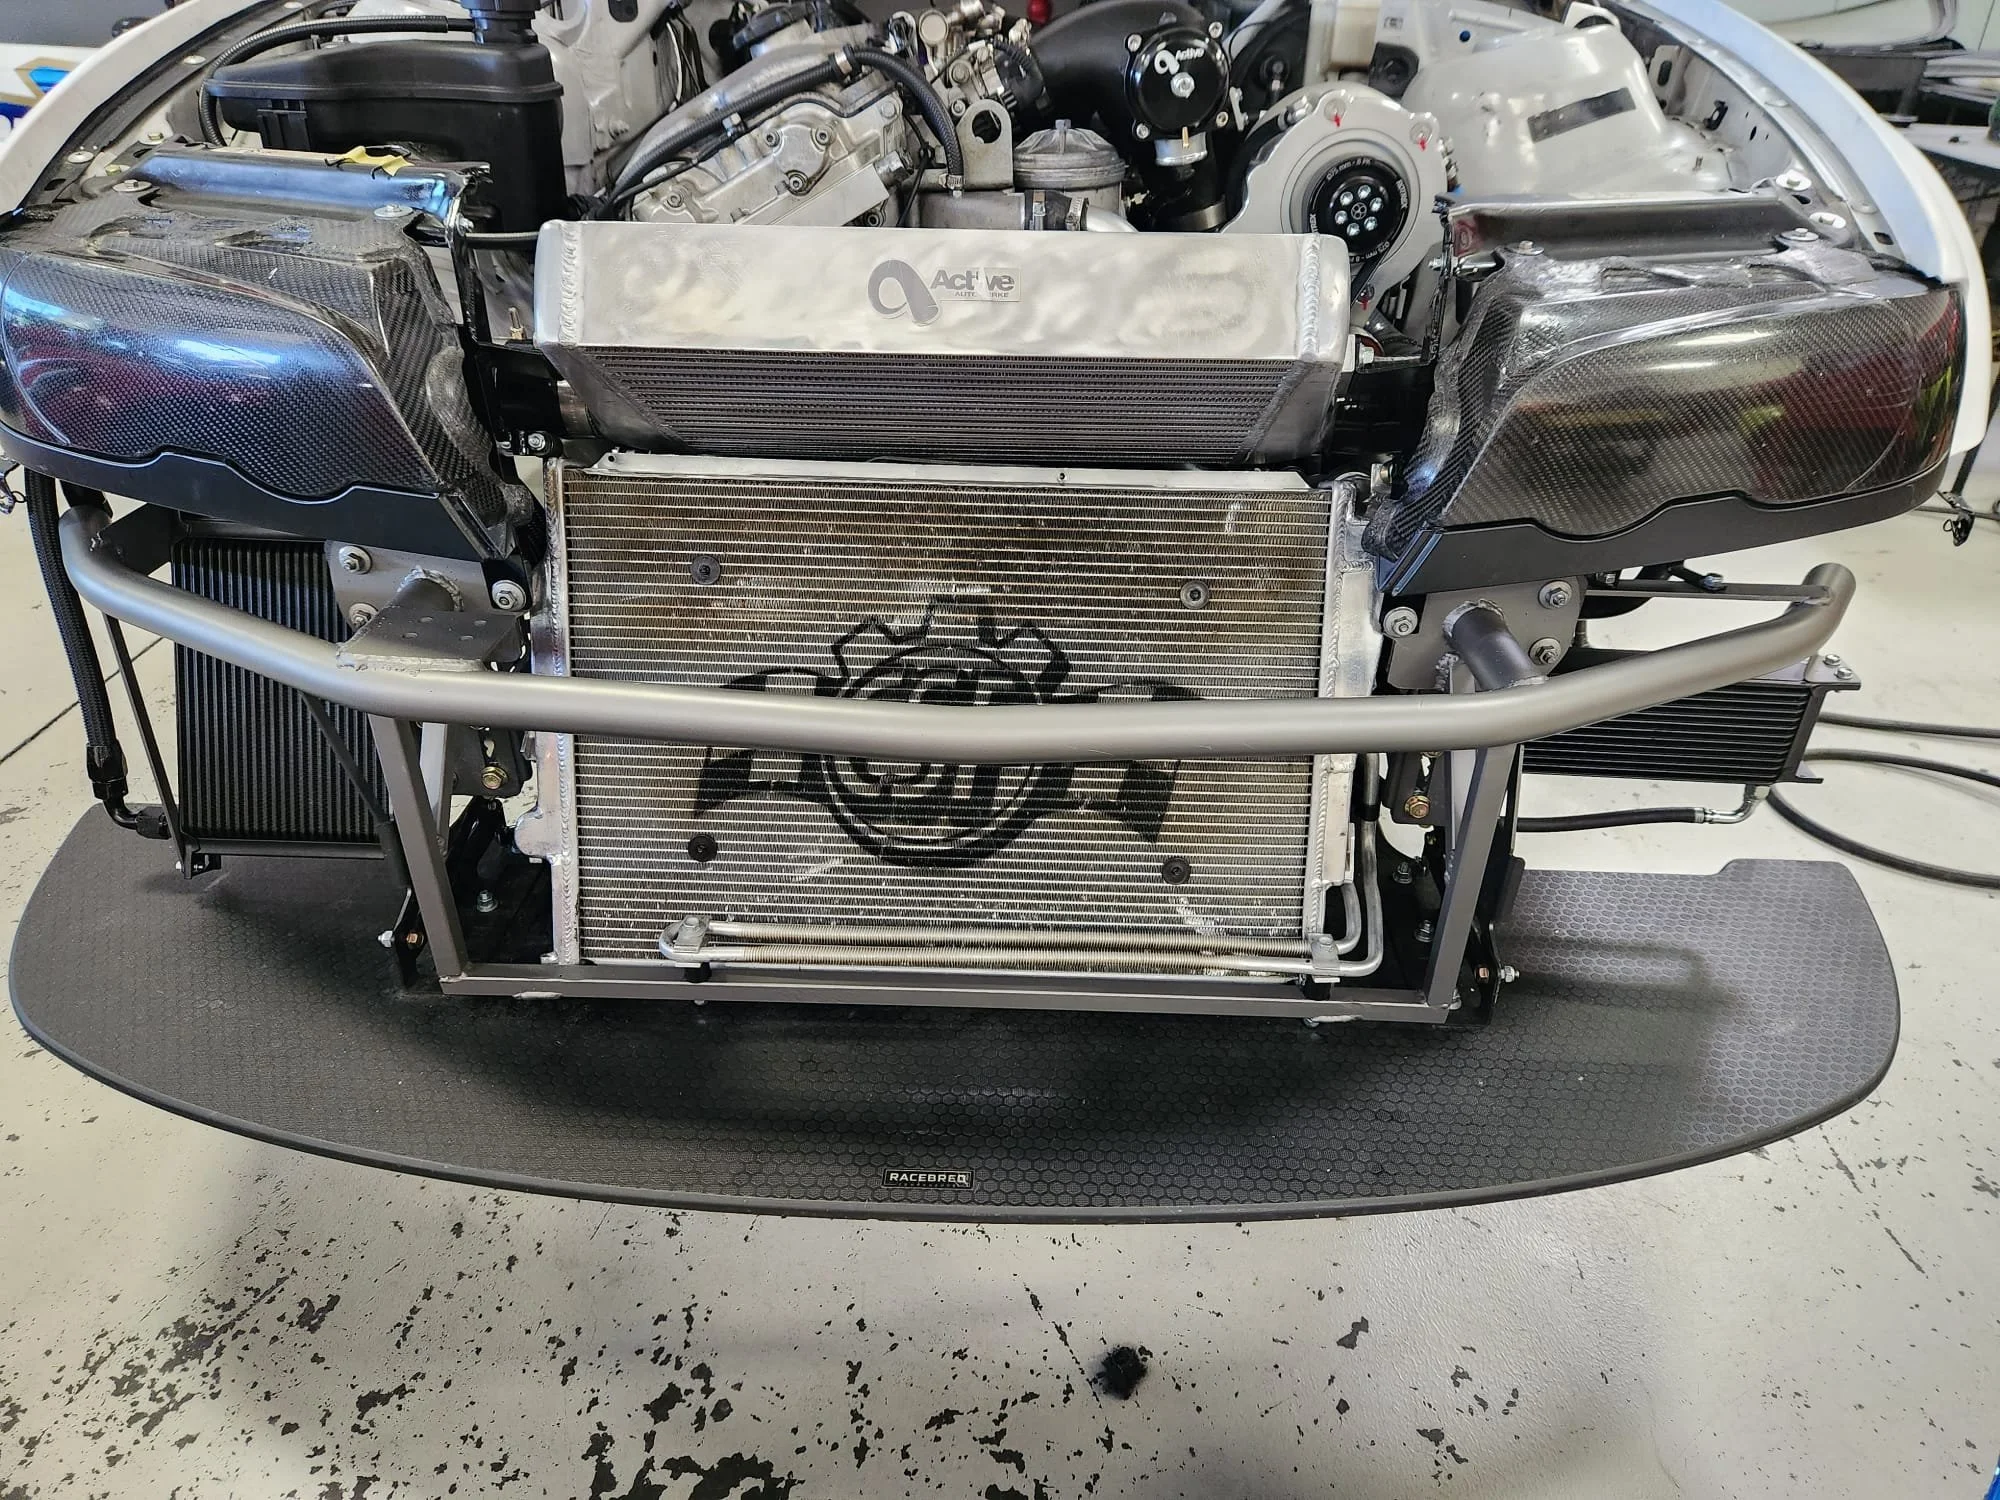
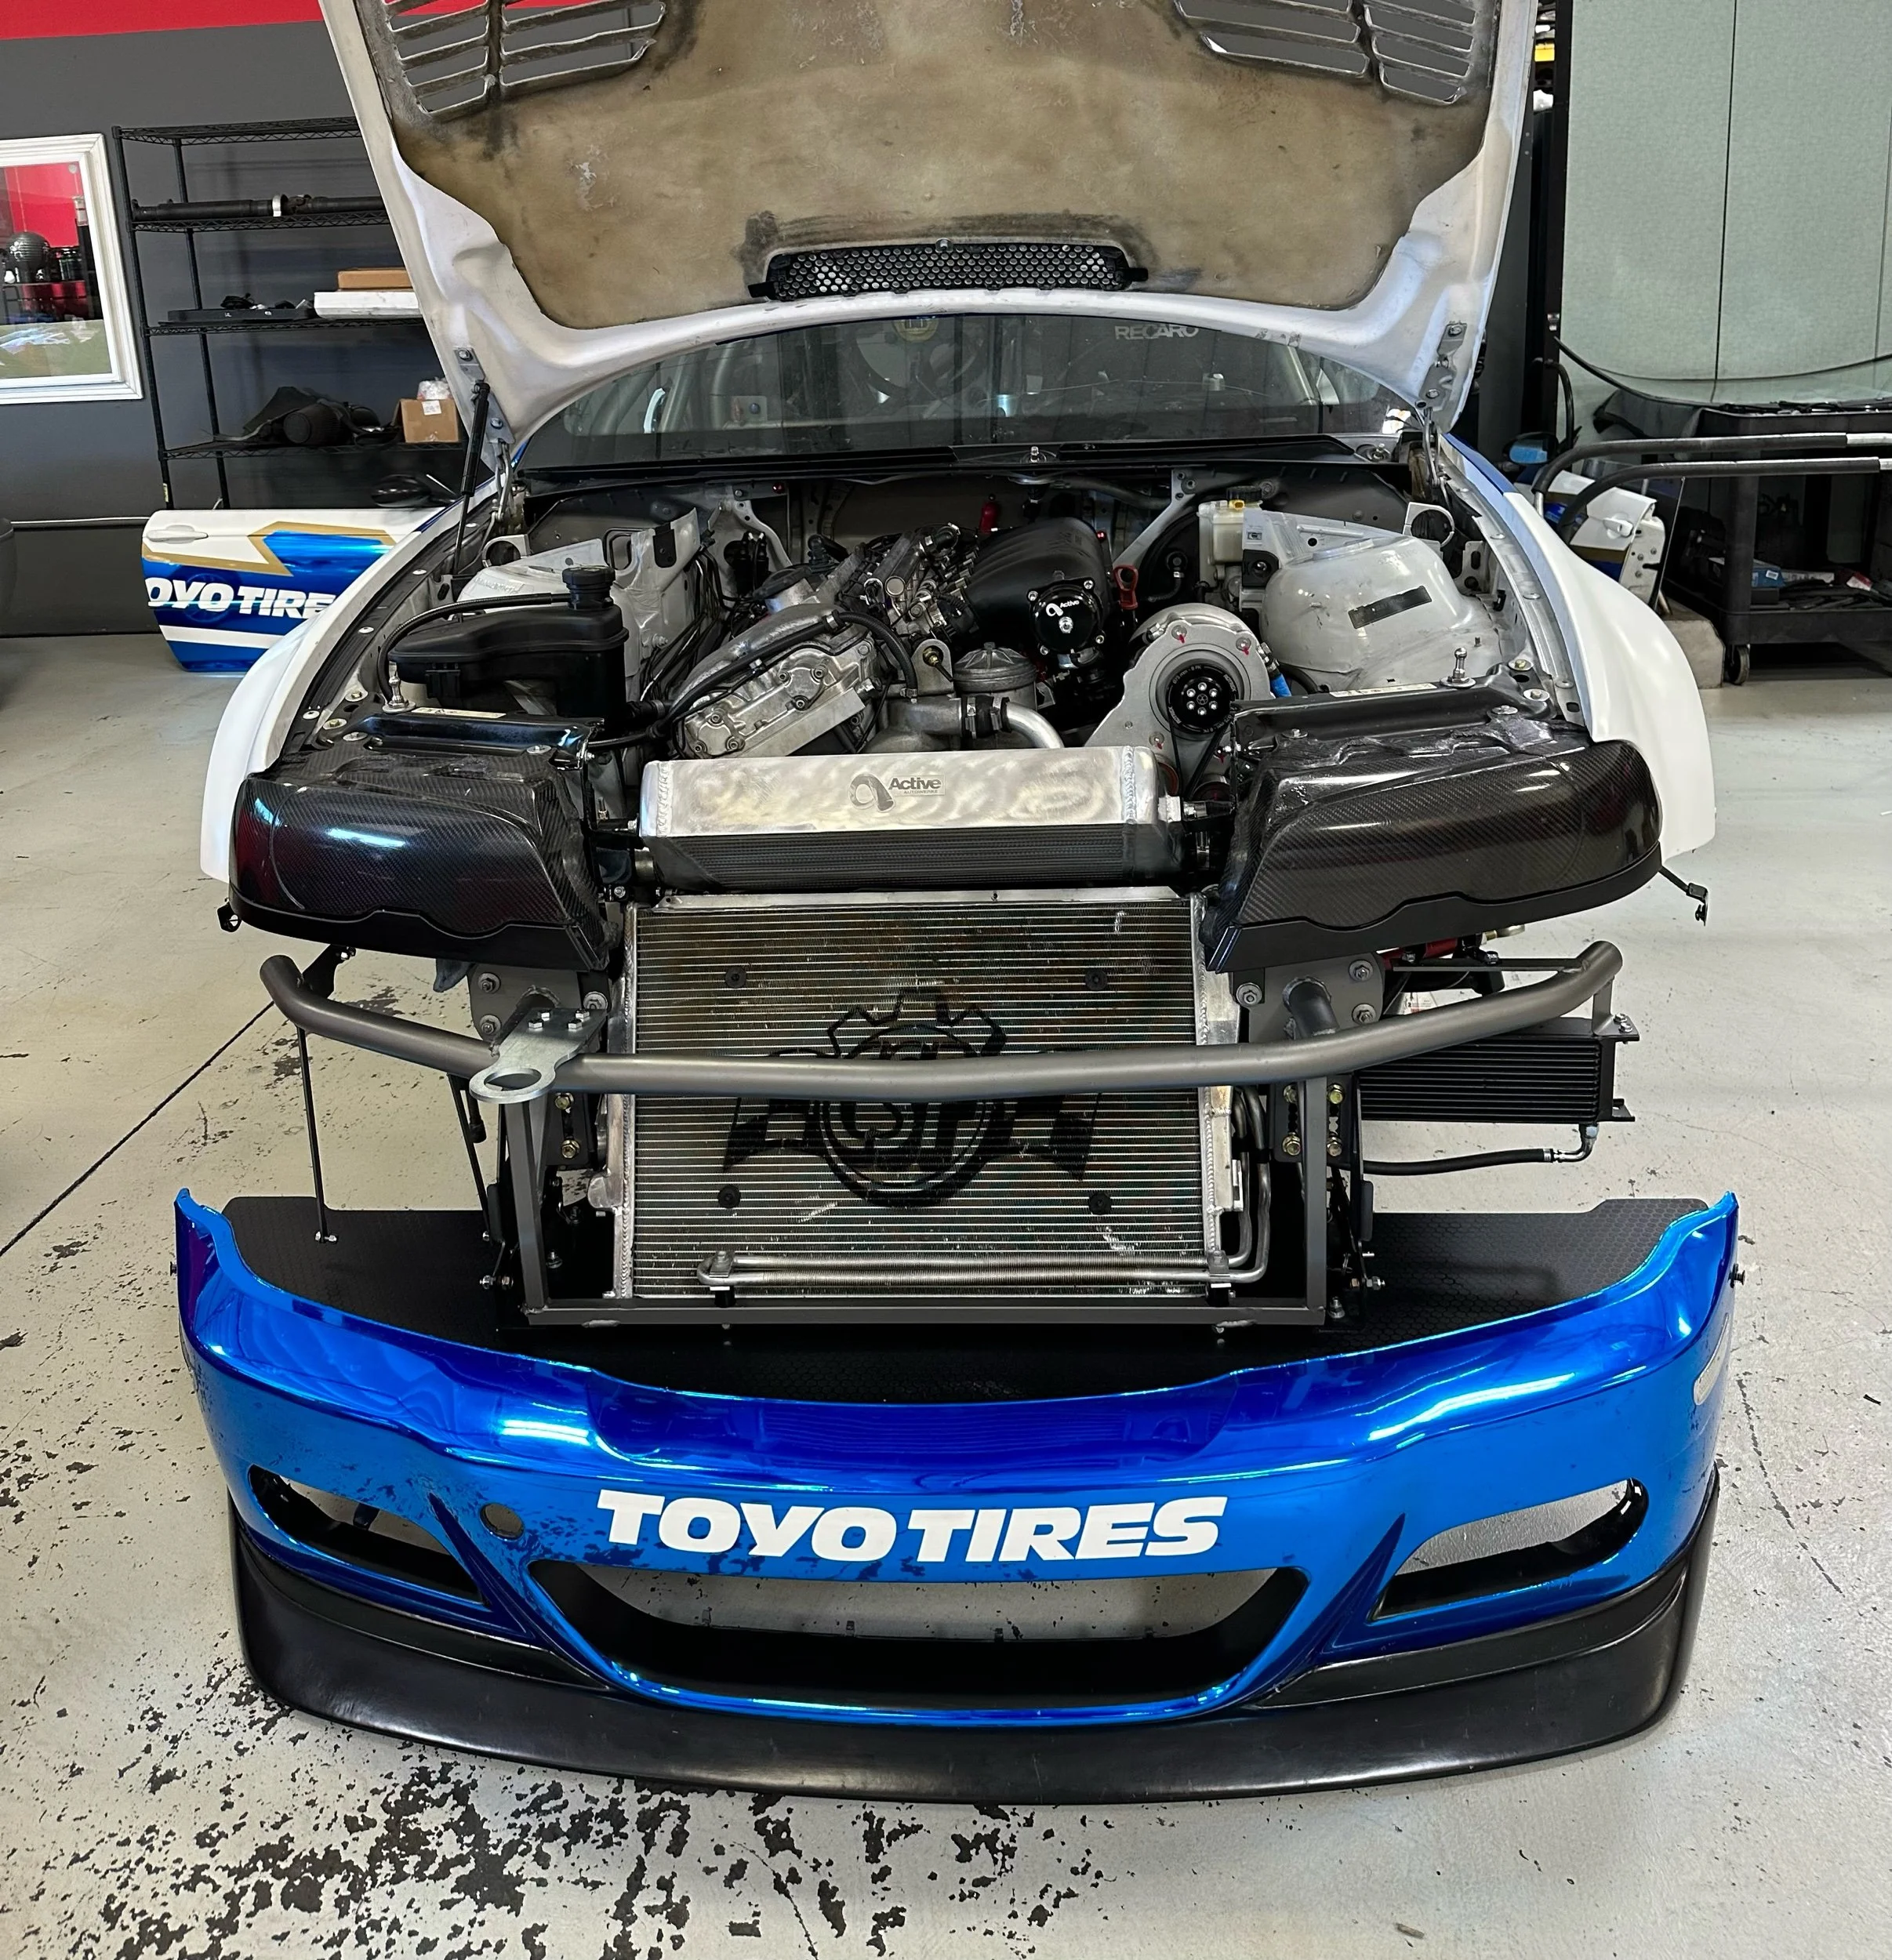
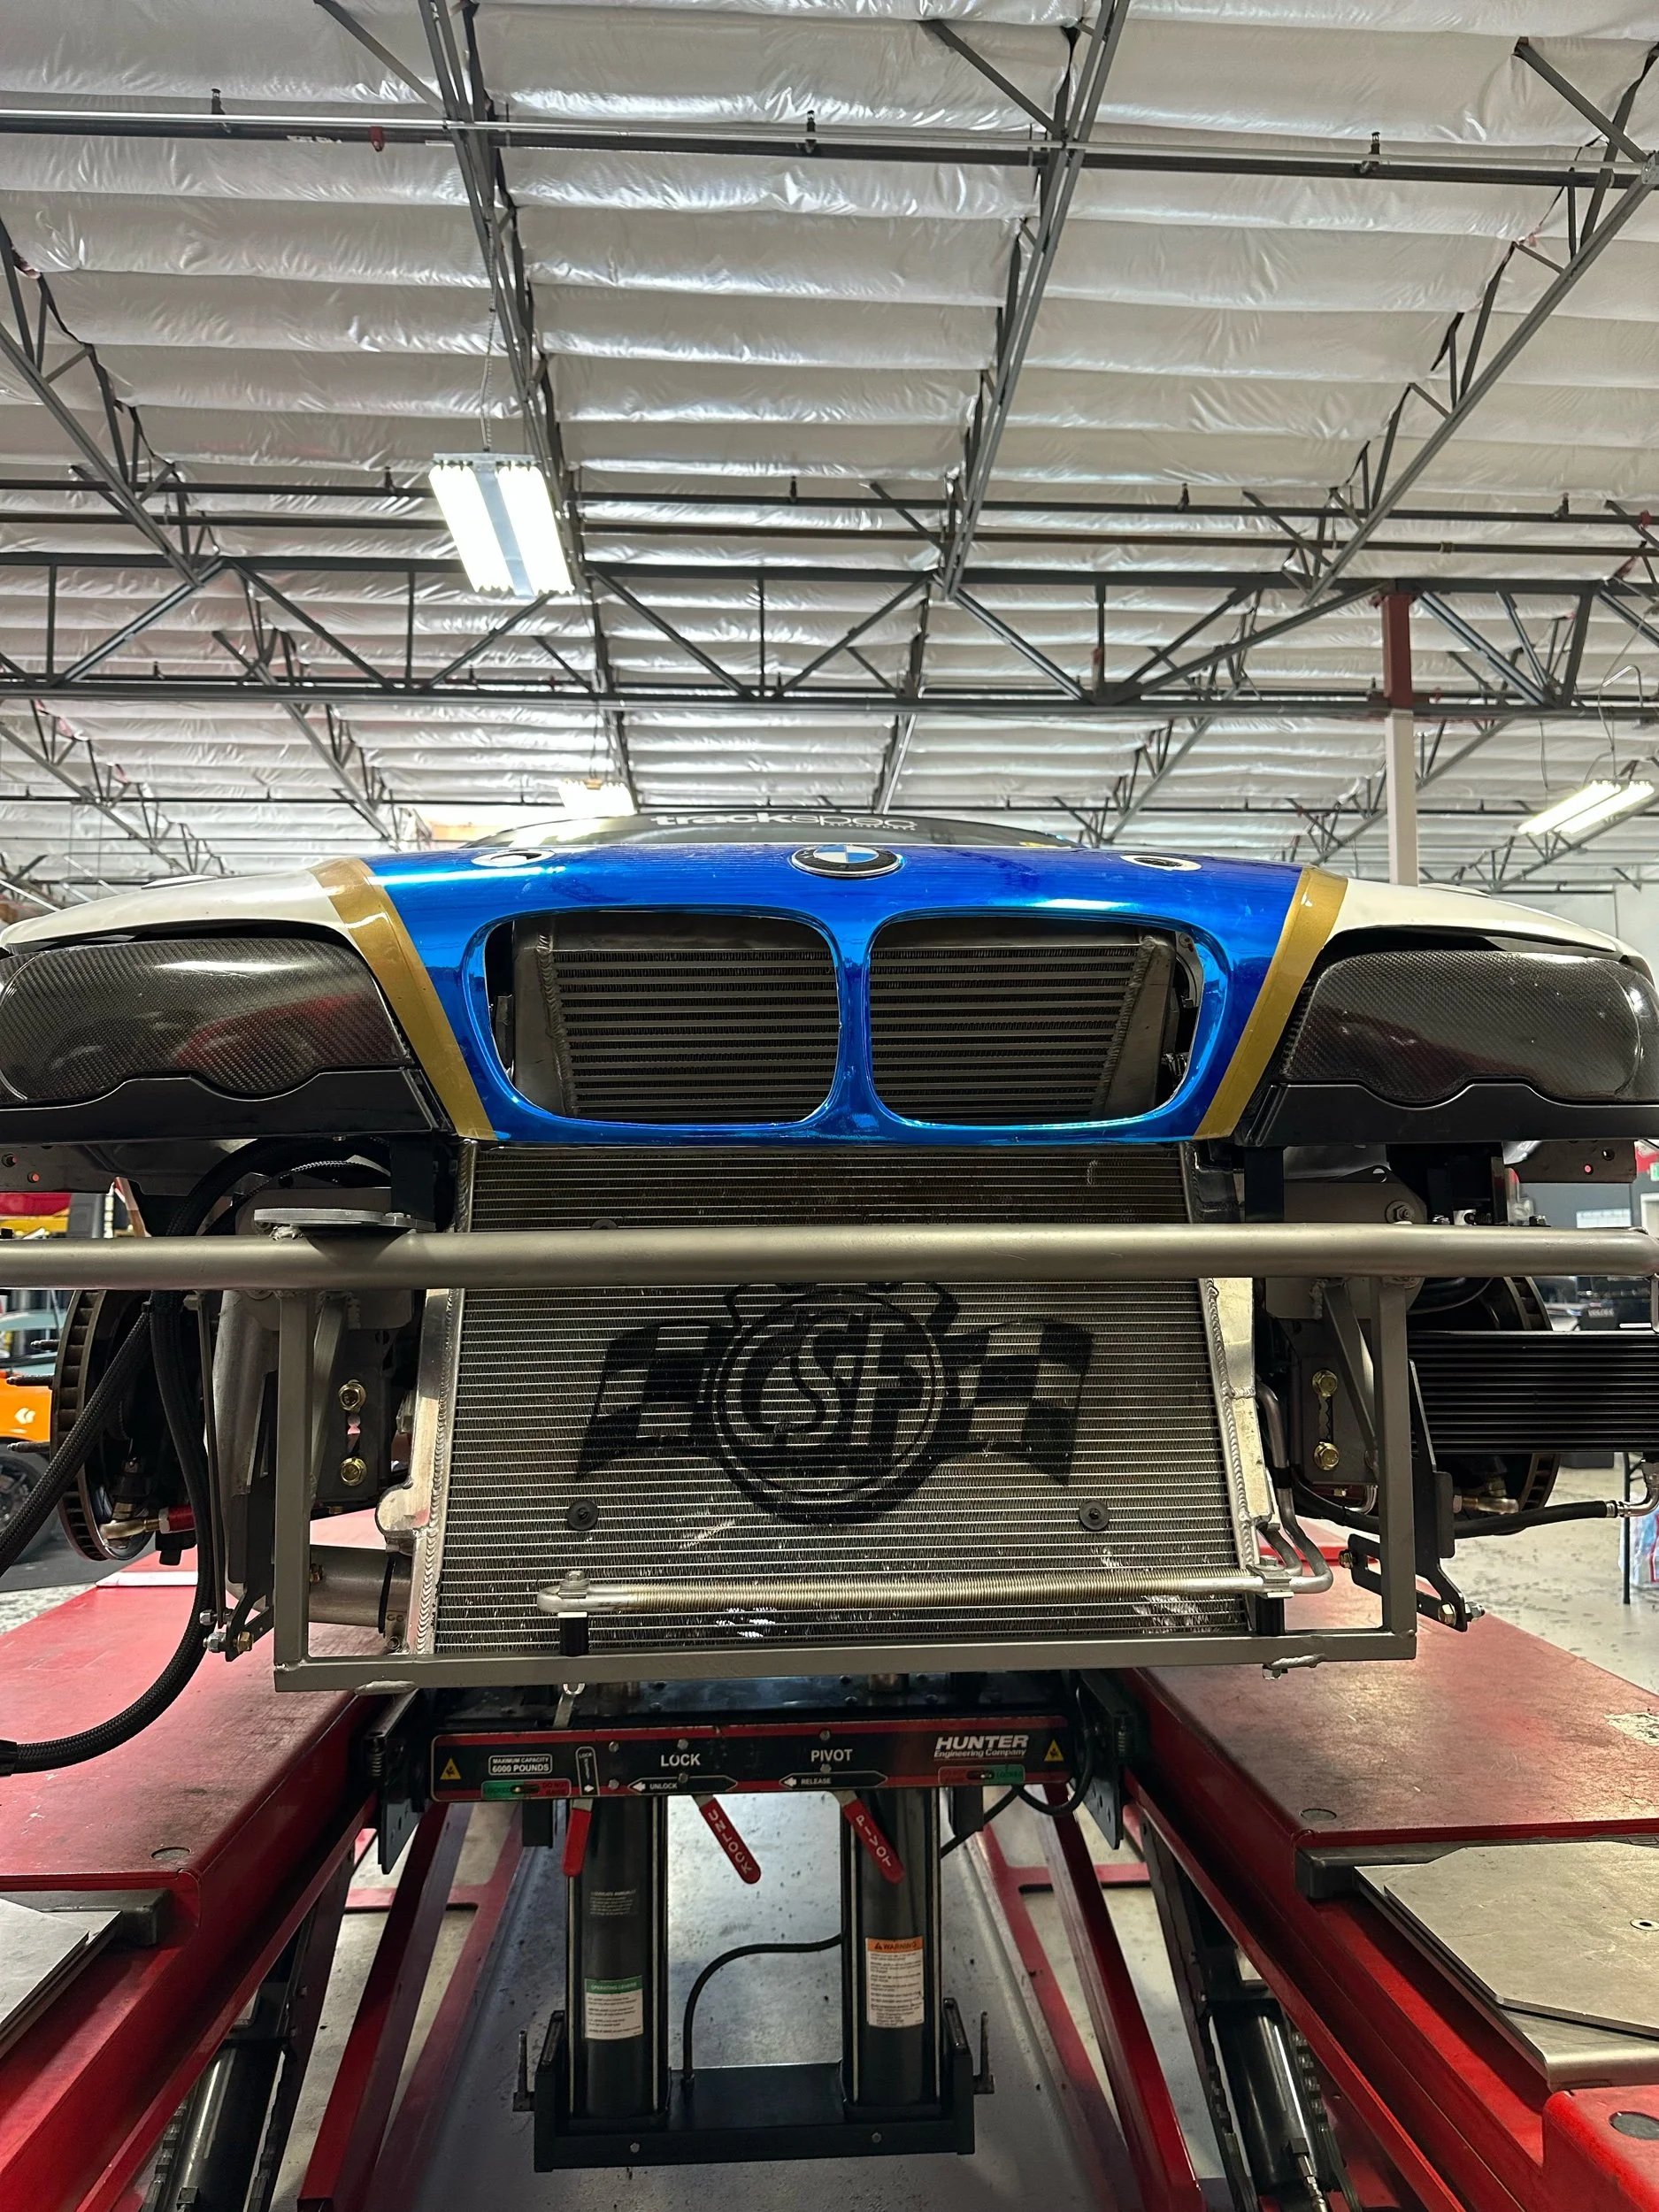
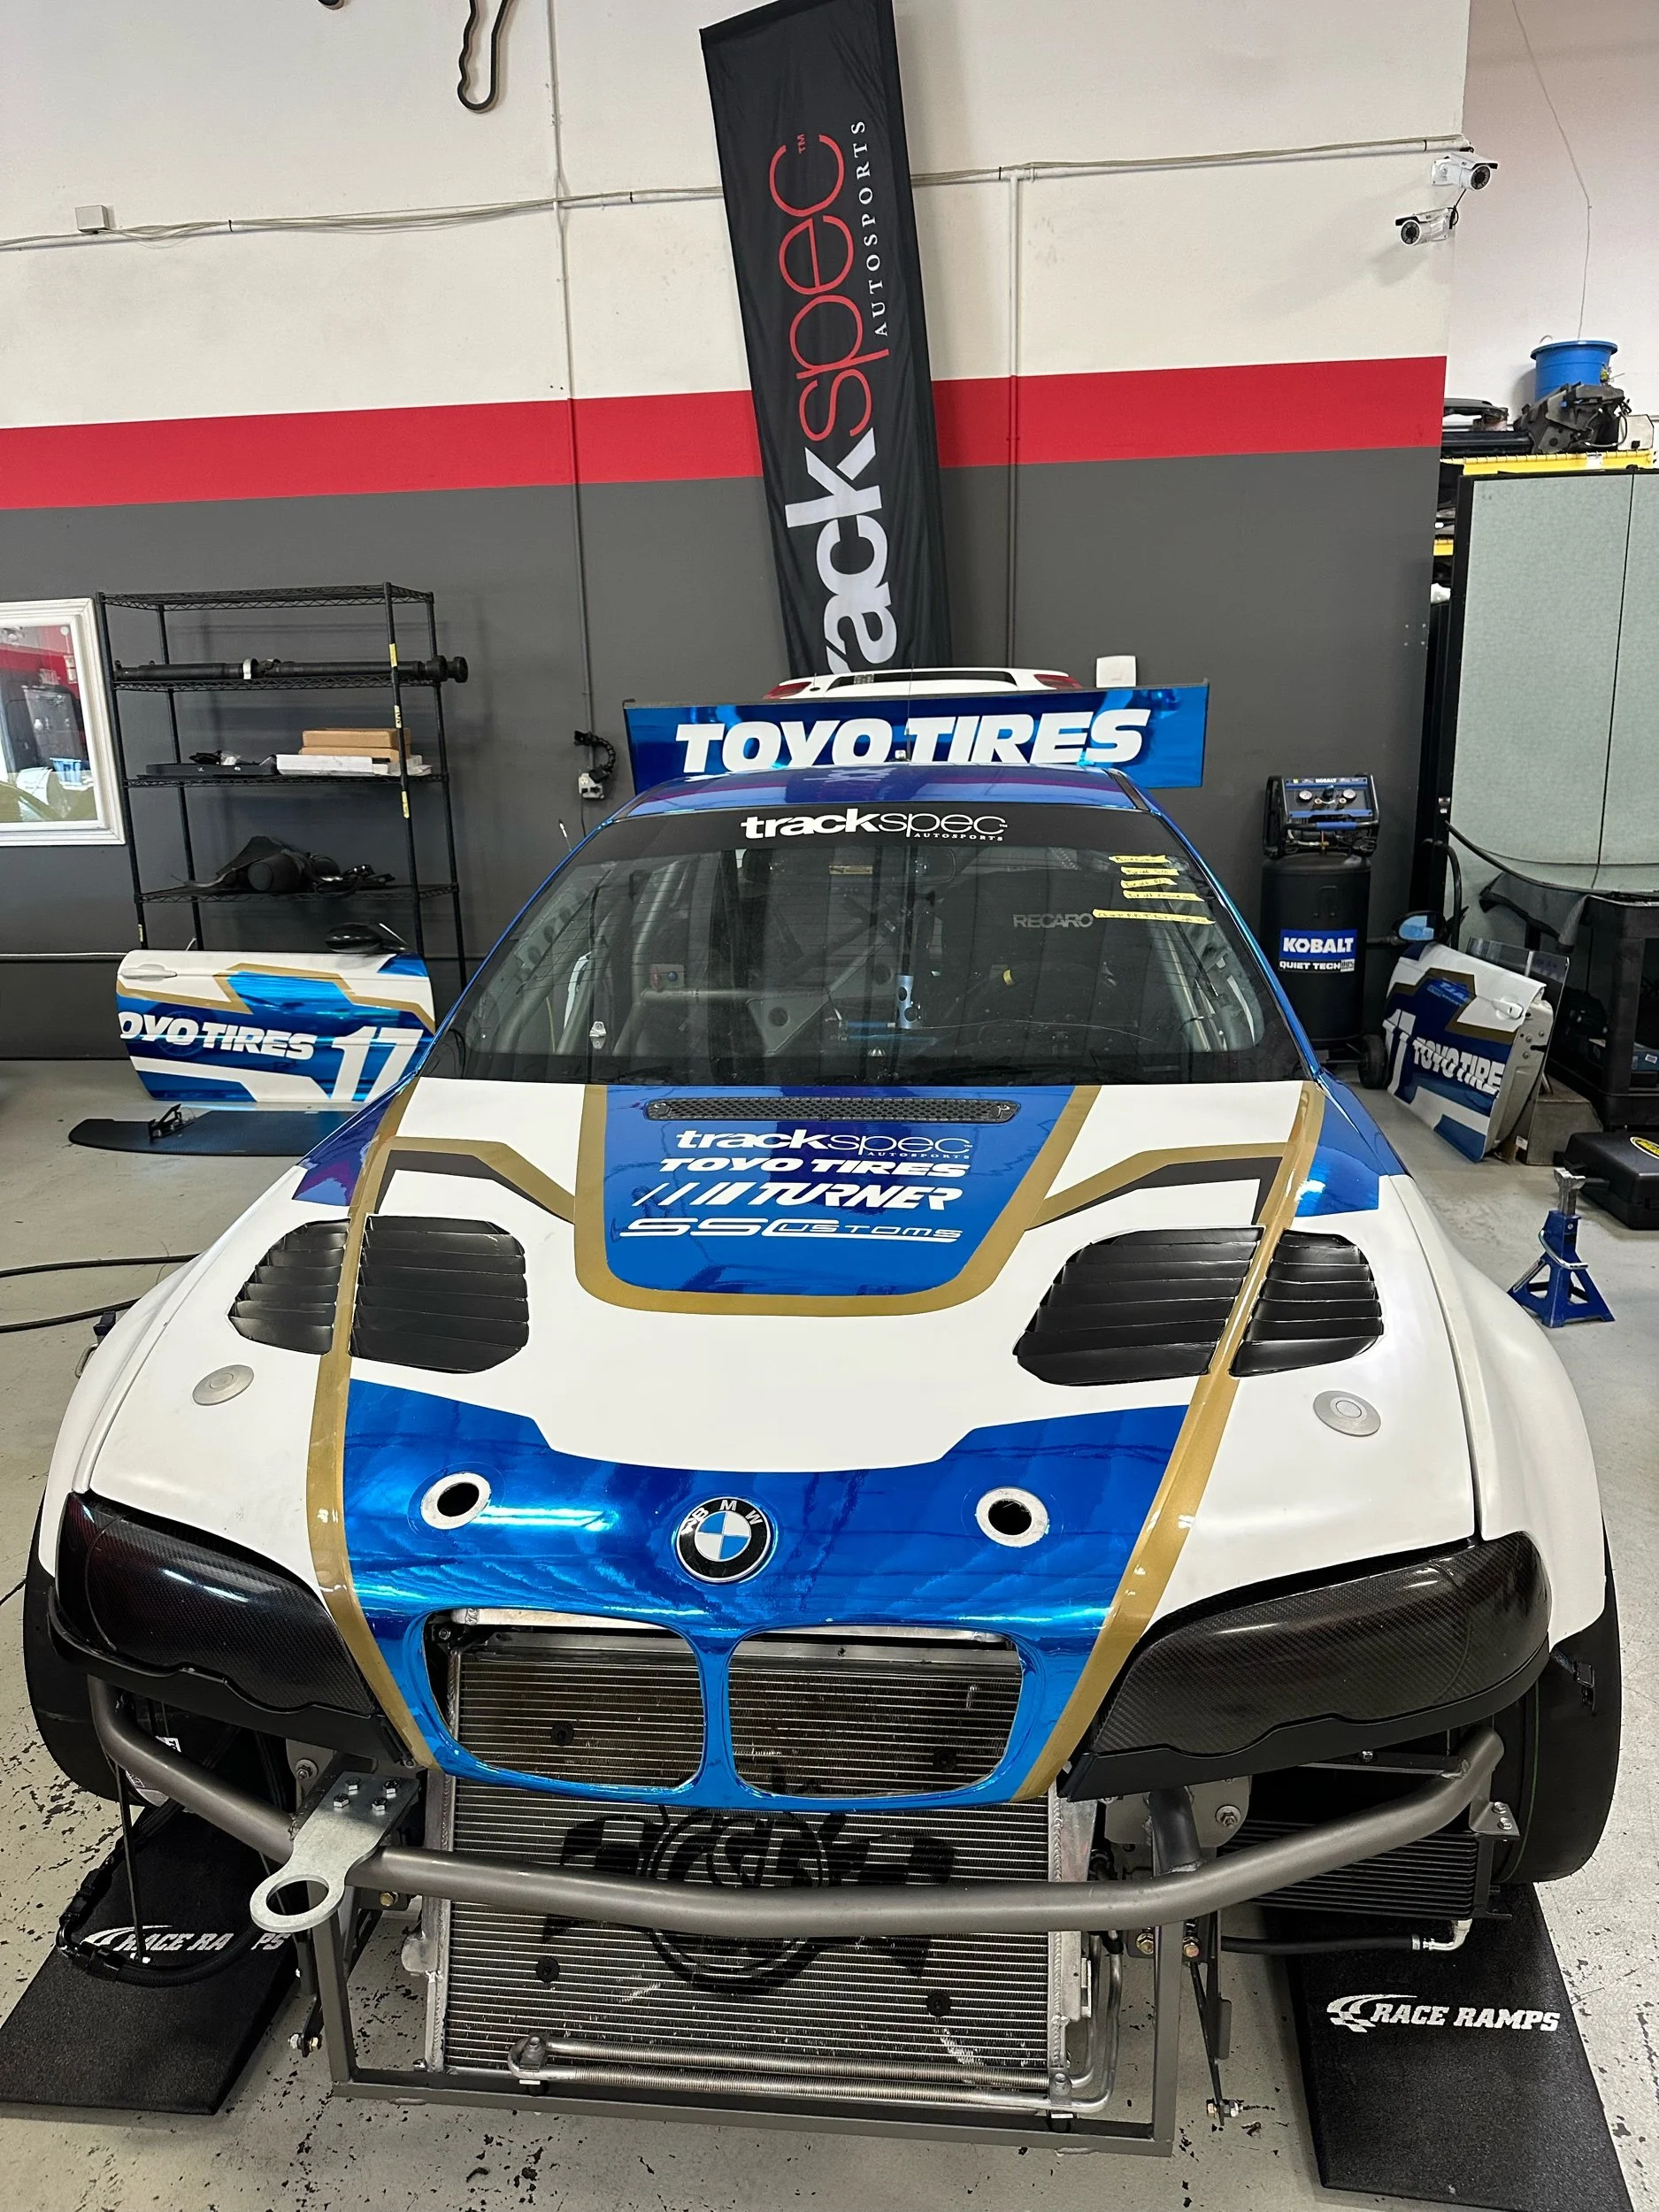
I mentioned the additional cooling demands of Pikes Peak earlier, and so from the get-go I wanted to run a v-mounted radiator and intercooler setup. The problem is, there isn’t much room in an E46 M3 engine bay because the inline-6 engine takes up a lot of space. So, we decided to take matters into our own hands and tube the front-end. This would become the foundation for mounting many other things, including oil-coolers, a new tow-hook, future much larger chassis-mounted splitter, etc.
tubular Front End
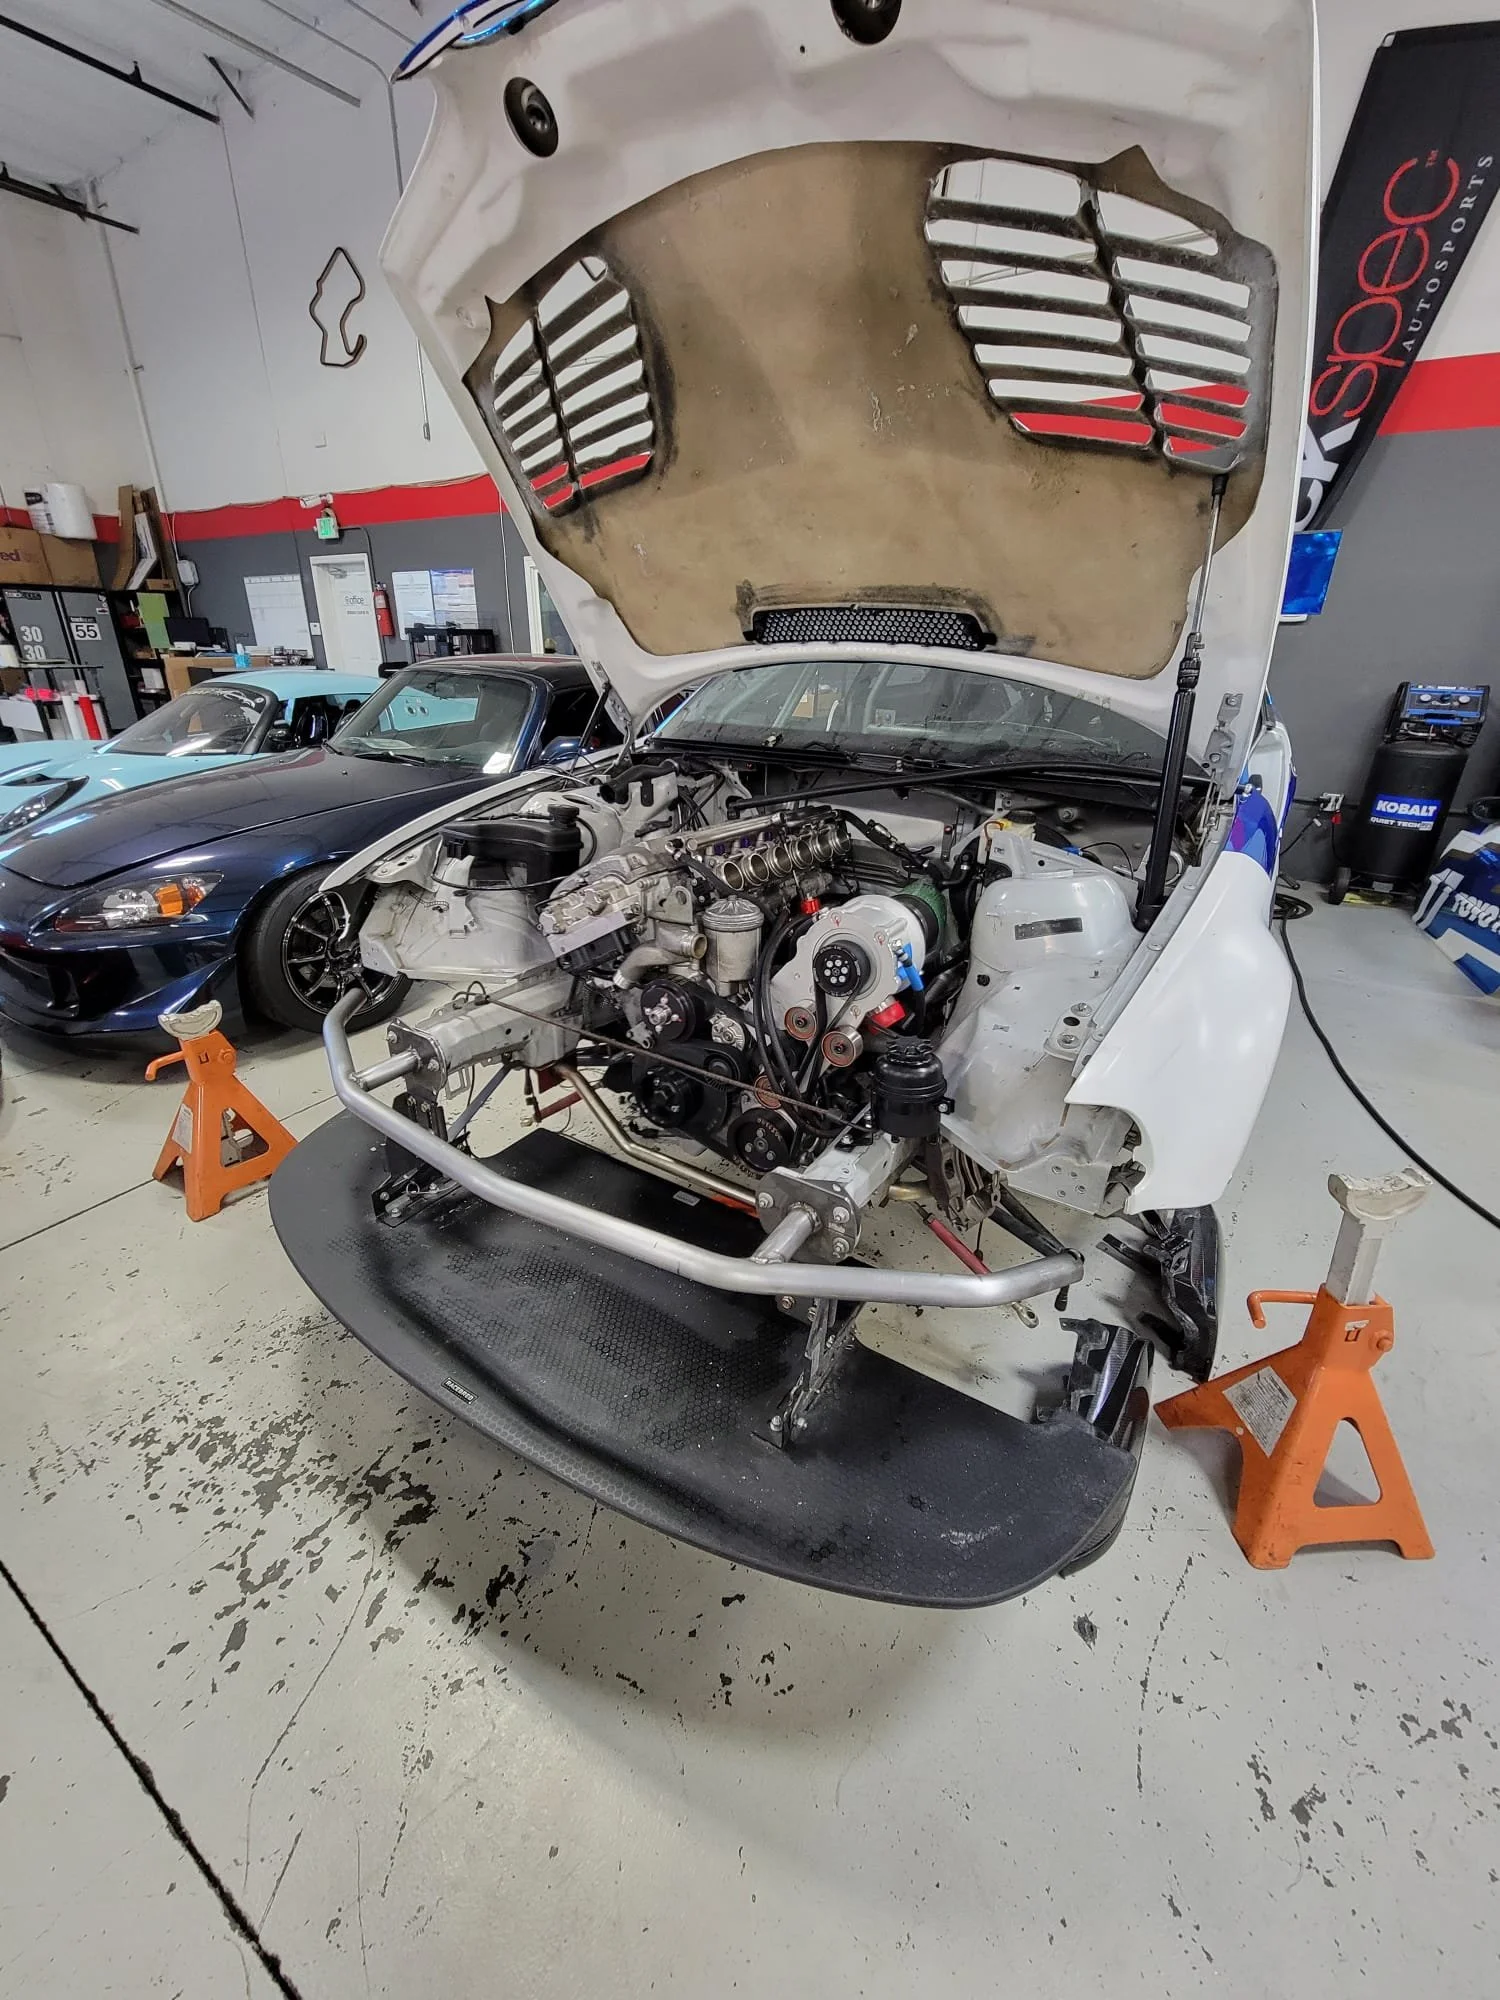
Mike and Matteo did an awesome job of fabricating the front end to accommodate the huge Active Autowerke intercooler and CSF radiator. It took some creative ingenuity (we know why a v-mount on an E46 M3 with an S54 is such a rare sight now), but we were able to make everything fit with the bumper on and hood closed. Woohoo!
V-Mounted Intercooler & Radiator

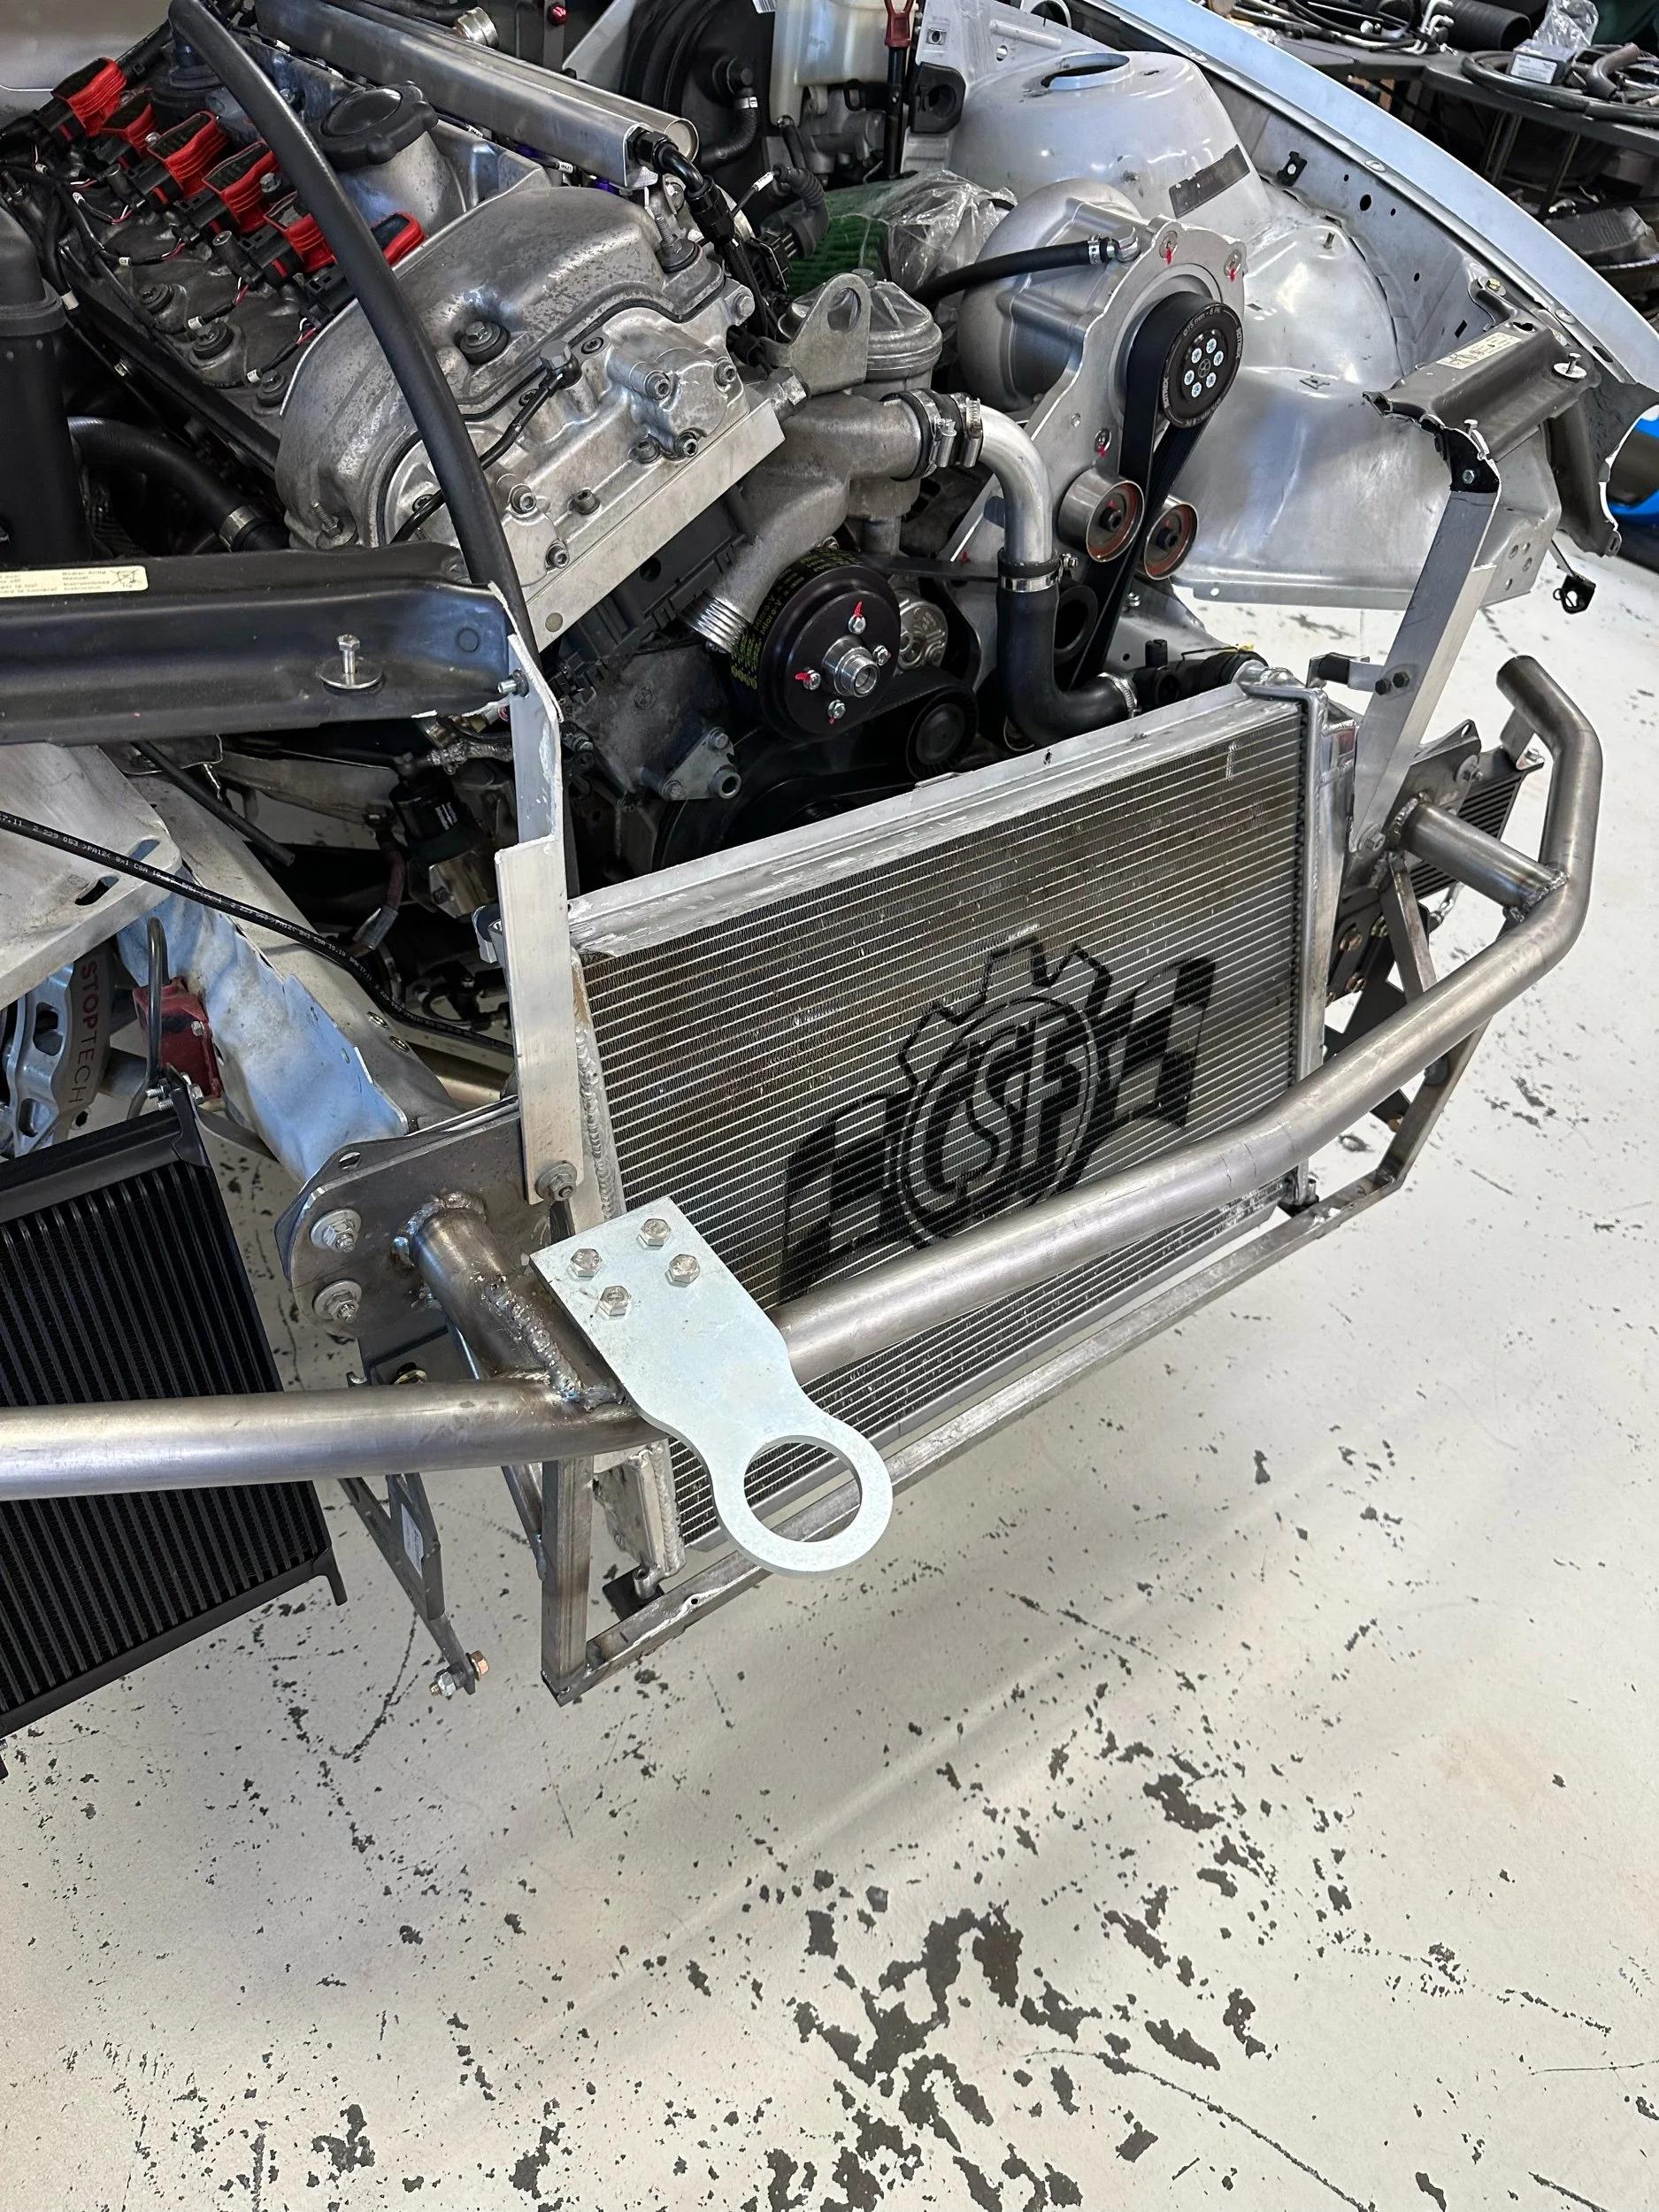
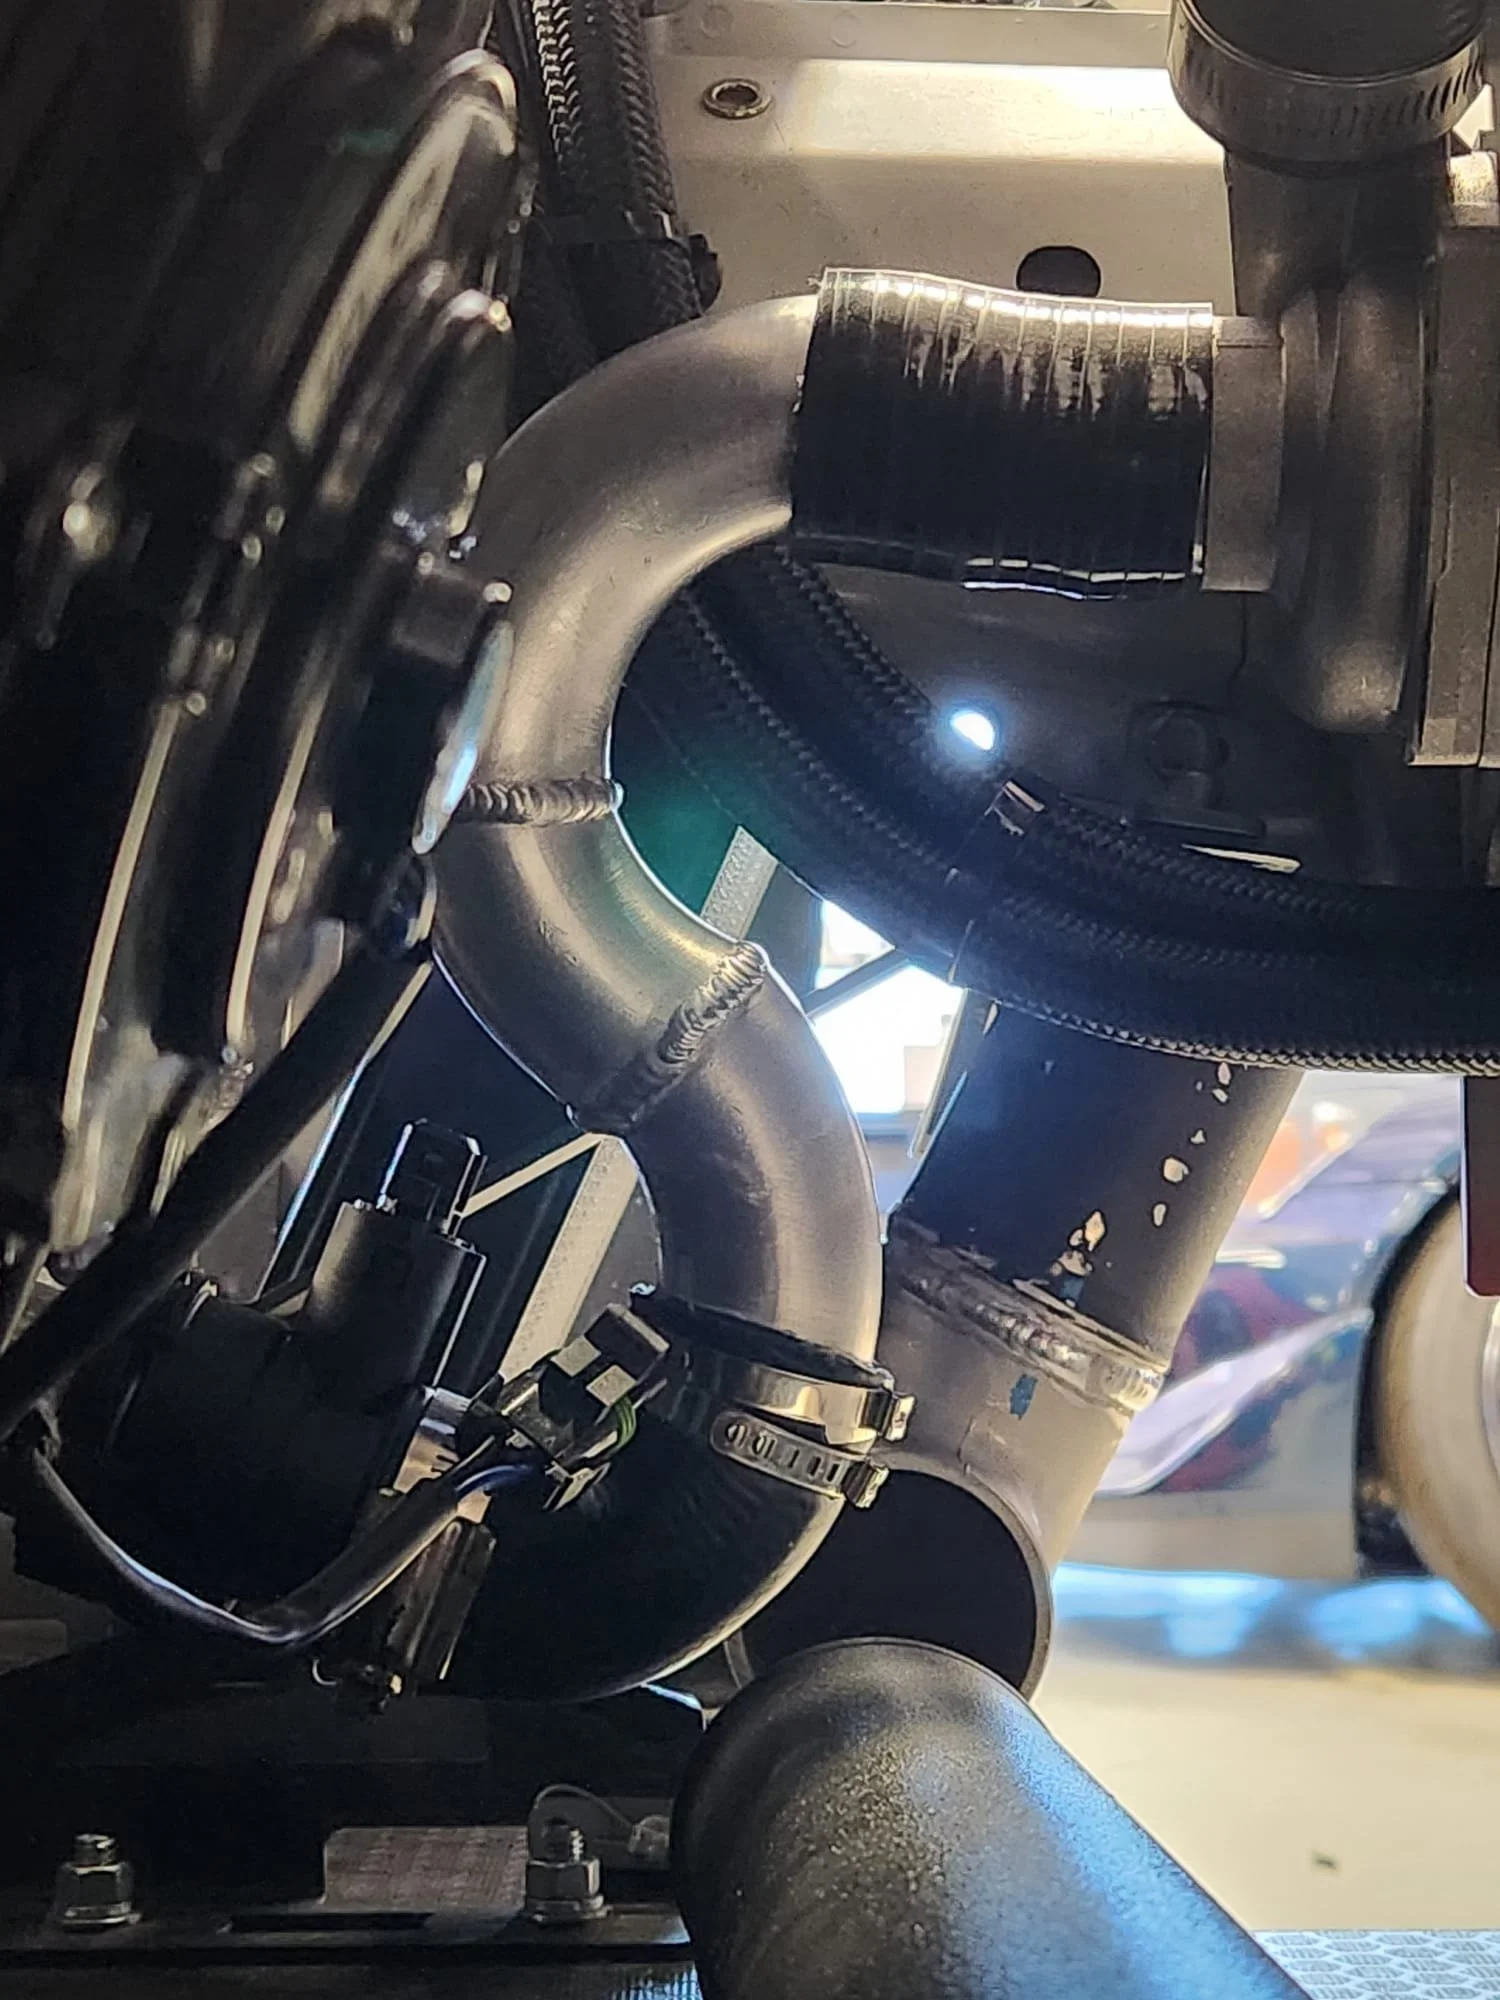
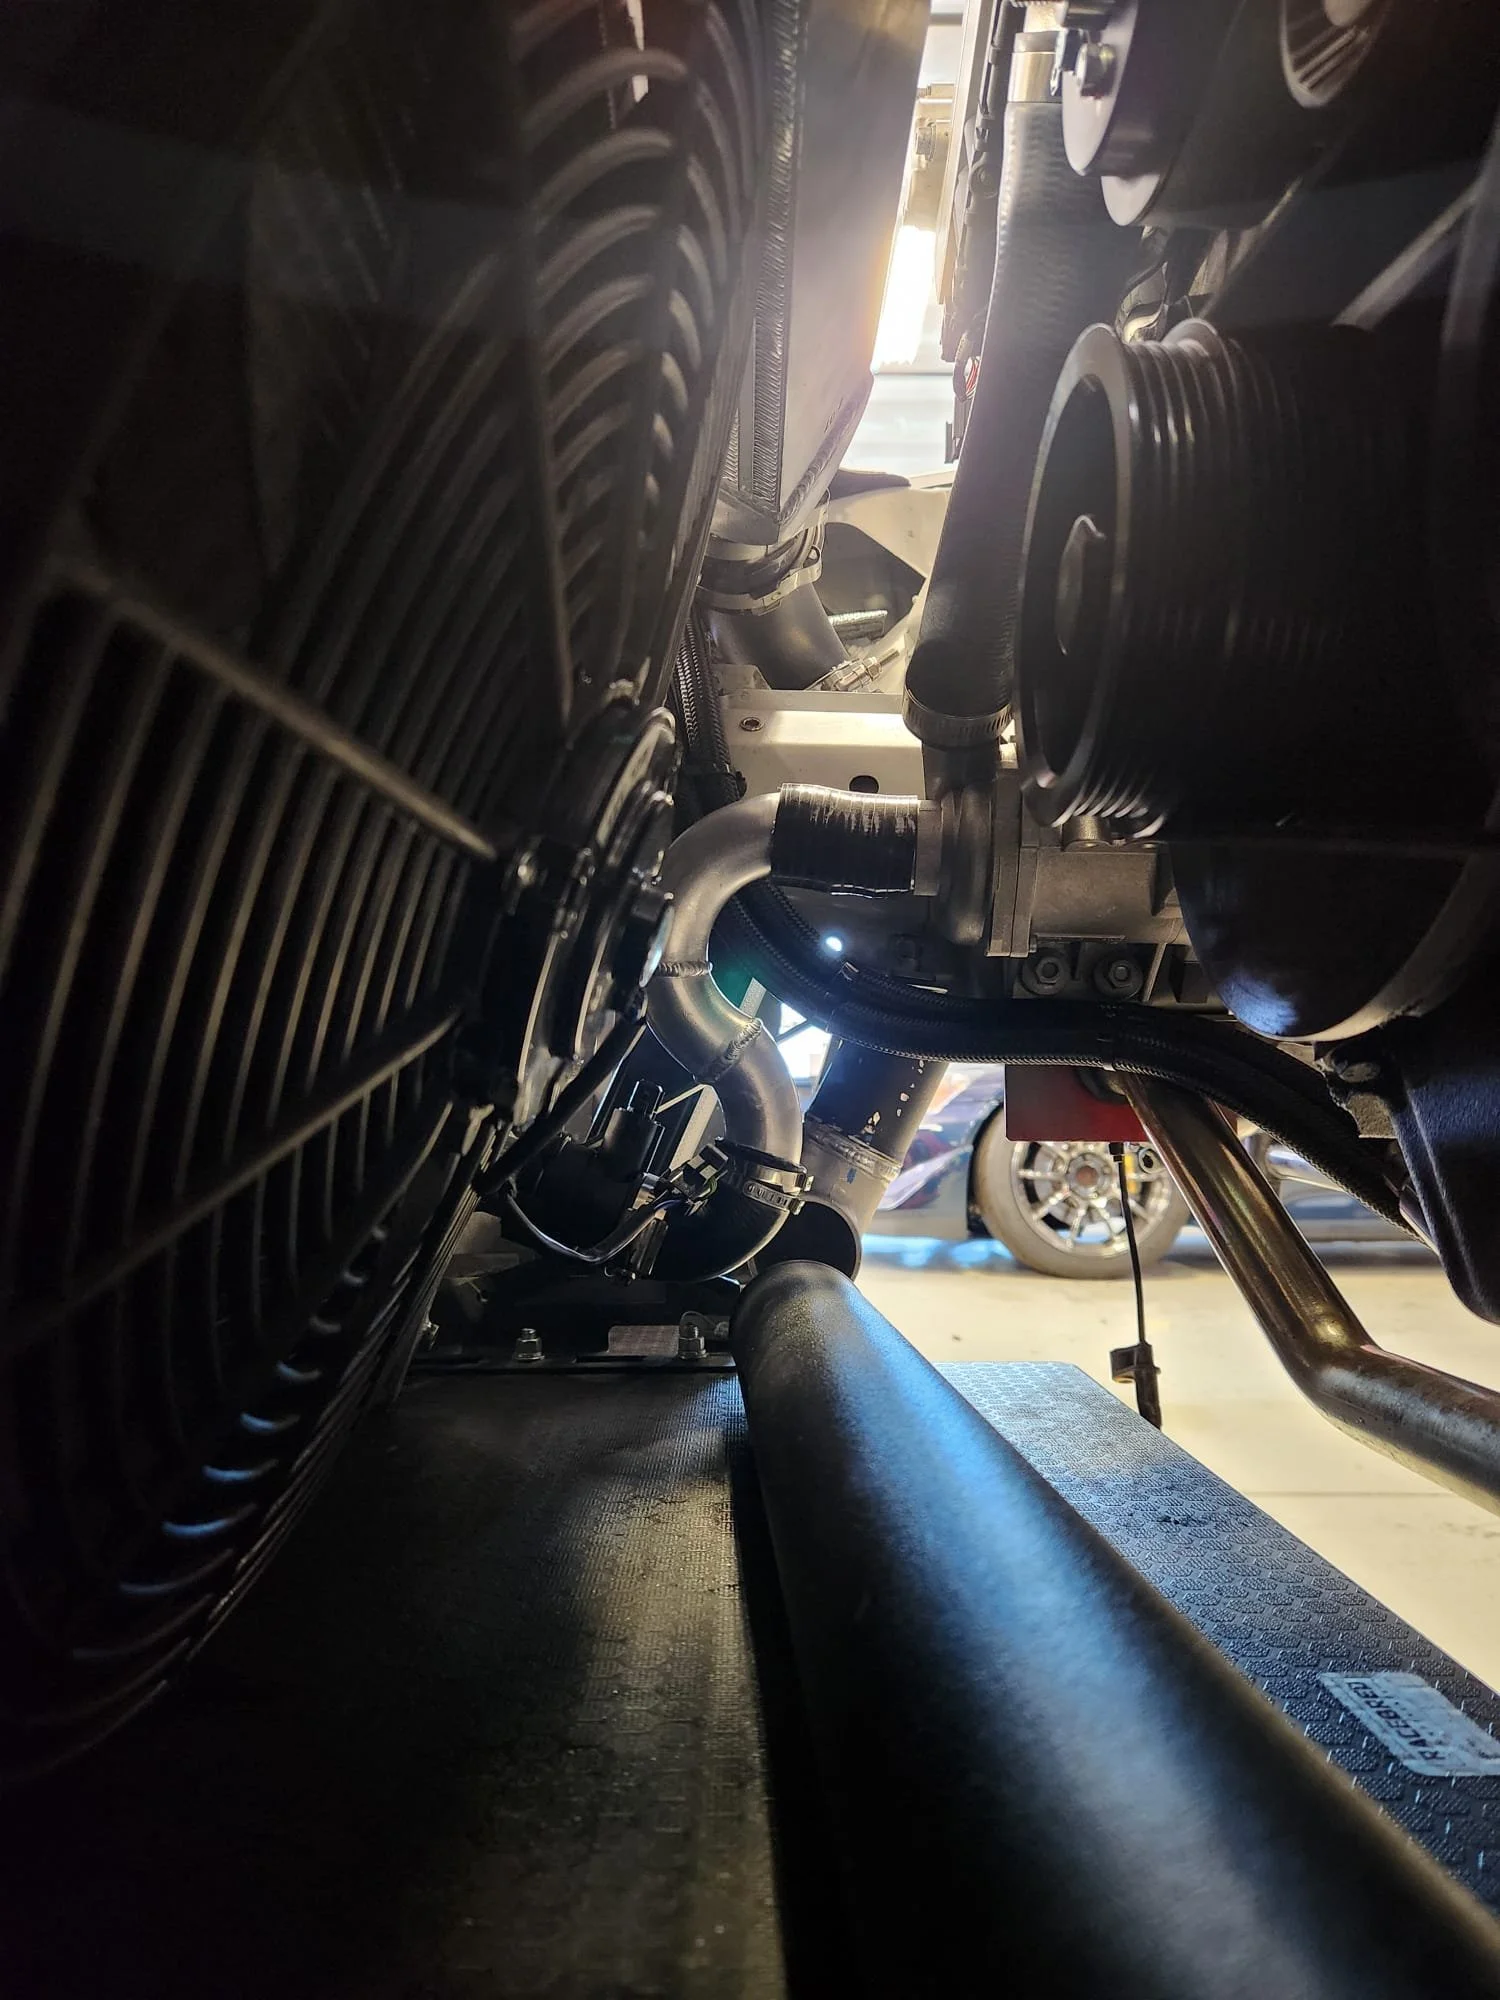
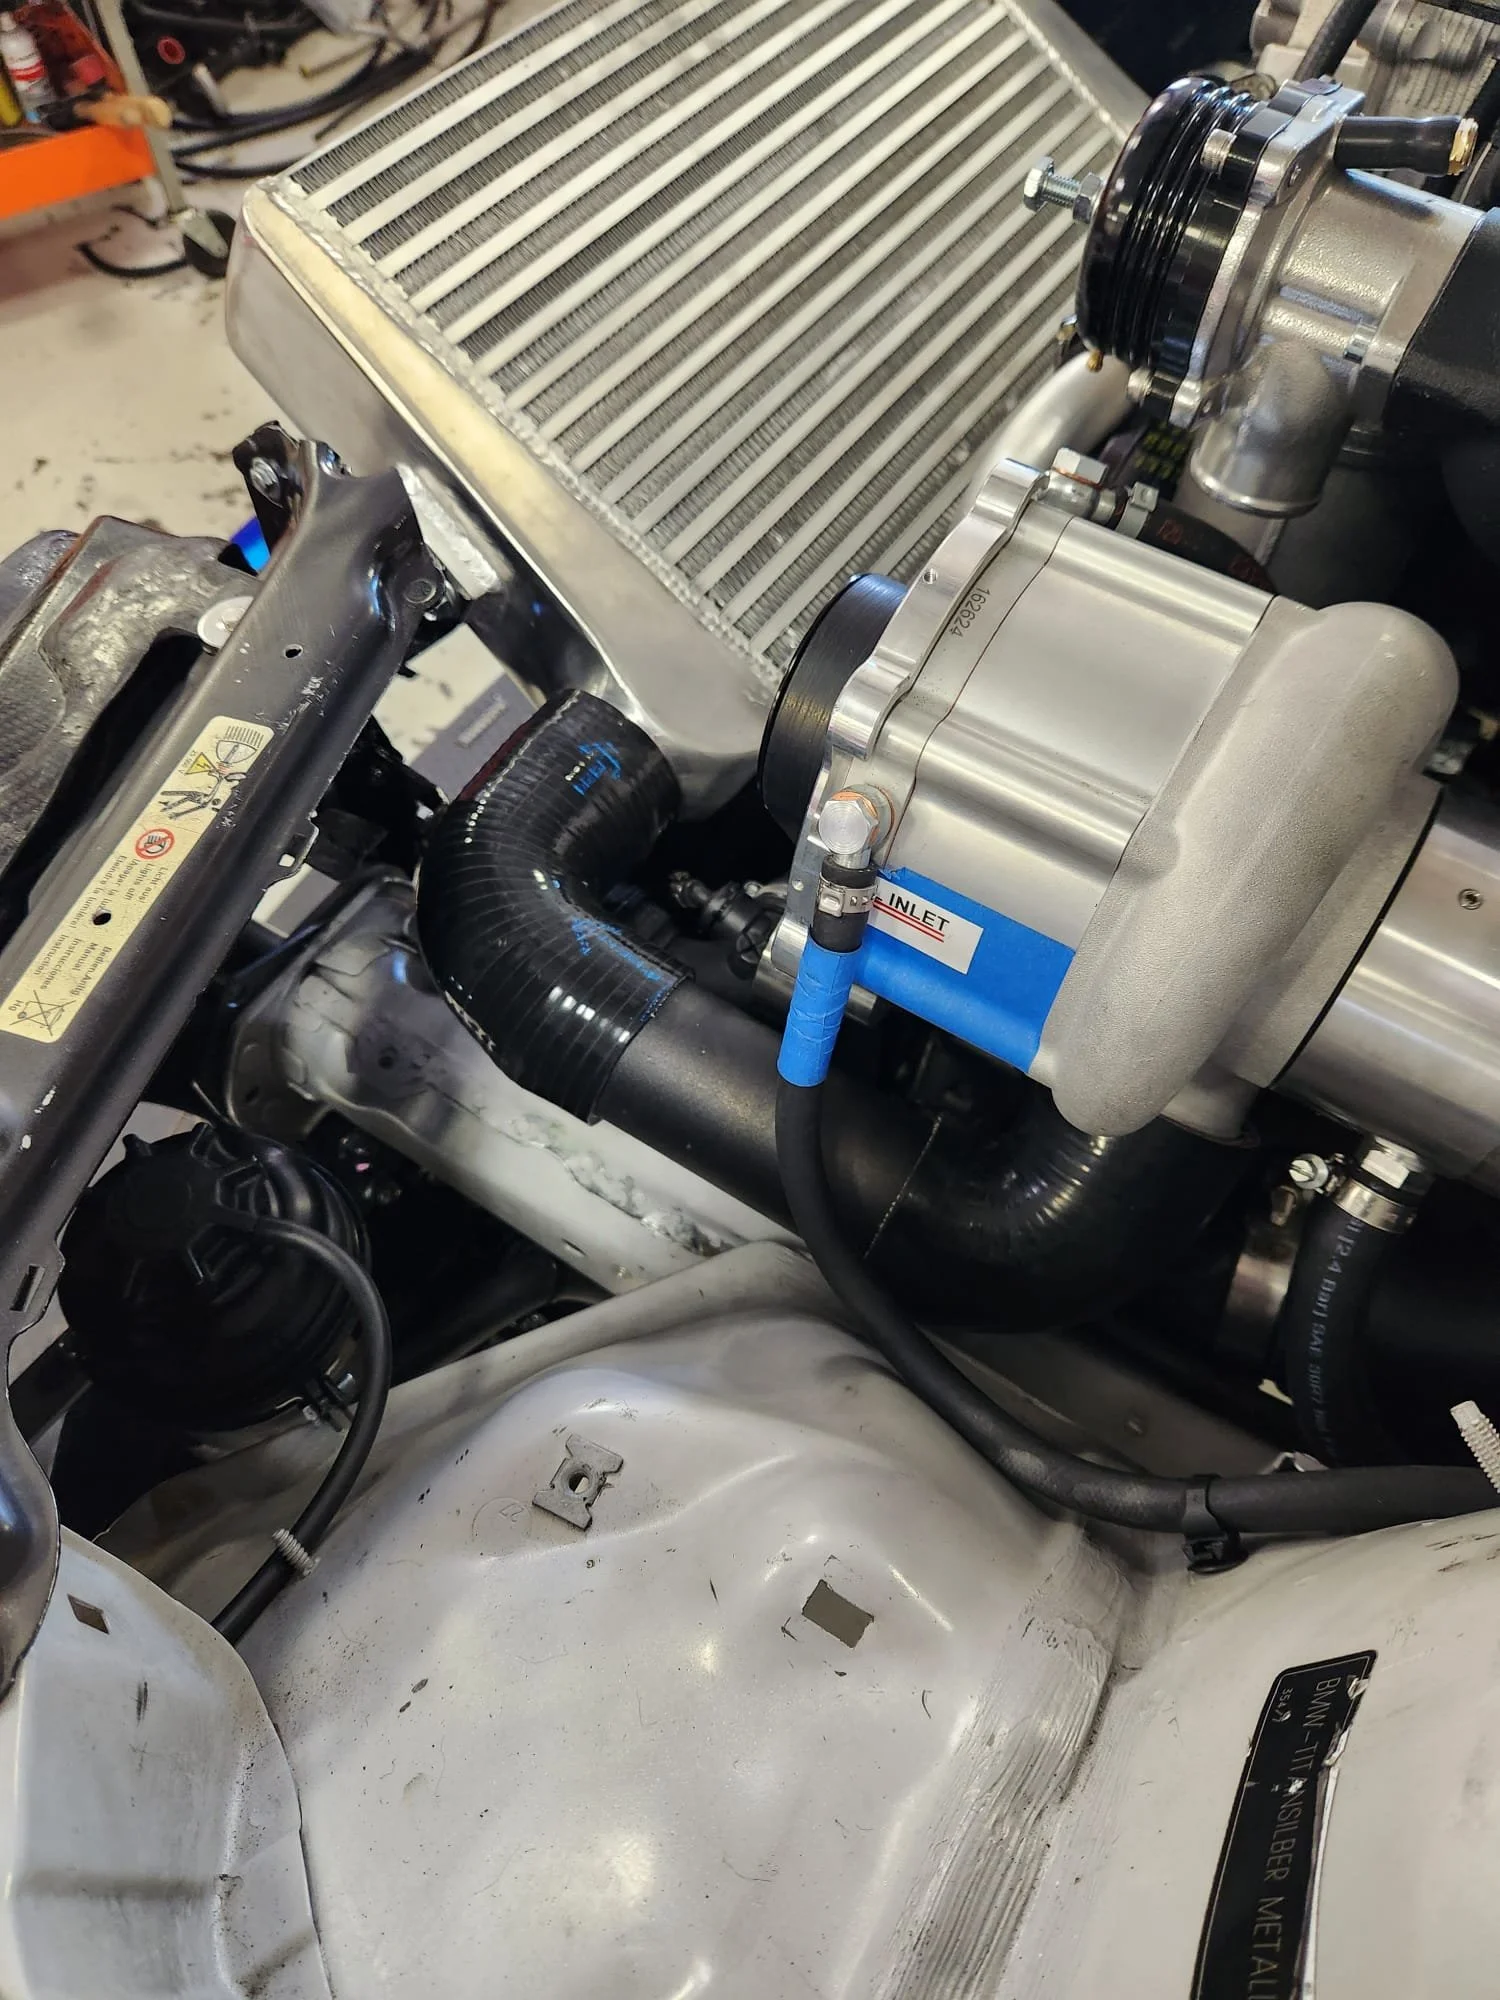
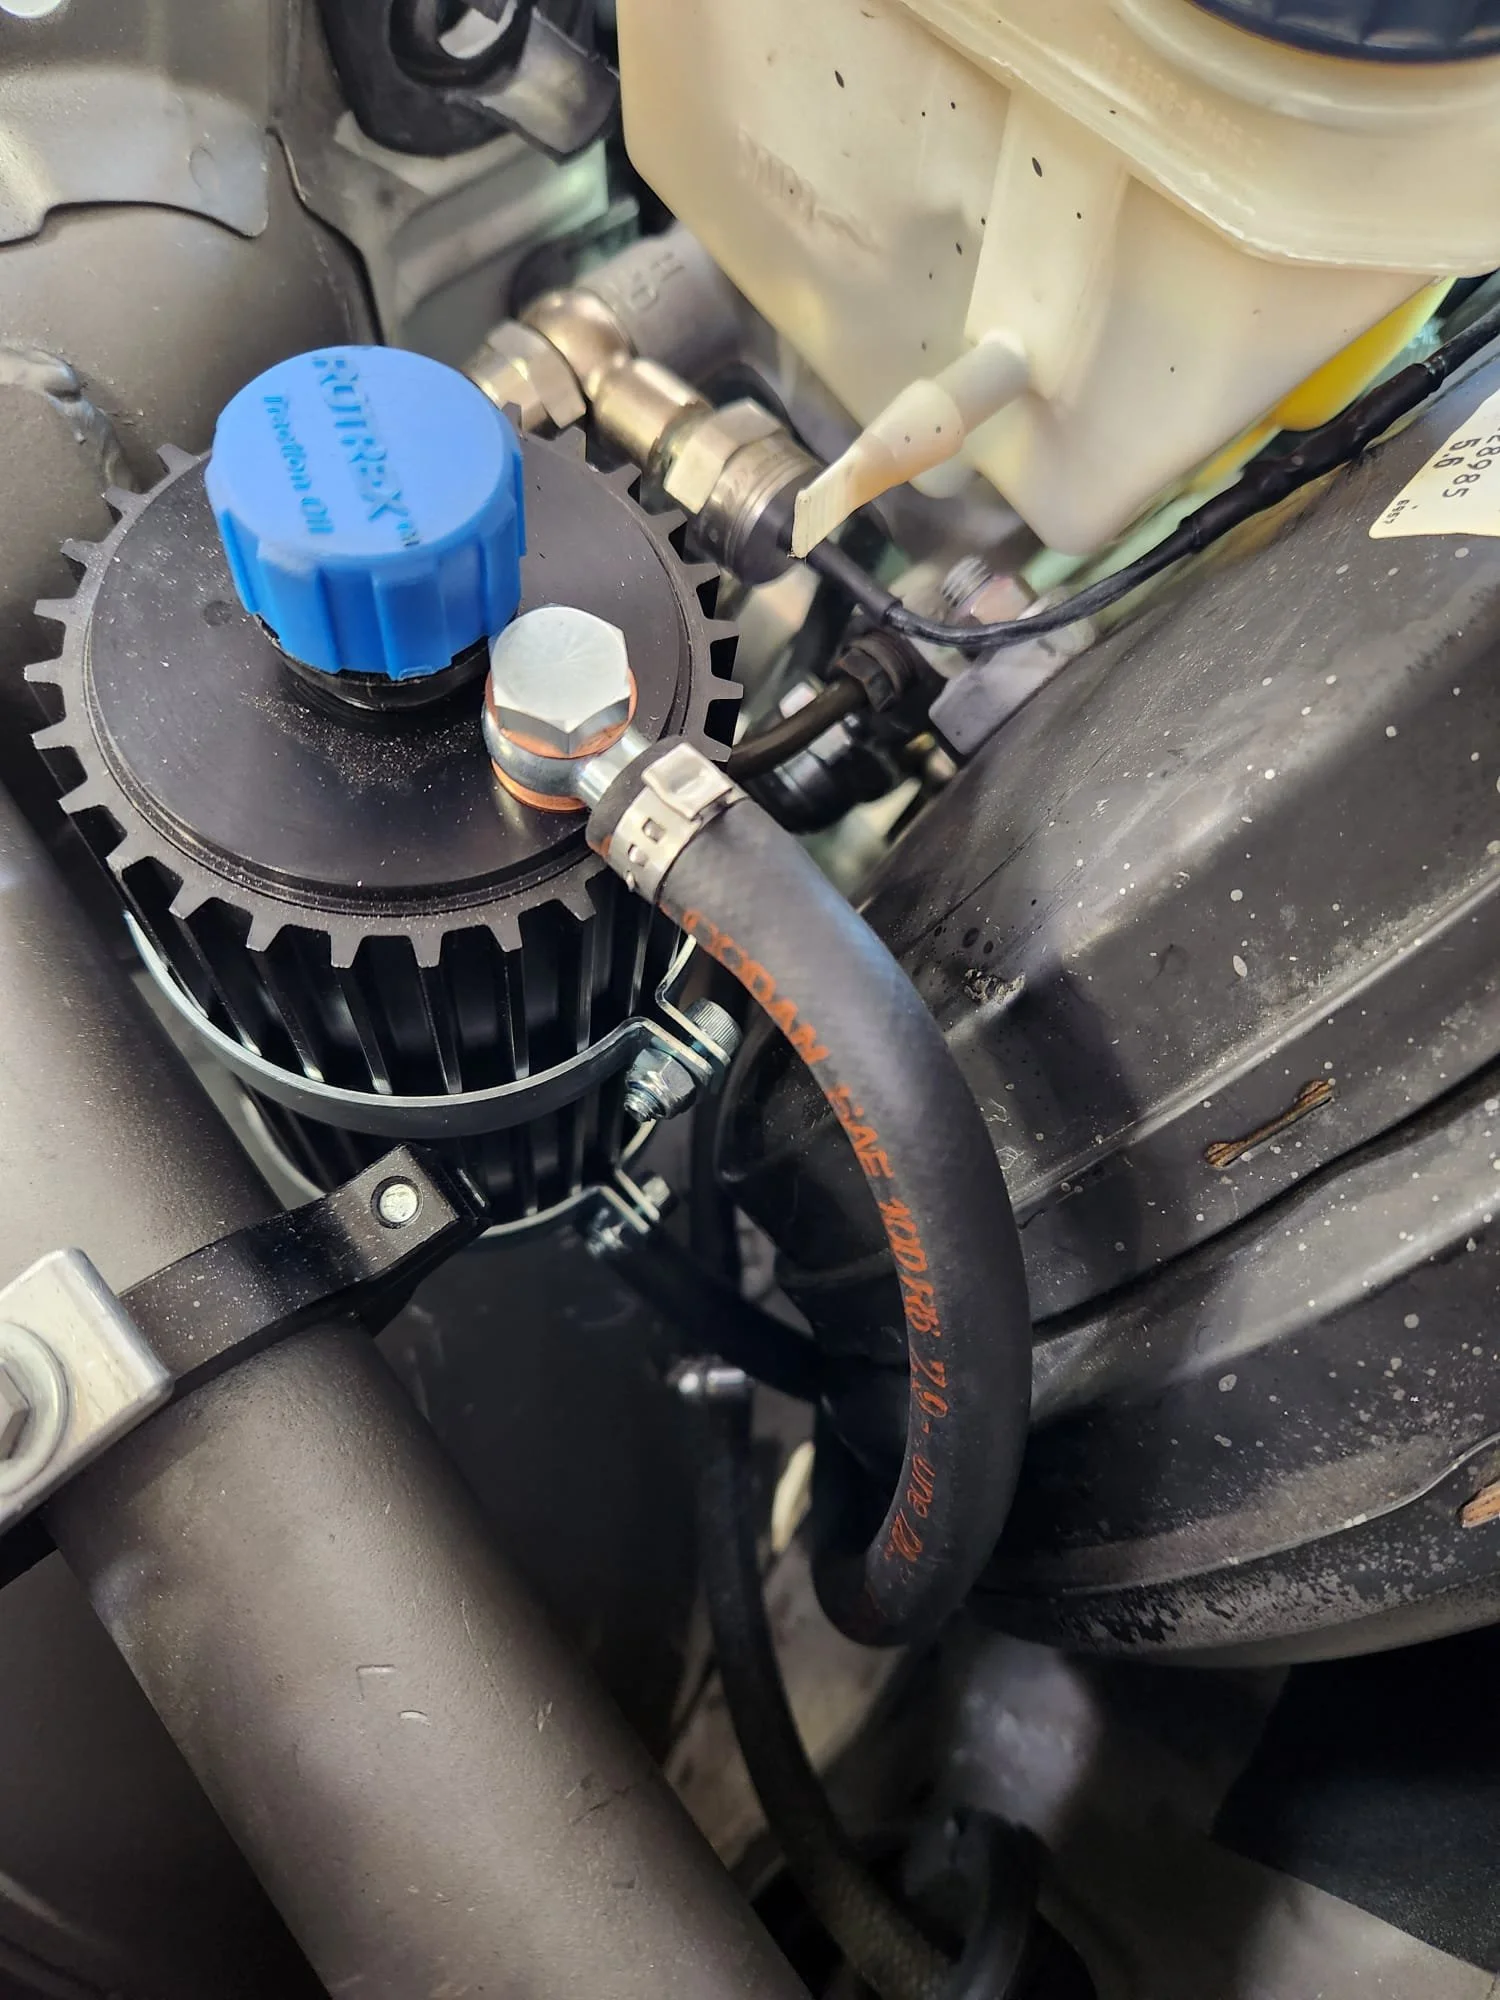
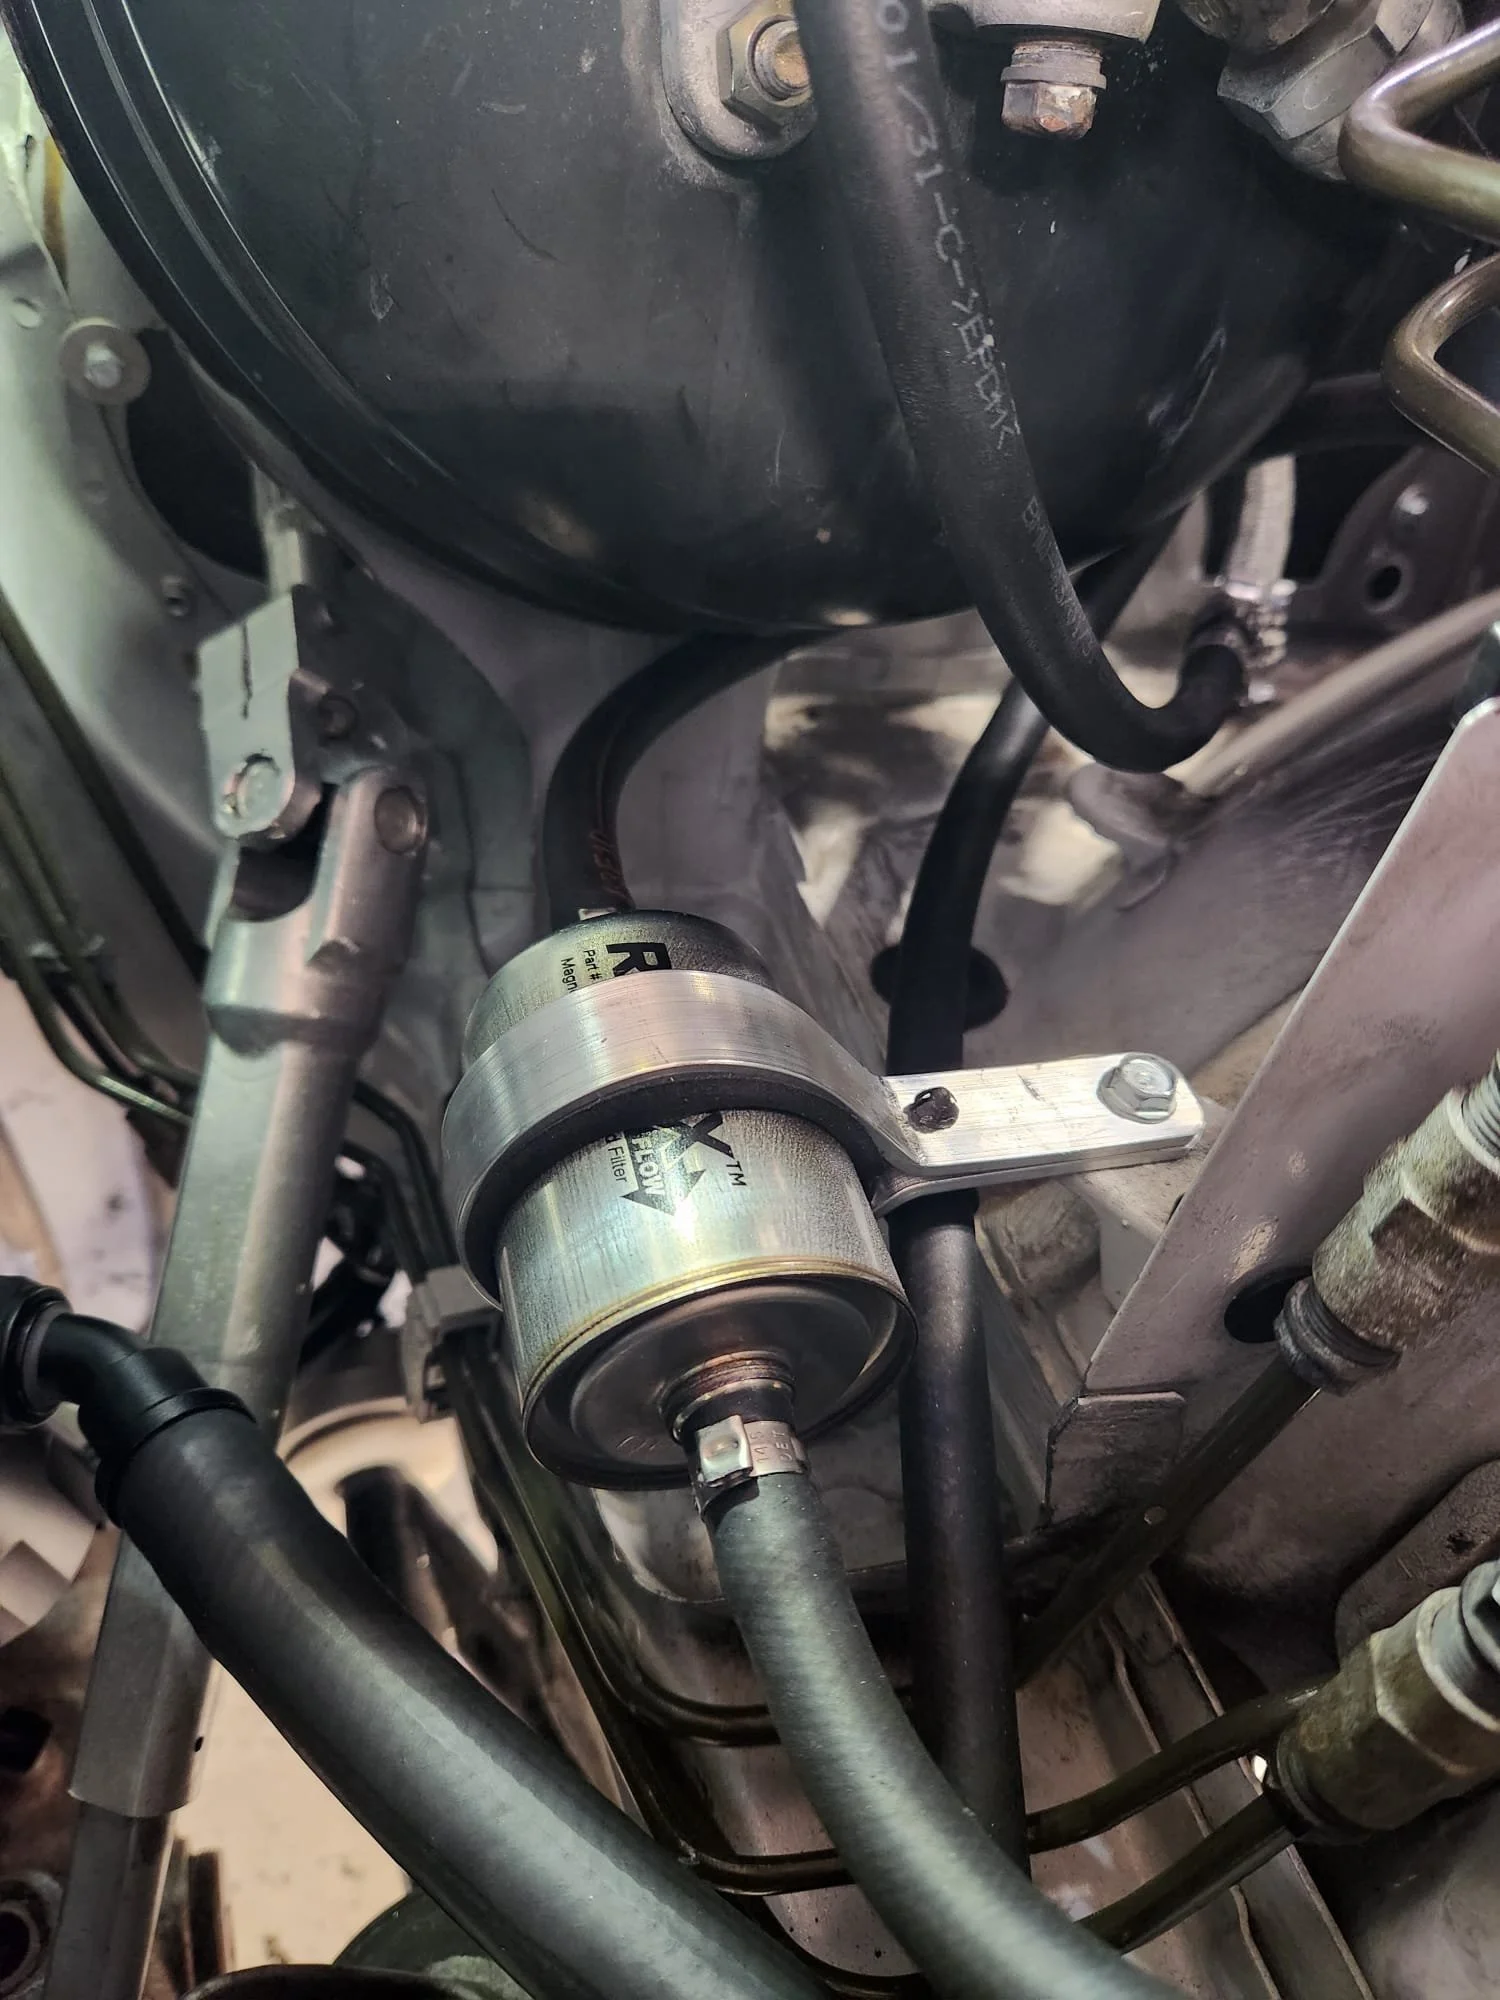
In order to achieve 600hp, we are running a C38 trim Rotrex Supercharger setup from Active Autowerke. Shout-out to Karl and team for being such helpful partners on this project. They were also the ones who recommended we ditch the factory mechanical water pump and to go with an electric water pump (EWP). Remember the cooling demands topic? Yup. It’s going to be an ongoing theme here for our Pikes Peak car.
In order to help keep our engine at the right operating temperature, we’ve opted for a Pierburg EWP from the BMW M235R race car. At full duty cycle, it pushes a whopping 30 gallons per minute. Getting this unit to fit and plumbing it correctly proved to be quite a challenge, but one that our team was definitely up for. I think it’s really cool that we are one of the few in the world to have an EWP on an S54 engine inside of an E46 M3 chassis.
Active Autowerke Rotrex Supercharger
Details Details Details
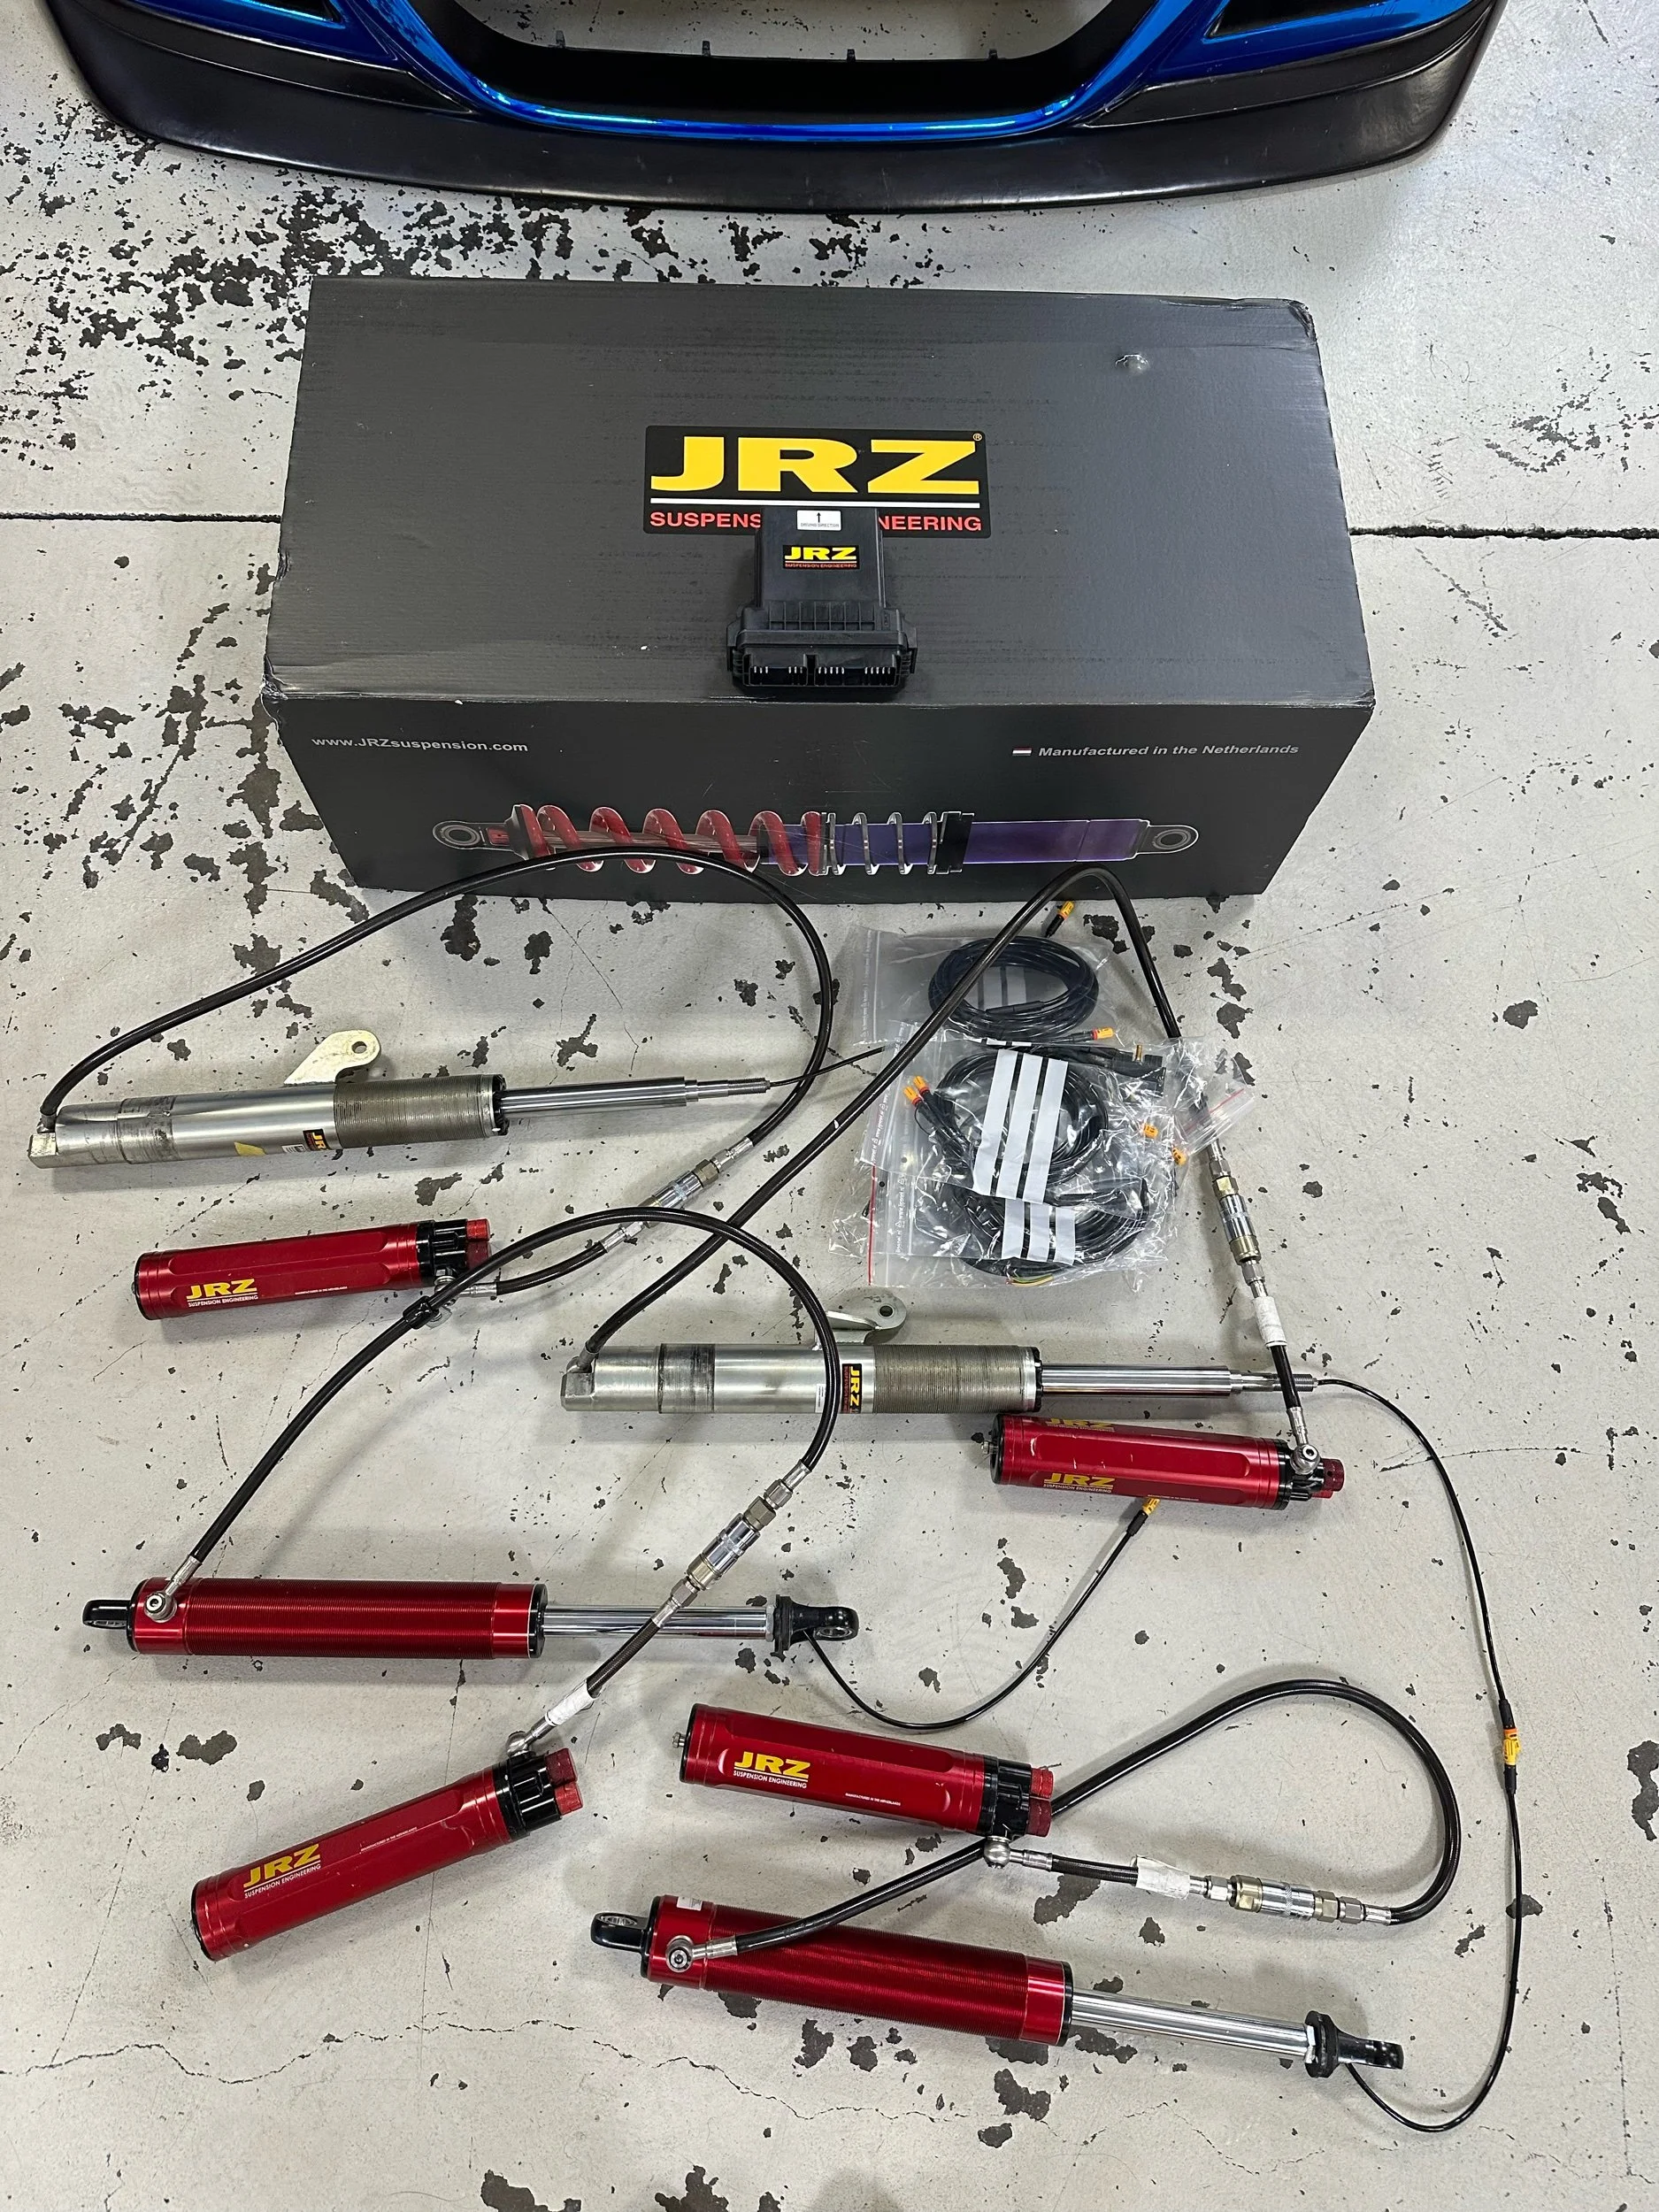
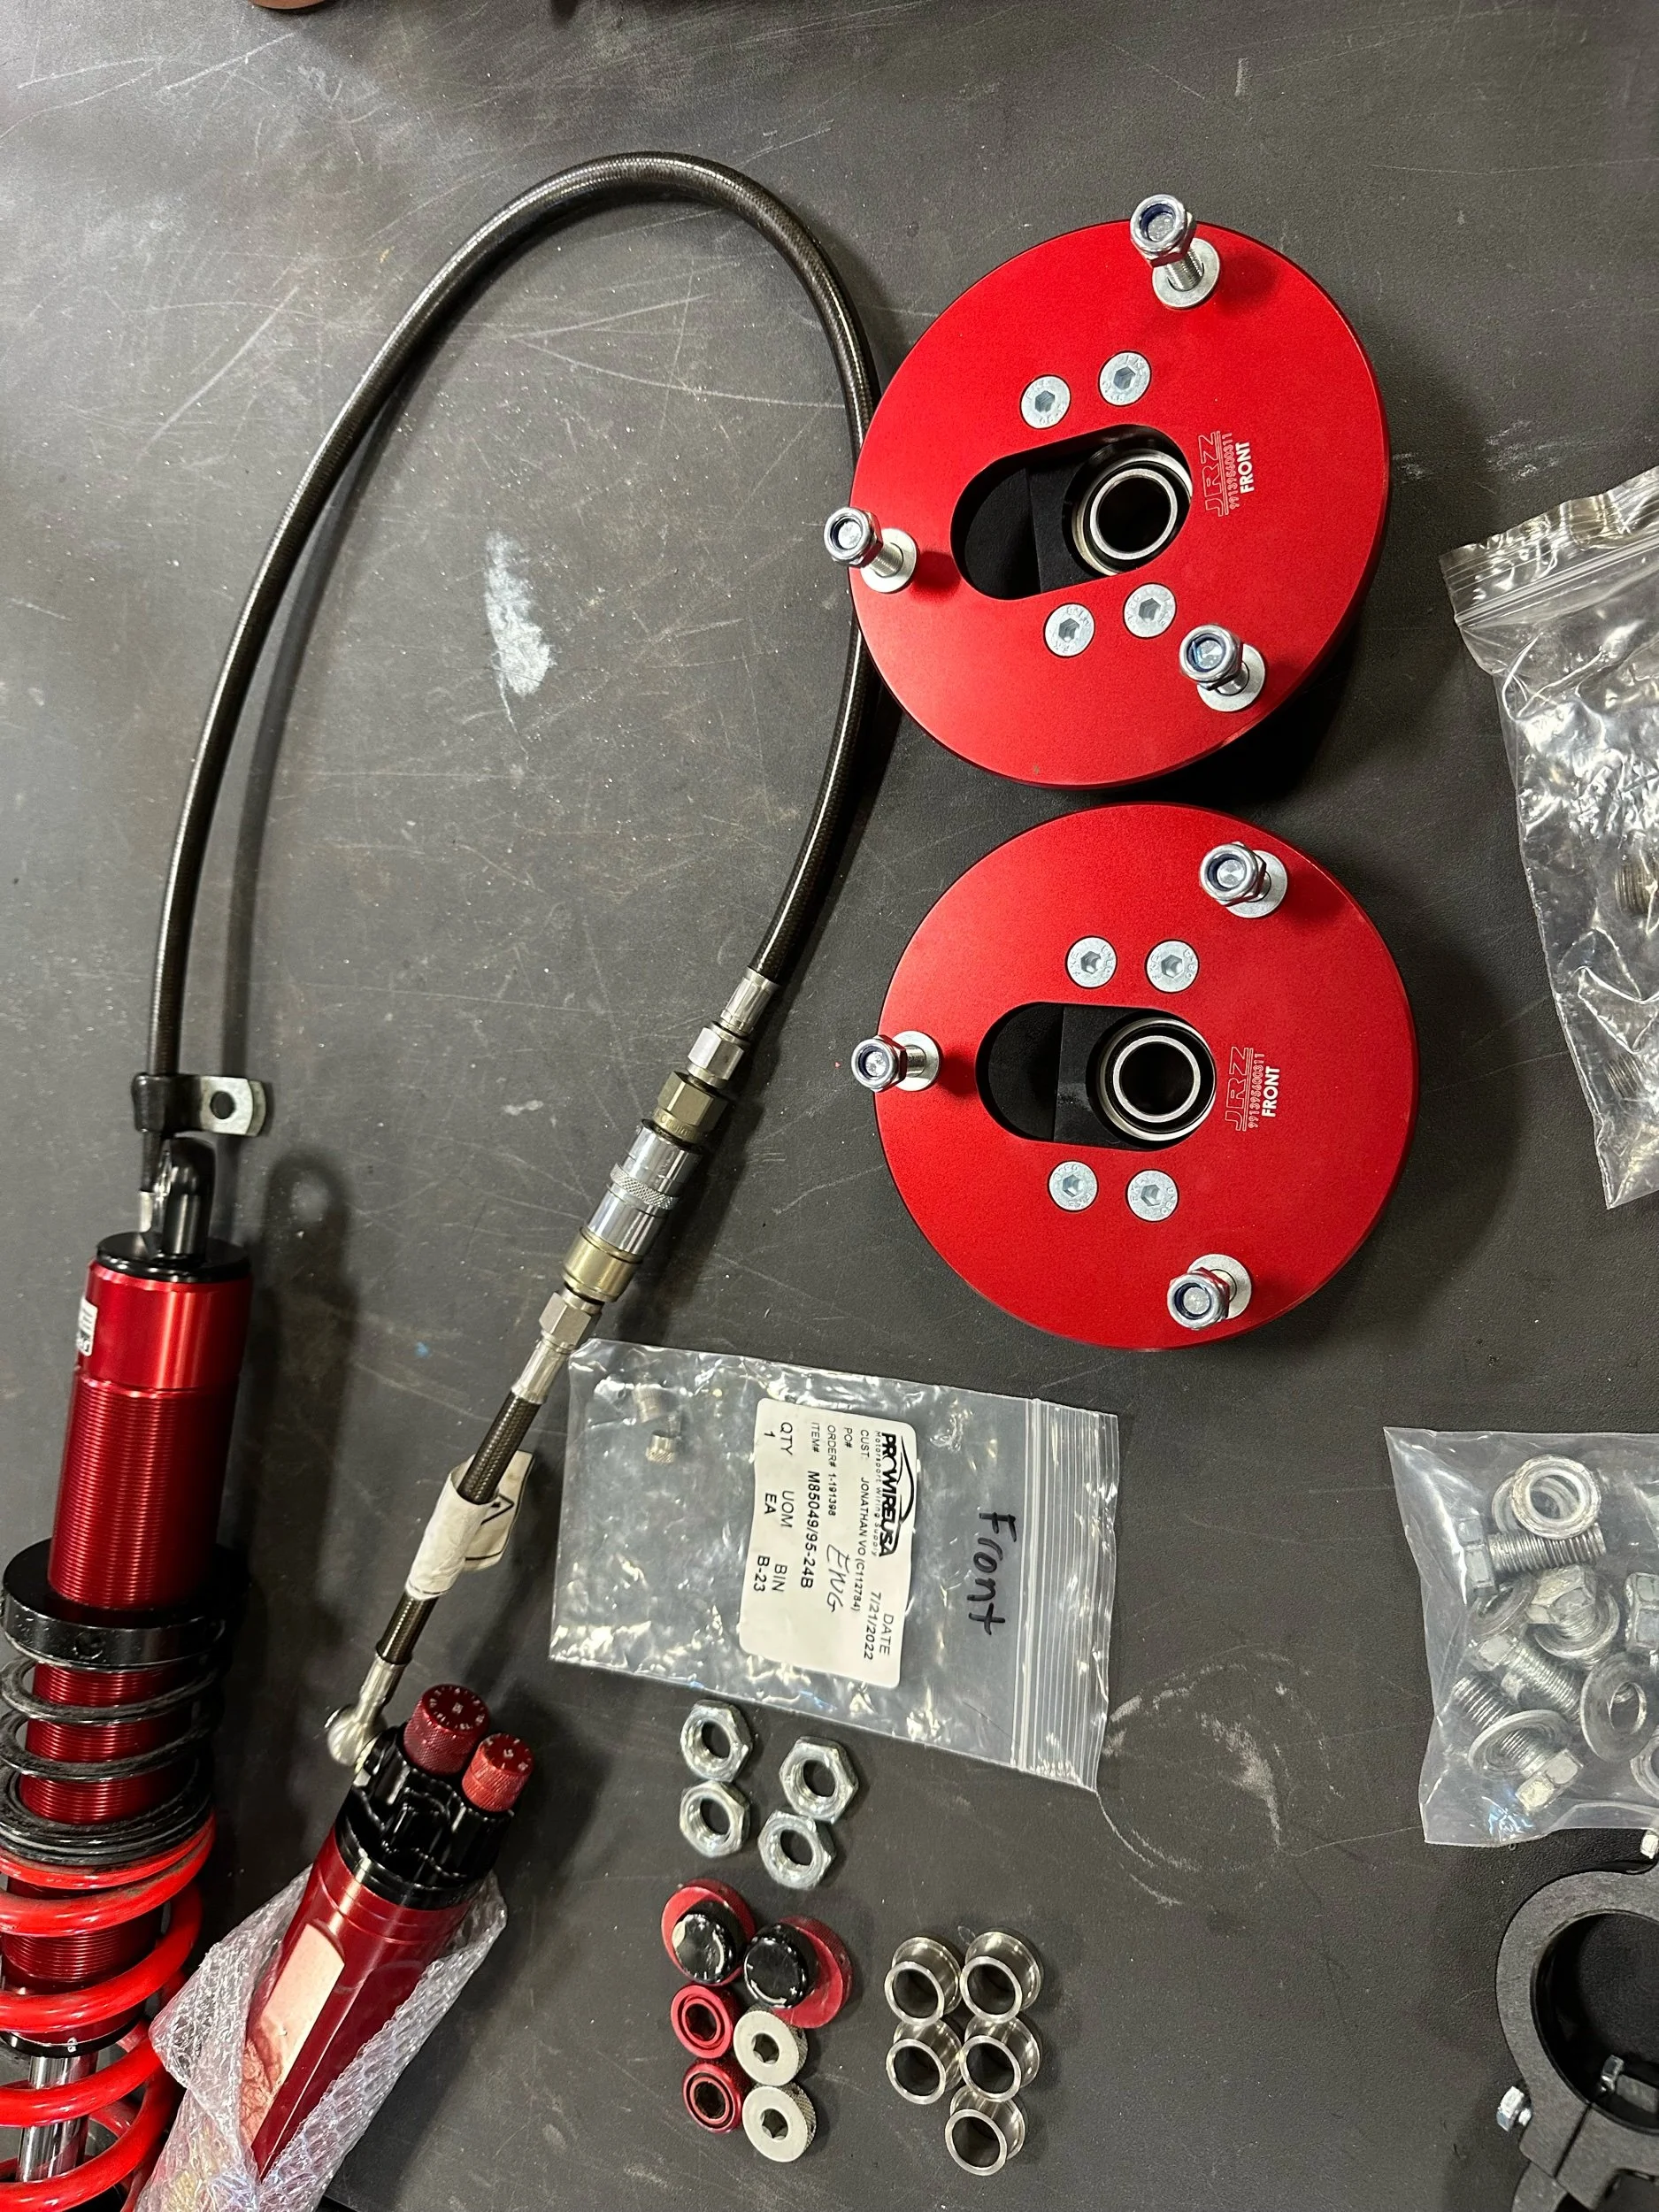
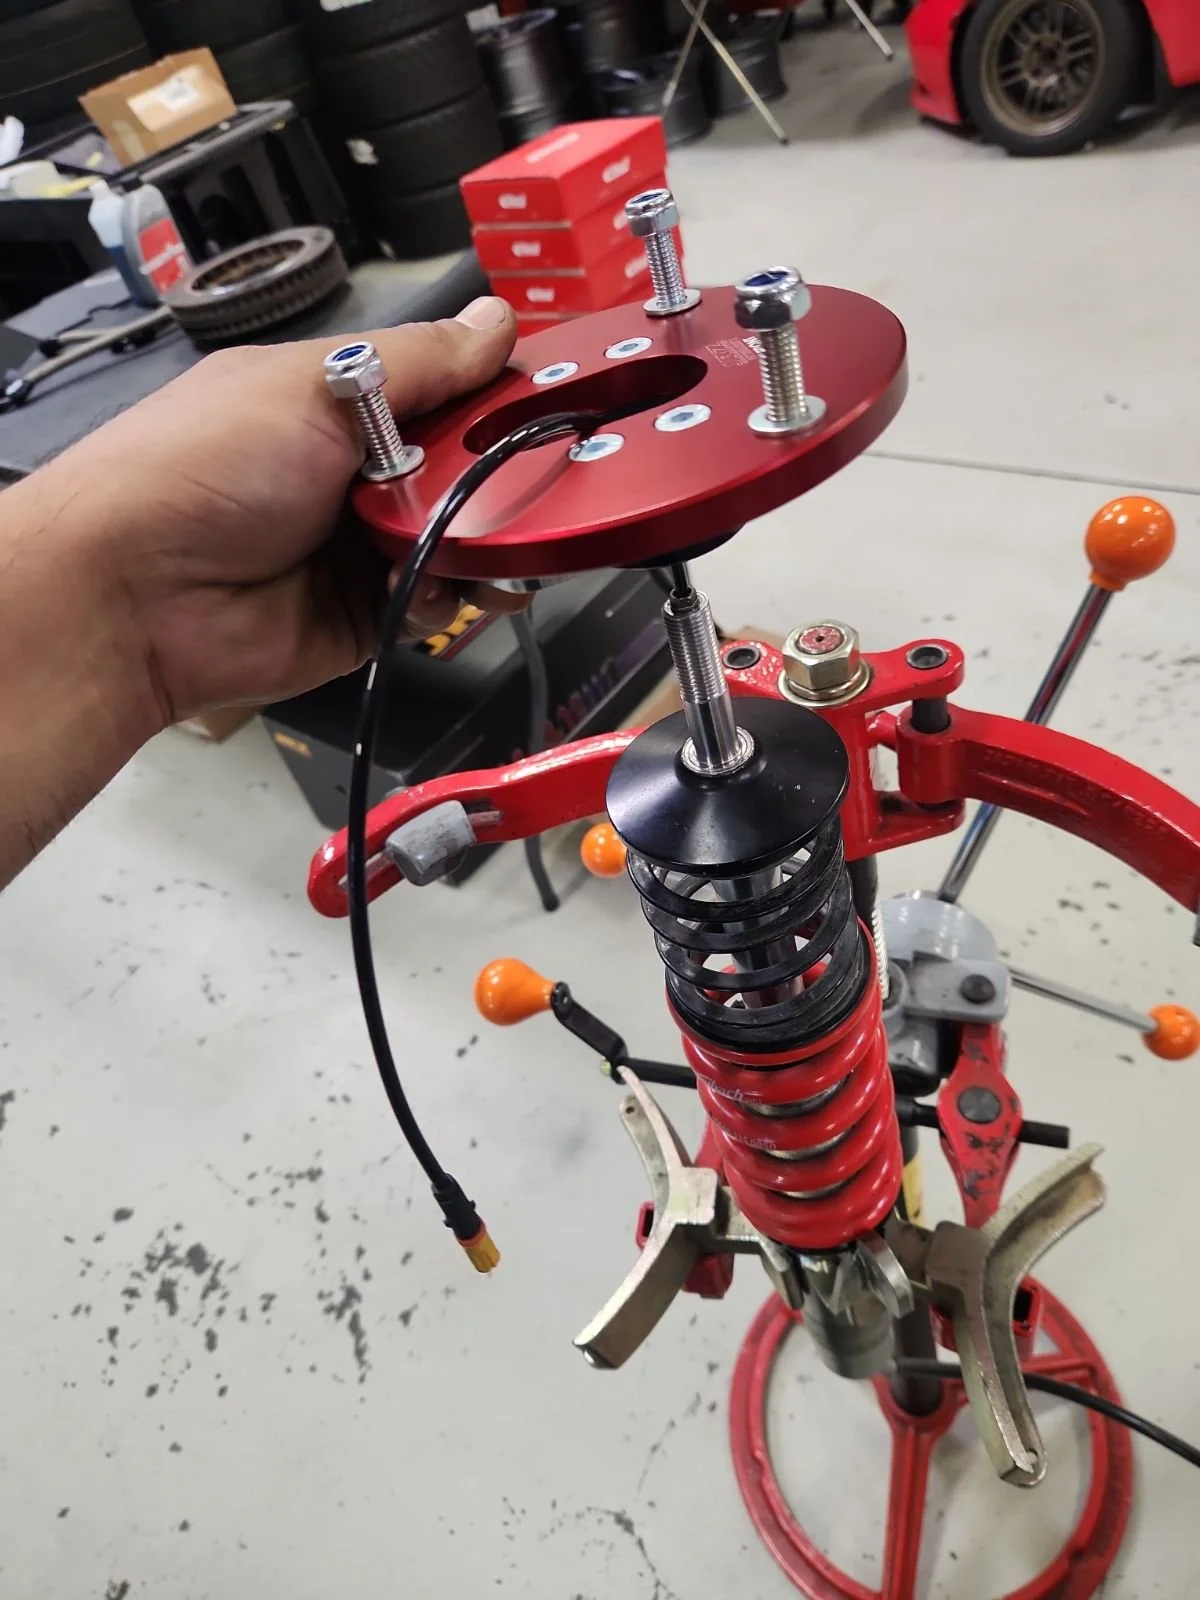
Anyone who has run Pikes Peak before knows that the mountain can be a cruel and harsh mistress. The road surface, despite being fully paved since 2011, is fast, bumpy, blind at times, and always unforgiving. So when I was talking to my longtime friend, Erik Ras at JRZ Suspension Engineering, he recommended we upgrade my 4-way motorsport dampers to JRZ’s newest technology, the PROactive damper. They are, as you might have guessed by the name, active suspension. Meaning things like damping force, pitch/dive, and roll can all be adjusted in real-time. Think Porsche PASM, but better.
I intend to do a more thorough write-up on the JRZ website later in the year, but here is the TL;DR for now. JRZ has developed a new electronically controlled valve. It is the fastest, most accurate valve on the market today. For example, Bilstein (which is who supplies Porsche with the PASM damper) operates at max 20 Hz. The JRZ PROactive runs with 300 Hz with no hysteresis and no remnant magnetism during operation.
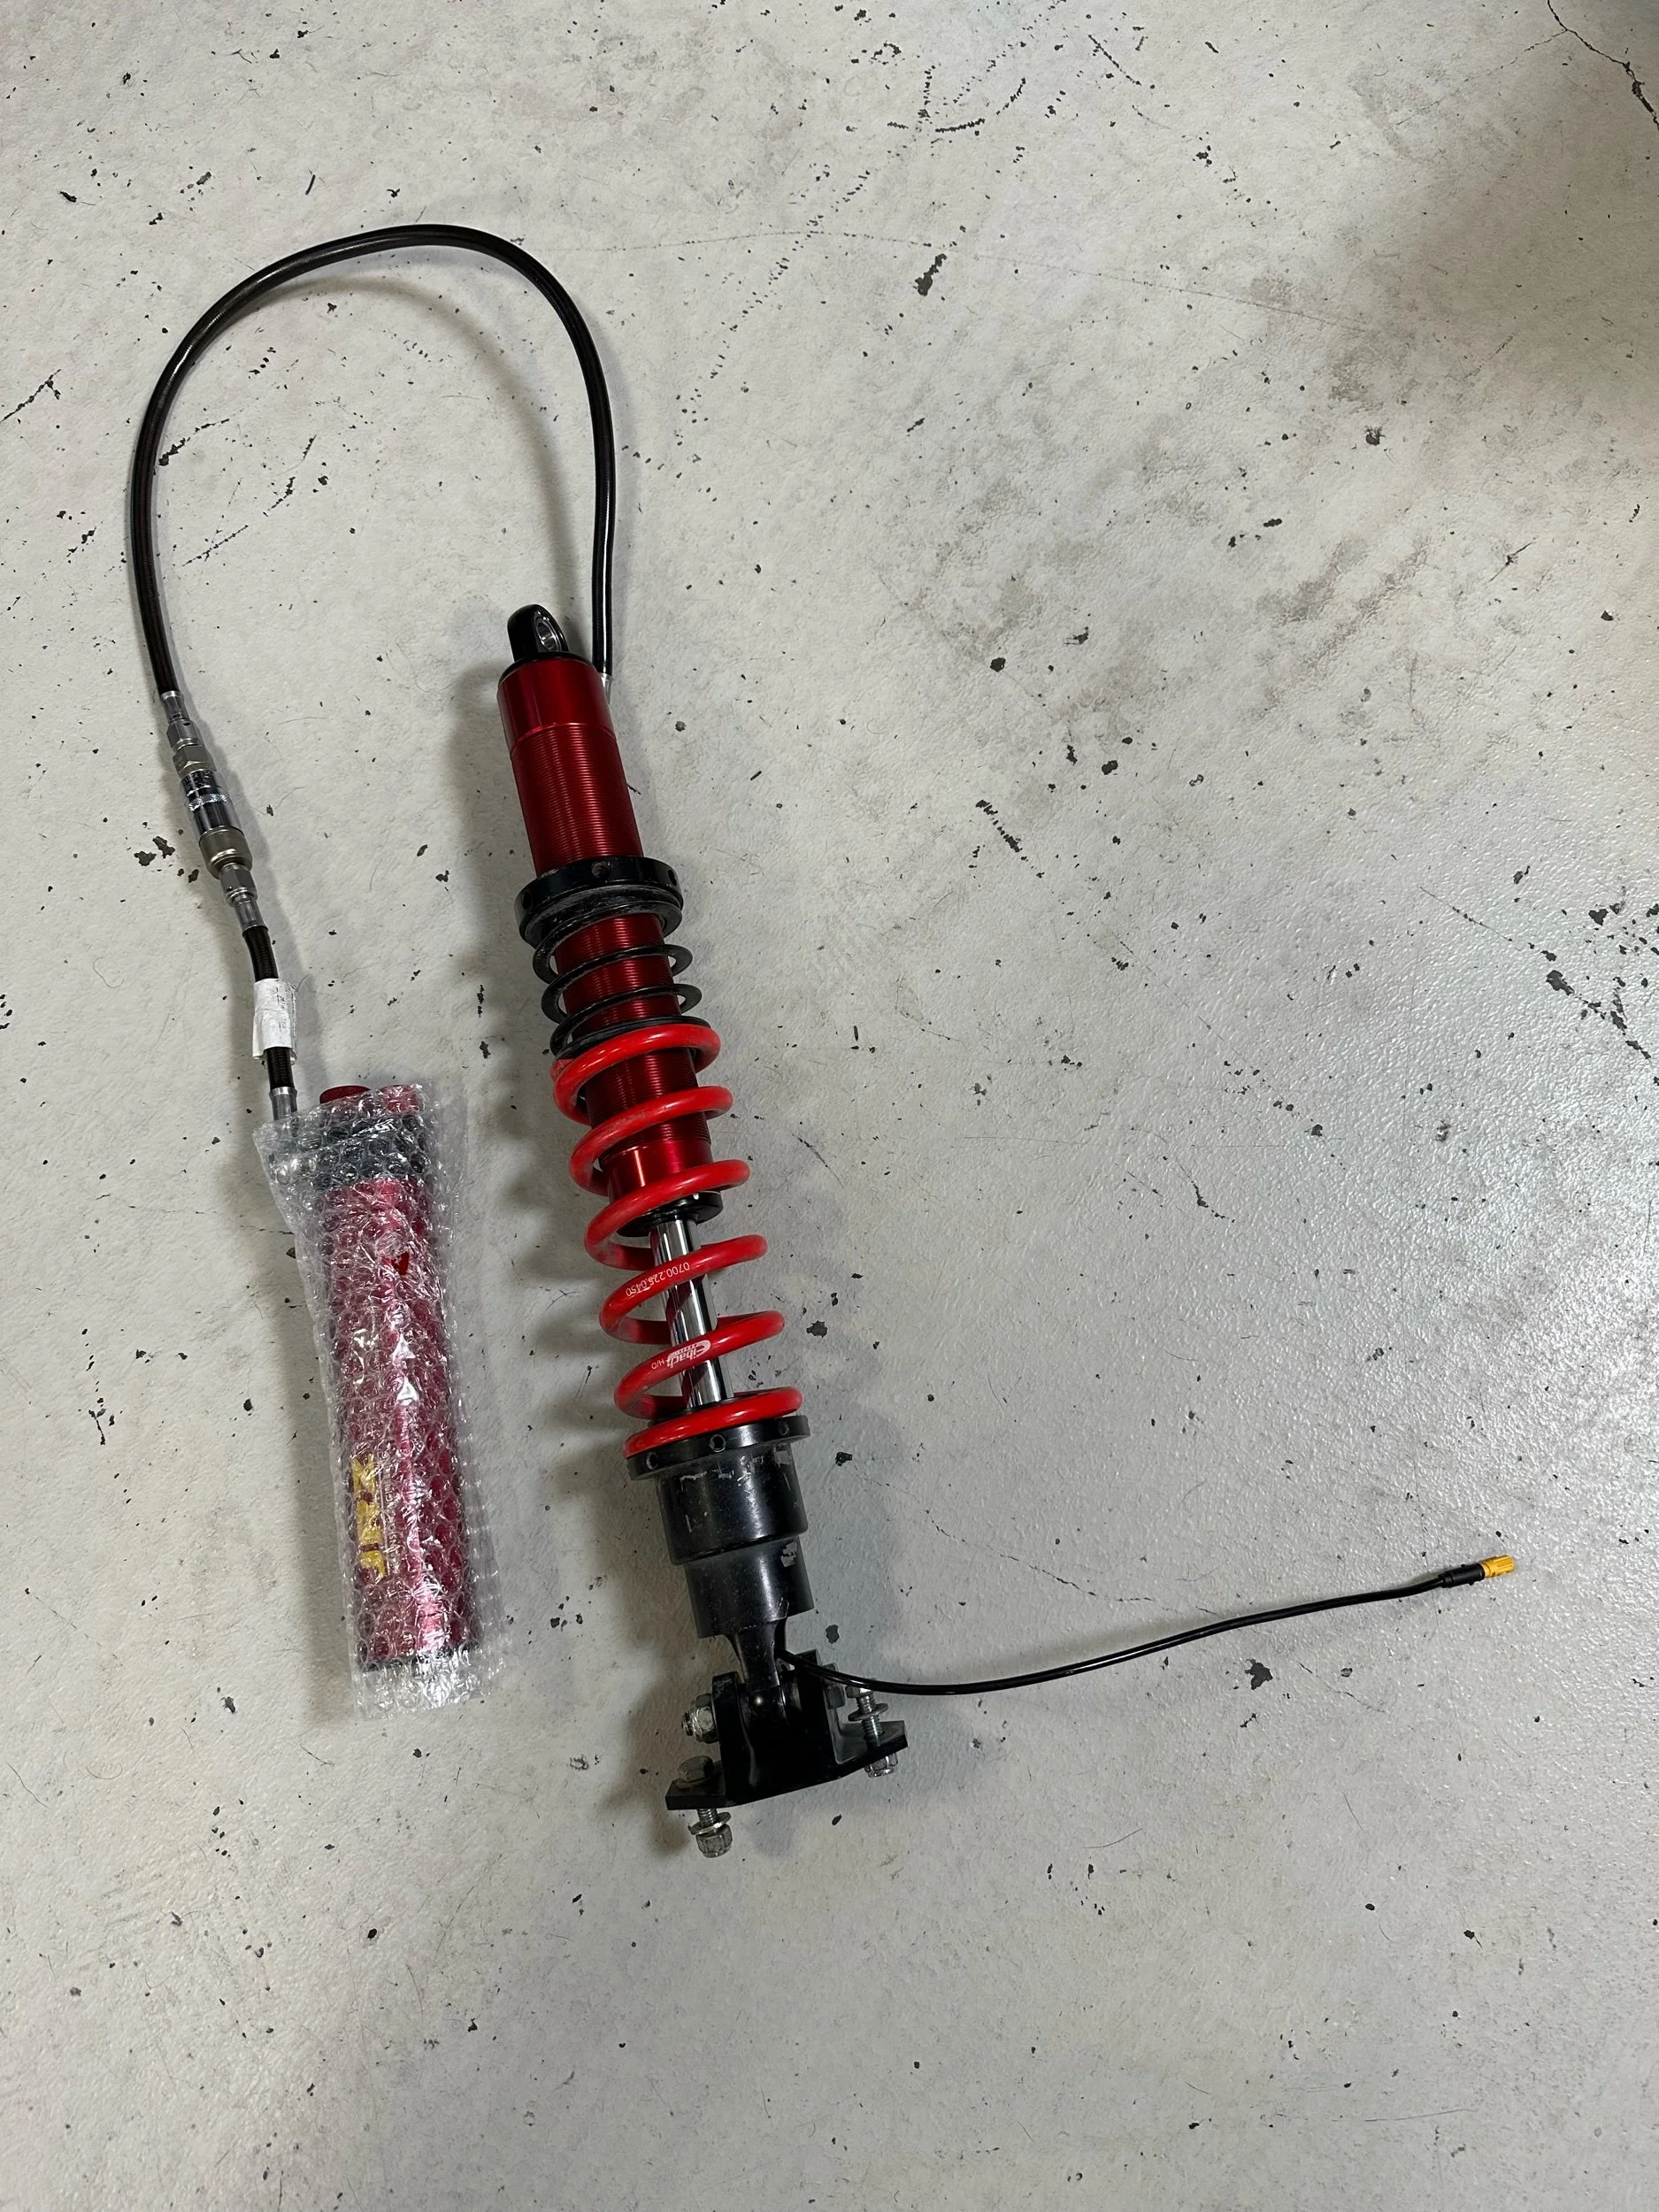
JRZ PROactive Unboxing
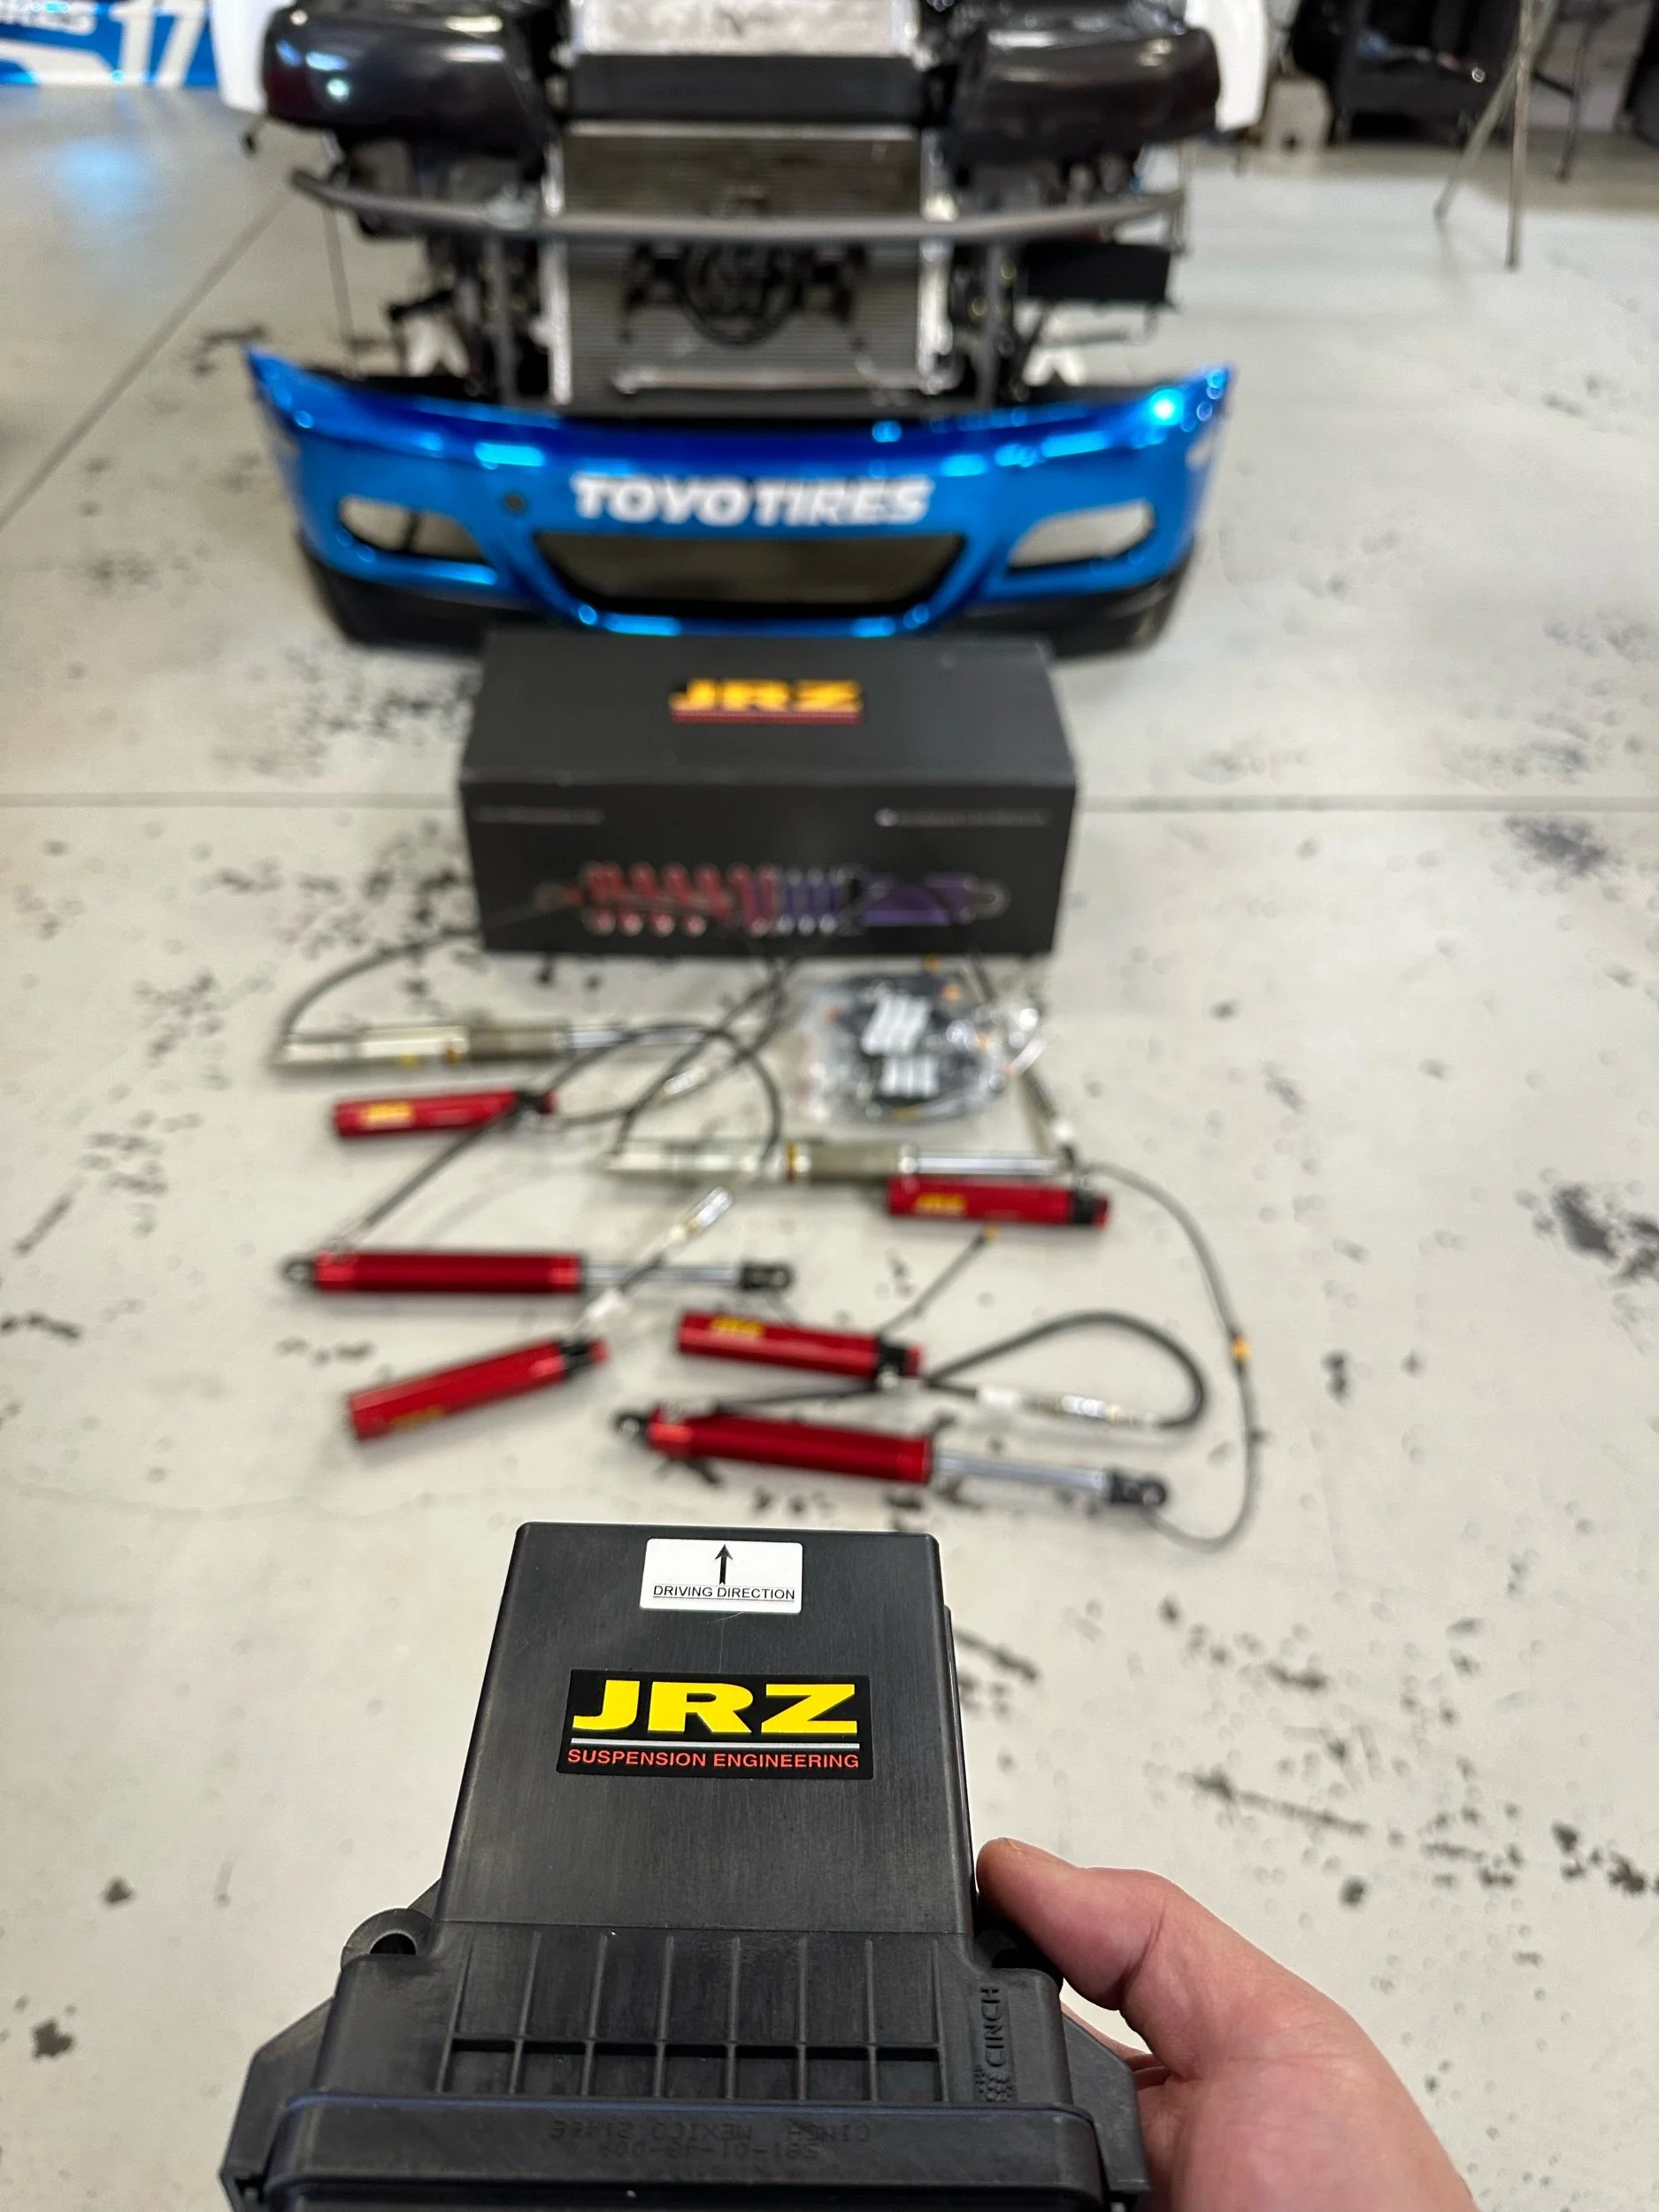
But JRZ has gone several steps further, beyond just a faster electronically controlled valve. They’ve also built a computer to control it with a proprietary algorithm. While most active dampers look at controlling sprung mass (vehicle body where the passenger sits), the un-sprung mass (wheels, tires, brake calipers, lower control arm) is the mass that actually has the contact with the road; it is equally important.
JRZ’s algorithm calculates the natural frequencies of both the sprung mass and un-sprung mass and it controls both. This ensures the most possible contact patch of the tire to the ground; resulting in ultimate grip at all times and also maximum comfort (which translates into better drivability). Yeah…wow.
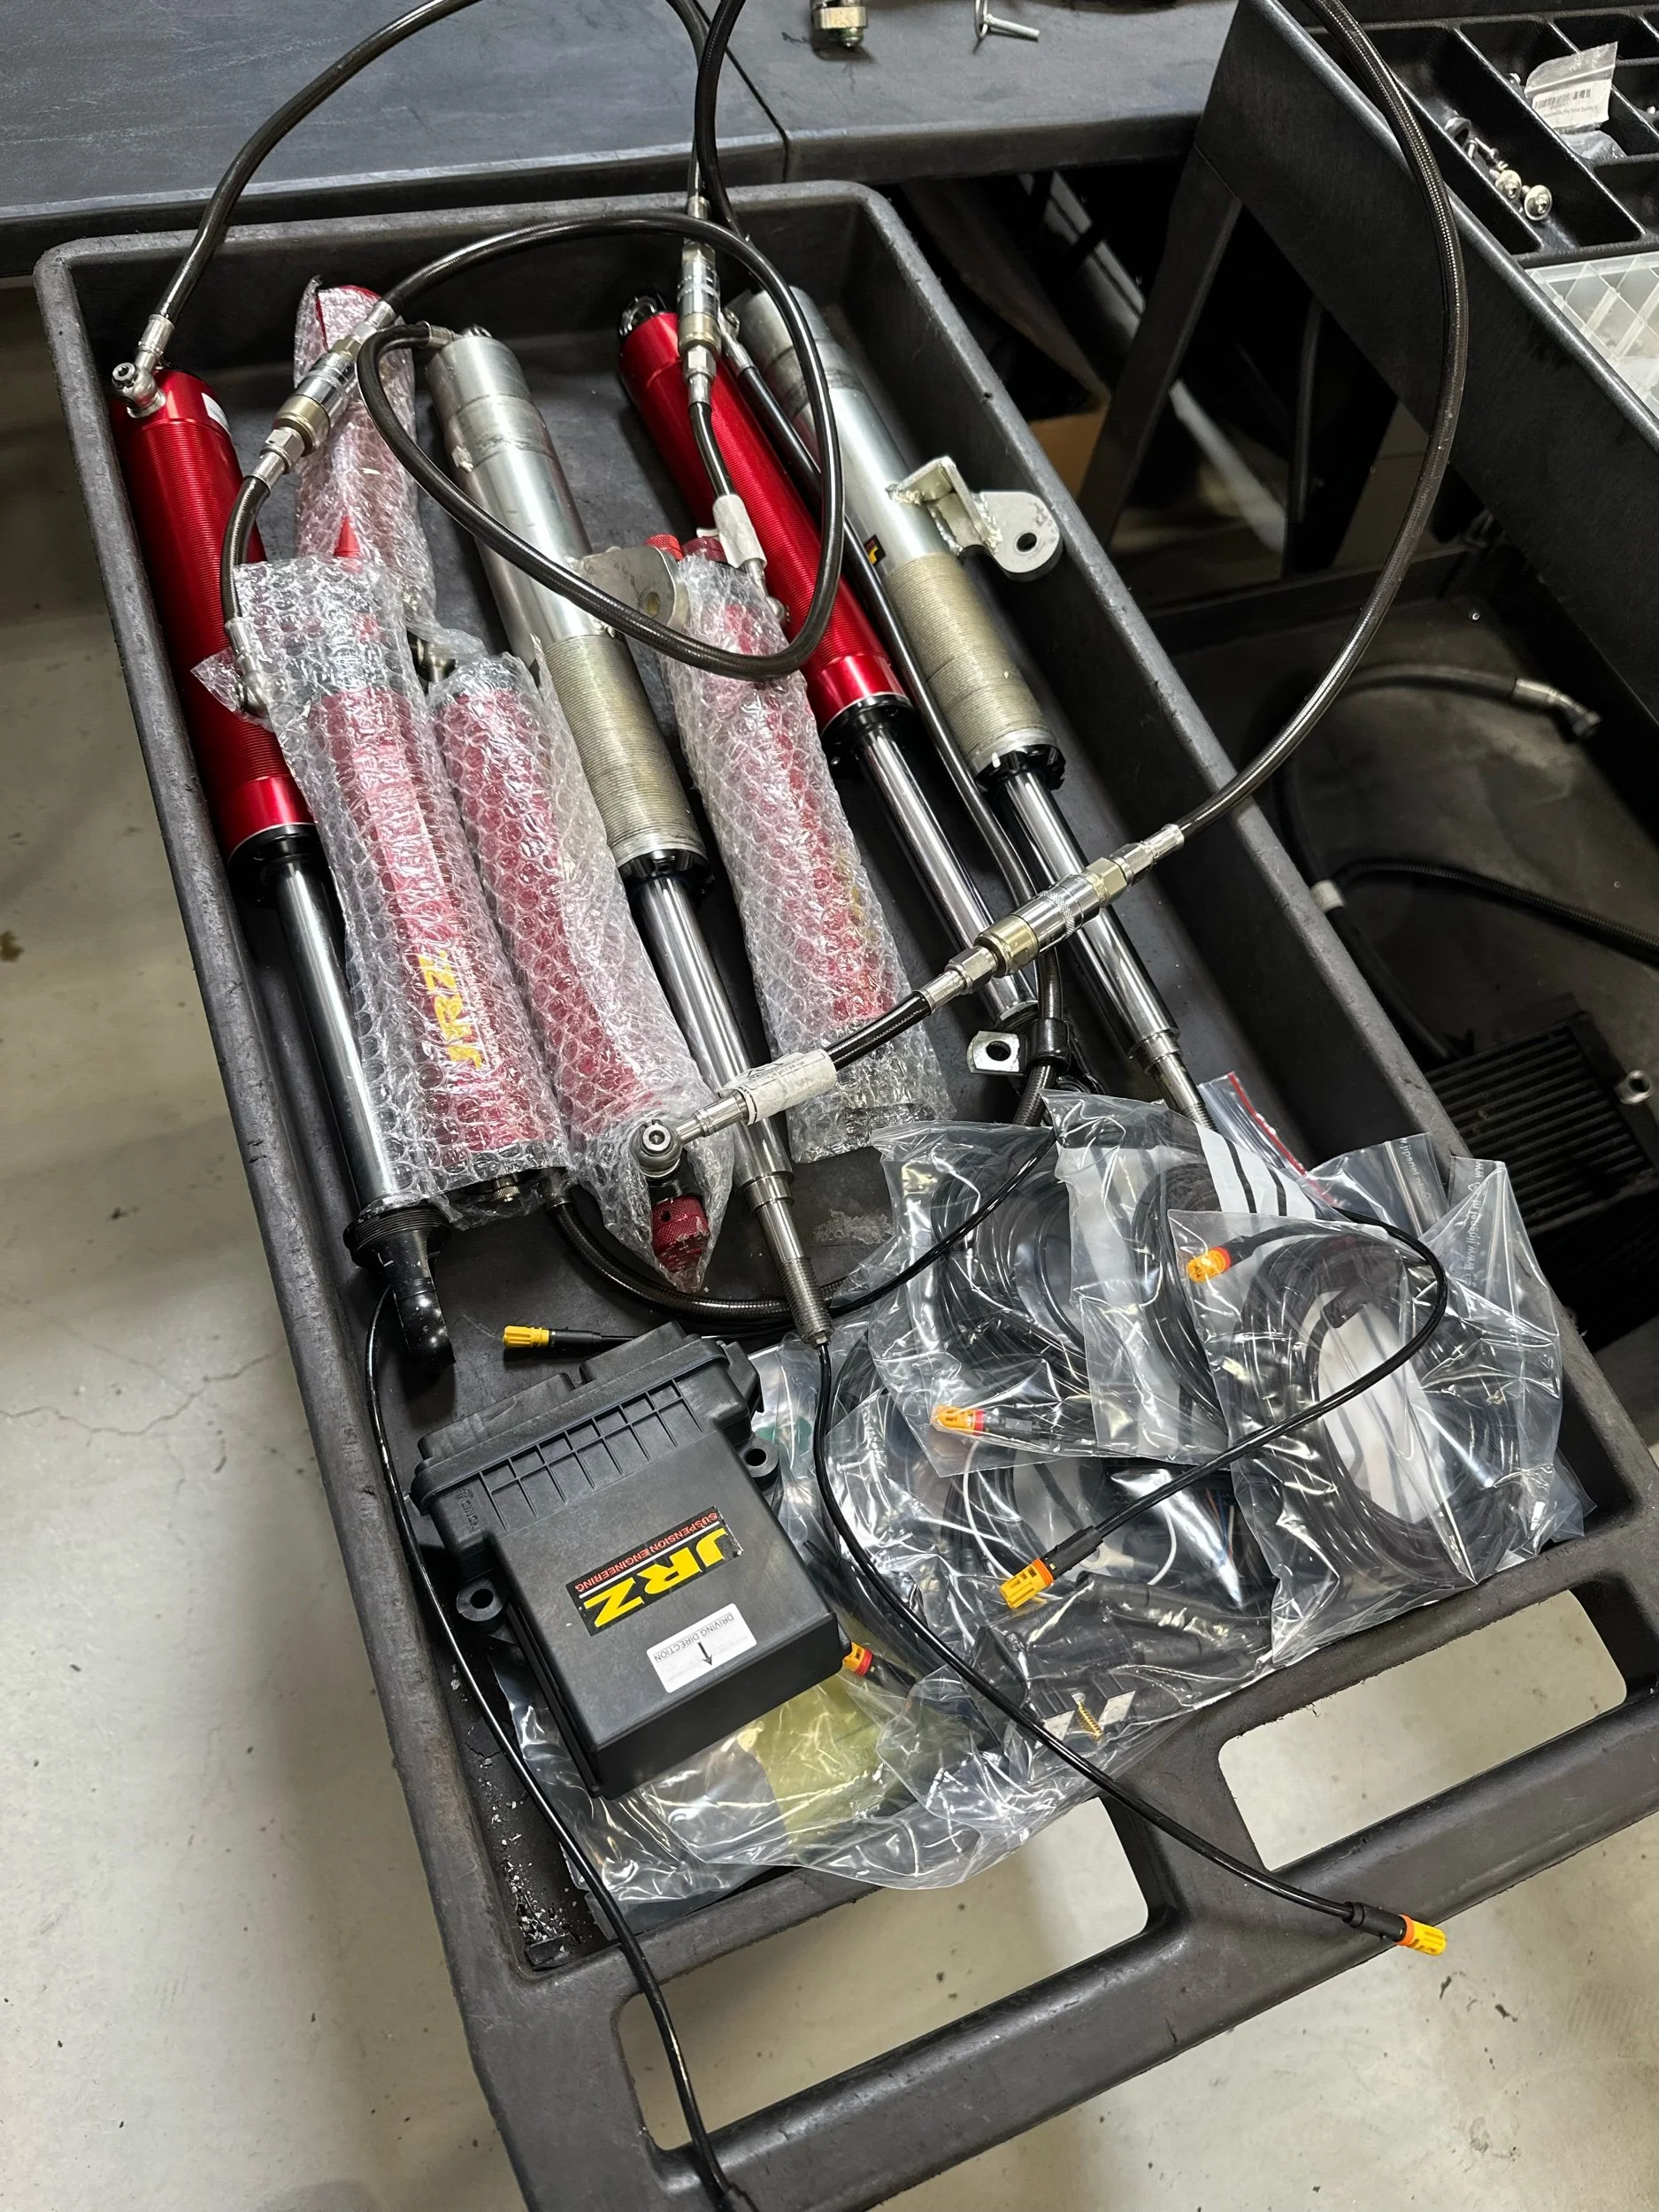
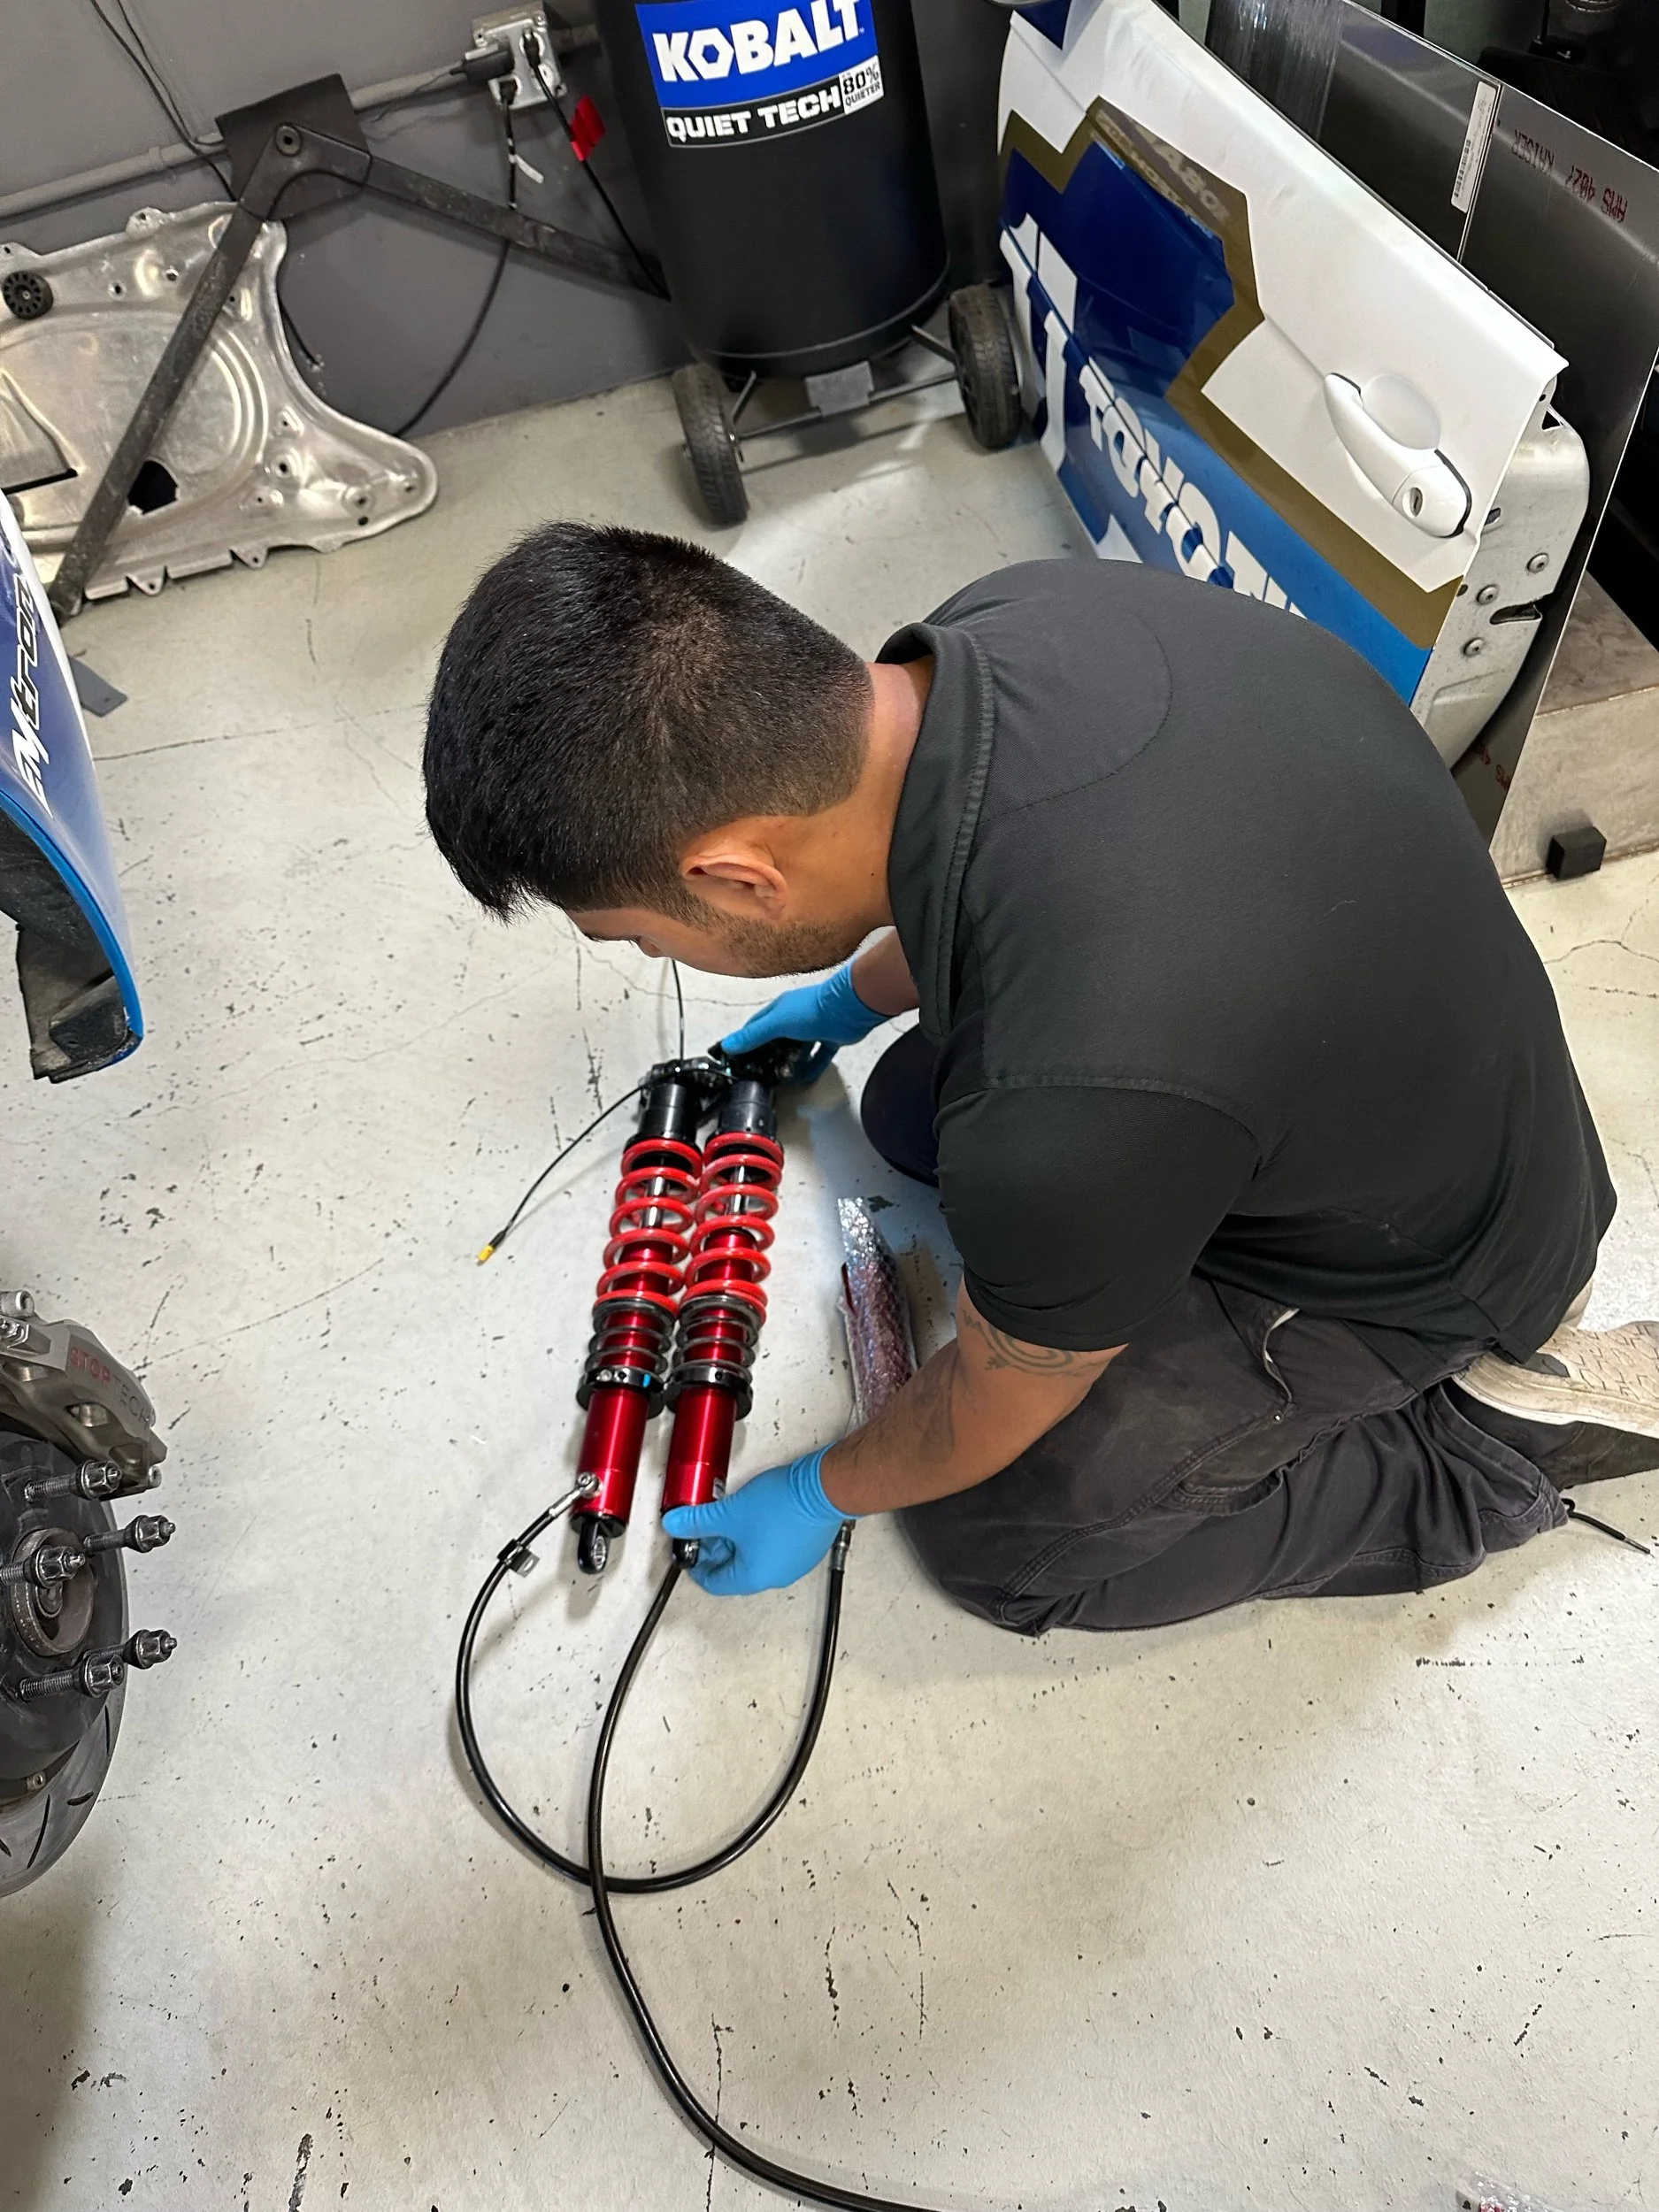
JRZ PROactive Assembly
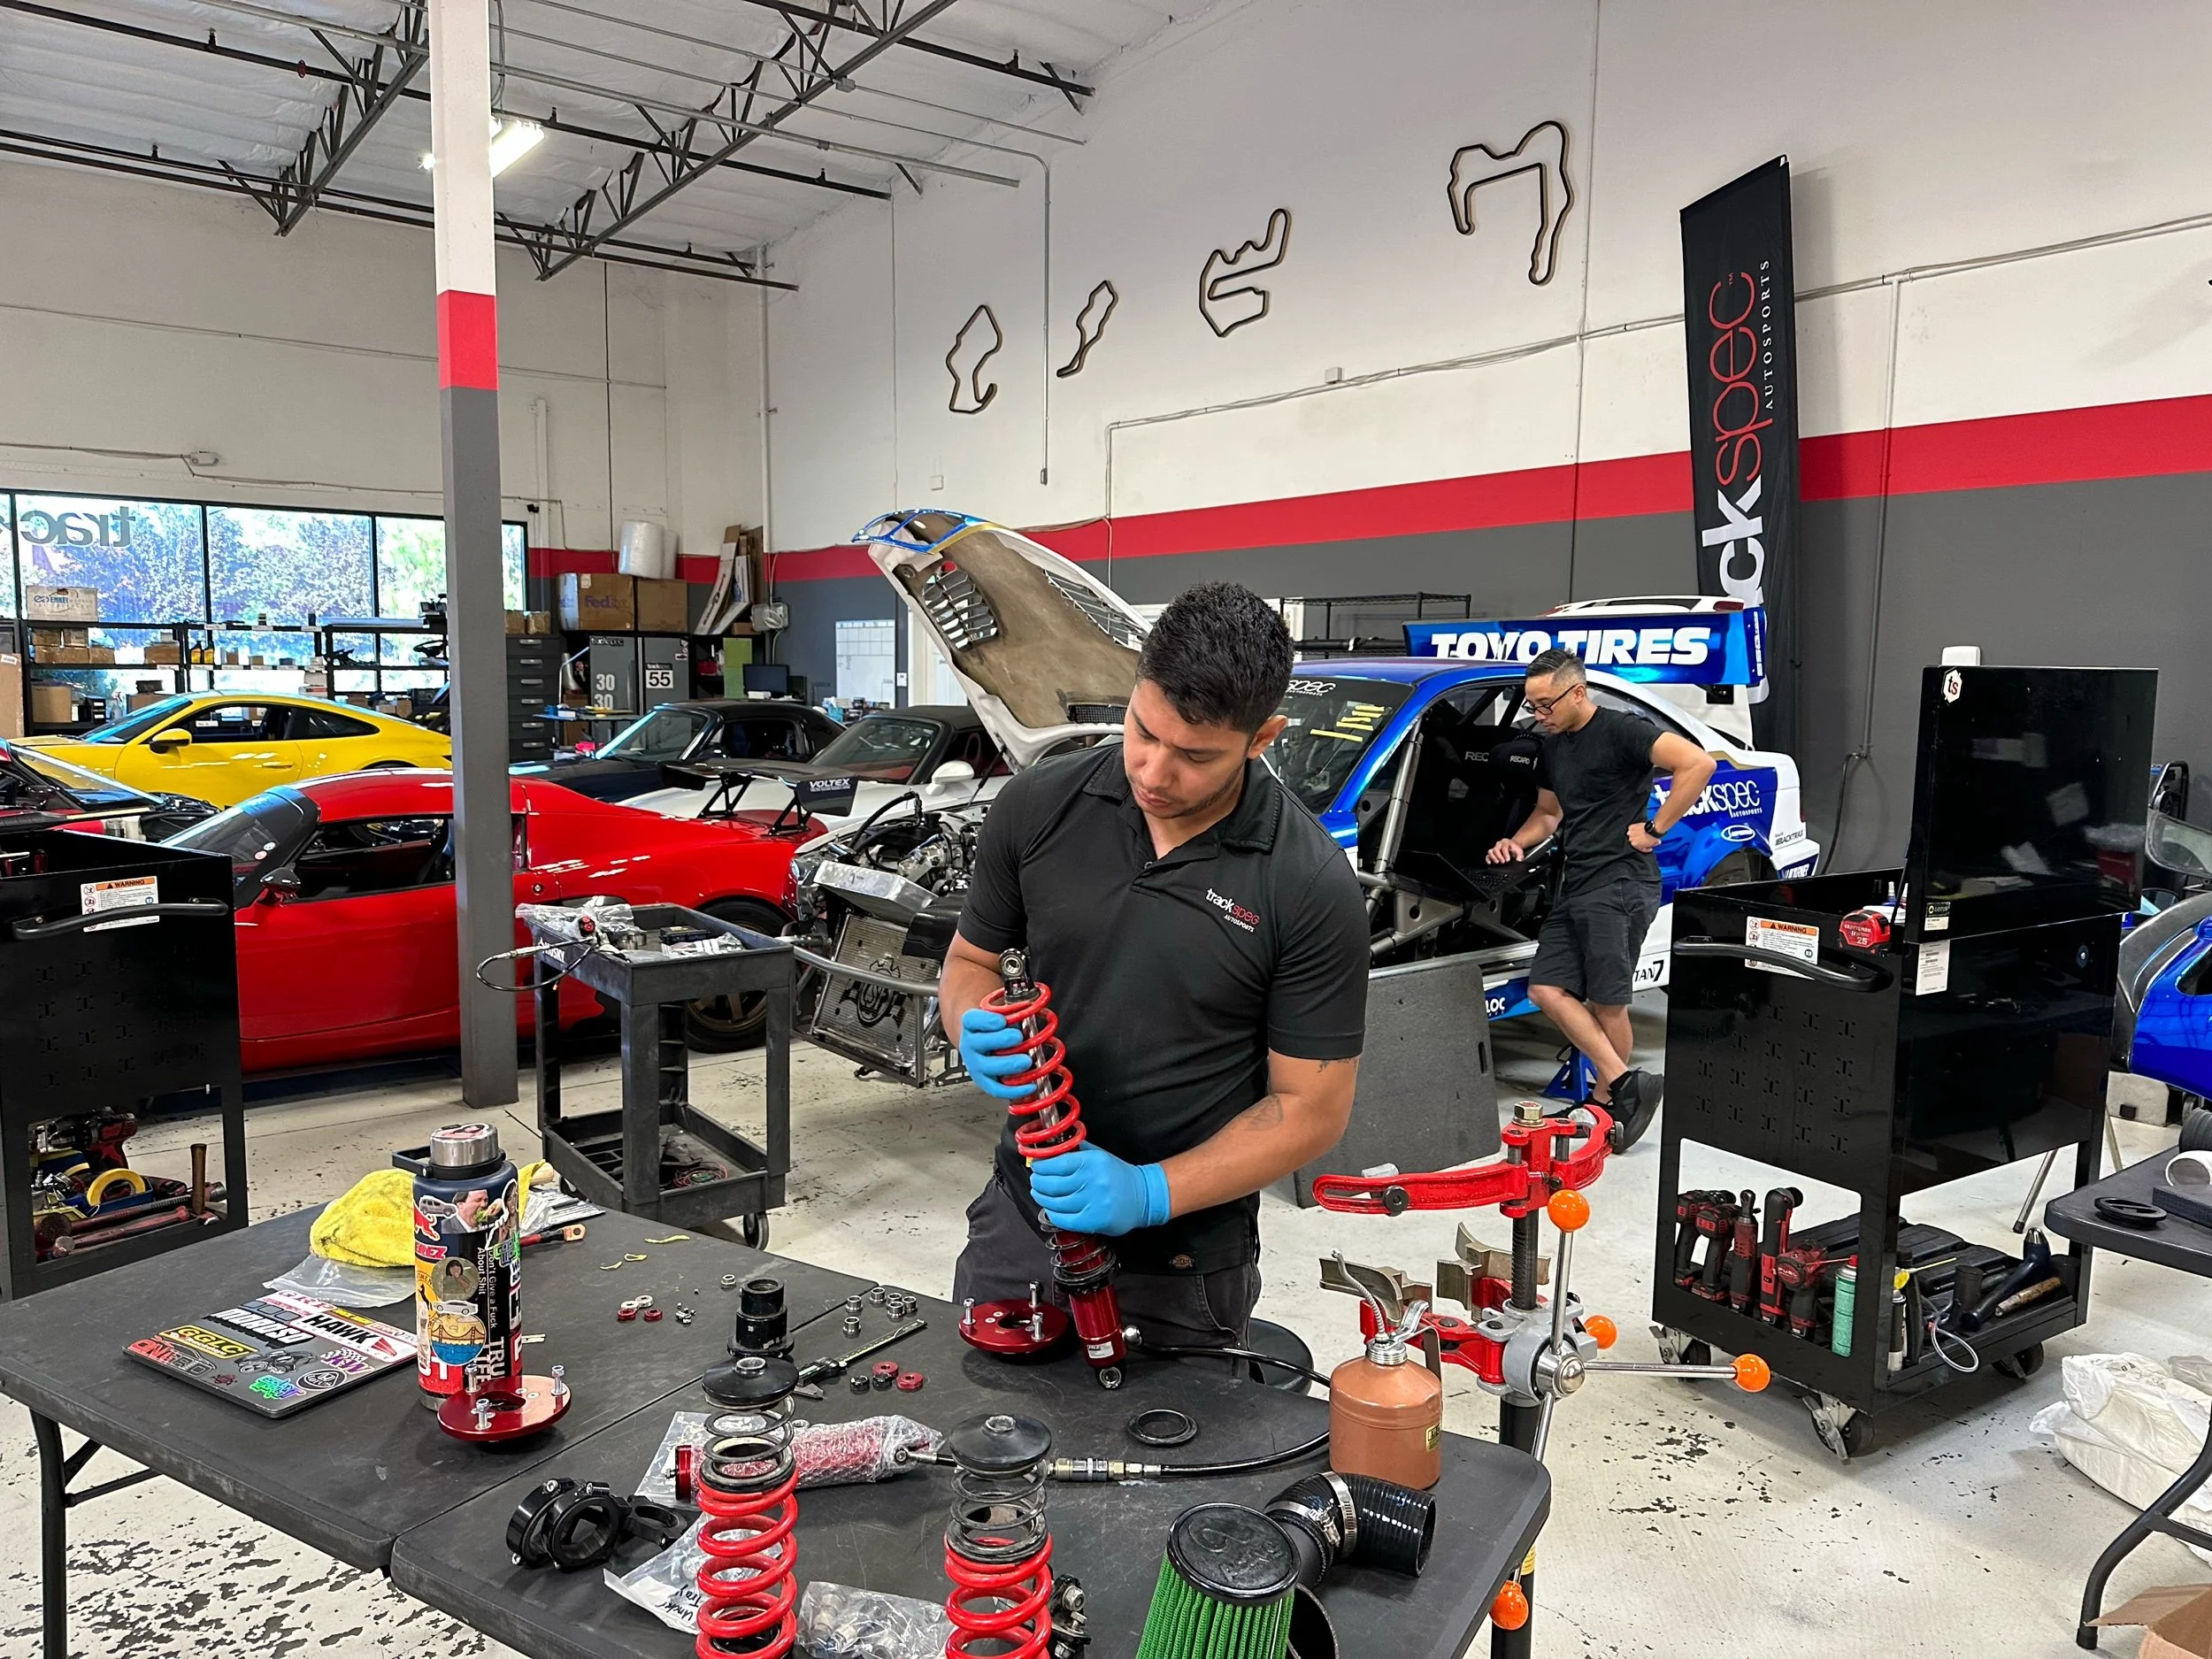
The first time we fired up our newly supercharged Pikes Peak Hill Climb car was really memorable. Everyone, Jon, Mike, Isaac, Matteo, and I were really excited to hear this beast roar to life after months of hard work.
First Fire Up
Shortly after we got the car started, we drove her onto the alignment rack for some initial setup. Notice the new JRZ PROactive computer controller inside the cabin, and the Radium fuel-cell sticking out from under the rear bumper.
Alignment & Corner Balancing
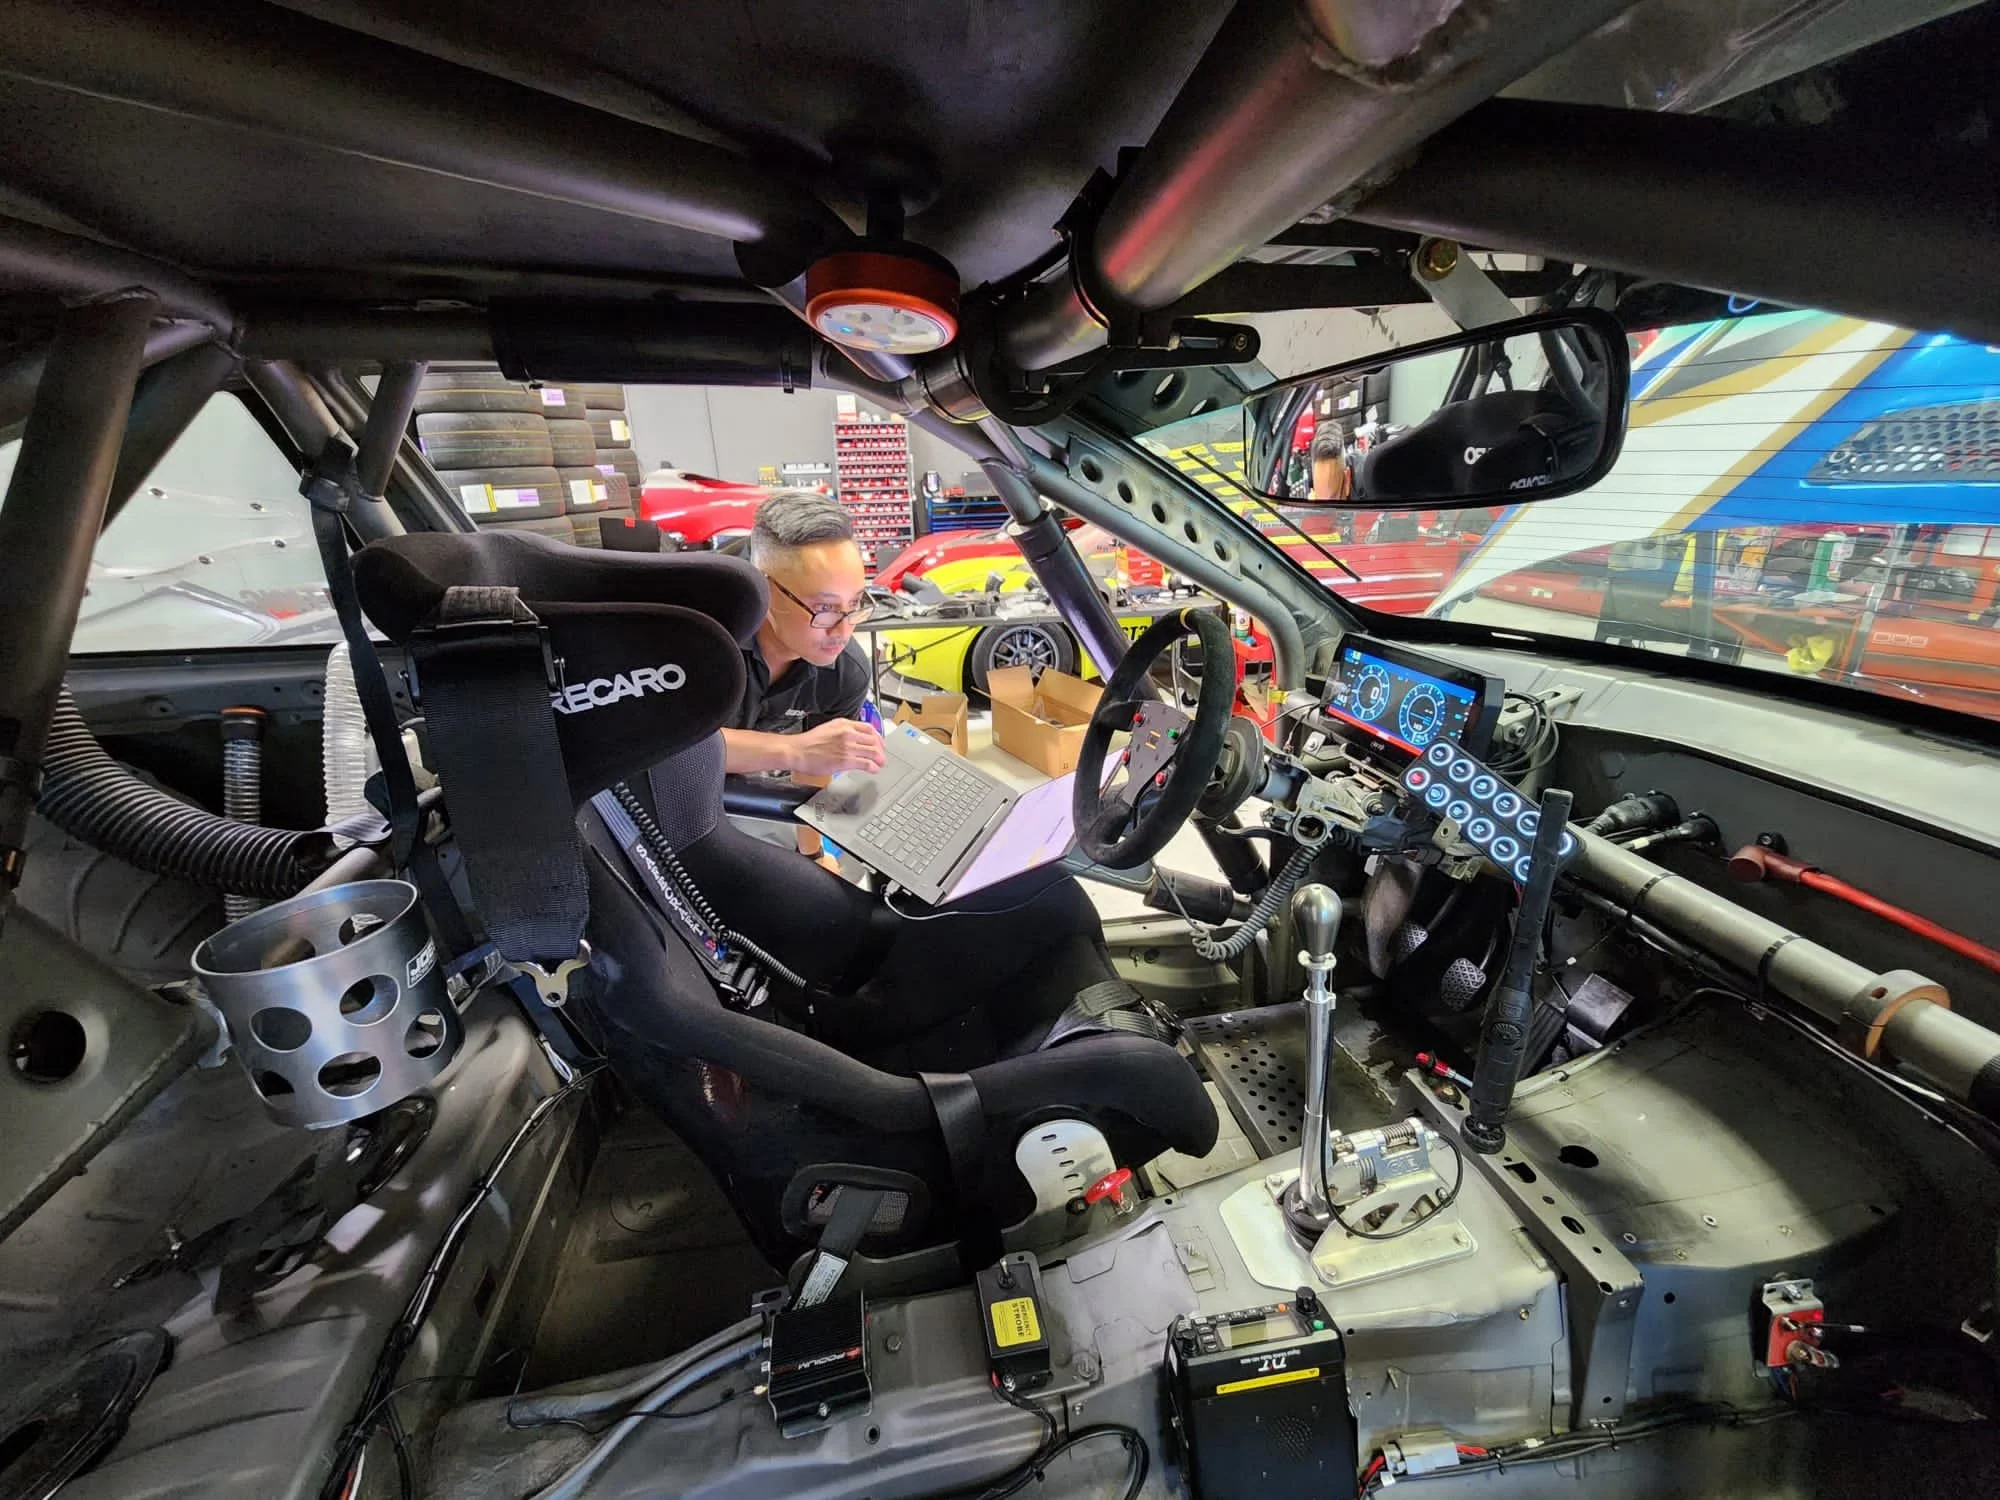
We brought the car over to Jei at Blacktrax to begin building the ignition and fueling tables, and to look at how we want to control the EWP. We had a great first session, and look forward to being back soon.
First Dyno Session at Blacktrax Performance
Check Back Soon for part 2!
Tuning for big power on the dyno with Jei
First shakedown

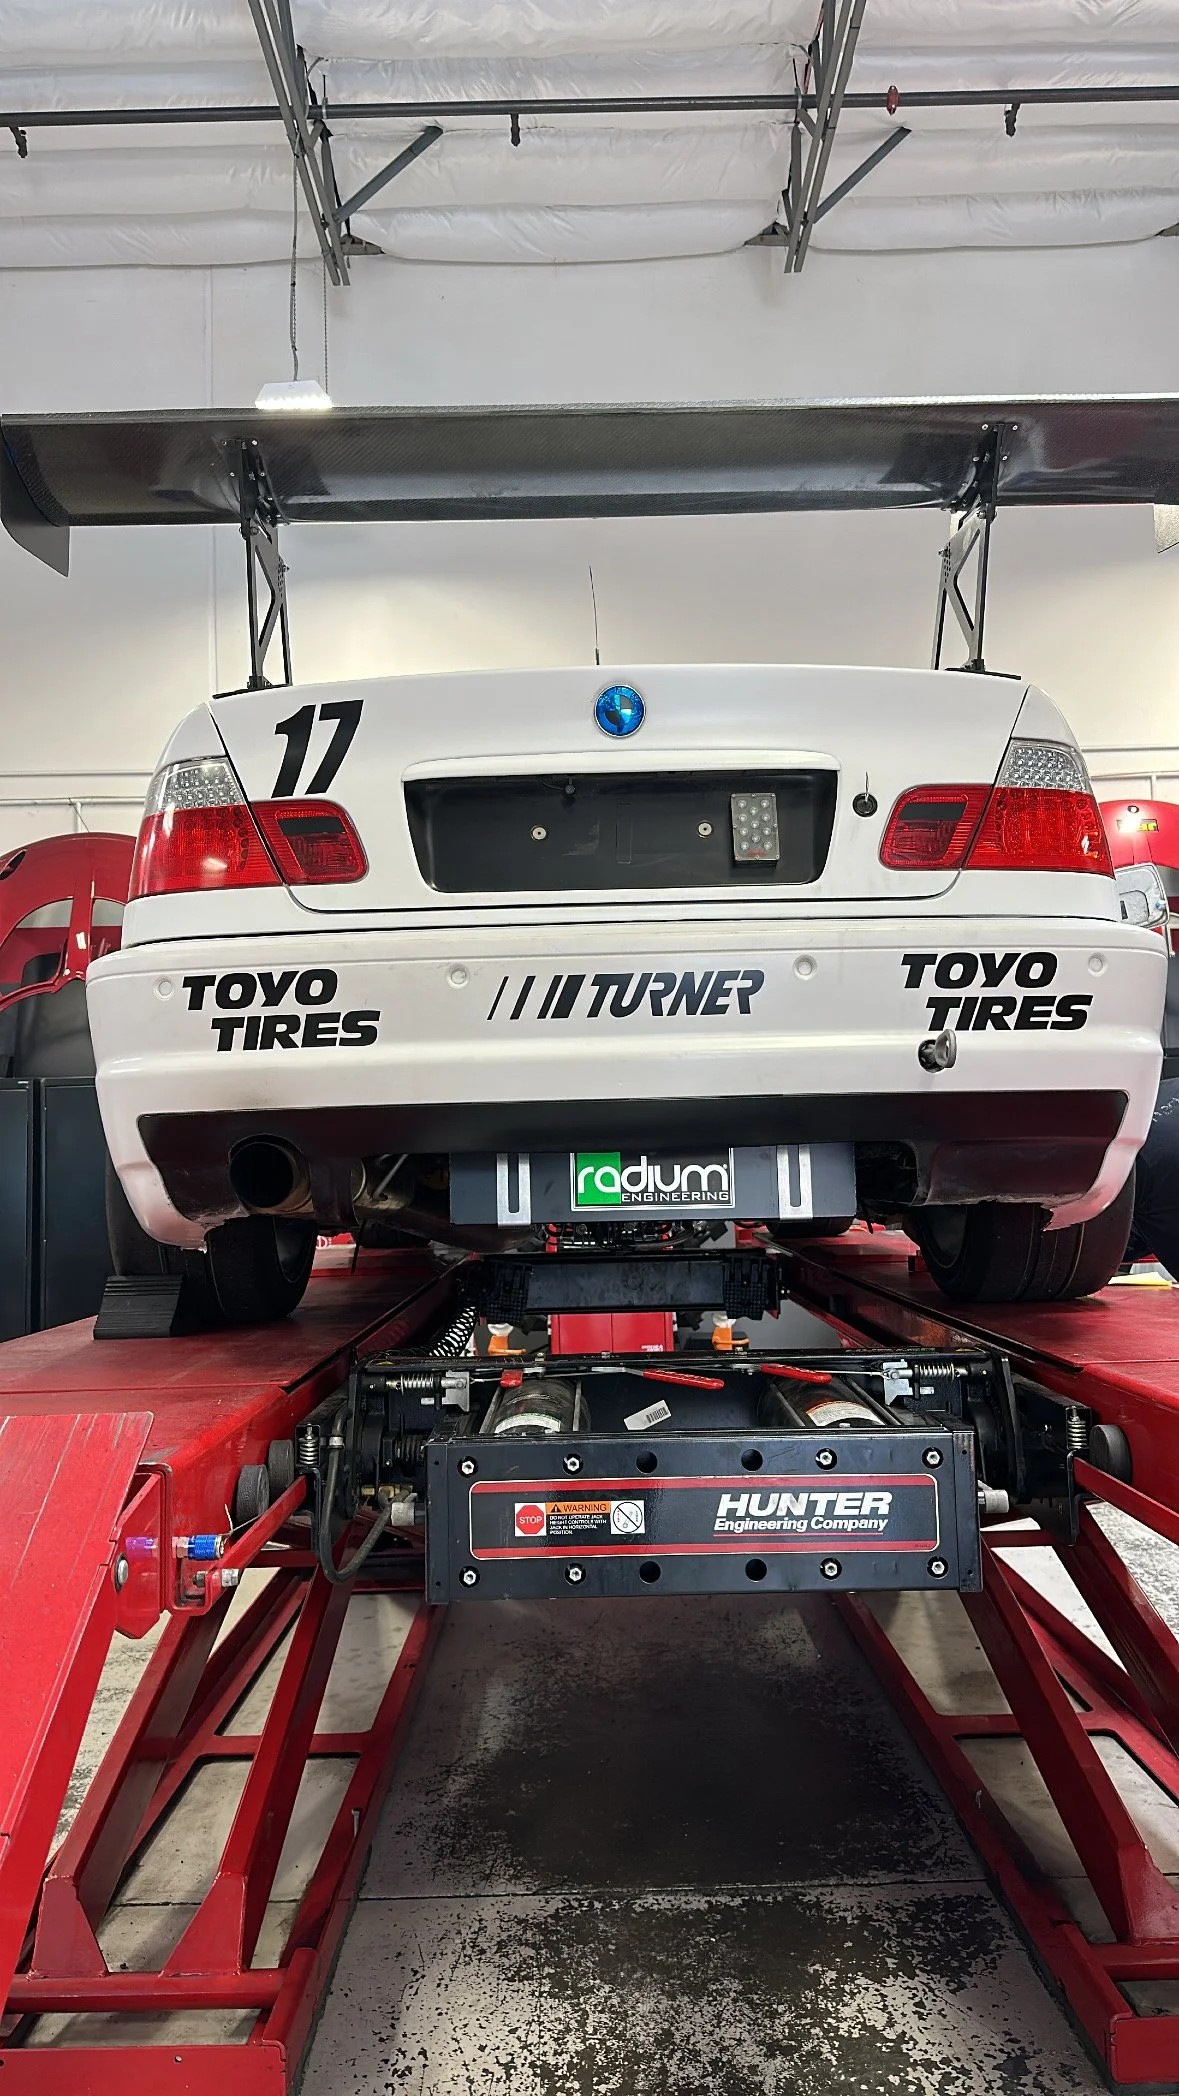
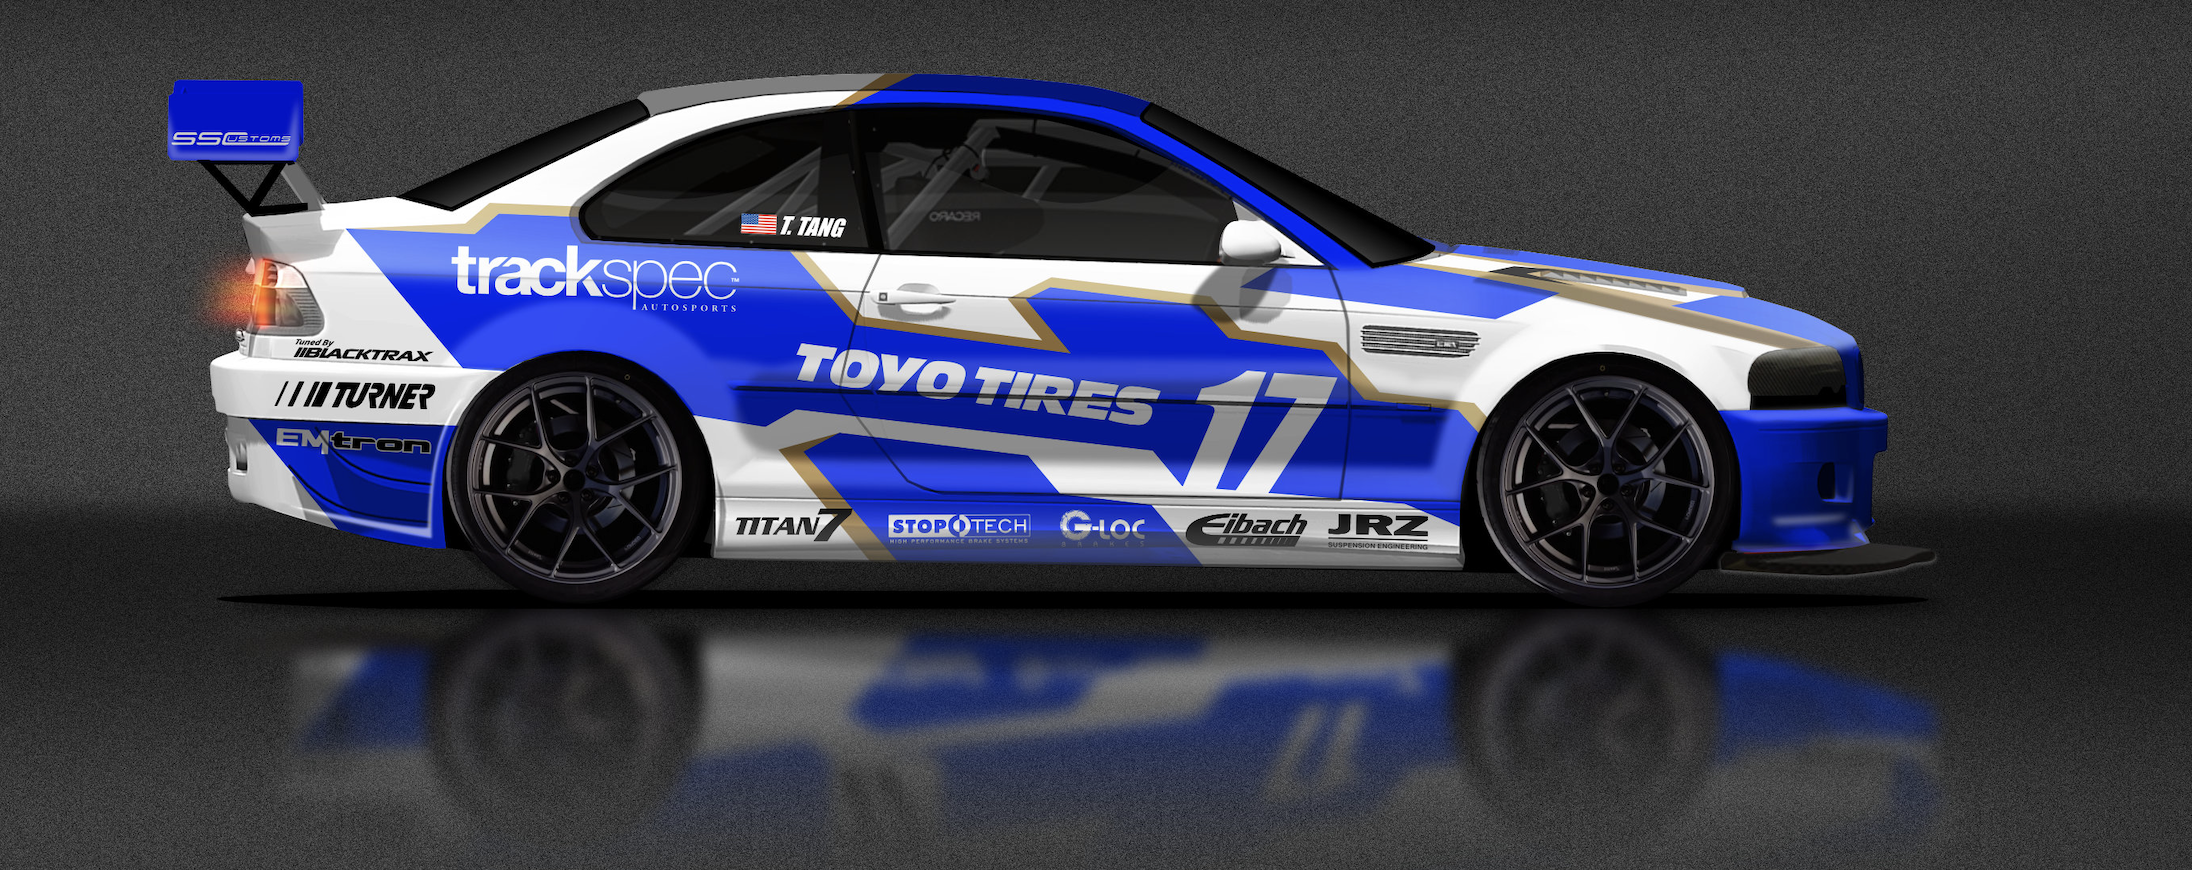
For Immediate Release: Tom Tang and Team Trackspec Autosports to summit Pikes Peak with Toyo Tires in 2024
I am thrilled to announce the return of Toyo Tires to our race program for the 2023 and 2024 seasons. I have had the pleasure of working with Toyo for many years previously, and this partnership renewal marks a commitment on both sides for shared success.
I am thrilled to announce the return of Toyo Tires to our race program for the 2023 and 2024 seasons. I have had the pleasure of working with Toyo for many years previously, and this partnership renewal marks a commitment on both sides for shared success.
I am also excited to bring Turner Motorsport onboard as a technical partner to the team. Turner will be helping out with components, and they will be providing a plethora of knowledge and experience building and racing BMWs; which will definitely come in handy as we transform my E46 M3 “Ursula” into a time attack and hill-climb monster.
To prepare for the demands of high altitude (14,115 feet to be exact), I am working closely with Active Autowerke on a custom forced induction engine package (complete with Supertech Performance valvetrain). VAC Motorsports is helping to provide a Drenth DG500 sequential gearbox + drivetrain setup that can handle the significant jump in power. And all of the above will be controlled by a brand new EMtron KV8 ECU wired by Jon in-house and tuned by Jei Chang at Blacktrax Performance. As always, data acquisition/display, on-board video, and power management will take place via an AIM PDM32, 10” dash display, and SmartyCam.
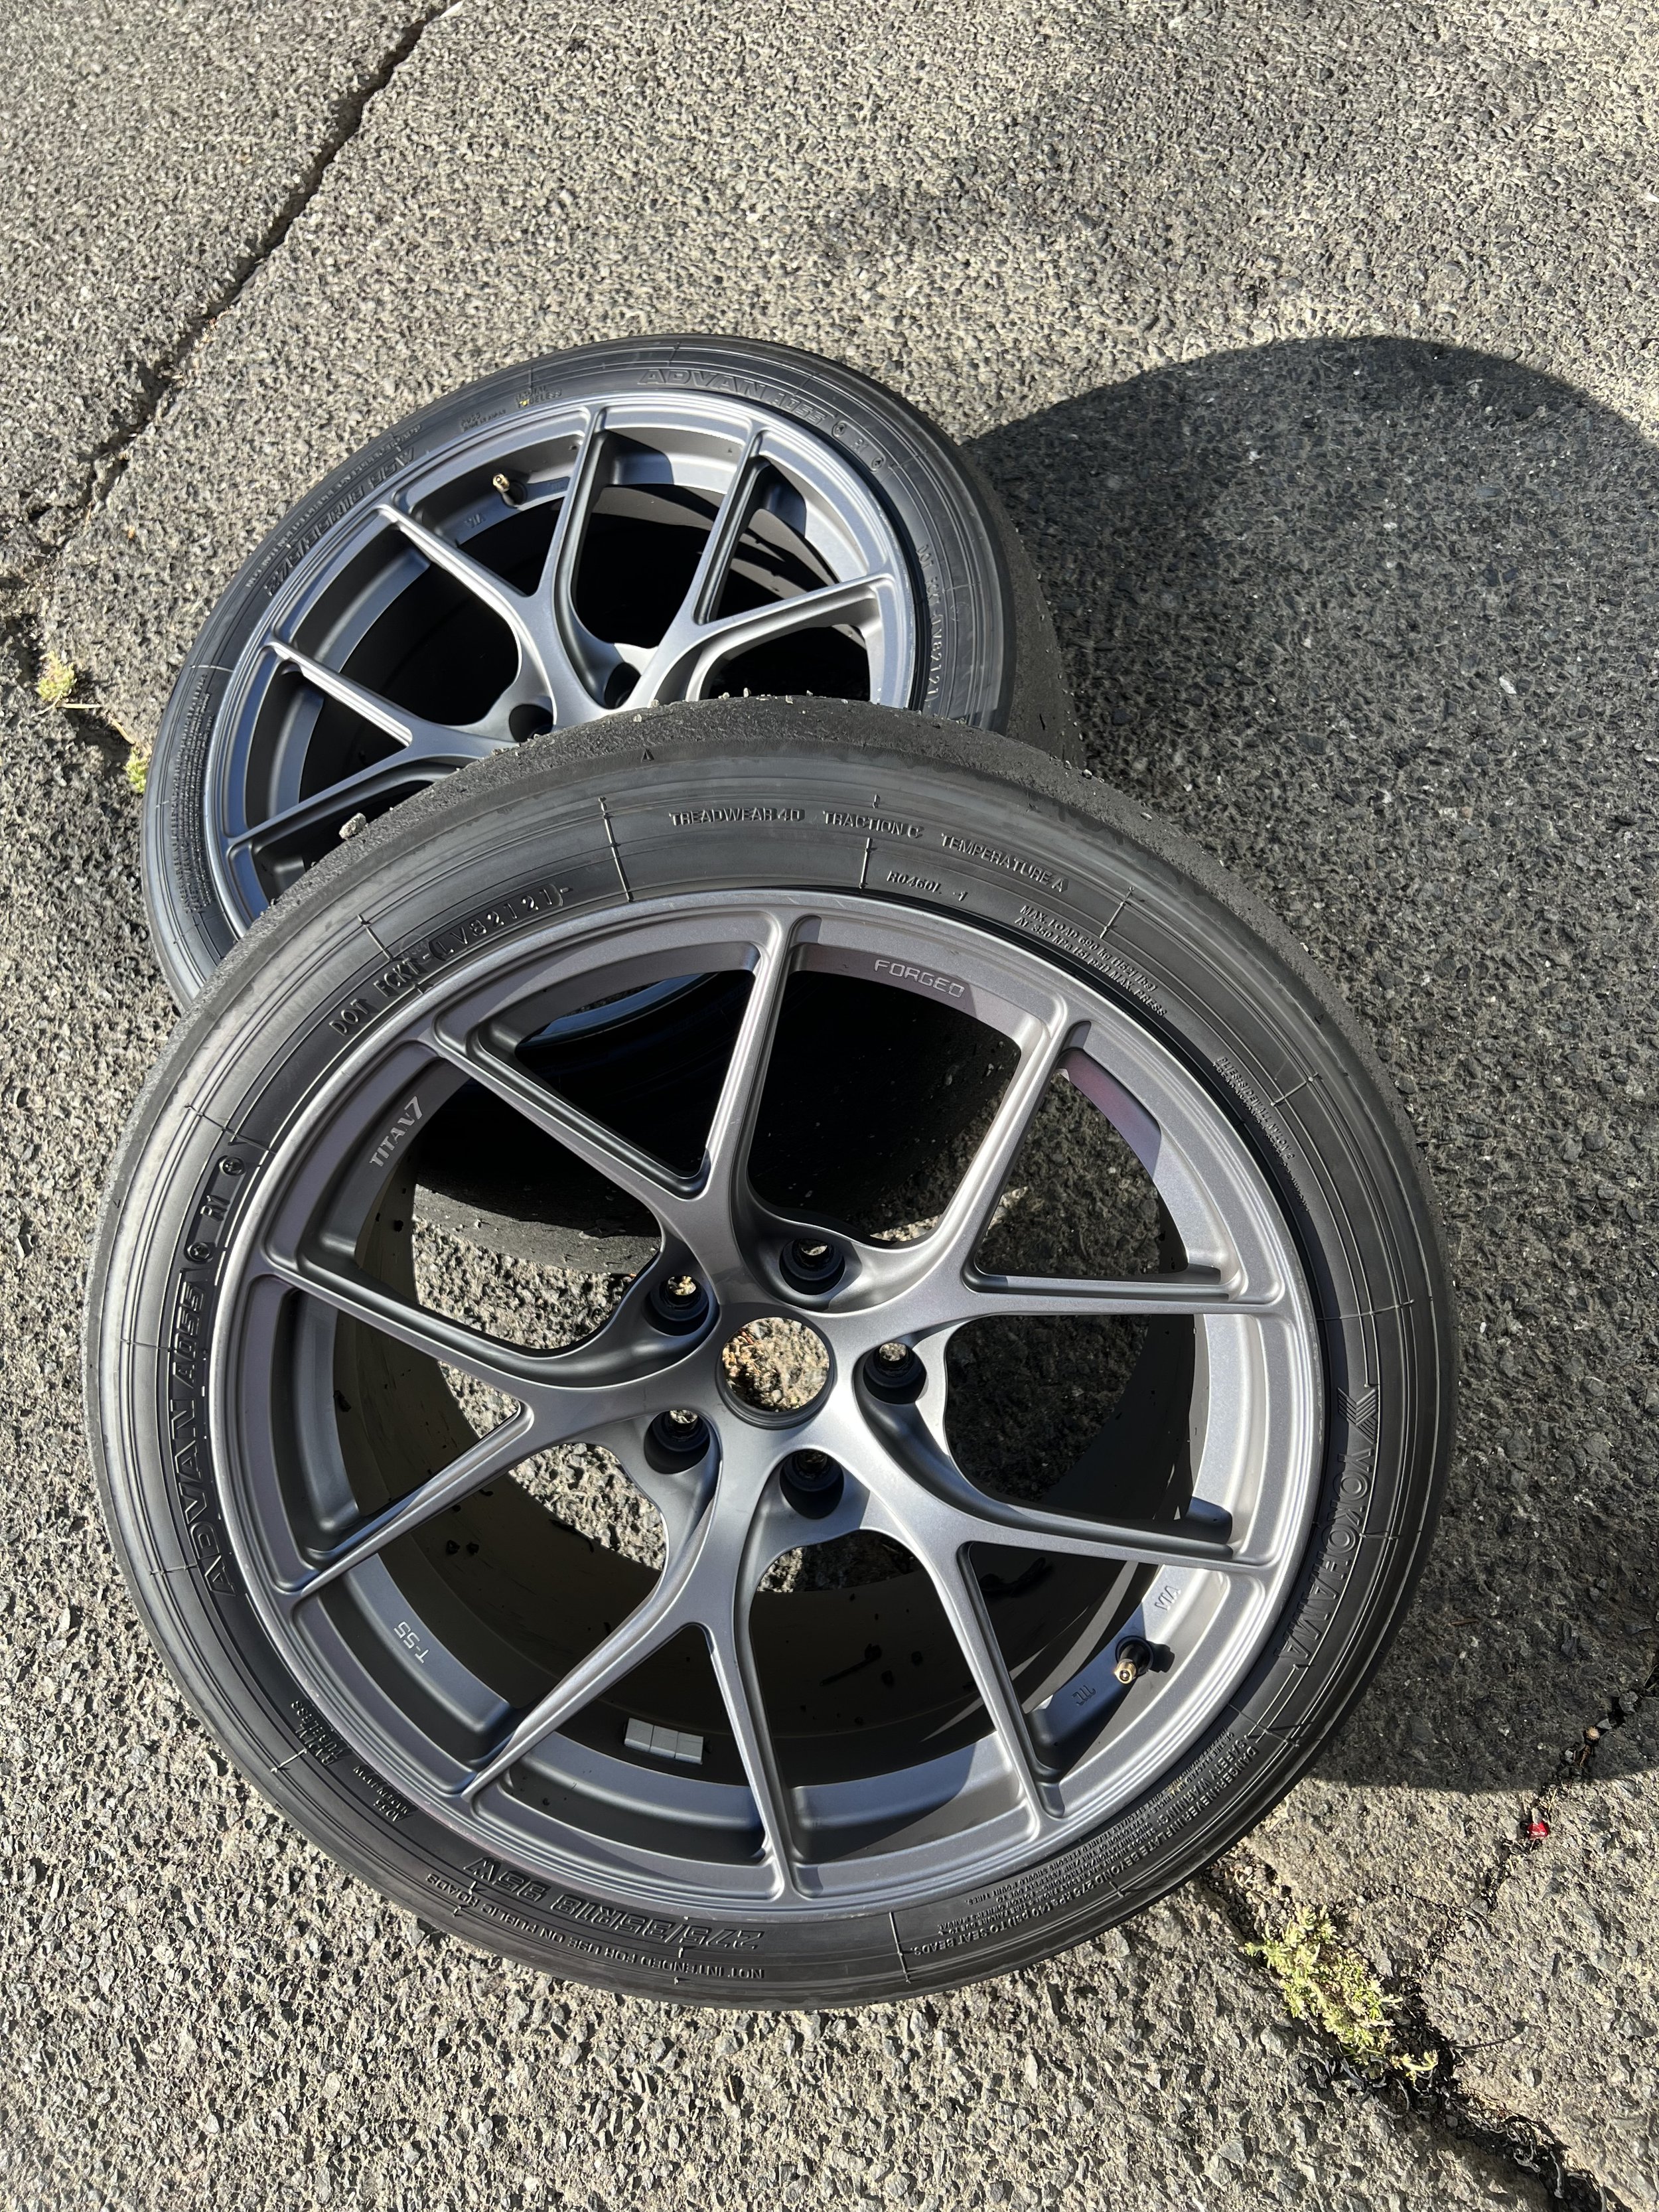
I also want to welcome back our longstanding partners at Titan-7 wheels who are making us some very beautiful and very strong 18x11 and 18x12 forged one-piece lightweight racing wheels; upon which the Toyo Proxes rubber will be mounted. In order to ensure we have proper stopping power, we will once again be teaming up with Stoptech and G-LOC Brakes.
Also in the returning partners camp is Radium Engineering. I will be running a Radium fuel cell with integrated surge tank, welded into the cage. We’ll also be running their dry-break fueling system, along with other supporting goodies.
And of course, the weight of the car will be managed via Eibach Springs and JRZ Suspension motorsport dampers. Speaking of weight, in order to help get that down and to generate some pretty serious downforce, I am partnering with Flossman Auto Design in Germany on a full carbon fiber GTR widebody kit + splitter setup.

And to ensure everything looks as good as it will perform on the mountain and at the racetrack, the car will be wrapped in blue chrome, satin white, and gold; courtesy of my longtime friends at SS Customs. I am so stoked!
We will use the next ~15 months to develop and refine the car and setup; with appearances at events like Super Lap Battle, Grid Life, Global Time Attack, OnGrid, NASA, and more. I’ll also be trying out a new driver-cooling & hydration setup with the guys over at FluidLogic.
Stay tuned for details and be sure to follow-along on social media for updates!
@tomchutang
@trackspecautosports


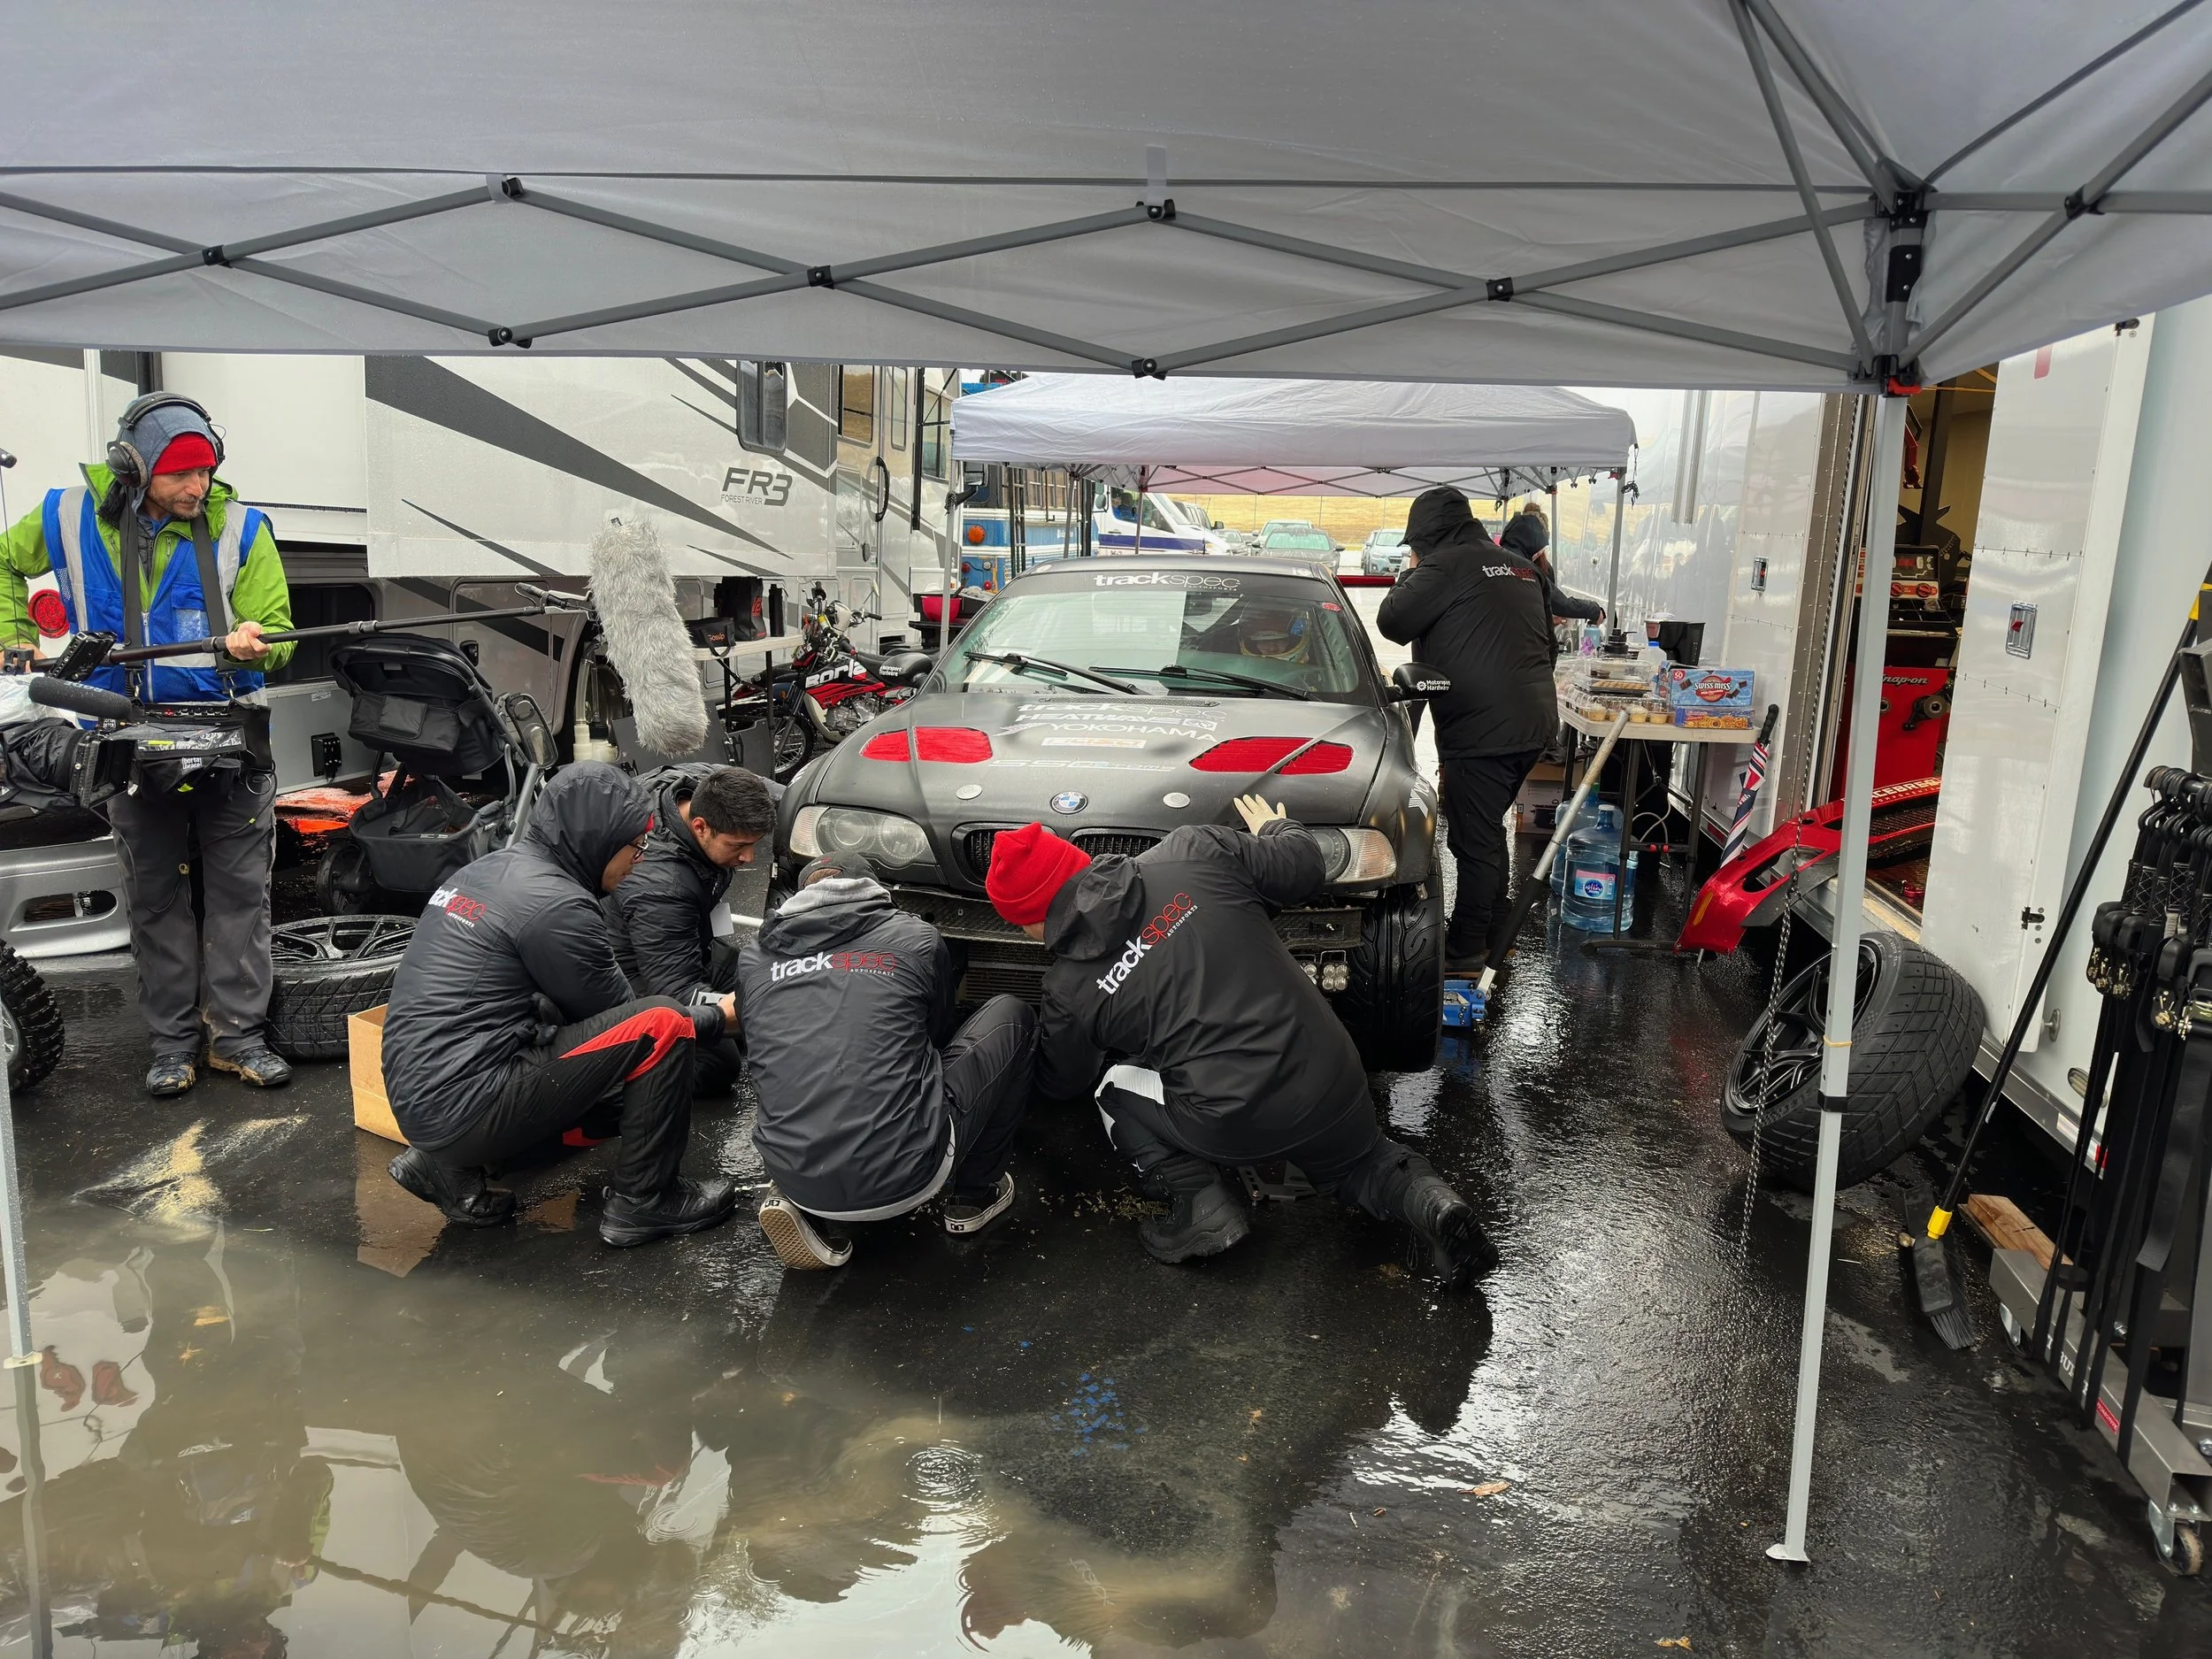
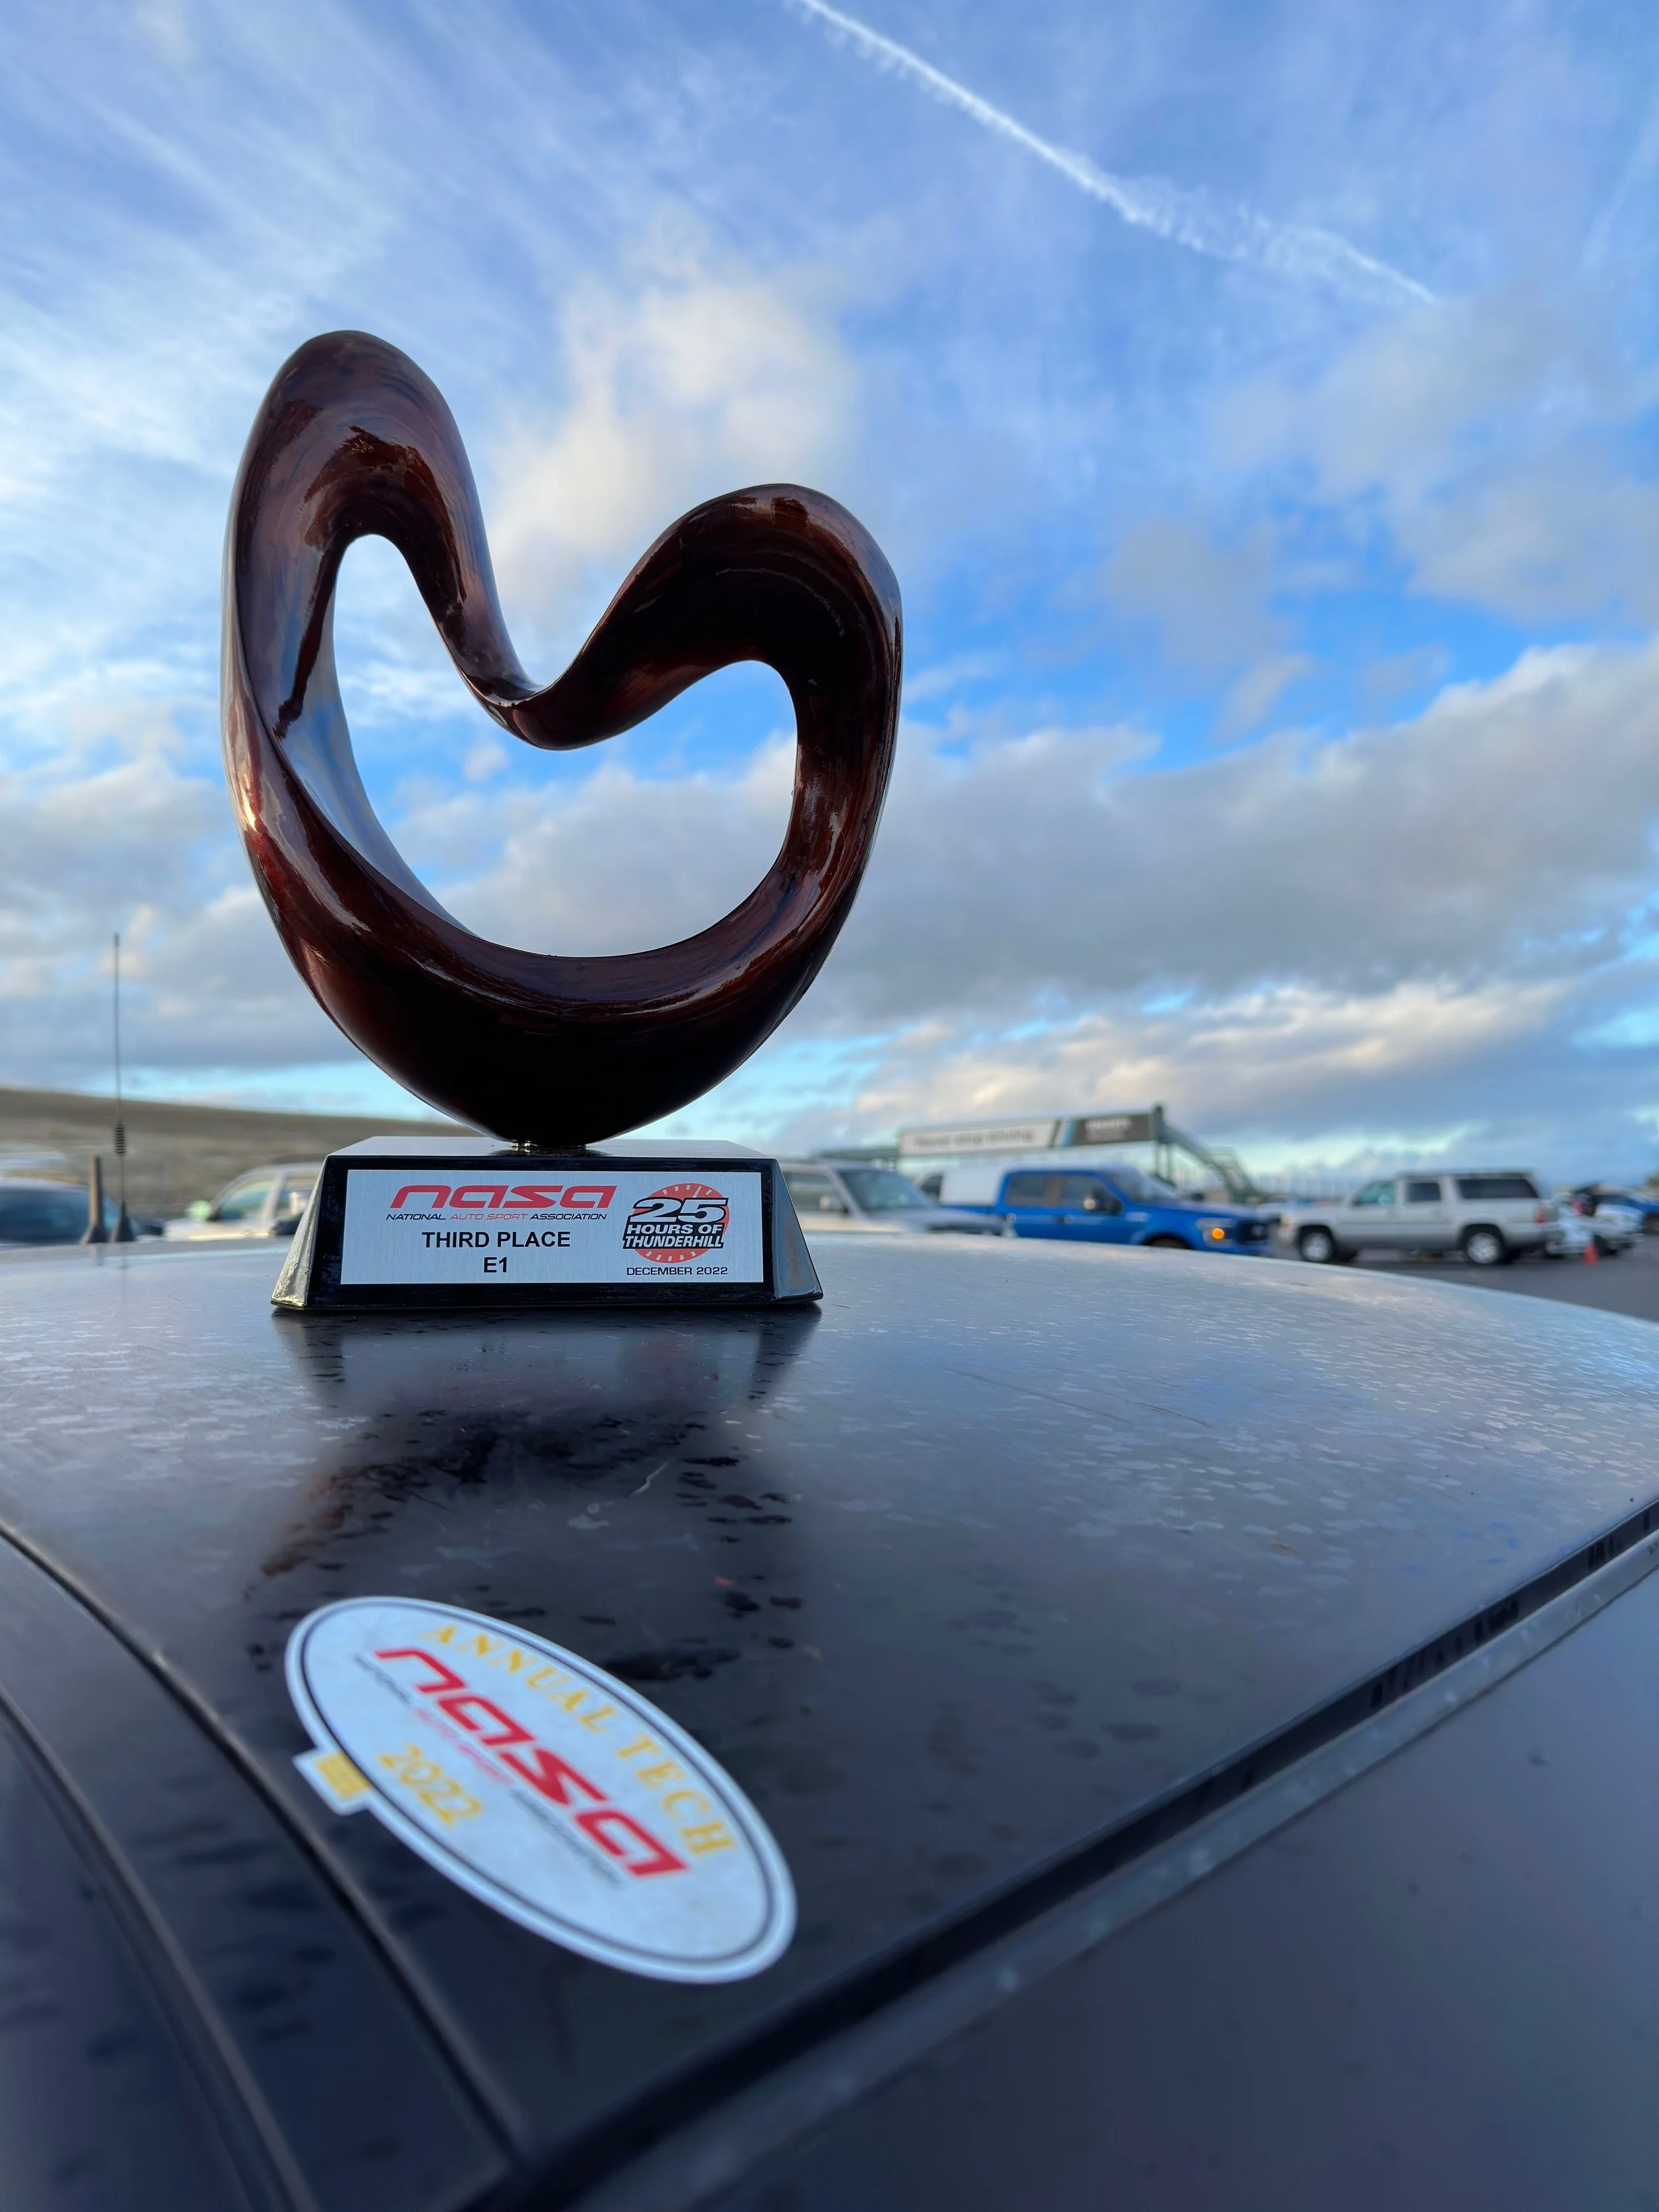
Podium Finish (3rd in E1 Class), 9th Overall: NASA 25 Hours of Thunderhill
You’ve probably already seen the results online, 3rd in class (E1) and 9th overall. But what you don’t know are all of the details, the drama, the trials and tribulations and the blood, sweat, and tears that went into this past weekend. Fortunately, that’s what this blog is for…so please, read on.
A race like this takes determination and preparation
If you’ve been reading our team blog for some time now, you know that we have been wanting to take on the 25 Hours of Thunderhill with our own car since 2018. But sometimes, things don’t go as planned. In 2018, I crashed my Honda S2000 at the last ST4 sprint race of the season in November, and we had to start over. In early 2019, for sake of time (in order to make the season), I purchased an E36 M3 ST3 race car that we converted to ST4 duty. The plan was to do a full year of racing to get used to the new (to us) platform, and then we would tackle the 25 Hour in 2020 with it. Well, COVID had other plans that year and as such; the 25 was canceled.
That brought us to 2021. Unfortunately, at the first race weekend of the year, Jon had an accident at Sonoma (we love that track, but it doesn’t always love us back) and the E36 was totaled.
So, we decided to take our time and we “took the rest of the year off” by not rushing into something new right away. After careful planning and consideration, we began quietly building an E46 M3 with the goal of debuting the car in early 2022 so we could race it at this year’s 25 Hour. Well…I’m pleased to report that after 4 years of not giving up, we finally did the damn thing! And it was fucking awesome.
You’ve probably already seen the results online, 3rd in class (E1) and 9th overall. But what you don’t know are all of the details, the drama, the trials and tribulations and the blood, sweat, and tears that went into this past weekend. Fortunately, that’s what this blog is for…so please, read on.
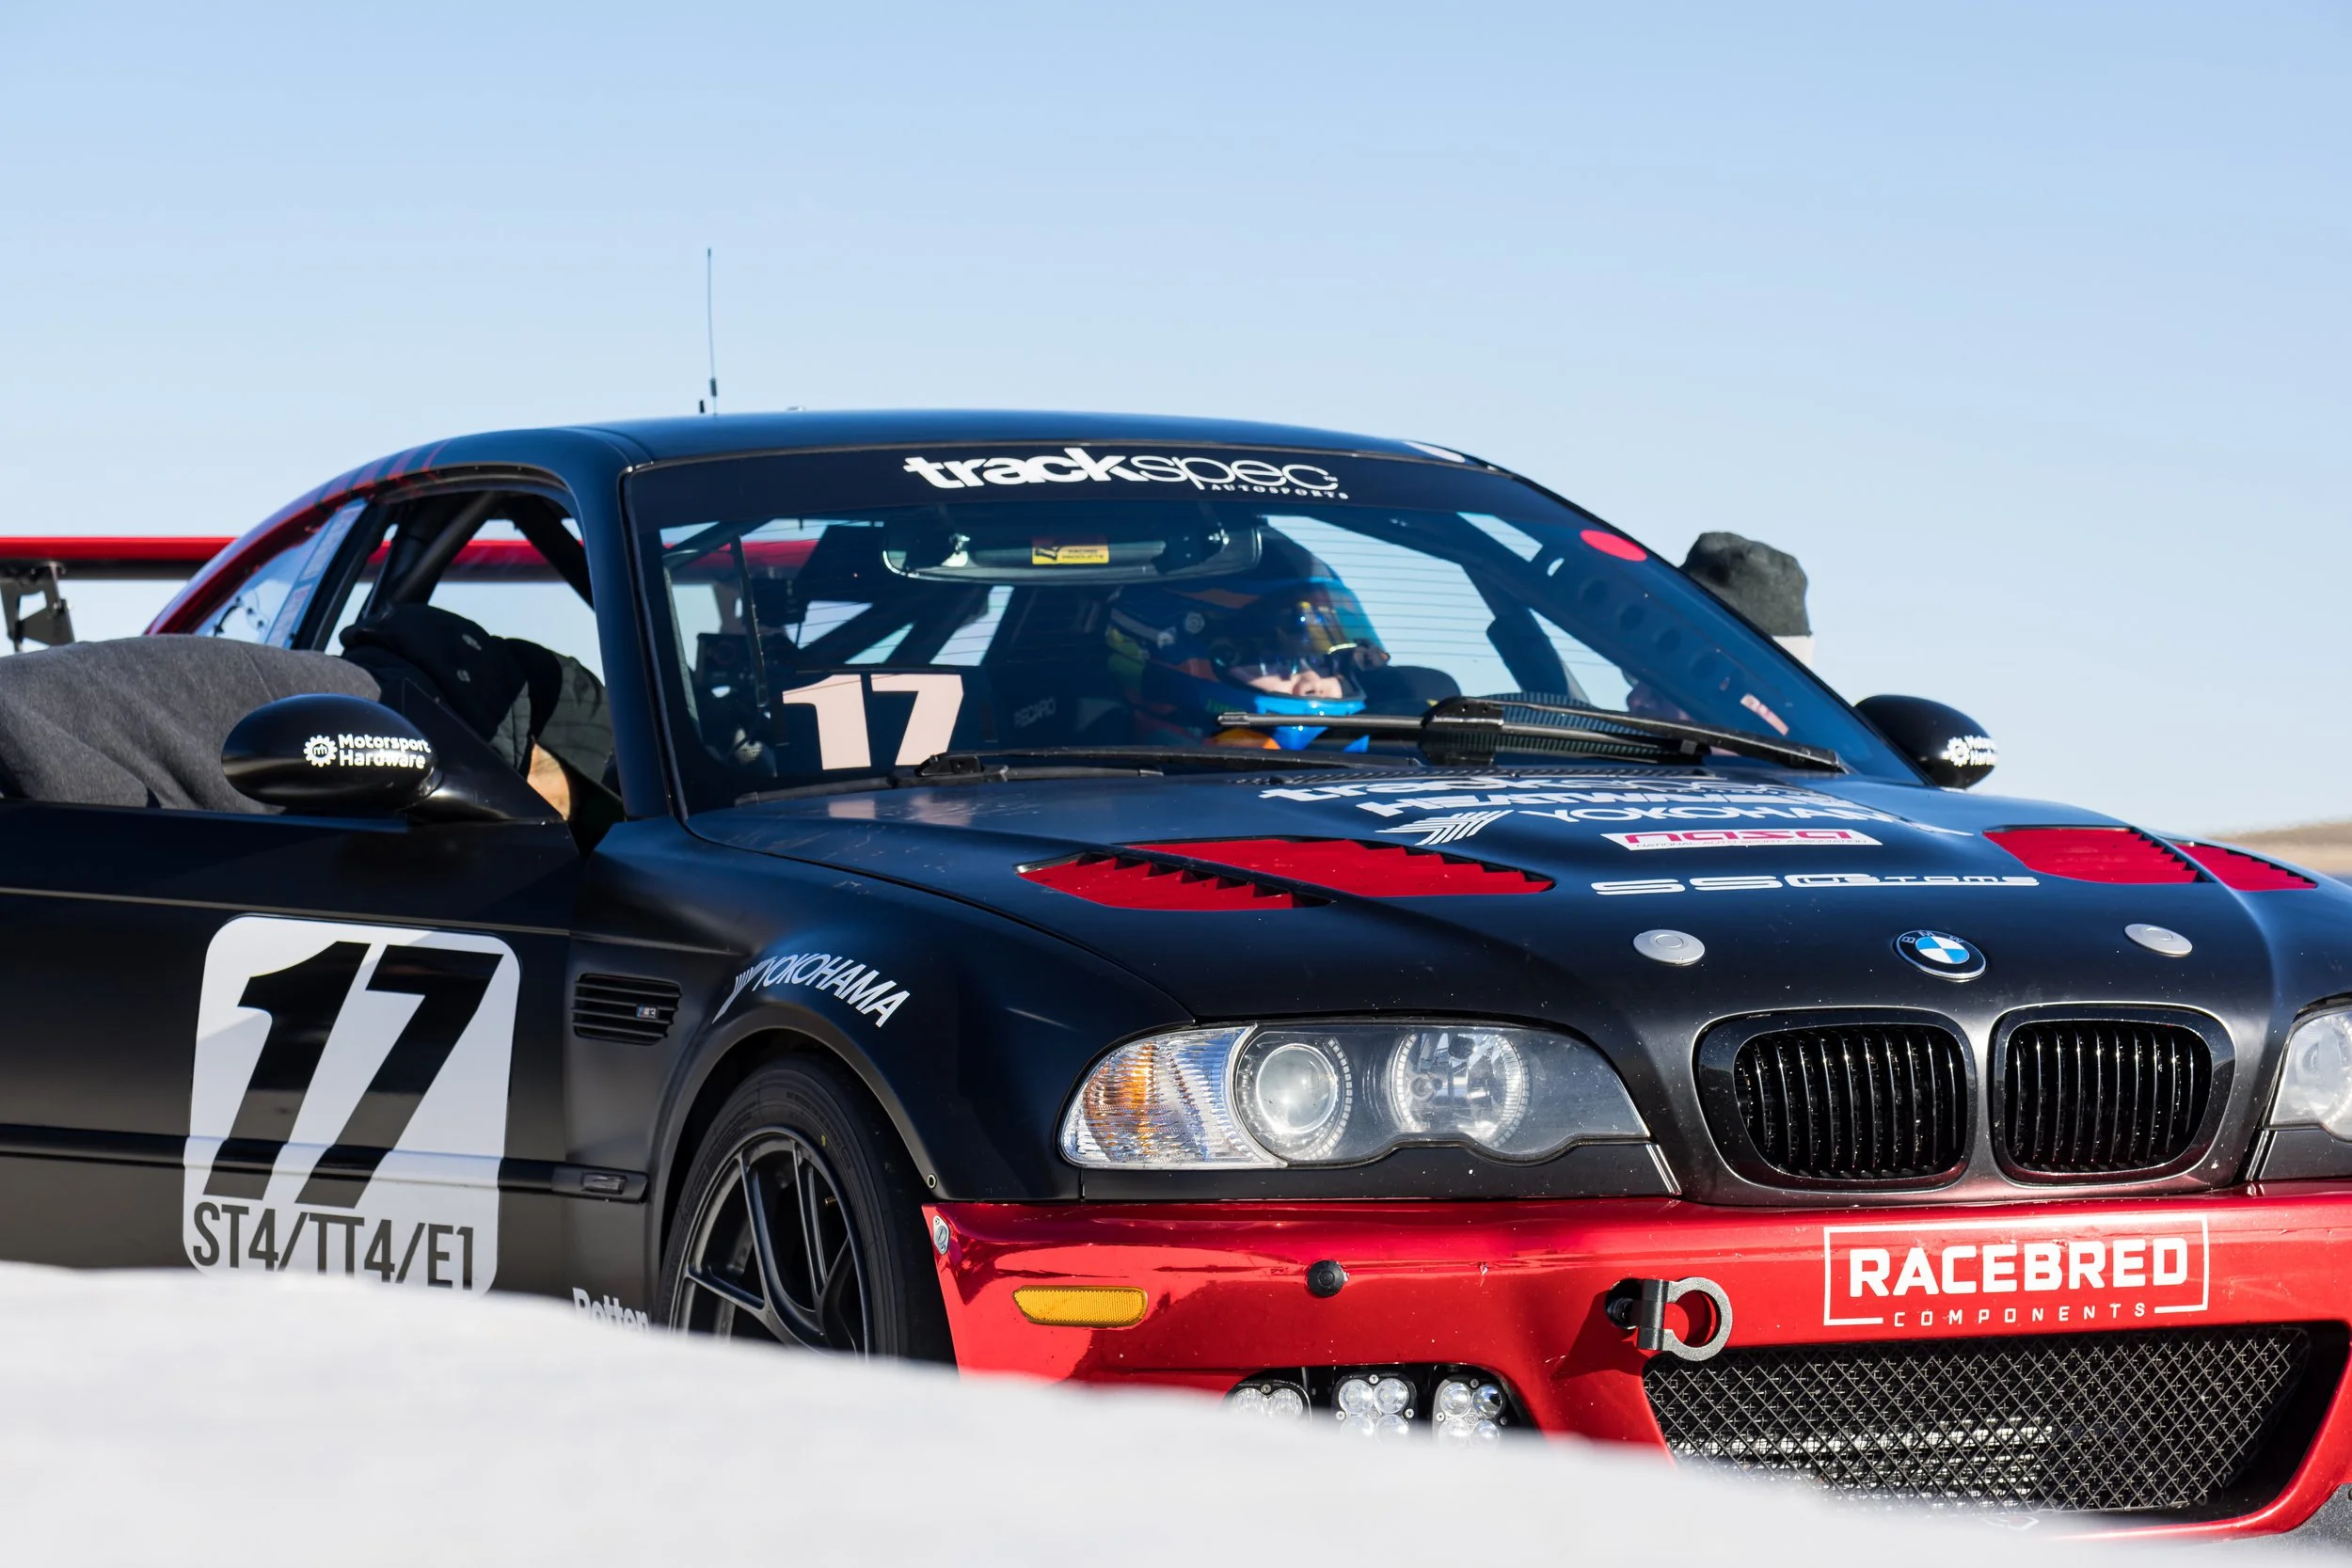
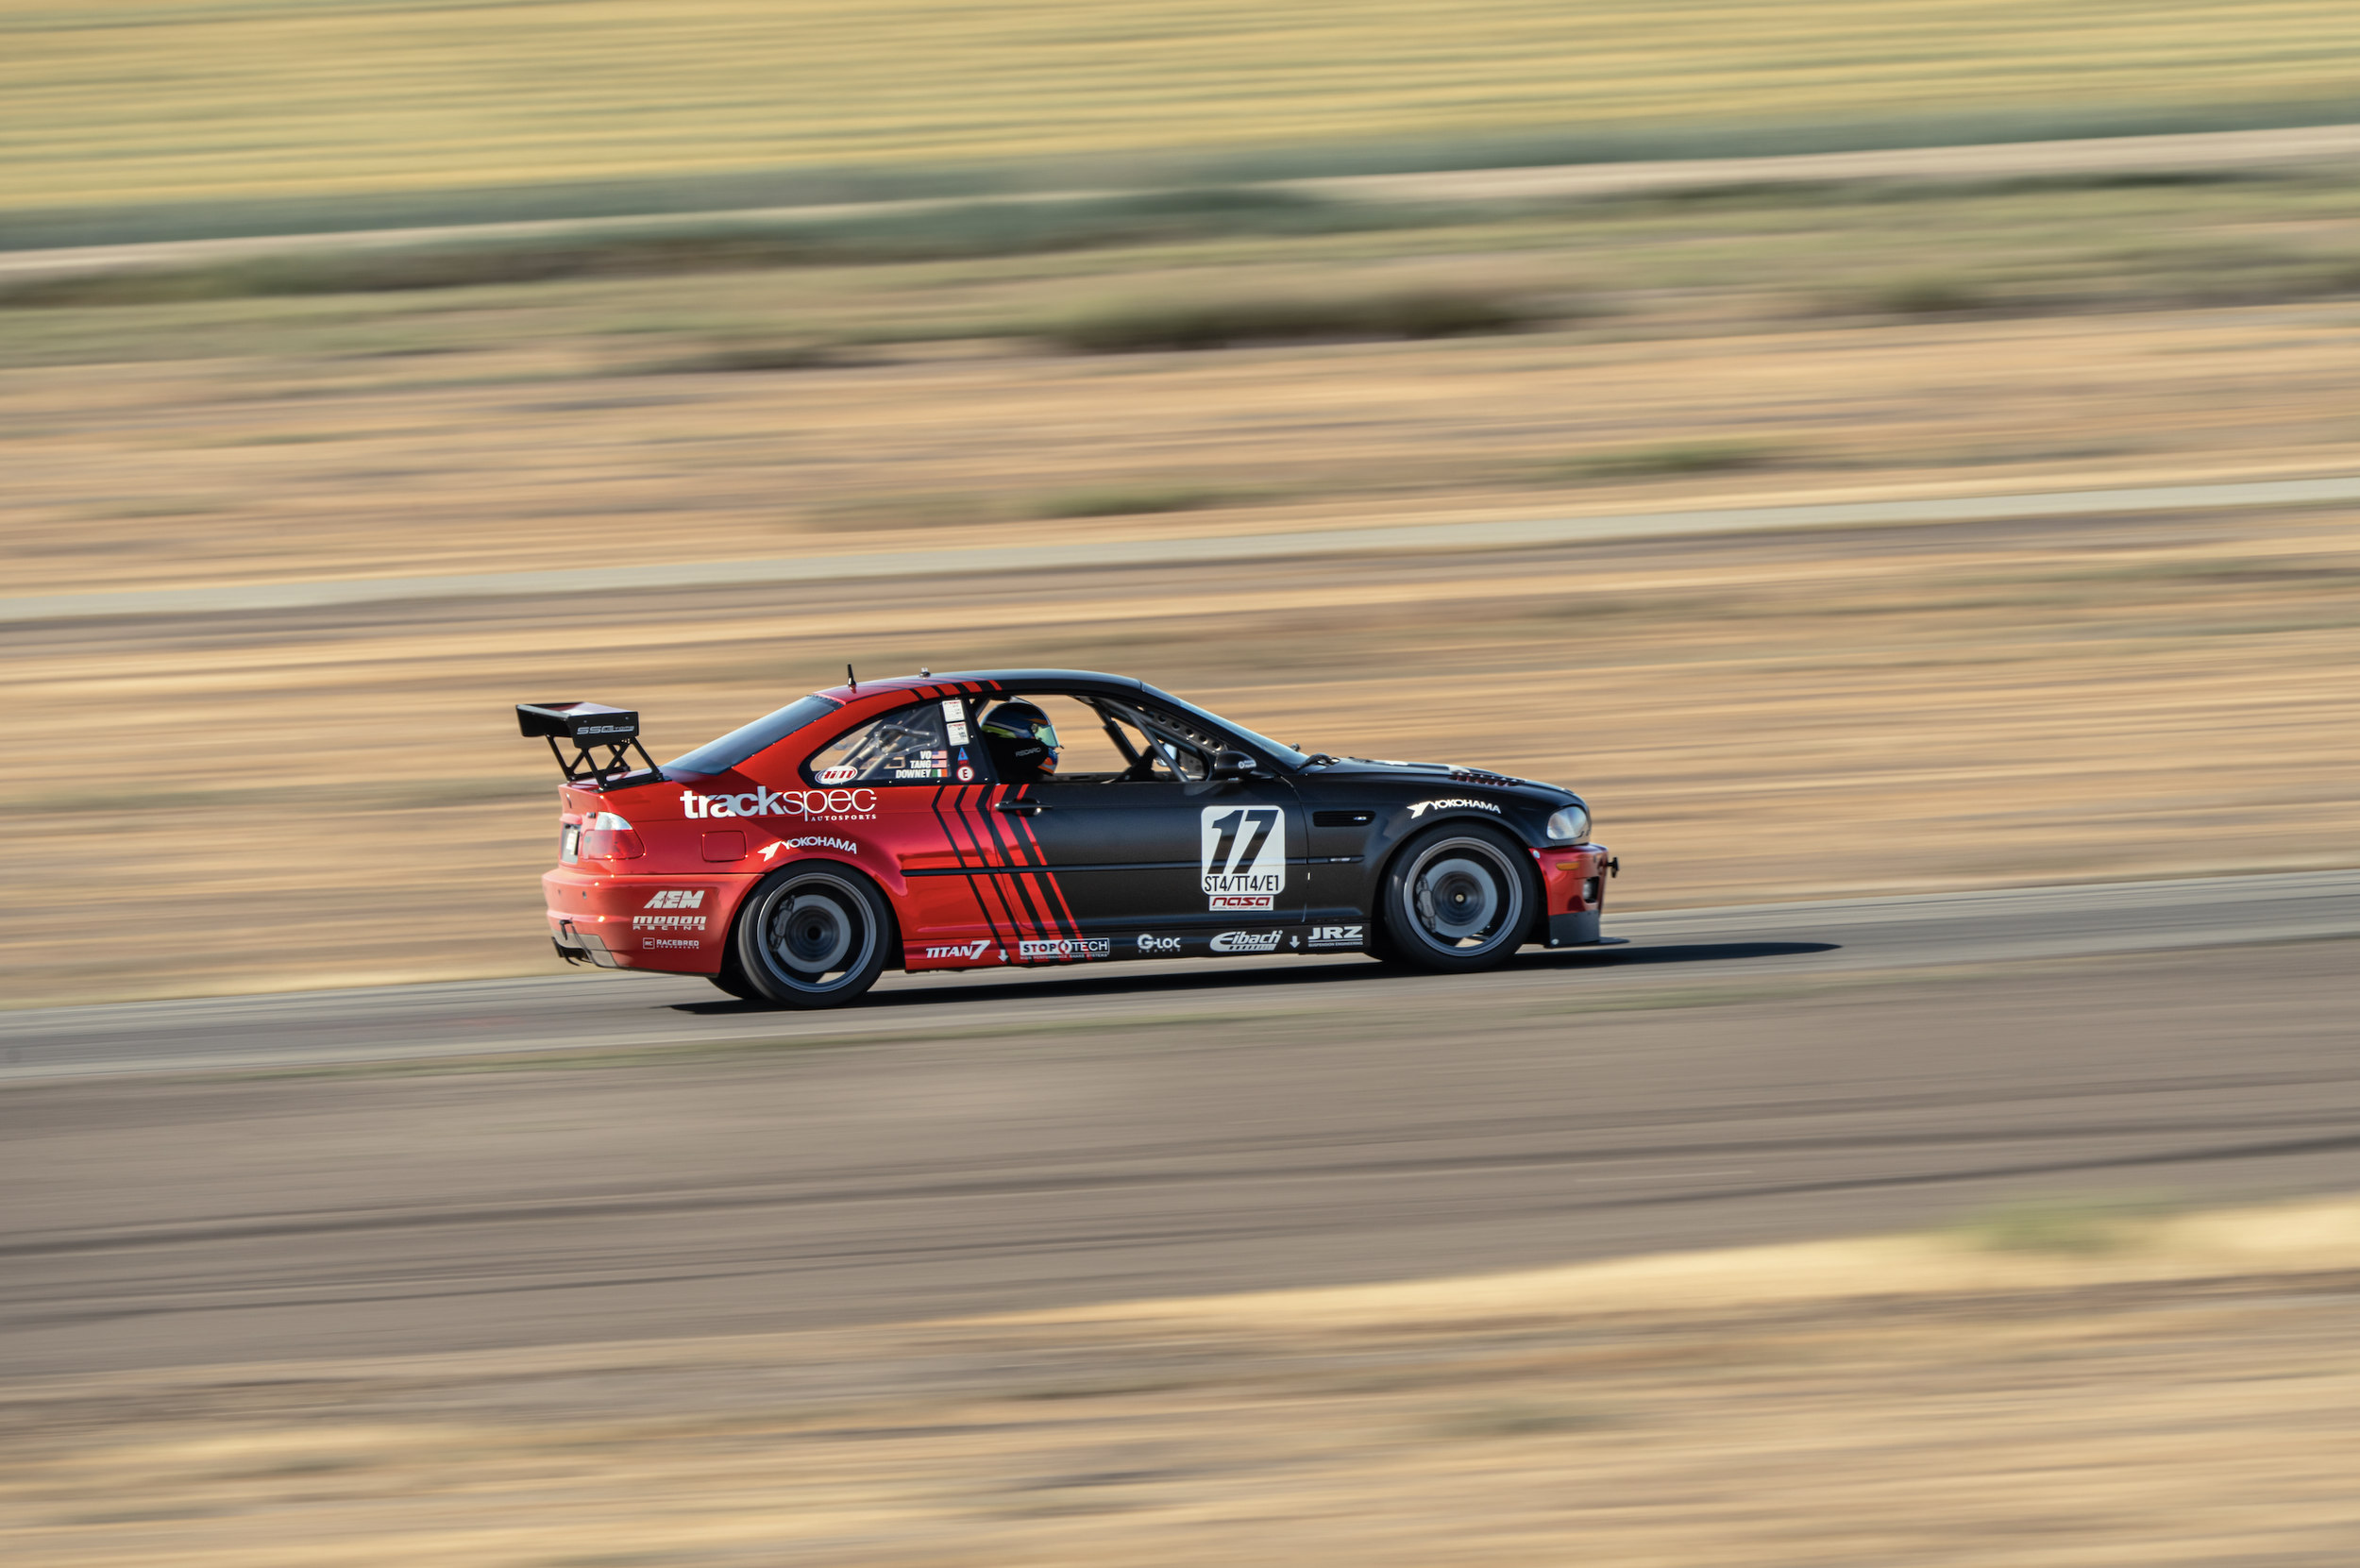
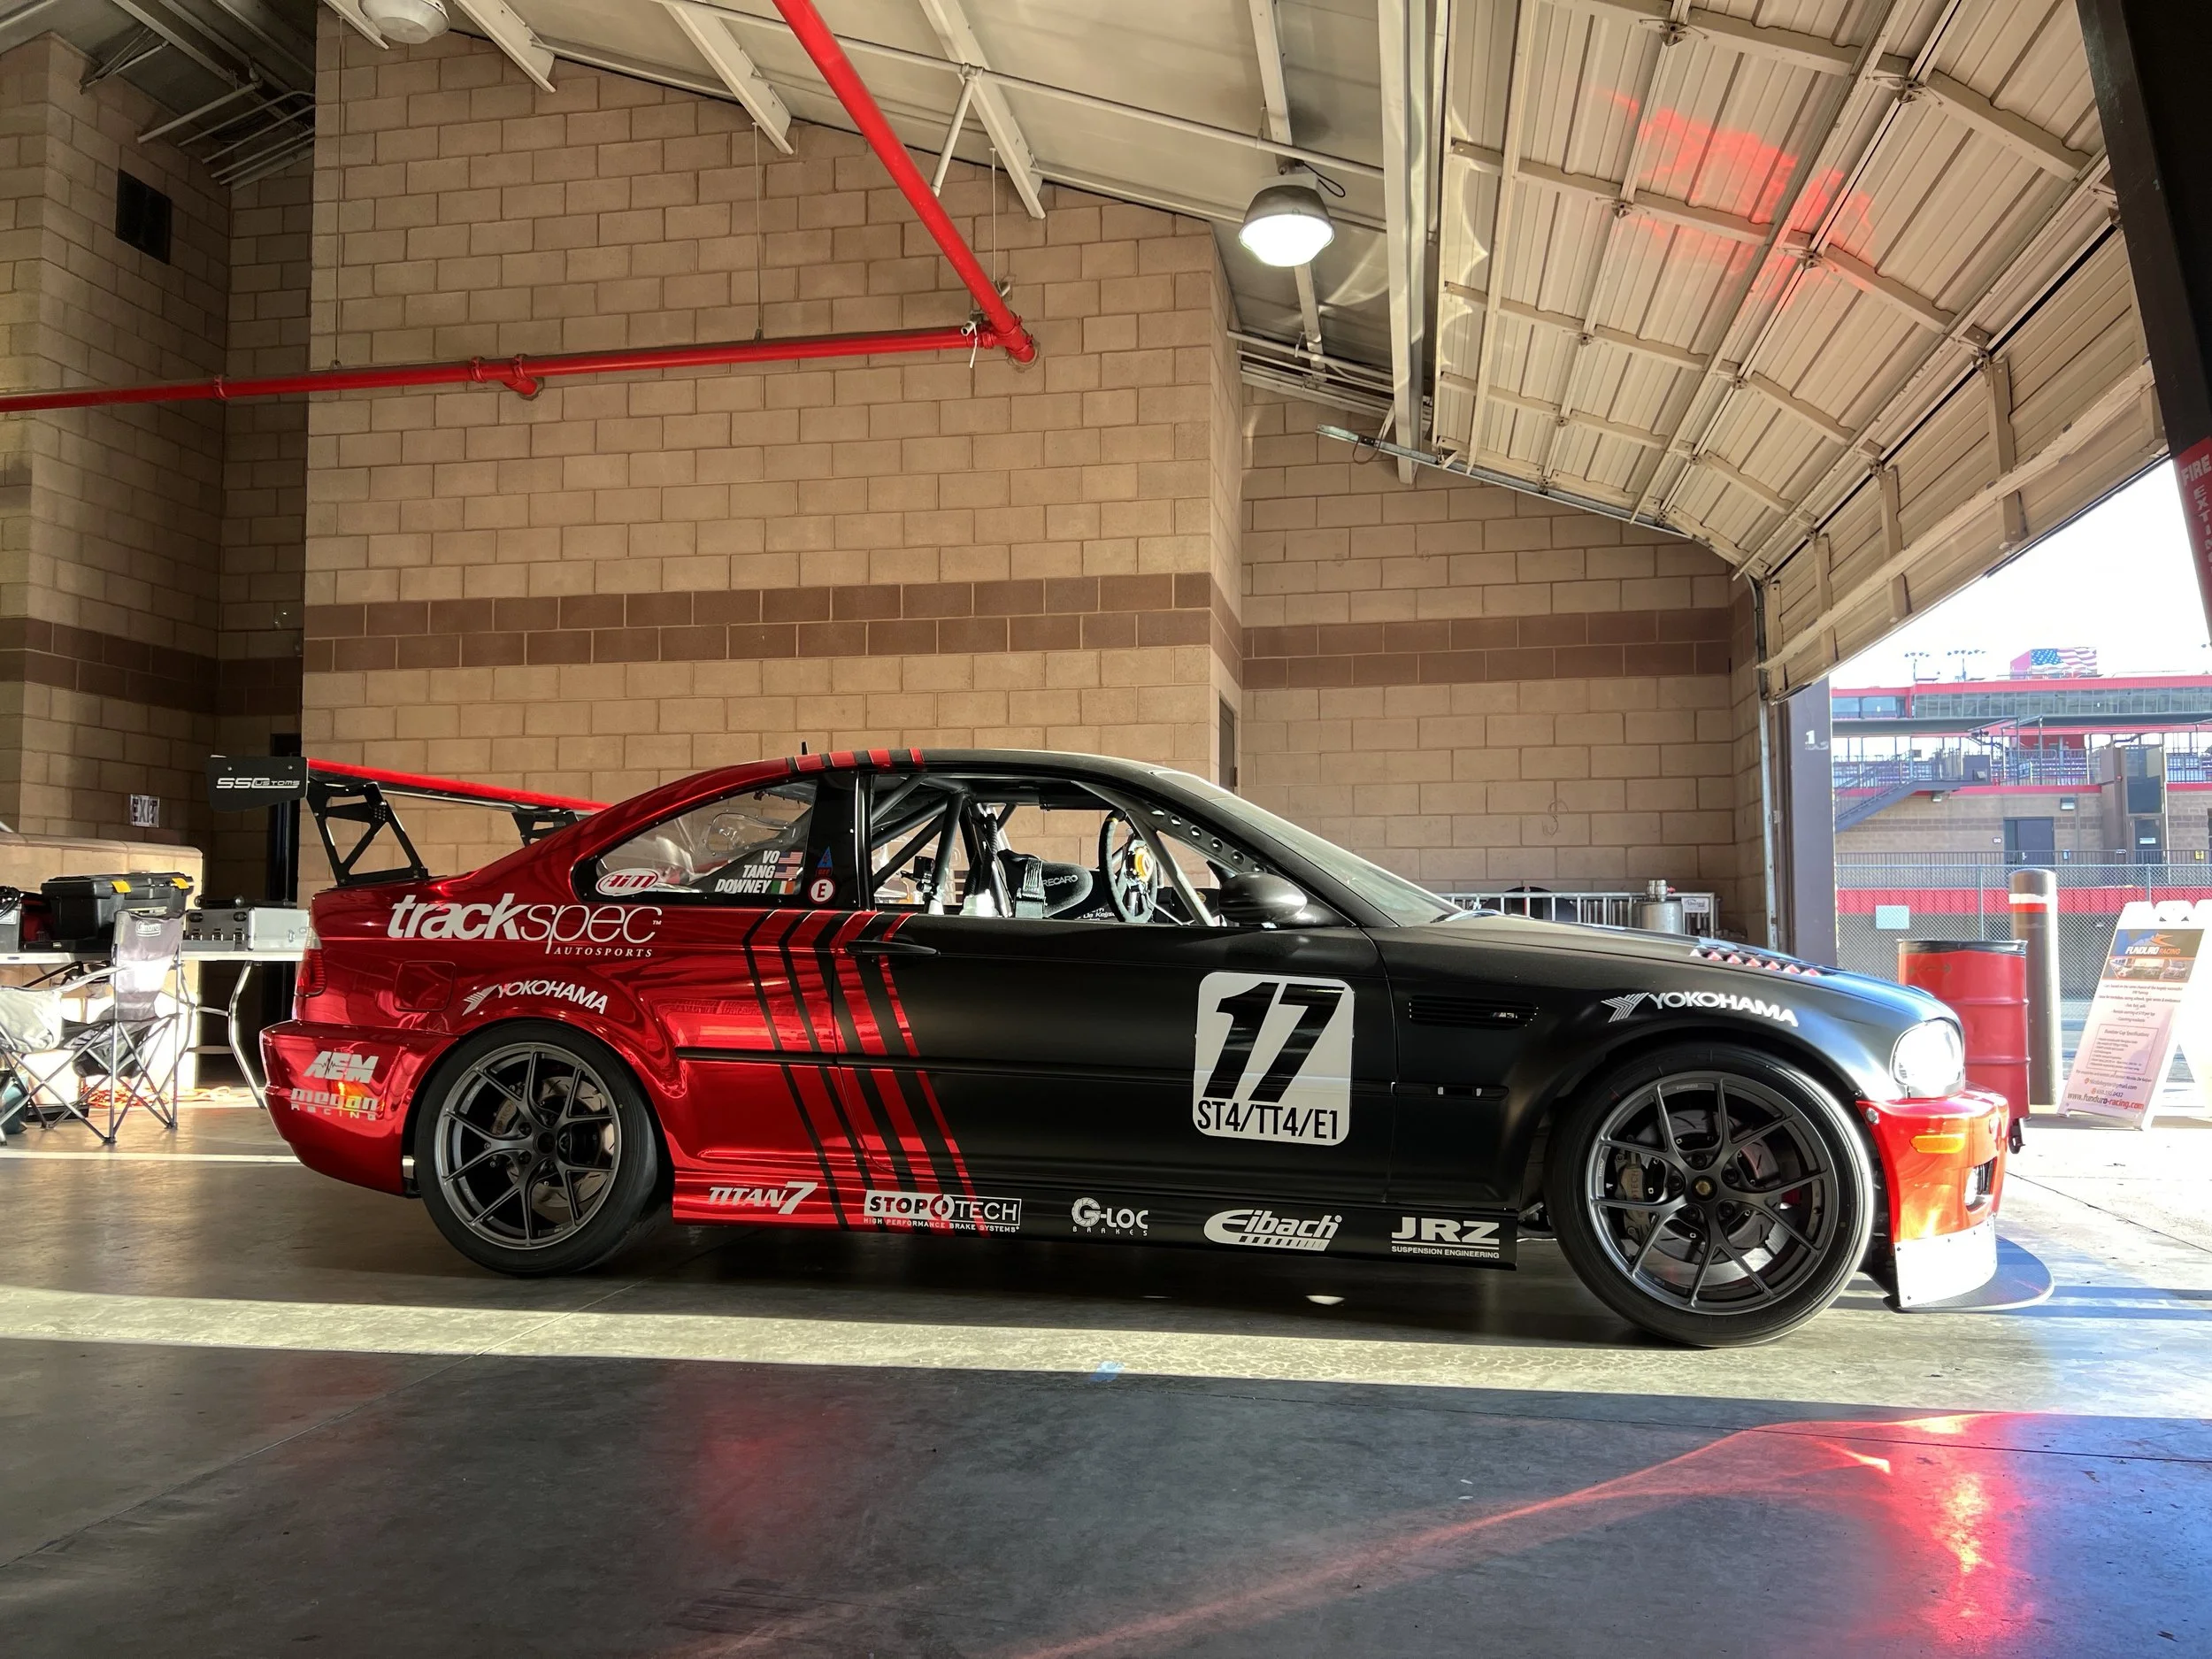
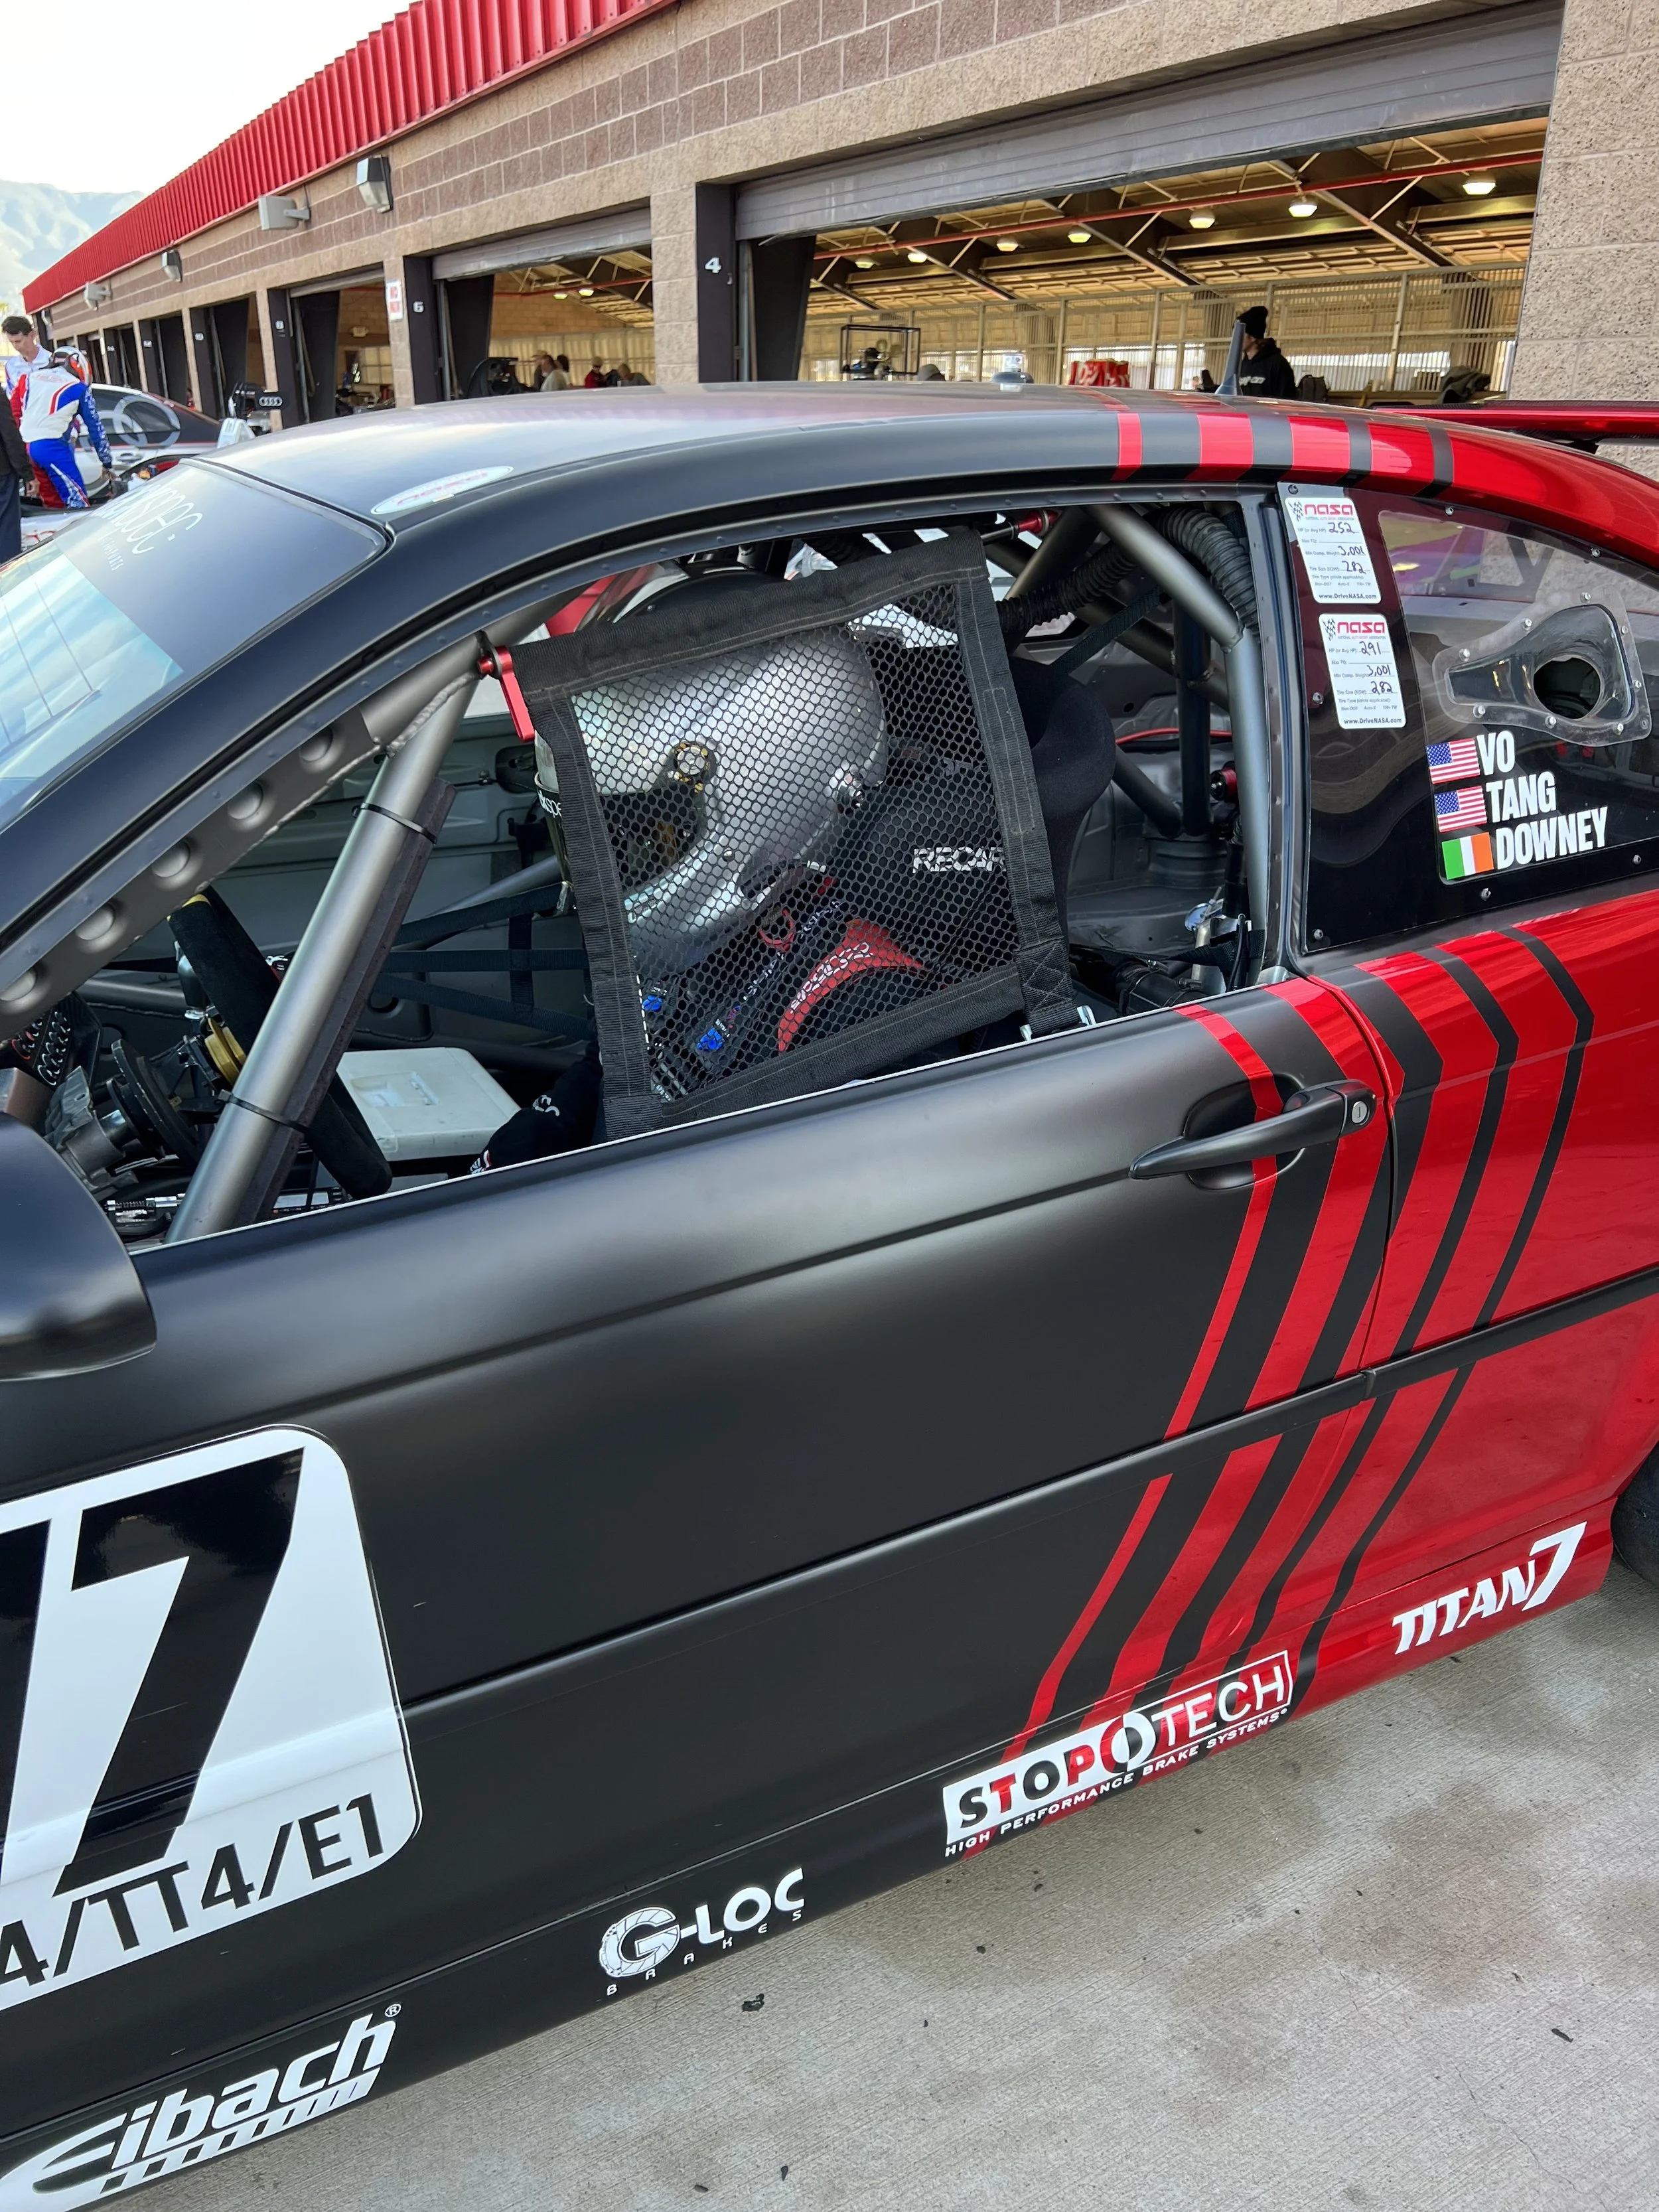
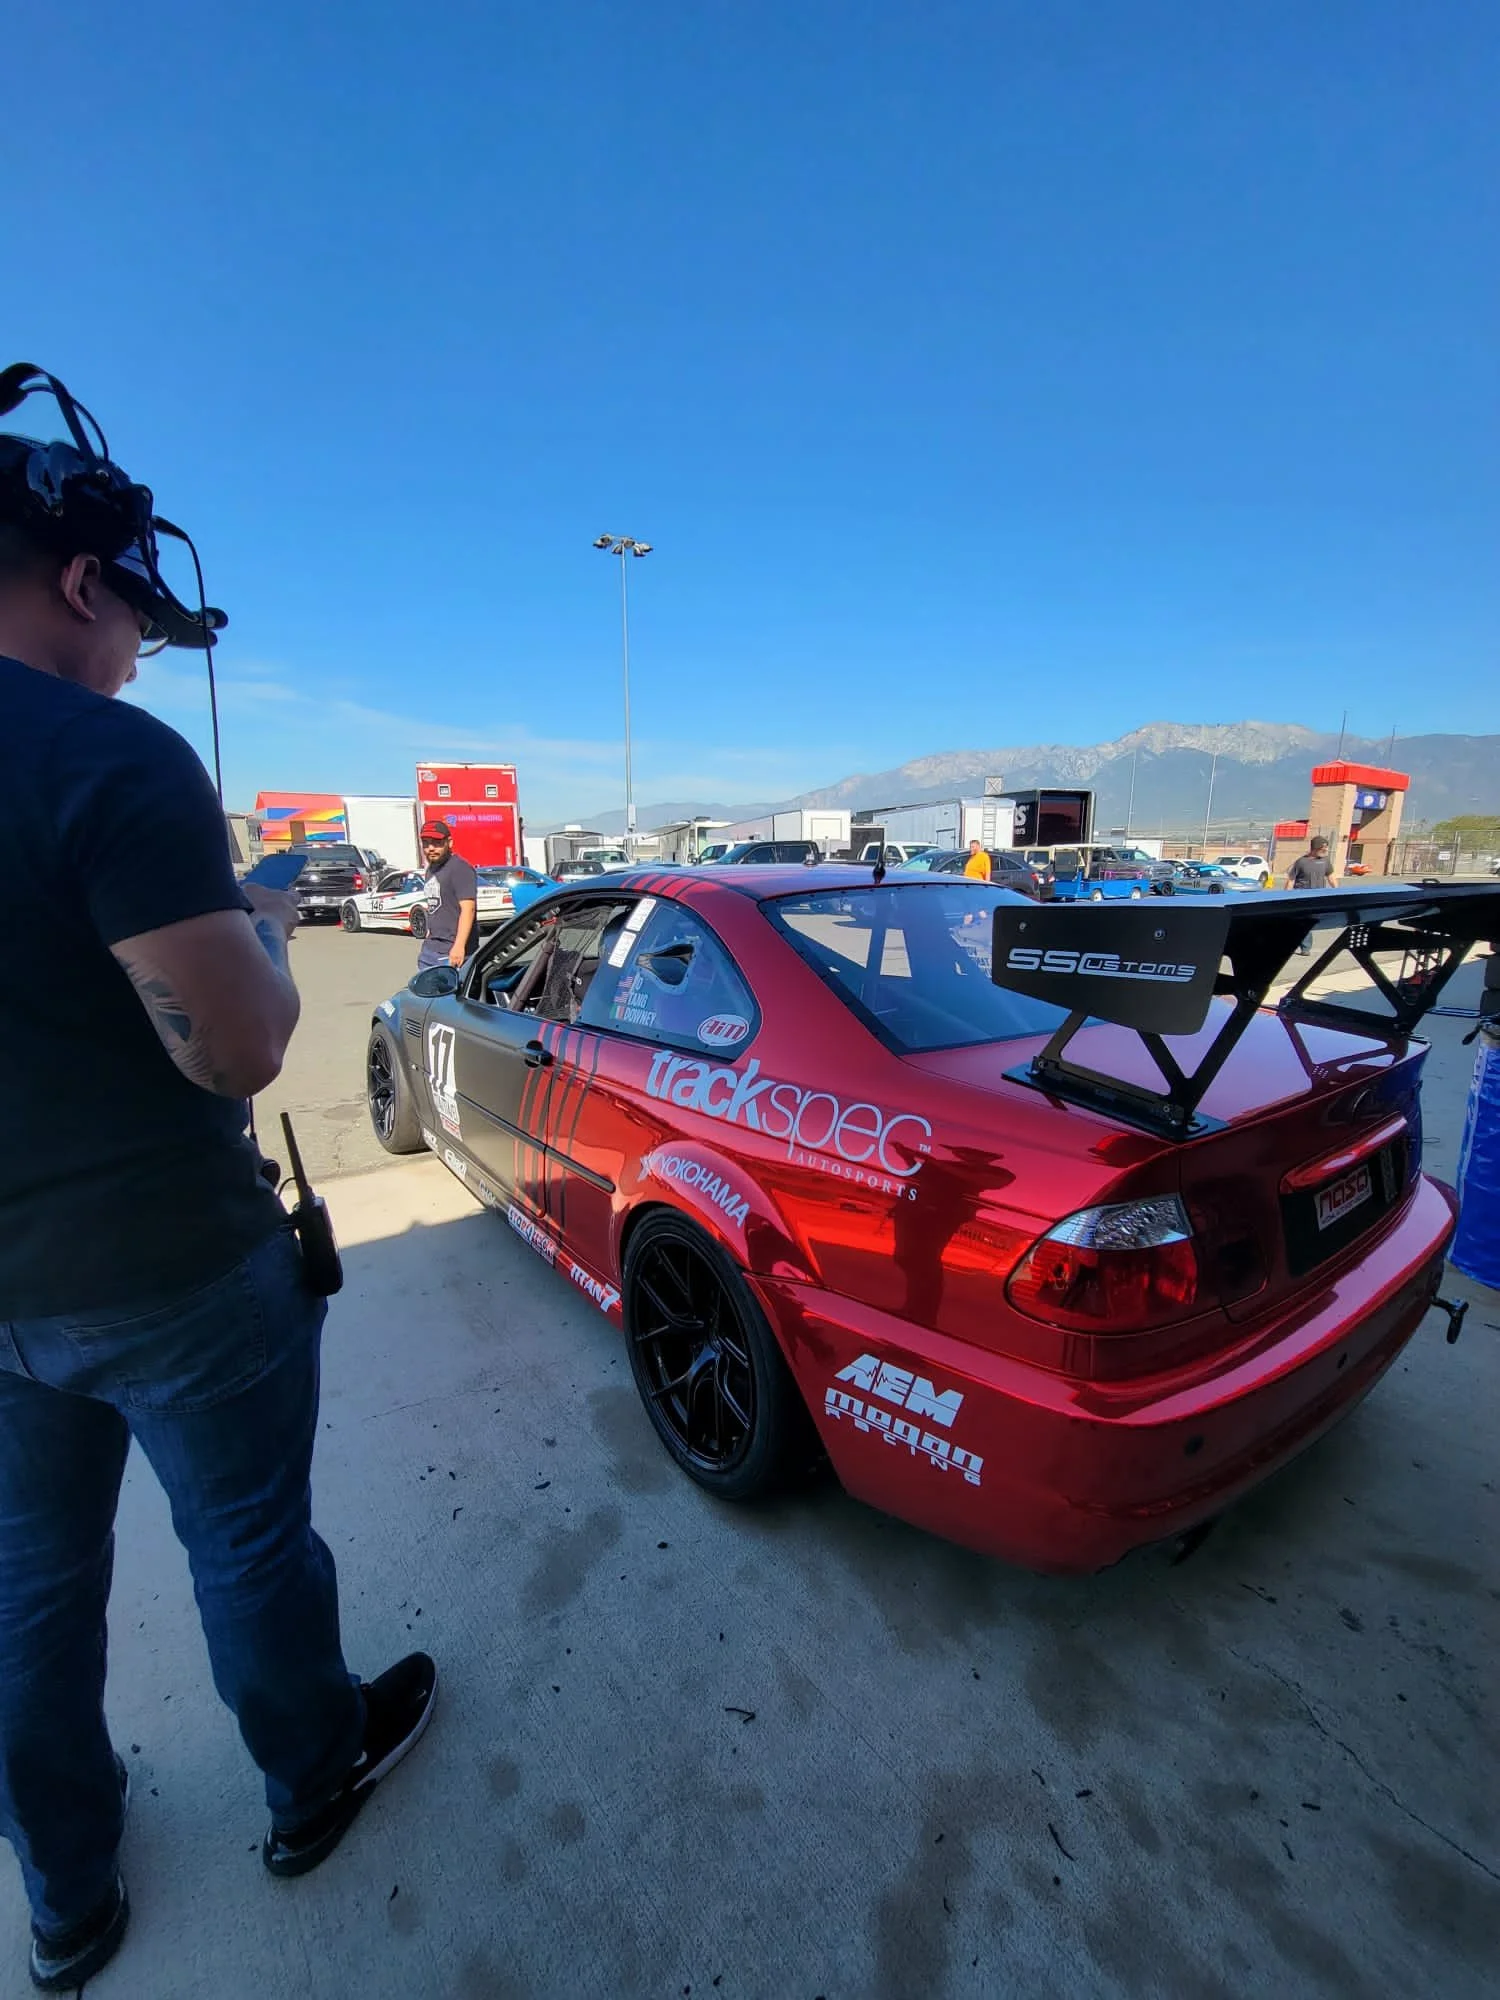
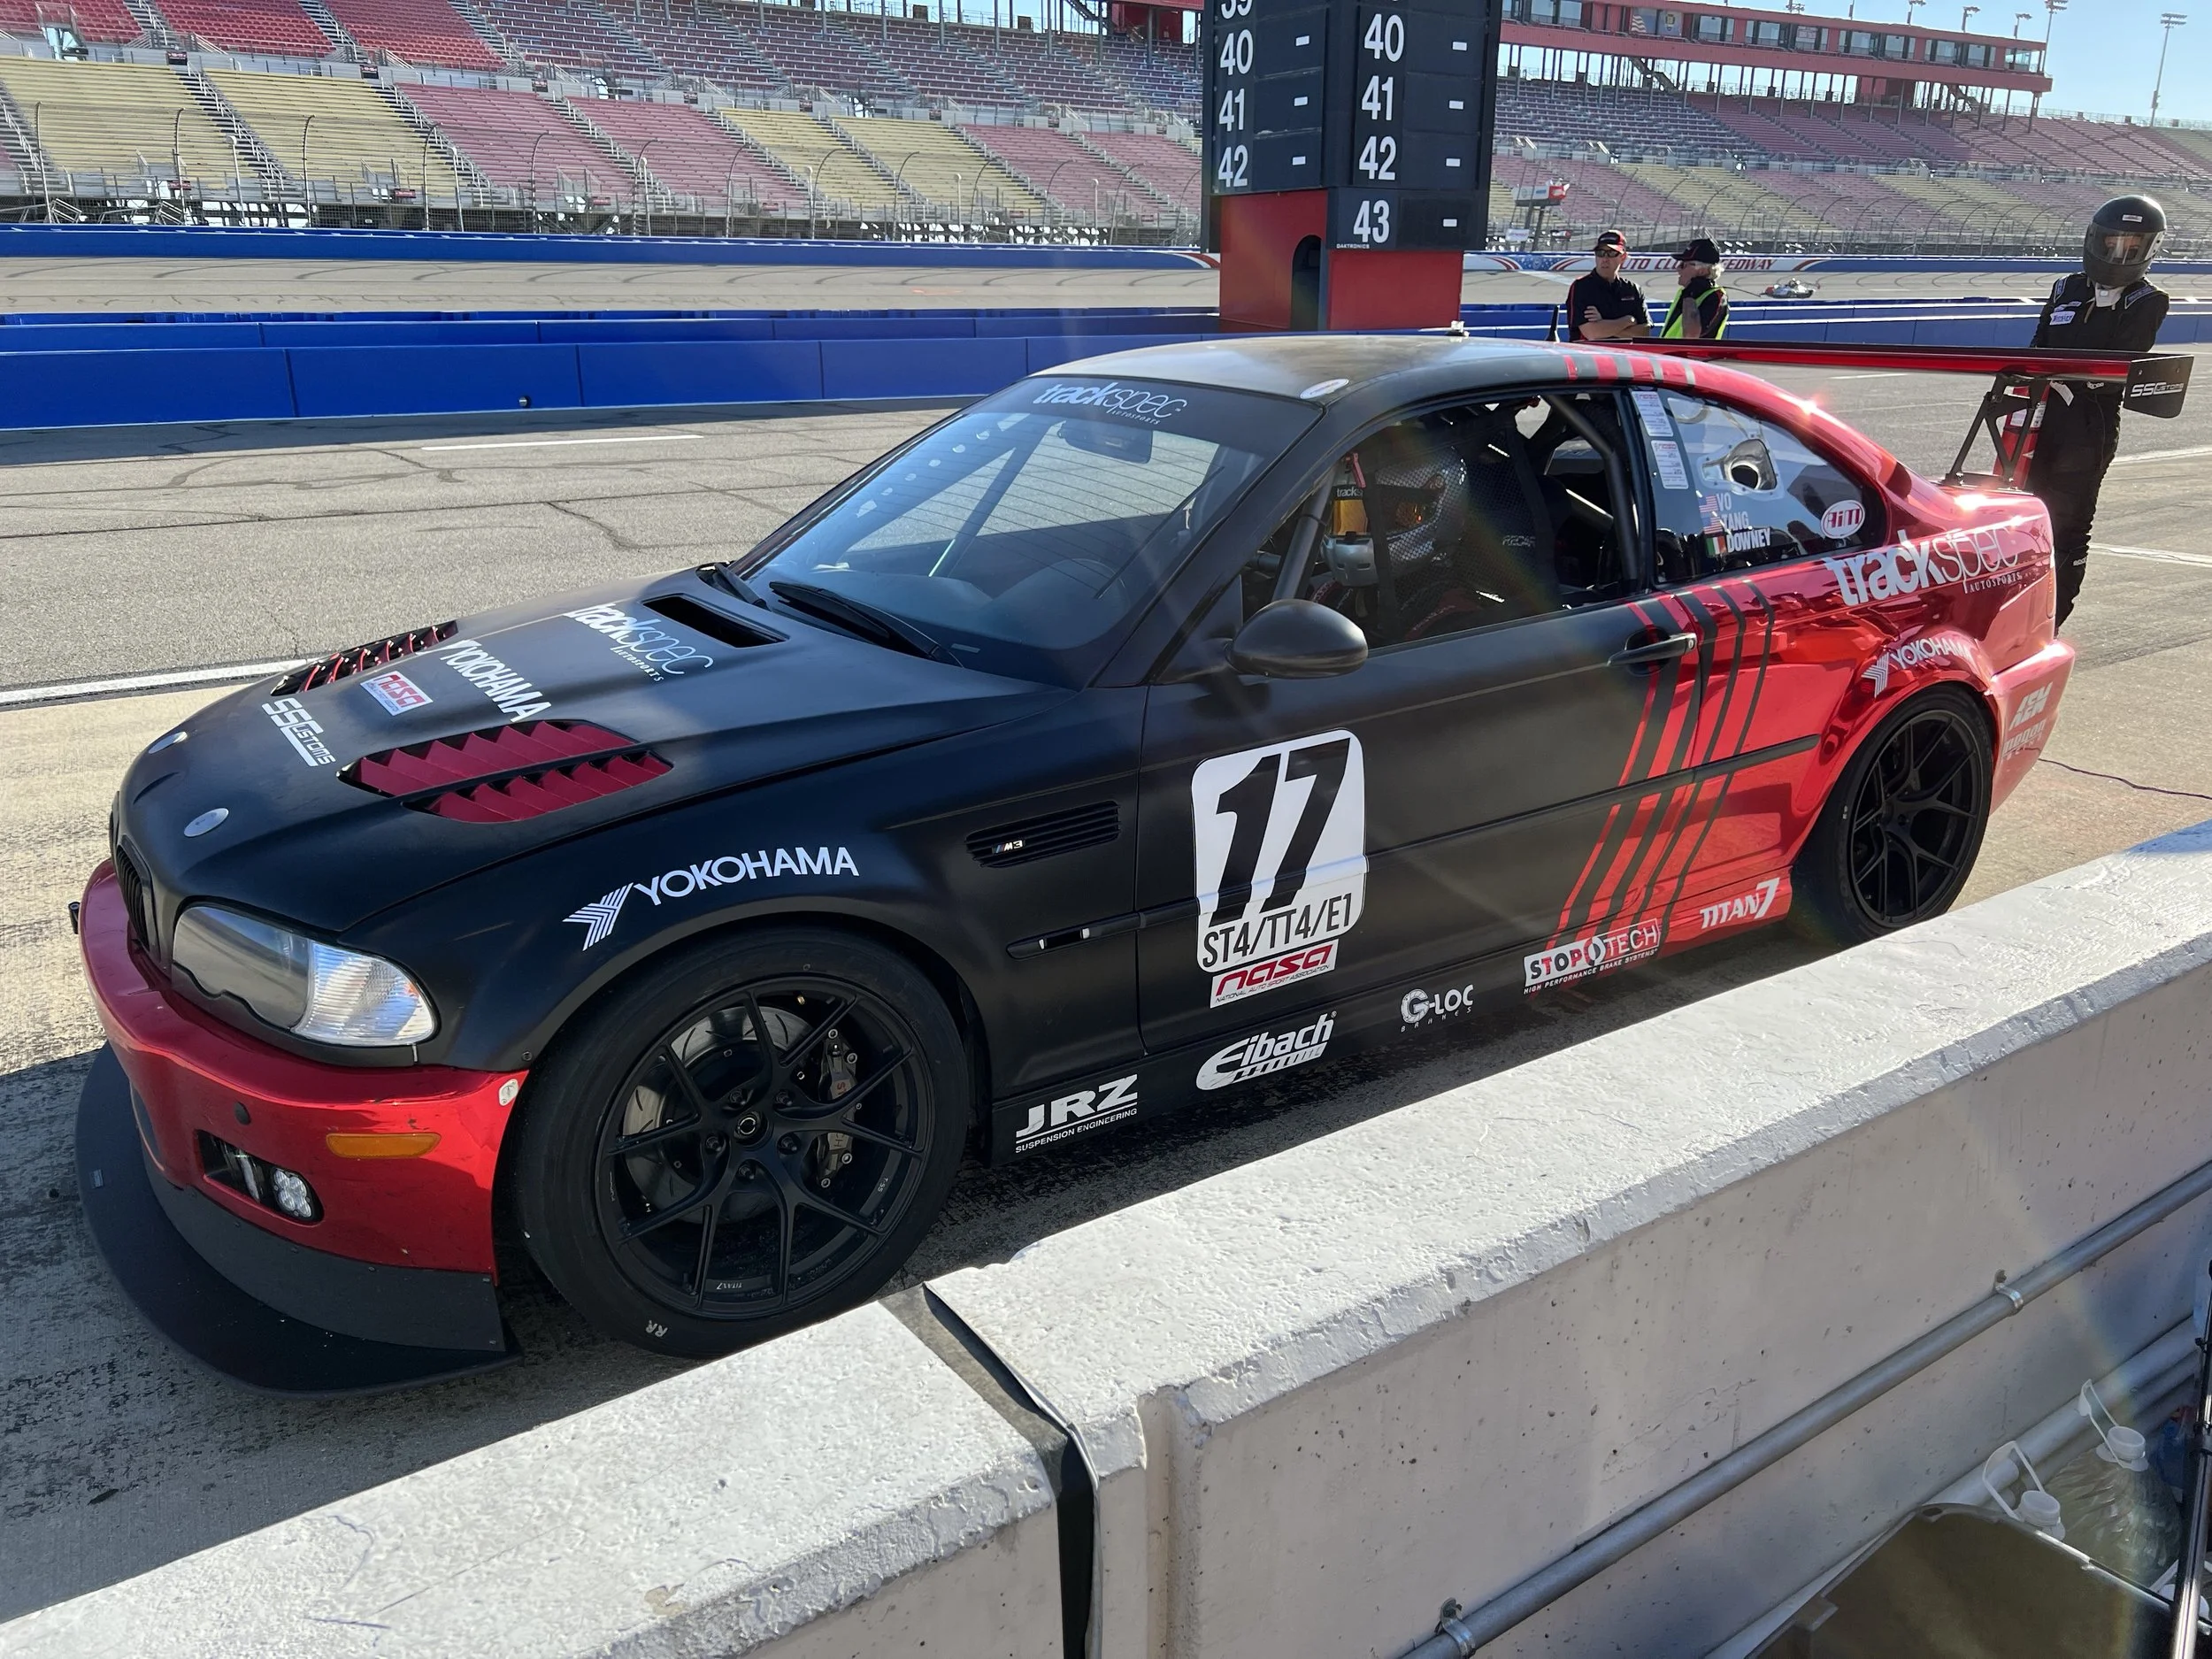
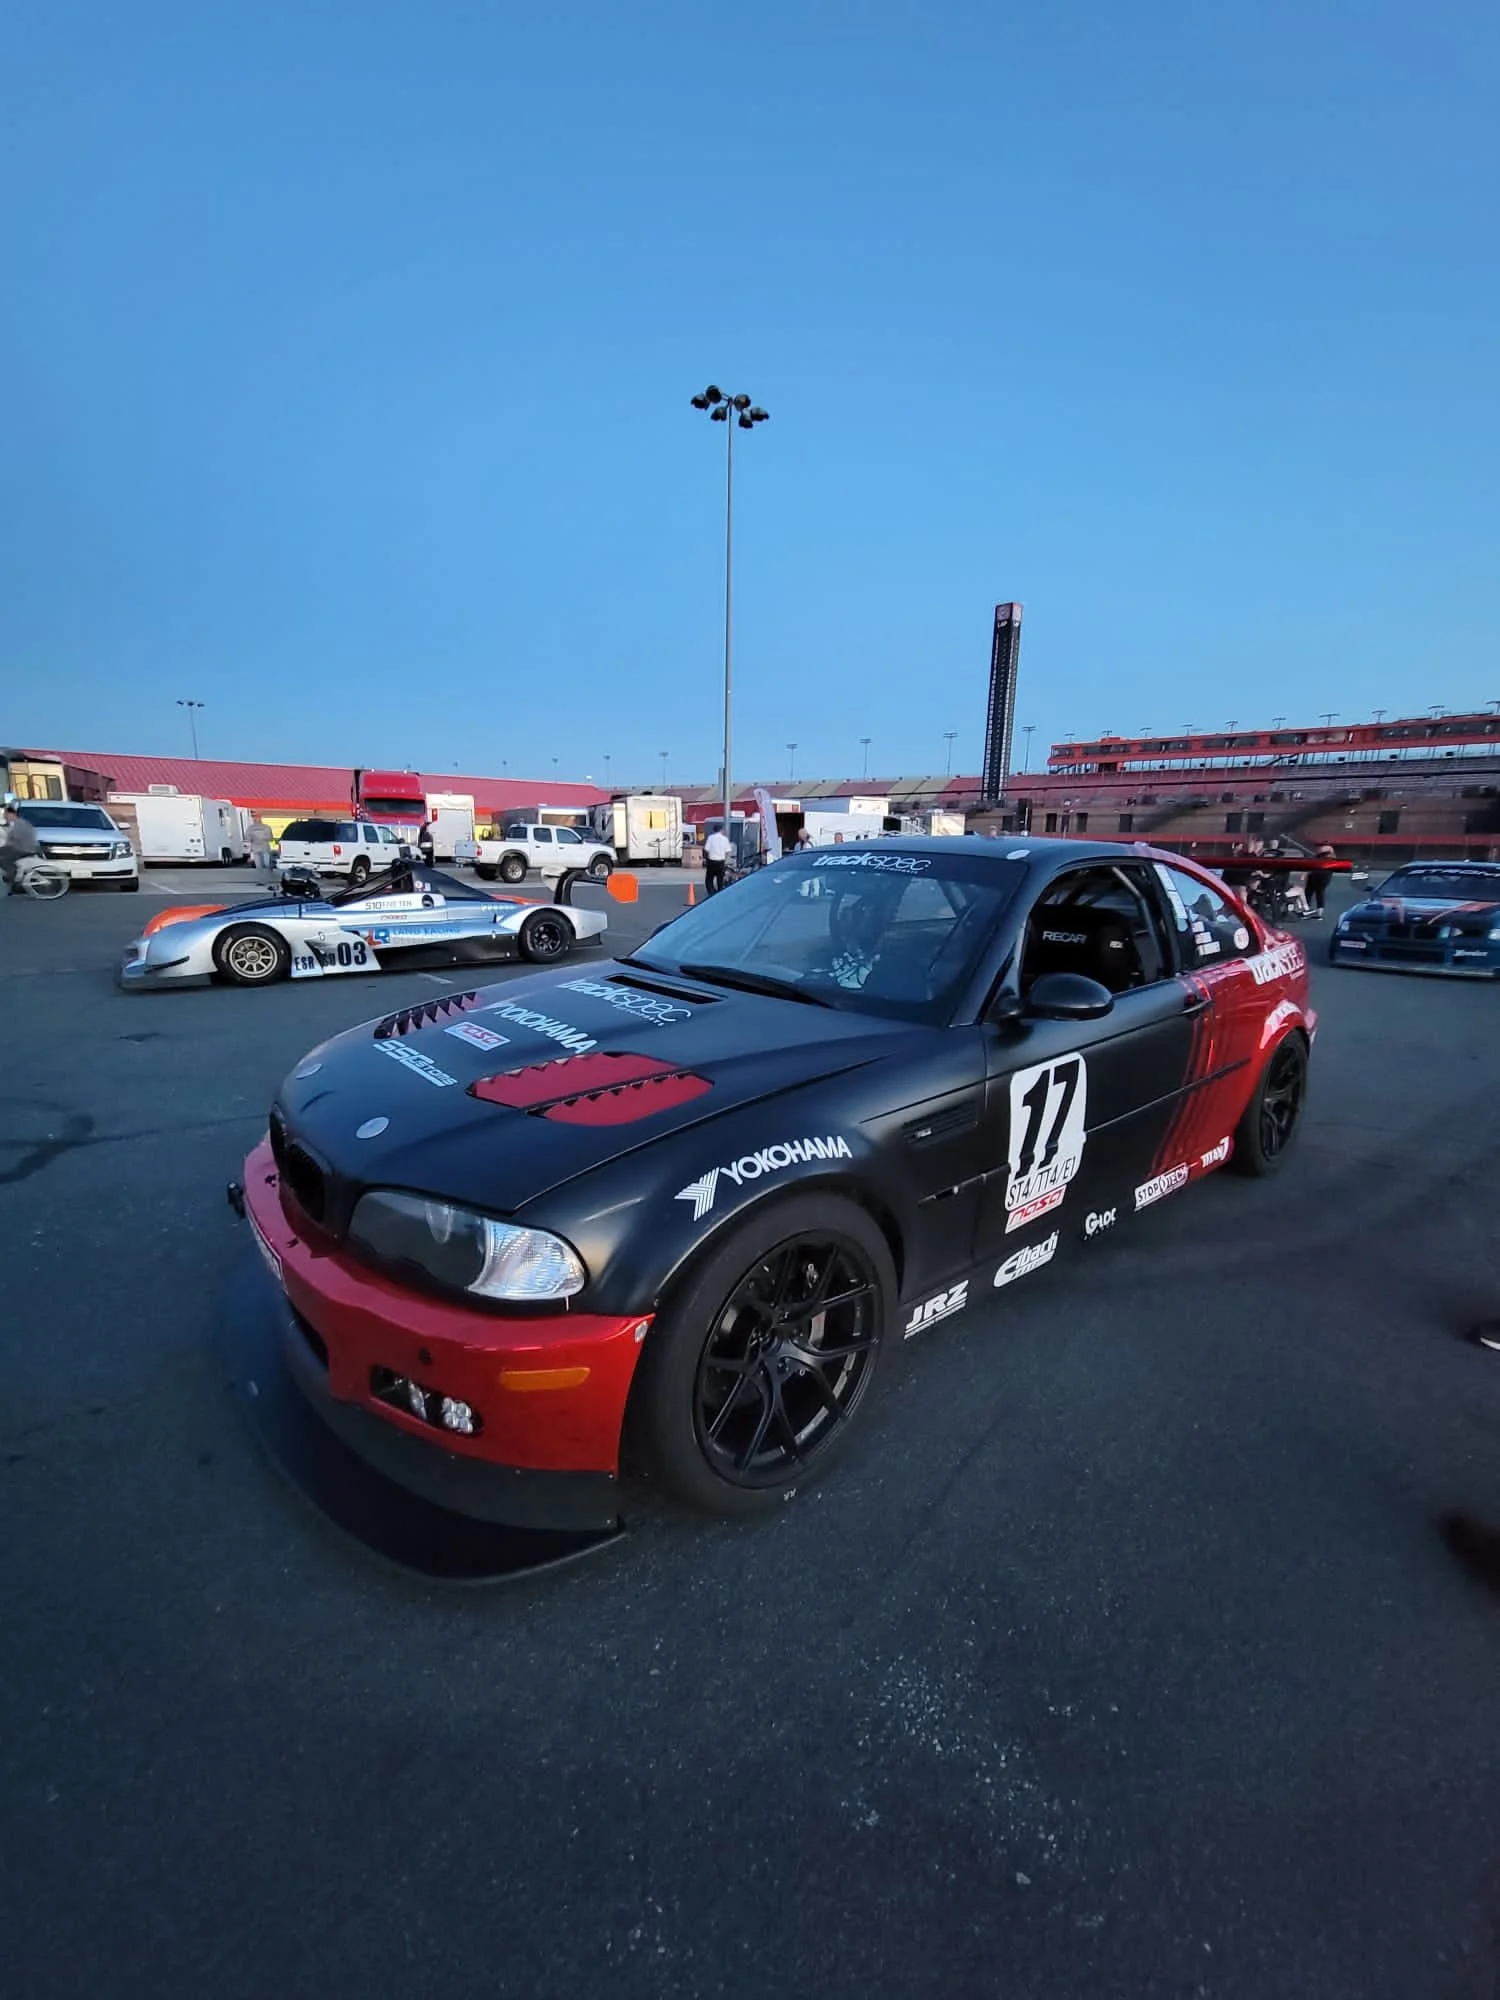
Our beautifully vinyl-wrapped (by SS Customs) race car in satin black and chrome red. This livery pays homage to the Advan Racing cars from the late 90s and early 2000s.
Thursday - December 1st
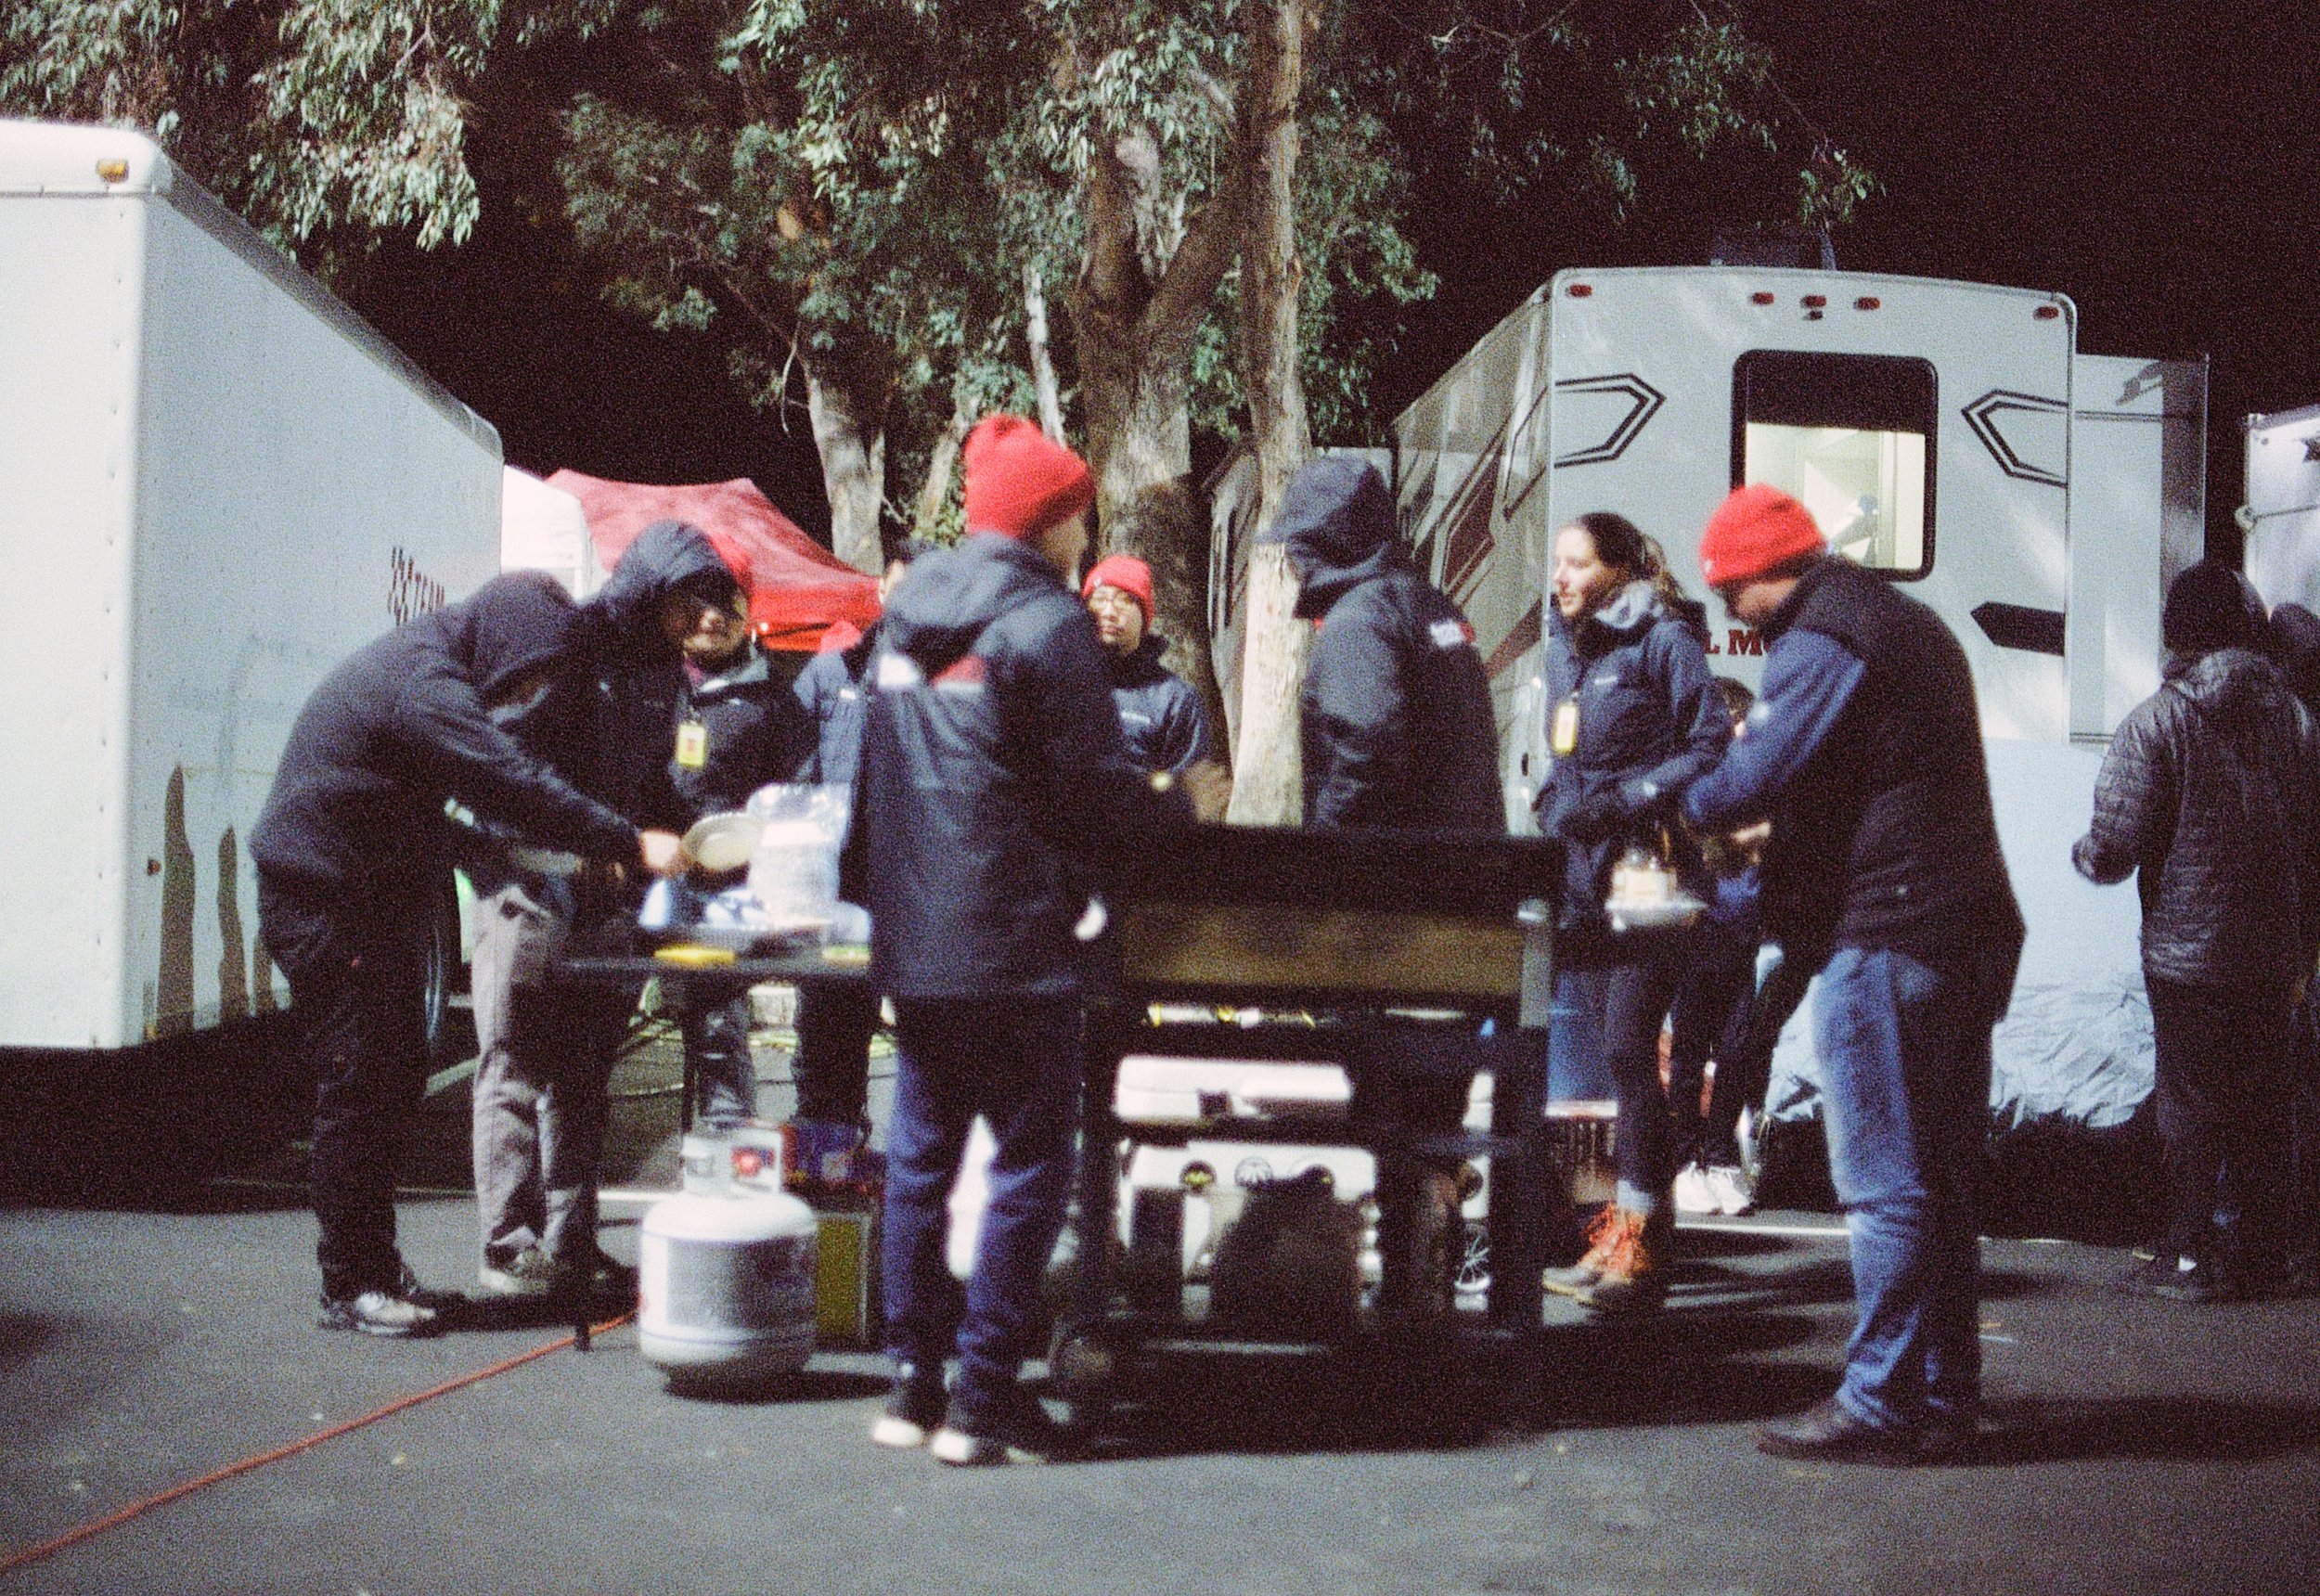
The schedule for this year’s 25 Hour was slightly different than past years, and as such we didn’t roll up to the track until Thursday afternoon (a day later than “usual”). After setting up our paddock space, we decided to head into town for a Thunderhill tradition; dinner at Casa Ramos. Coincidentally, it was my friend Nick Cahill’s (of Cahill Films) birthday— so margaritas and Mexican food was a great way to celebrate and this was the first time that the full team had been together in-person (we’ve had a lot of group Zoom calls throughout the year in between testing at the track and/or racing in shorter enduros and sprints, where not everyone could attend).
Speaking of the team, here’s our roster:
Driver: Tom Tang
Driver: Jon Vo
Driver: Liam Downey
Driver: Graham Downey
Data, Engine Tuning, and Communications: Jei Chang
Fueler #1: Andrew Capinpin
Fueler #2: Andrew Eng
Fire Extinguisher and Fueling Support: Isaac Aguilera
Jackman and Wheel/Tire Changer: Marc David
Jackman and Wheel/Tire Changer: Mike Moreno
Vehicle Stop/Release and Driver Changer: Matteo Sunseri
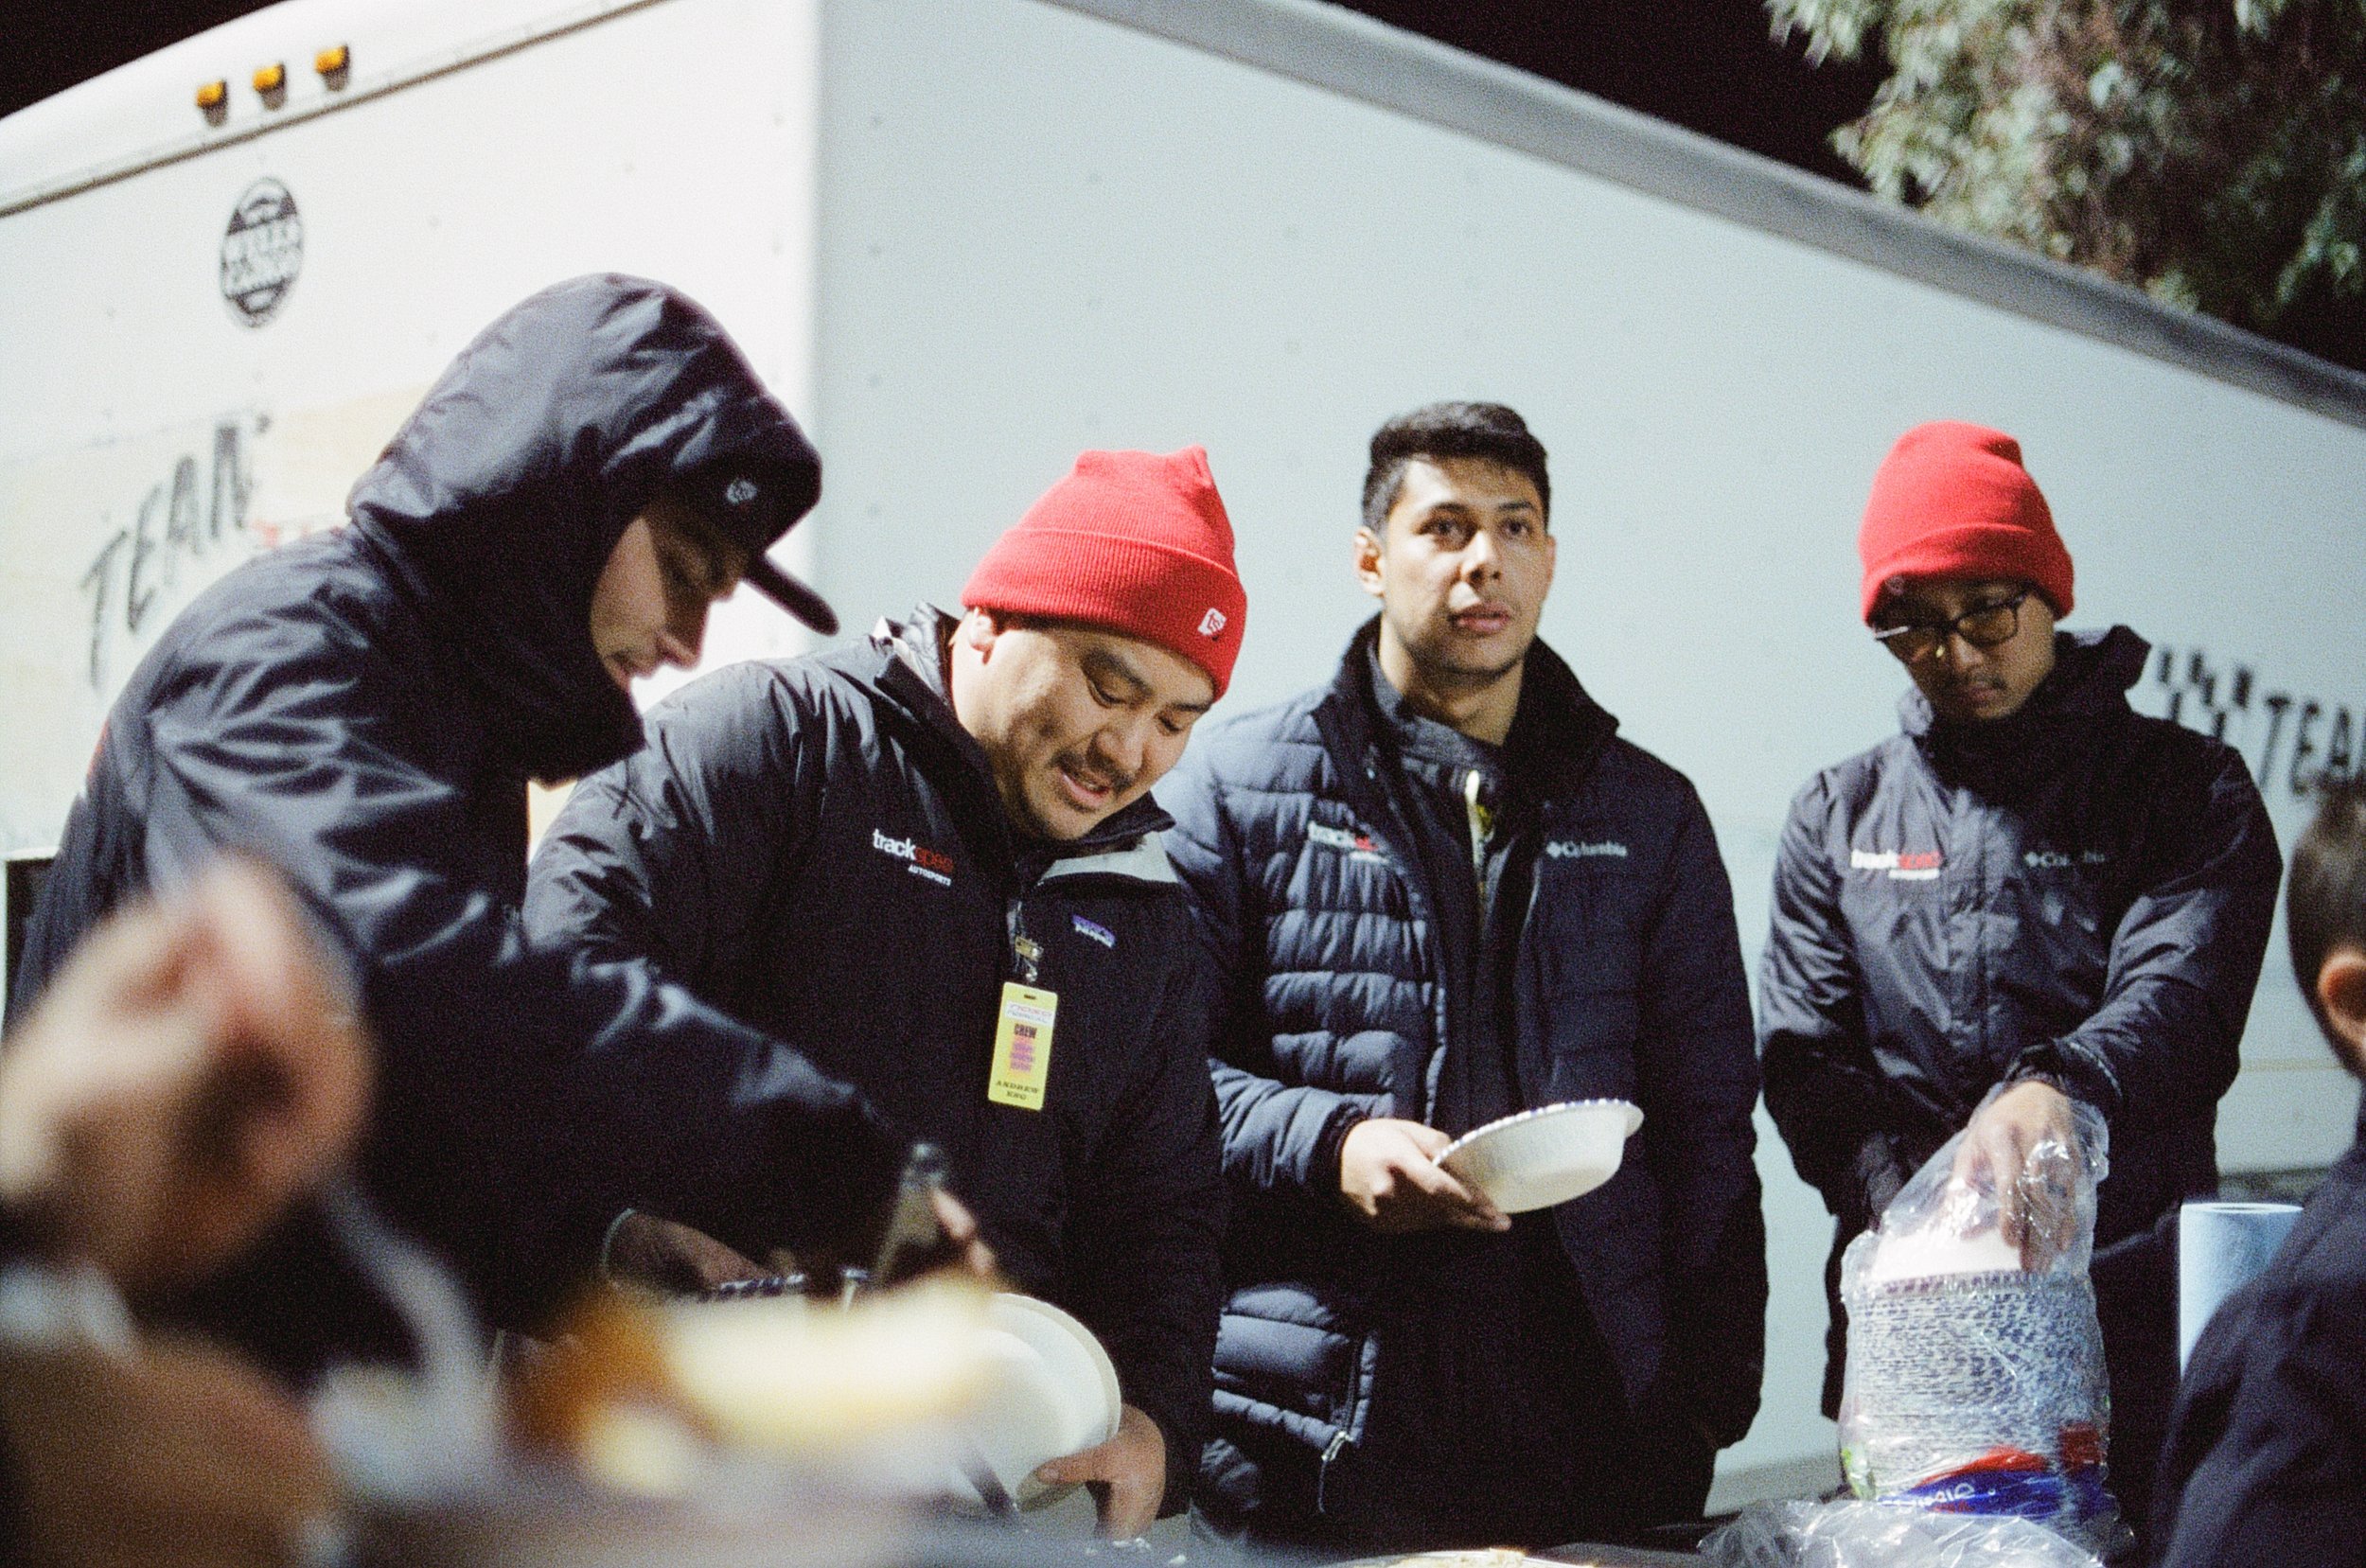
Food and Beverage: Ashly Ruis Downey
Logistics: Victoria Vo
Videographers: Nick Cahill, Austin DeWees, Matt Morning
Photographer: Edgar Molina
A huge heartfelt THANK YOU to everyone listed here for making this year’s race possible. We couldn’t have done it without you. Endurance racing is truly a team sport, and everyone here is/was critical to the success of the team.
Home base.

Friday - December 2nd
Funny enough, Friday was my birthday. And I couldn’t think of a better way to celebrate than to be at the race track with all of my closest friends doing the thing I love most. The day went by fast. We had open practice from 9am-12pm, lunch break between 12pm-1pm, and then more open practice from 1pm-4pm. In between all of these things, we also had NASA tech and registration.
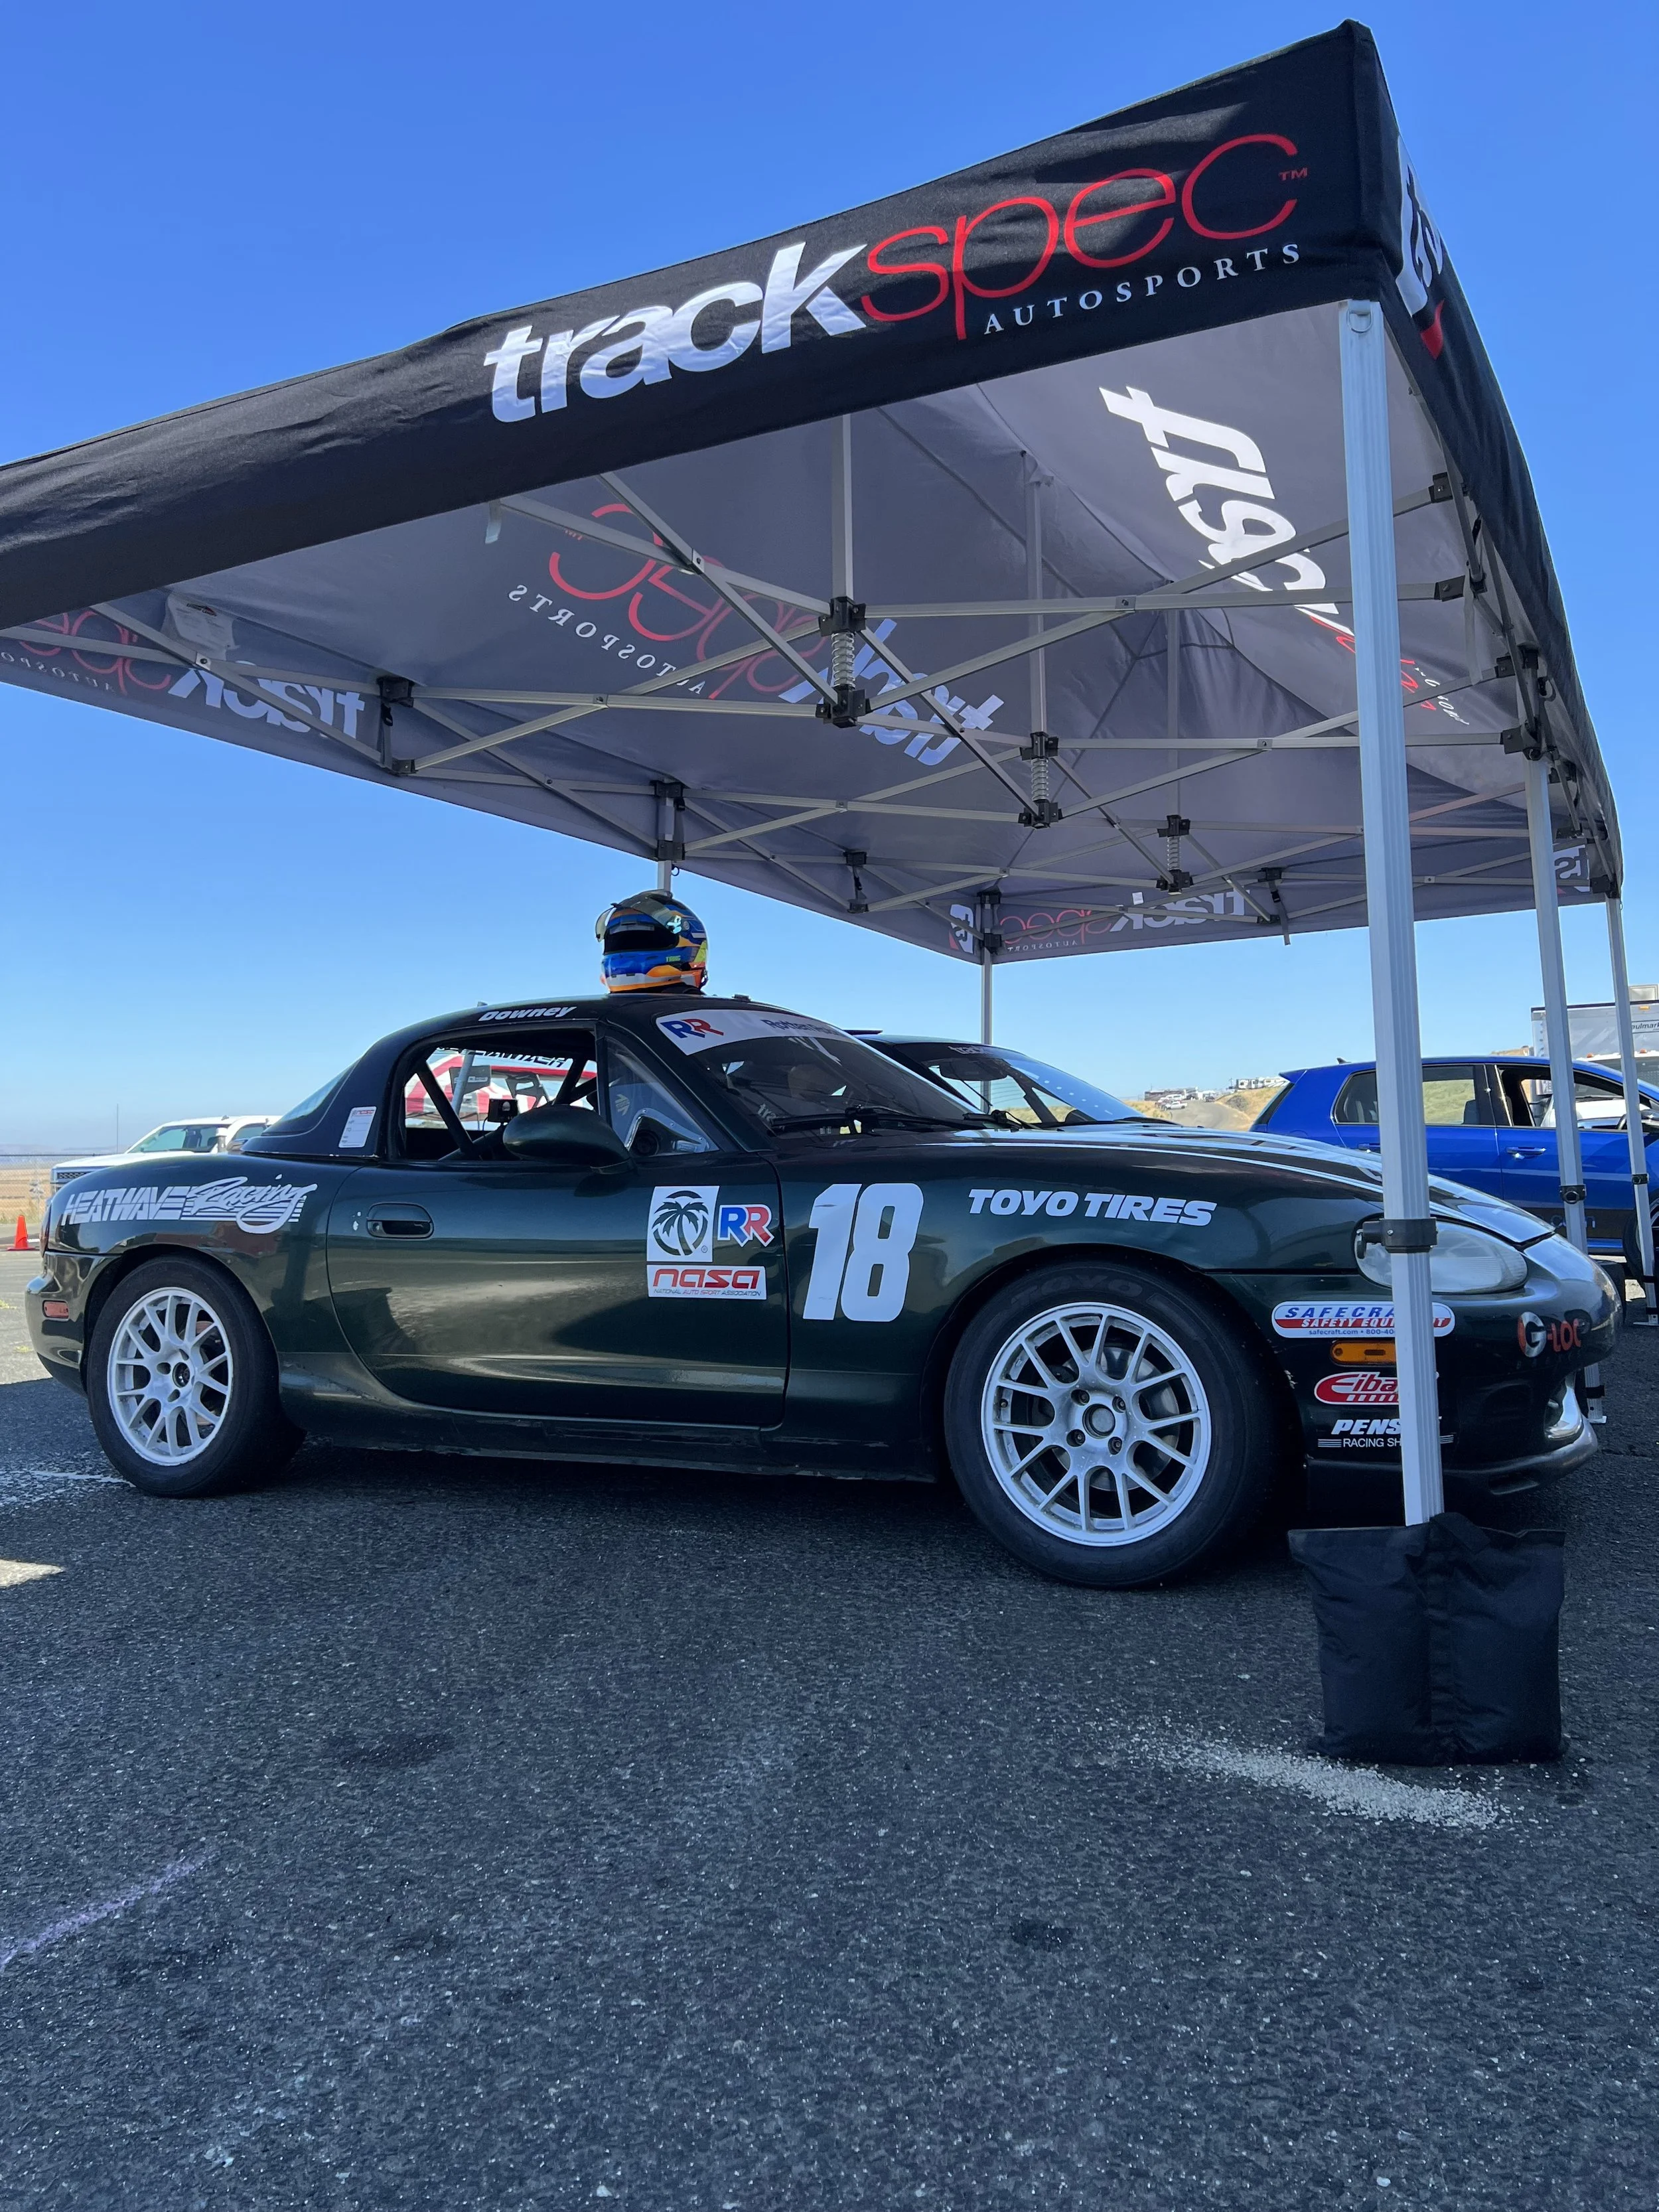
Special thank you to Heatwave Visual for joining our program and being a part of the team.
Shoutout to Rotten Robbie for supporting our racing endeavors this year.
Qualifying was scheduled to start at 4:15pm for E0, E1, E2, E3, and ENP classes. The faster cars in ESR, ES, and GT qualified at 5pm. Since it was my birthday, we decided that I would qualify the car on sticker Yokohama A055 tires wrapped around our one-piece forged Titan7 T-S5 wheels.

Ride-along with me for a 1:55.0 lap (with data overlaid via my AIM PDM32 and SmartyCam setup) around Thunderhill Raceway, which was good enough for pole-position in E1 class and the 7th fastest lap time overall (including the fast boys in ES, ESR, and GT). In fact, we ran the fastest qualifying time of any production-car at the event. Pretty neat.
Race Start (Saturday) - December 3rd
Saturday morning arrived and the weather was completely different from the day before. Gone were the blue skies and sun. Instead, they were replaced by dark clouds and cold wet rain. We decided to have Graham start the race (row 4, P7 on the grid), knowing that as the most experienced driver in our lineup he would stay out of trouble early on and run a solid pace. We lined up on the front straight by 1030am and the race went green at 11am with the pace car leading the pack.

With the challenging weather, we had proactively decided to soften the JRZ/Eibach suspension setup on the car and we made the call to start the race on our "intermediate” tires, which were Yokohama AD08R.
What we didn’t expect though, is that after a solid start in the 1st hour we got black-flagged by the marshals for being over the sound limit of 99db. Apparently we were just barely over? Super weird, since we’d never had this issue with our Megan Racing exhaust system when we had run at Thunderhill earlier in the year.
I even asked for clarification with race control, but they were adamant that it was our car, #17. As such, we had to pit Graham and try to quiet the exhaust a bit by angling the muffler. We sent him back out, but boom; 1 hour in and we were already down nearly 2 laps in class. Bummer!
The rain continued to be pretty horrendous. The track was incredibly cold and cars were going off left and right. Fortunately, our WanganStyle rear diff made it easy to put the power down in the wet, and our combination of Stoptech C43 calipers and rotors front and rear, along with G-LOC R10 pads made for super predictable braking; even when the track surface was anything but.
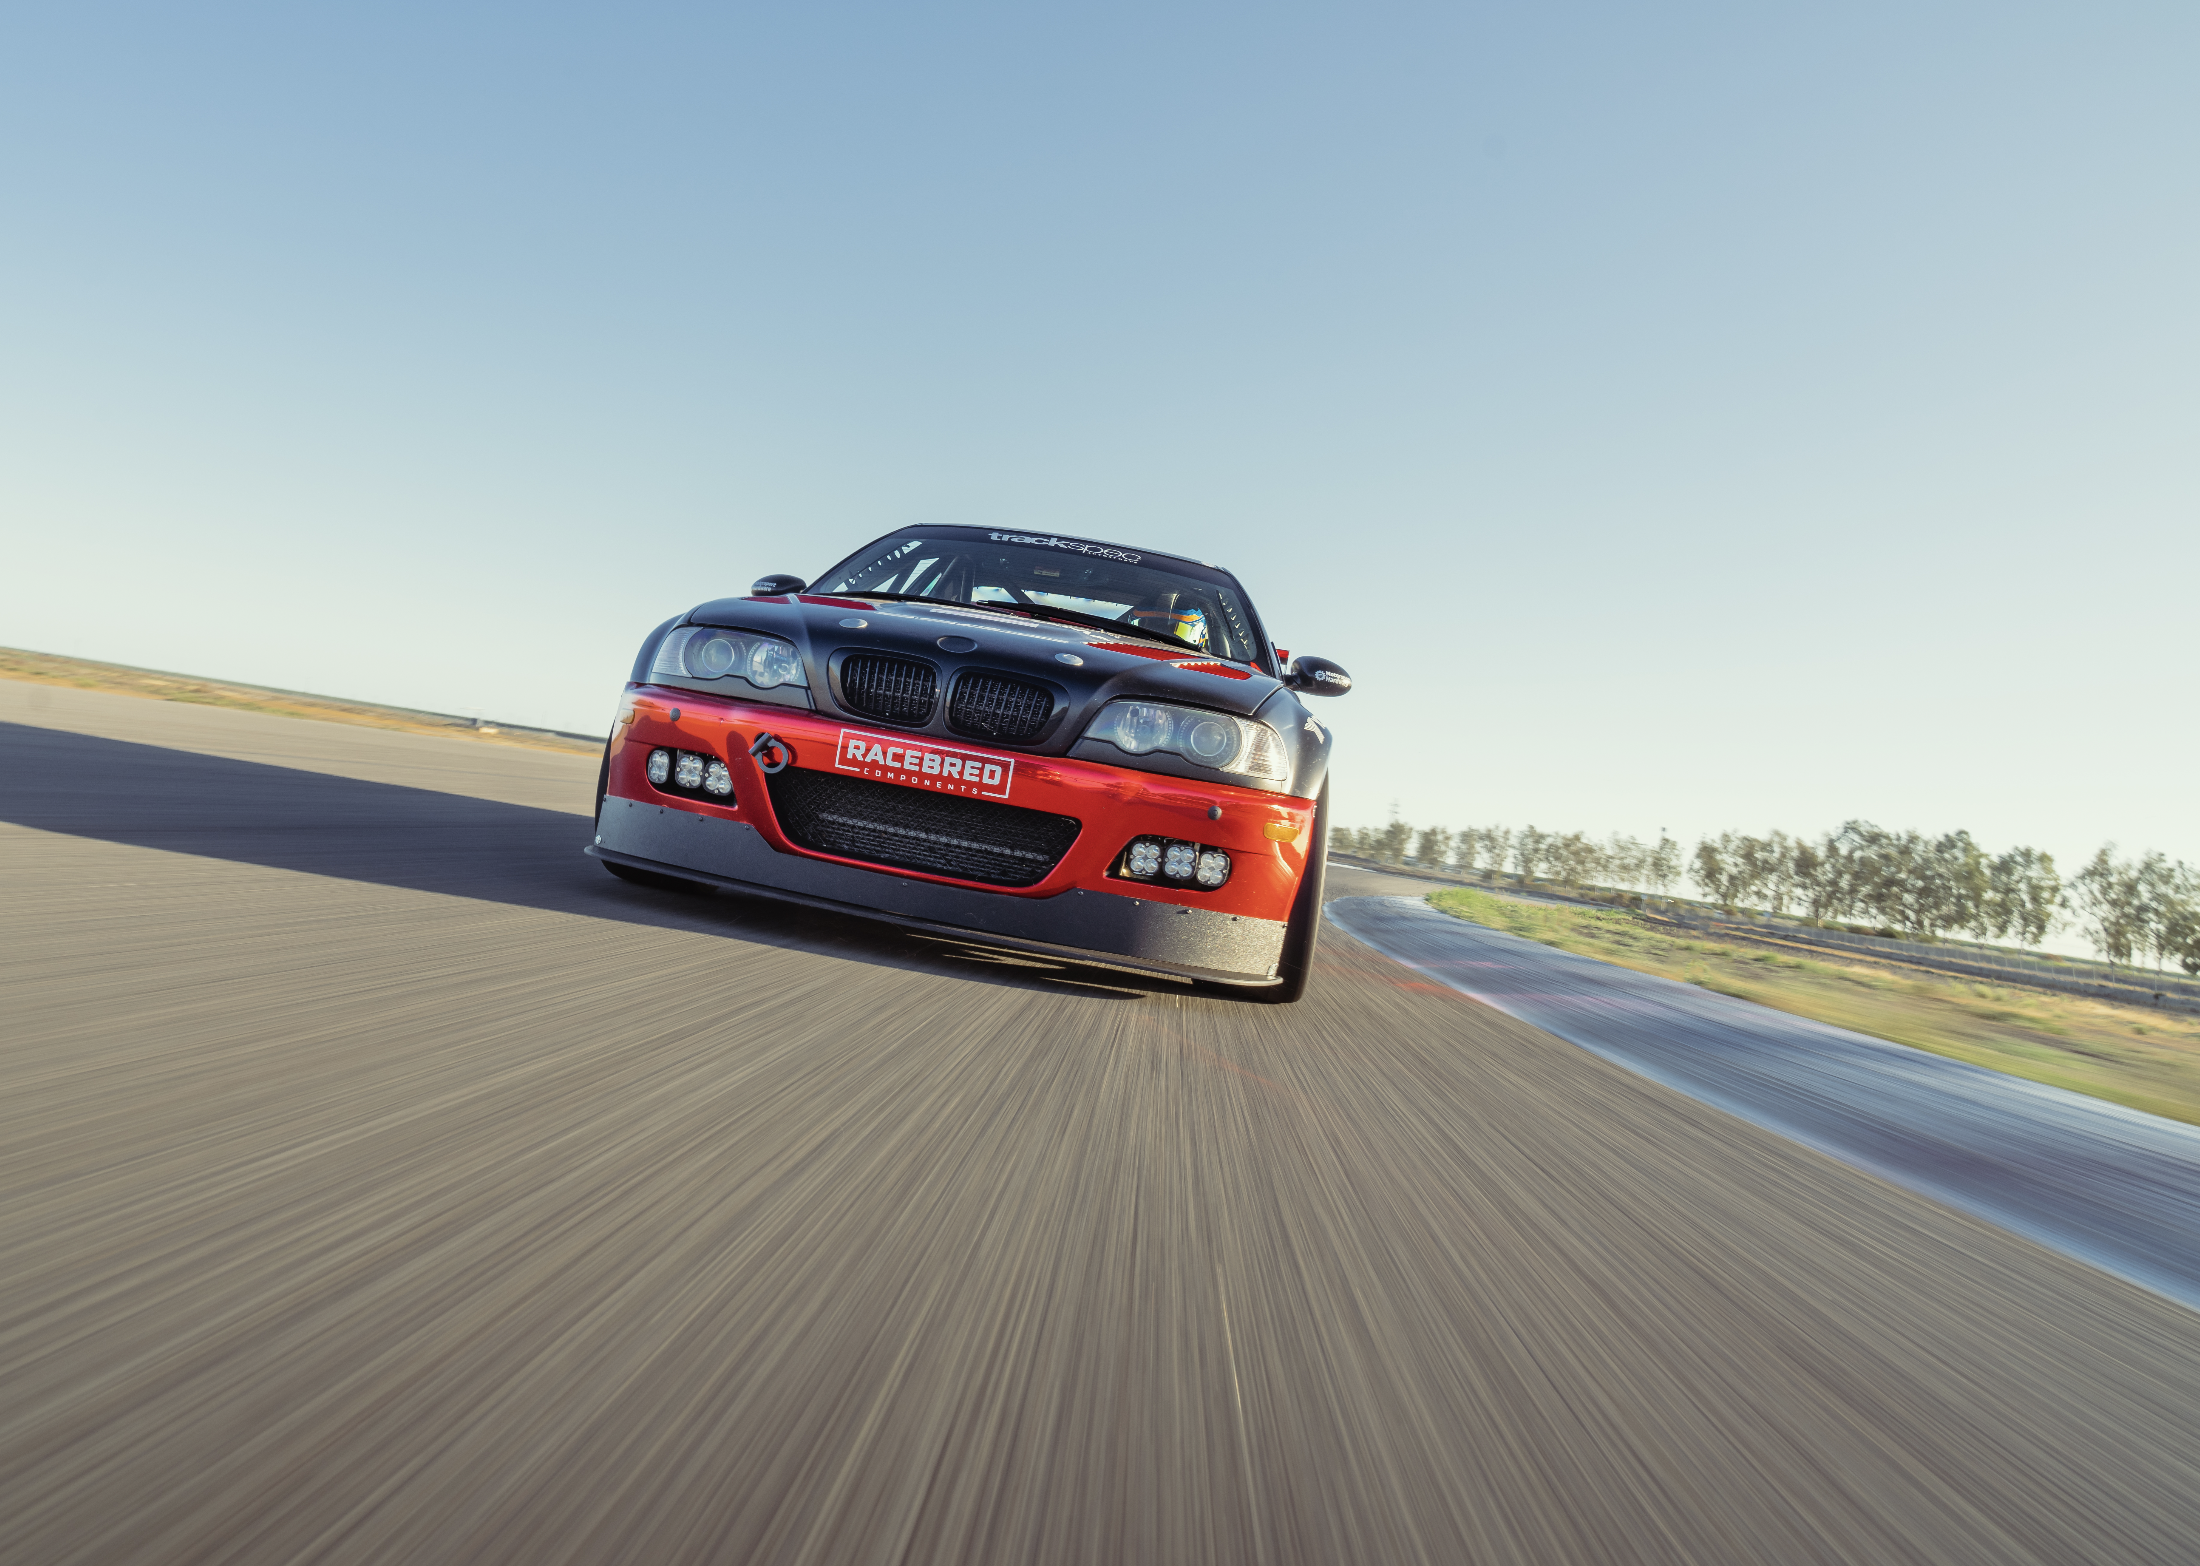
Graham himself had a few close calls and unfortunately shit happens— he ended up going off as well, and leaving the front splitter (from Racebred Components) behind.
After going back-paddock to make repairs, we sent Graham back out with a fresh splitter and he was back in business. By now, we were down another 4 laps (6 in total) from the leader in E1 (Team Honda’s #22 Civic Si).
Around 3pm, we decided to make a driver change at our next fuel stop and that’s when Liam jumped in.
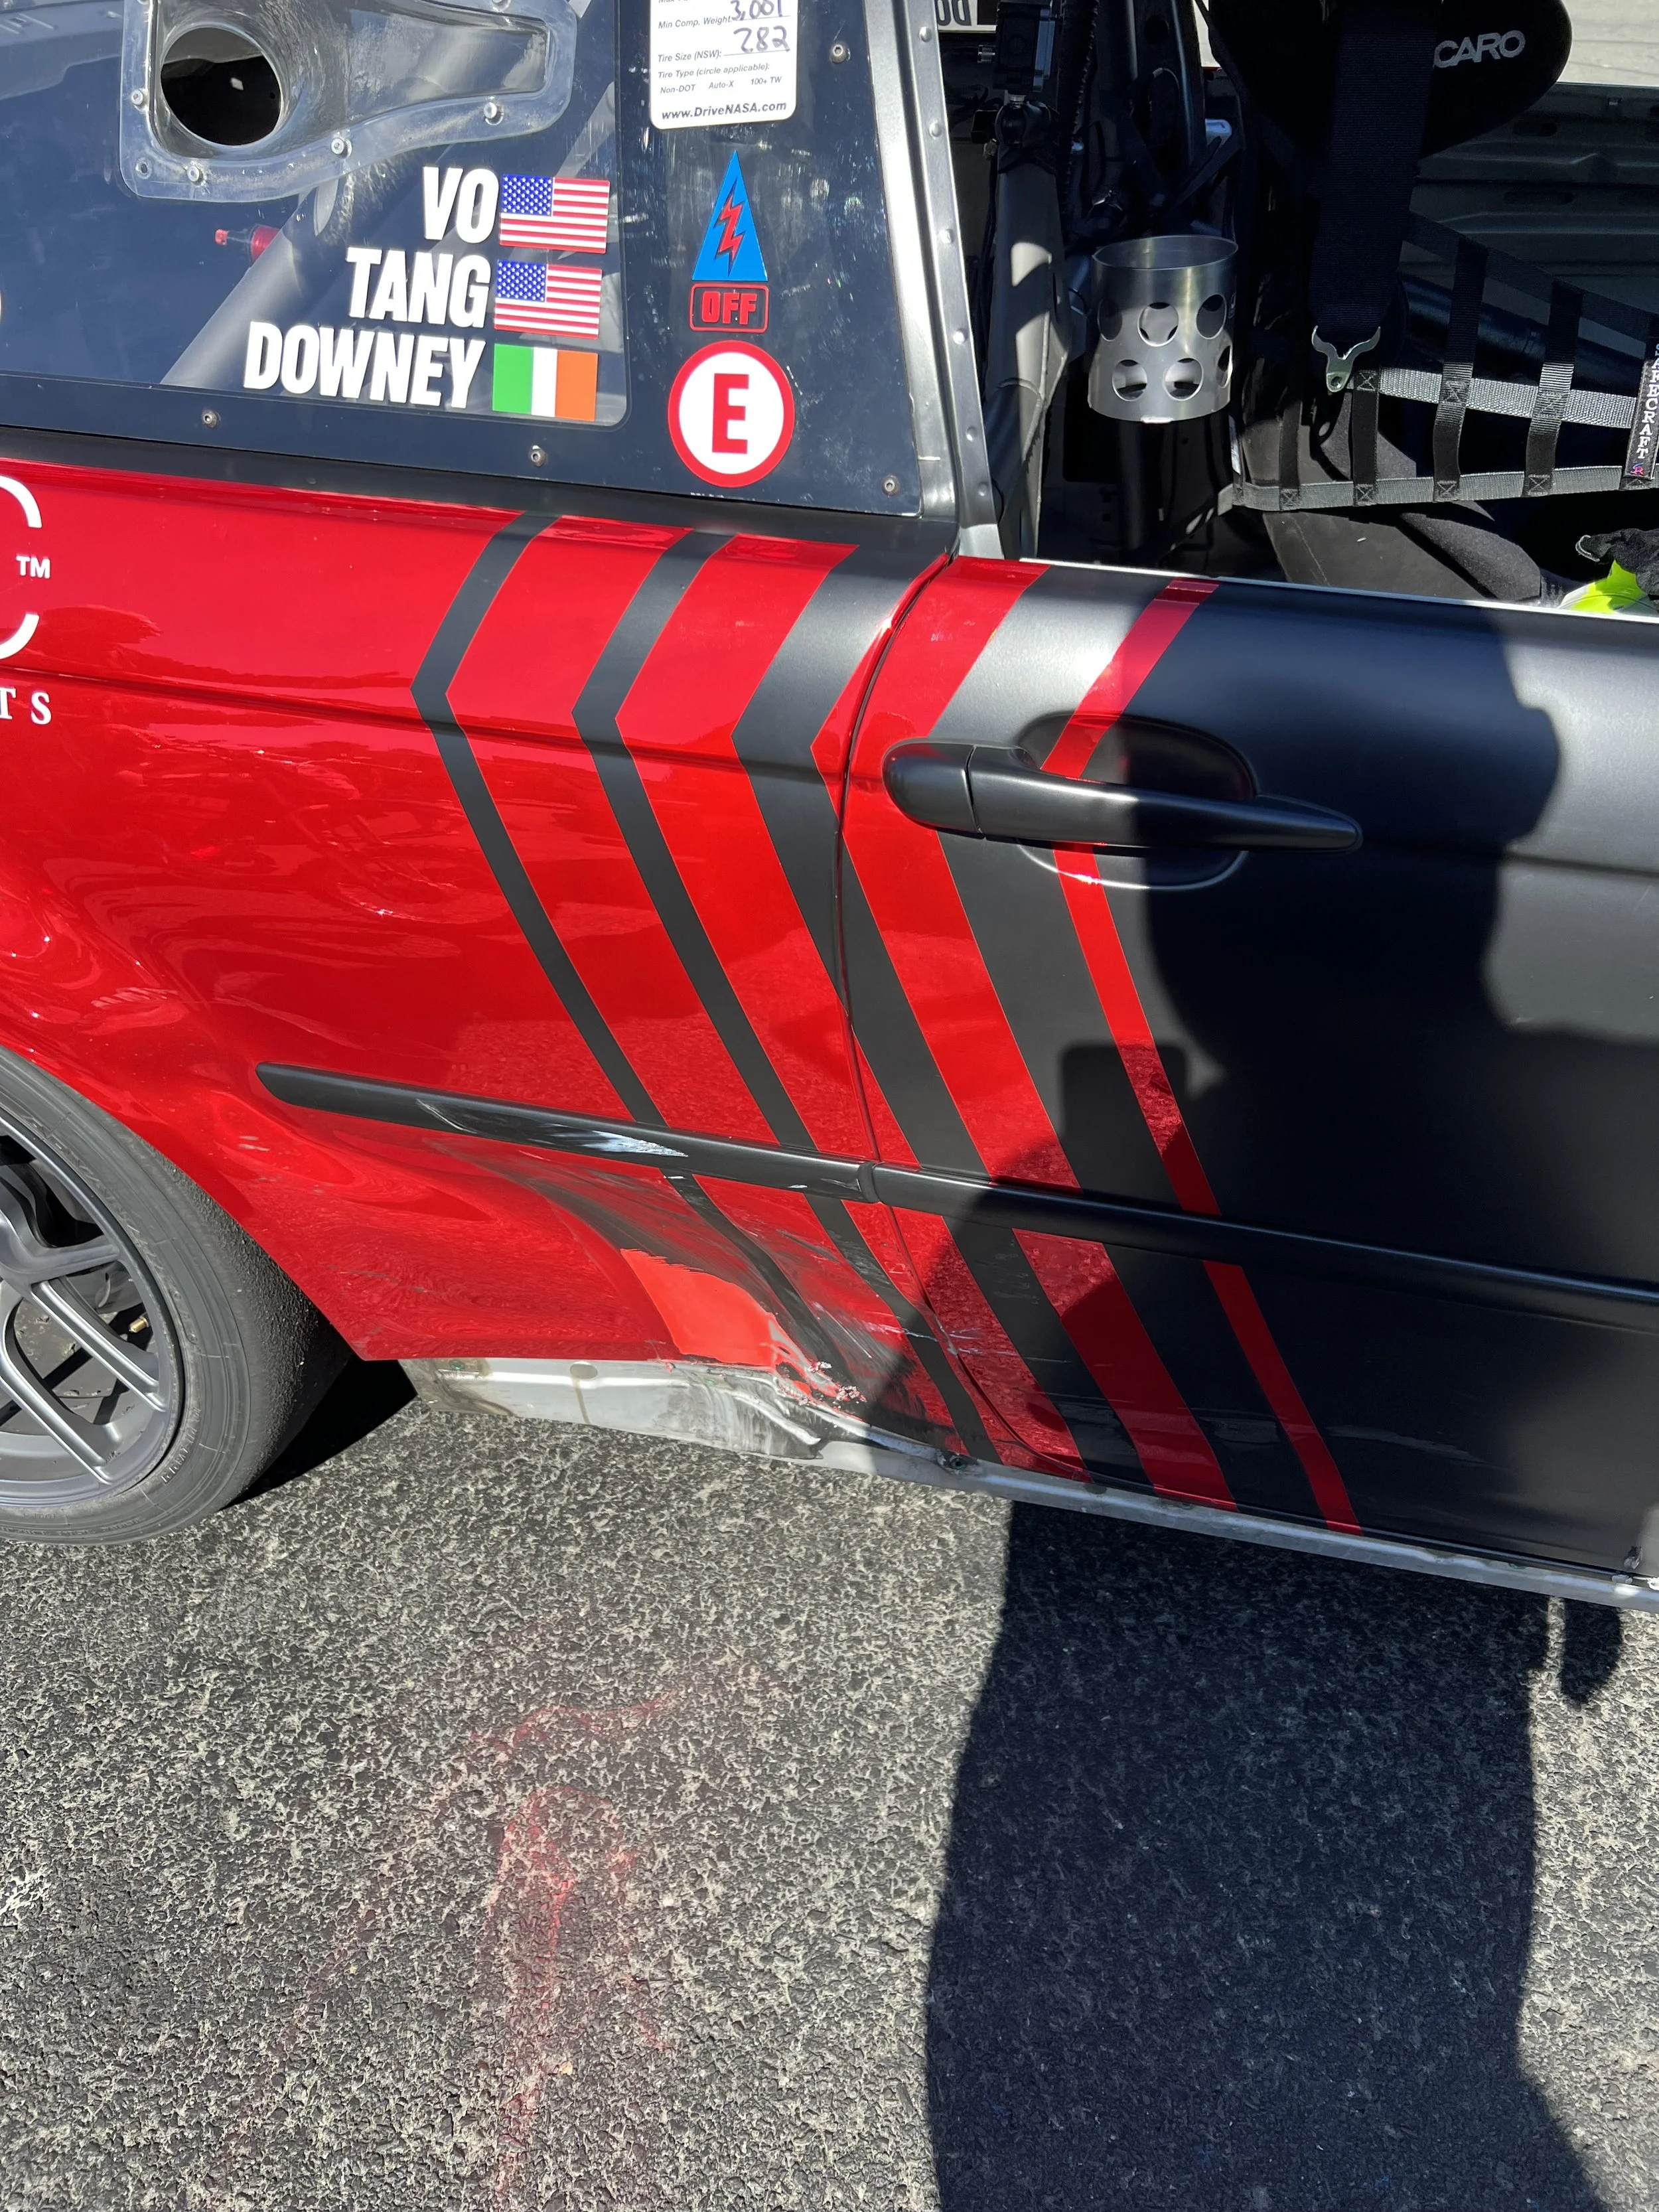
About an hour into Liam’s stint, an unfortunate accident happened coming out of T14-T15. A silver E3 Miata spun and smashed into the right side of our car, knocking us off track and ripping the door off it’s hinges, along with, yup, you guessed it; another splitter! Ugh.
We had great fuel economy with our 3.2L engine because Jei from Blacktrax Performance had created a special endurance tune on our AEM Infinity ECU which retained performance but gave us a 50% bump in MPG.

We made the call to run the car without a splitter because we only had 1 left and we wanted to save it for if/when conditions improved. With the heavy rain, our lap times were so slow it didn’t really matter. So we put things back as best we could, including a spare door from Marc’s GTA spec E46 M3 (thank you!) From 100 feet away, it doesn’t look so bad…right? Haha. By now, we were down another 6 laps from the leader in E1 (12 in total) and had fallen to last in class.
As night fell, we put Jon in to drive around 6pm and that’s when the Honda guys seemed to pick up the pace. We went from catching up, to them pulling a gap on us again. Kudos to them, they drove great.
After Jon got out, I jumped in around 9pm. By this time, we were down 15 laps from the leader. I gradually made some gains though, actually un-lapping ourselves once during this time.
Just after midnight, I got out and Graham got back in. He was a beast, driving one of the more difficult stints until nearly 430am, un-lapping ourselves twice during this time and putting ourselves back into P3 in class. However, the Honda cars (#22 in P1 and #23 in P2) were solid, and by the time Liam jumped back into the car they were still up by 12 laps.
Then, something that happens fairly often during 25 Hour races at Thunderhill happened…fog. Lot’s of fog. Liam was only in the car for about 45 mins when the race was red-flagged because it was unsafe to continue.
Following a quick driver’s meeting at 530am, we were told to be on stand-by until the fog lifted. Regardless of how much we would be delayed, the race would end by 3pm. Last year, they only raced for about 14 hours under green because of severe fog delays. For us, we had already raced 18 hours and we hoped that the fog would clear soon.
Race Restart (Sunday) - December 4th
Luckily, we got our wish and we went back to green at 930am. If the weather held out, we would have completed 23.5 hours under green by 3pm. Fortunately, it did.
Unfortunately, Liam had an off-roading excursion at T1 and ended up stuck in the mud. When the fire/safety tried to pull him out, they ripped off our front bumper and bumper support. Ouch. We tried to put on our spare bumper support and bumper, but unfortunately the damage was too bad and it would have taken too much time to fix properly.
We decided to just secure the radiator and oil cooler and go back out; sans bumper. This entire debacle cost us 10 laps (meaning we were down 22 laps in total from the E1 leader).
Jon got into the car then, and his job was simple but difficult: stay on track (any more offs and we would risk unrecoverable damage with only 5 hours remaining), and keep the P4 car from gaining on us in terms of laps.
Jon did a tremendous job and delivered as needed. By the time he handed the car over to me for the final 2 hours and 30 minutes, he had maintained P3 in class and we were 11th overall. By then, the weather had gotten really good and the track conditions were great. Since we had the pace, I decided to use it.
An hour and a half later, I had gained a position and gotten up to 10th overall. As I came in for a final splash of fuel, we realized with less than an hour to go we had a chance at catching the next car up. So we decided to go hunting, and when the checkered flag was thrown we crossed the finish line 9th overall and 3rd in E1.
What an incredible recovery! What a tremendous team effort! I’m pretty sure I cried on the last lap, I was pretty choked up with emotion thinking about the last few years, the last 23.5 hours, and how hard this group of amazing people had worked to get this result. We faced so many unexpected challenges, but we never gave up. We kept fighting, we kept trying, and I couldn’t be more proud of our team…

Whats next?
Planning for next year’s 25 Hour began as we were loading up and on the drive home. No, I’m not kidding. We’re already looking forward to going back and bringing the fight to our friends at Honda/THRW in E1 class again.
We learned a ton from this race, and we can’t wait to get working on improvements across the board; everything from the car itself and our race strategy, to how our team operates and our paddock setup.
And like many of you, we are dying to see footage from the race and to look at what the Cahill Films team produces for a finished product. We expect to release the documentary short-film in early 2023. Stay tuned!

P2 and P5 in ST4 for our E46 M3 on the Yokohama A055
This year seems to be just flying by. We last raced at the end of March, and since then the team has been busy with a wide variety of cool projects at the shop. Personally, my calendar has been filled with work, travel, and everything in between. One event in particular that transpired during this time was the official launch of the Yokohama A055 tire.
Where to even begin…
This year seems to be just flying by. We last raced at the end of March, and since then the team has been busy with a wide variety of cool projects at the shop. Personally, my calendar has been filled with work, travel, and everything in between. One event in particular that transpired during this time was the official launch of the Yokohama A055 tire. We remain super proud to be working with Yokohama for this season and with the A055 becoming publicly available via Tire Rack, it meant that it became legal for competition use in the NASA Super Touring series. As such, we enthusiastically signed up for Round 6 of the NASA Northern California season at Sonoma Raceway. The plan was to get a lot of seat time in for everyone, since we had all been away from racing for several months. Graham and I planned to race ST4 in my E46, and Spec Miata in his NB; while Liam and Jon would hop between both cars in TT (Time Trials).
Saturday began, and there was already some drama around the use of the A055 in ST4. I was told during the driver meeting by those who were gravely uninformed that I would be protested against if I finished ahead of them in the race. I guess I can understand? Contingency dollars are a big deal, for some people. Fortunately, per the NASA rulebook the tires are 100% legal for the class now and since there is very little data on them yet (being so new), they are currently classed as a 0 point tire; similar to a Hoosier R7 or Hankook Z214. After the air was cleared, we focused on the day ahead.
Graham did well in Race #1 of SM, finishing in P10 out of 34 cars in class. Meanwhile, I had what I would describe as a mediocre performance in ST4. I went to the grid late for qualifying (my bad), and couldn’t lay down a decent lap due to traffic. As such, I started the race P8 and only managed to fight my way up to P5 by the checkered flag. To add insult to injury, we were struggling a bit with our new AiM SmartyCam3 and didn’t record any of the above. Oops!
On Sunday, Graham and I switched cars after he did Race #2 in SM (where he finished P8). Excitedly, I jumped two-feet into the deep end for my first ever Spec Miata race and I have to say…I had a blast! I decided to start from the back since I didn’t earn the P8 starting position and by the end of the race I was P22 out of a 34 car field. It was so much fun. The SM was a completely different car to drive when compared to my E46 M3. Relatively speaking, there is no power or acceleration; you just have to minimize speed-loss by rolling as much MPH through the corner (something I still need to work on). The car is also soft/squishy and the shifter is a bit vague. But when there are 33 other Spec Miatas out there with you at the same time…none of the above matters. It’s just pure racing fun.
Ride-along with me for Race #3 on Sunday:
The last race of the day (Super Touring) would turn out to be the most action-packed of all. Graham started in P5 and had a strong start; eventually working his way up to P2. Unfortunately, on Lap 8 he was punted by Eric Moore in the #37 Edge Motorworks E36 M3. Eric sent a really poor move into Turn-4 from super far back, and smashed into the side of my car; causing a ton of damage to the rocker panel and sending the side-skirt flying across the track. Graham managed to hold it together by 4-wheel drifting in the dirt and by the time he got back on track he had lost 2 positions. By the end of the race, he crossed the line P3 in ST4 class, behind Daniel Rose (P2) and Eric Moore (P1). But it wasn’t over yet…
Upon arriving at tech/impound, NASA’s Race Director looked into the incident when we were knocked off track and since Eric was honest about being 100% at fault (thank you for apologizing as well), he got DQ’d from the win. Several racers then commented on the fact that Daniel Rose’s car was incredibly fast and seemed to be way over-powered. So he got sent to the dyno for compliance, where we learned his car was almost 60 horsepower over! Yikes. As such, he was also DQ’d from P2. This meant we got the win, or so we thought…
Scott Smith, the same driver who had threatened to protest me even though he had been in the wrong just a day before over tire rules — finished in P4 behind Graham. After the race, he gave Graham a heads up that he would be filing a protest for “weaving” during the race when he attempted to pass between Turn-6 and Turn-7. And as of a few hours ago, I have been informed that we would in-fact be receiving a one-spot-drop for blocking. So officially, Graham finished P2.
Ride-along with him to experience all of the on-track drama:
What’s next…
“Ursula” (our E46 M3) is off to the frame shop to try and repair the damage from Sunday. Hopefully we can get her back to pristine condition before the next race weekend. Wish us luck!

Last 111, First Street Legal K20 Swap? (Part 2)
Before doing anything K-swap related to the new chassis, we started by transferring parts over from the original tub to the new one. Since this was a low mileage car, it wasn’t difficult selling the drivetrain. Timing worked out perfectly as there was another Elise in our shop needing a motor due to a failure.
Tub Swap
Before doing anything K-swap related to the new chassis, we started by transferring parts over from the original tub to the new one. Since this was a low mileage car, it wasn’t difficult selling the drivetrain. Timing worked out perfectly as there was another Elise in our shop needing a motor due to a failure.
Once the motor was out, it was time to move the car next to the new tub and start transferring things over. We started off with the suspension and brakes so that we could bring the new tub to a body shop to get painted. While we were at it, we replaced all of the control arm bushings, installed BWR Ultimate Uprights, and JRZ RS PRO3 coilovers. From there, we took everything else off the car. We wanted to take some time to thin out the chassis harness and remove what won’t be used, so a lot of parts could not go back in until that was was done and routed through the car.


Manual window conversion


We installed the doors so that the body shop had panels to match against and towed it over.
While the car was being painted, we worked on removing all the wiring that wasn’t needed from the chassis harness. This included the ABS, alarm, CDL, power windows, stereo, TPMS and rear fuses (replaced by Motec PDM). The instrument cluster connector was replaced with a Deustch connector since we’re going to use an AiM MXP dash. All of the unused front fuses (windows, ABS, radio, etc.) were routed to an AUX connector by the cabin fuses.


When we were done with the old tub, it was taken back to the owner. Our good friend, Kiyoshi was nice enough to convert his trailer into a stacker and bring it down to SoCal since he was headed there for a track day at Willow Springs. Between five of us, we were able to lift the tub onto the trailer. We’re not sure what’s going to happen to it, but we hope it turns into a race car or maybe a racing sim?! And if you’re wondering, yes, the cars made it down safely.
Back to the Donor Car
It was time to start isolating the original engine/chassis harness and remove everything that was not going to be used in the Elise. This was a long and tedious task because it meant removing some sections, then checking with the scan tool to make sure that no fault codes popped up in the ECM. Once we had the harness down to the bare necessities, we learned that the Honda factory scan tool would no longer connect and communicate to the car. This was a really big problem, because that meant that we wouldn’t be able to run the EVAP test like we did in Part 1. It also meant there was no way to register or program any new immobilizer components if they failed.
Luckily, our Snap-On rep had a demo scanner to try out and it was able to connect to the car and had all the capabilities of the factory scanner. It was time to update our current scanner anyway, so we bought one for the shop.
Engine Prep
It was time to remove the engine and start prepping it for the Lotus. Before getting it on the engine stand, we sprayed it down with degreaser and wiped it clean. The only modification that we plan to do to this motor is the baffled oil pan to help with oil starvation. The rest of the work is purely preventative maintenance.


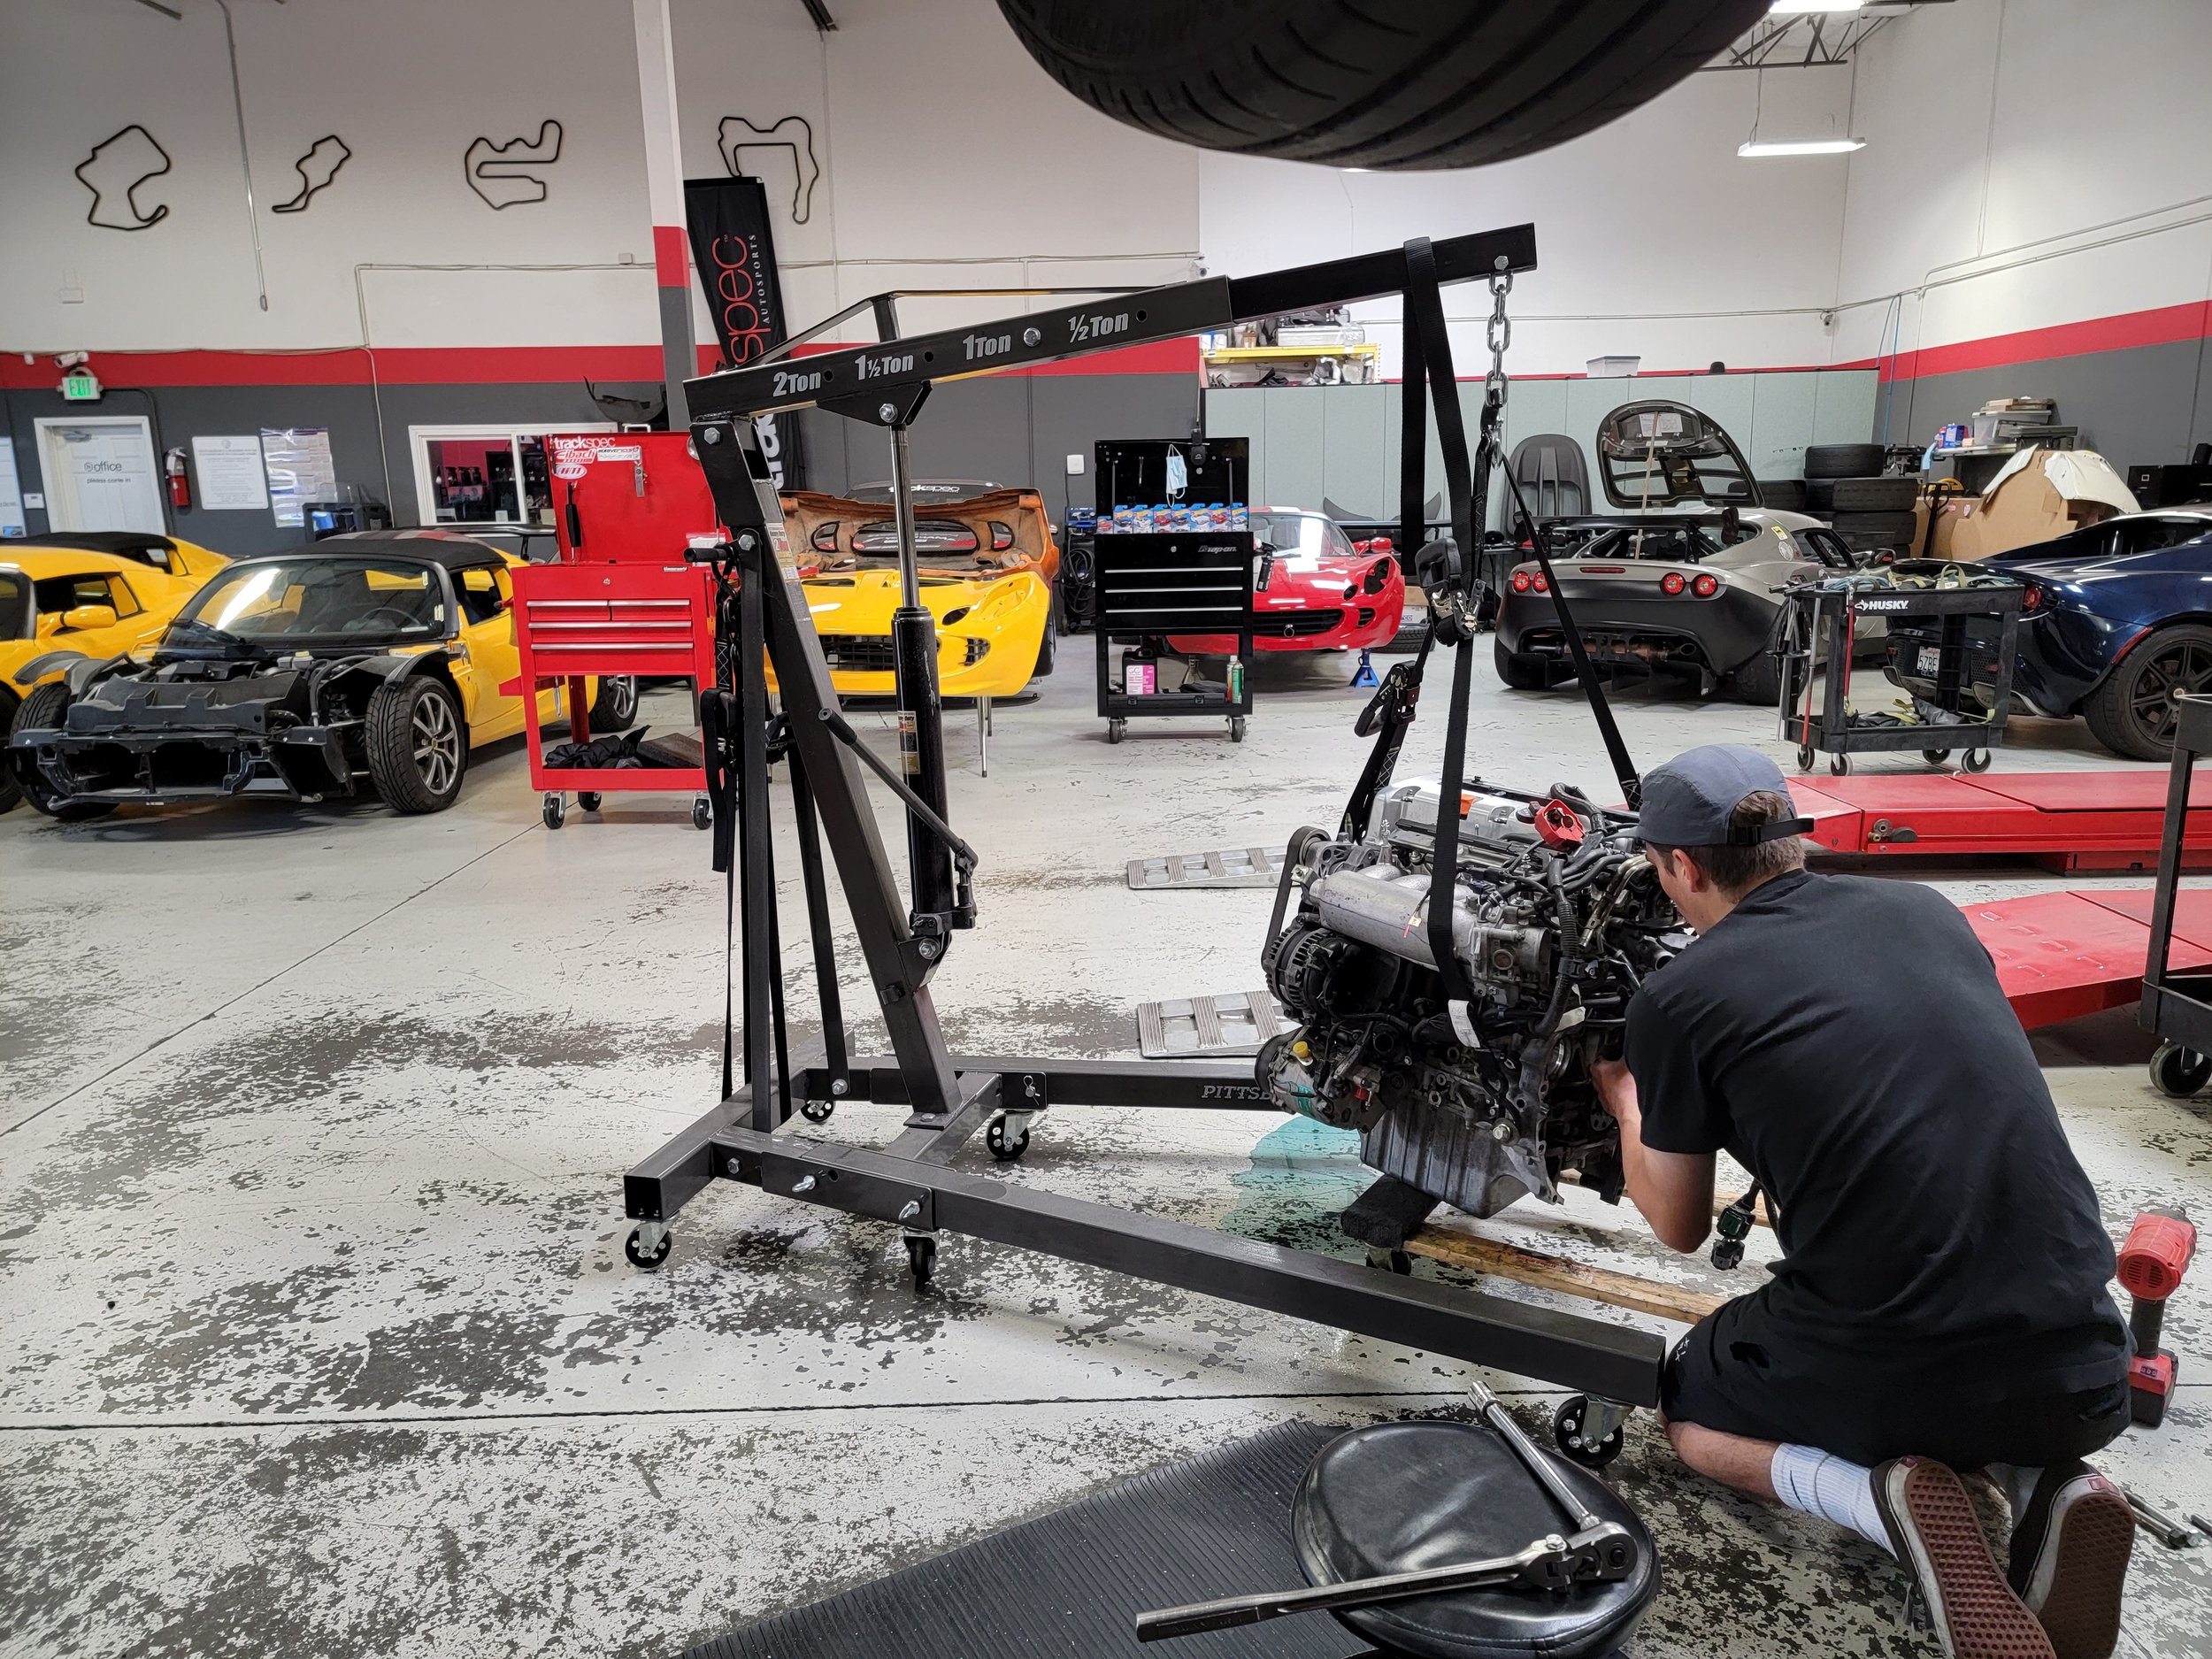
In order to install the baffled oil pan, we needed to delete the balance shaft assembly that comes on the K20Z3. To do this, we simply needed to convert to the K20A2 oil pump from the RSX-S. We worked with Unit2Fab for making a version of their Elite oil pan to fit a Honda swapped Lotus.


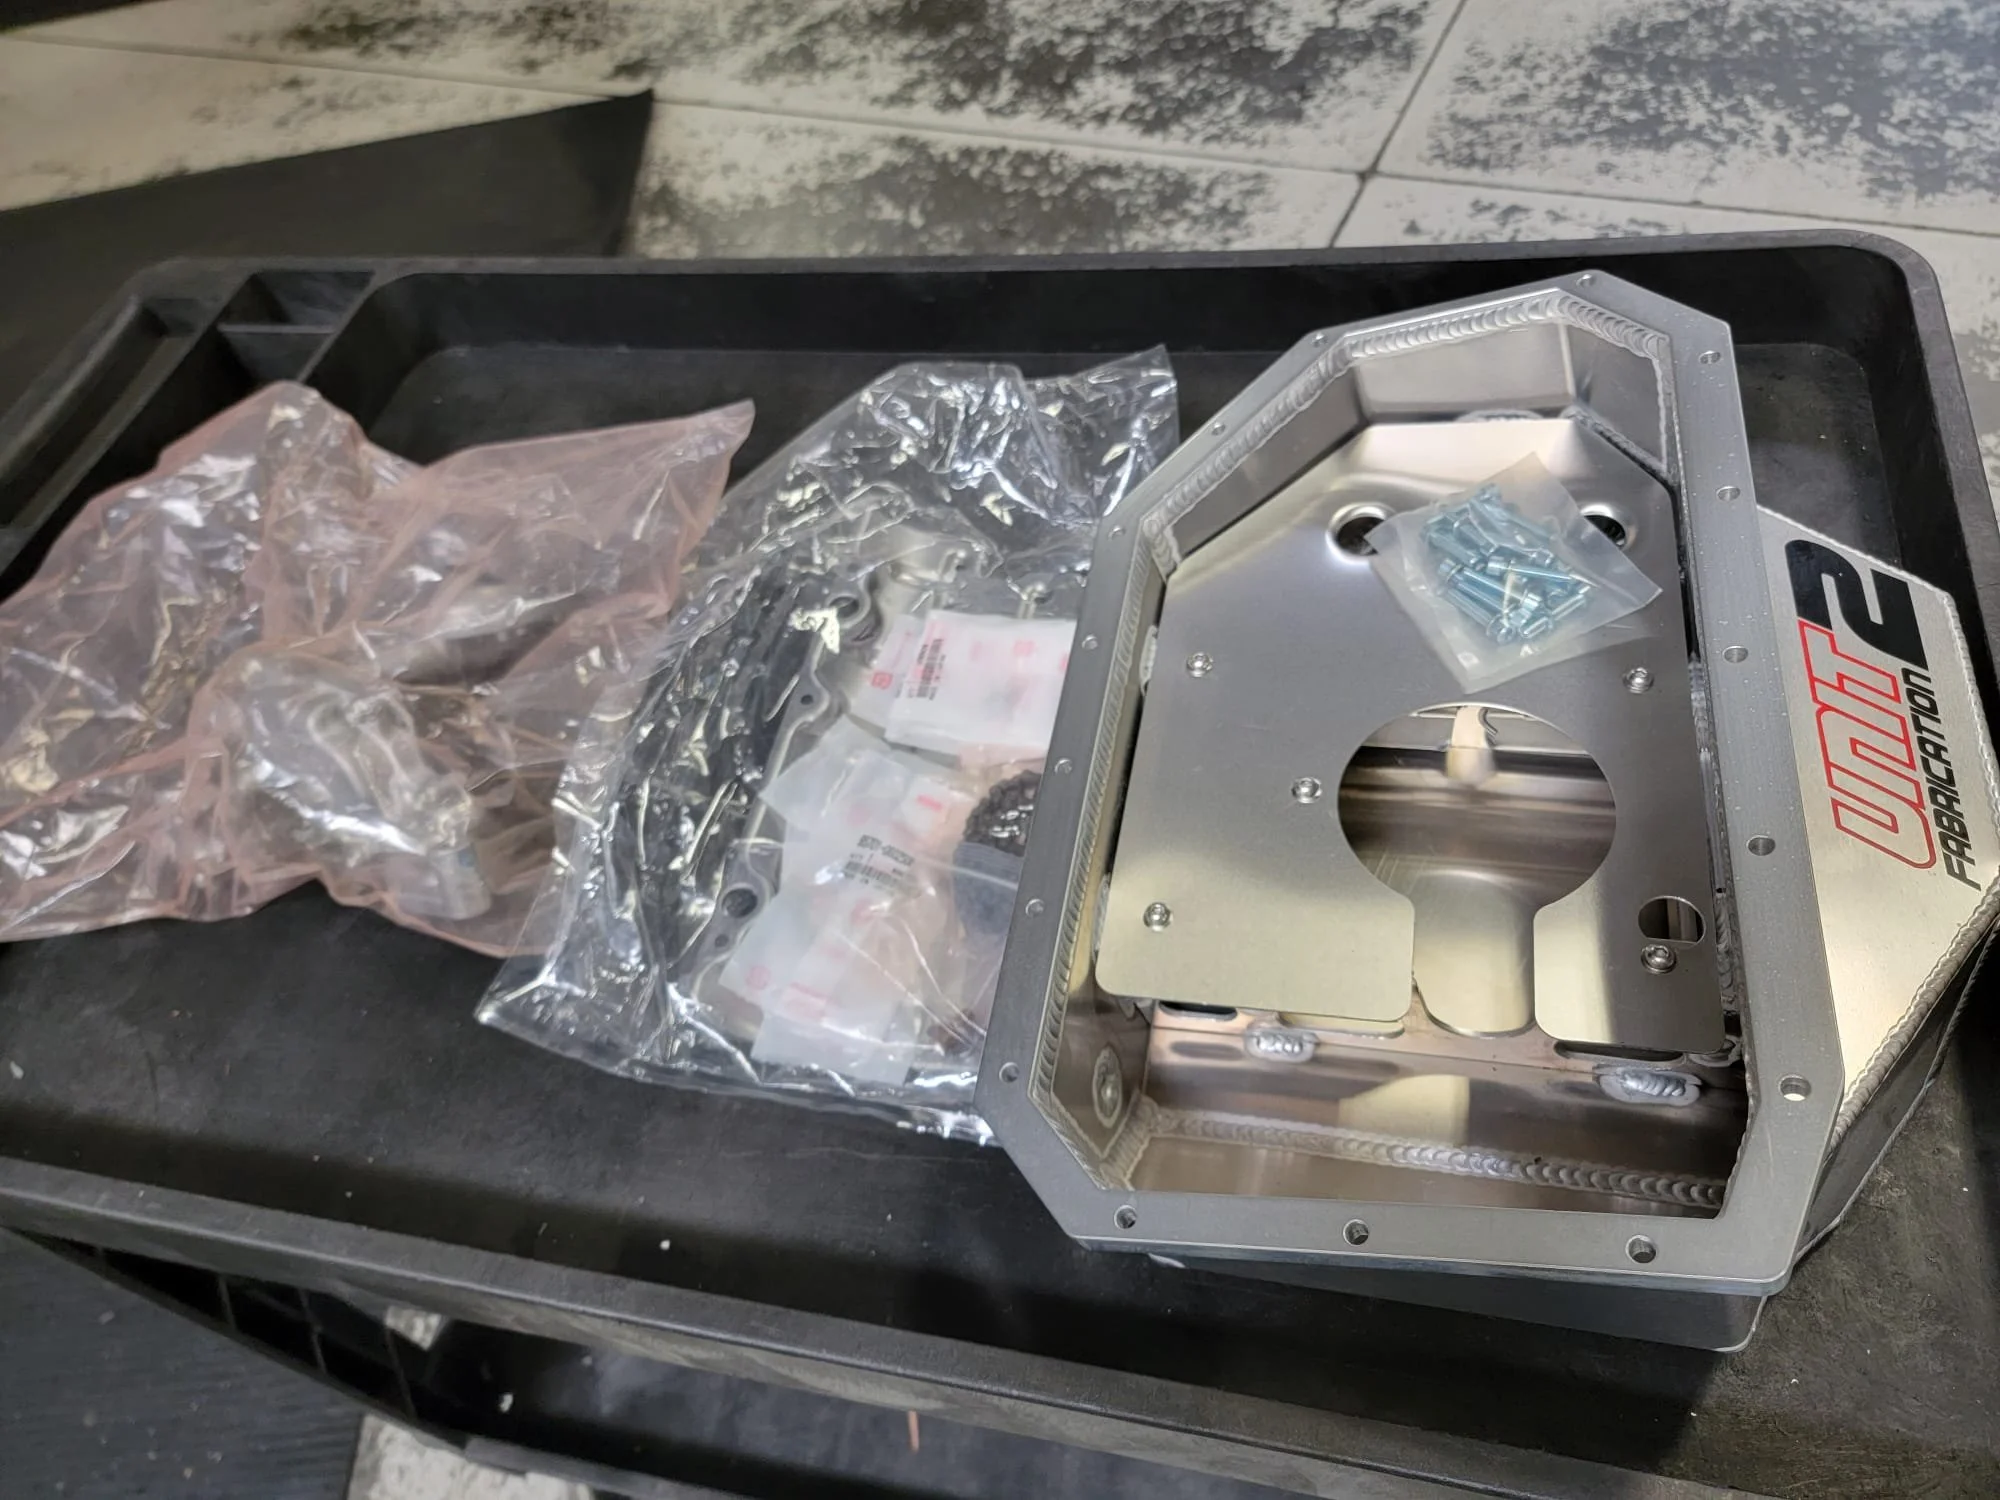
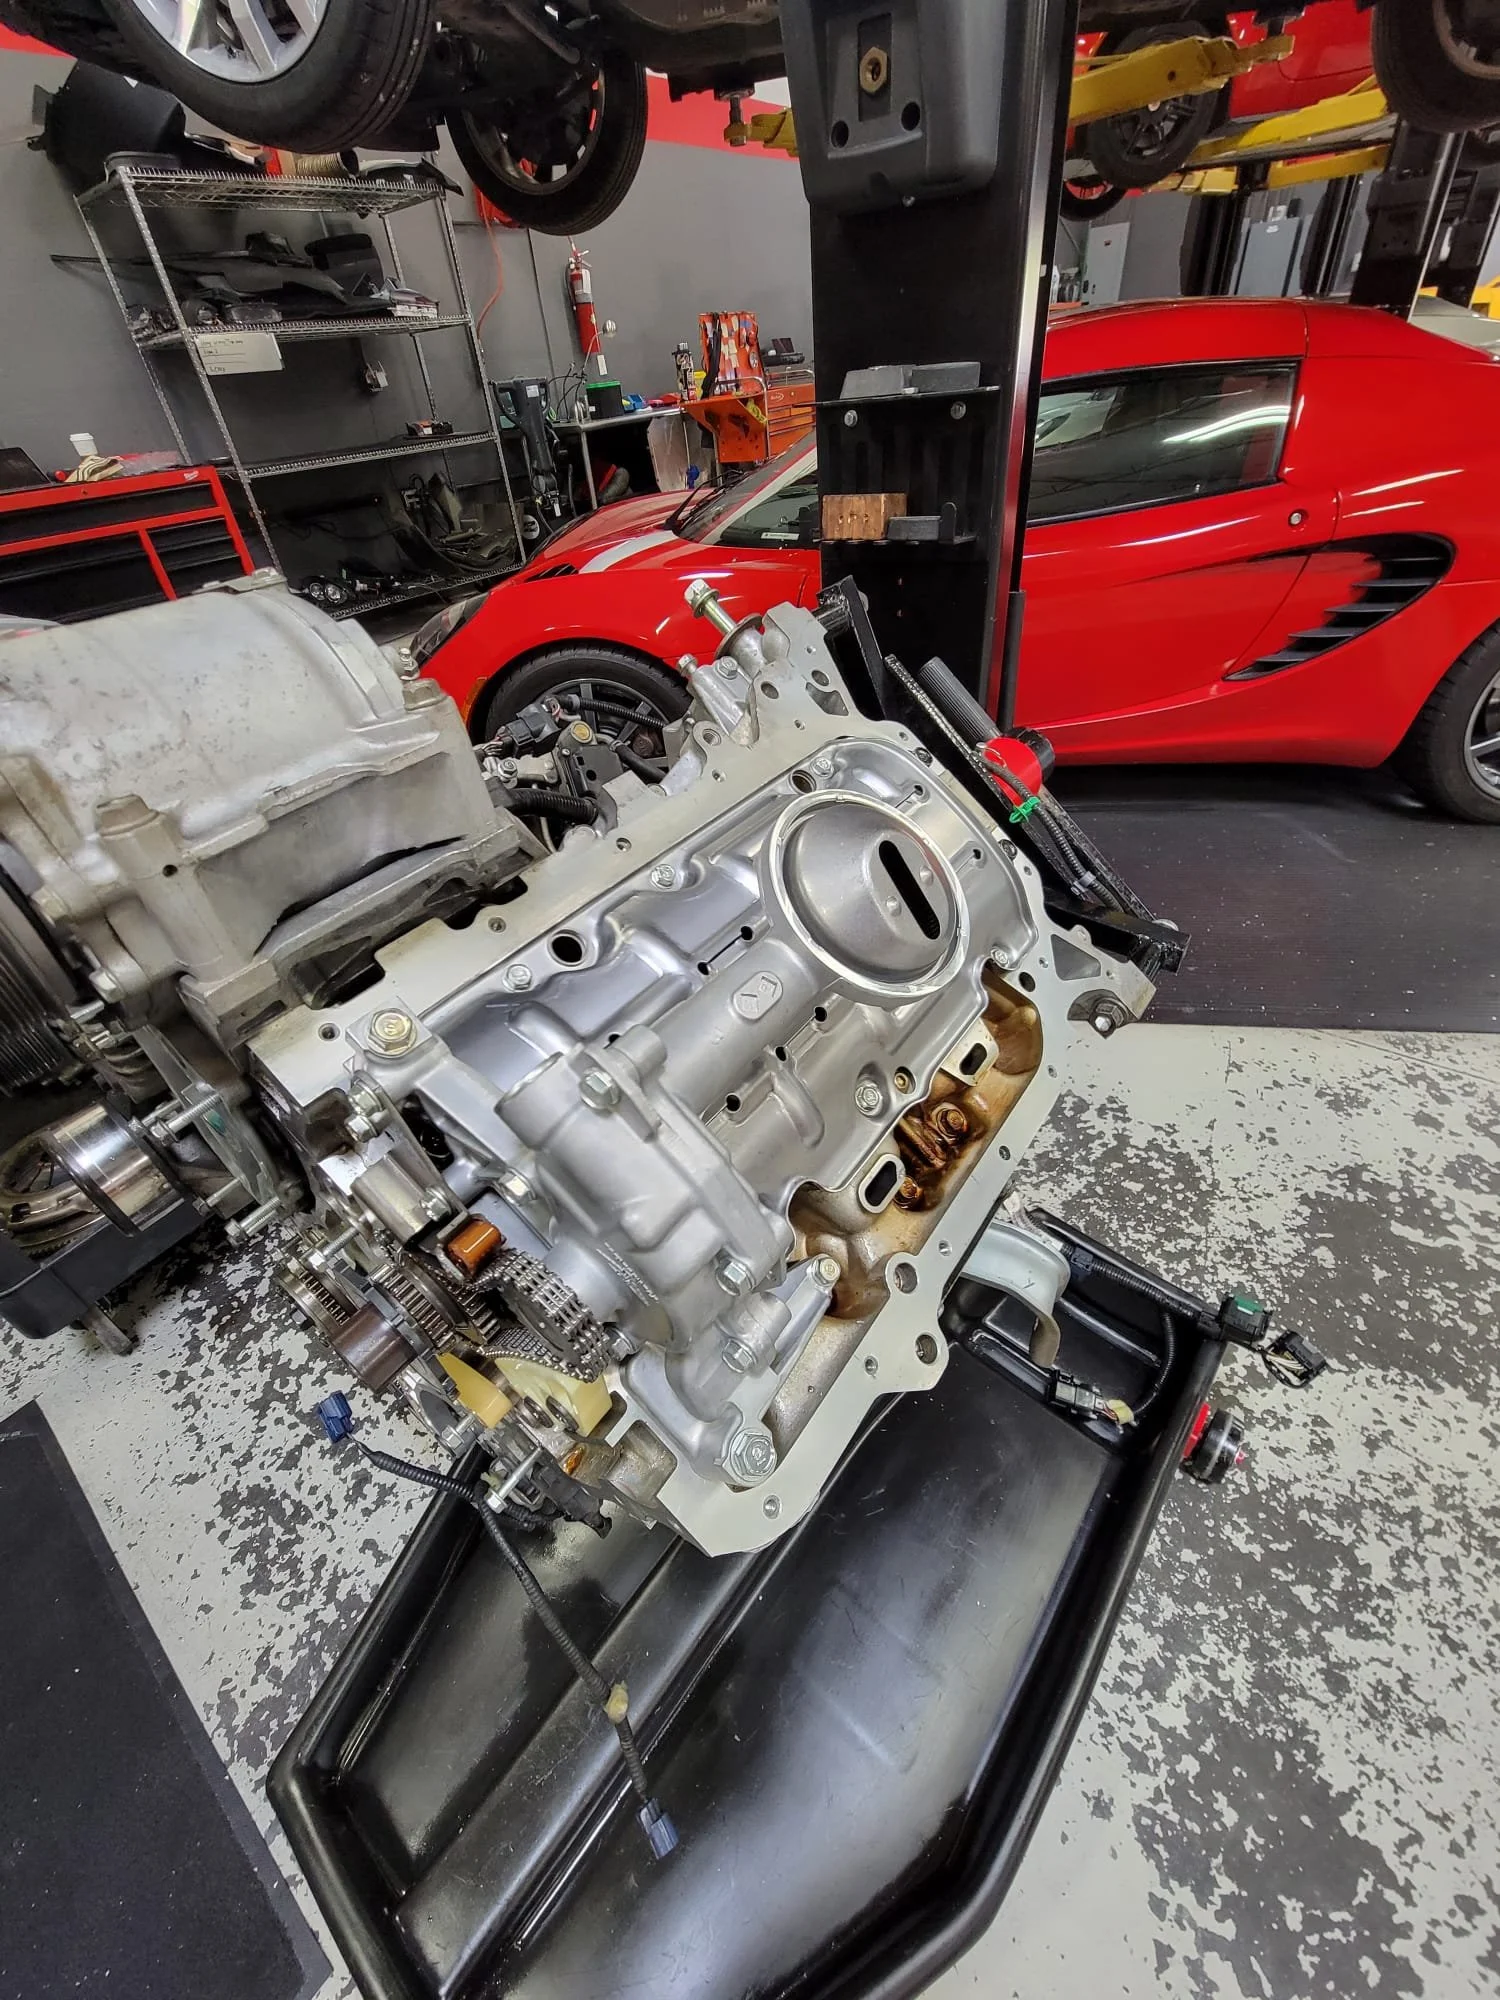
For preventative maintenance, we replaced the timing chain, chain guides, timing chain tensioners, water pump, thermostat, seals, gaskets, clutch, and adjusted the valves.

With all of that done, we were finally able to move to the next step and put the motor in the car!


First Race Of The 2022 Season For Our New E46 BMW M3
Thanks to the power of smart phones and social media, Jon and I were reminded that we were at Sonoma Raceway exactly 1 year ago for the first race of the 2021 season when an unfortunate accident resulted in our E36 BMW M3 race car being totaled. At the time, we felt two things. Relief, because Jon was safe and uninjured. But also disappointment, because we had just finished a complete refresh of that car and we were looking forward to a full season of racing…
And we’re back…
Thanks to the power of smart phones and social media, Jon and I were reminded that we were at Sonoma Raceway exactly 1 year ago for the first race of the 2021 season when an unfortunate accident resulted in our E36 BMW M3 race car being totaled. At the time, we felt two things. Relief, because Jon was safe and uninjured. But also disappointment, because we had just finished a complete refresh of that car and we were looking forward to a full season of racing.
A few weeks later, I was faced with an important decision. Hang it up and take up a new hobby, like fishing? Never. Rebuild another E36 M3 because with the parts that we could salvage and transfer over, that was the most logical and economical decision? Nah, the idea of having the same car again wasn’t particularly exciting for me. That’s when the gears in my head started turning…what if we took our time and built an E46 M3 instead? Sure, it would be more expensive but it’s also a newer and stronger chassis; which should result in a better and faster race car.
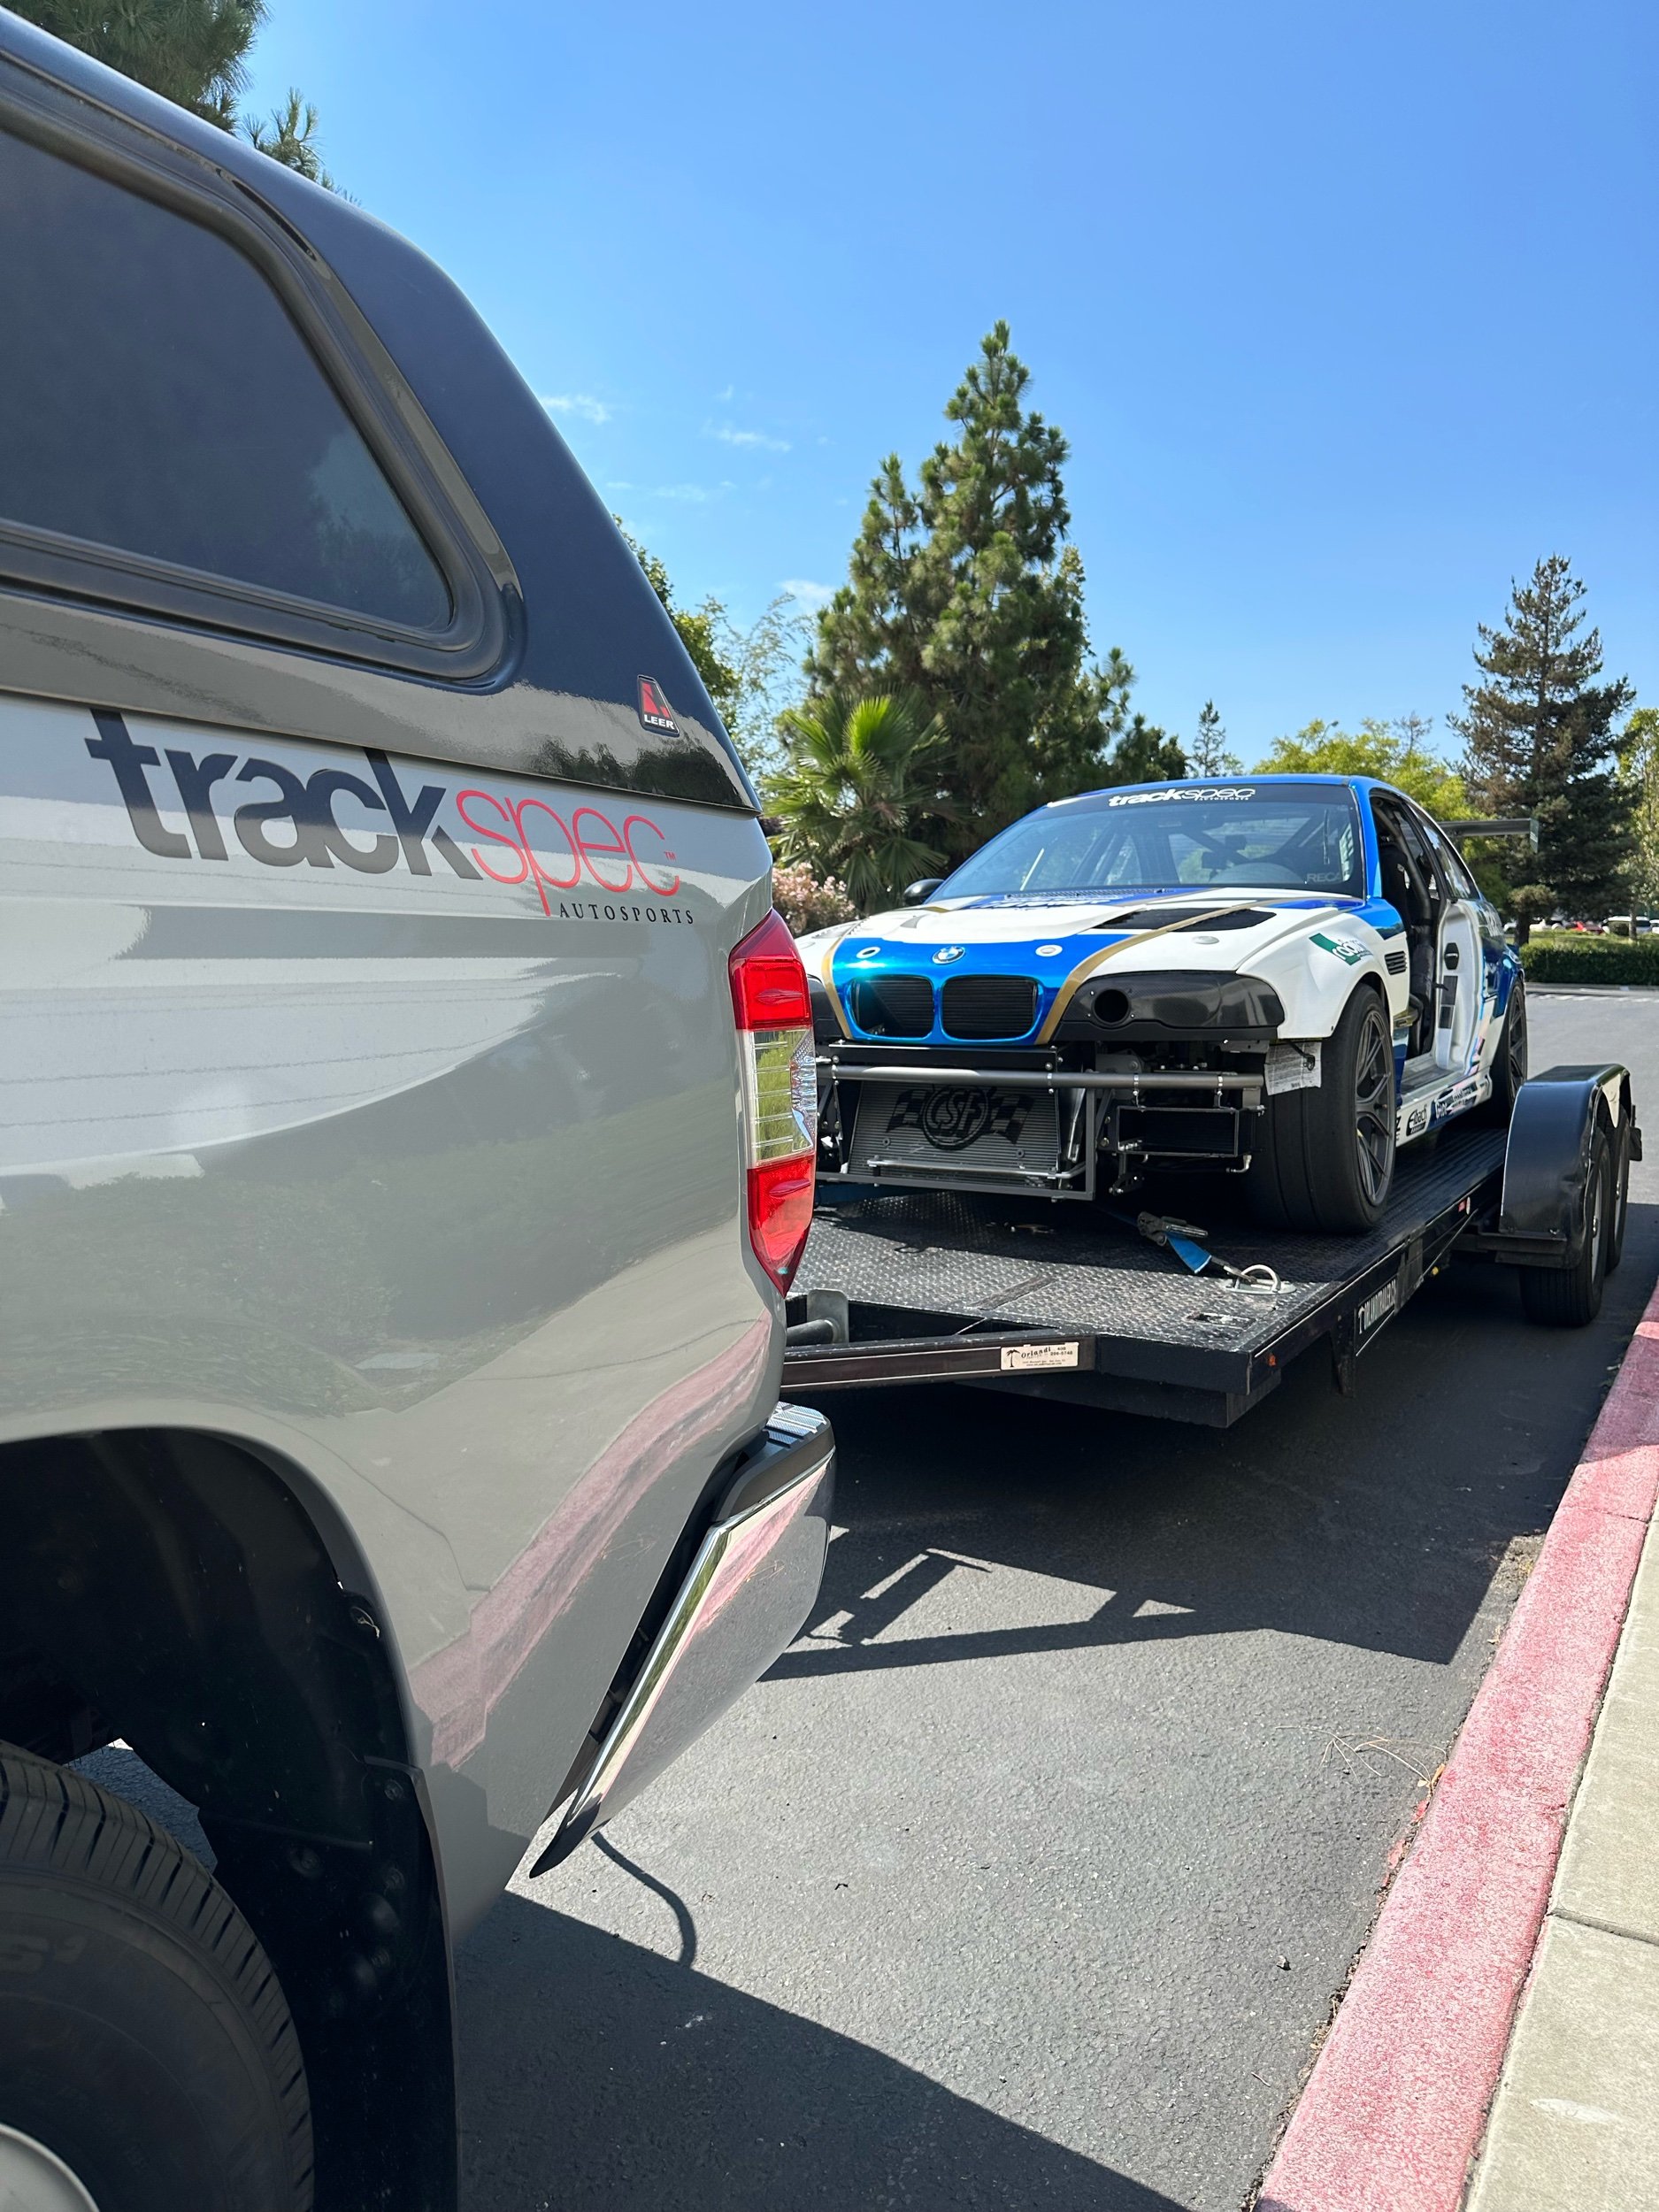
Jon and I talked about this idea and we both agreed that this would be the direction that we would go in. We would do things our way, no compromises, and this would be our best build yet. Well…fast forward to Friday March 25, 2022 (363 days after we bid farewell to the E36) and we found ourselves towing down our badass new E46 M3 from Fremont to Fontana for our first race of the 2022 season.
Ursula is a looker
In case you’re wondering, we will absolutely write and post an in-depth build blog about how this car came together later. But in the meantime, scroll down below to find out how “Ursula’s” (that’s what we decided to name her) debut at Auto Club Speedway went.
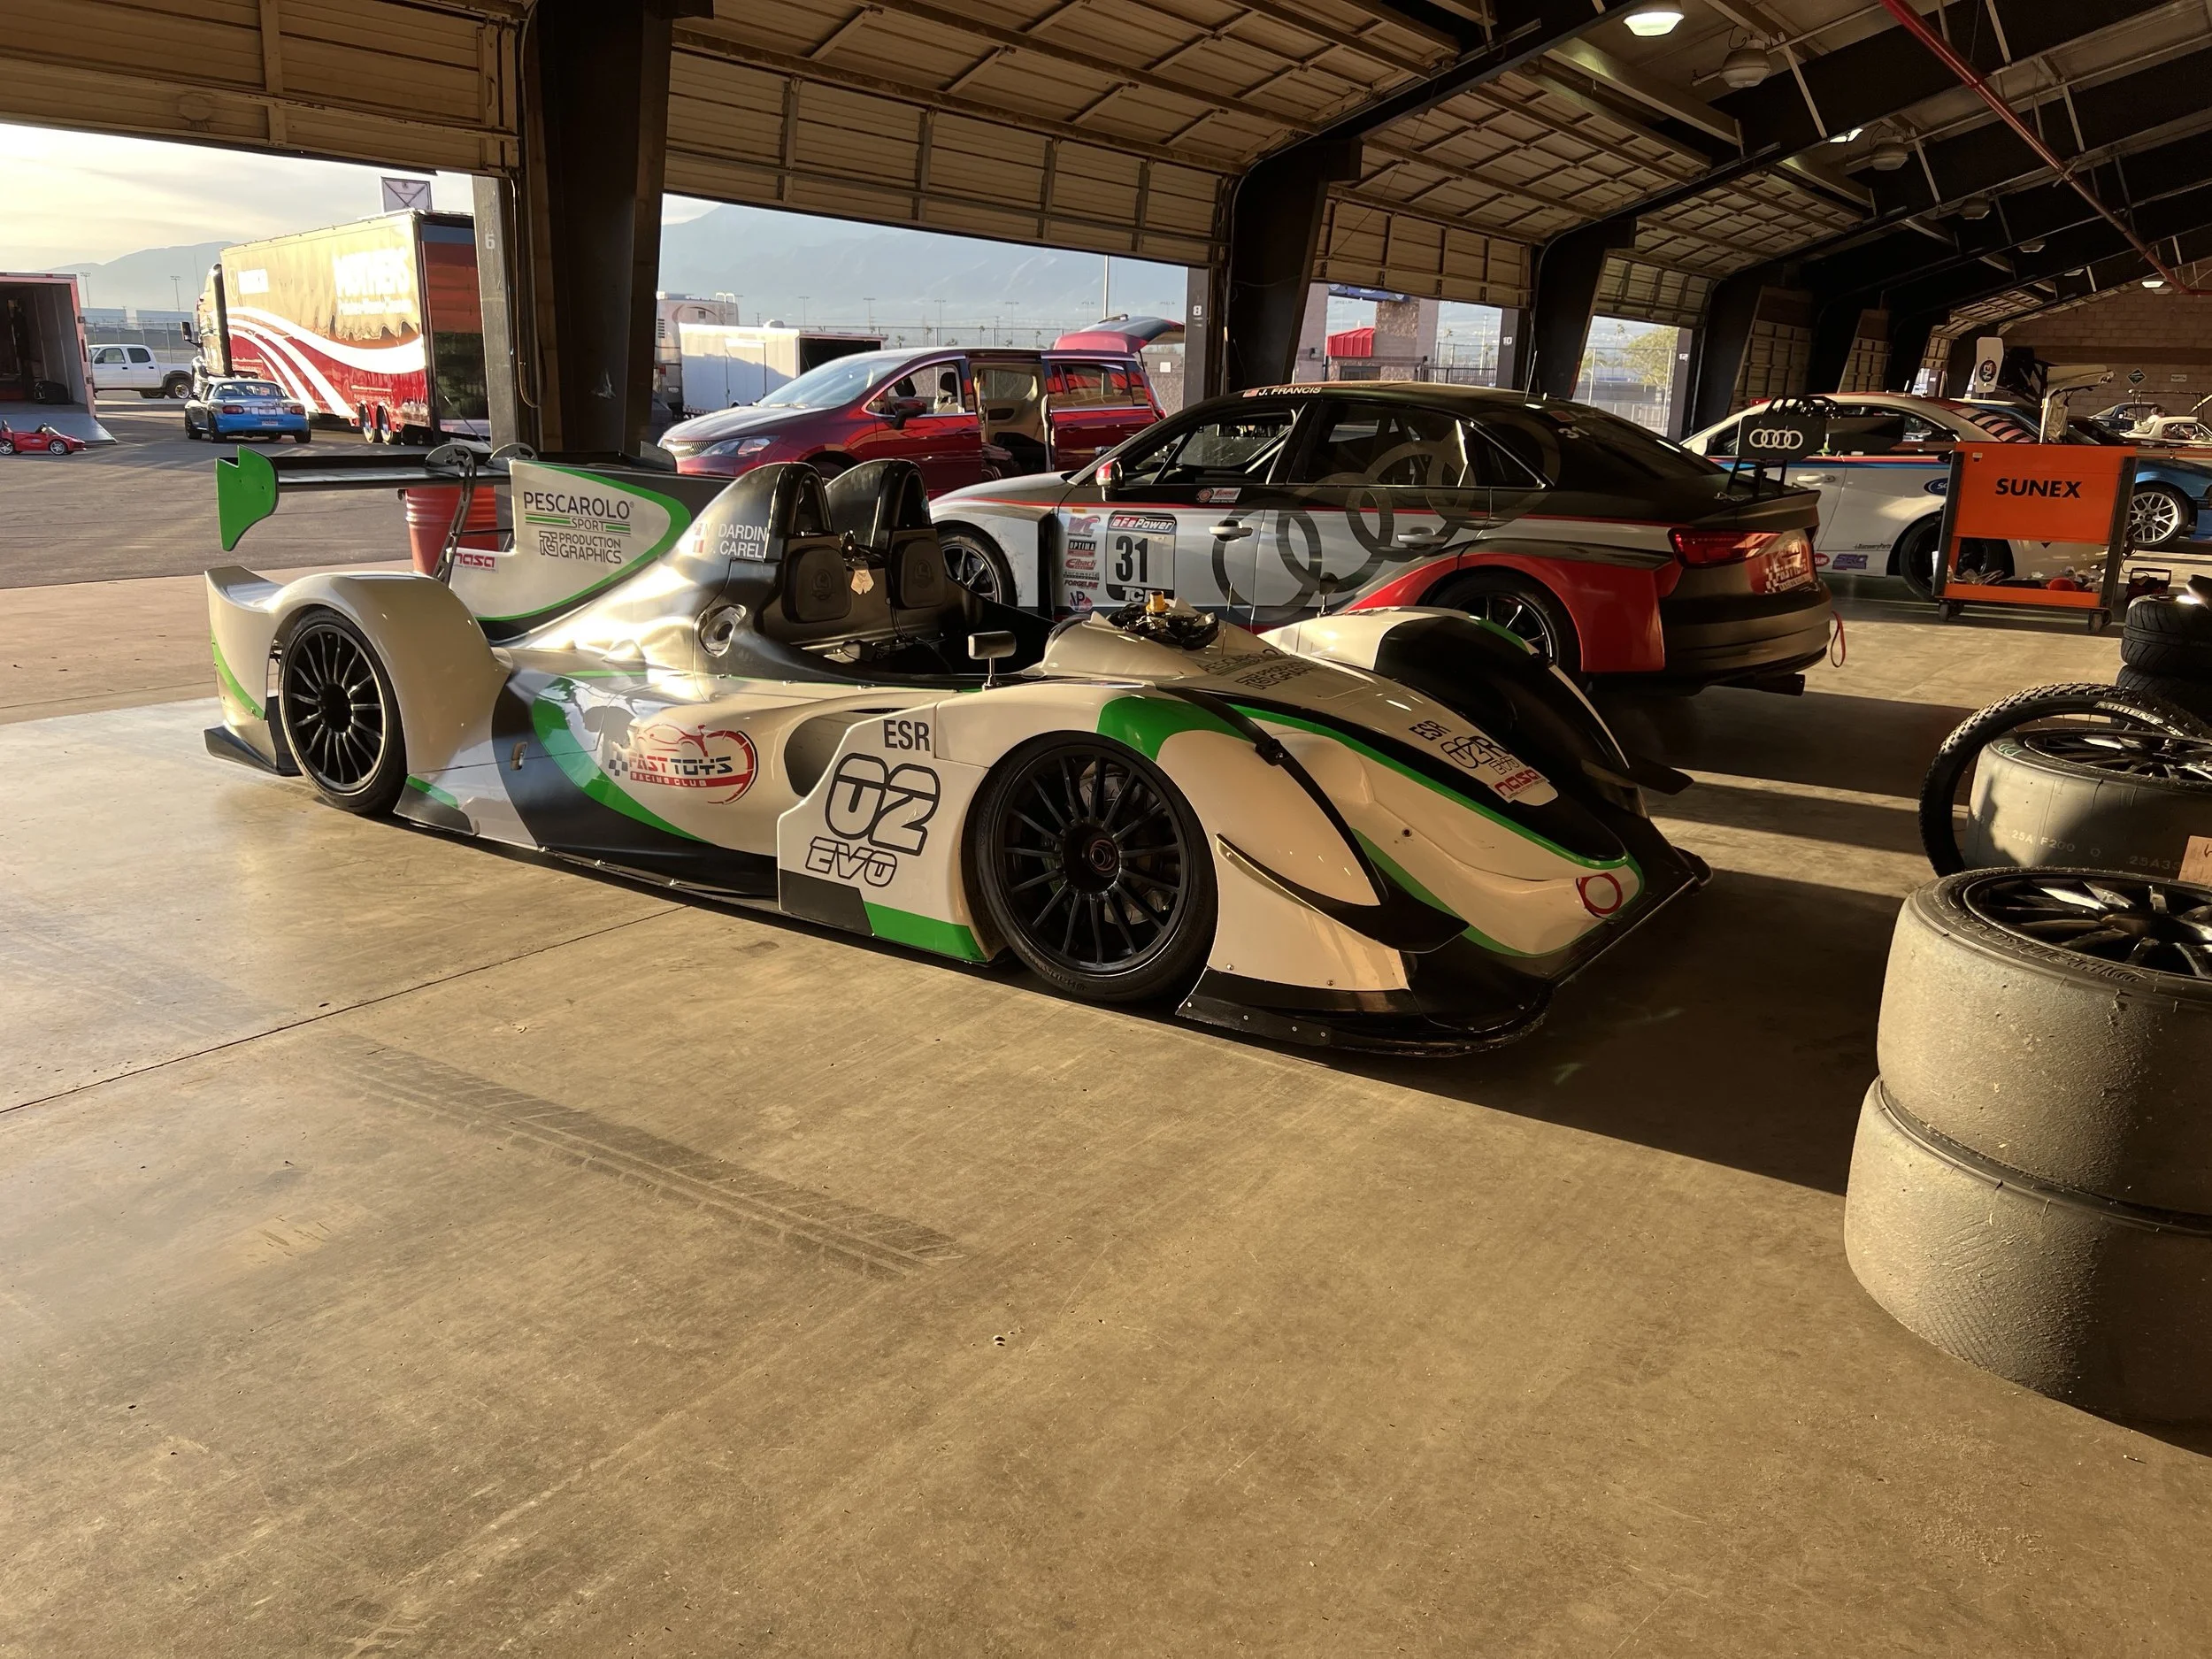
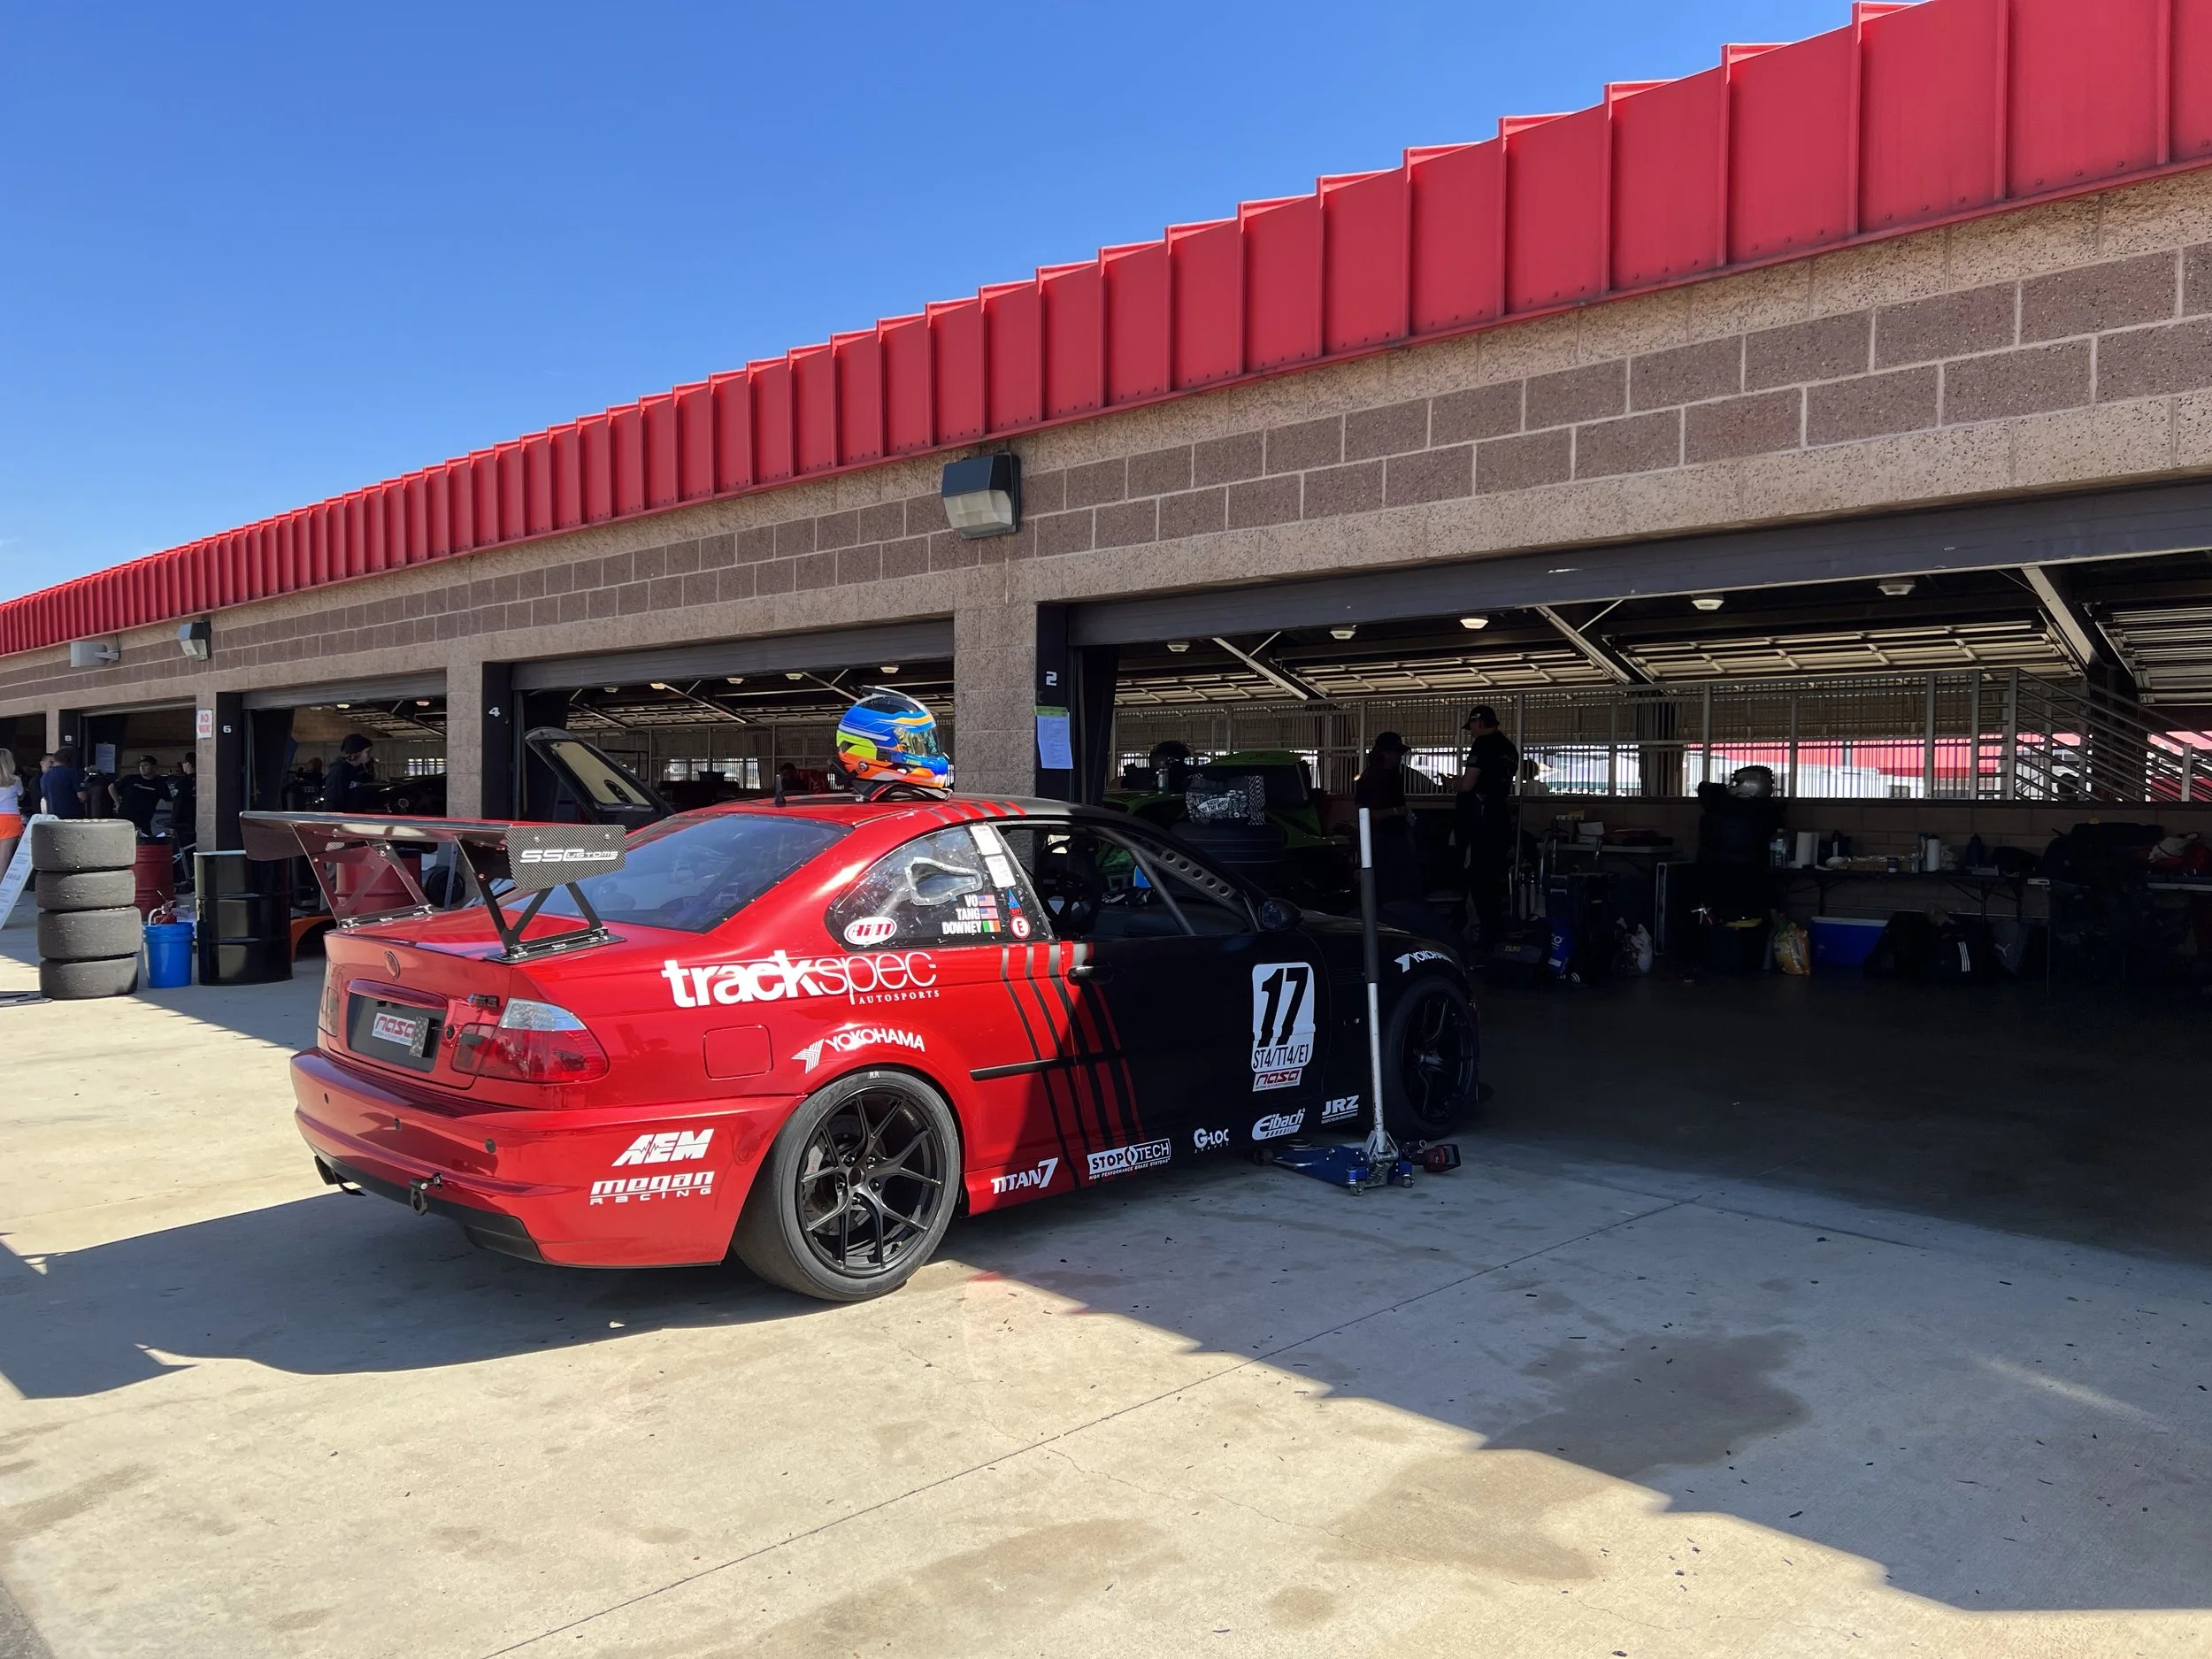
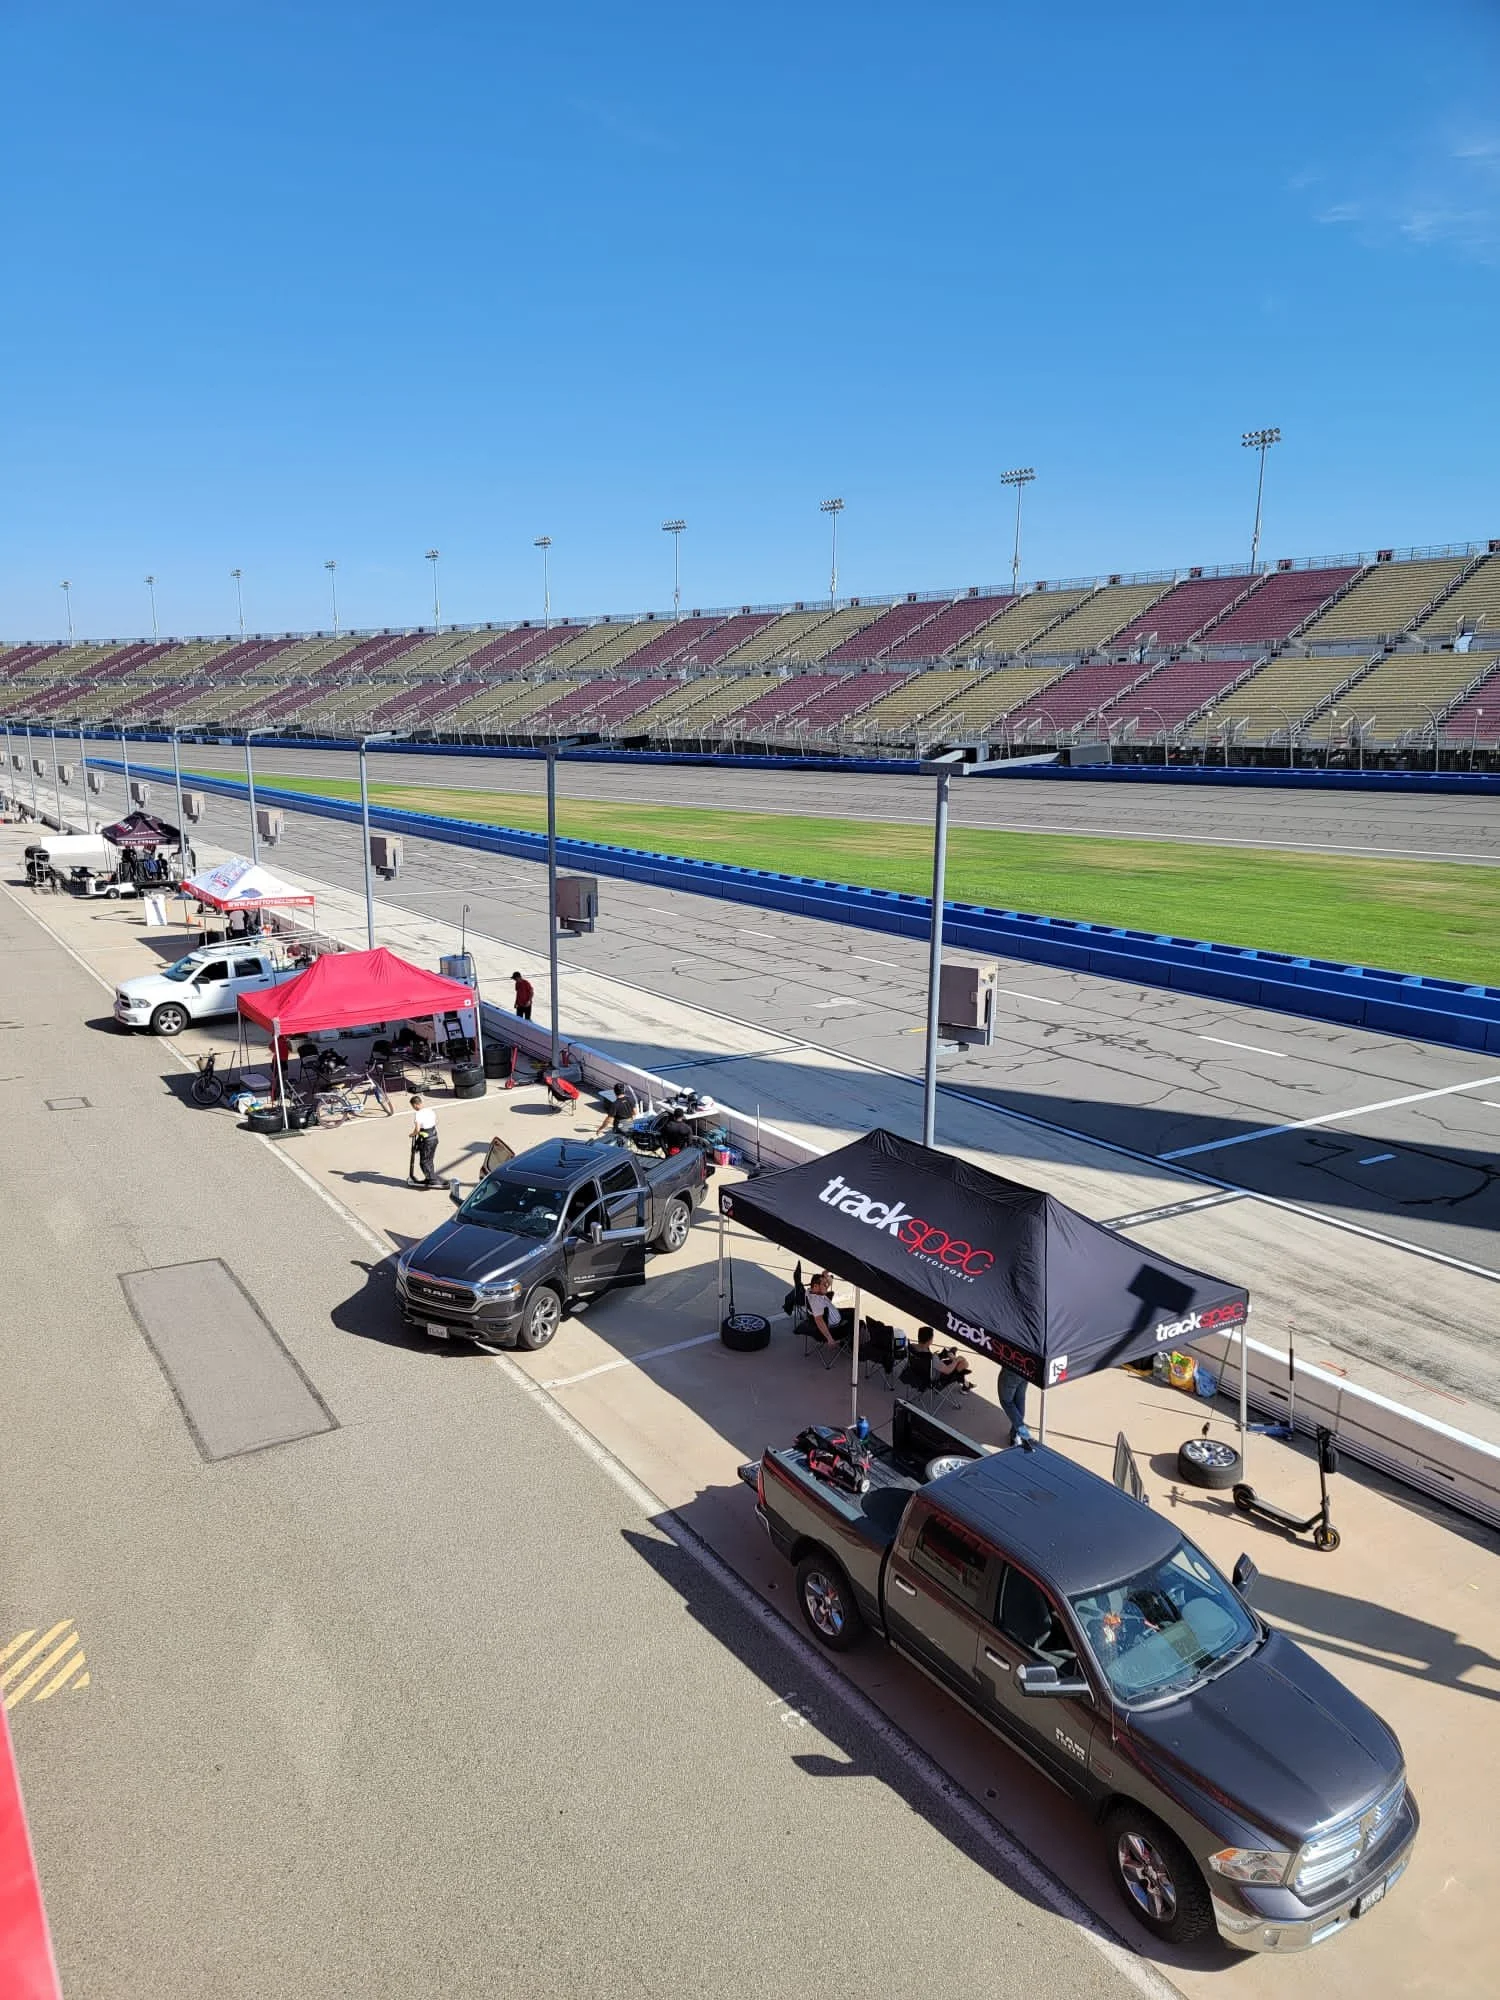
Our neighbors in the garage at Auto Club Speedway
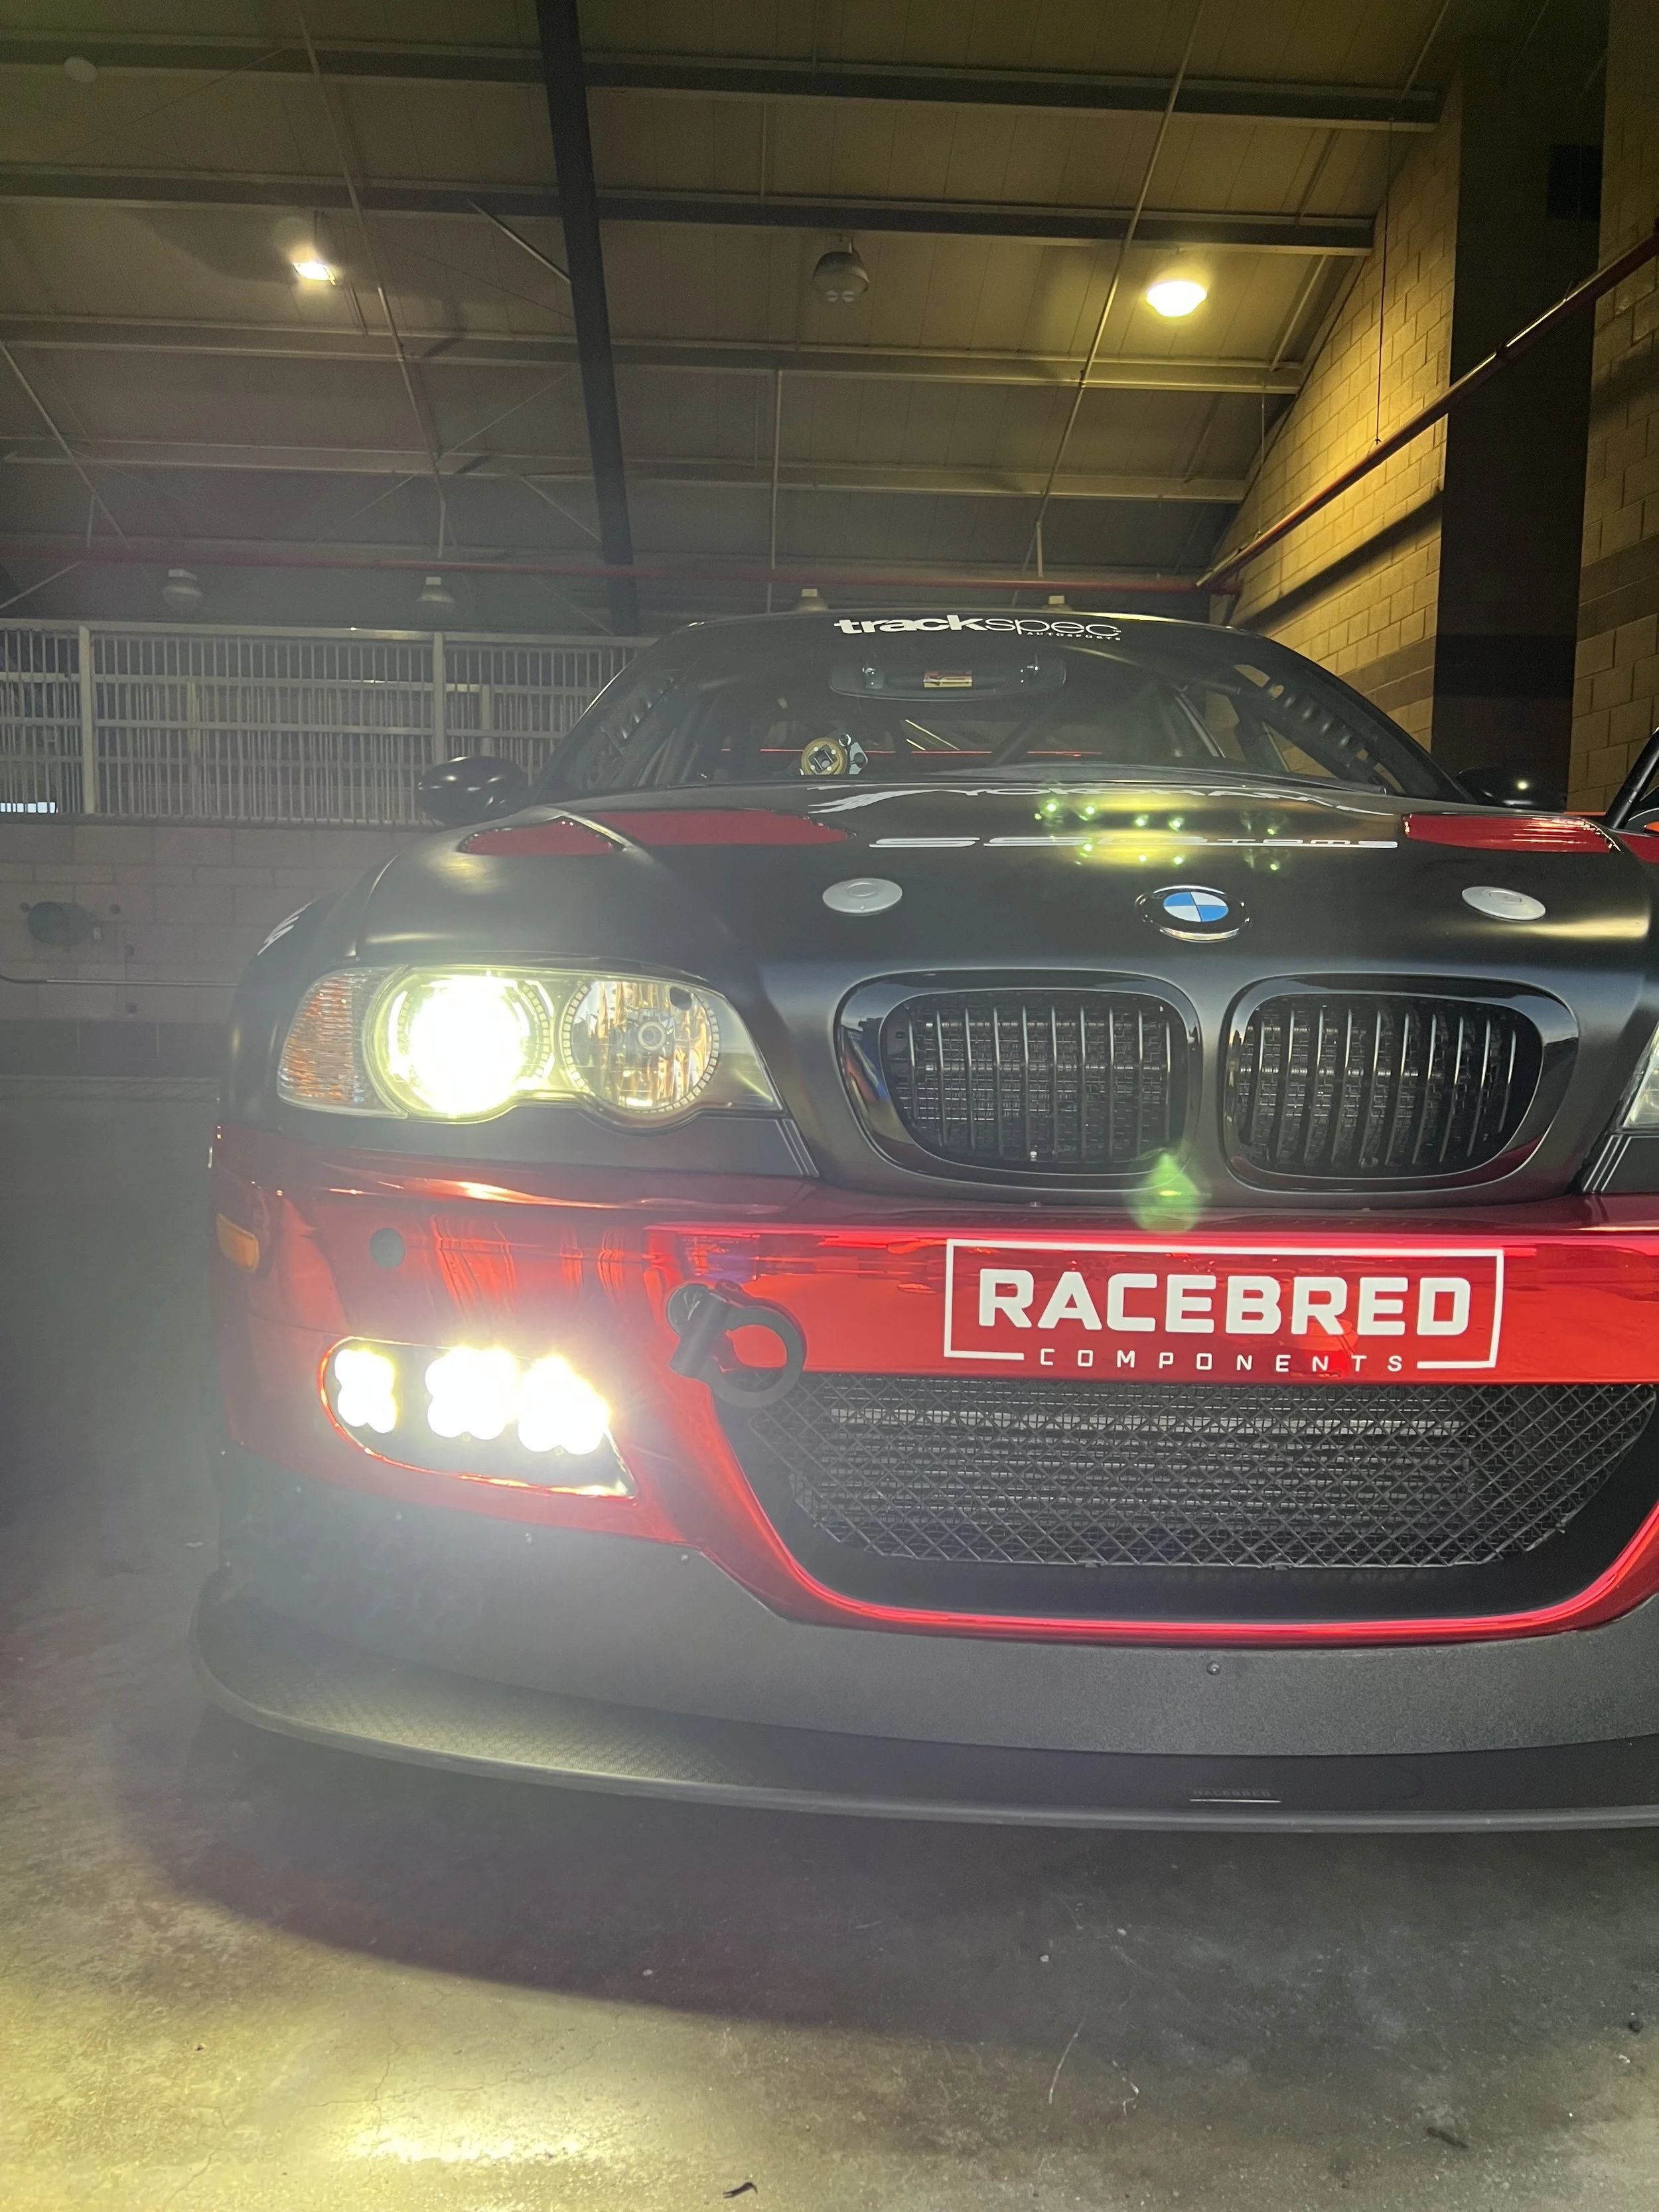
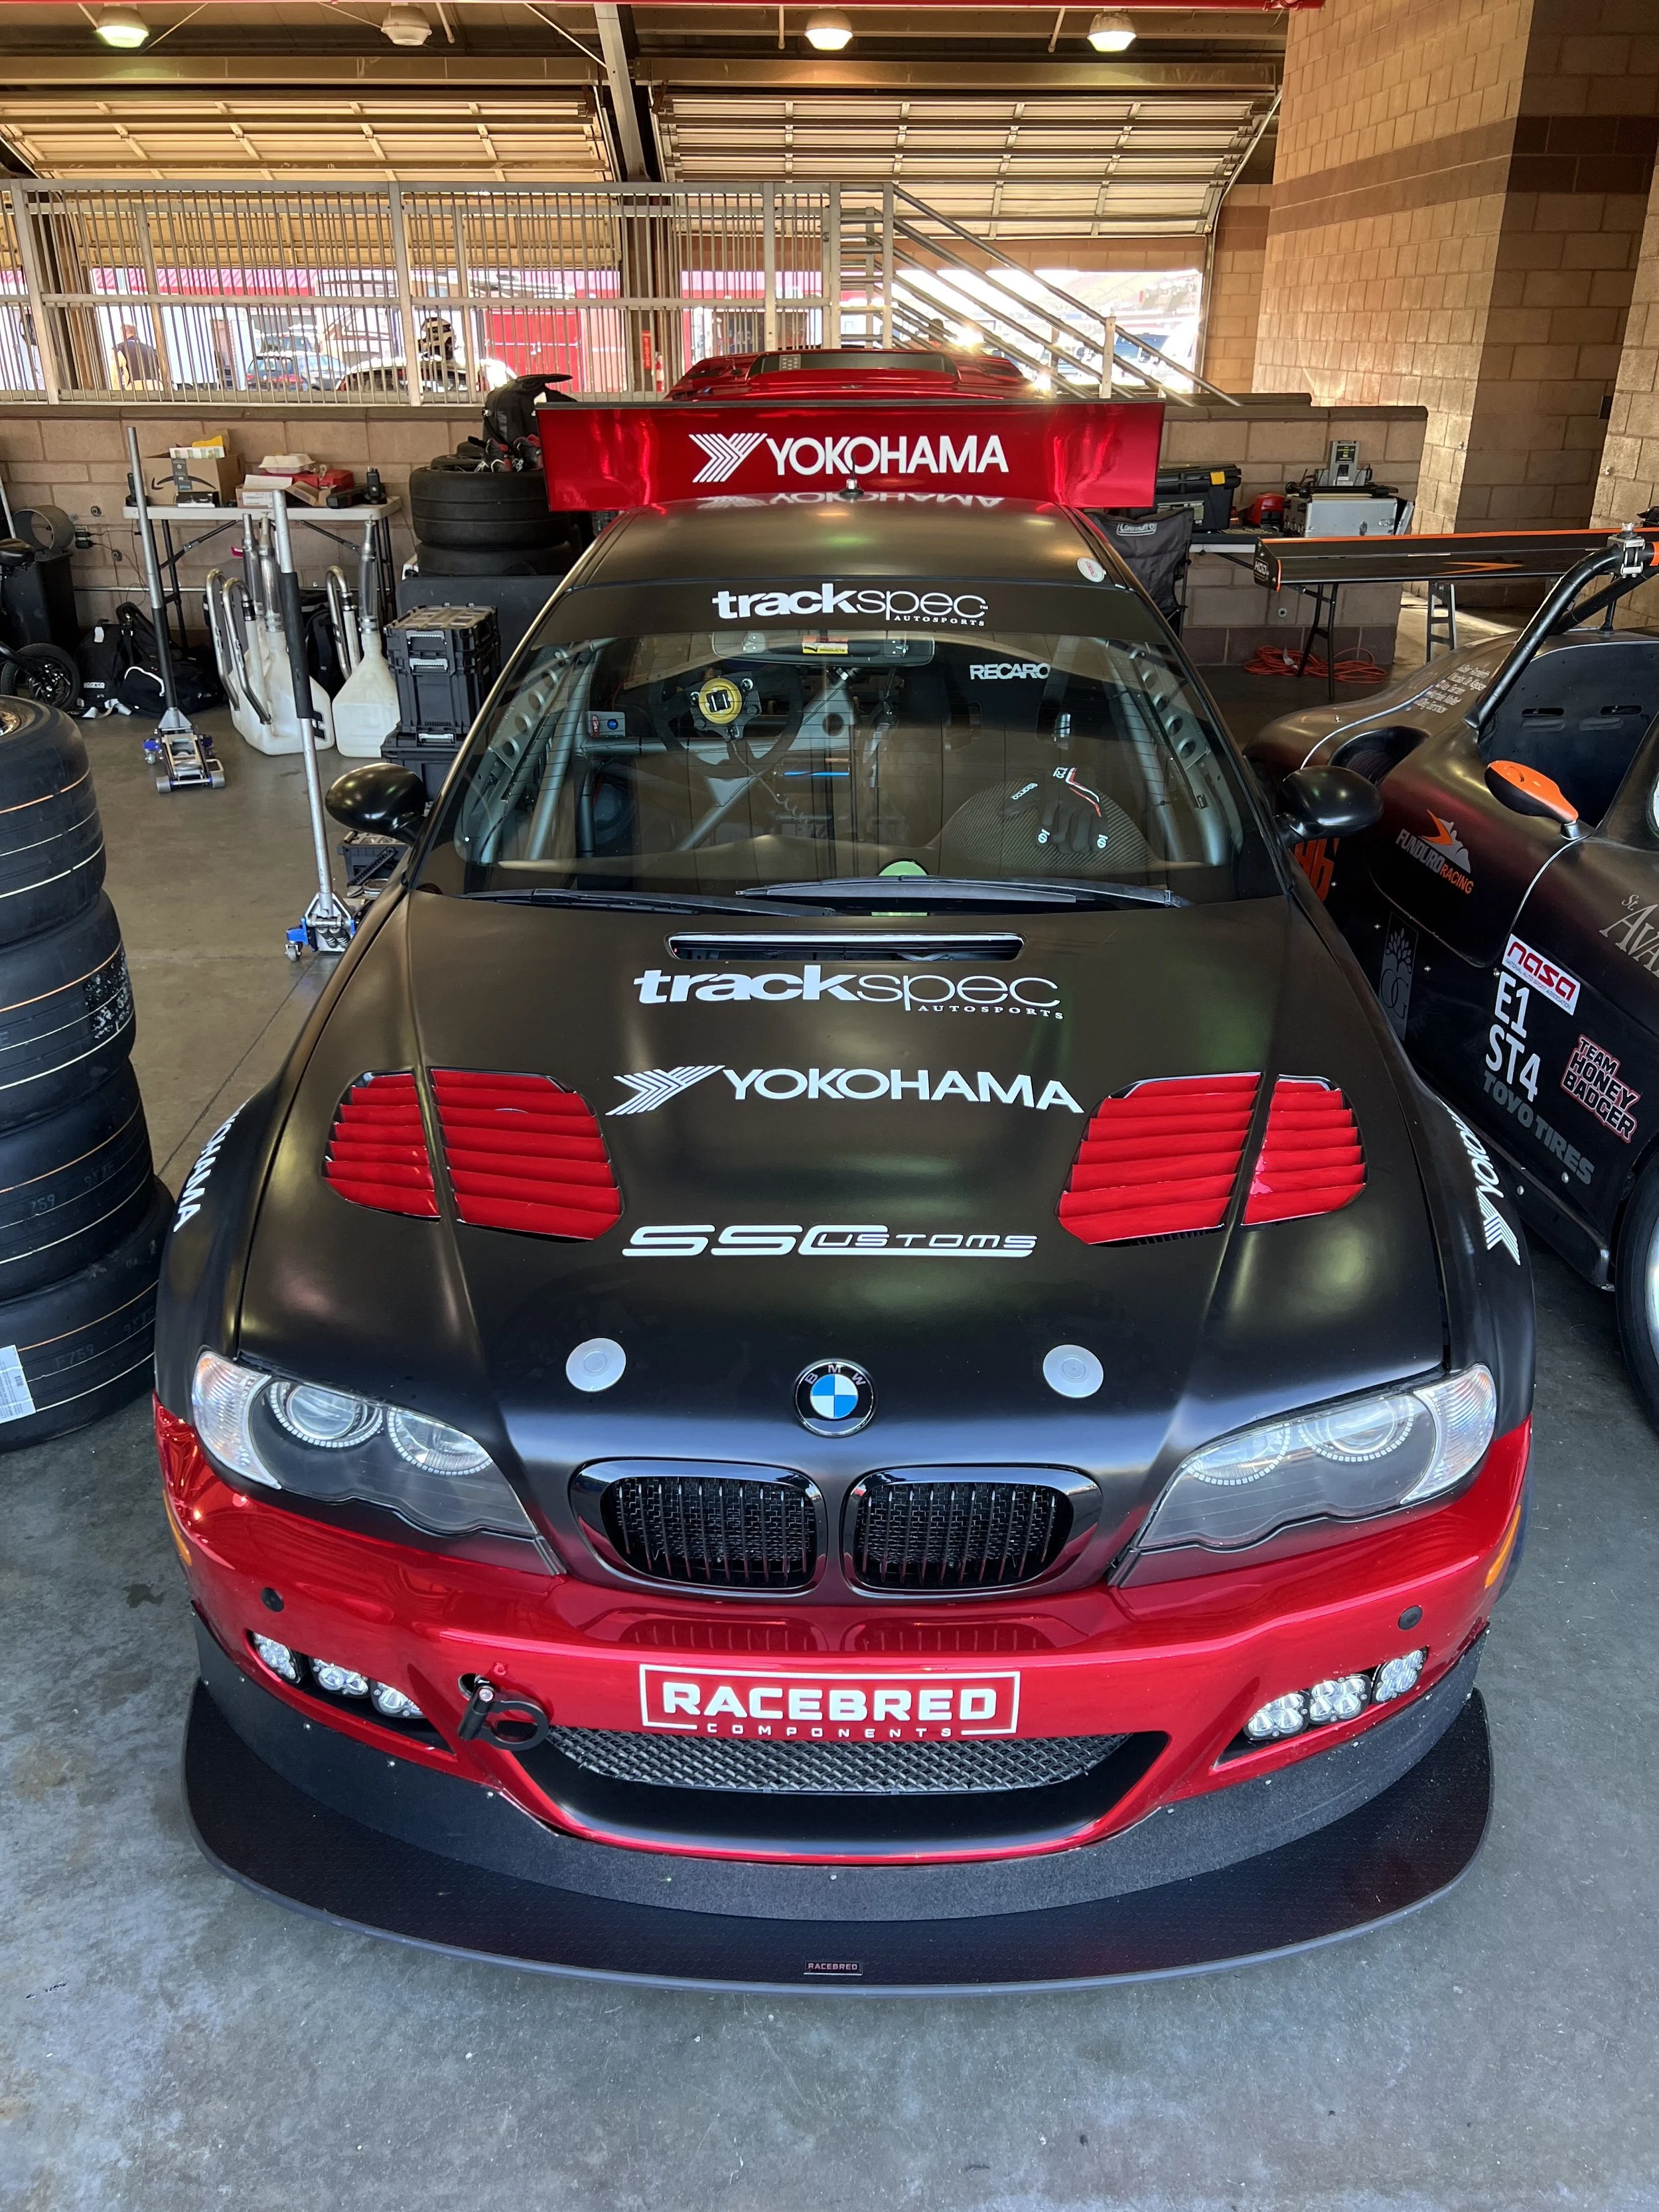
The Baja Design LED lights and Racebred splitter make the front end look so mean!
Super Touring
For this weekend, we registered in Super Unlimited (SU class) because the new tire that we’re working on with Yokohama is not available for purchase yet, and therefore not legal in ST4 (but it will be soon!) Our goal was to have fun and to gather data for NASA and for Yokohama in order to help classify the tire. We decided to run in SU because it meant we would be on track at the exact same time as other ST cars, racing in the exact same conditions.
I absolutely love our new Titan-7 T-S5 wheels
Qualifying for ST was early in the day and marked only the second time that I had ever driven at Auto Club Speedway. Fortunately, Marc’s friend Andrew Lim from Buildjournal shared his AIM data with us (thank you) which was hugely helpful in getting me more quickly up to speed. Ride along with me for a 1:51.638 lap, which was good enough for P2 in SU and would have put me P4 in ST4 class. The top 5 cars in ST4, if you included me, were all within 1 second of each other. Team Hemisphere grabbed pole in ST4 with a time of 1:50.697 in their E36 M3.
Ride along with me for my qualifying lap here:
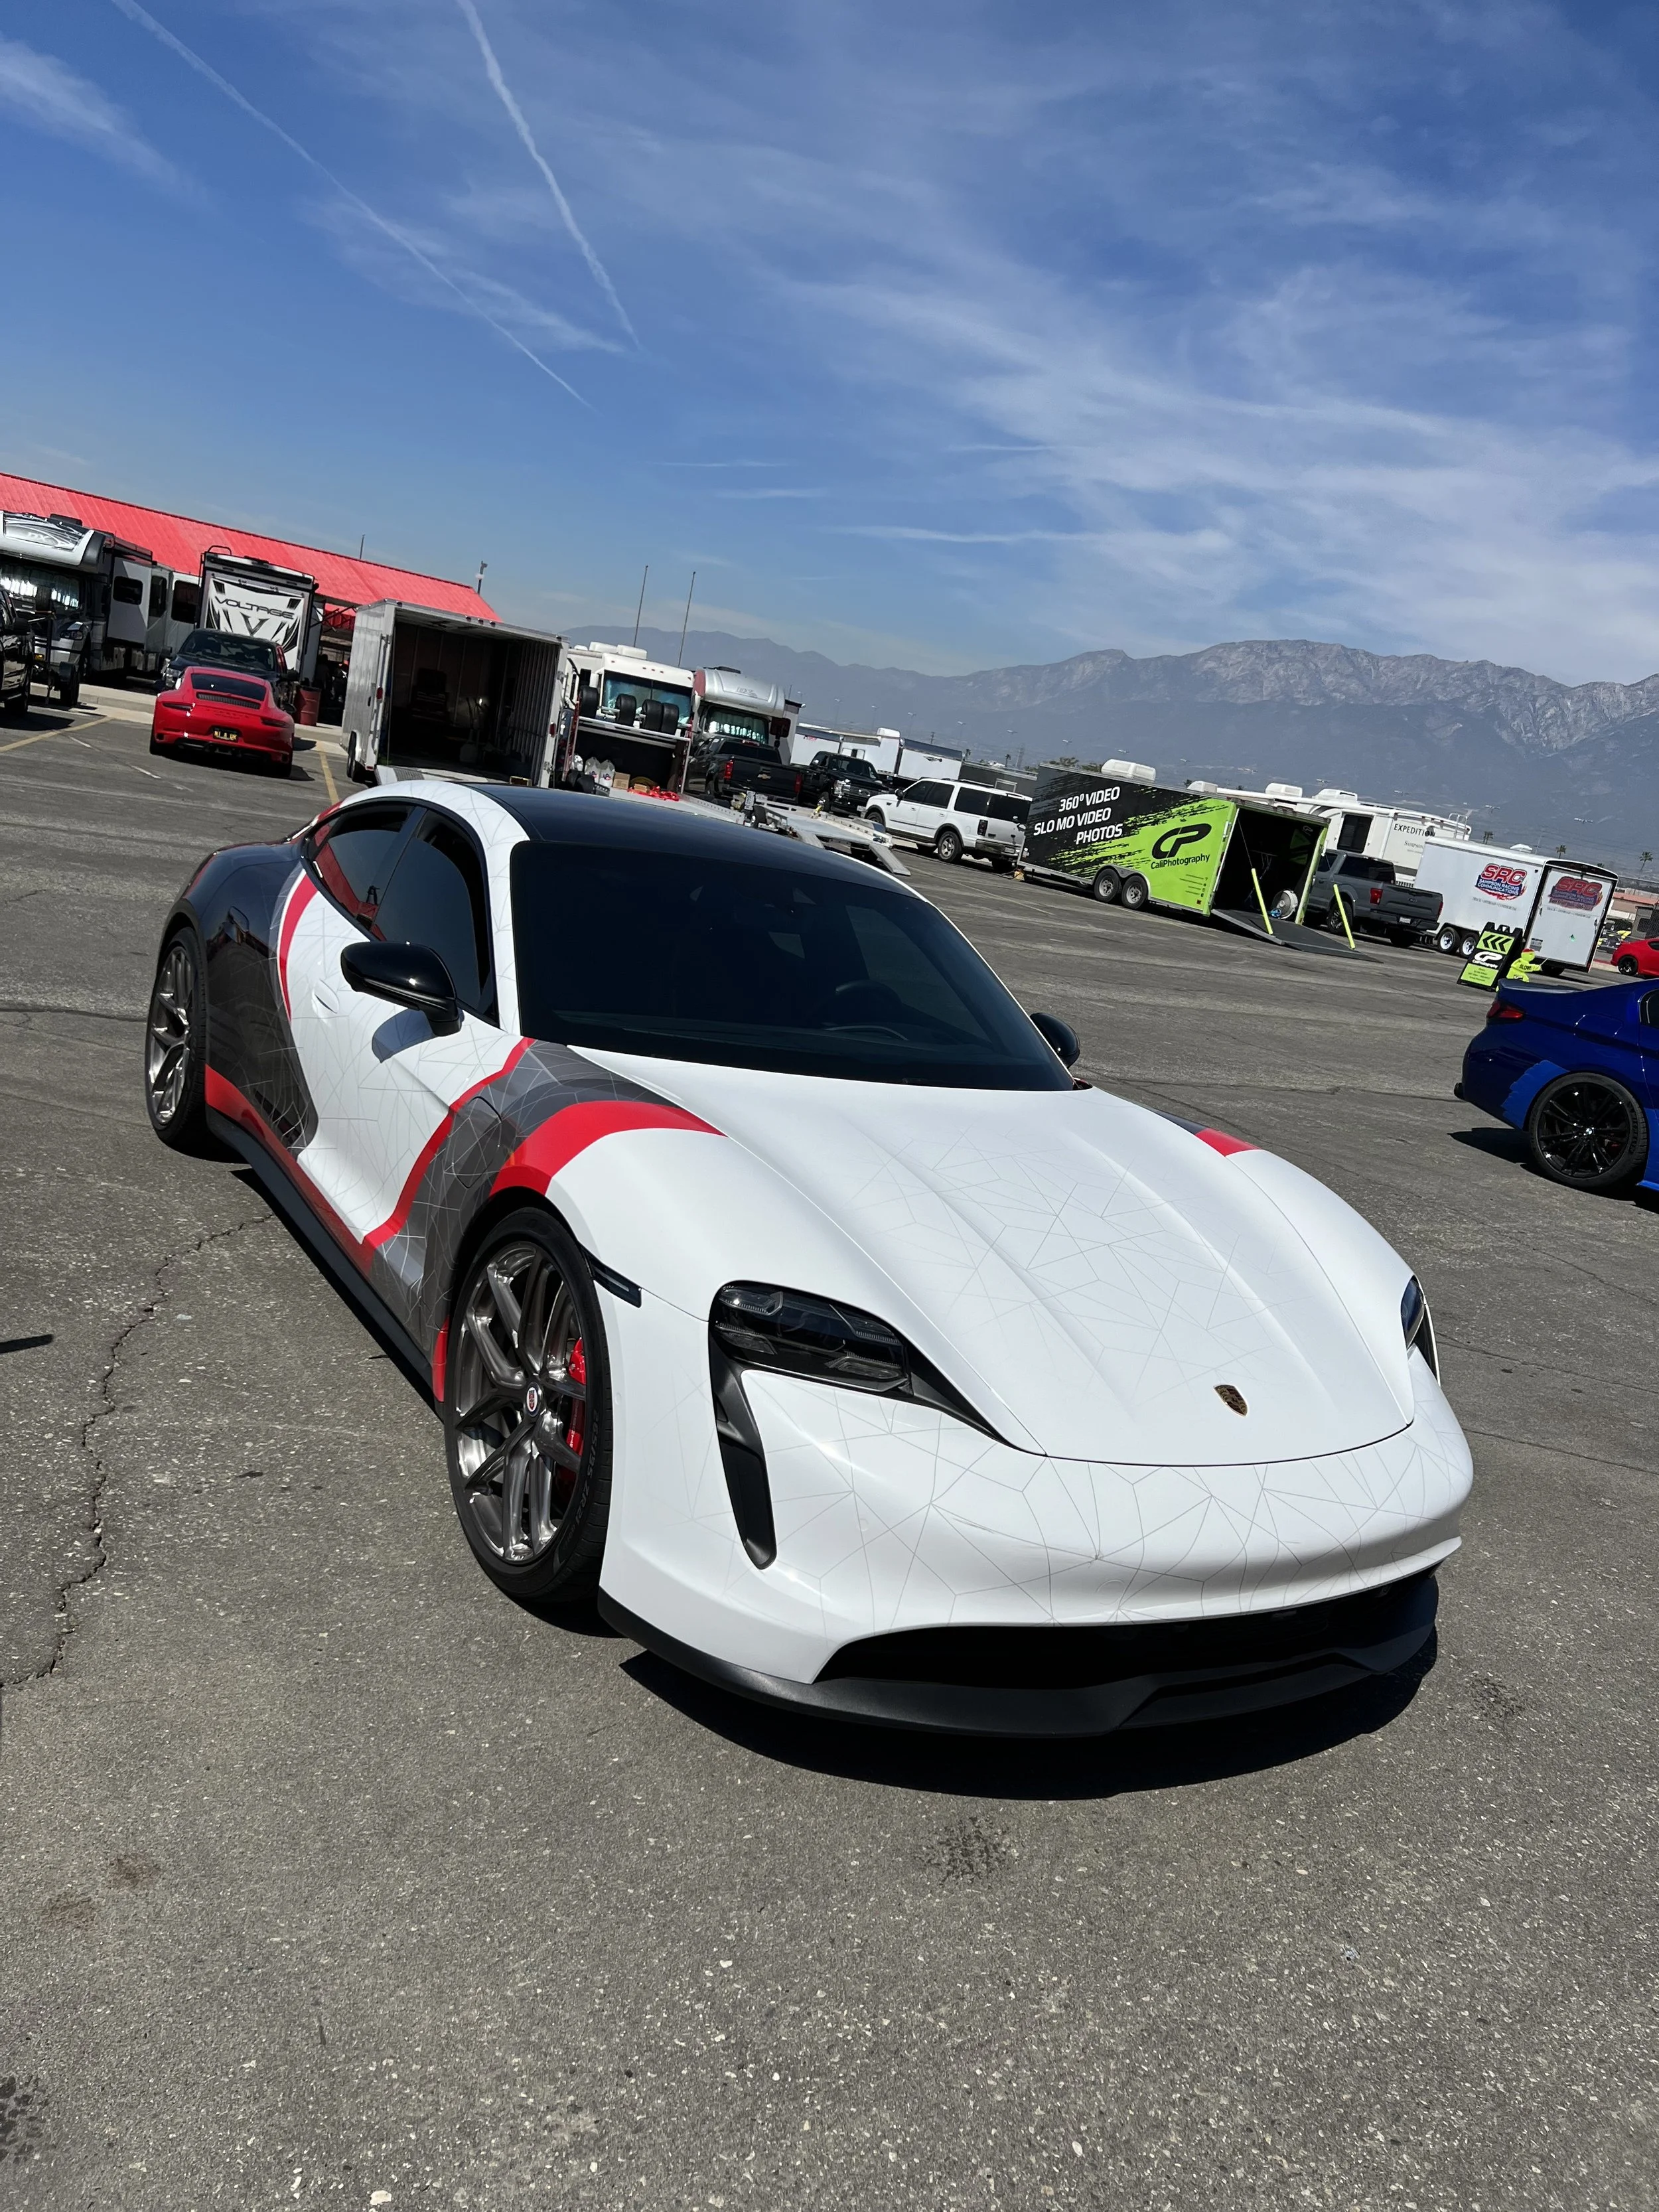
Porsche loaned NASA a new Taycan as our Official Pace Car for the weekend
Looking at data after ST qualifying
The chrome red really pops in the sunlight
So…somehow, both myself and our neighbors at Lang Racing Development (in their Norma M20F, which was P1 in SU and Pole for the ST race) ended up rolling to the grid a few seconds too late, after NASA had already released all of the other cars. This meant that the two cars that should have been on the front row for the first green flag went out on track P25 and P26 out of 27 cars (at least we weren’t last, kidding). So, I ended up battling through the entire field and passing 16 cars for position by the time the checkered flag was thrown. I finished on the podium in SU class (P3), and would have been P2 in ST4 class.
Ride along with me for a super fun race here:
WERC 3 Hour Enduro
For the Enduro, we decided to have Jon qualify and start the race. He did an incredible job putting the car in P2 for E1 class (out of 9 cars) with a time of 1:52.047. Ride along with him for that lap here:
Loading up Marc’s truck for our pit setup
We were set up in pit spot #18 next to our NorCal friends from SpeedSF

Jon on pre-grid before the start of the 3 Hour Enduro
We had a really strong start to the race, with Jon taking the lead in E1 class for a portion of the first hour. After the second hour, the top 4 cars in E1 class were all on the same lap and the battle became more about fuel consumption and pit stop strategy.
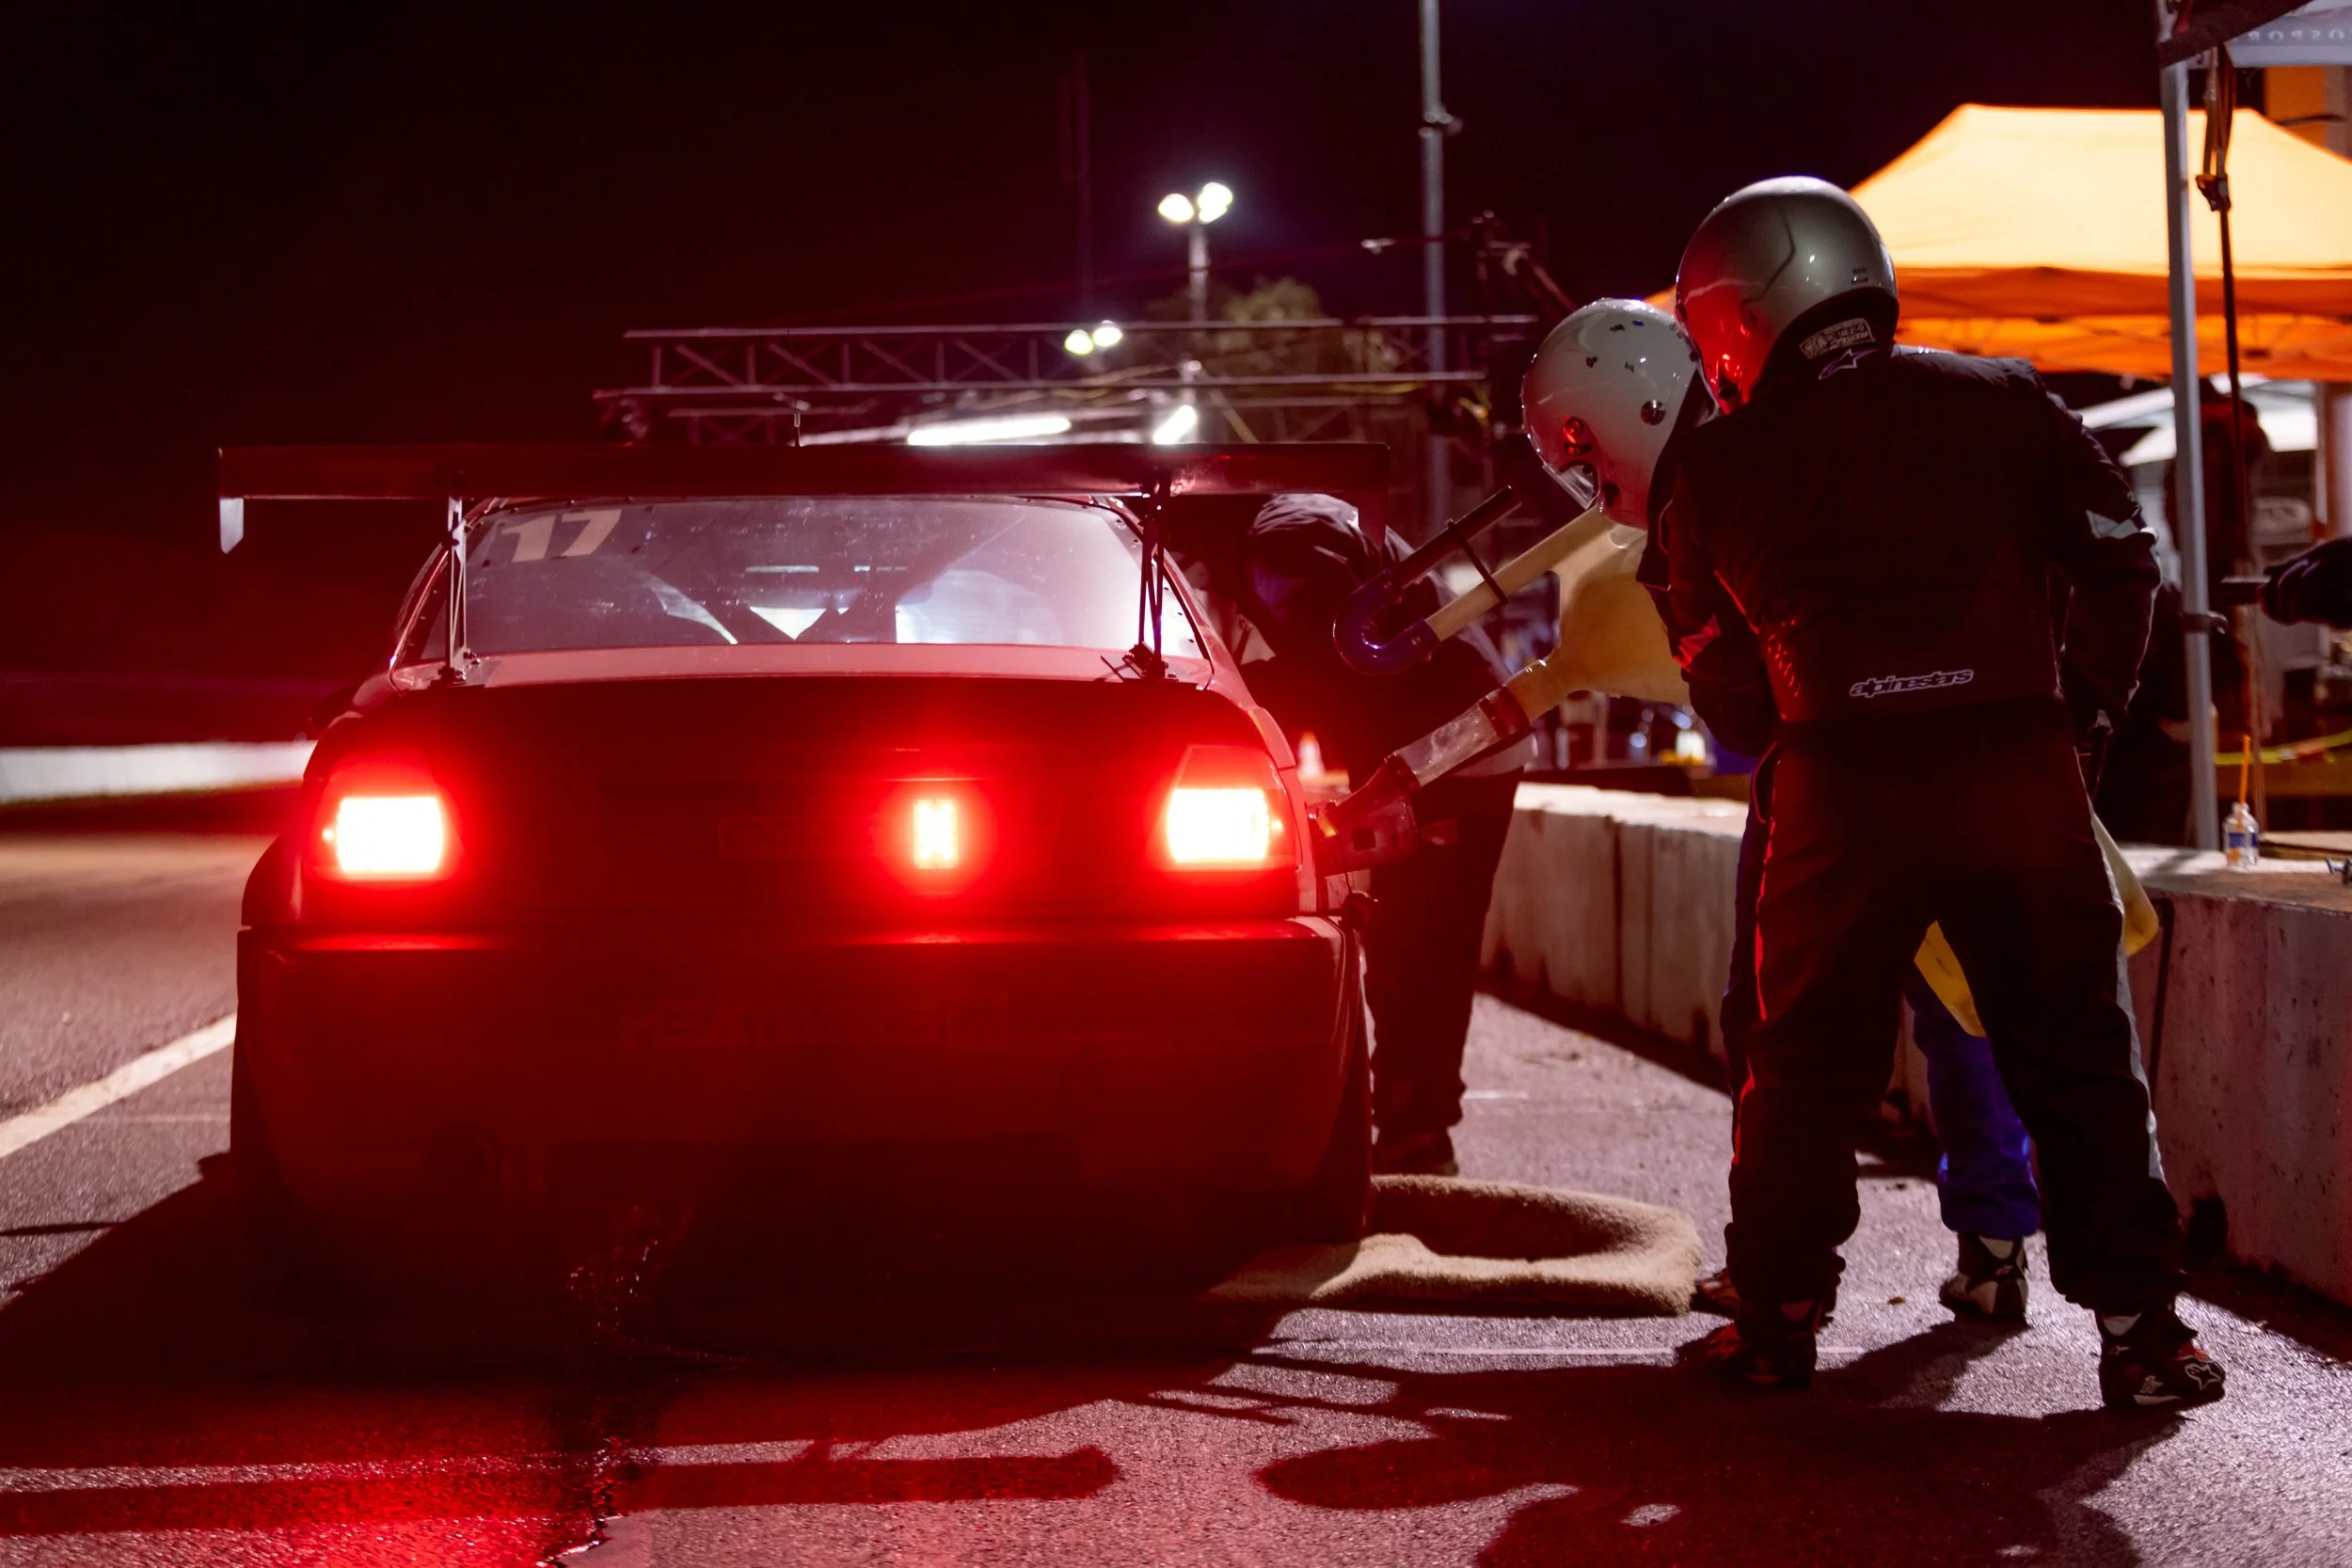
First fuel stop
Unfortunately, with 40 minutes remaining we needed to make one final stop for fuel. We decided to also do a driver change then, and as I got settled into the car the team had a miscommunication around the release of the vehicle. We weren’t done fueling yet, but I thought I was being told to go. This resulted in some fuel being spilled, and a 10 minute (5 lap) penalty. So as I rejoined the race with 35 minutes to go, we tumbled from P2 in E1 class down to P7. And then, just one lap later there was a full course double yellow. The safety car came out, and another lap later they threw the checkered flag at start/finish. We ended up P7 in E1 class and 22nd overall (out of 37 cars). Bummer.
As you can imagine, we were super puzzled by what happened and obviously disappointed about the penalty and not having a chance to fight back. It was only until after the race director gathered all of us in the paddock that we learned the reason for the race ending 30 minutes early. Apparently, an elderly woman fell and injured her head in the paddock. Normally, the track staff would have called 911 but given the severity of the injury NASA decided to send this woman in the track ambulance to the hospital; which was 100% the right decision. As such, we could no longer complete the race without an ambulance on site and rather than parading us around for 30 mins under double yellow, the race director ended the race.
Hindsight is always 20-20, had we known the race would have ended 3 laps later we would have kept Jon out and cruised around on fumes. We would have likely ended up on the podium still. But it wasn’t meant to be.
We will take this as a learning opportunity for tightening up our pit stops, and we will come back even stronger as a team.
Ride along with Jon for an action-packed first 30 mins of the enduro here:
What’s Next
As always, we intend to regroup and come back better than before. This first weekend taught us a lot and we are happy about the improvements that we continue to make with “Ursula.” With any new race car build, there are always teething issues and small things that you figure out along the way.
We are also motivated by the improvements that we will continue to make as a team. The road to the 25 is long, but we are up for the challenge. Most importantly, we want to thank some truly incredible friends for their help this past weekend. Shout-out to Marc, Andrew, Karla, and Carlos. We could not have done it without you!
Also, special thanks to Mr. and Mrs. Capinpin for the delicious loompia and siopao. And thank you to Herb for the awesome photos.
See you at Thunderhill in April!
After the 3 Hour WERC Enduro

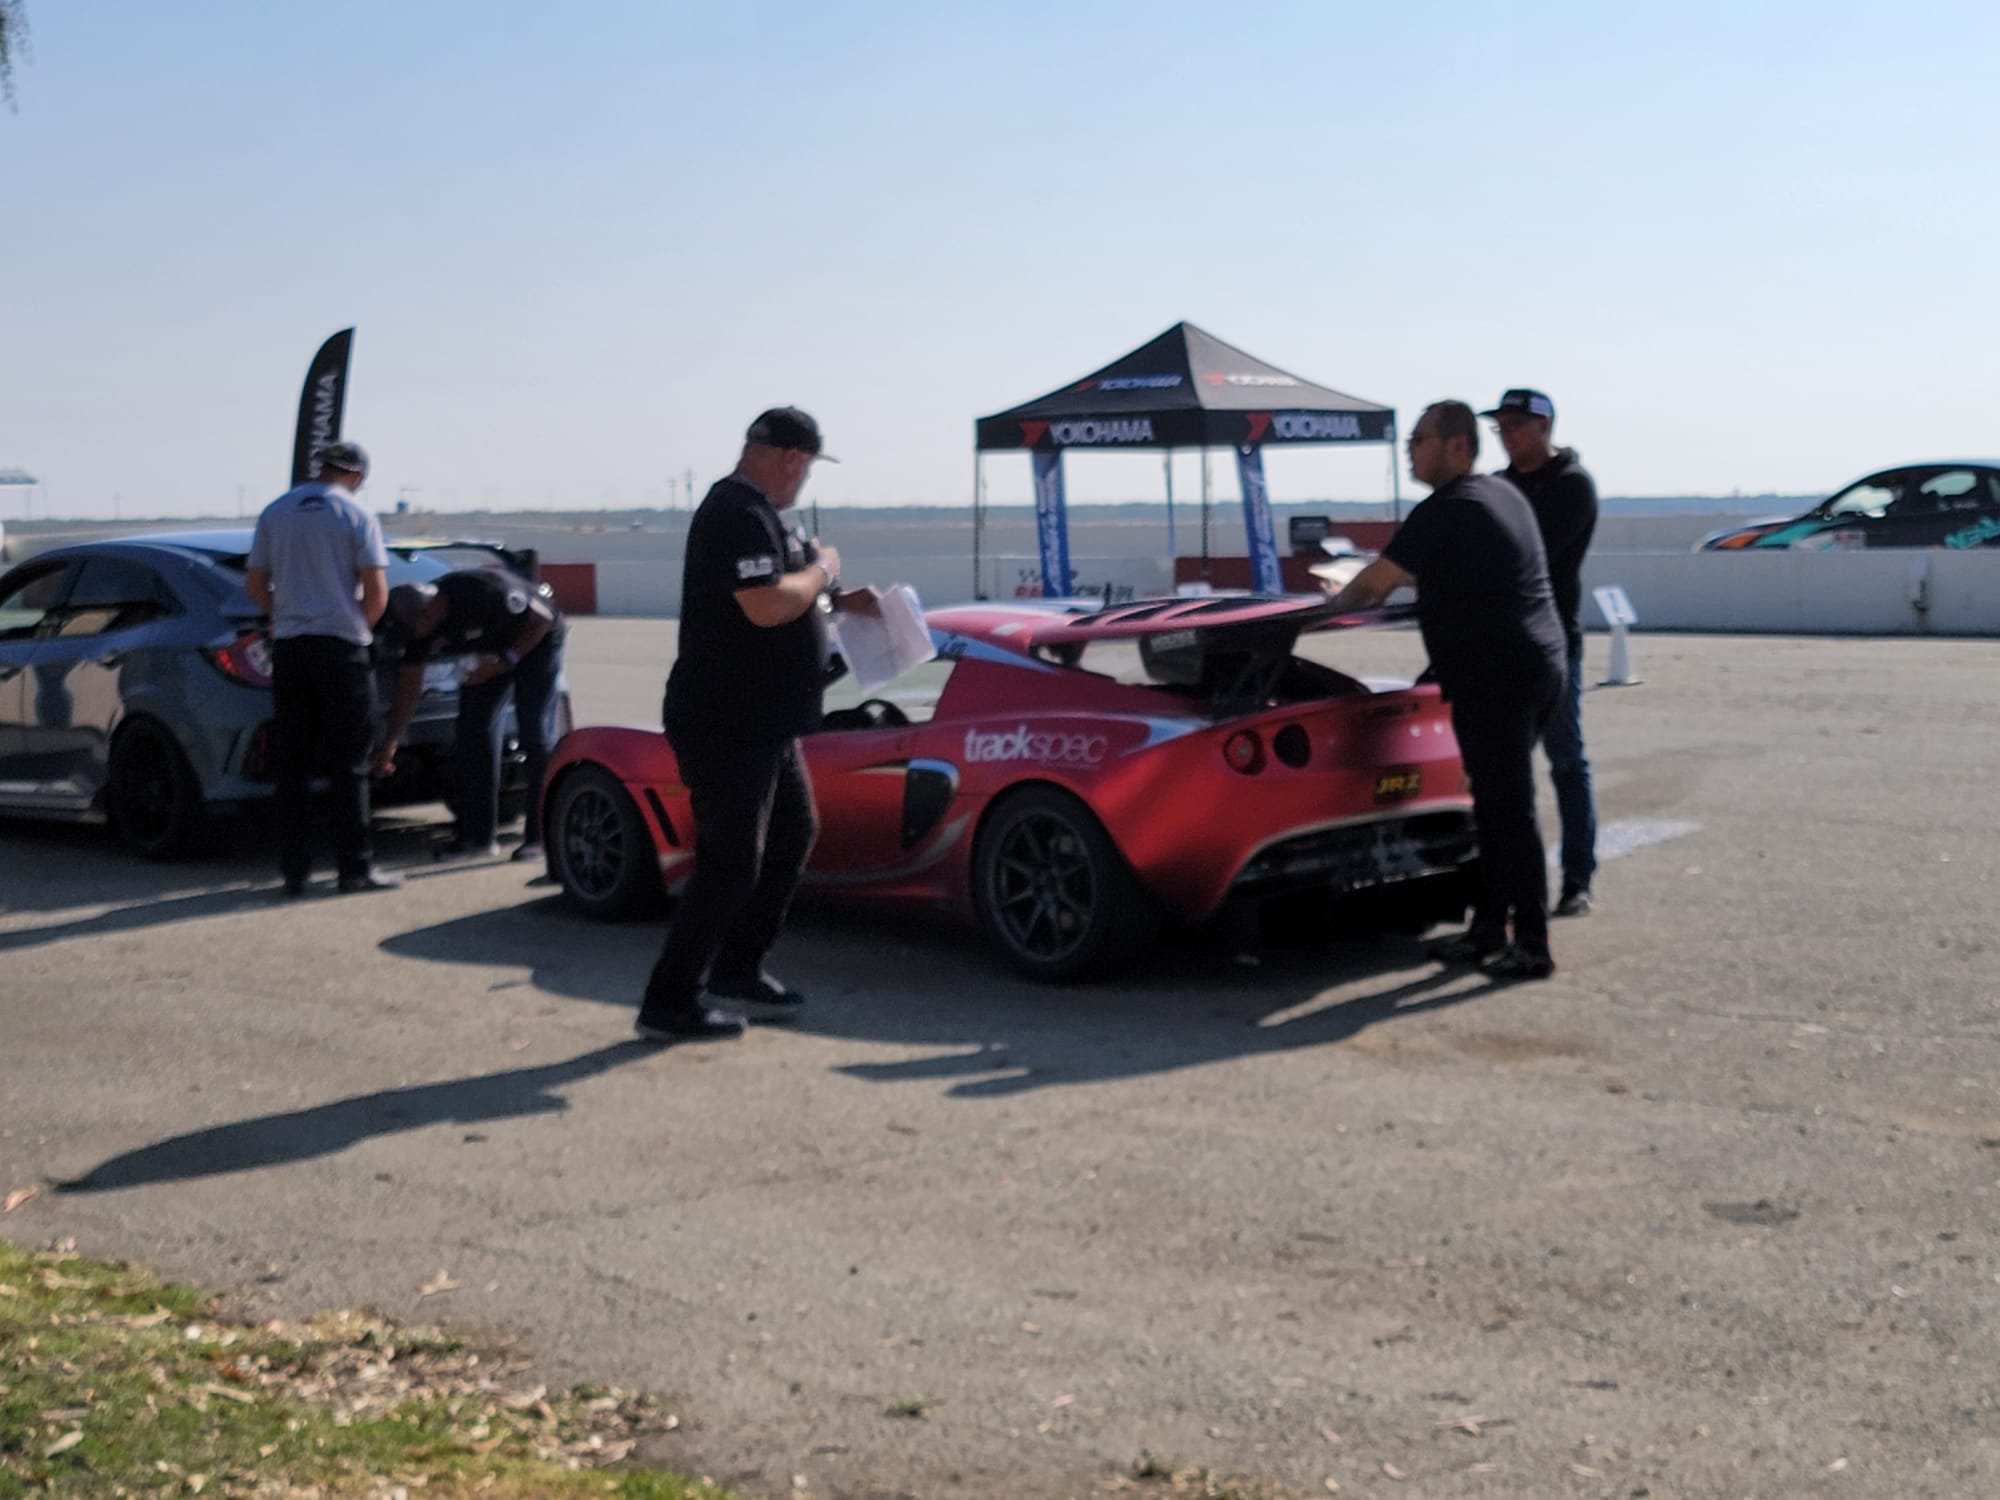
Trackspec's K24 Exige- Global Time Attack
A few months ago, we decided to register for this year’s 2021 Global Time Attack and Super Lap Battle Finals at Buttonwillow. The Exige wasn’t built for time attack, but we thought it would be a fun place to compete and see how capable the Lotus with a K-series really is; even if it is heavily outgunned in its class (because of the rule set, the car falls into Limited, a class that normally sees cars with forced induction engine setups making well over 600whp). We decided to set our own goal of a sub 1:50 lap, which may be the first naturally aspirated Elige to do so. The best time this car had done previously at Buttonwillow 13CW was a 1:51.7 on Falken RT660s.
If you’re looking for:
Part 1: The Rebuild, go here.
Part 2: The Wrap, go here.
Part 3: More Goodies, go here.
Part 4: Aero, go here.
Part 5: Cooling, go here.
Part 6: Fuel & Oil Control, go here.
Part 7: Clutch, Trans, Misc., go here.
Part 8: Roll Cage, go here.
Part 9: Brakes, go here.
Part 10: K24 Swap 1, go here.
Part 10: K24 Swap 2, go here.
Part 10: K24 Swap 3, go here.
Part 11: K24 Head Work, go here.
Part 12: K24 Swap Rewire, go here.
GTA Super Lap Battle
A few months ago, we decided to register for this year’s 2021 Global Time Attack and Super Lap Battle Finals at Buttonwillow. The Exige wasn’t built for time attack, but we thought it would be a fun place to compete and see how capable the Lotus with a K-series really is; even if it is heavily outgunned in its class (because of the rule set, the car falls into Limited, a class that normally sees cars with forced induction engine setups making well over 600whp). We decided to set our own goal of a sub 1:50 lap, which may be the first naturally aspirated Elige to do so. The best time this car had done previously at Buttonwillow 13CW was a 1:51.7 on Falken RT660s.
More Power
We figured that this would be a good time to experiment with the K24 and see what the engine can do with some relatively basic mods.
4 Piston Racing TSX CNC ported head, their RR3 road race cams w/ Supertech Performance valve springs/retainers and Ferrea valves.


RBC (06+ Civic Si) intake manifold with an Acura ZDX throttle body. The RBC manifold is one of the better flowing ones compared to all of the other OEM options and the ZDX throttle body is the largest OEM drive-by-wire throttle body available. An adapter is needed to mate these two together and some port matching to smooth out the air flow.


We also installed OEM Acura RDX injectors that are 410cc to support the additional power. An OEM headgasket with ARP head studs is what we used to put the head back on the block.
With all of the track miles this motor has seen, the inside was clean! You can see remnants of carbon build up from the engines past life (this was a junkyard motor). We threw the cam caps and rockers in ultrasonic cleaner to get them nice and shiny.


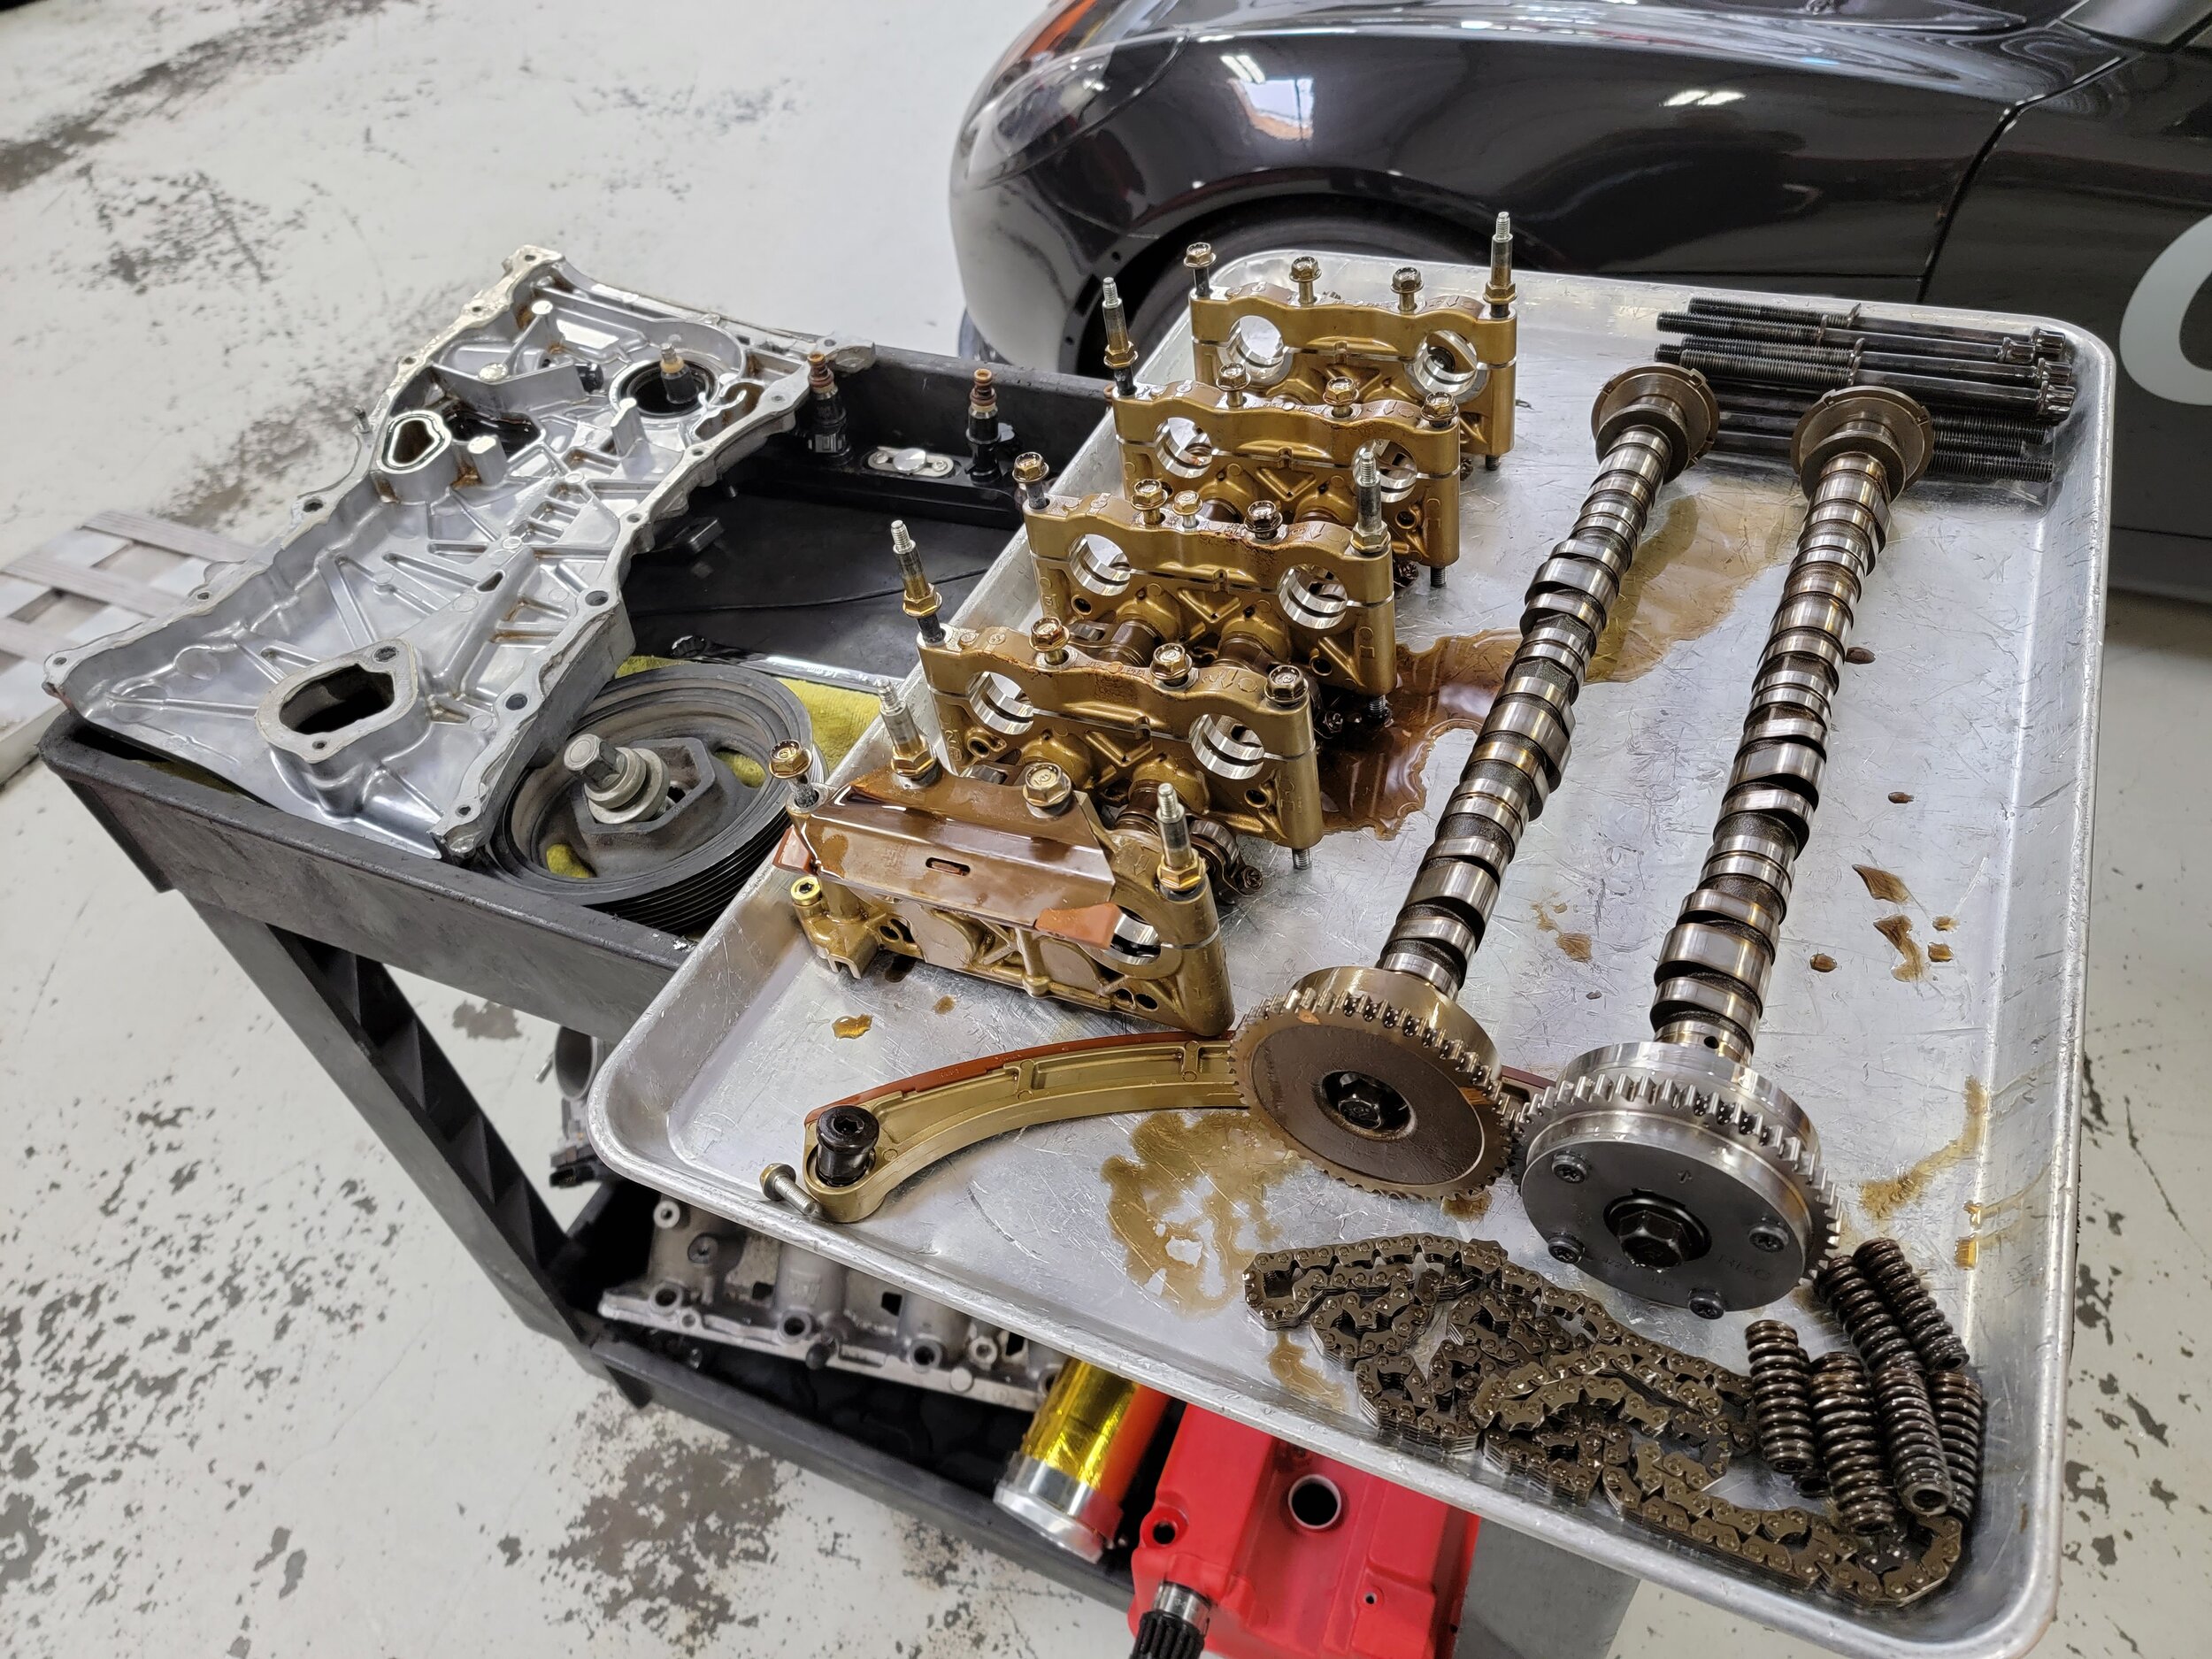


Putting the head back on was straight forward. There weren’t any surprises that you might find with other engine swaps and replacing the head on the K24 was the same amount of work that a 2ZZ would have been. The RBC manifold has much longer runners than the stock RBB manifold, so it sits close to the firewall, but there’s still enough clearance for the engine to move around.

Once it was all back together, we took the car to Jei at Blacktrax to re-tune the car. With the better flowing head, the gains really started to show above 6k RPM where it made nearly 50HP over the stock configuration last year. I was really happy with the results and excited to try it out on track.

Stock K24 vs K24 with head work
Stock supercharged 2ZZ vs K24 with head work
Global Time Attack
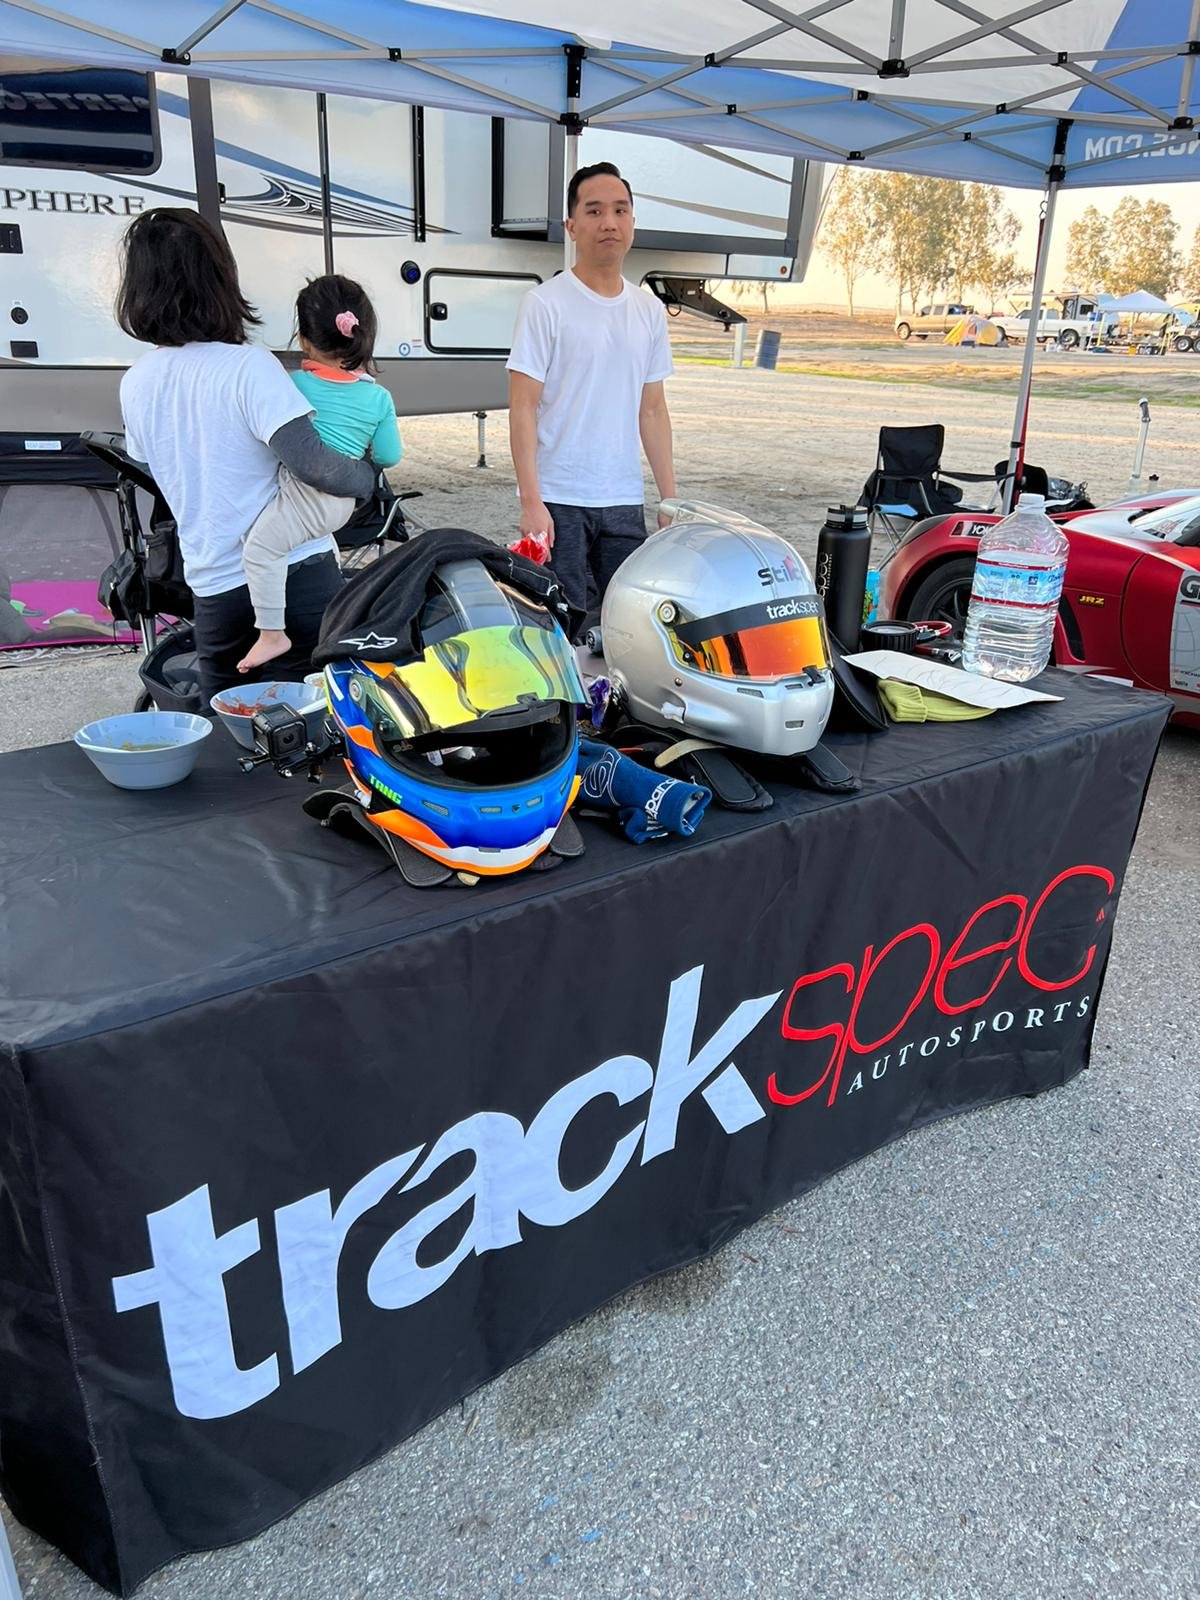
GTA finals is held at Buttonwillow Raceway every year and this would be my first time participating. Victoria, our 1.5yo daughter, Harley, and I arrived to the track on a Thursday evening where a 5th wheel RV was waiting for us. It made sense to rent one and camp at the track since we would be there for the entire weekend.


Shortly after unpacking and setting up, Tom and Marc arrived. There wasn’t much to do to the car, so we had a pretty relaxing night.
A few weeks prior to this event, we were at Thunderhill when a storm passed through and our canopy didn’t survive. Luckily, Martin at Supertech Performance lent us his nice 10x20 canopy. Thanks, Martin!
Practice
Friday was a practice day. The track was open for the competitors to test, tune, and practice for the competition. For our Exige, this would be the first time driving it on the Yokohama A052 street tires, so we really needed the day to get familiar with them and with the additional power of the new built head.
As suspected, the most noticeable difference with the car was how much top end it now had. Instead of running out of breath round 6k RPM, the engine now pulls all the way to redline. This meant making minor changes to the shift points that we were used to.
The A052s worked very well, but like on other cars, there is a very small window on when they have the most grip. We found that after warming up on the out lap, we could only get 1-2 hot laps before having to cool them down again.
After a few sessions, we decided to make some adjustments to the shocks, and change the wing angle. The day went smoothly and with consideration that we had two more days ahead of us, I was able to turn a 1:53.1 lap and Tom a 1:51.2, already besting the car’s precious PB at this track. Promising!

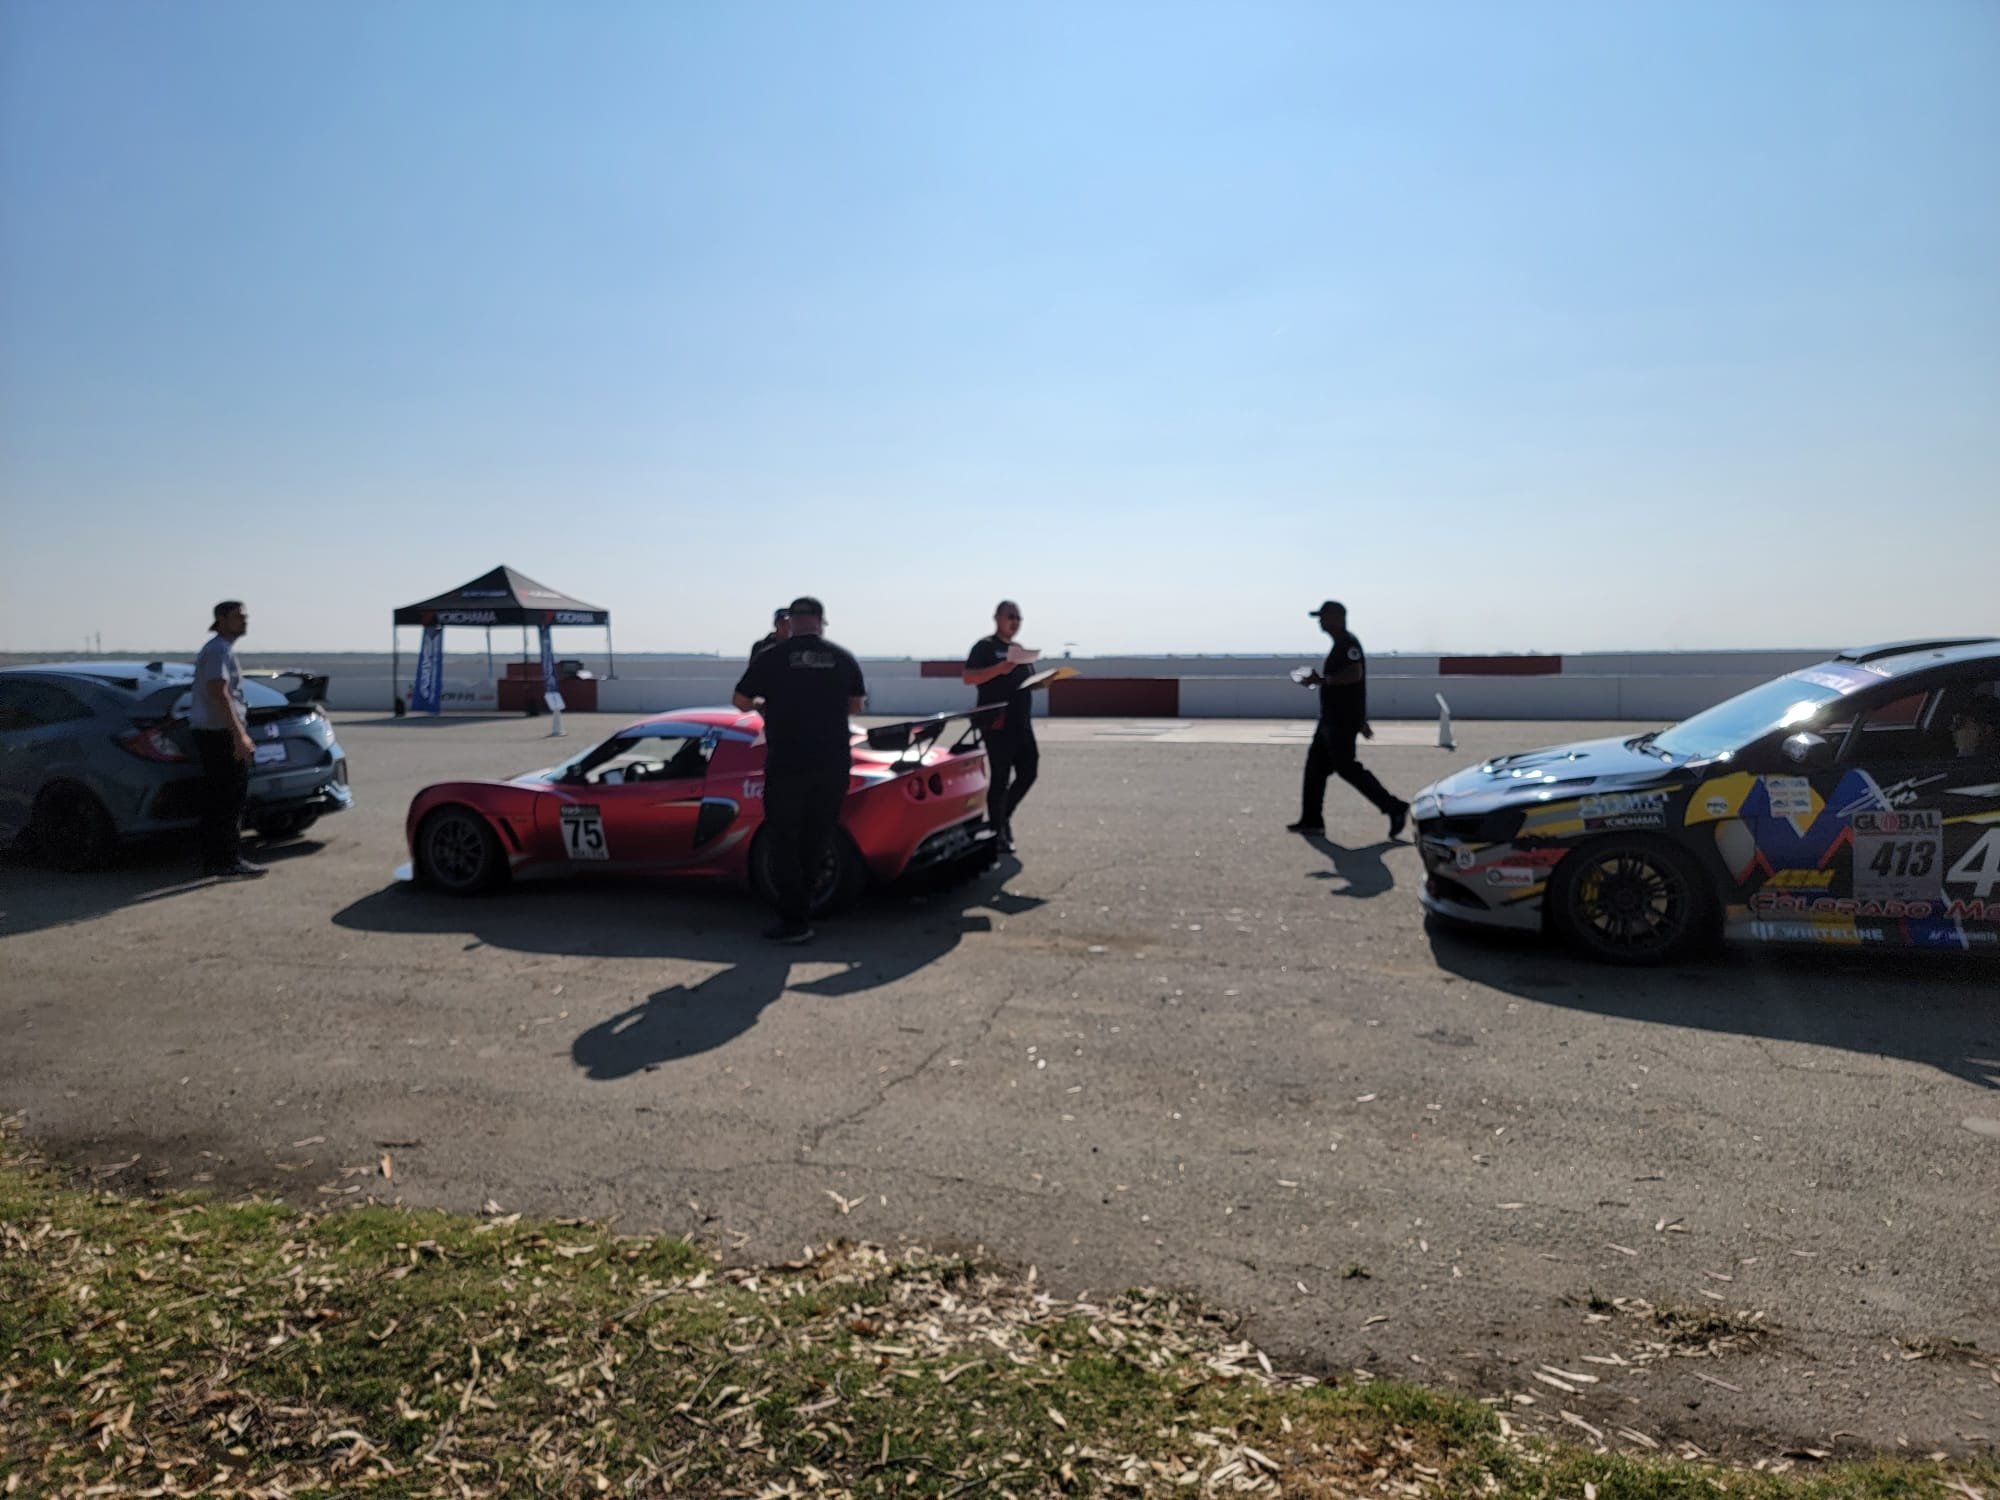
When we were done driving for the day, we took the car through GTA’s safety tech inspection.
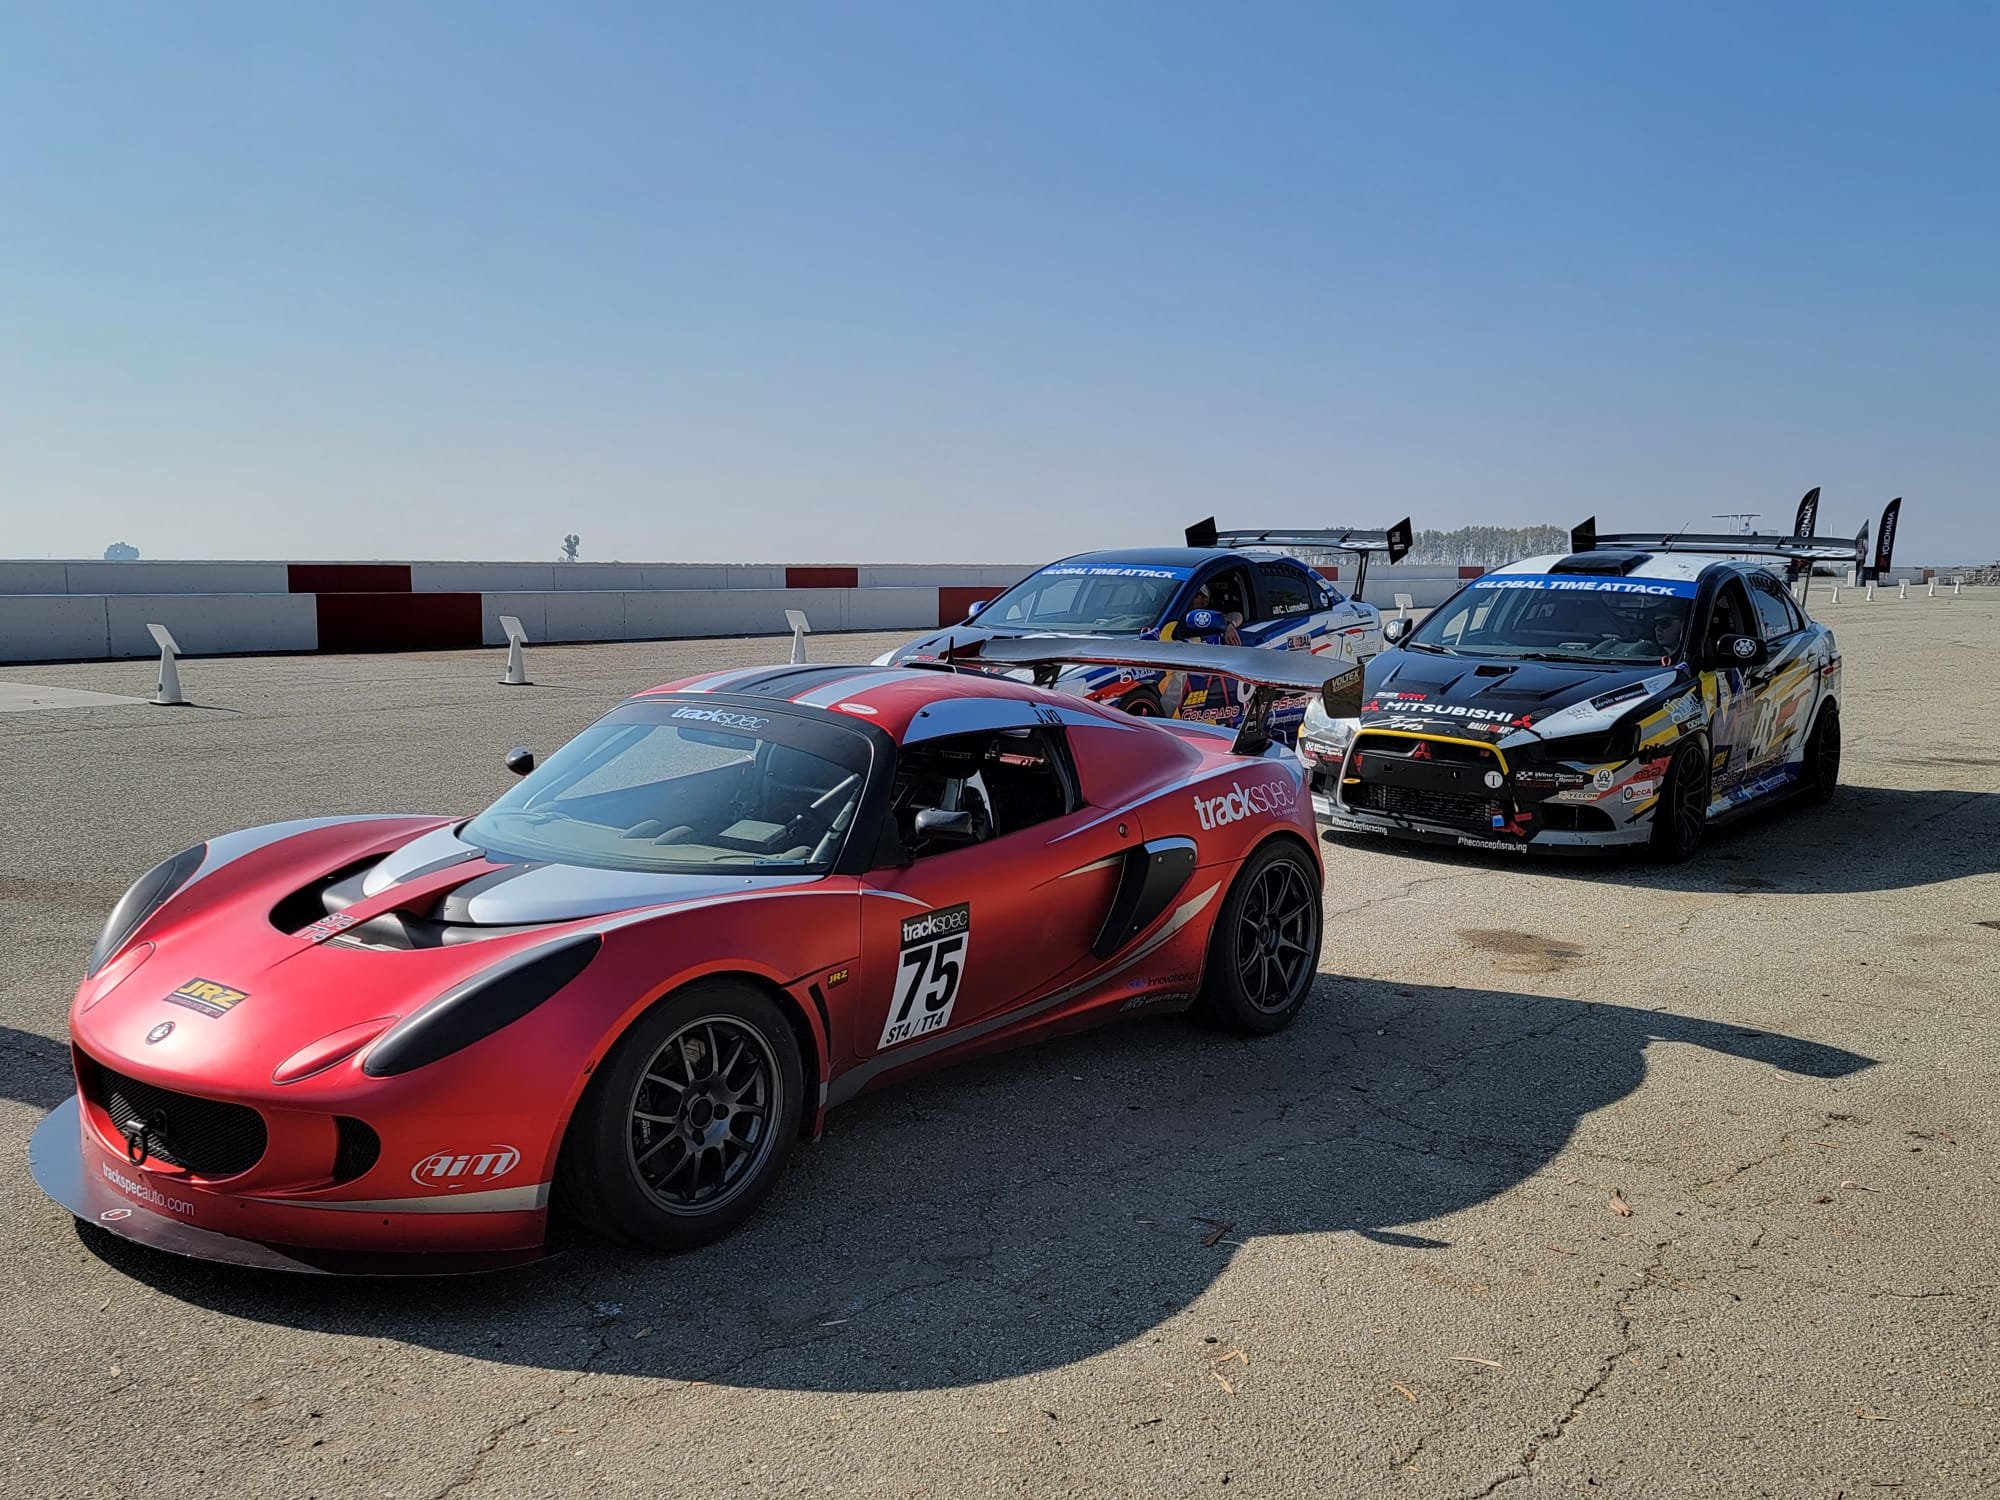
After passing tech and going through registration, we were given some event sponsor decals. We spent some time putting them on the car and did a mini photoshoot with Tom’s iPhone.


Competition Day One
On Saturday morning, we woke up to a very foggy track and were delayed until 11am.
Competitors are grouped and gridded by their times from the practice day and the grid positions update after each session. This minimizes the amount of passing that has to go on during each session. Because of the delay in the morning, some of our sessions were only about 10 minutes. This meant that we did our warm up lap, and hoped to get two hot laps in without anyone going off in front of us, caution flags, or cars dumping fluid on the track. By the end of the day, I was able to manage a personal best time of 1:52.0. Tom was a few tenths faster with a 1:51.8.
Jon’s 1:52.0
Photo Credit: Khai Doan
Photo Credit: Khai Doan
Competition Day 2
On Sunday, we had heavy fog again and even some misting throughout the morning. We didn’t get to start our session until after 12pm. Despite the warmer ambient temps and only running one session, Tom was able to do a 1:51.4 lap putting us in P7 out of 19 cars in limited class and 17th overall out of 57 cars.
Tom’s 1:51.4
Sub 1:50 Lap
Between Tom and I, we didn’t get a chance to get into the 1:49s like we hoped, but we still had a blast and considered it a successful weekend. However, our friend Graham surprised us on Saturday by coming down to support and to hang out. We threw him into the car at the end of the day on Saturday for an unofficial run and he did a 1:49.5 lap! We had been struggling with shifting into 5th gear all weekend and later found two issues. One, the shifter bearings in our shifter started to seize up from moisture, causing it to bind, and two, one of the motor mounts was starting to come loose. We believe that the car is capable of a 1:48 with some more set up development on the A052s, some more shock tuning of the JRZ dampers, and no misshifts. I’m really amazed by how incredibly capable this car is with only 250whp, and can’t wait to continue developing it in the year ahead.
categories
search by author
search by year
Search by tags
- 111r 1
- 13cw 1
- 25 hours of thunderhill 3
- 330 2
- Emtron 1
- Honda 1
- K20 2
- K24 2
- acr 1
- aim 1
- aim sports 1
- alfa romeo 1
- anniversary 5
- ariel atom 1
- audi 1
- auto club speedway 2
- bbq 3
- bmw 3
- buttonwillow 5
- canepa 1
- car show 1
- caravan 2
- cars & coffee 1
- championships 1
- circuit of the americas 1
- competition 2
- concentric twist 1
- cota 2
- drift trike 1
- drives 5
- e0 1
- e36 8
- e46 2
- edrifttrikes 1
- elise 4
- endurance racing 2
- evo 1
- evora 1
- evora 400 1
- evora400 1
- exige 16
- f80 1
- fiat 1
- fiat x19 1
- formula 1 1
- formula car challenge 1
- g-loc brakes 1
- garage sale 1
- gglc 4
- global time attack 1