
Trackspec's Exige S240 Project: Part 7, Clutch, Trans, Misc.
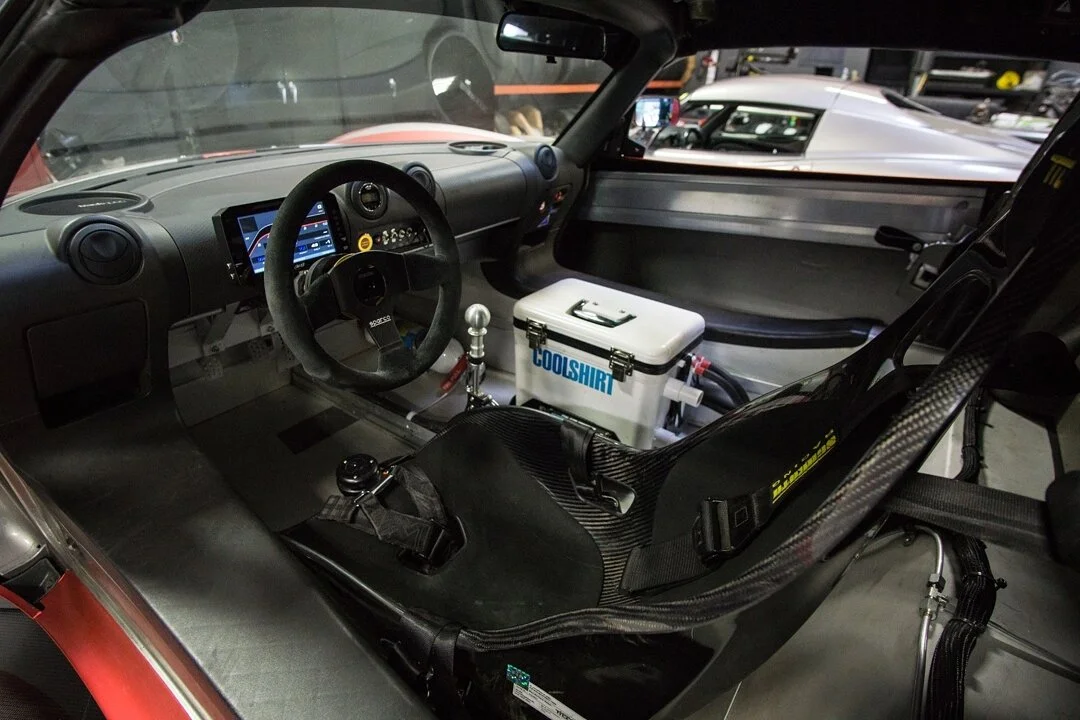
Transmission Rebuild
At the last two-day track day at Buttonwillow with Speed Ventures, shifting in the Exige started to get notchy. It would sometimes be difficult to get into gear, but we kept driving it anyway. By the last session of the day, we were not able to get the car into gear after pulling off into paddock. If the engine was off, it would go into all gears, so we suspected it to be a failed clutch that was not fully disengaging. The Exige was out of commission for day two, but we still stuck around to hang out with our friends and customers. Despite that, I was able to do a personal best lap of 1:55.54, and our good friend Graham Downey, a 1:54.35. It’s amazing how he can jump into any car and after a few laps, turn some serious lap times.


When we got back to the shop, we pulled the gearbox for inspection. As we suspected, a small piece of the clutch broke off and it was getting lodged between the disc and clutch cover, not allowing full disengagement.
The car already had an ACT HDSS clutch in it, and since we haven’t had issues with ACT clutches before, we decided to replace it with the same clutch. The car is still making stock power, so a heavy duty pressure plate with a street disc pairs well. It never makes sense to “over clutch” a car. We did however change to a Fidanza aluminum flywheel, which is about a pound lighter than the lightweight flywheel that was already in there. We really like this combo, but the lightweight flywheel does cause some chatter on engagement.
While we had the transaxle out of the car, we put in some fresh synchros and a Quaife LSD. There is a lot of debate on whether these cars benefit from a limited slip differential or not because of how they can affect turn-in and the handling dynamics. We’re willing to experiment and find out for ourselves. Stand by for our review.


New Front Splitter
The Reverie front splitter we put on the car is very well made and we have no complaints. However, it is pricey for a “consumable” part and took a few weeks for us to receive from the UK. In NASAs ST4 class, we are allowed 4” from where the splitter meets air dam, so we wanted to maximize that. The splitter must also be flat, which the Reverie one is not. Our solution is to make a custom part. First out of cardboard, then wood, and finally Carbon.
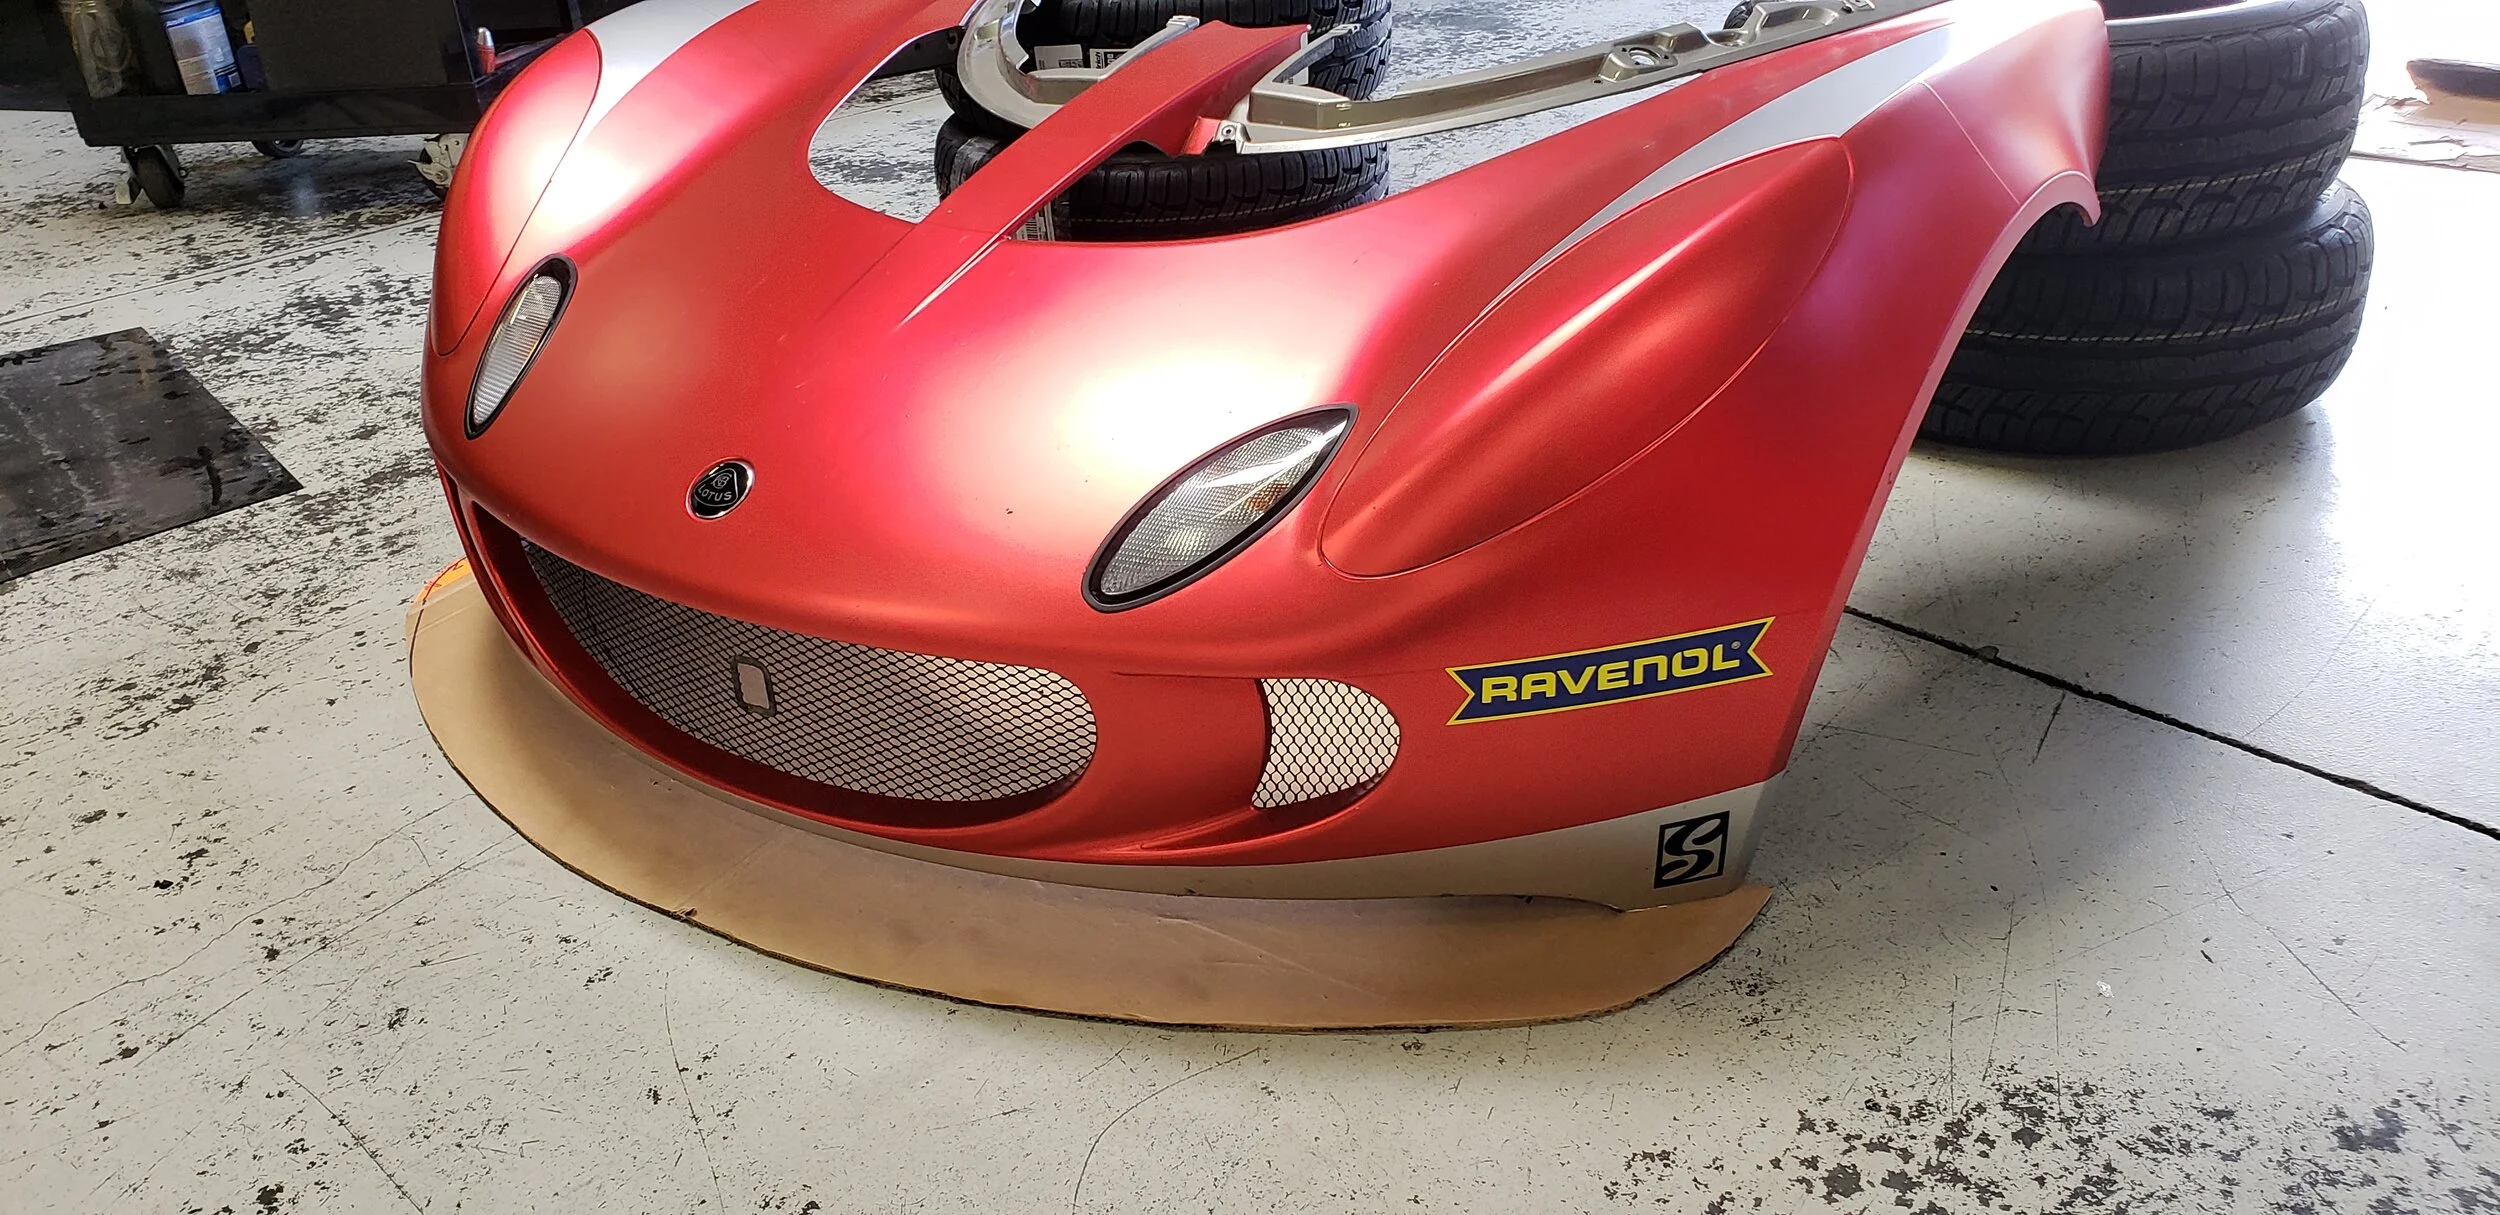


Our first attempt at the carbon splitter was unsuccessful. We tried a different lay up than our usual, but did not provide enough flow channels for the resin infusion process. The result was the epoxy resin solidifying before completely saturating the part. The trick is to get the resin to flow through the part fast enough before it dries, but slow enough that it doesn’t leave any dry sections. Oh well.. we will attempt it again until we get it right. In the mean time, we cut out a temporary Alumalite splitter.
More Weight Reduction
It’s time to get rid of everything in the doors to shed some weight. Between the two windows, regulators, panels, locks, latches wiring, and skeleton, we removed about 45lbs!


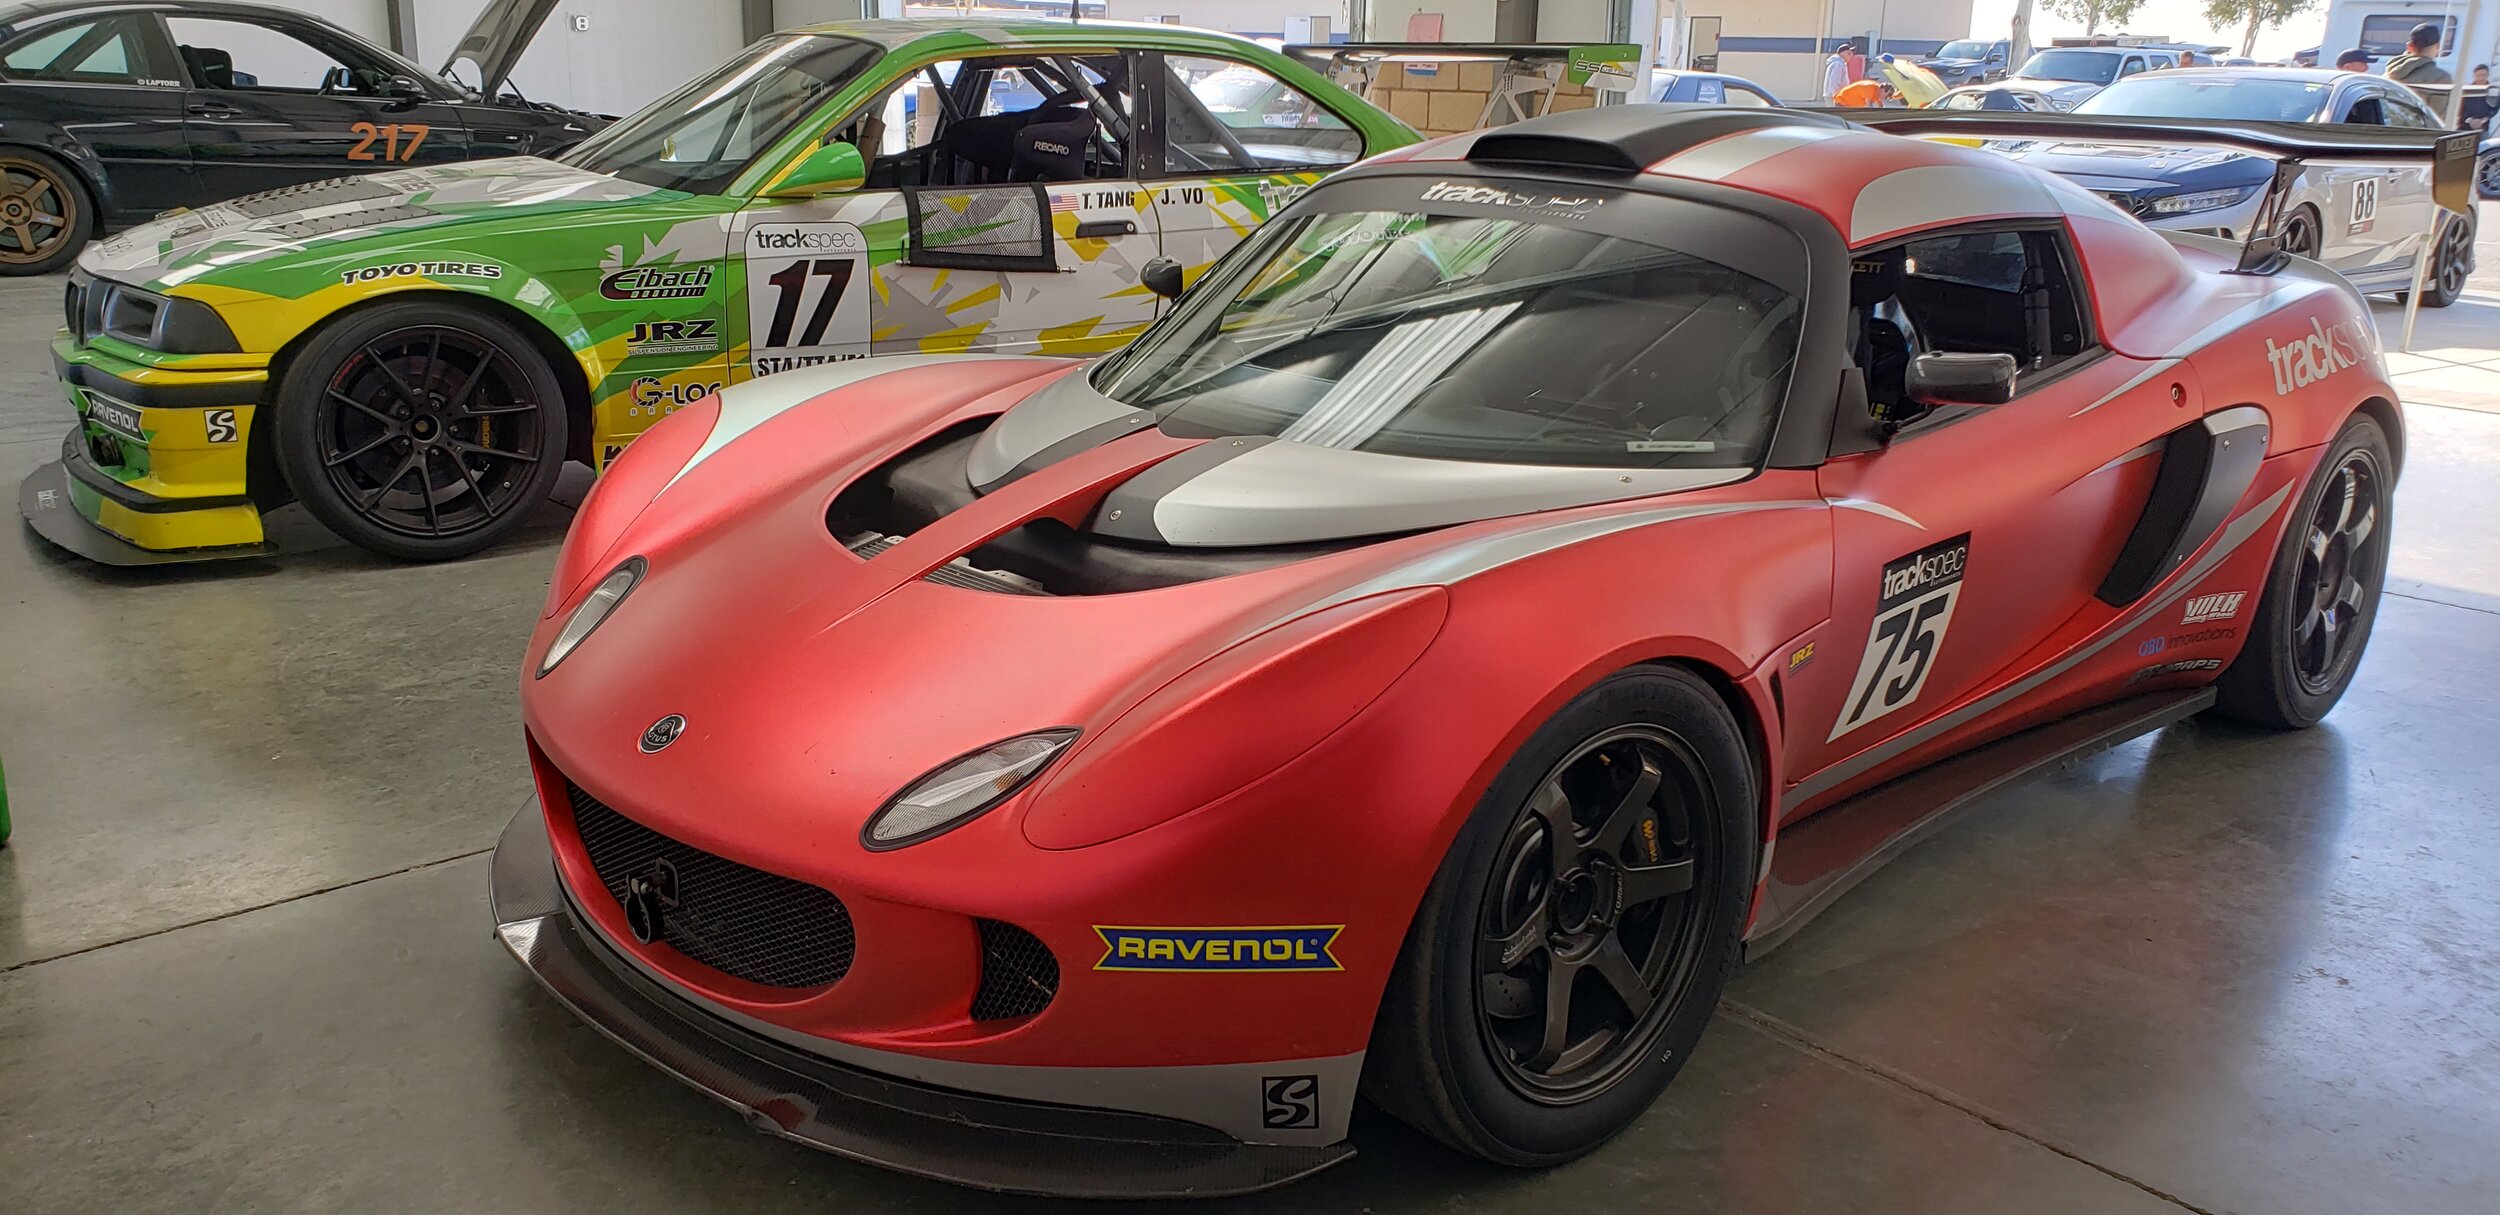
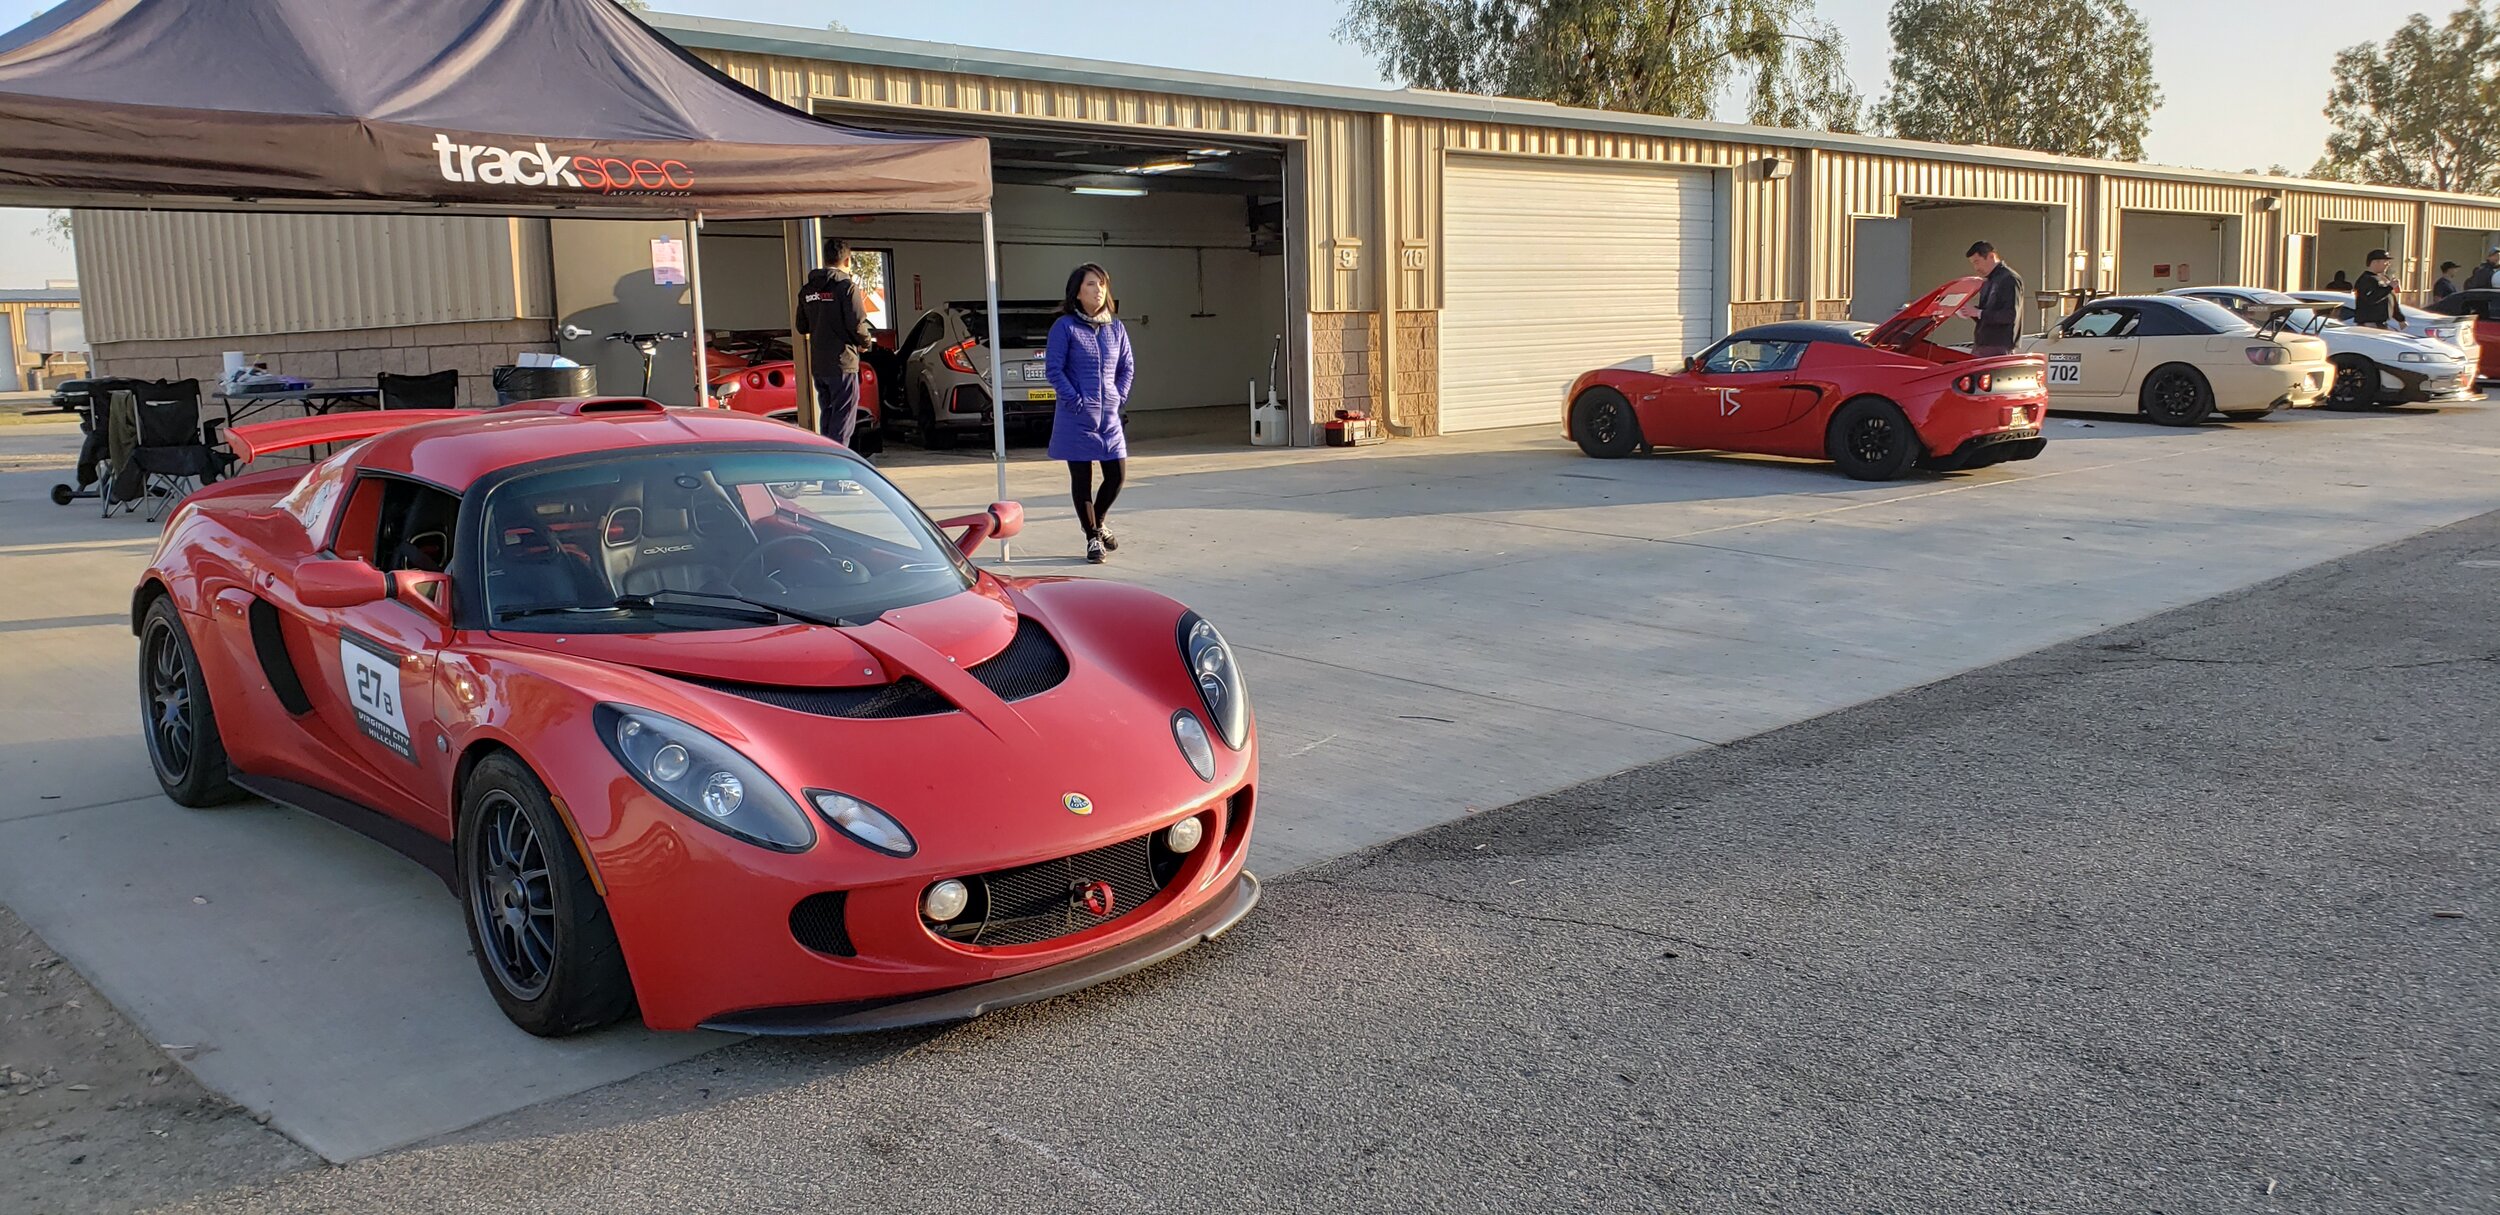
Photos by Martin Buendia
Our good friend, Martin Buendia, stopped by the shop and took some photos of the car. We just wanted to share them because they turned out so great! Thanks Martin!