
Trackspec's Exige S240 Project: Part 5, Cooling
Pro Alloy Charge Cooler
The Exige S is known for heat soaking and extremely high IATs (intake air temps). The stock intercooler is mounted on top of the hot engine and doesn’t get nearly enough airflow through the small roof scoop. It also doesn’t help that the hot air from the radiator exits in front of the windshield and makes its way into the roof. There are some things you can do to help like a larger intercooler, additional ducting from the side scoops, larger roof scoops, or adding fans to the intercooler. These are all helpful, but the stock ECU will start to pull timing as low as 104F. This is to protect the engine, but seems to be a little too conservative. The last time we were at Buttonwillow in December, we logged peak temp of 167F while out on the track. Remember, this was in December when it was nice and cool.
We decided to go with an water-to-air system by Pro Alloy to help keep our IATs in check. The system replaces the standard air-to-air intercooler for a water cooled unit. A water pump circulates and transfers the heat to an auxiliary radiator at the front of the car. We went with the kit designed for the Lotus 211, which mounts the charge cooler in what used to be the trunk. This moves it away from the rising heat produced by the engine, gives us a little more visibility out the back window, and makes working on the engine a little more accessible.
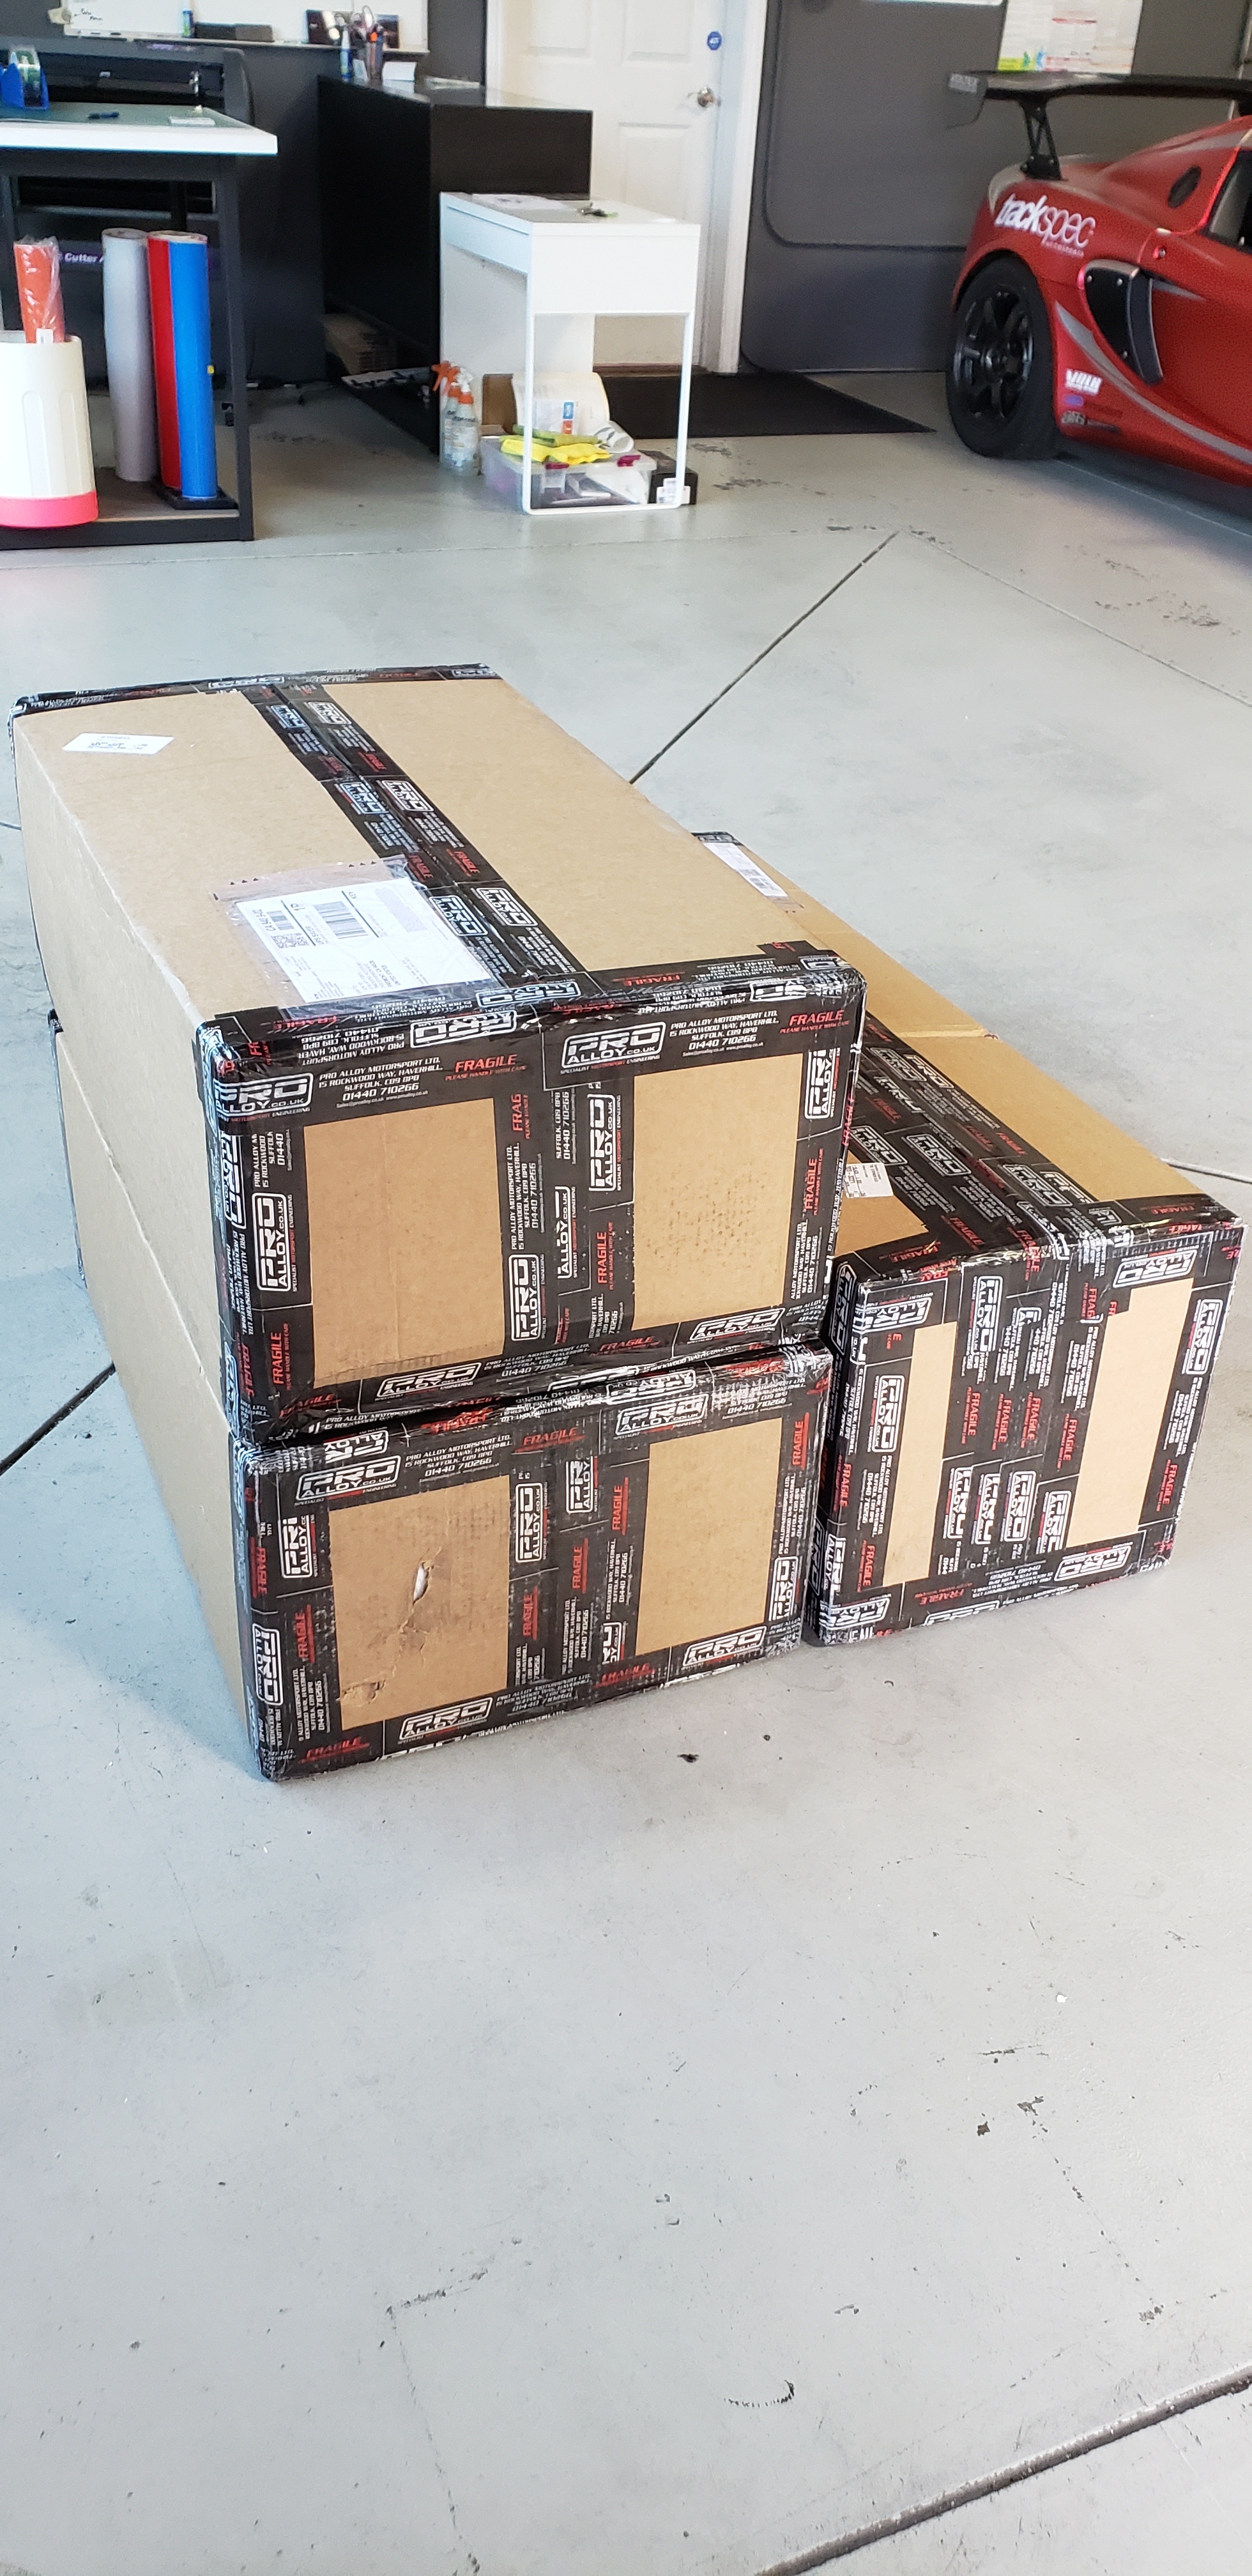


Three kits were delivered from the UK- We will be doing this conversion on two other cars in the shop. We started by removing the front clam and tracing out where to cut the floor of the rear clam. This will allow us to remove the rear clam in the future without having to remove or disconnect coolant hoses from the charge cooler.


A piece of Alumalite with some heat shielding will be used to block the heat coming up from the muffler. The kit comes with a shield to block the heat coming from the header.


The auxiliary radiator attaches to the underside of the main engine radiator. The kit comes with two fans, but we ended up only using one since the engine won’t ever be running stationary for long. The ECU doesn’t turn the fan on until 208F and will only run at half speed until it reaches 217F. We’re going to use our AiM MXP to trigger the fan to come on at 195F anytime the car is moving less that 30MPH. We may have to play around with the settings, but the goal is to have the fan turn on as soon as the car comes off track to prevent it from heat soaking.
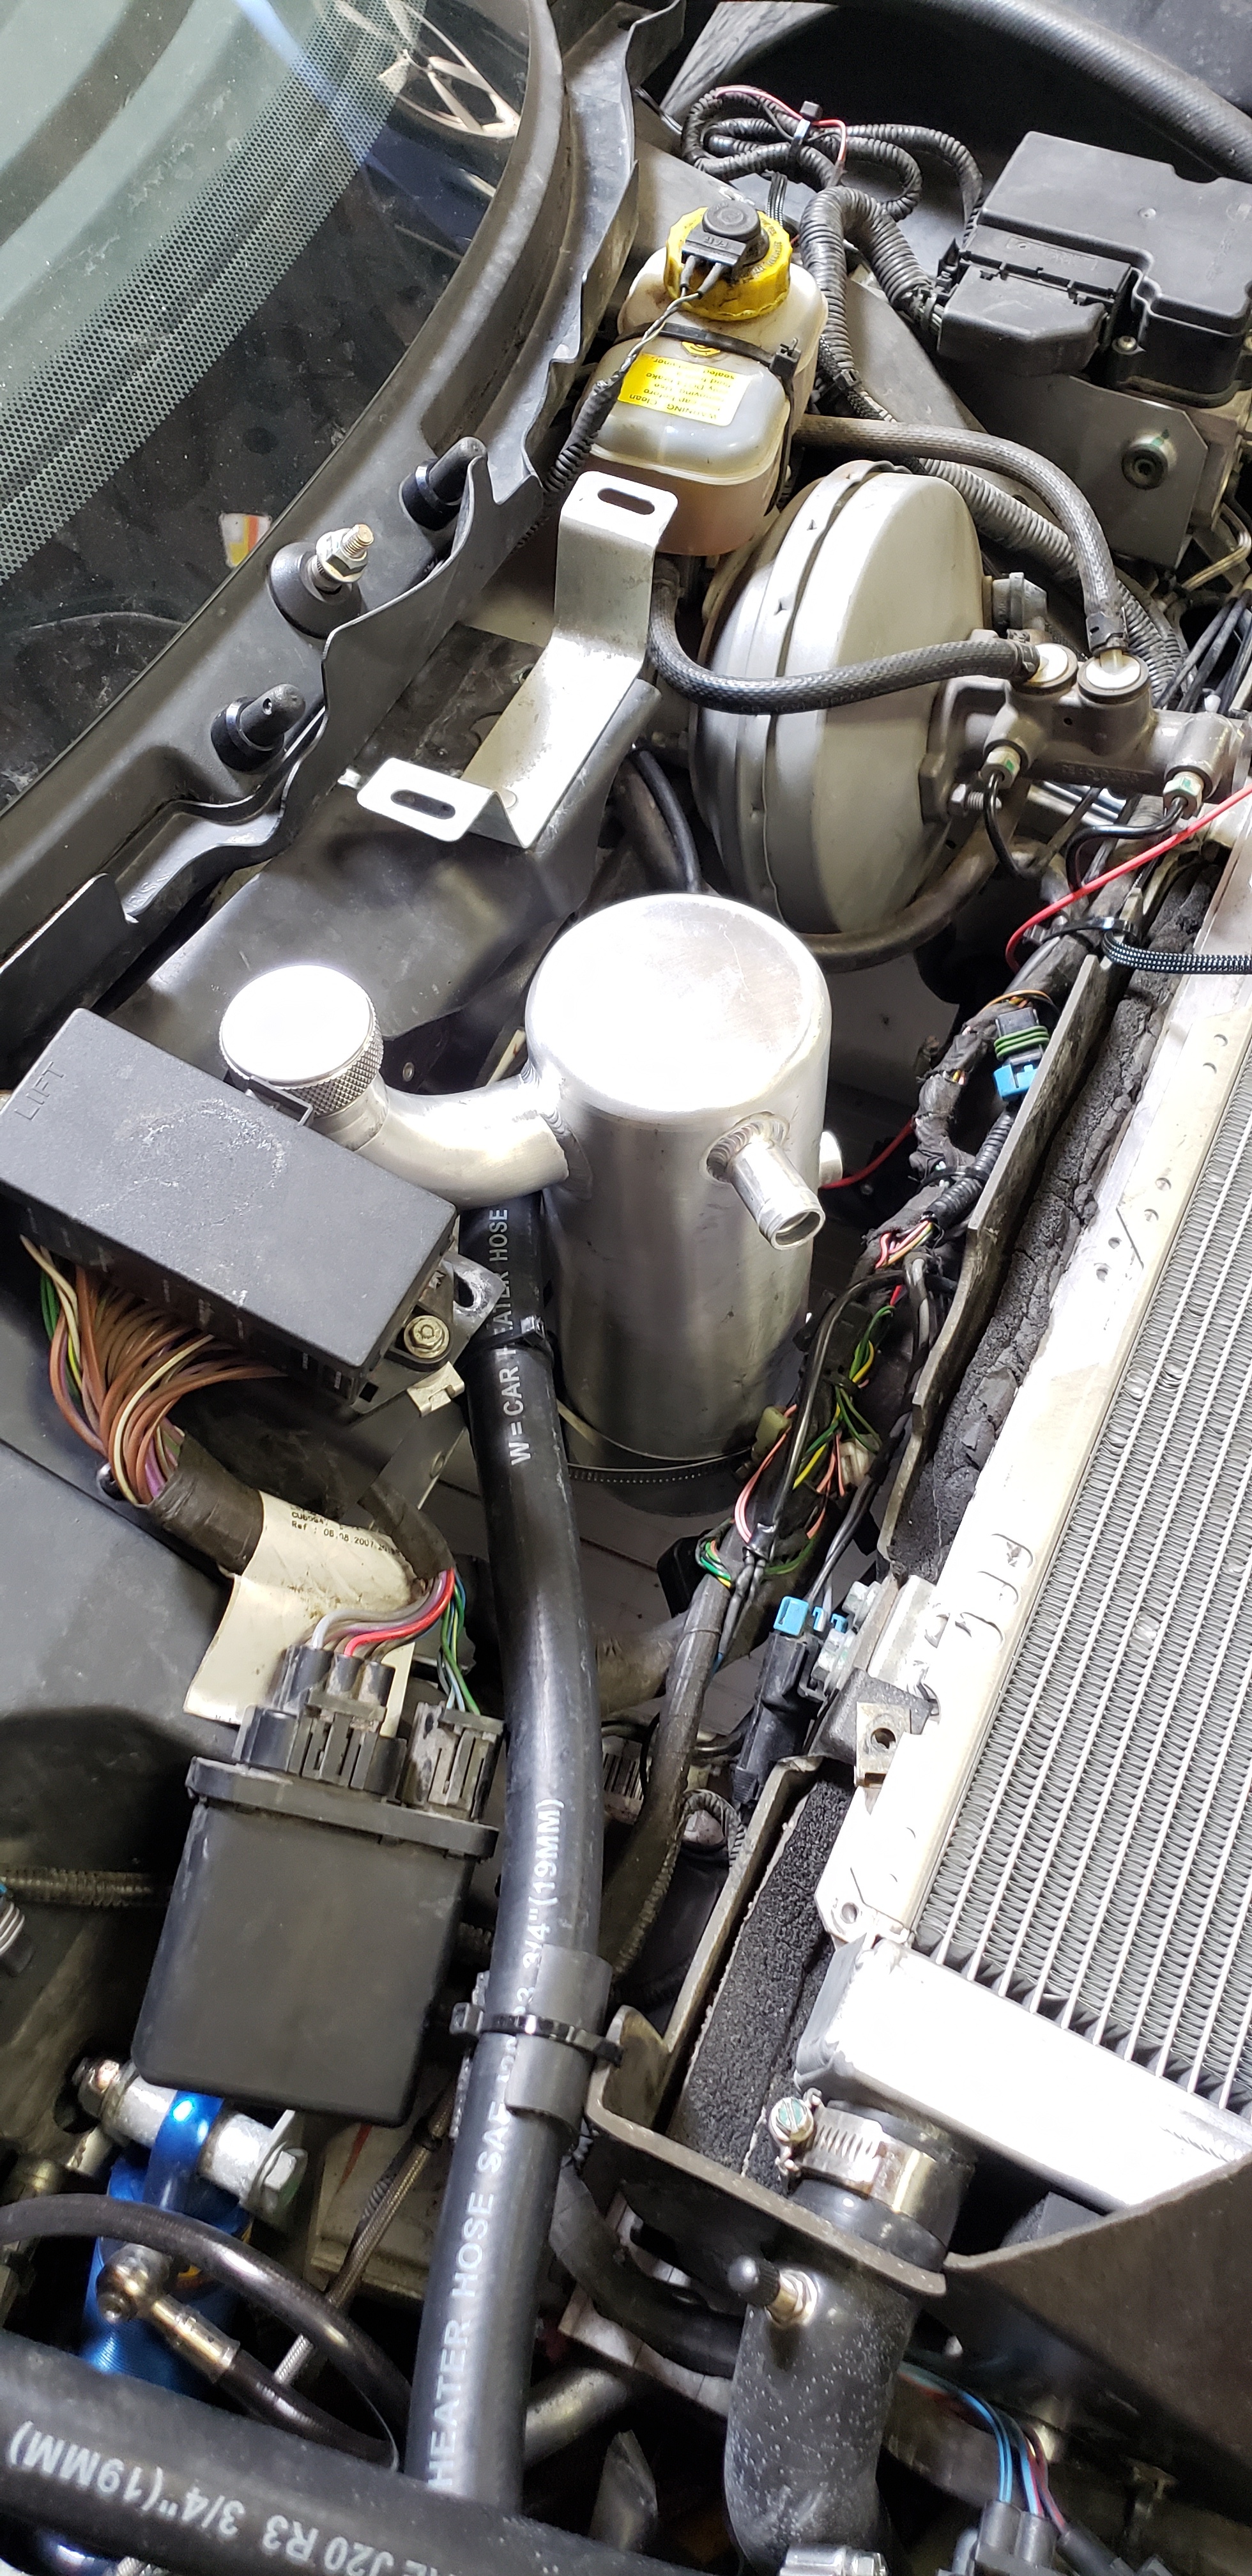
The header tank was mounted up front mostly because there is a lot of unused spaced with the A/C components removed.
Auxiliary radiator and header tank installed. Routing the hoses through the side sill was the most difficult part.
Completed install
CoolShirt System
With a 107F forecast on our upcoming Buttonwillow track day, it was a good excuse to install a CoolShirt system. The system is simple yet effective. You have a cooler with a built-in water pump that you fill with ice water, you wear the CoolShirt that has a hose sewn into it and connect it to the cooler. The pump will circulate the cold water through your shirt to help regulate your body temperature and prevent dehydration on hot days. The kit also comes with a helmet fan which will blow fresh air into the cooler through an aluminum tube and into the top of my helmet. Unfortunately, being a last minute purchase, the helmet blower parts did not arrive in time for the track day. (Special thanks to Wine Country Motorsports for piecing a kit together for us just so we would have something for the track day!)


Buttonwillow with Speed Ventures
July 27, 2019
Despite the high ambient temps, we saw a huge improvement in the IATs compared to the last time we were here. Throughout the day, we were seeing an average of 120F. Back in December, we saw and average of 160F. We will be back in October when it will be cooler and it should be a better comparison.
My two best laps of the day. A 3 second improvement from the last time I was here, with plenty left on the table. Our friend, Graham Downey, is driving our ST4 E36 M3 in front of me for a little while, but I couldn’t keep up.
Graham takes the Exige out for one session. It’s his second time ever driving an Exige (the first time was at Laguna Seca when the car was stock) and he turns a 1:55. Such a talented driver!
Other than being way too hot outside, the day was mostly successful. As we develop the car and get faster in it, we’re also running into new problems. We had some fuel and oil starvation, which we will address and discuss in Part 6. Stay tuned!