
Trackspec's Exige S240 Project: Part 10, K24 Swap (1)
Why K24 Swap?
If you grew up in the 90’s and were into cars, then you’ve heard of the Honda B-series engine and how amazing it was. It was the “hot rod” engine of its time and my gateway into modifying cars. The planning, researching, parts sourcing, building, and then seeing how it improved the car’s performance is what got me hooked. In the early 2000’s, Honda came out with something even better.
The Honda K-series is the successor to the B-series engine. It makes great power from the factory and also has a ton of aftermarket support. The engines are responsive to mods, relatively inexpensive, and there is no shortage of them in the used market. This combo has made them the engine choice for 4-cylinder swaps in many other platforms outside of the Honda family. In my opinion, this is one of the greatest 4-cylinder engines ever made; so why not put it in one of the greatest chassis ever made?
But can’t you just upgrade the supercharger? Yes, but our goal with this swap is not to build a high power monster. It’s to have a relatively stock engine that makes more power and torque over a larger bandwidth than the 2ZZ does without all of the additional hardware associated with the supercharger. The 2ZZ can be modified and improved, but the K-series is just a better foundation. We’re predicting that the naturally aspirated K24 will make close to the same, if not more horsepower and torque than the original supercharged 2ZZ. With the recent COVID-19 shelter in place order, and no track time for anyone, it was the perfect time to get started.
The K24
There is a ton of debate between the high revving K20 or the torquey K24 that we’re not going to get into, but we decided to go with the K24. The engine fits closely to the power and torque goals from the factory that we are aiming for, so we won’t need to modify it much. The K24A2 out of the Acura TSX is the most desirable with the 2.4 liter block and best flowing cylinder head of the K24 family. We ended up with a JDM Accord Type-S K24A, which has very similar specs to the K24A2. We found one with 55k miles for $650 (we weren’t joking when we said these motors are cheap!) and it was delivered to the shop the next day. Well, three were delivered since we’re doing three K24 swaps at the same time.
Engine Prep
The first thing we did was get the engine on a stand, remove anything that we weren’t going to use, and clean it up.
There are a few minor differences between the JDM and USDM K24. The first is that the JDM K24 doesn’t come with a pressure switch on the VTEC solenoid. This doesn’t matter if you’re running a standalone ECU, or a modified stock ECU (Hondata). The switch can be disabled, but you will end up with a loose connector on your harness unless you remove it. The other difference is that water passage housing/alternator bracket is different. This means if we ever needed a replacement in the future, you would have to look for a used “JDM” alternator on eBay. To avoid this, we found a used housing from a K20A3 (02-05 Civic Si and 02-06 Base model RSX), which will accept most K-series alternators sold in the US. Honda had some variations here, but a 2006 Acura TSX alternator worked for us.
Next, we changed out the TSX oil pump and balance shaft assembly for a K20 oil pump. This oil pump deletes the bulky balance shaft assembly so that you can install a baffled oil pan, but also provides more consistent oil pressure in the higher RPMs. There are a lot of kits available, but the conversion is done with all OEM parts which includes the oil pump, oil pump chain, oil pump chain guide, baffle plate, and baffle plate bolts. The oil pump does need to be notched to fit the K24 block. You can get a modified oil pump, or you can take a grinder or file to one and clearance it yourself. There is also an oil jet that needs to be plugged. If you forget this, you will not have any oil pressure when you go to start it up. Other than that, it’s a straight forward task and easy to do while the engine is out of the car.


The stock Variable Timing Control (VTC) gear on this particular motor allows the ECU to advance the timing up to 25 degrees. You can have this gear modified to allow more advance, but you can also install the OEM VTC gear from a K20A2/A3/Z1/Z3, which allows for up to 50 degrees. This will give your engine tuner some extra timing control and potentially gain a few HP, depending on what other mods are done to the engine. This was a quick job since the timing chain was already off to install the K20 oil pump.


A K-Tuned fuel rail was installed to accept universal AN fittings and the fuel pressure sensor.
K-Tuned engine mount bracket with a built in idler pulley and tensioner to delete the power steering pump that was originally on the motor. Also seen in this photo is the thermostatic oil sandwich plate that we will use for the inlet and outlet to the oil coolers.
K-Tuned upper coolant housing with filler neck, and K-Tuned thermostat housing plug to delete the heater hoses.
Last, we took the opportunity to do some maintenance while the motor was out of the car. We replaced all of the seals, spark plugs, timing chain tensioner, thermostat and water pump. One thing to note is that the water passage we replaced is also what the water pump bolts to. Our new TSX water pump did not bolt up to the new water passage. We ordered the base RSX water pump over the RSX-S because it doesn’t have the coolant oulet for the factory Honda heat exchanger. Before buttoning it up, we a quick valve adjustment.
2ZZ Removal
The next step was removing the old drivetrain and associated parts to sell. If you are considering this swap, remember that selling your motor and trans (assuming they are in good condition) will help offset the cost of the project.


As well as the Pro Alloy charge cooler system worked for us, it felt nice to get rid of all of the clutter.


More Parts
By the time the old drivetrain was removed, the next batch of parts arrived to the shop. We were lucky to find a DC5 Integra Type R transmission locally. The DC5 Integra in Japan is what we call an RSX in the US, but we never got the Type R. This transmission has a 4.7 final drive and factory LSD compared to a 4.3 final drive and open diff that the RSX Type S comes with. The later 05-06 RSX-S has a 4.7 final drive, but still an open diff. To go with the transmission, we went with an Exedy lightweight flywheel and Stage 2 4-puck clutch. Puck style clutch offers quicker engagement compared to a full face disc. This usually translates to quicker shifts, but also makes street driving less pleasant. Not an issue for our application.


We were originally going to use a factory engine harness and modify it, but decided it would be best to start from scratch and tailor it to our needs.
Once we had the gearbox mated to the transmission, we wanted to mock up a wire harness before mounting it to the car. We did this by using some nylon rope to plan out where the branches would be and how long to make each wire to reach its destination. This physical piece would give us the data we need to plan and build our harness. We will go more into detail on this later.


Time to put the motor in the car! We used the Innovative mount kit for this. No cutting or modification to the chassis is required. but you do have to remove the left hand transmission mount bracket which gets replaced by the Innovative mount. The front lower mount is removed completely and not used.


The motor went in smoothly and we were pleasantly surprised by how much extra room there is.


Now that the engine is in, we can start connecting things.
Cooling
Luckily, the stock radiator hoses were the correct diameter. The upper hose fit perfectly, but the lower needed to be trimmed a few inches. We’re still debating whether to add a coolant swirl pot, we’ll see how the system works as is. For now, we will at least have to add some kind of expansion tank.


Clutch Line
The K-series clutch slave simply attaches to the Lotus hard line using an adapter hose by Monkey Wrench Racing. The end that attaches to the hard line doesn’t quite fit into the stock bracket, but we didn’t feel it was necessary to do anything there.


Axles
Innovative axles (made by Insane Shafts) have the Lotus CV joints on the outboard side and Honda CV joints on the inboard. With the factory washer that sits behind the axle nut, the nut sat too far in to be able to stake the nut and lock it in. We fixed this by putting a second washer on each side.


Shift Linkage
Innovative also makes a shift linkage adapter which allows you to use your factory cables. The cables end up a little longer than they need to be, but other that not looking nice and tidy, we don’t see it causing any issues. We were able to reuse the factory shift cable hook from the C64 gearbox.
The shift throw felt longer than stock with the adapter linkages, so we ended up modifying it to reduce how much forward and back movement is required to get into gear. Once all of that was settled, we filled it with some good old Honda MTF.


UPDATE 3/2026: We developed our own shift cable bracket that works with the PNN4 (06+ Civic Si/K20Z3) transmission, which allows the cables to connect directly to the transmission without any additional linkages.
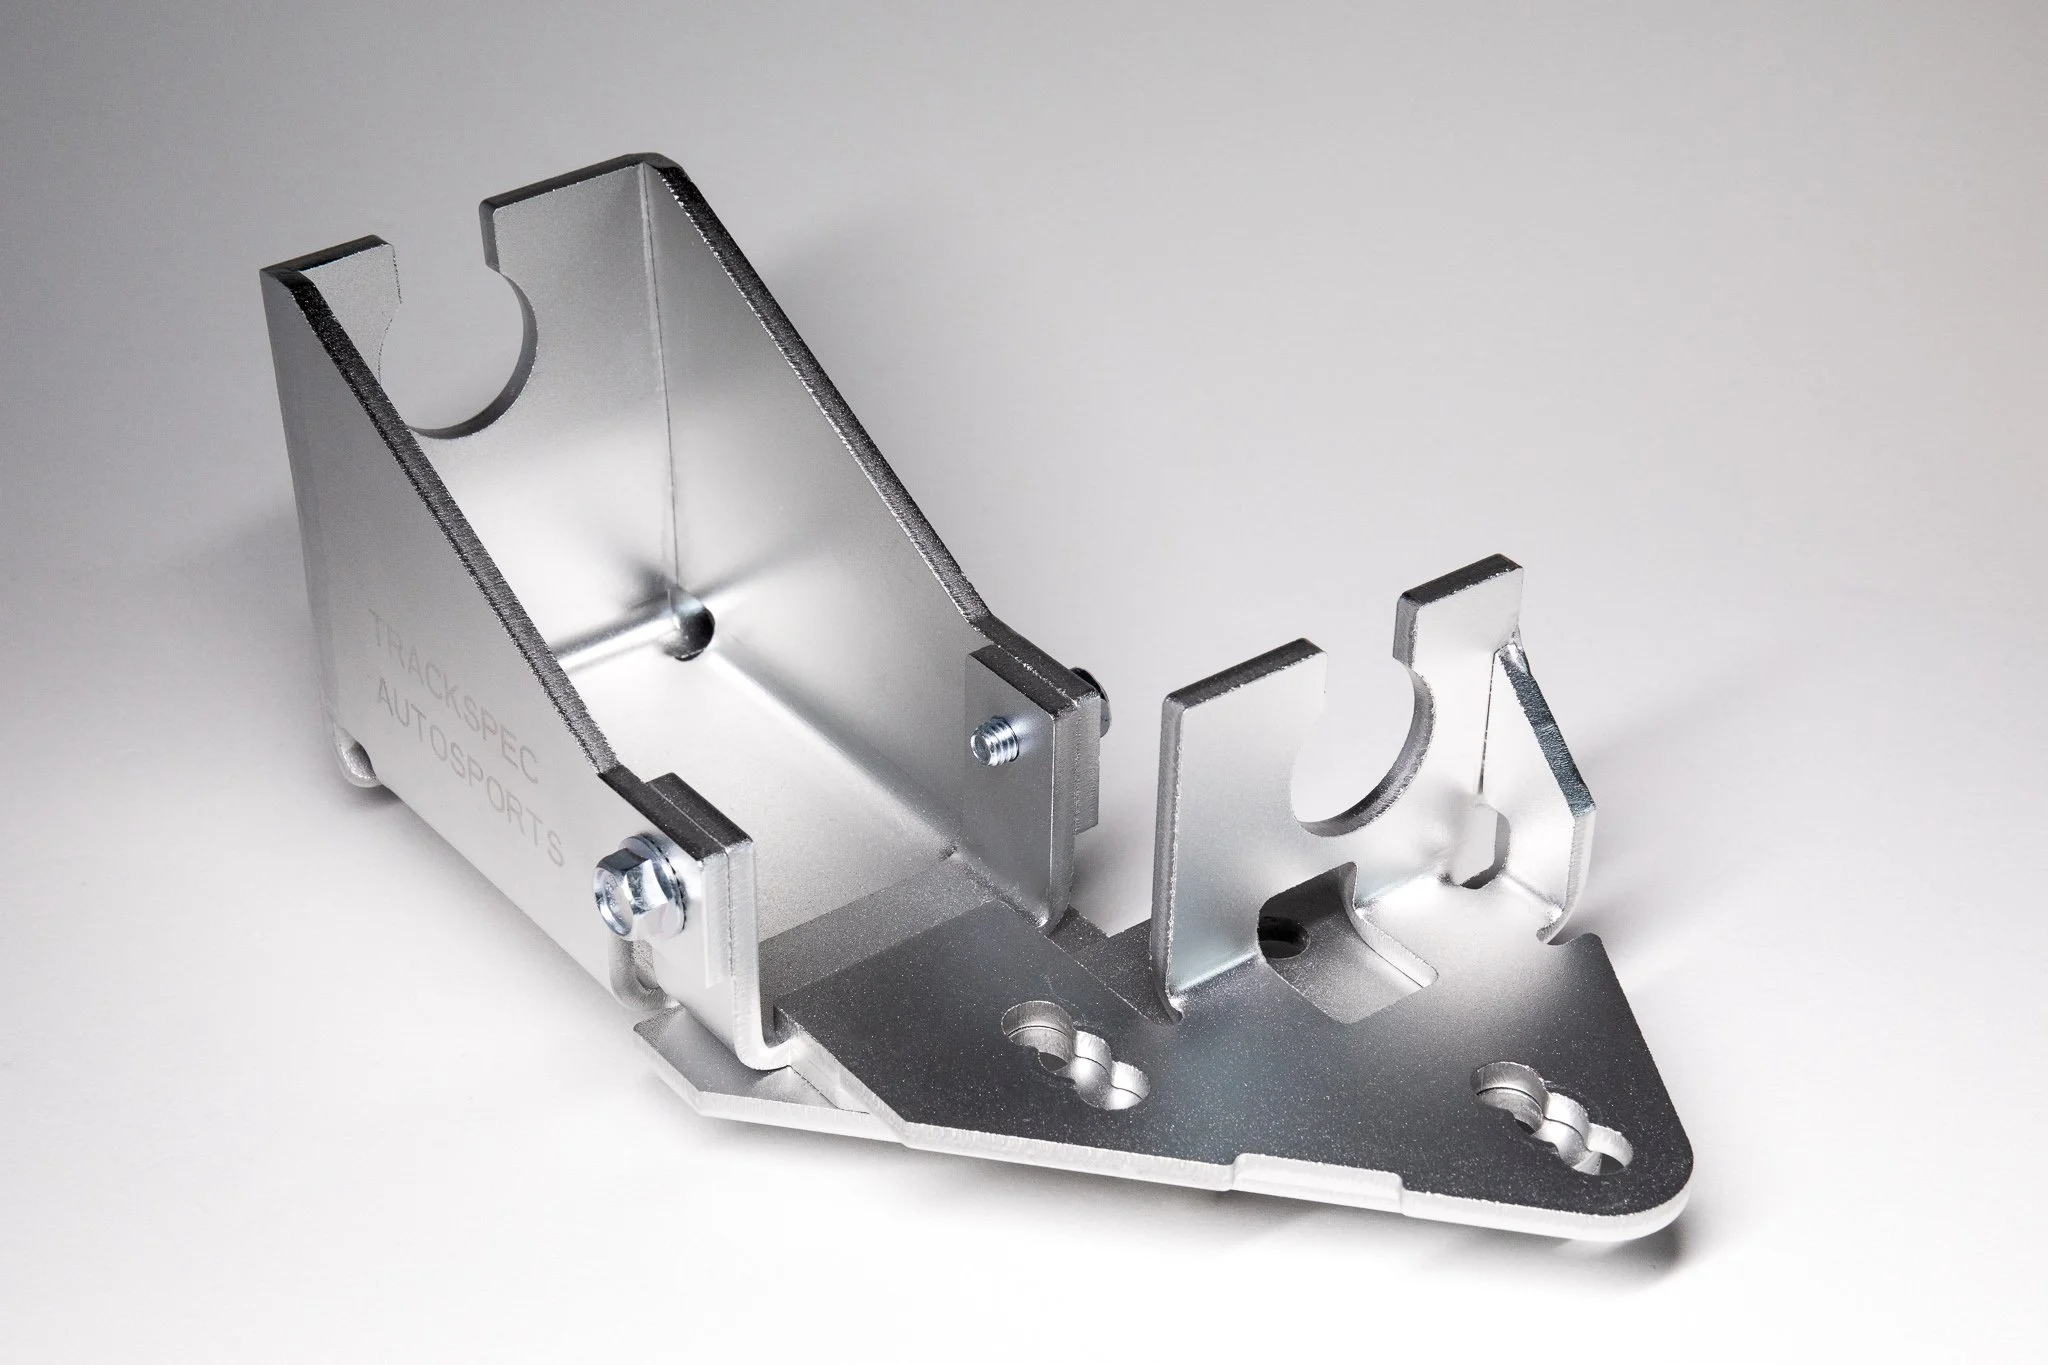
The PNN4 (06+ Civic Si/K20Z3 engine) transmission is our prefered option for the Honda K-Series engine conversion in your Lotus because it has a factory LSD and the cables will connect directly to the linkages. This means there is no need for reverse motion linkages, which can introduce additional slop and complexity.
This adapter will allow you to use your original S2 Elise/Exige shift cables with the PNN4 transmission.
This concludes this section of the K24 swap. Stay tuned for the next blog!