
Trackspec's Exige S240 Project: Part 8, Roll Cage
In this Post:
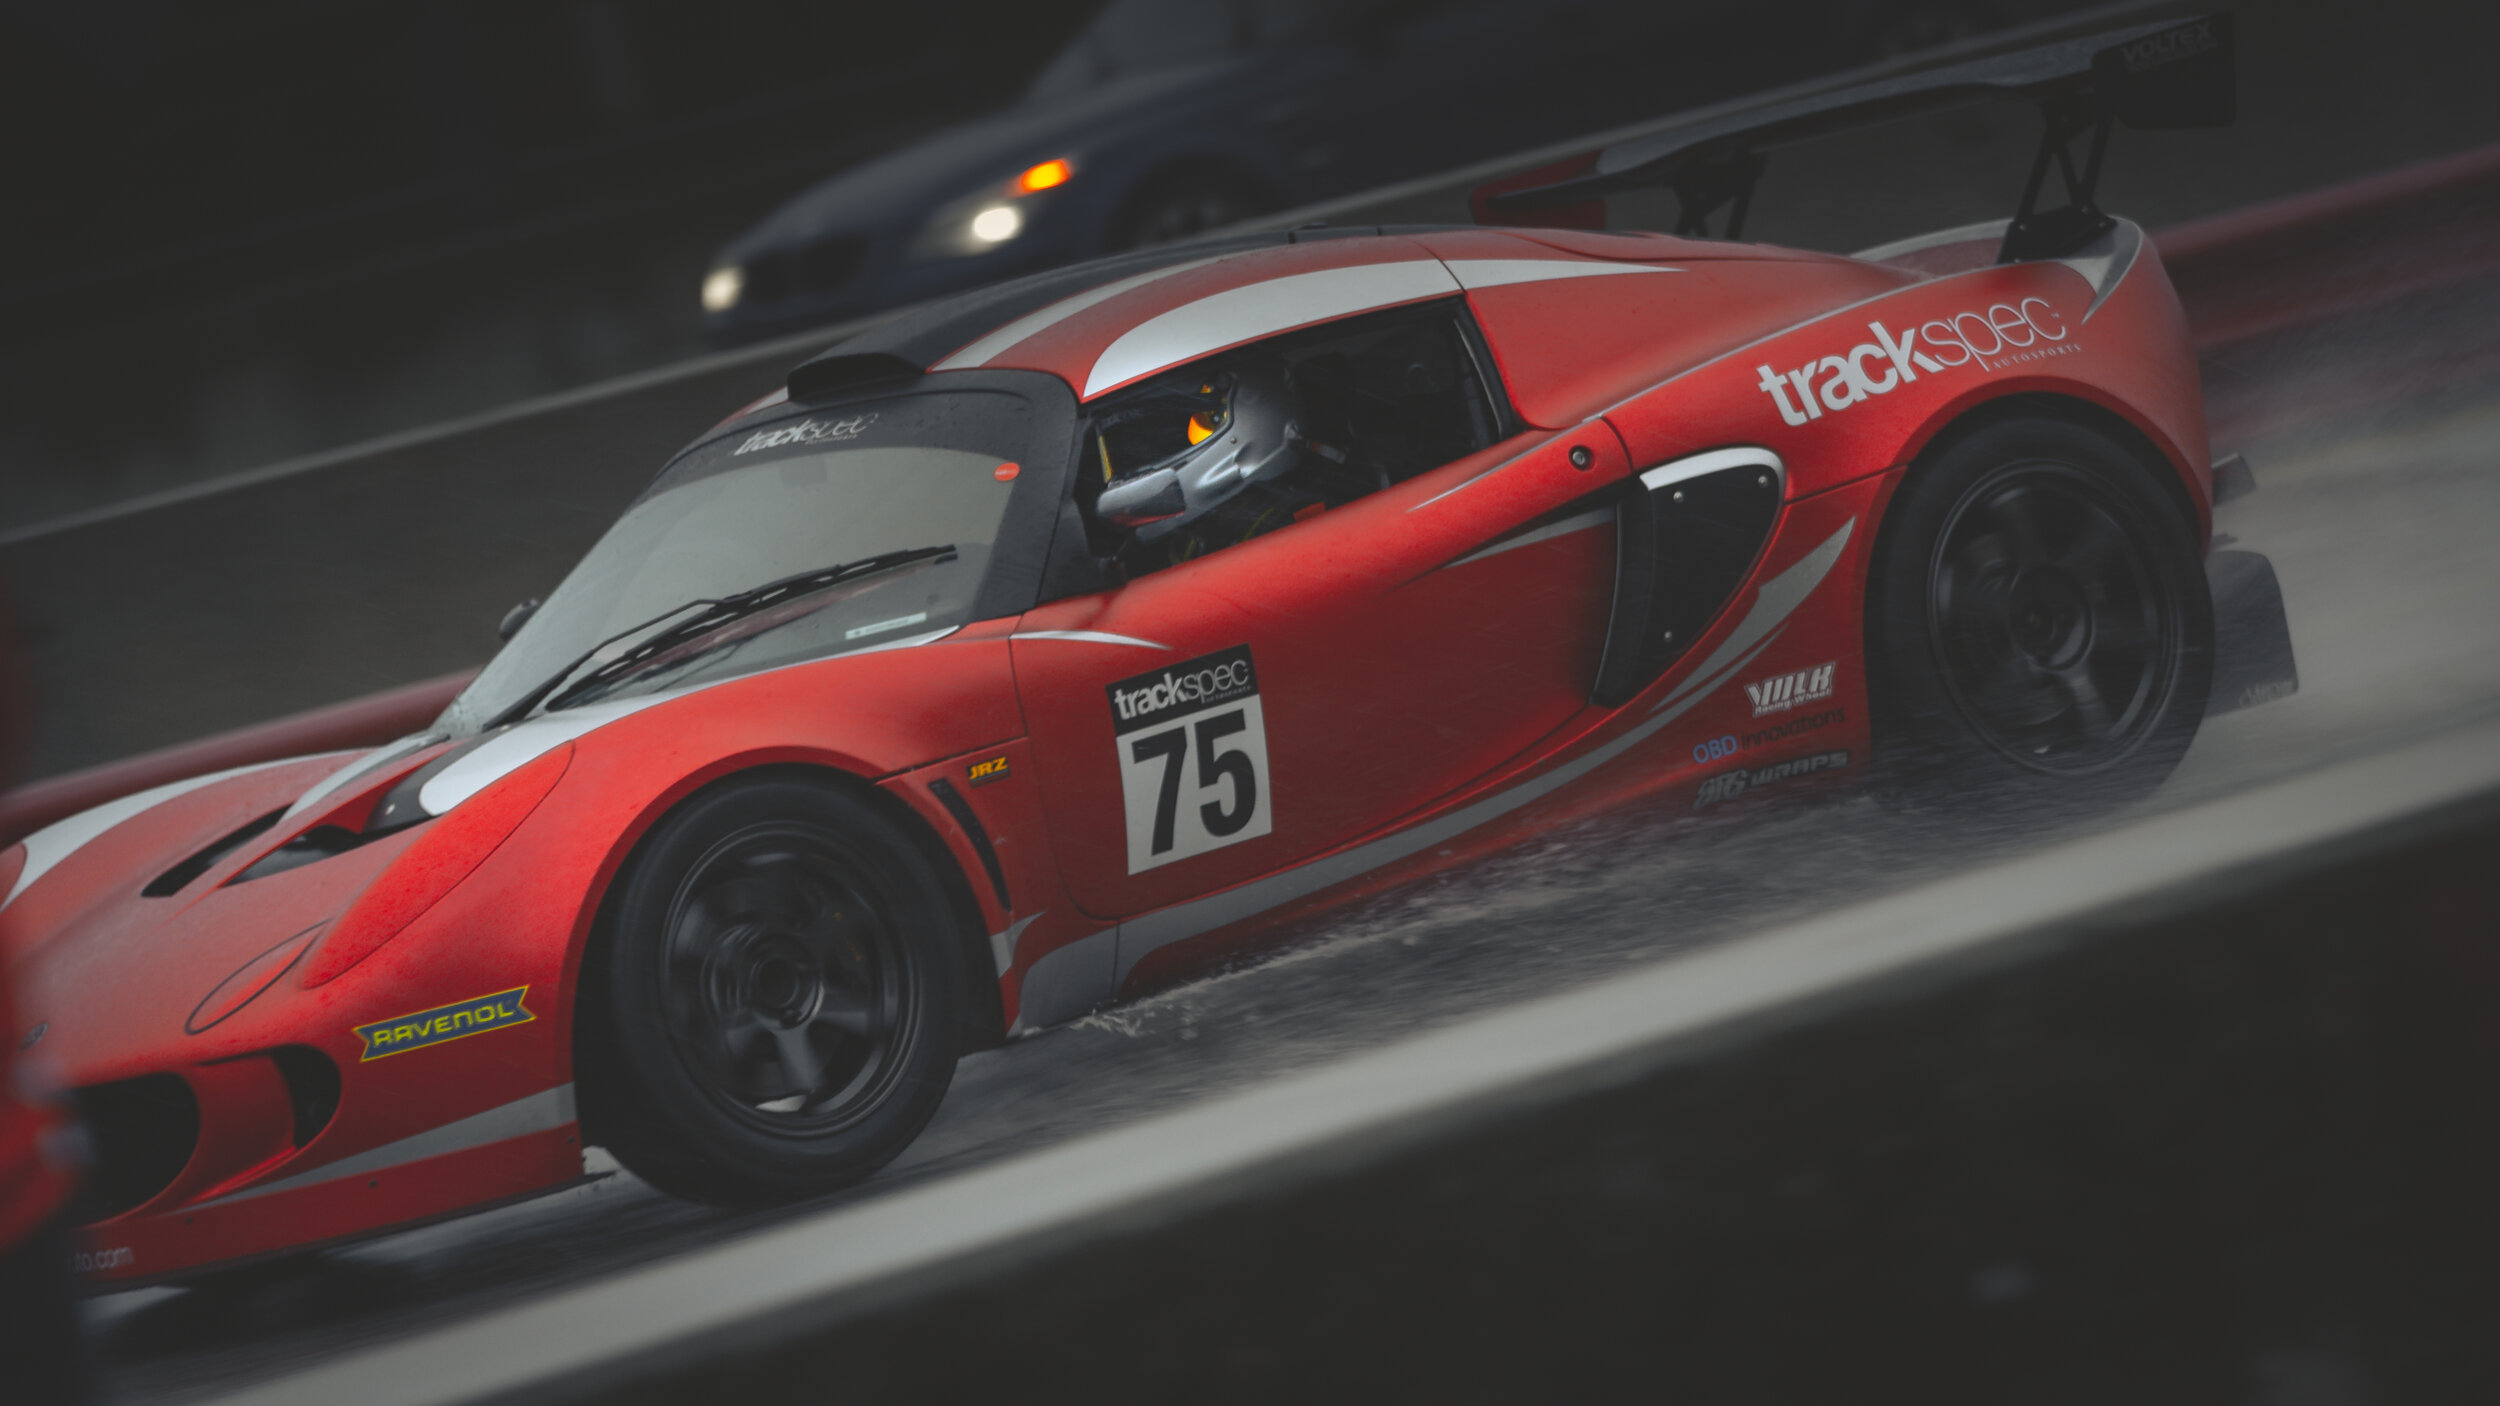
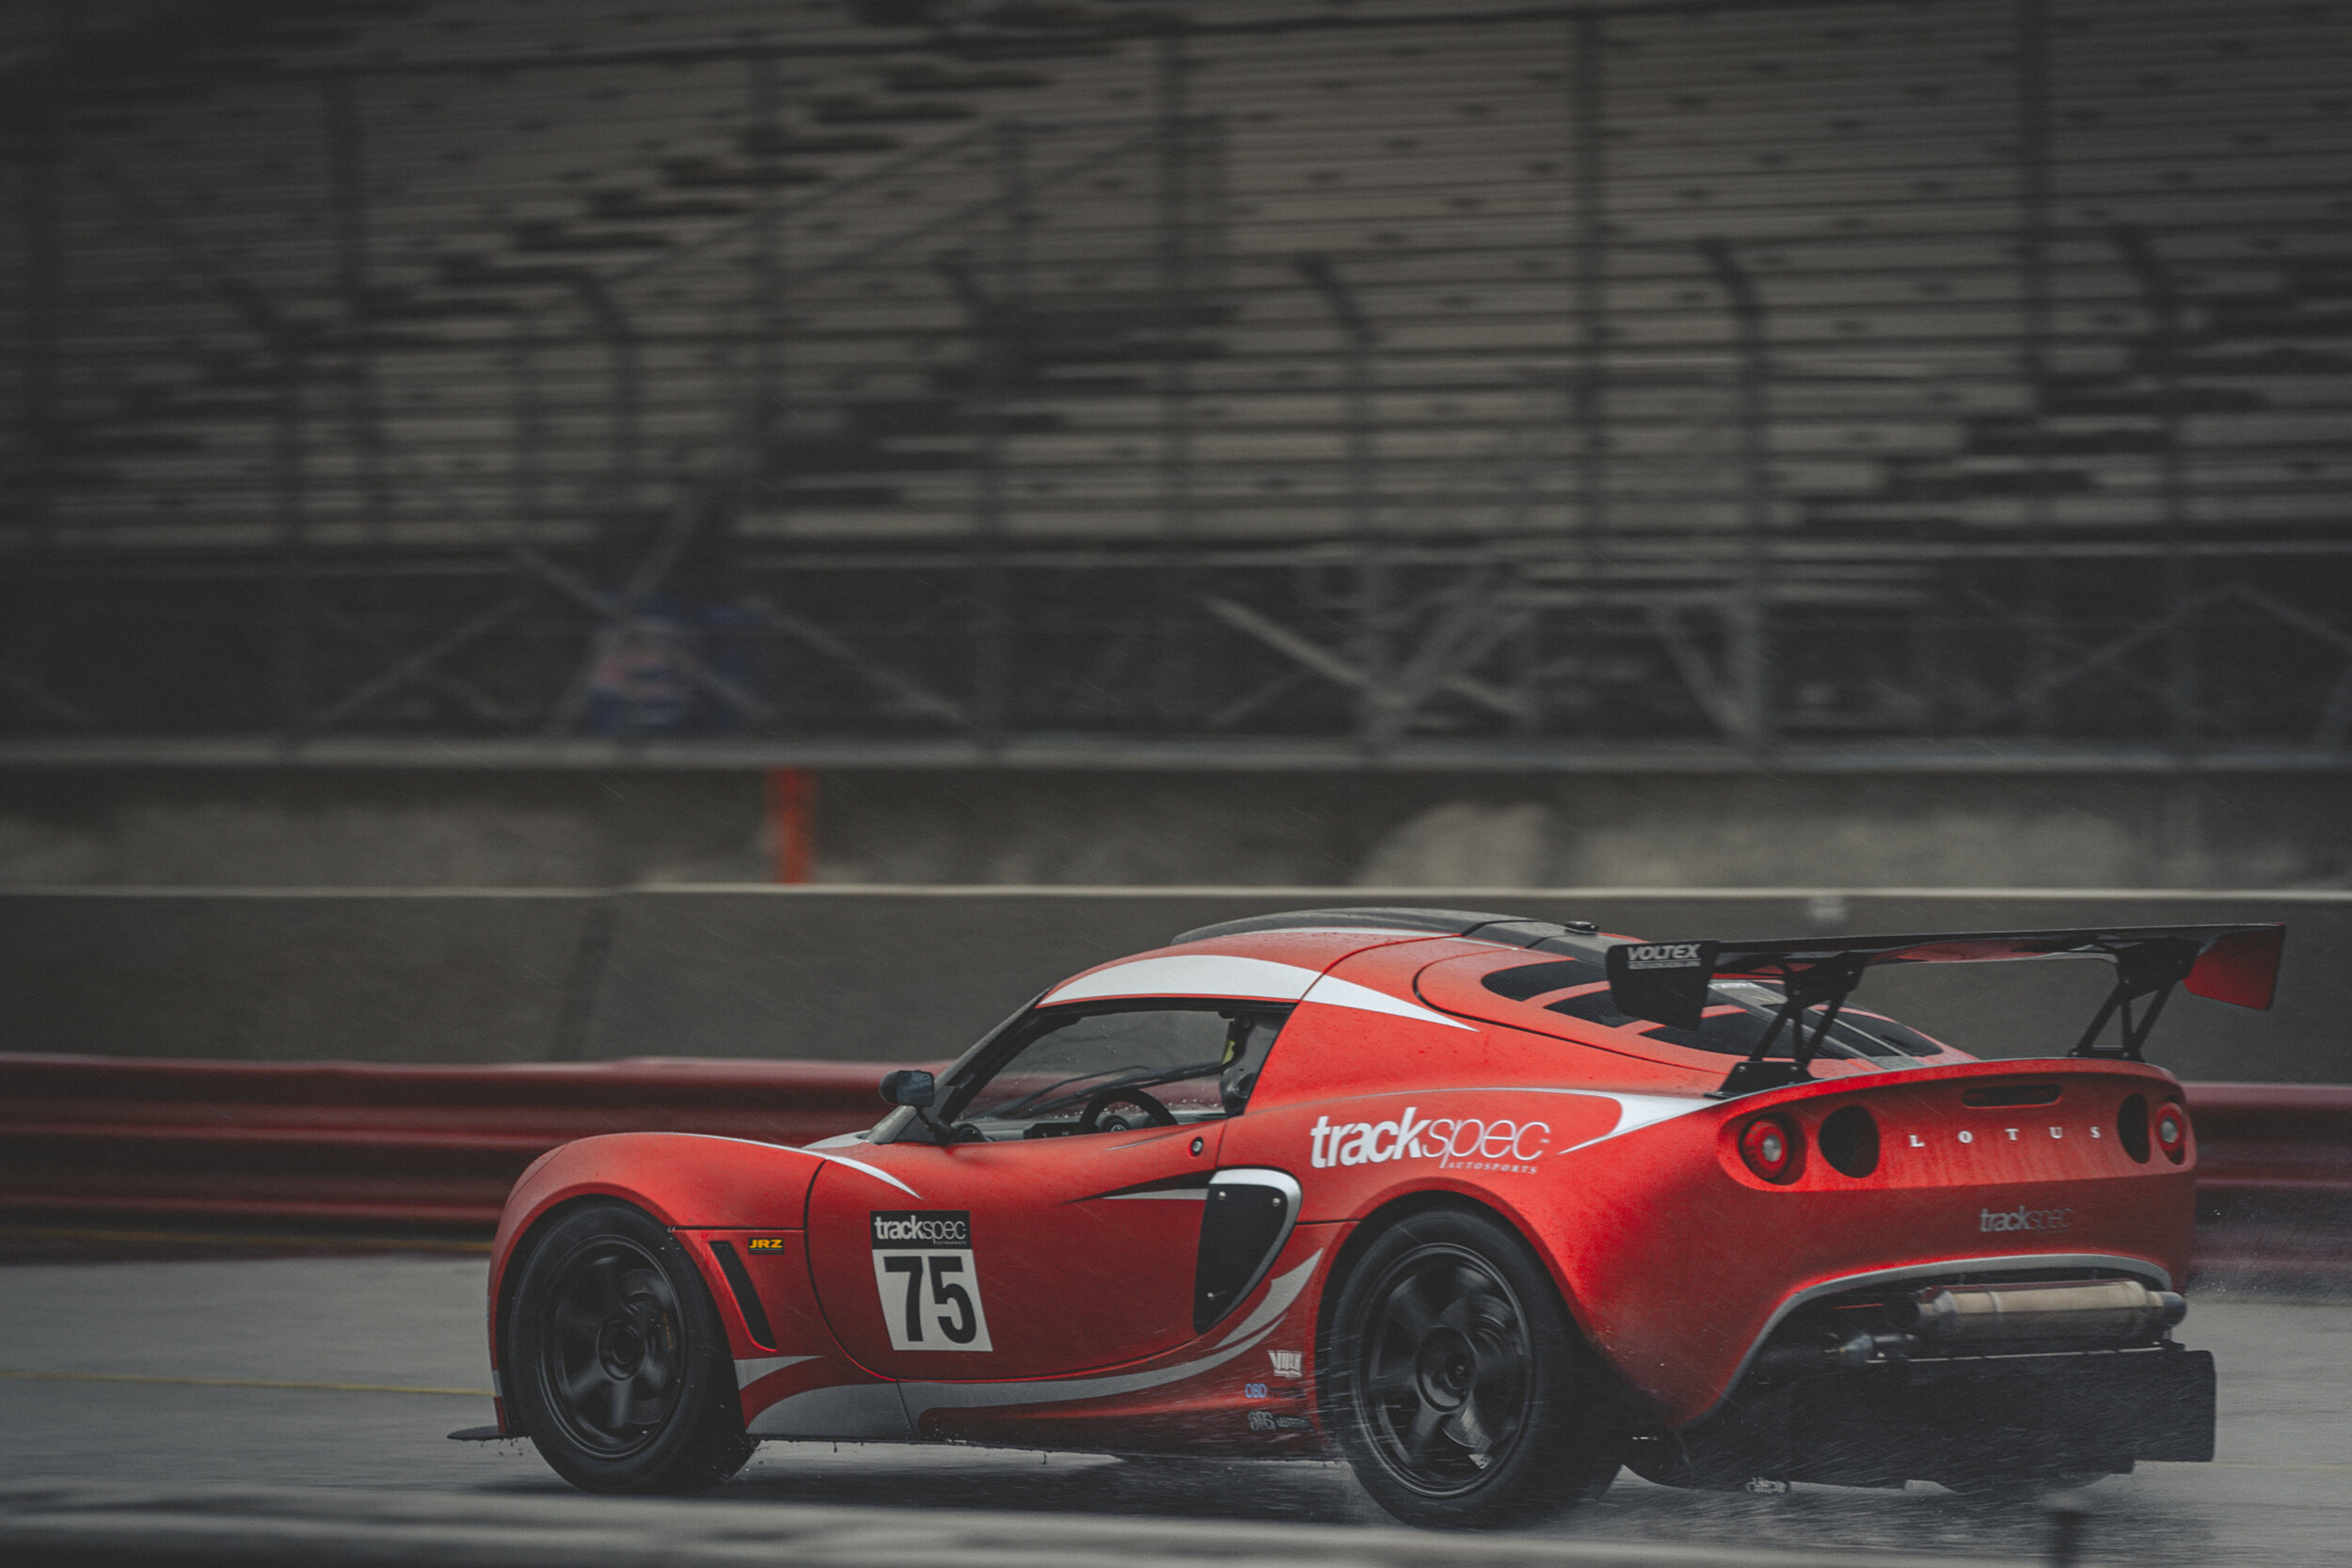
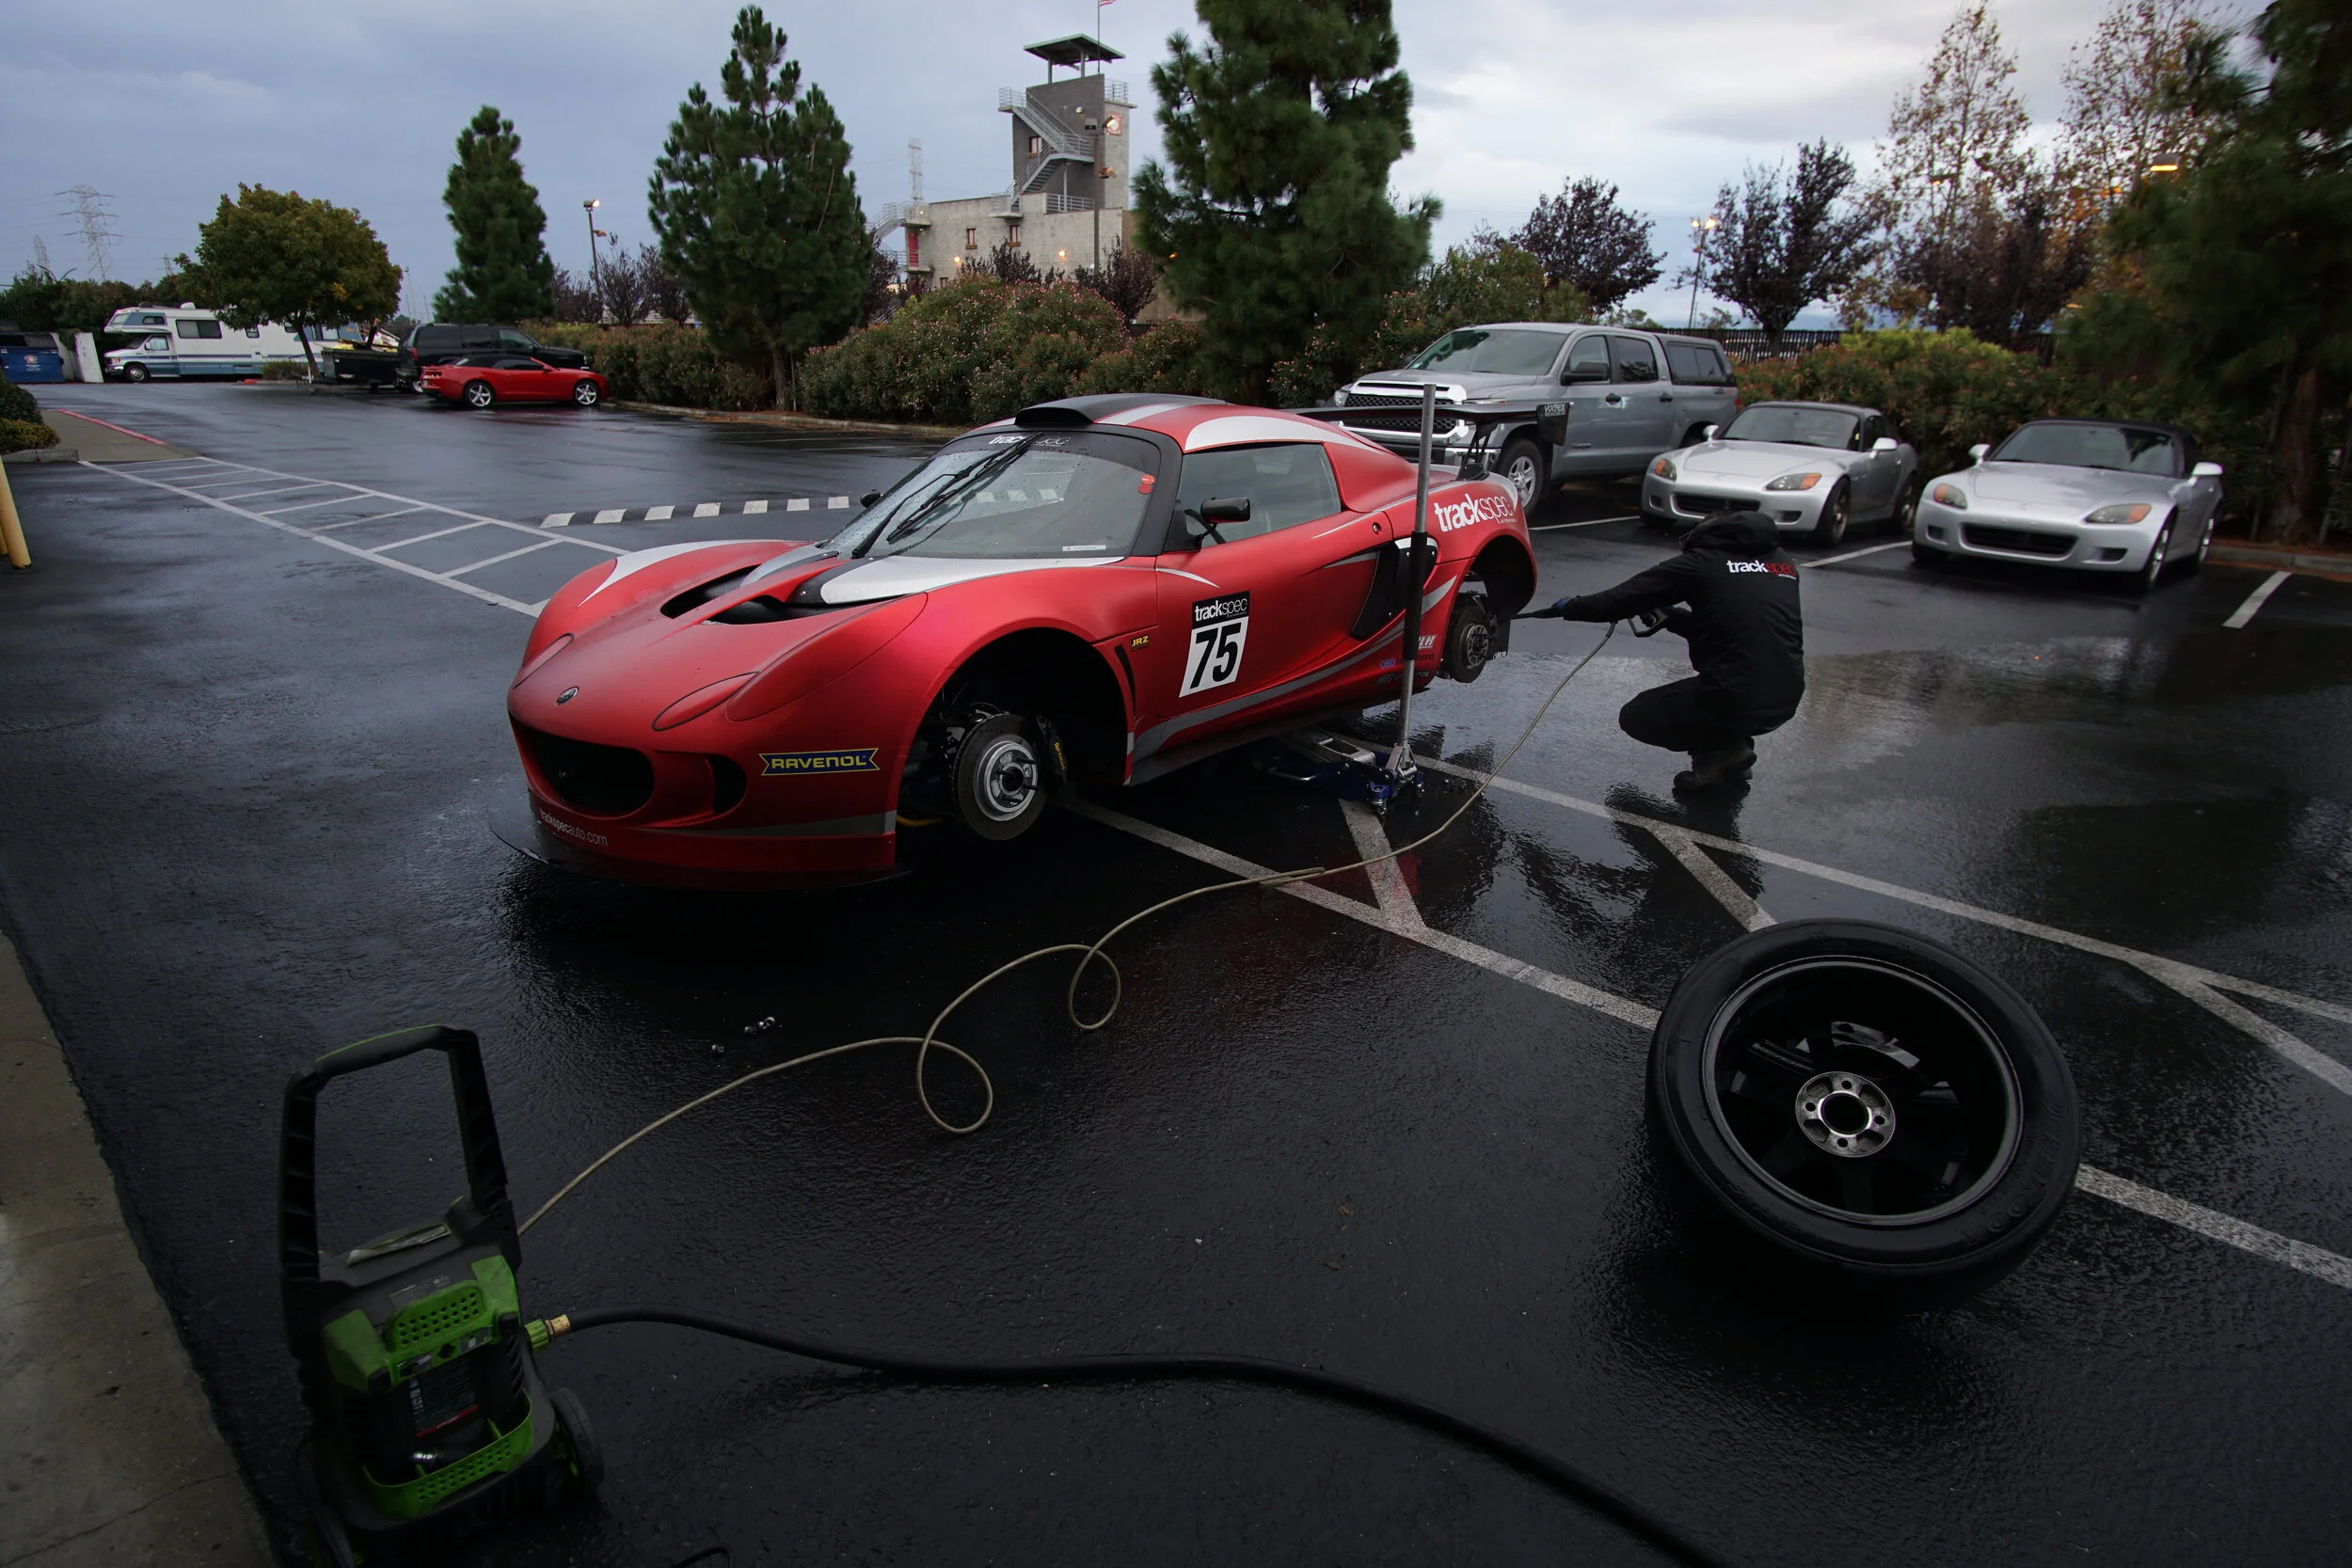
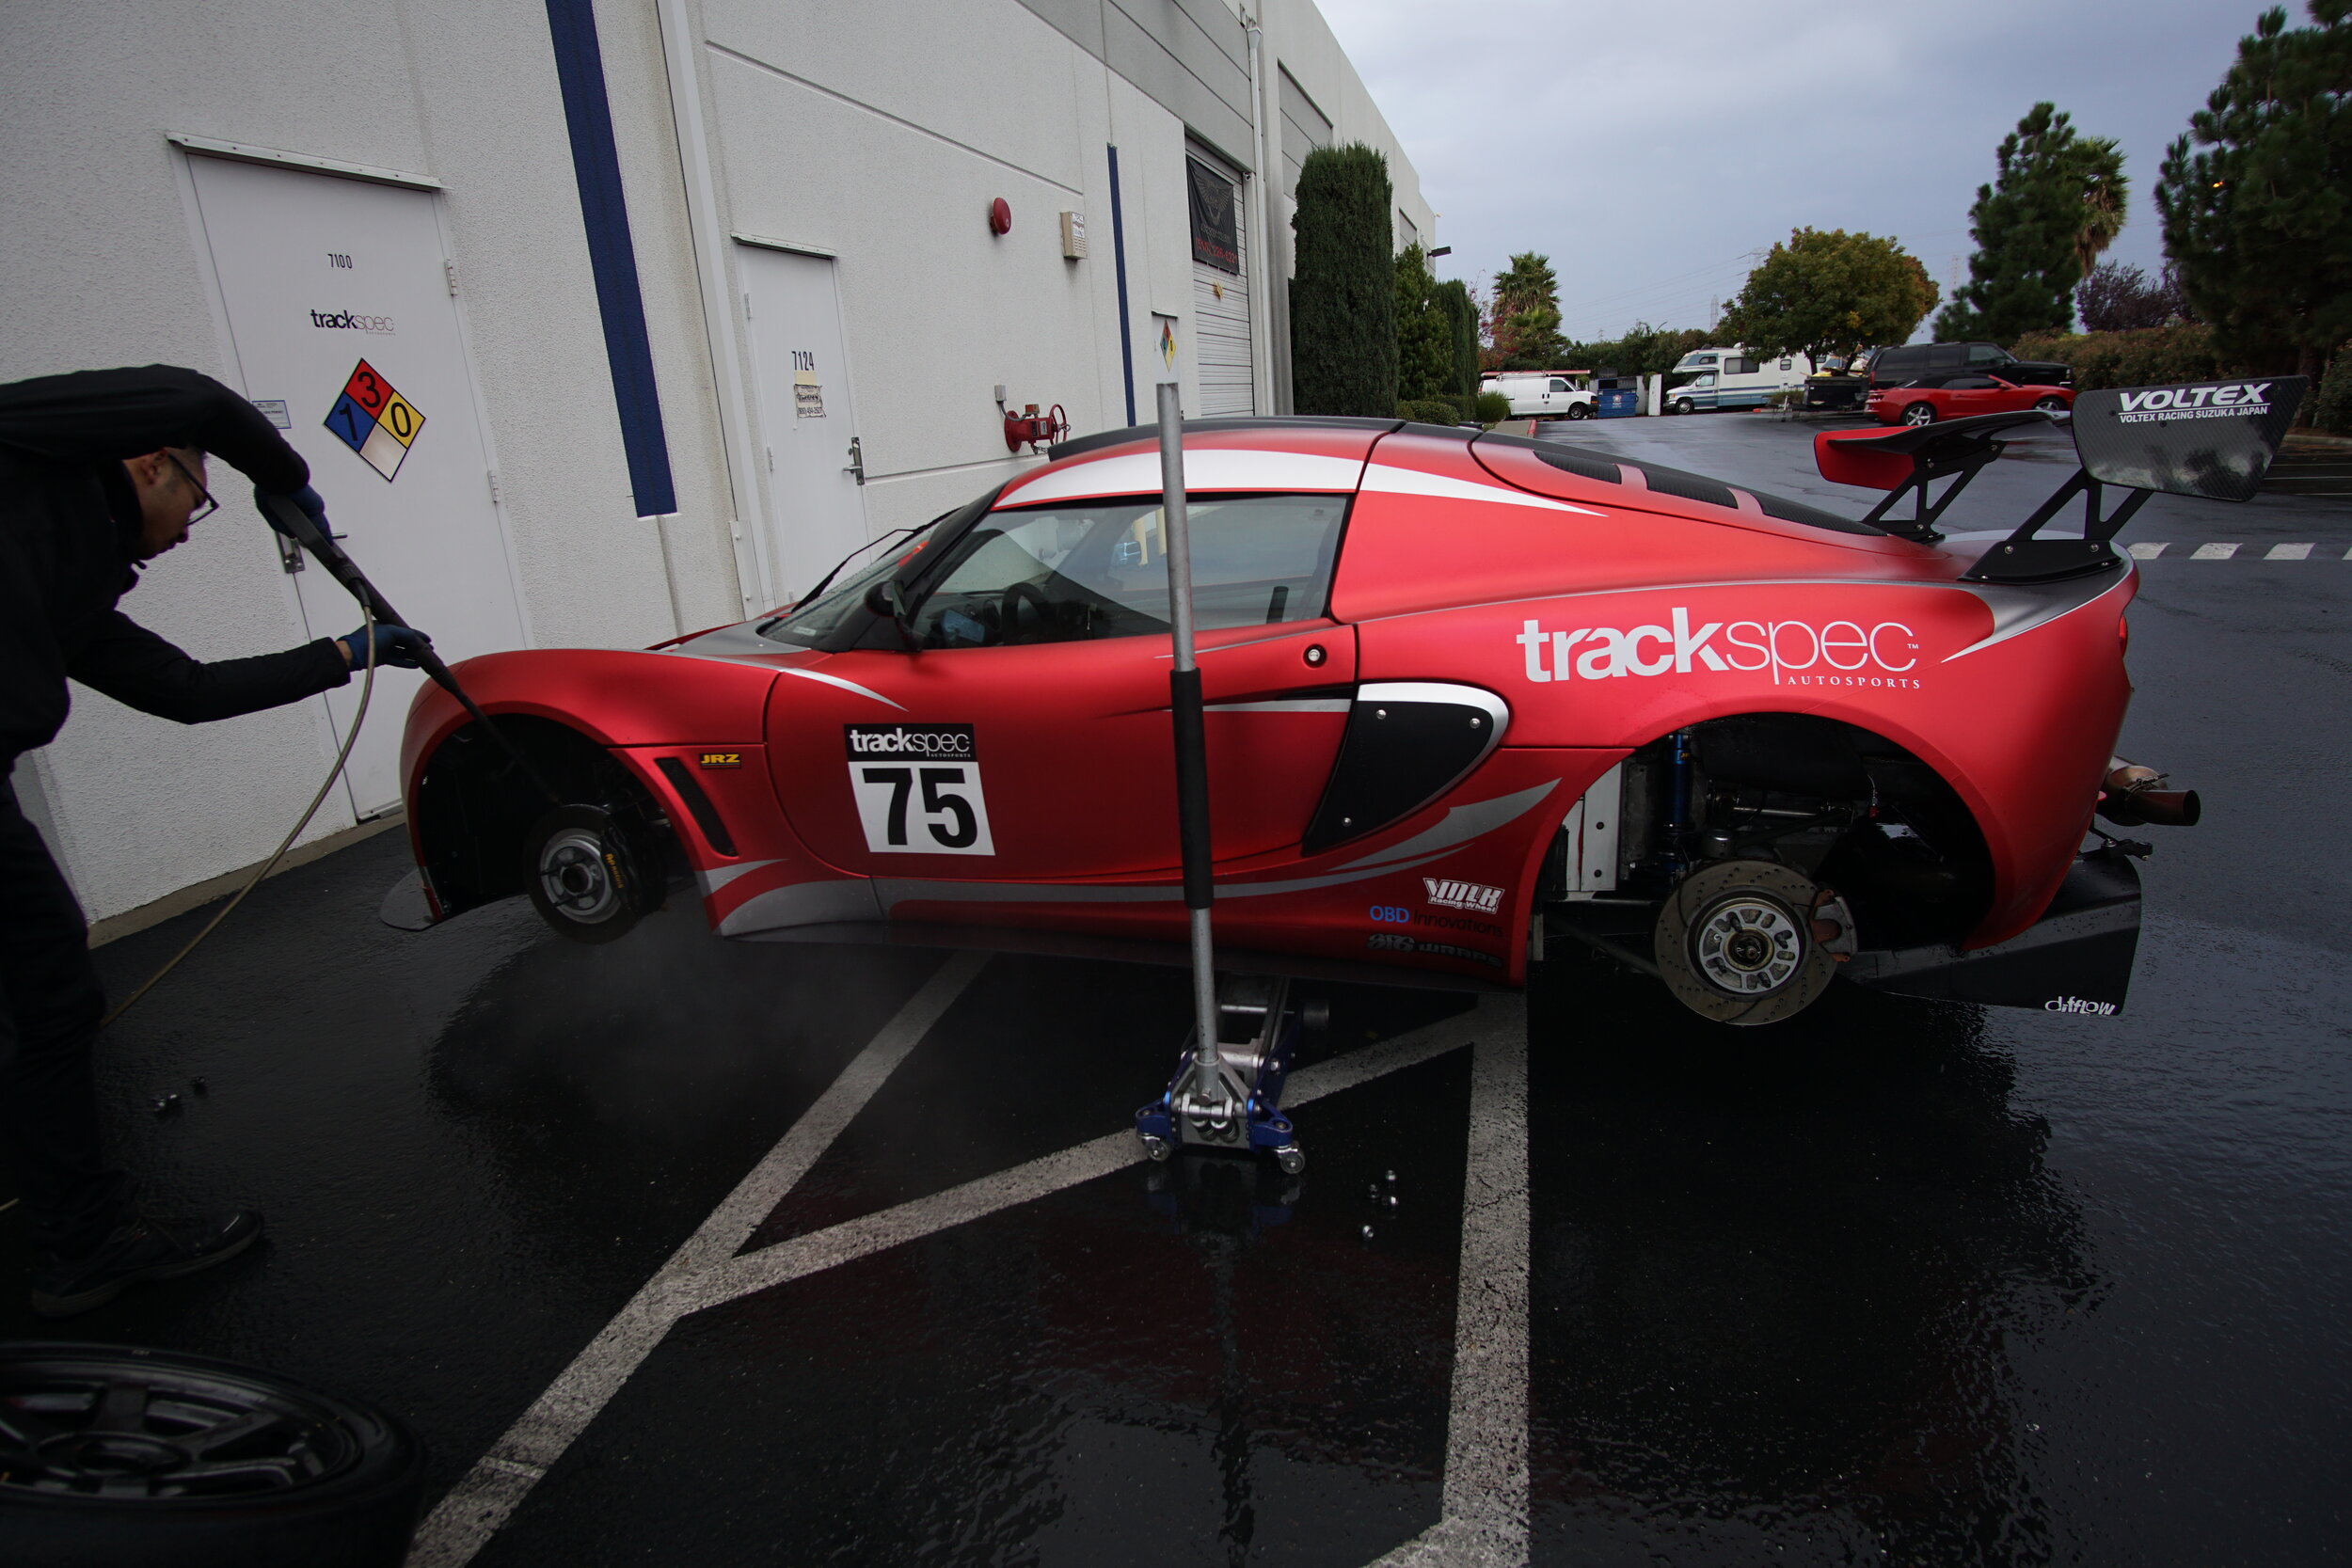
With a year of rebuilding and developing the Exige behind us, we were excited to begin our “winter project,” the roll cage. When the car came back from the last track event of the year (a very wet Laguna day), we gave it a good wash inside and out before getting into it. We also had to do some homework and make sure that what we build is safe and legal for the the local sanctioning bodies we plan to race with. We followed NASA’s Club Codes and Regulations handbook as a guide.
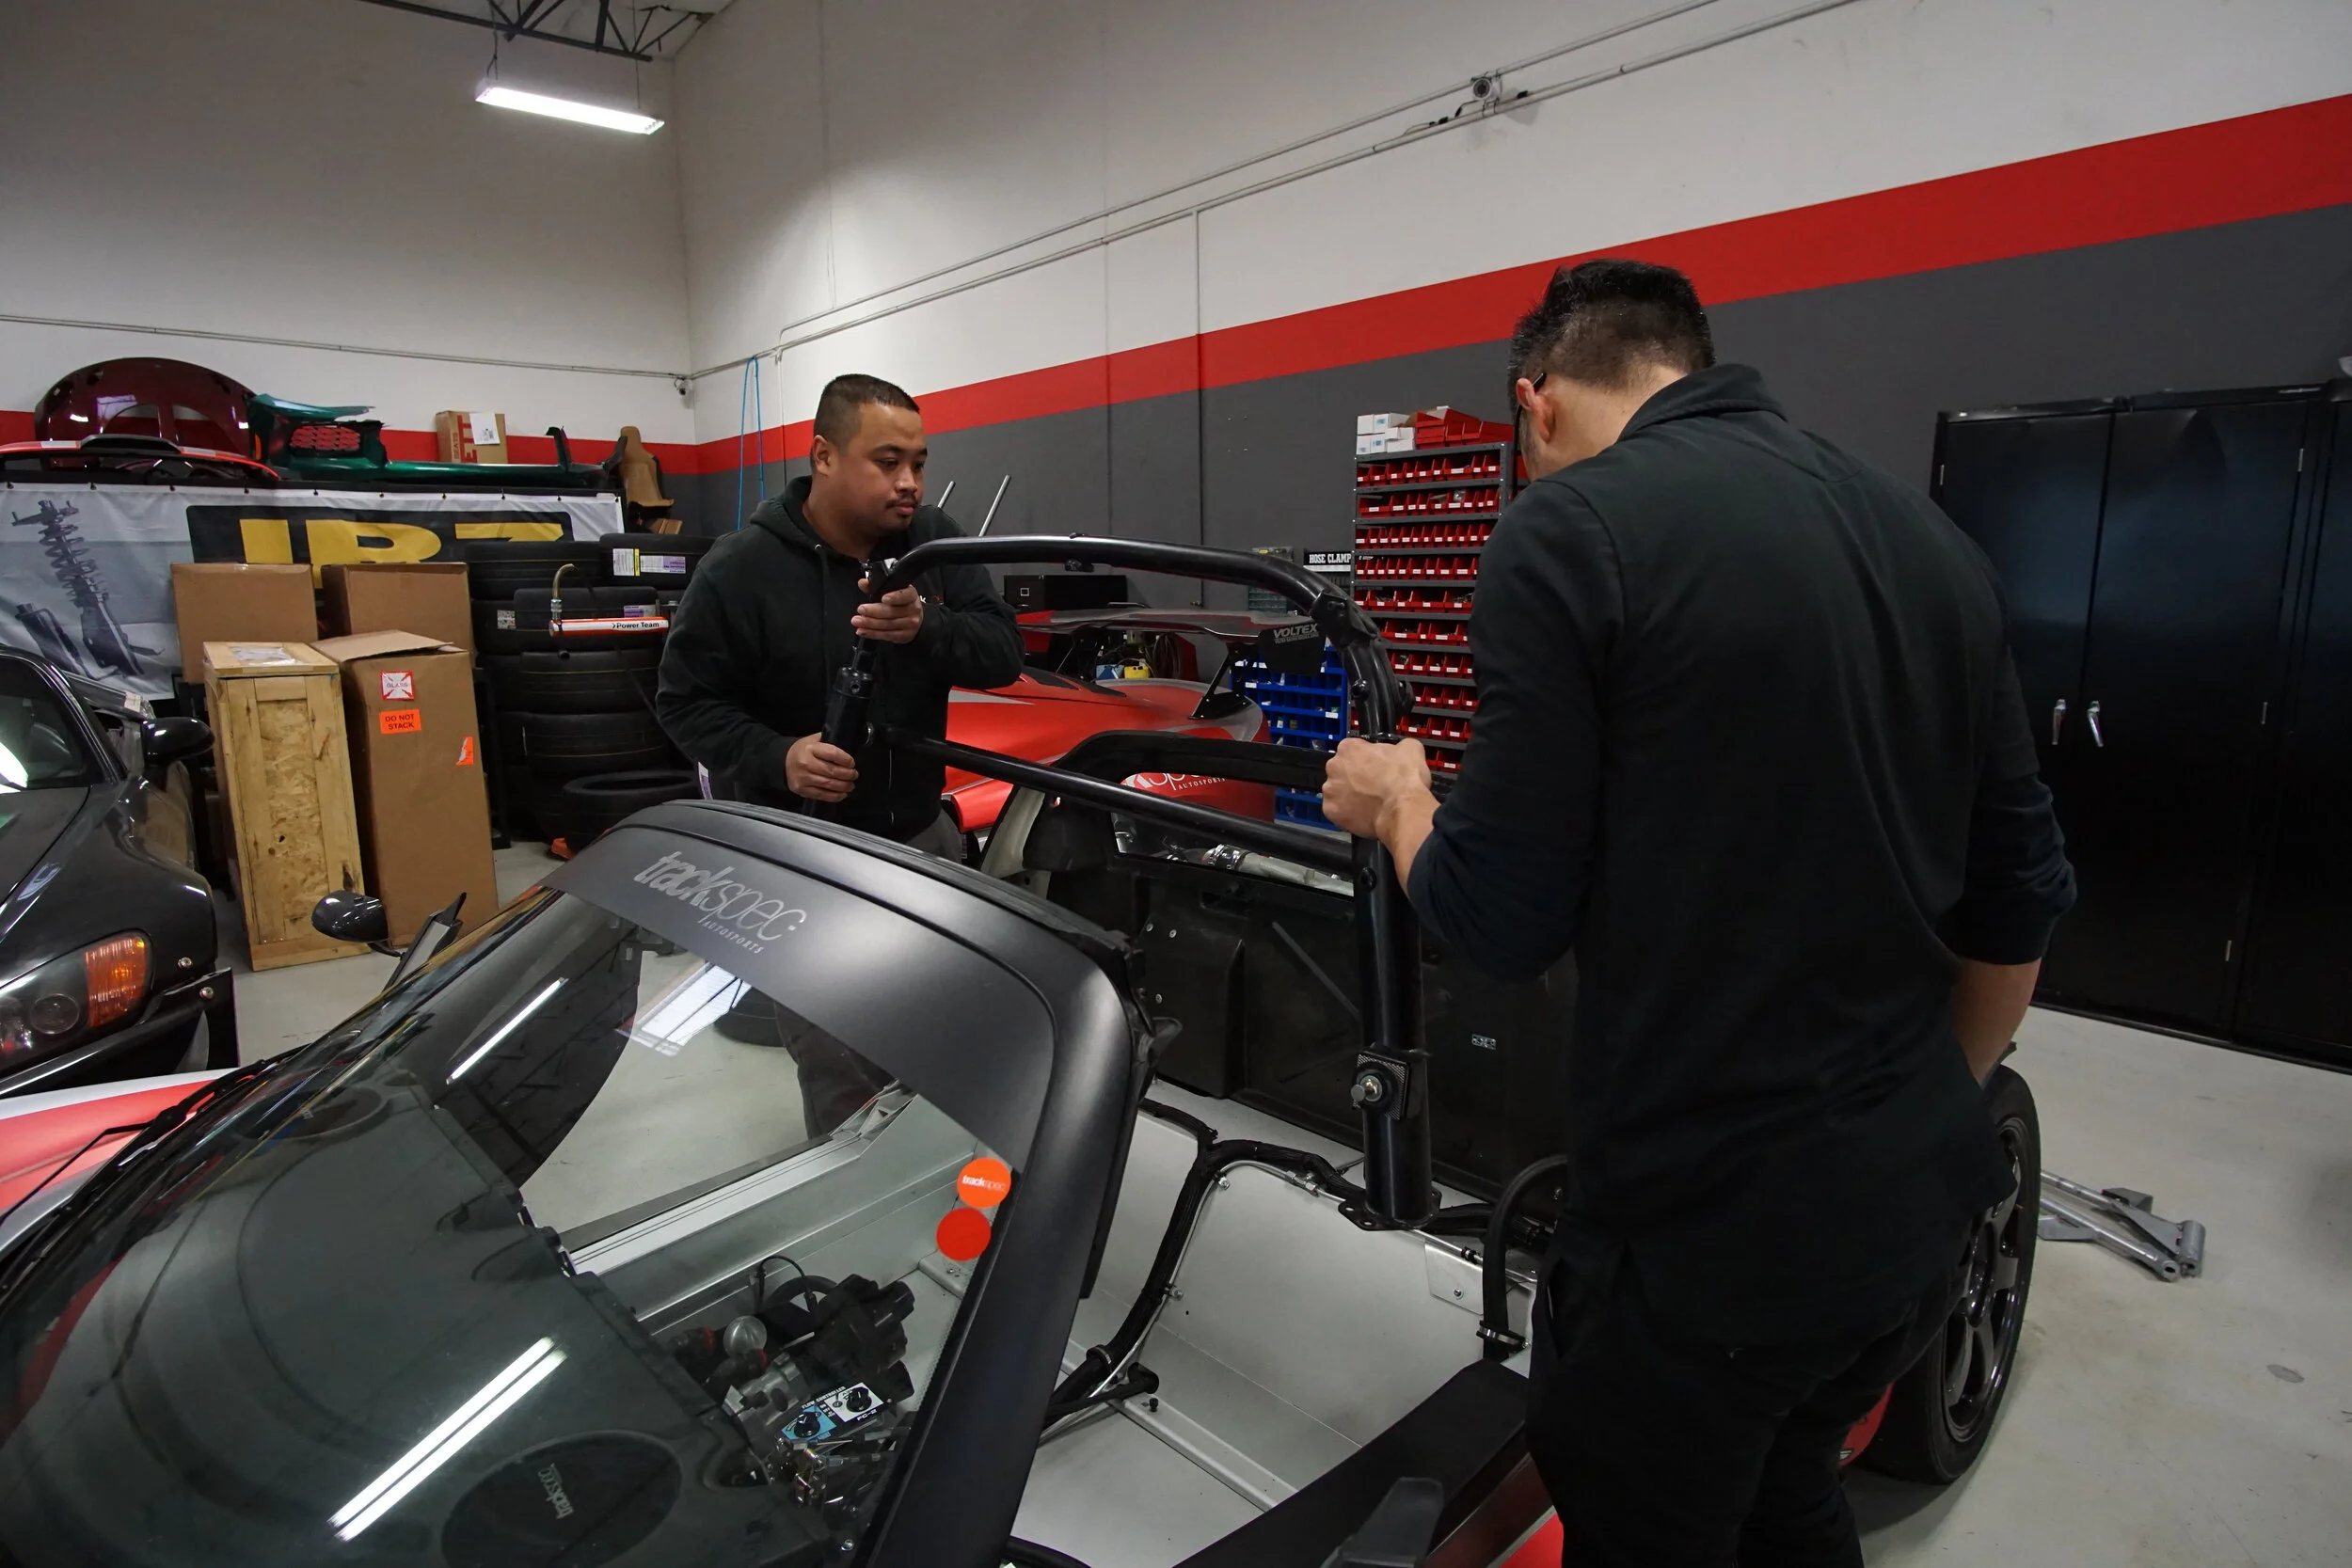
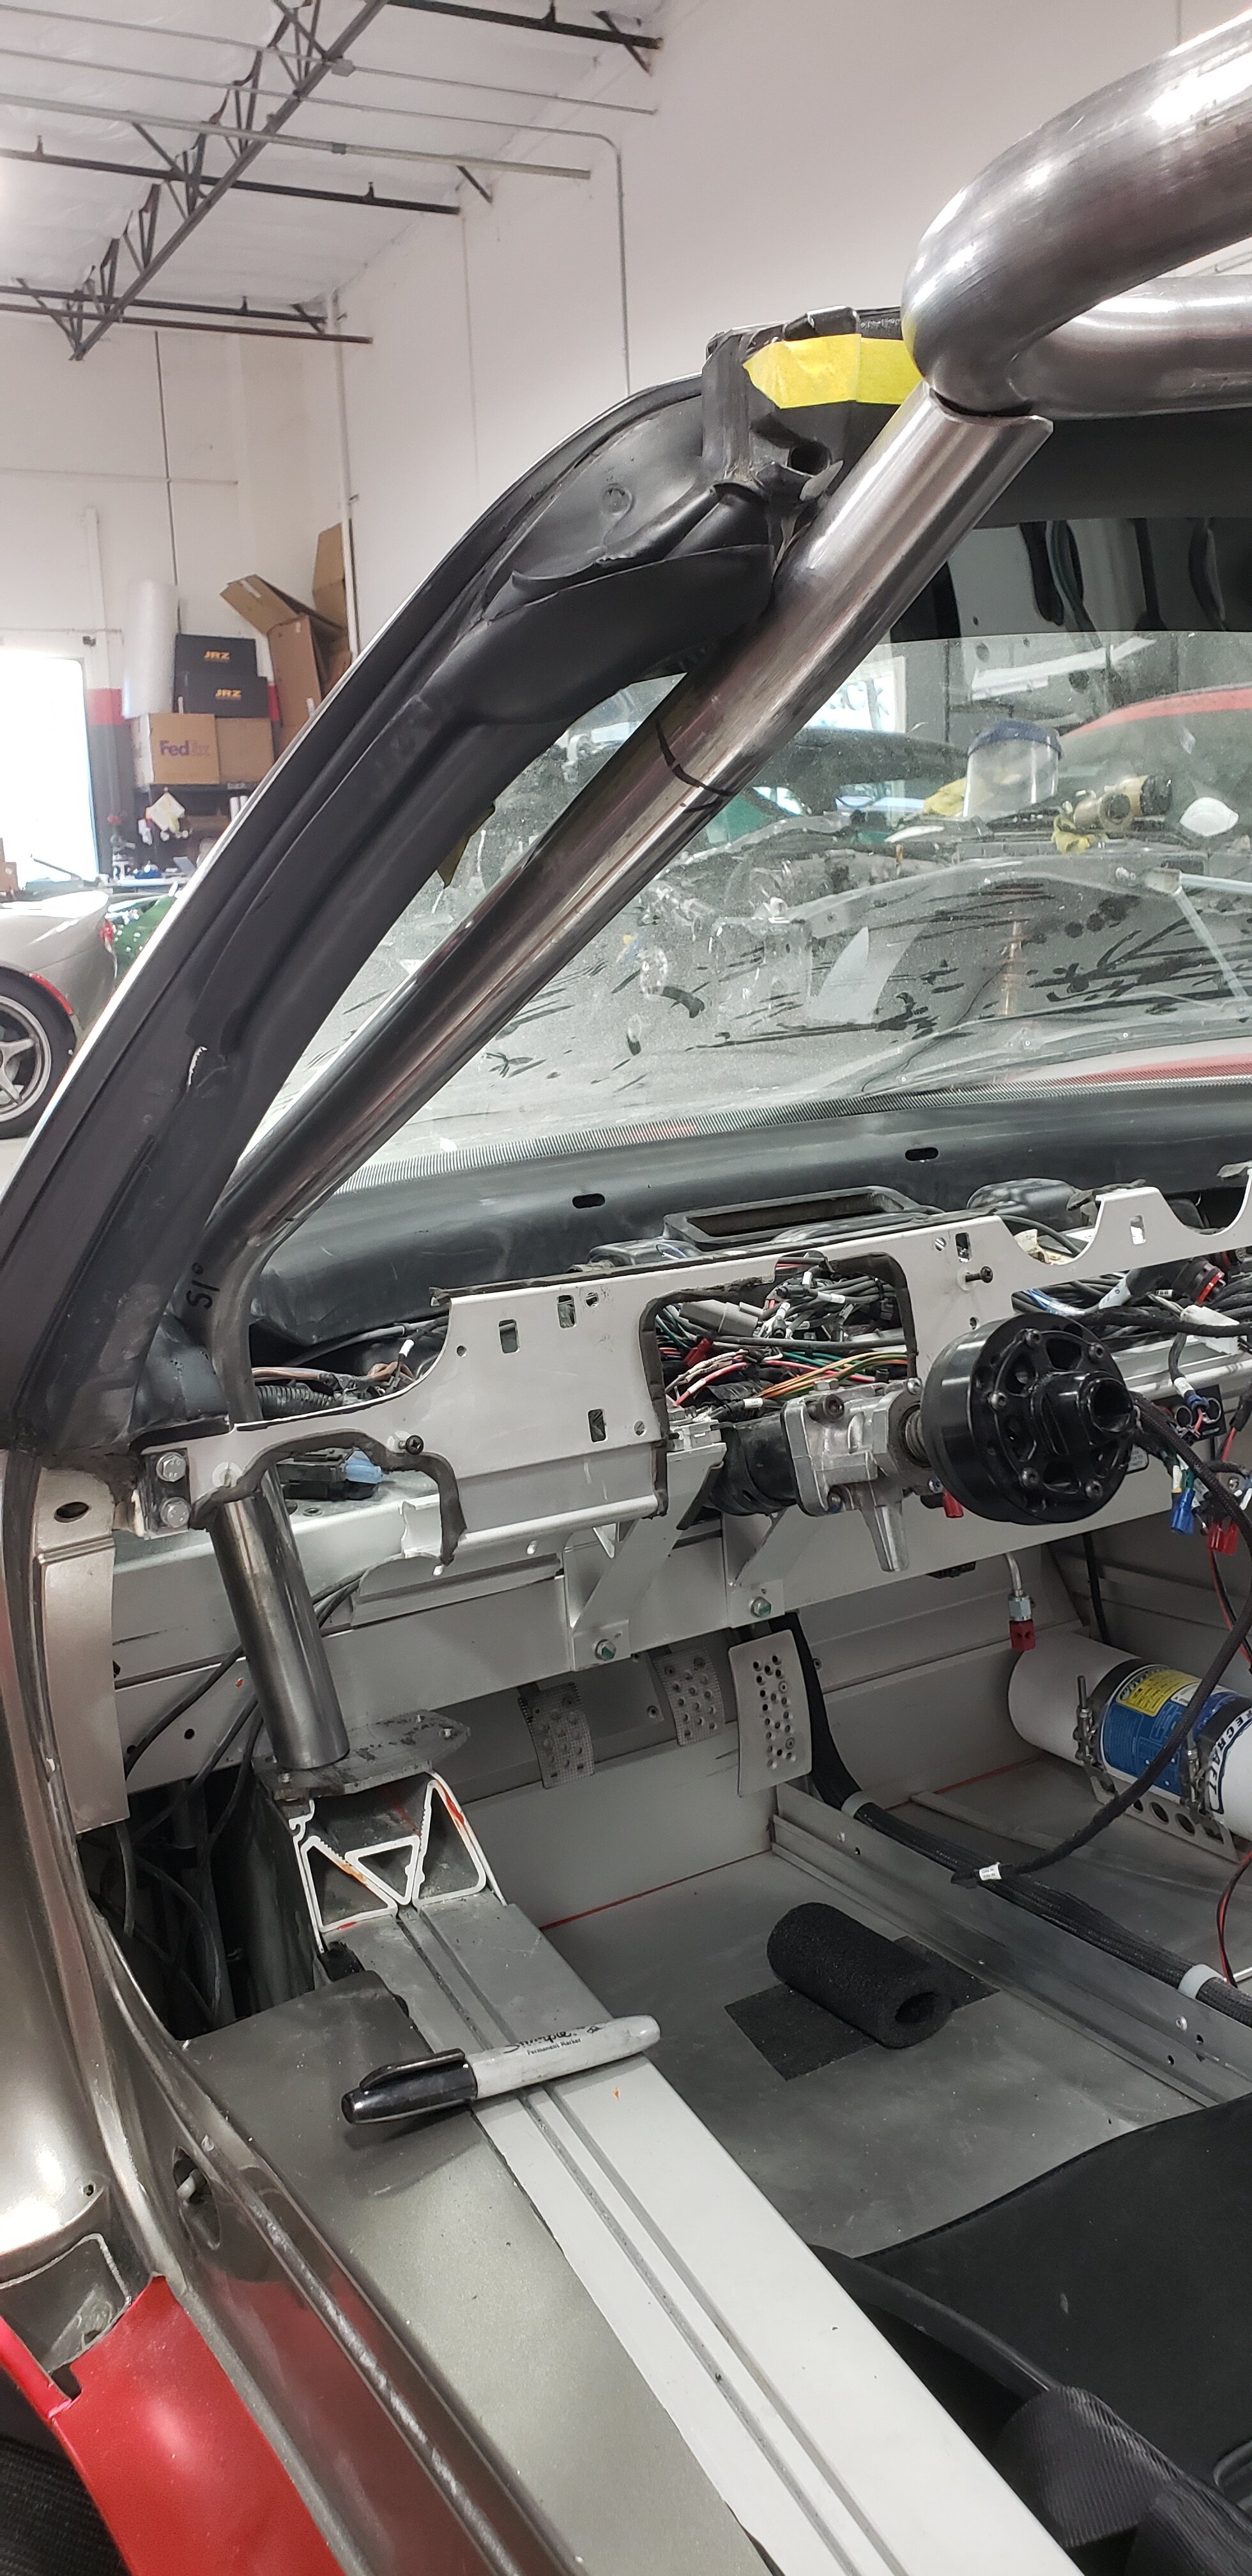
Factory Roll Bar Removal
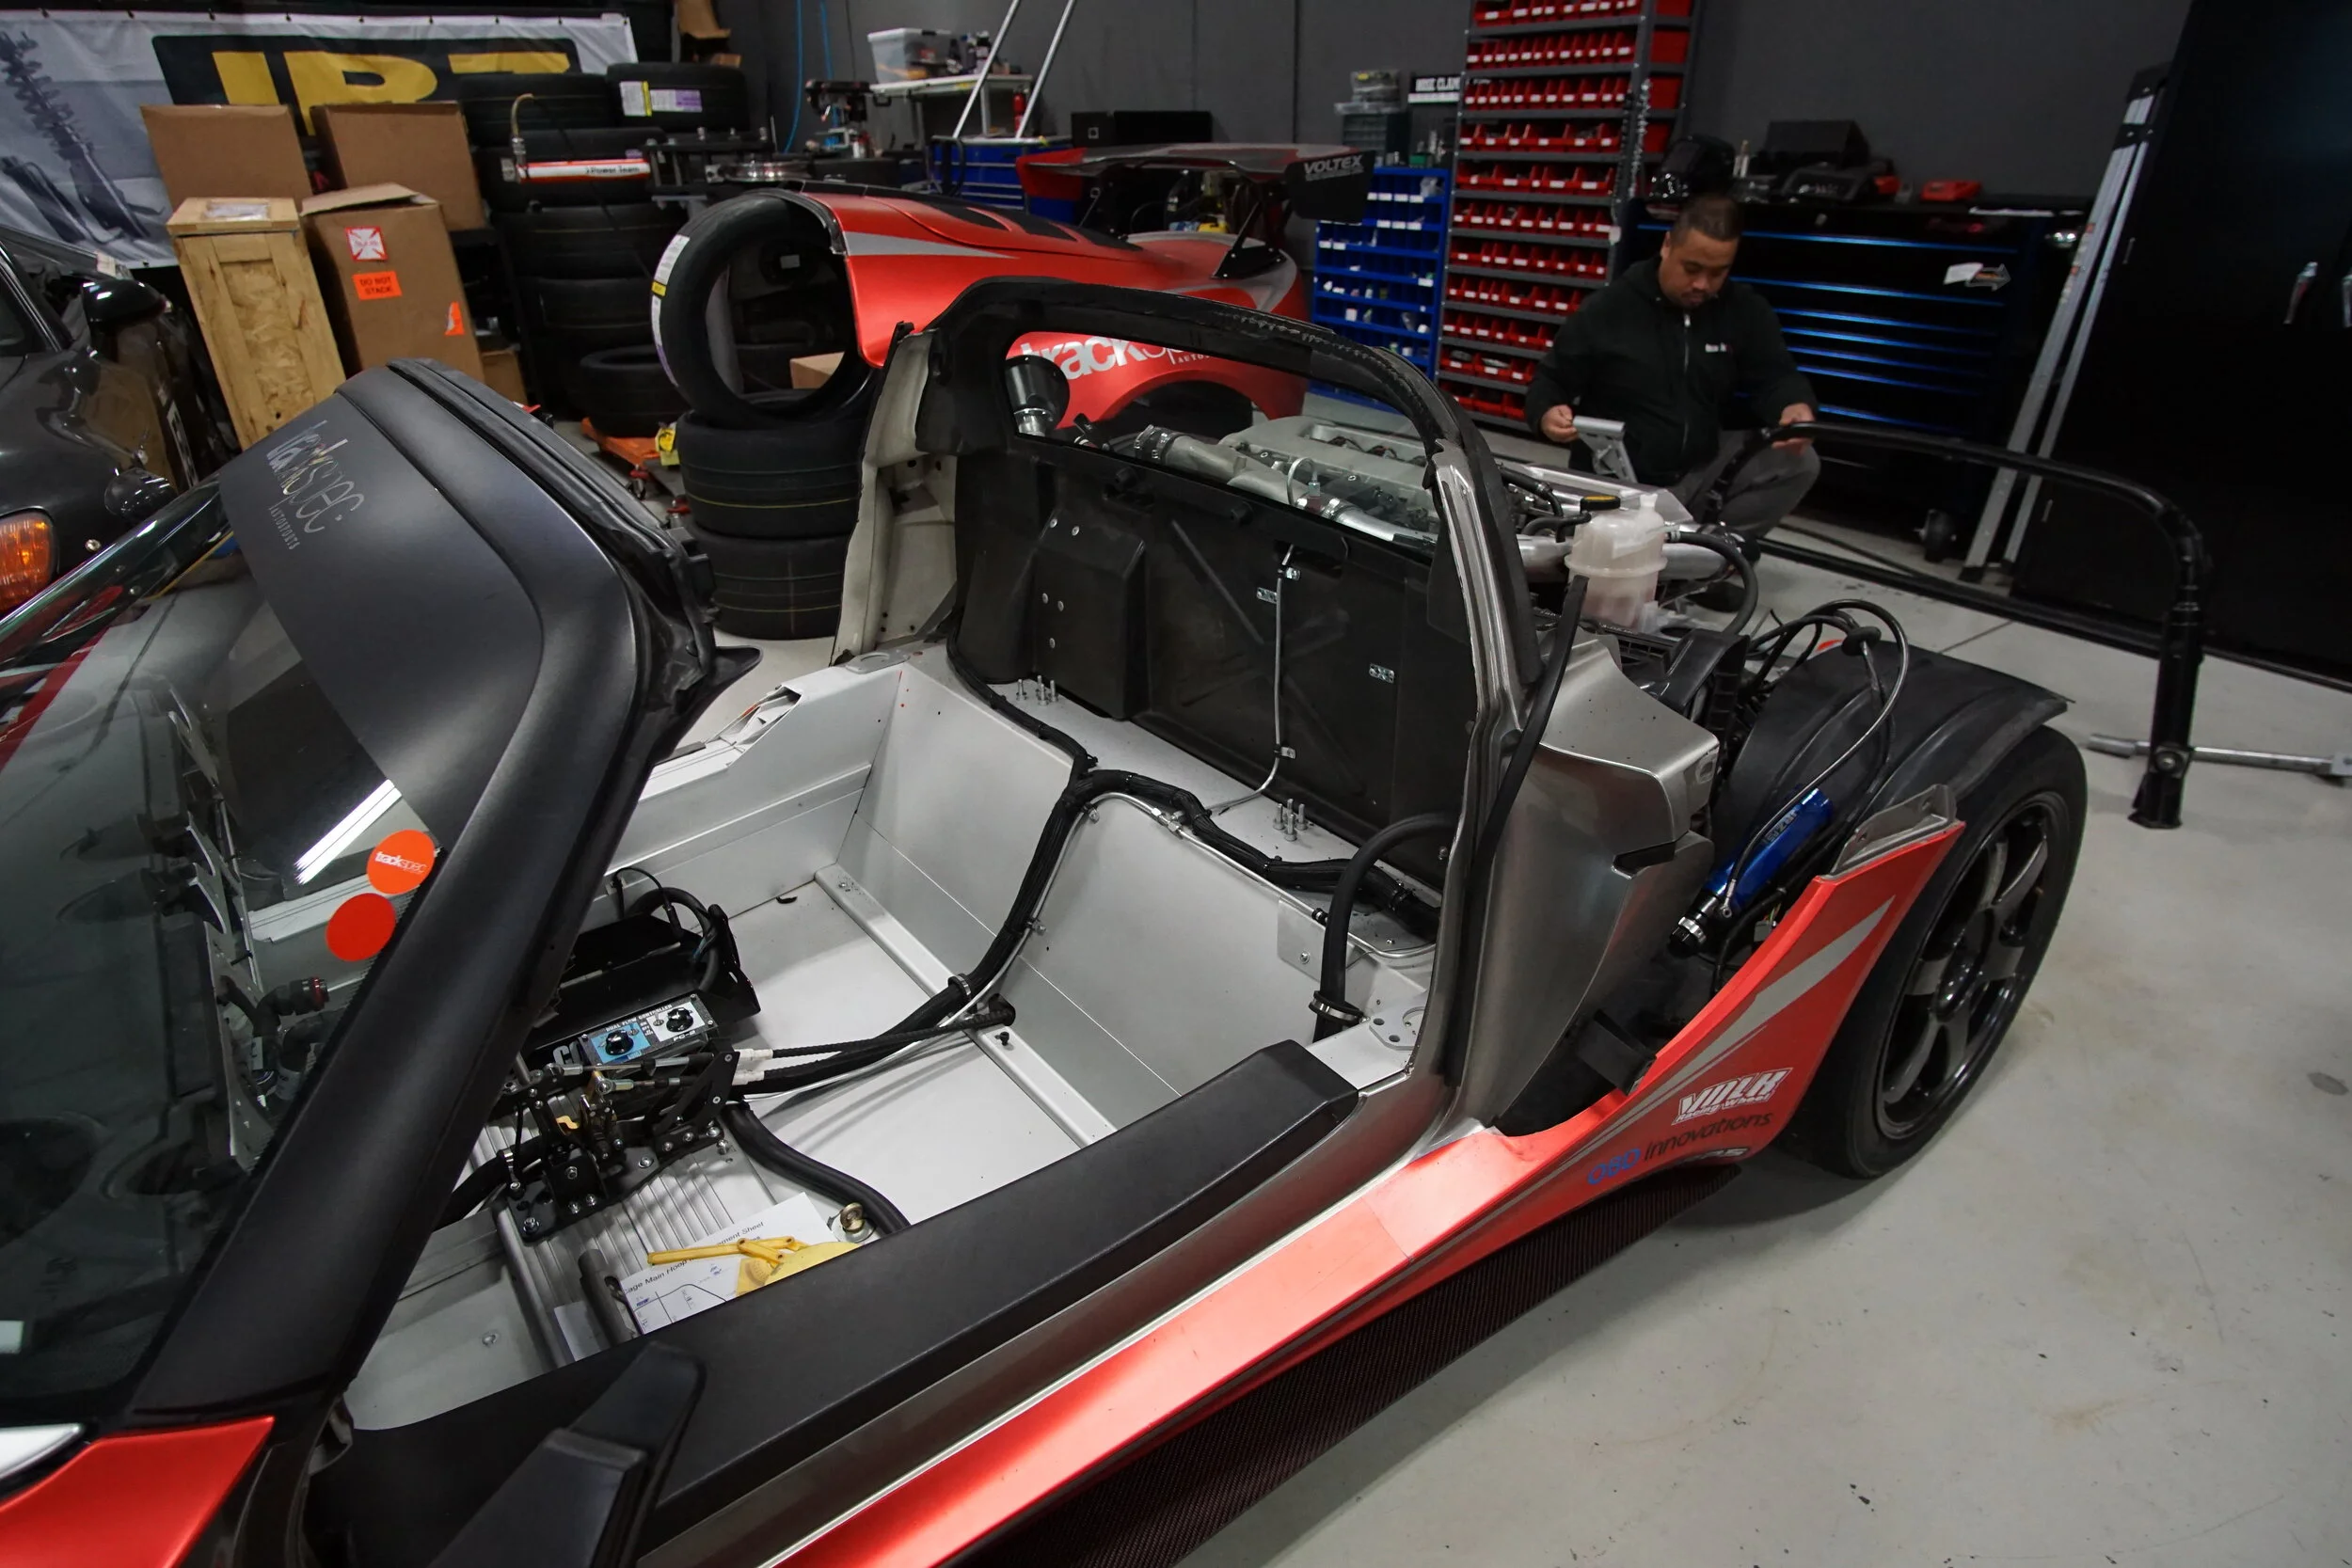
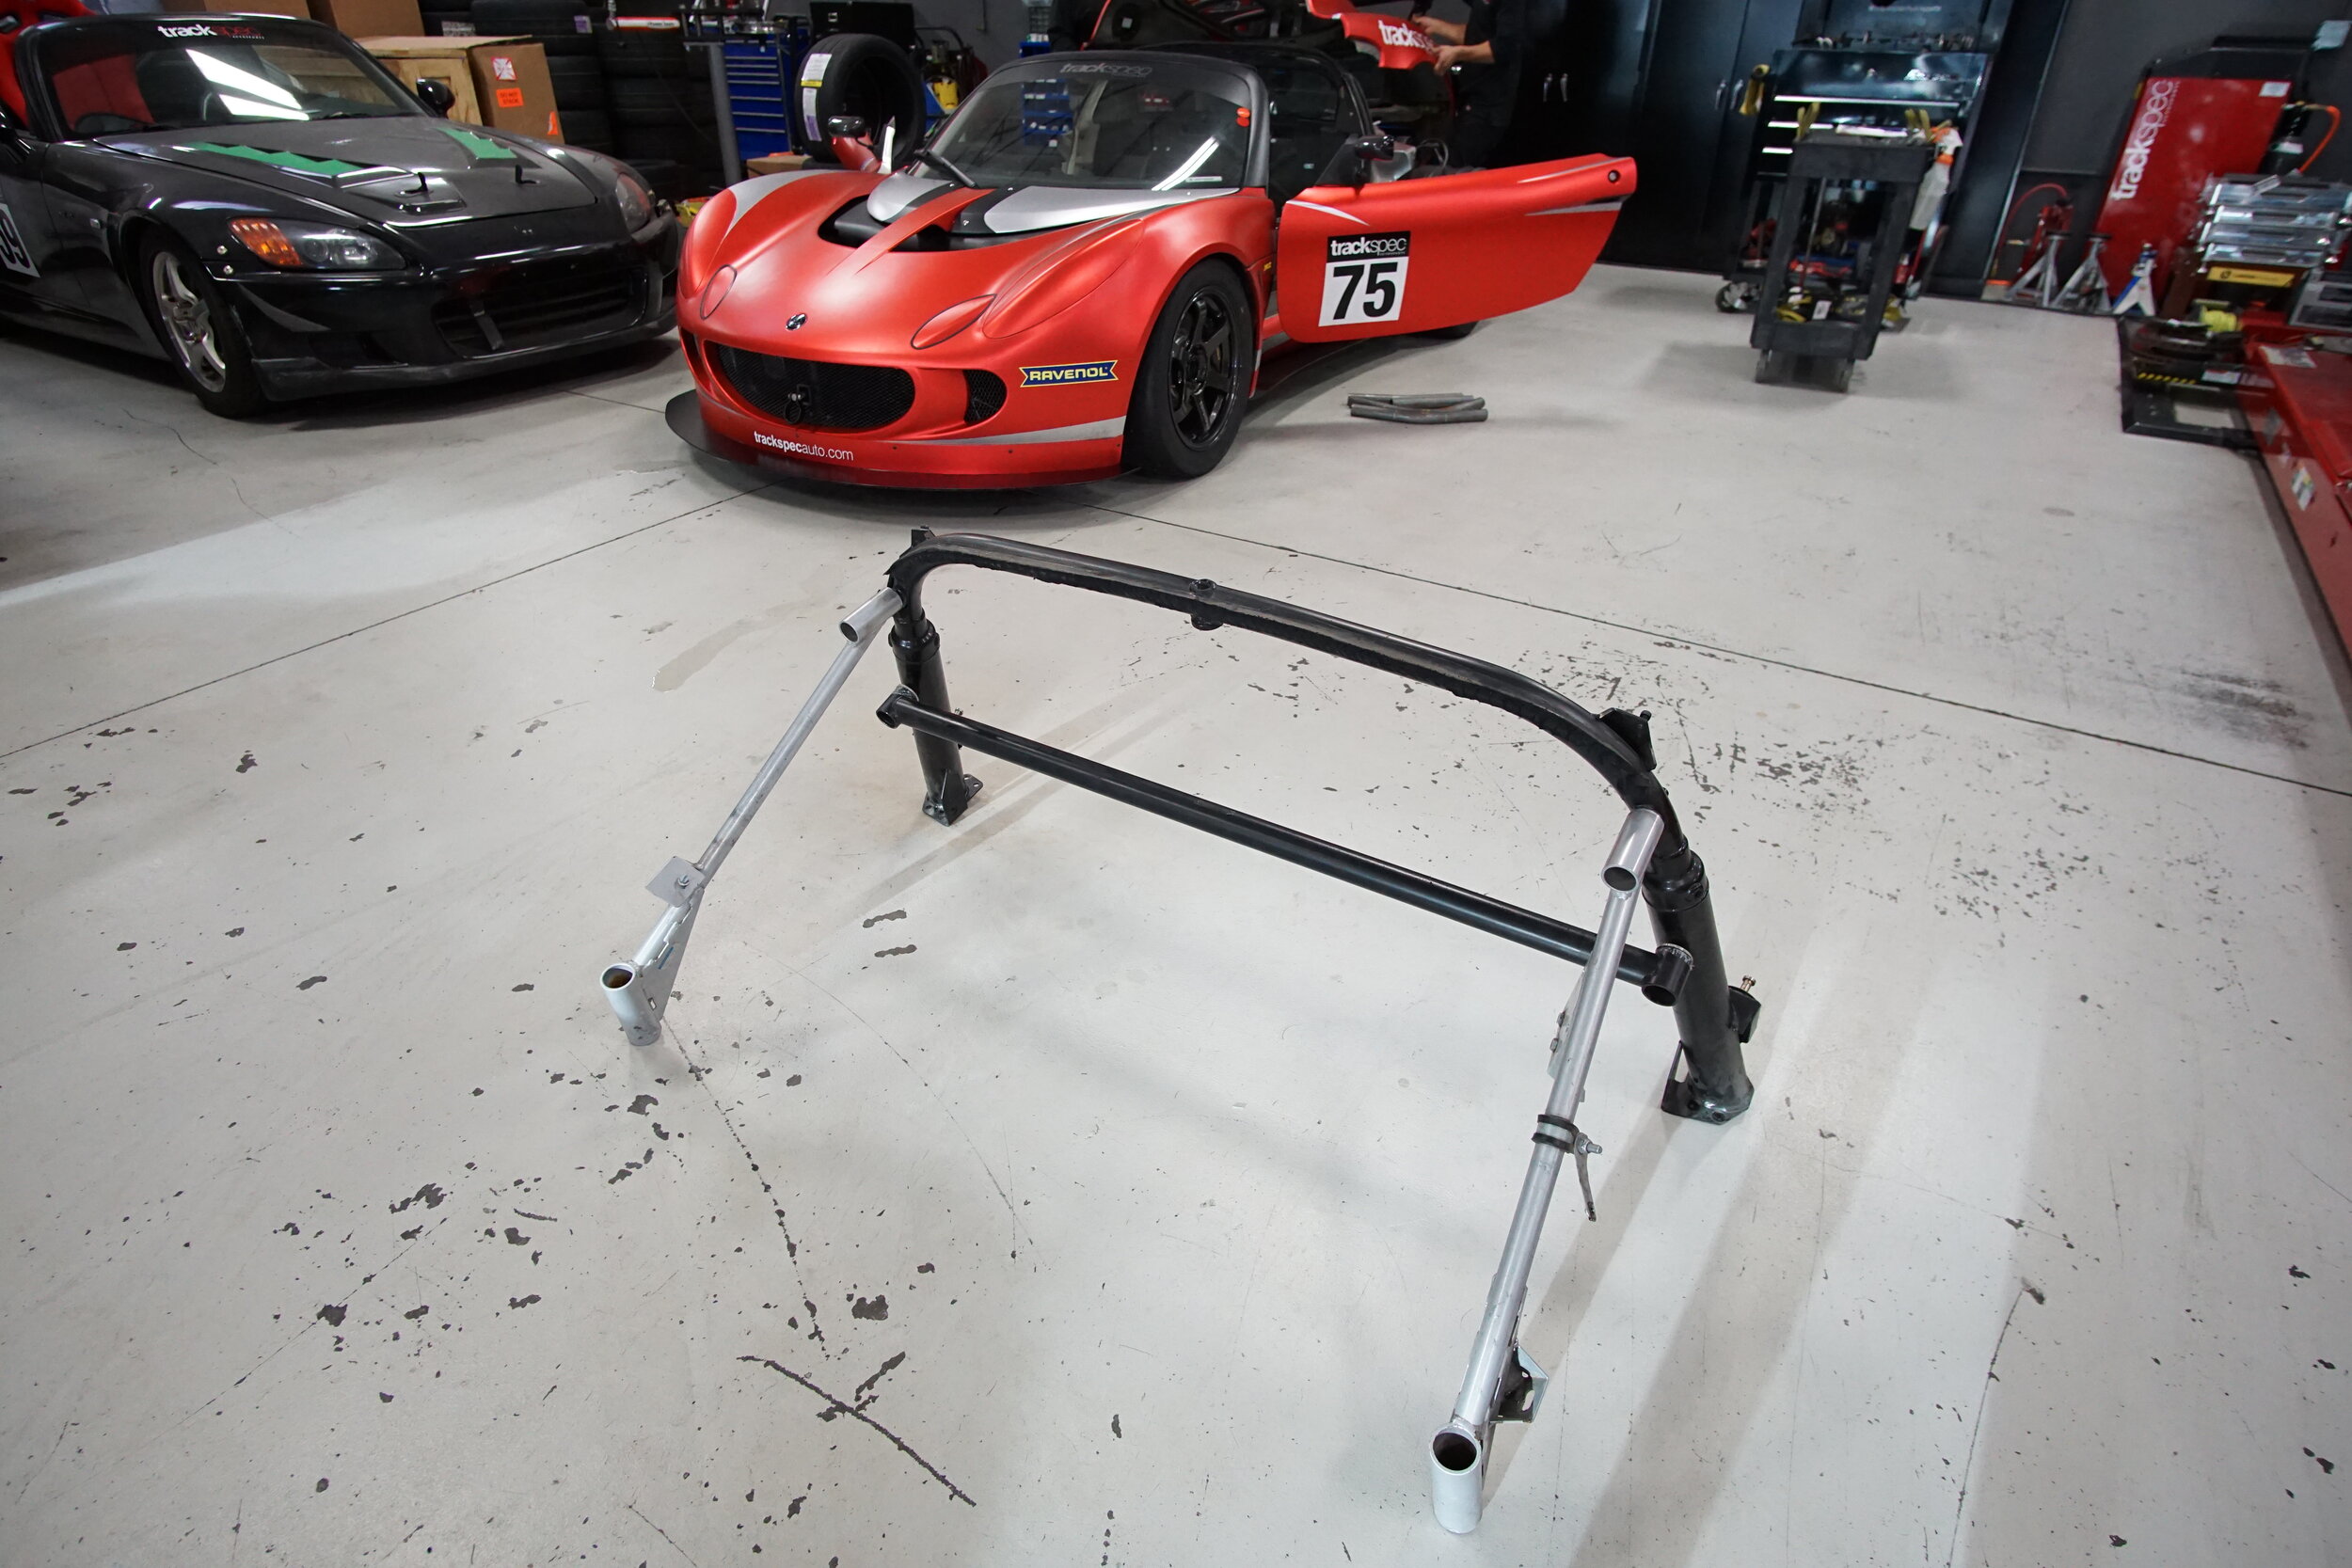
Typically, to remove the factory roll bar, we would need to detach the LH and RH sill panels from the firewall, which are bonded together. Earlier last year, we trimmed the sills where they wrap around the roll bar to skip this step. All we needed to do was remove the rear clam, unbolt the roll bar from the tub, unbolt the rear bars, and pull it forward. There is also some urethane attaching the top of the bulkhead to the roll bar that we cut apart with some wire.
Materials
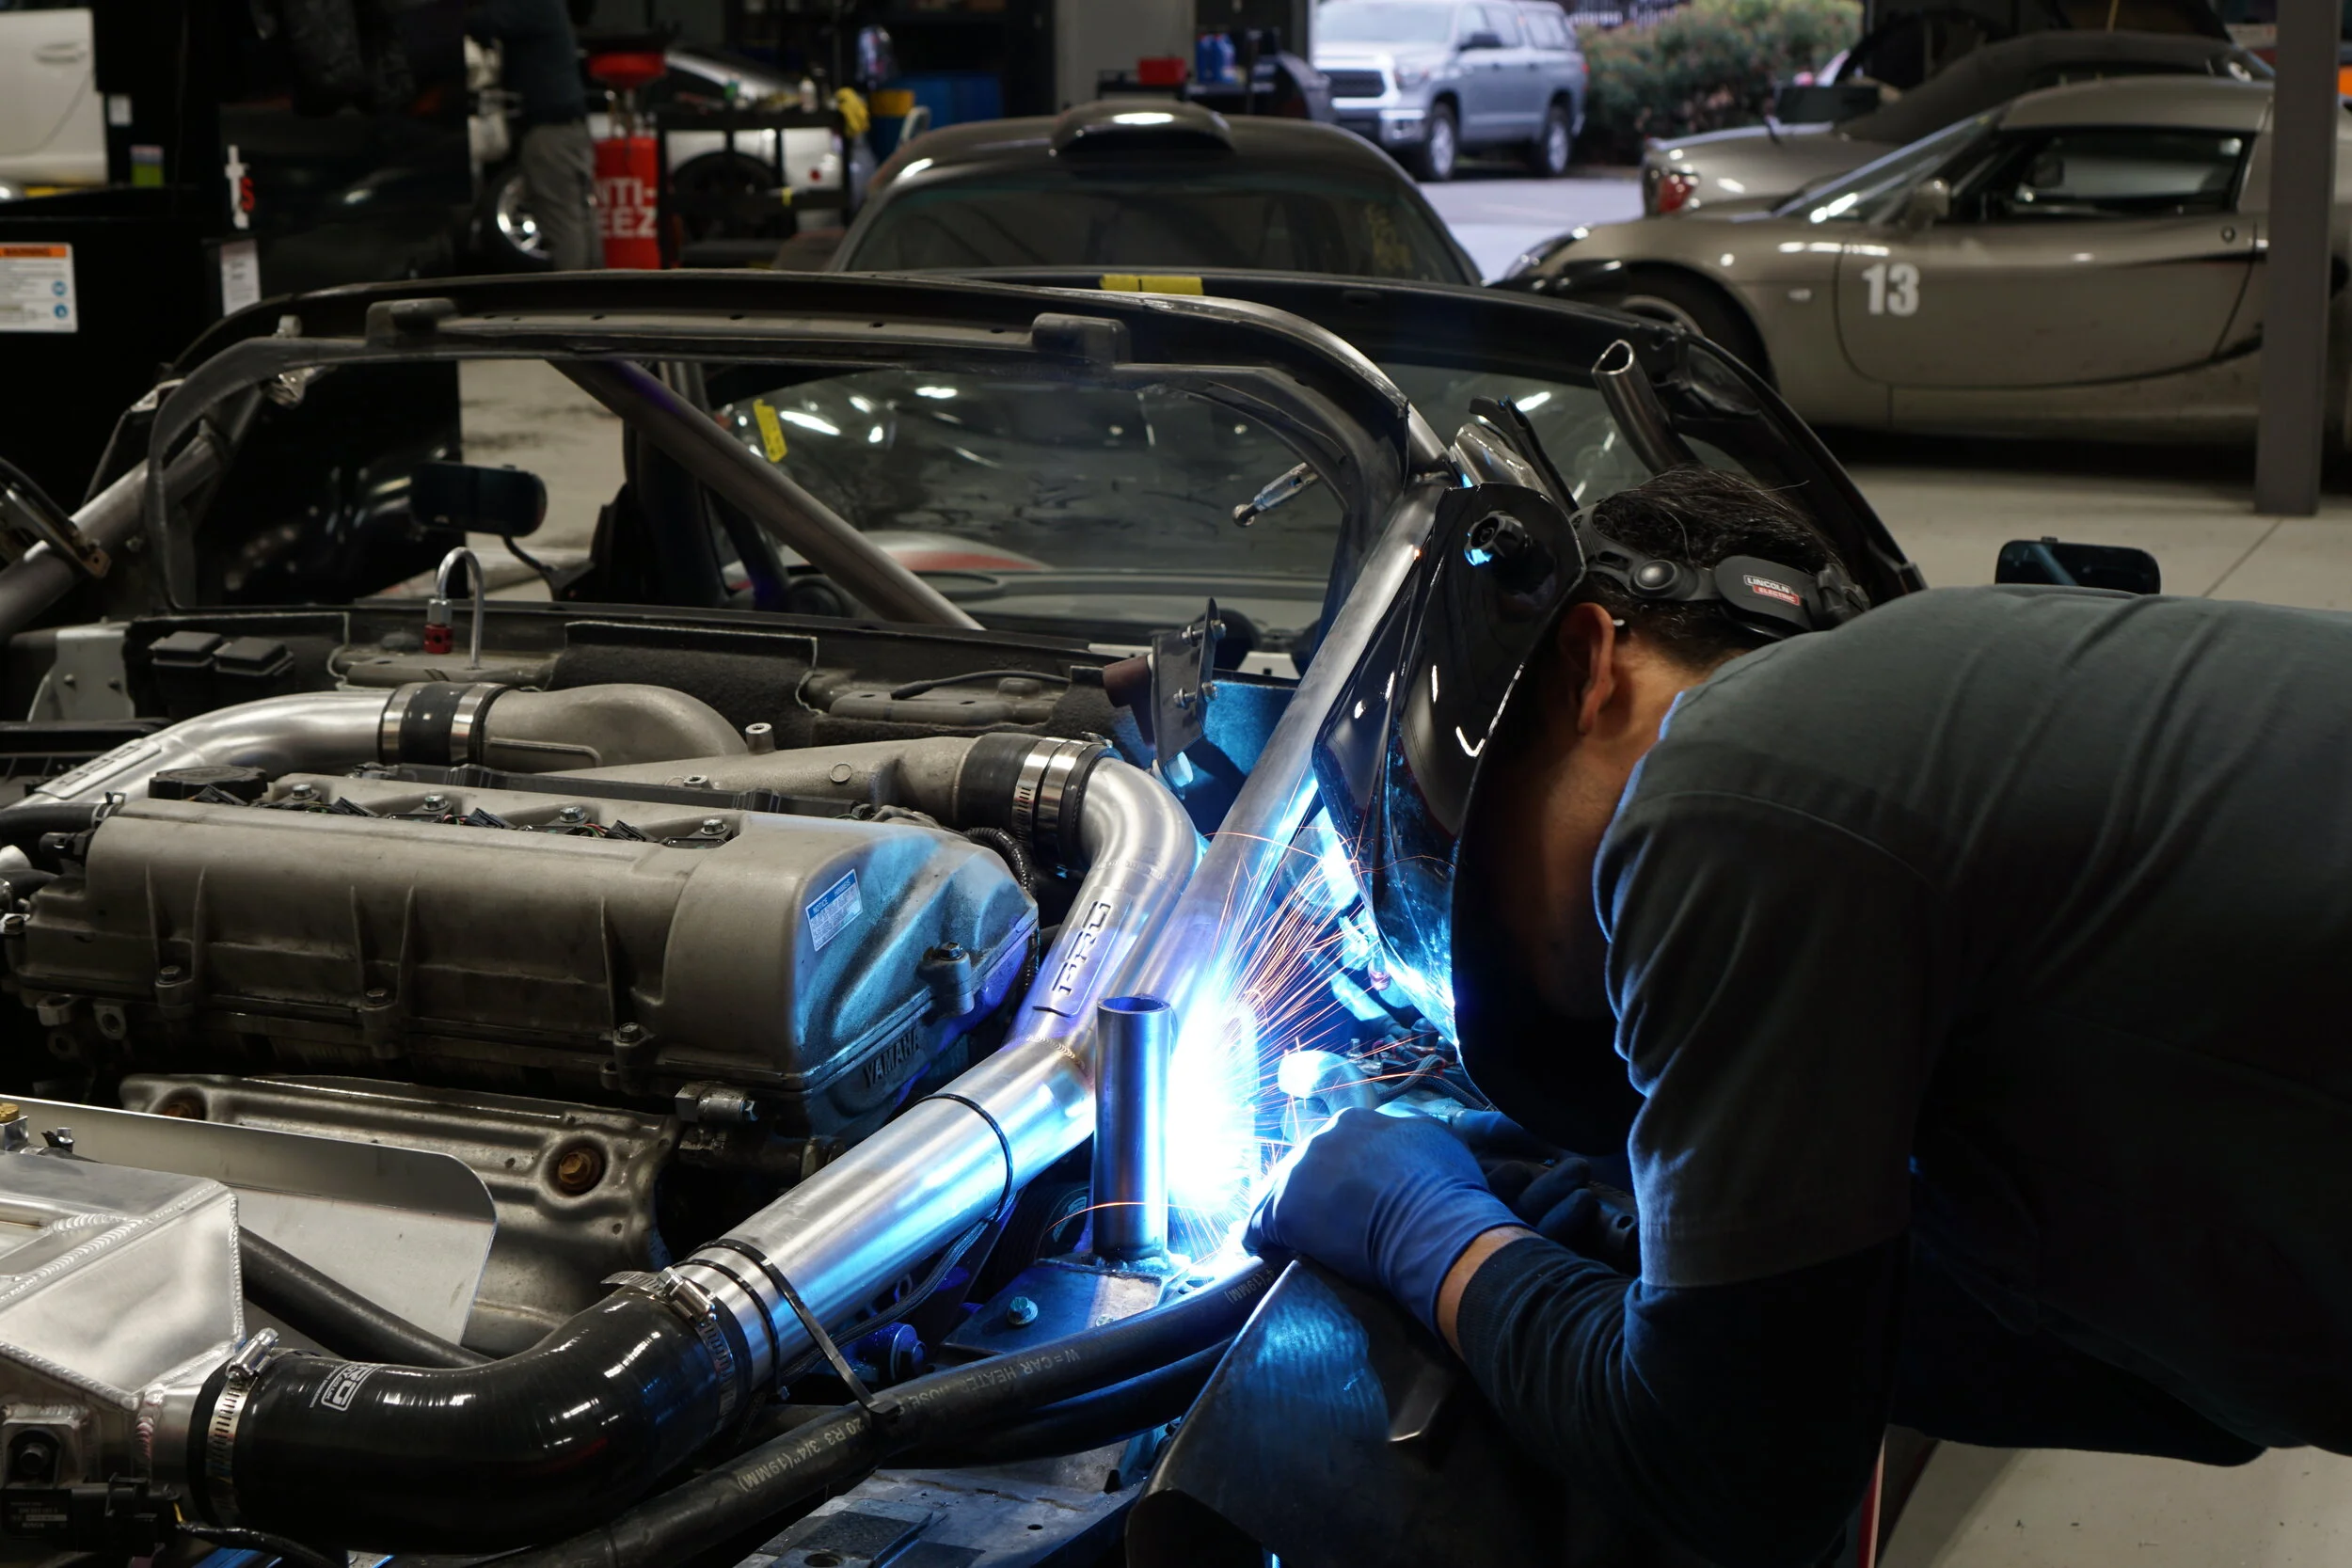
To determine what tubing size to use, we need to estimate the vehicle weight as raced without fuel or driver. The last time we weighed the car in Part 2, it was 1885lbs without driver and 5 gallons of fuel. We guessed the car to be right around 2200lbs just to be on the conservative side. For a 1501-2500lbs car, 1.5”x0.095” DOM tubing is required. We decided to go up to the next weight category and use 1.5”x0.120”, which is required for 2501-3000lbs cars. This will make the cage stronger, but at the cost of some additional weight.
Since the car has an aluminum tub, the cage will have to be bolted in. All mounting plates need to be 3/16” thick with a minimum of three 5/16” grade five or better bolts per plate and reinforcement plates to sandwich the body.


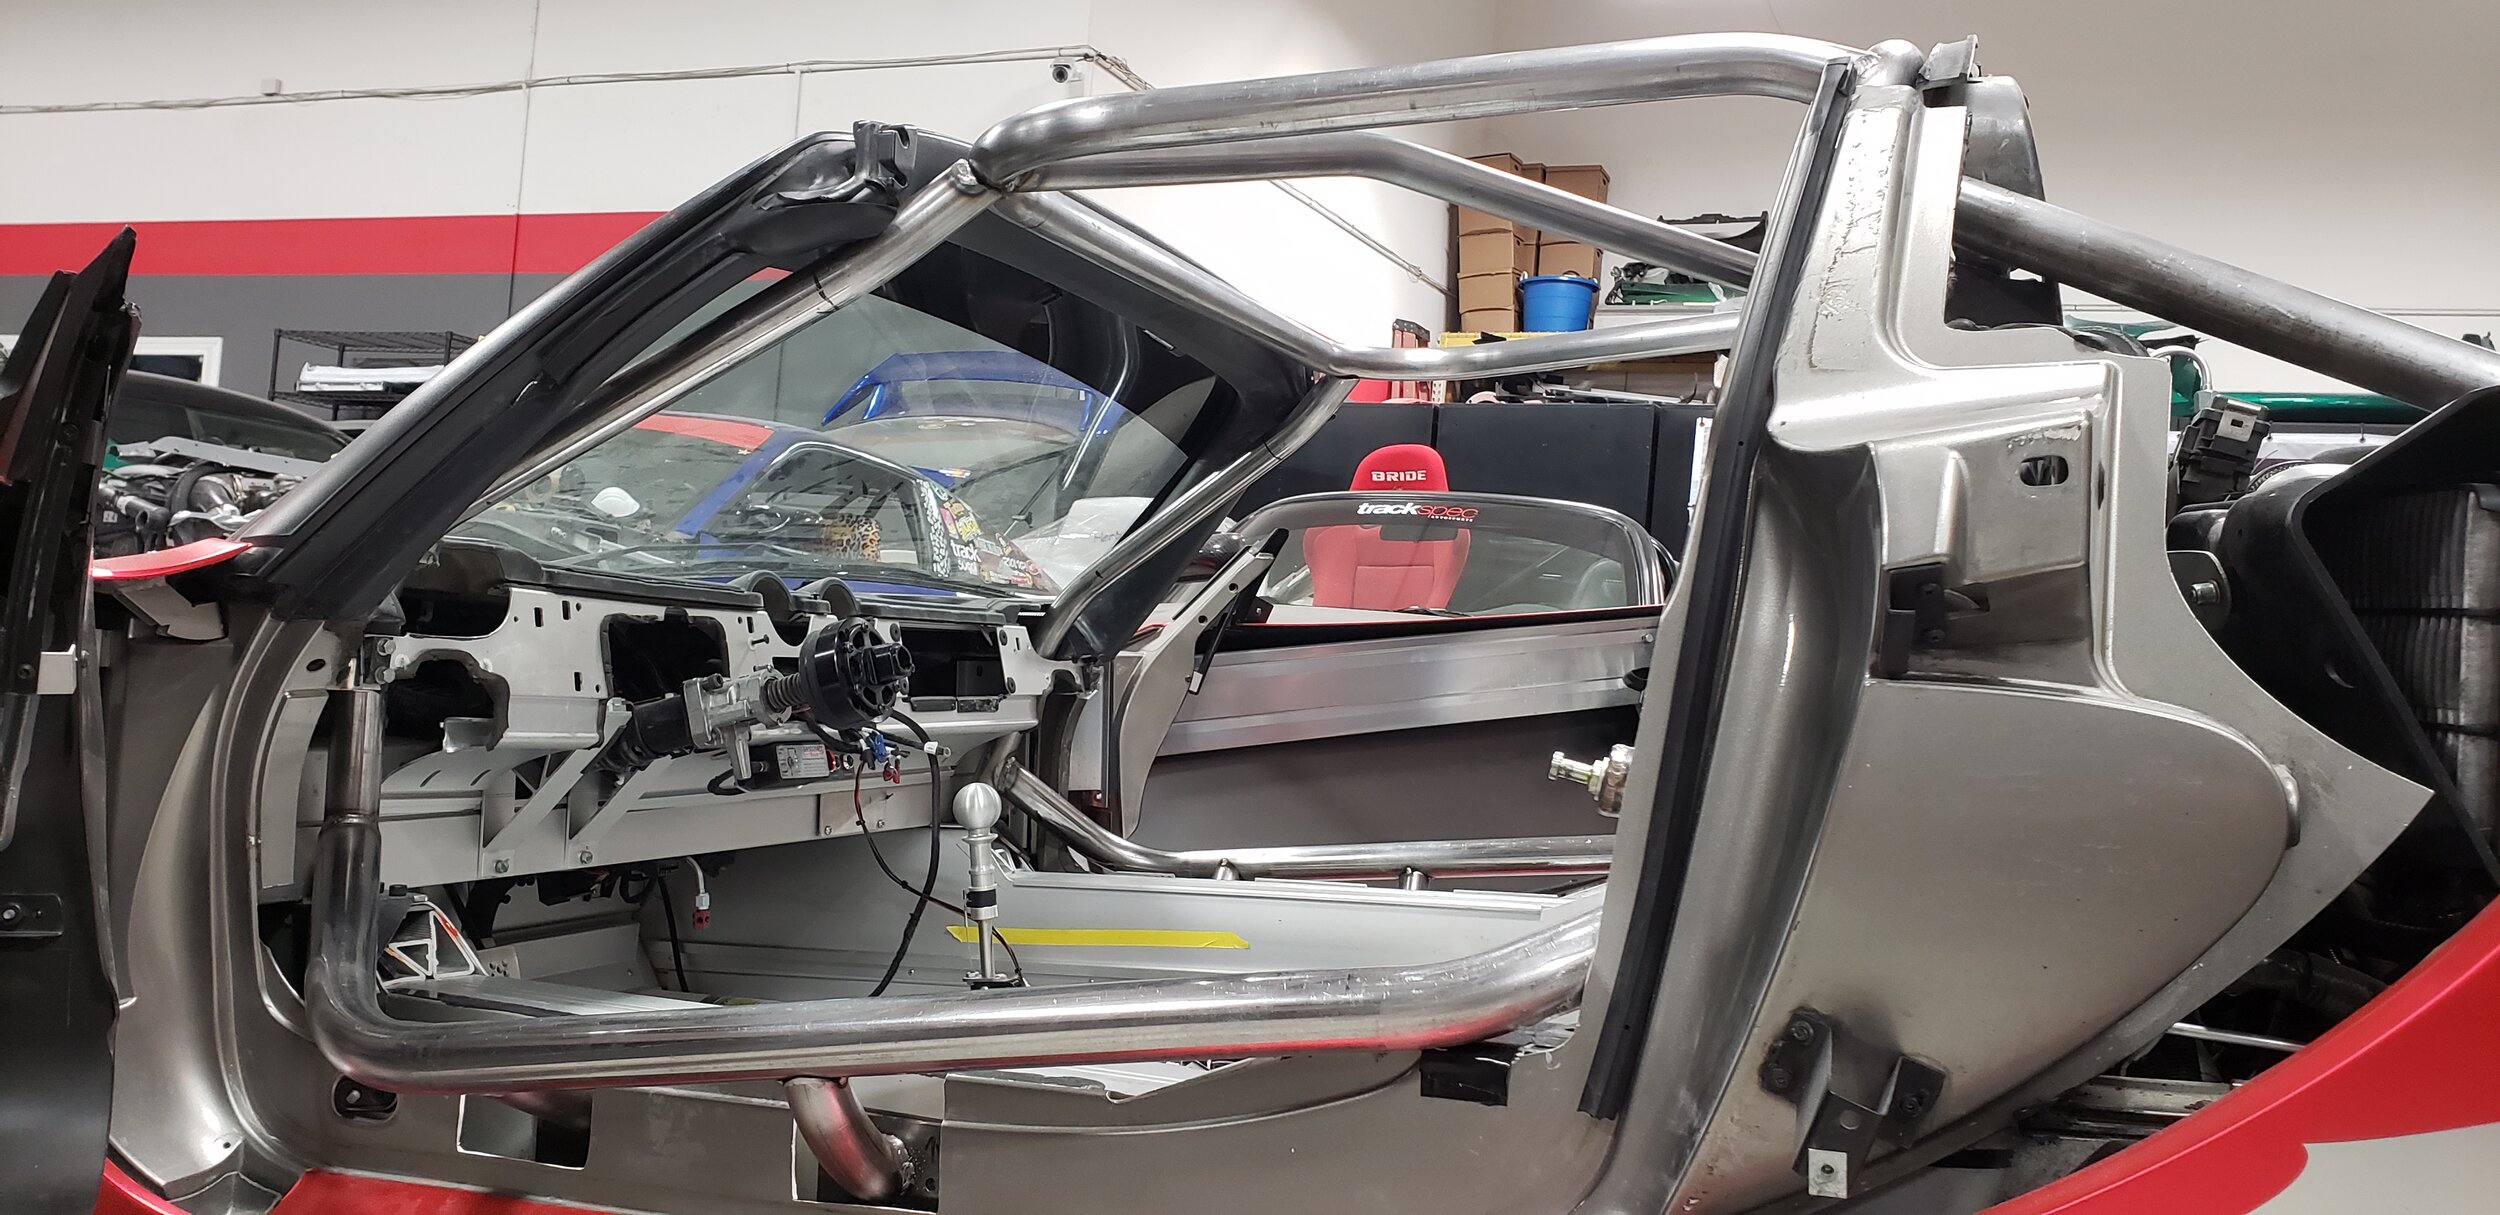
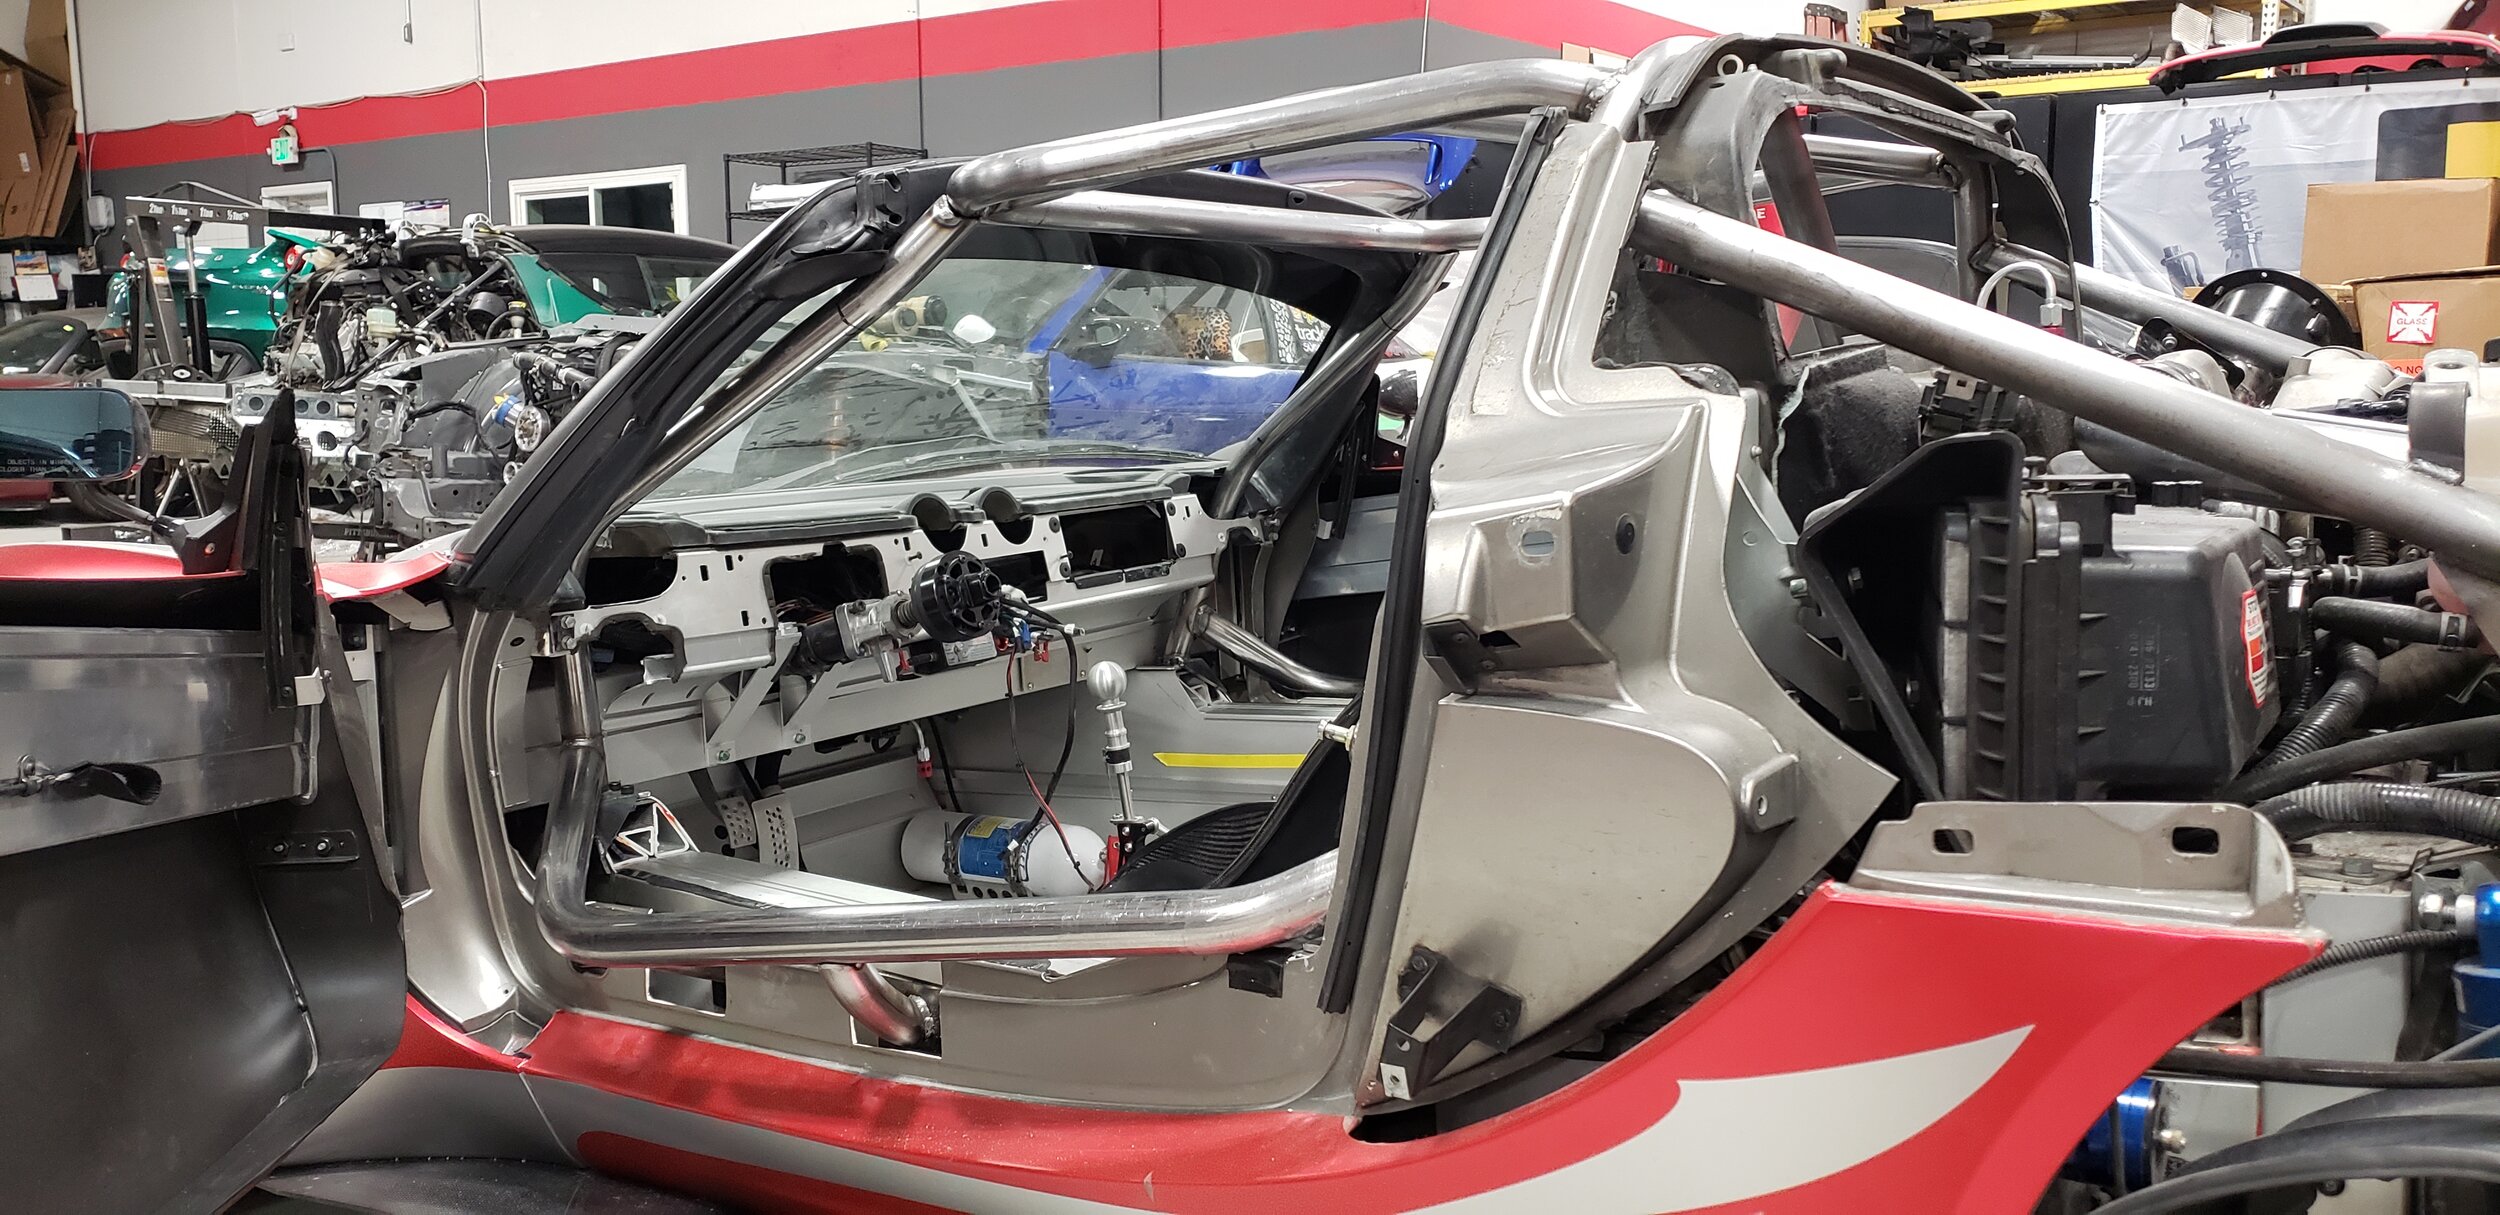
Main Hoop
15.6.6 Main Hoop The main roll cage hoop should be as wide as the full width of the interior and must be as close to the roof as possible without violating CCR section #15.6.20 Inspection. One continuous length of roll bar tubing shall be used as the main hoop. The main hoop must consist of not more than four (4) bends maximum, totaling one hundred eighty (180) degrees +/- ten (10) degrees.
Because the width of the roof is short and round it made sense to add a 5th bend to our main hoop to follow the roof line. Having a straight tube at the top would leave a large gap between the top of the hoop and the roof. The rules say that we may exceed the number of permitted bends if all of the required cage components are made from the tubing size of the next heavier category, which we have done.


The main hoop must have a diagonal brace that extends from as close to the mounting plate as possible to the horizontal part of the main hoop above the driver’s head, within 12 inches from the driver’s side corner. Going from corner to corner would be optimal, but sometimes not possible because of seat interference. We wanted to leave room for the seat to be mounted all the way back in case there is ever a tall driver. The harness bar was also fabricated at this time. NASA requires a 0-20 degree downward angle for the shoulder harnesses. We built this one to have a 10 degree angle with me sitting in the car.


Rear Braces
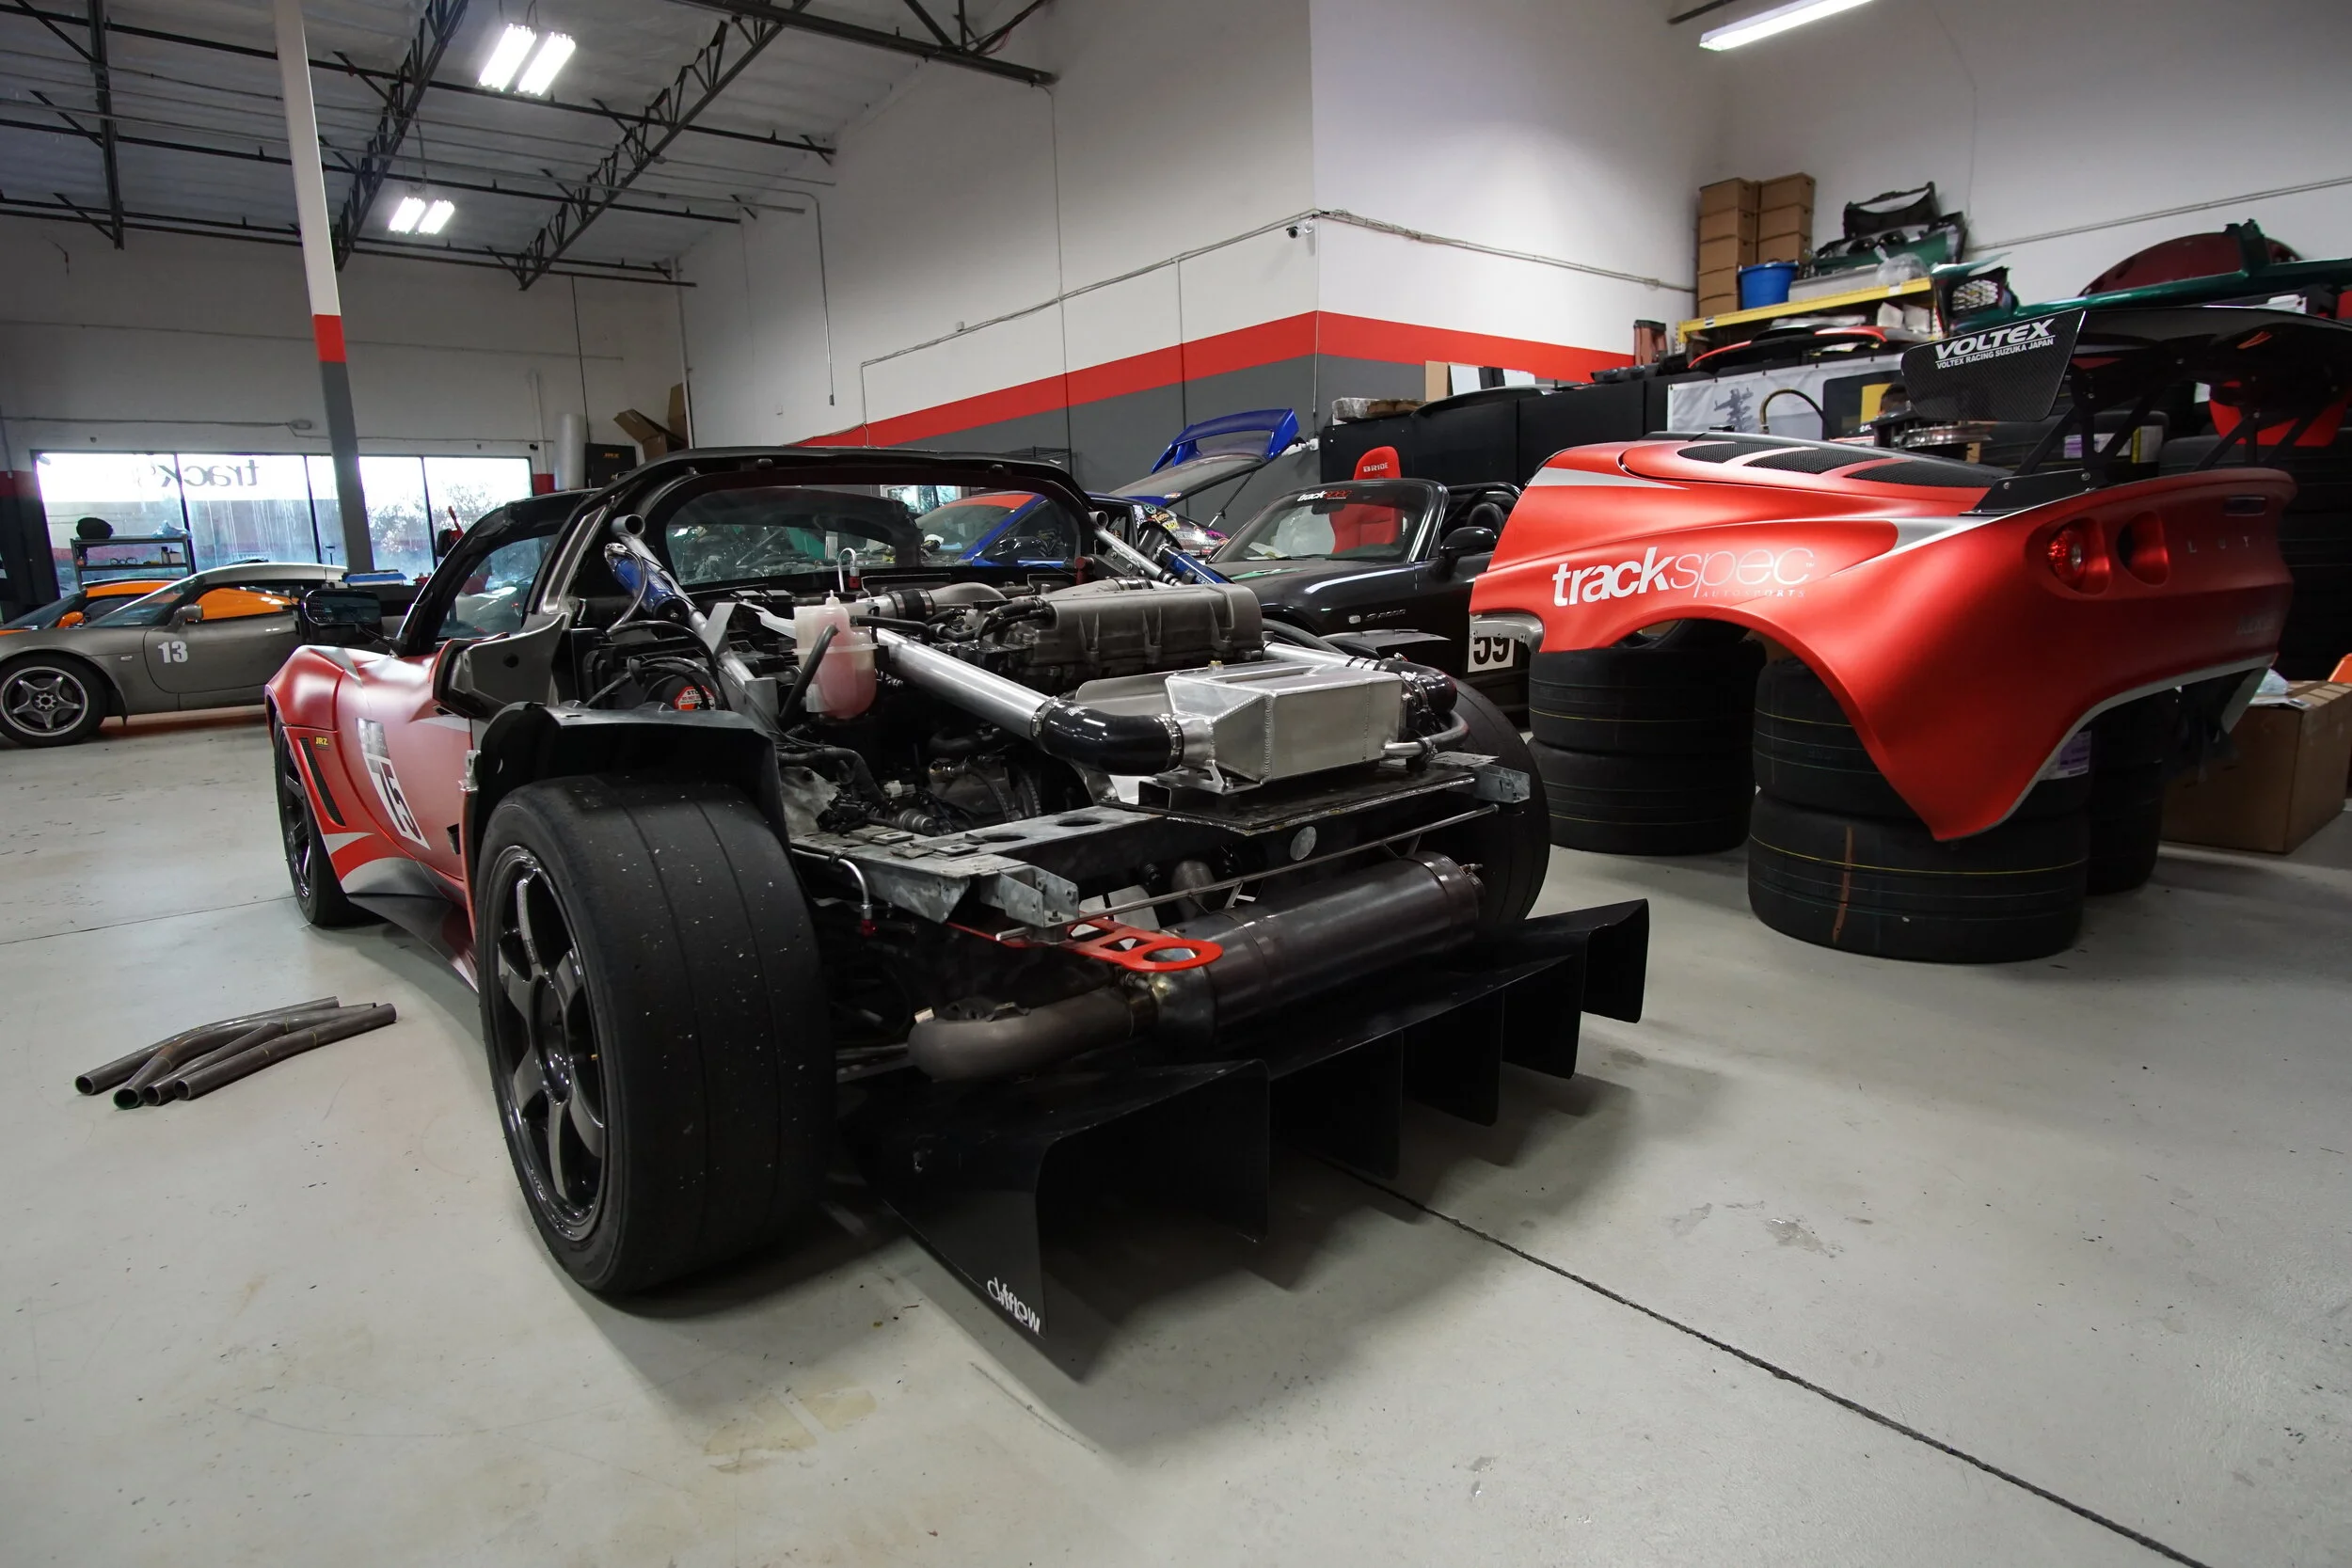
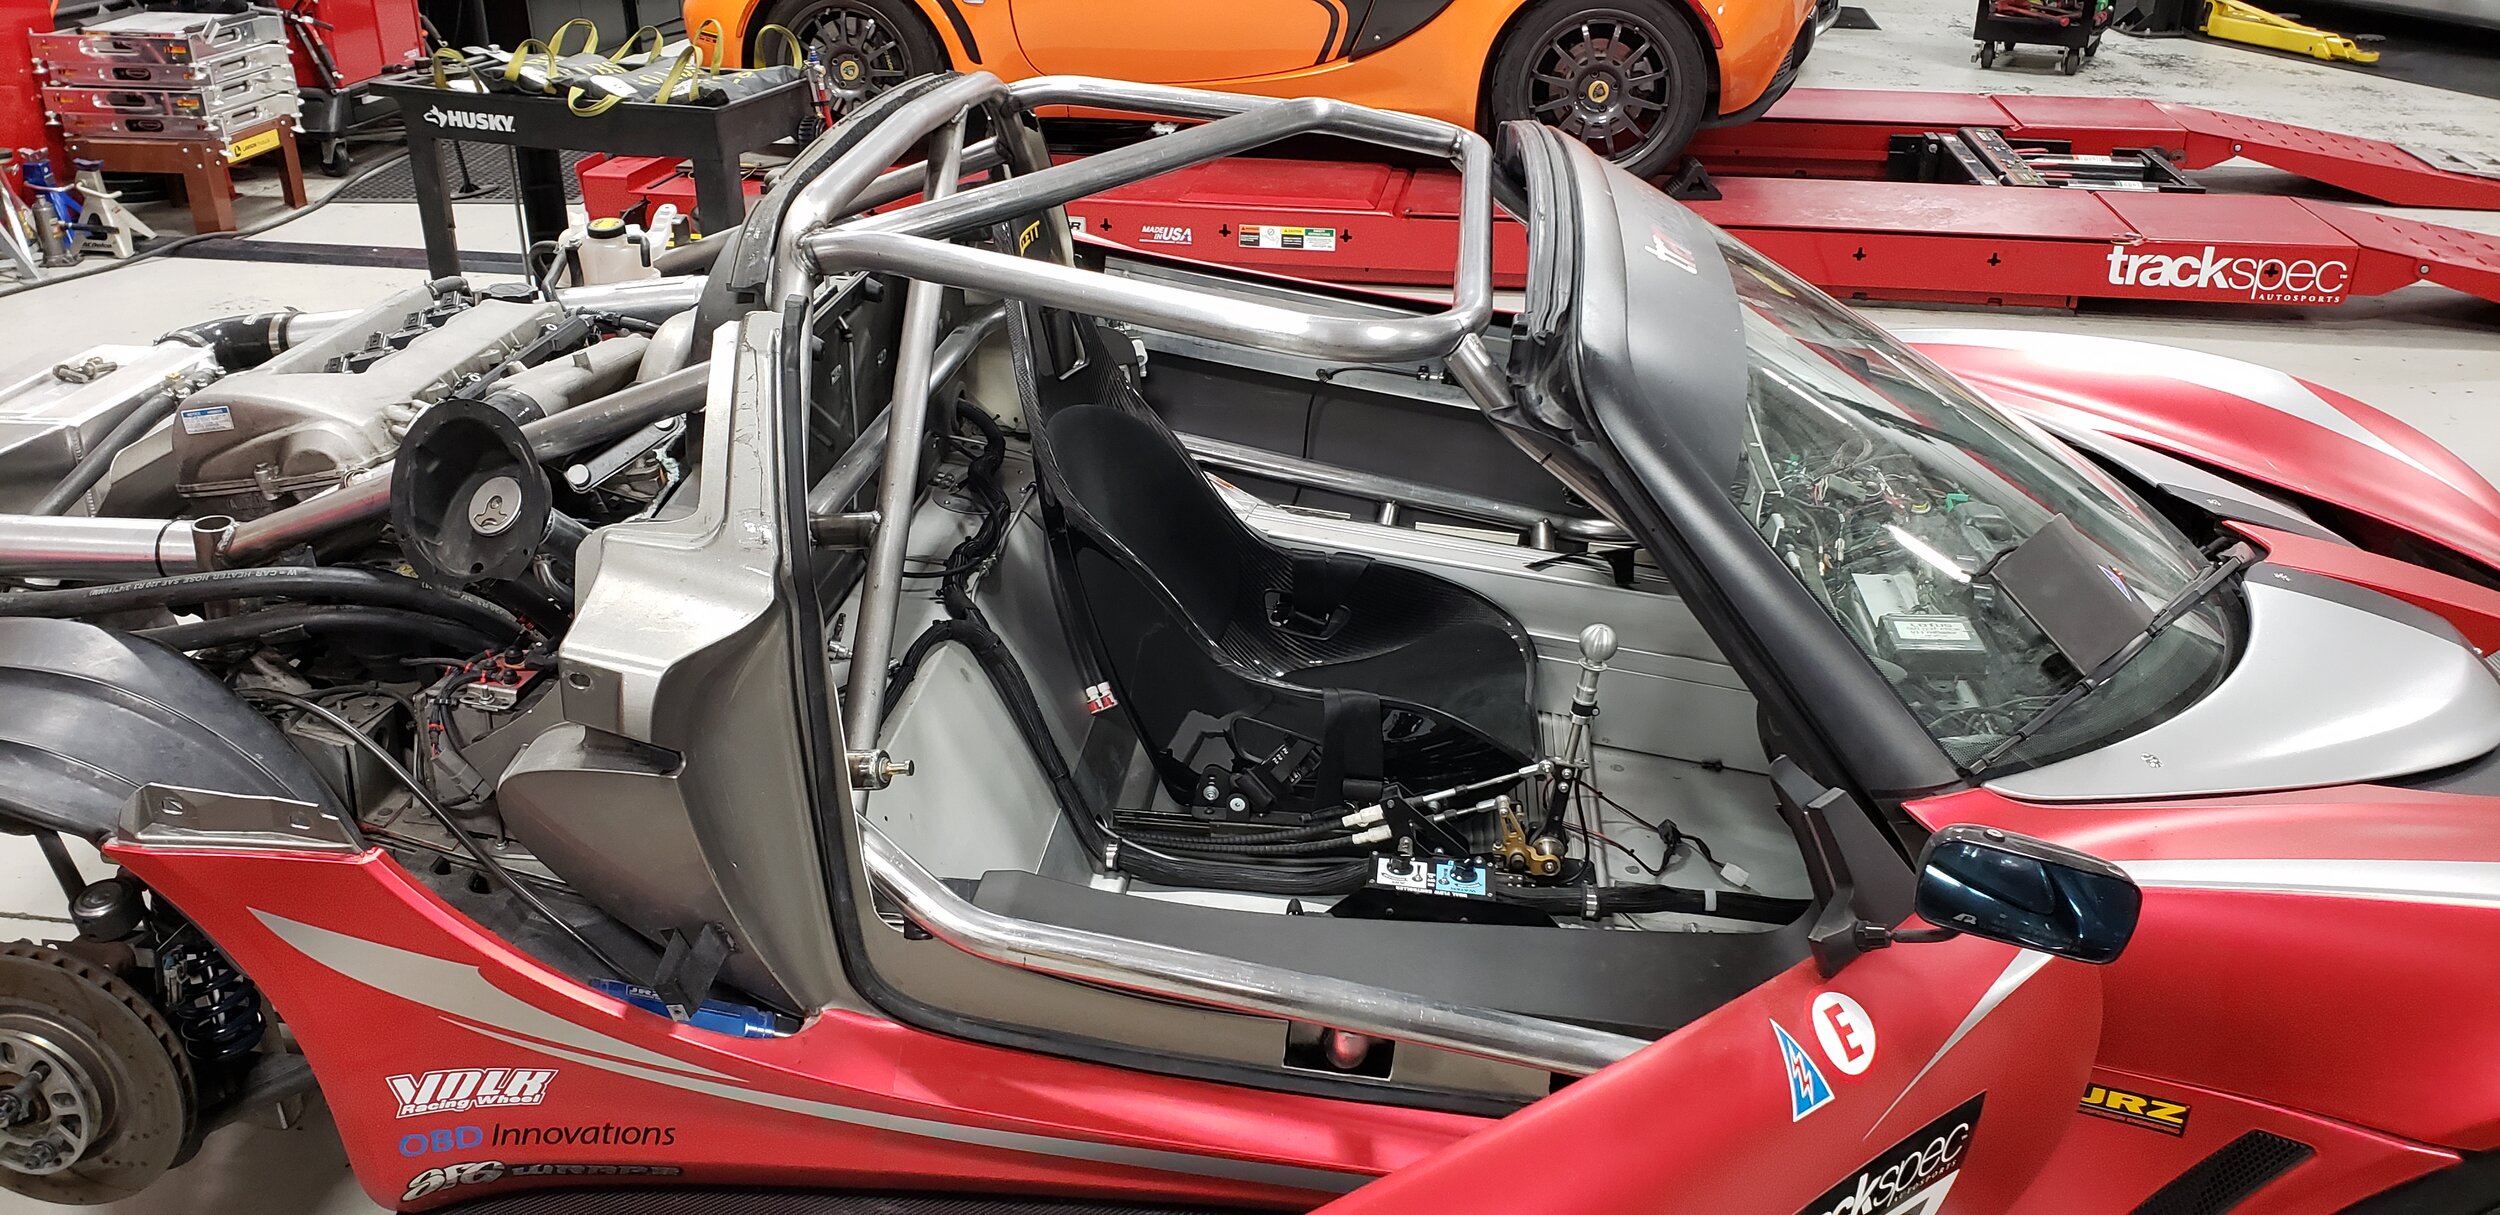
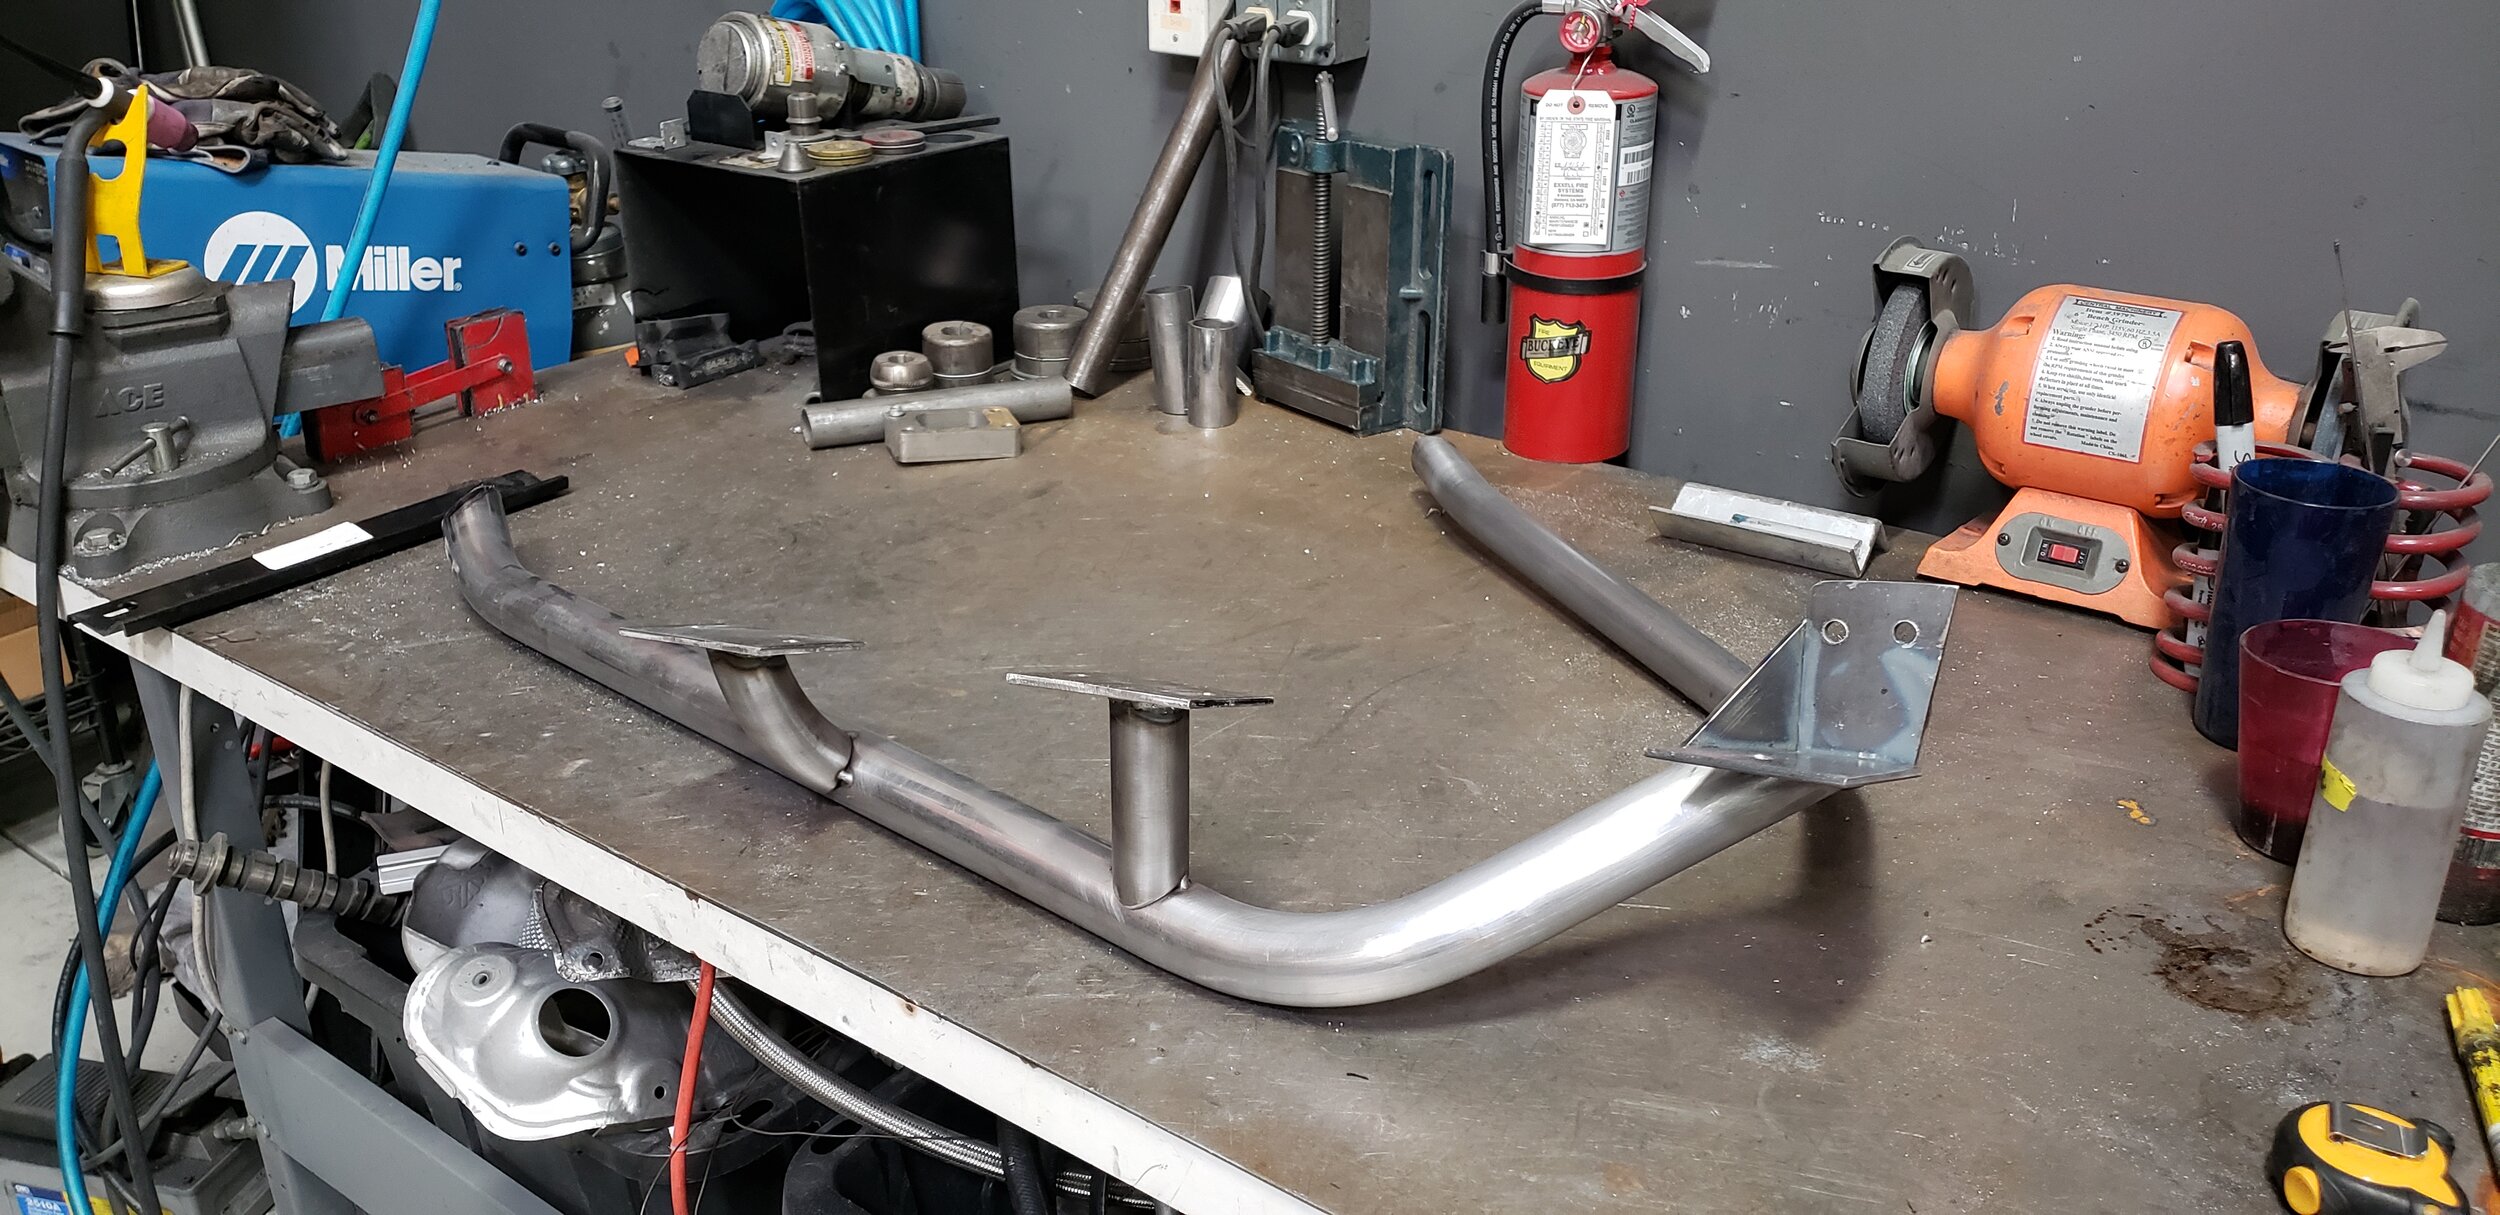
The rear braces are straight forward. They must not contain any bends, attach as close to the top of the main hoop as possible, and must be at a minimum of a 30 degree angle. We attached the lower end to the factory point on top of the shock tower. Since the tubing size is larger than stock and the rear bars interfered with the rear glass window, we had to remove it and will replace it with Polycarbonate, which we can easily notch for clearance. Other minor things needed to be fabricated like the coolant tank bracket and engine mount support. We later ended up gusseting the rear bars where they met the tube that gets bolted to the strut tower for more strength (not done yet in photos below). This completed the first half of the cage.


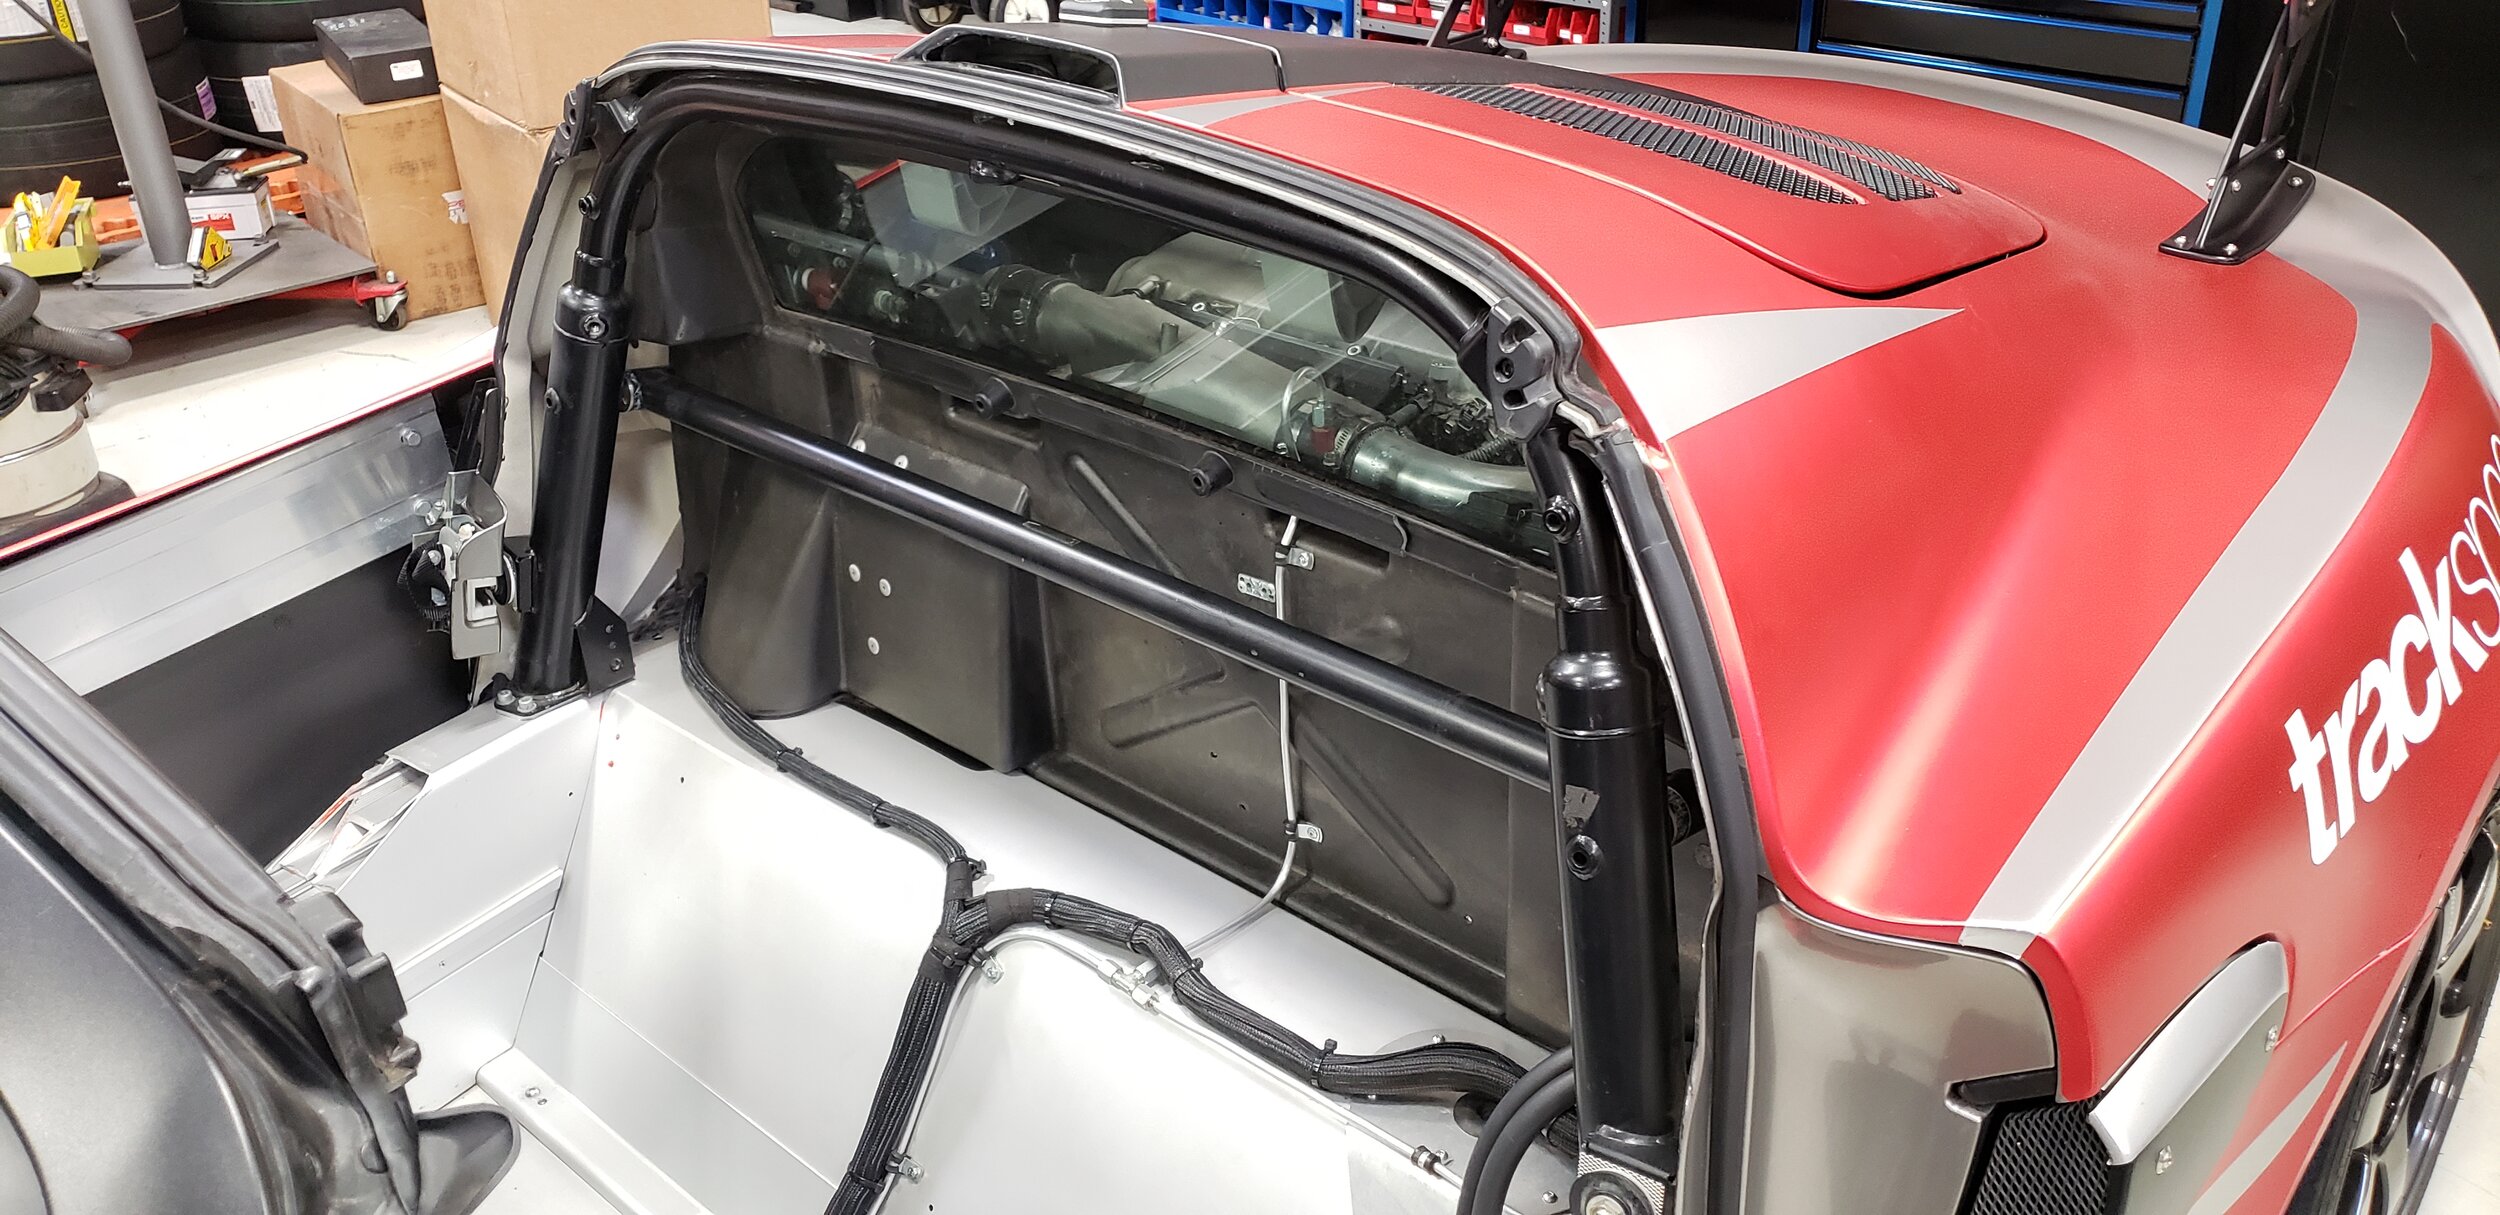
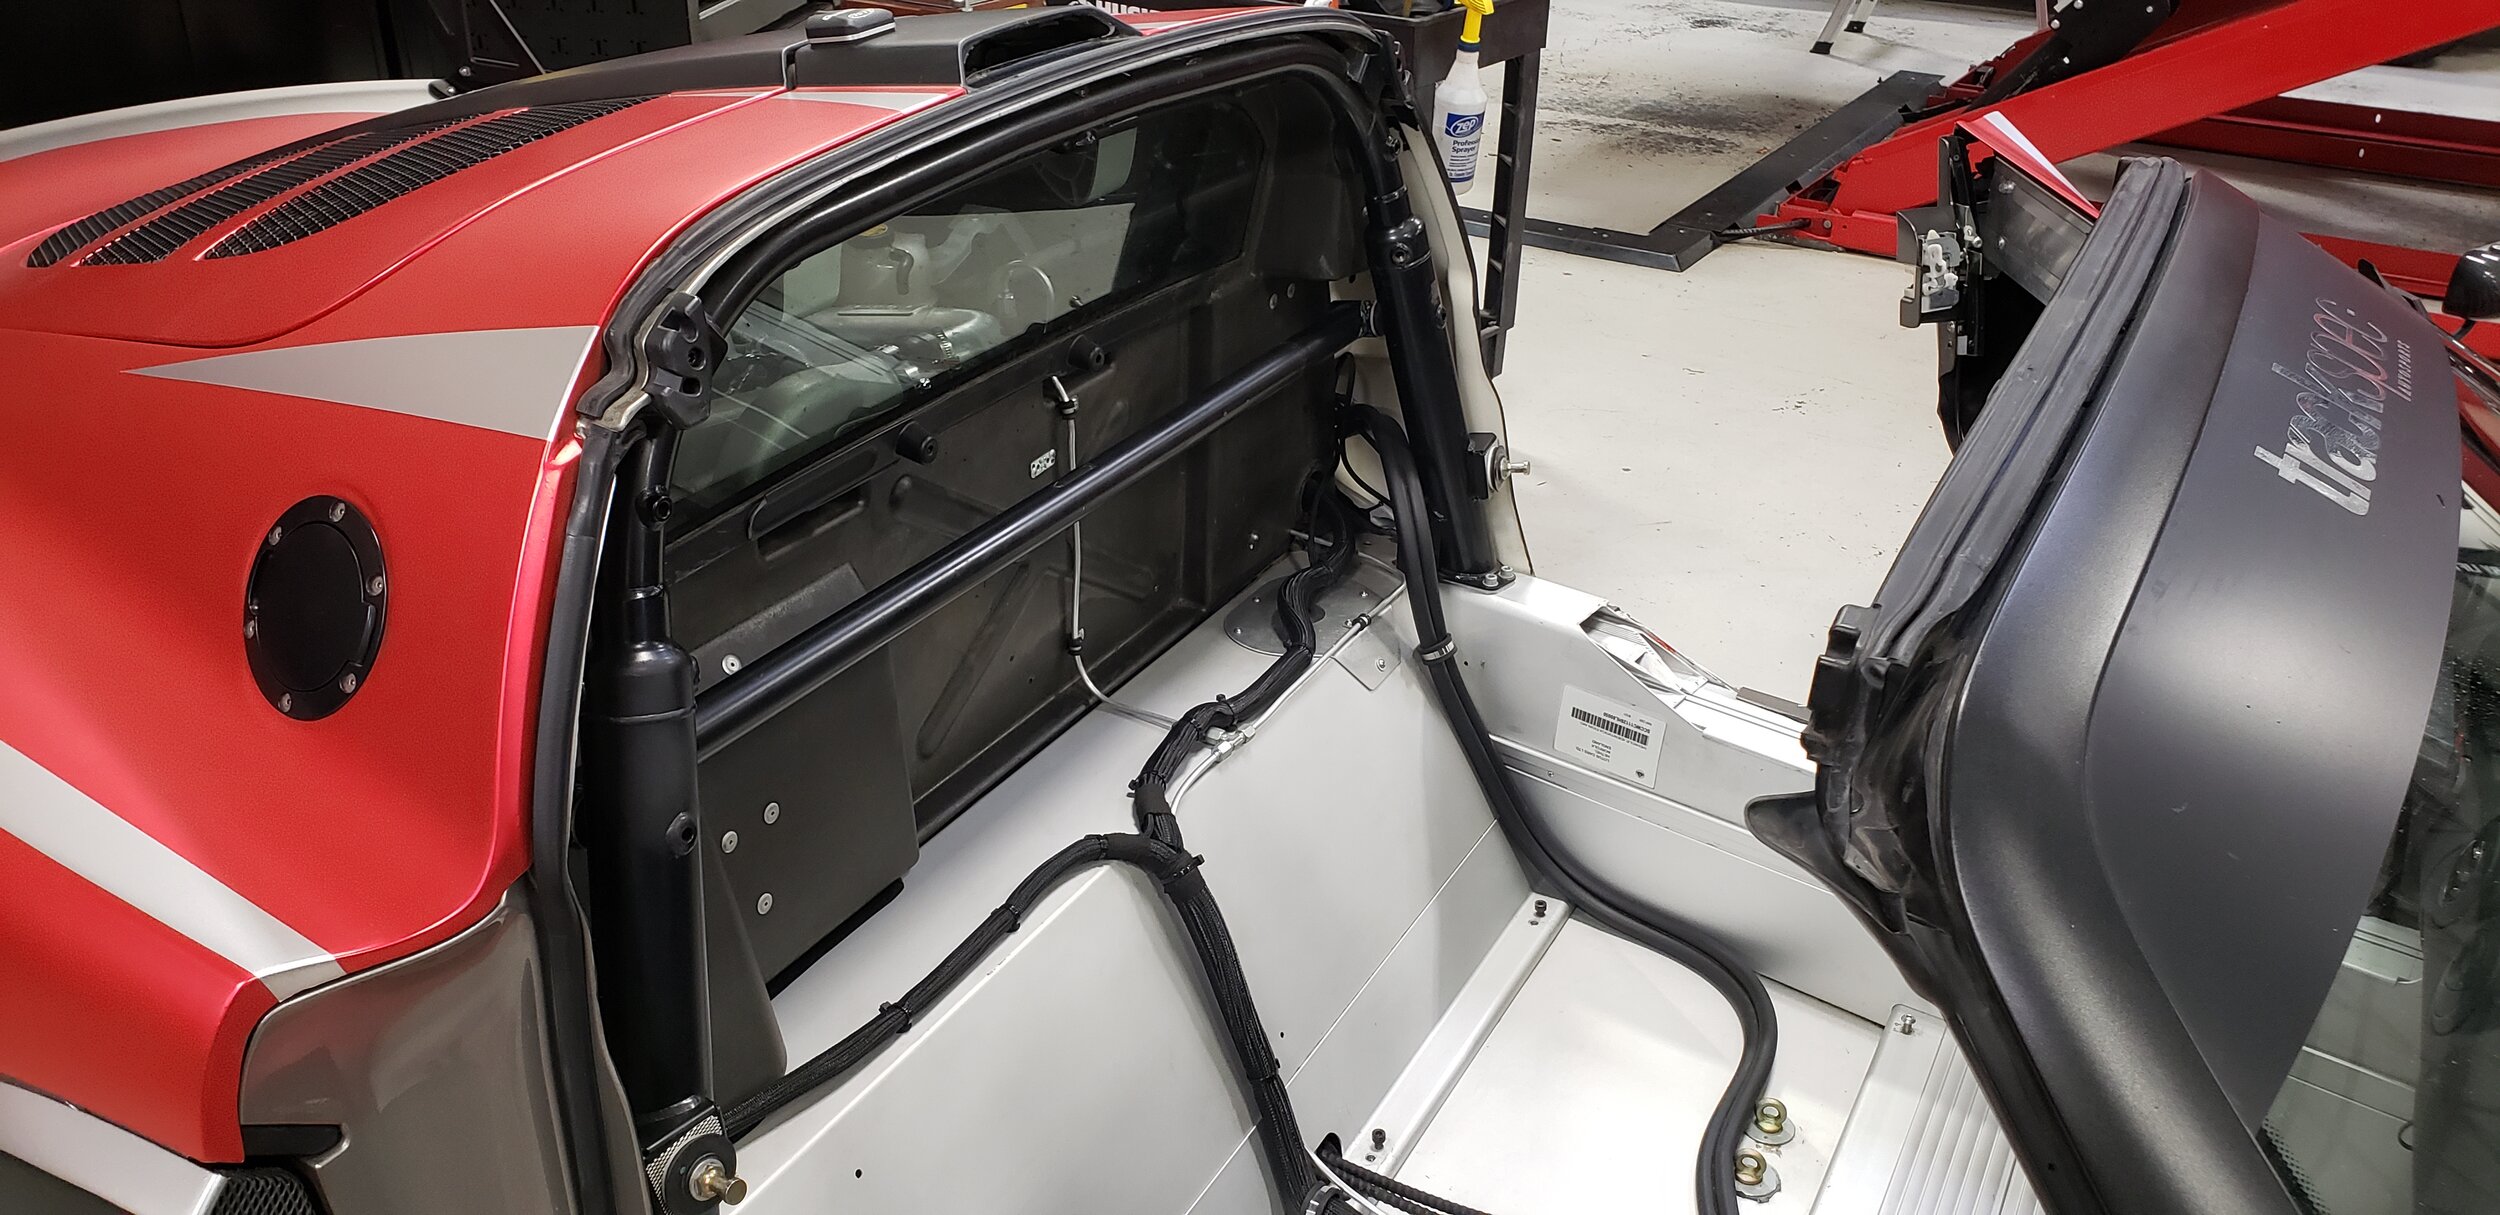
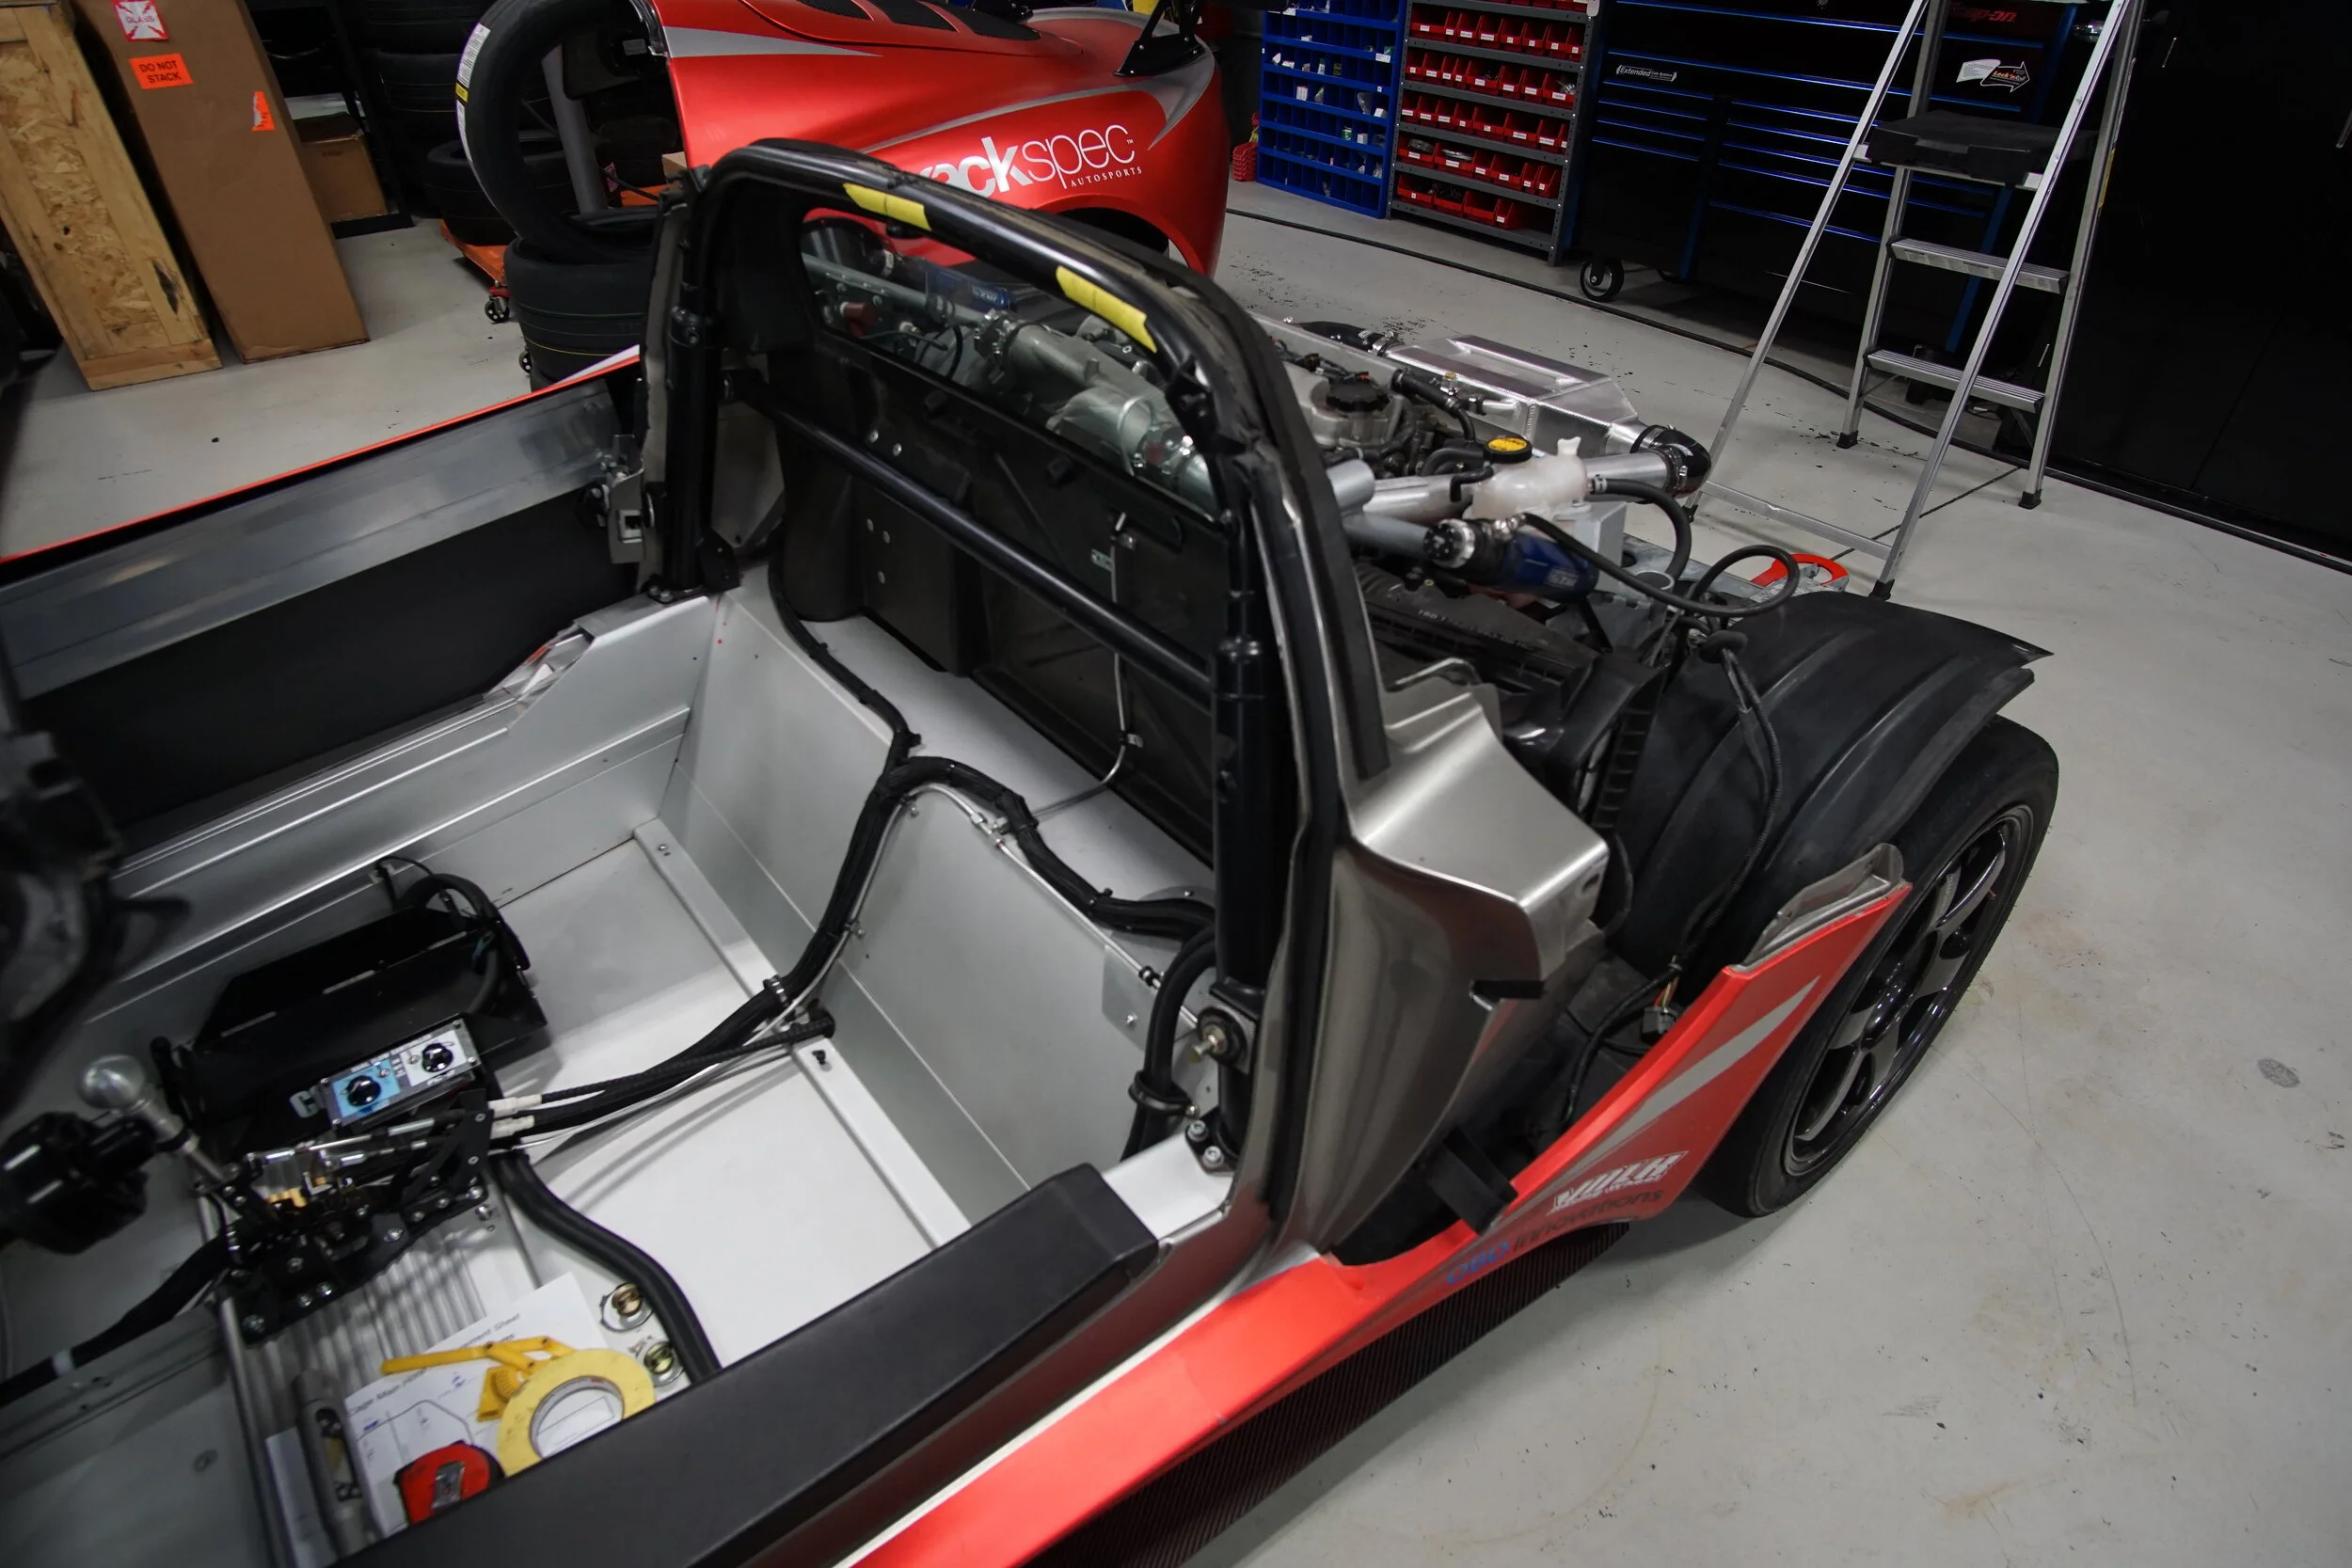
Halo Hoop
The halo hoop and forward bars were the most difficult part to get right. The goal was to tuck the tubing as close to the roof and A-pillar as possible. We consider ourselves experts at getting in and out of these cars, but we didn’t want the cage to make it harder than it already is. An additional roof bar was added to reinforce the halo.


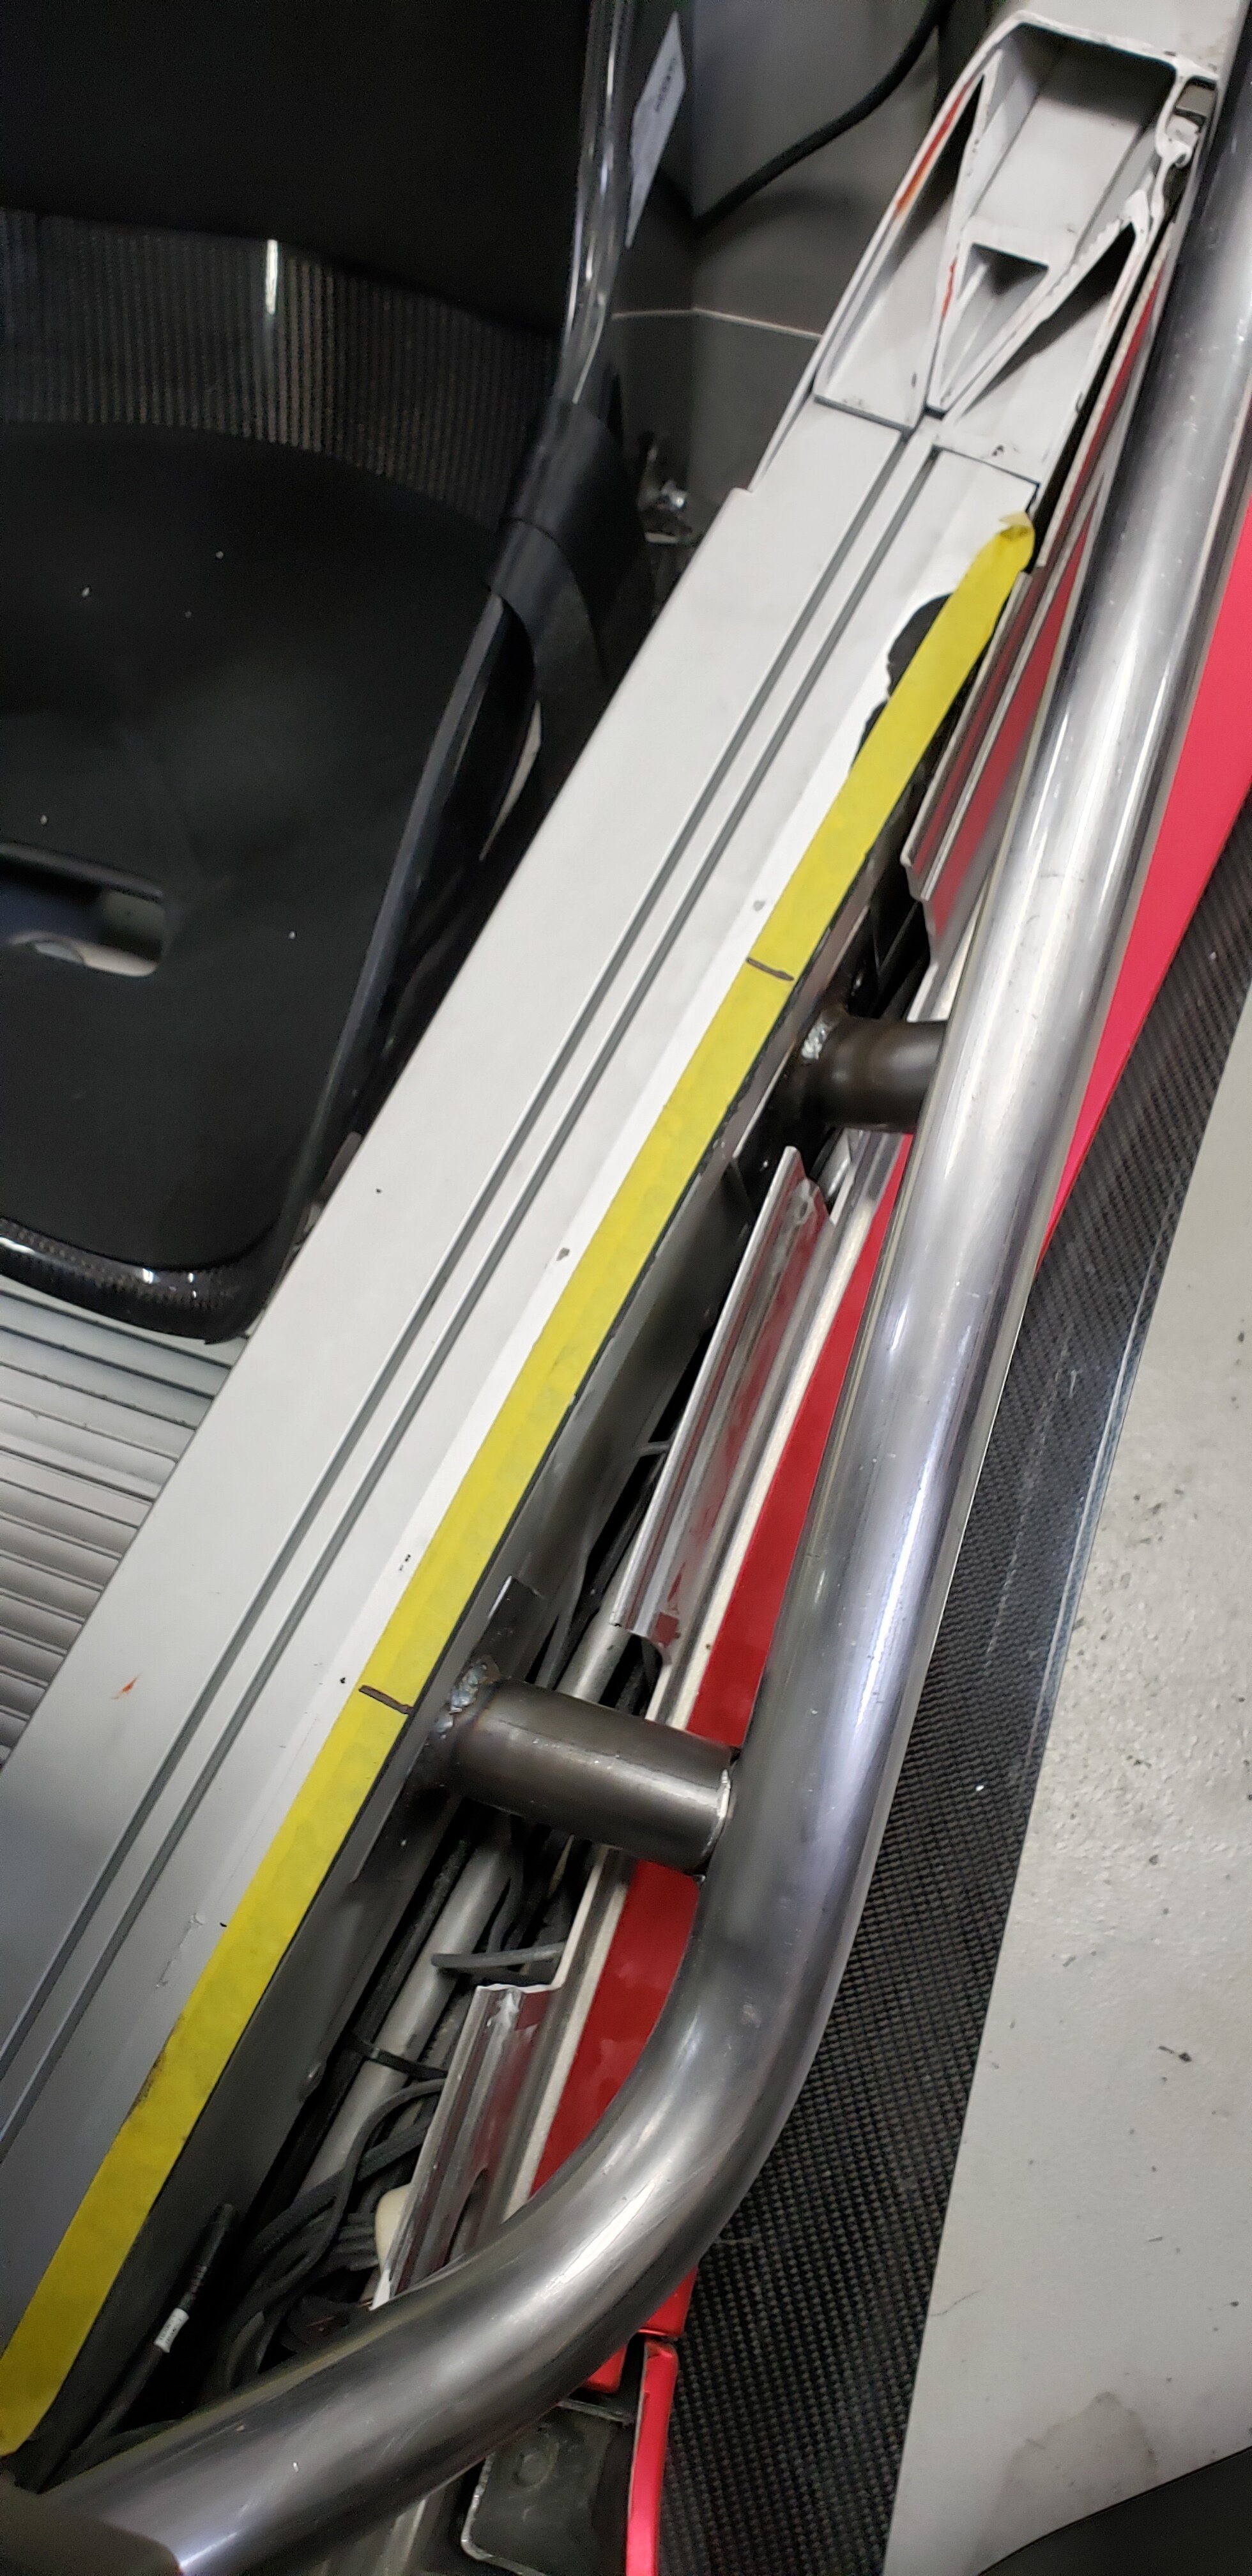
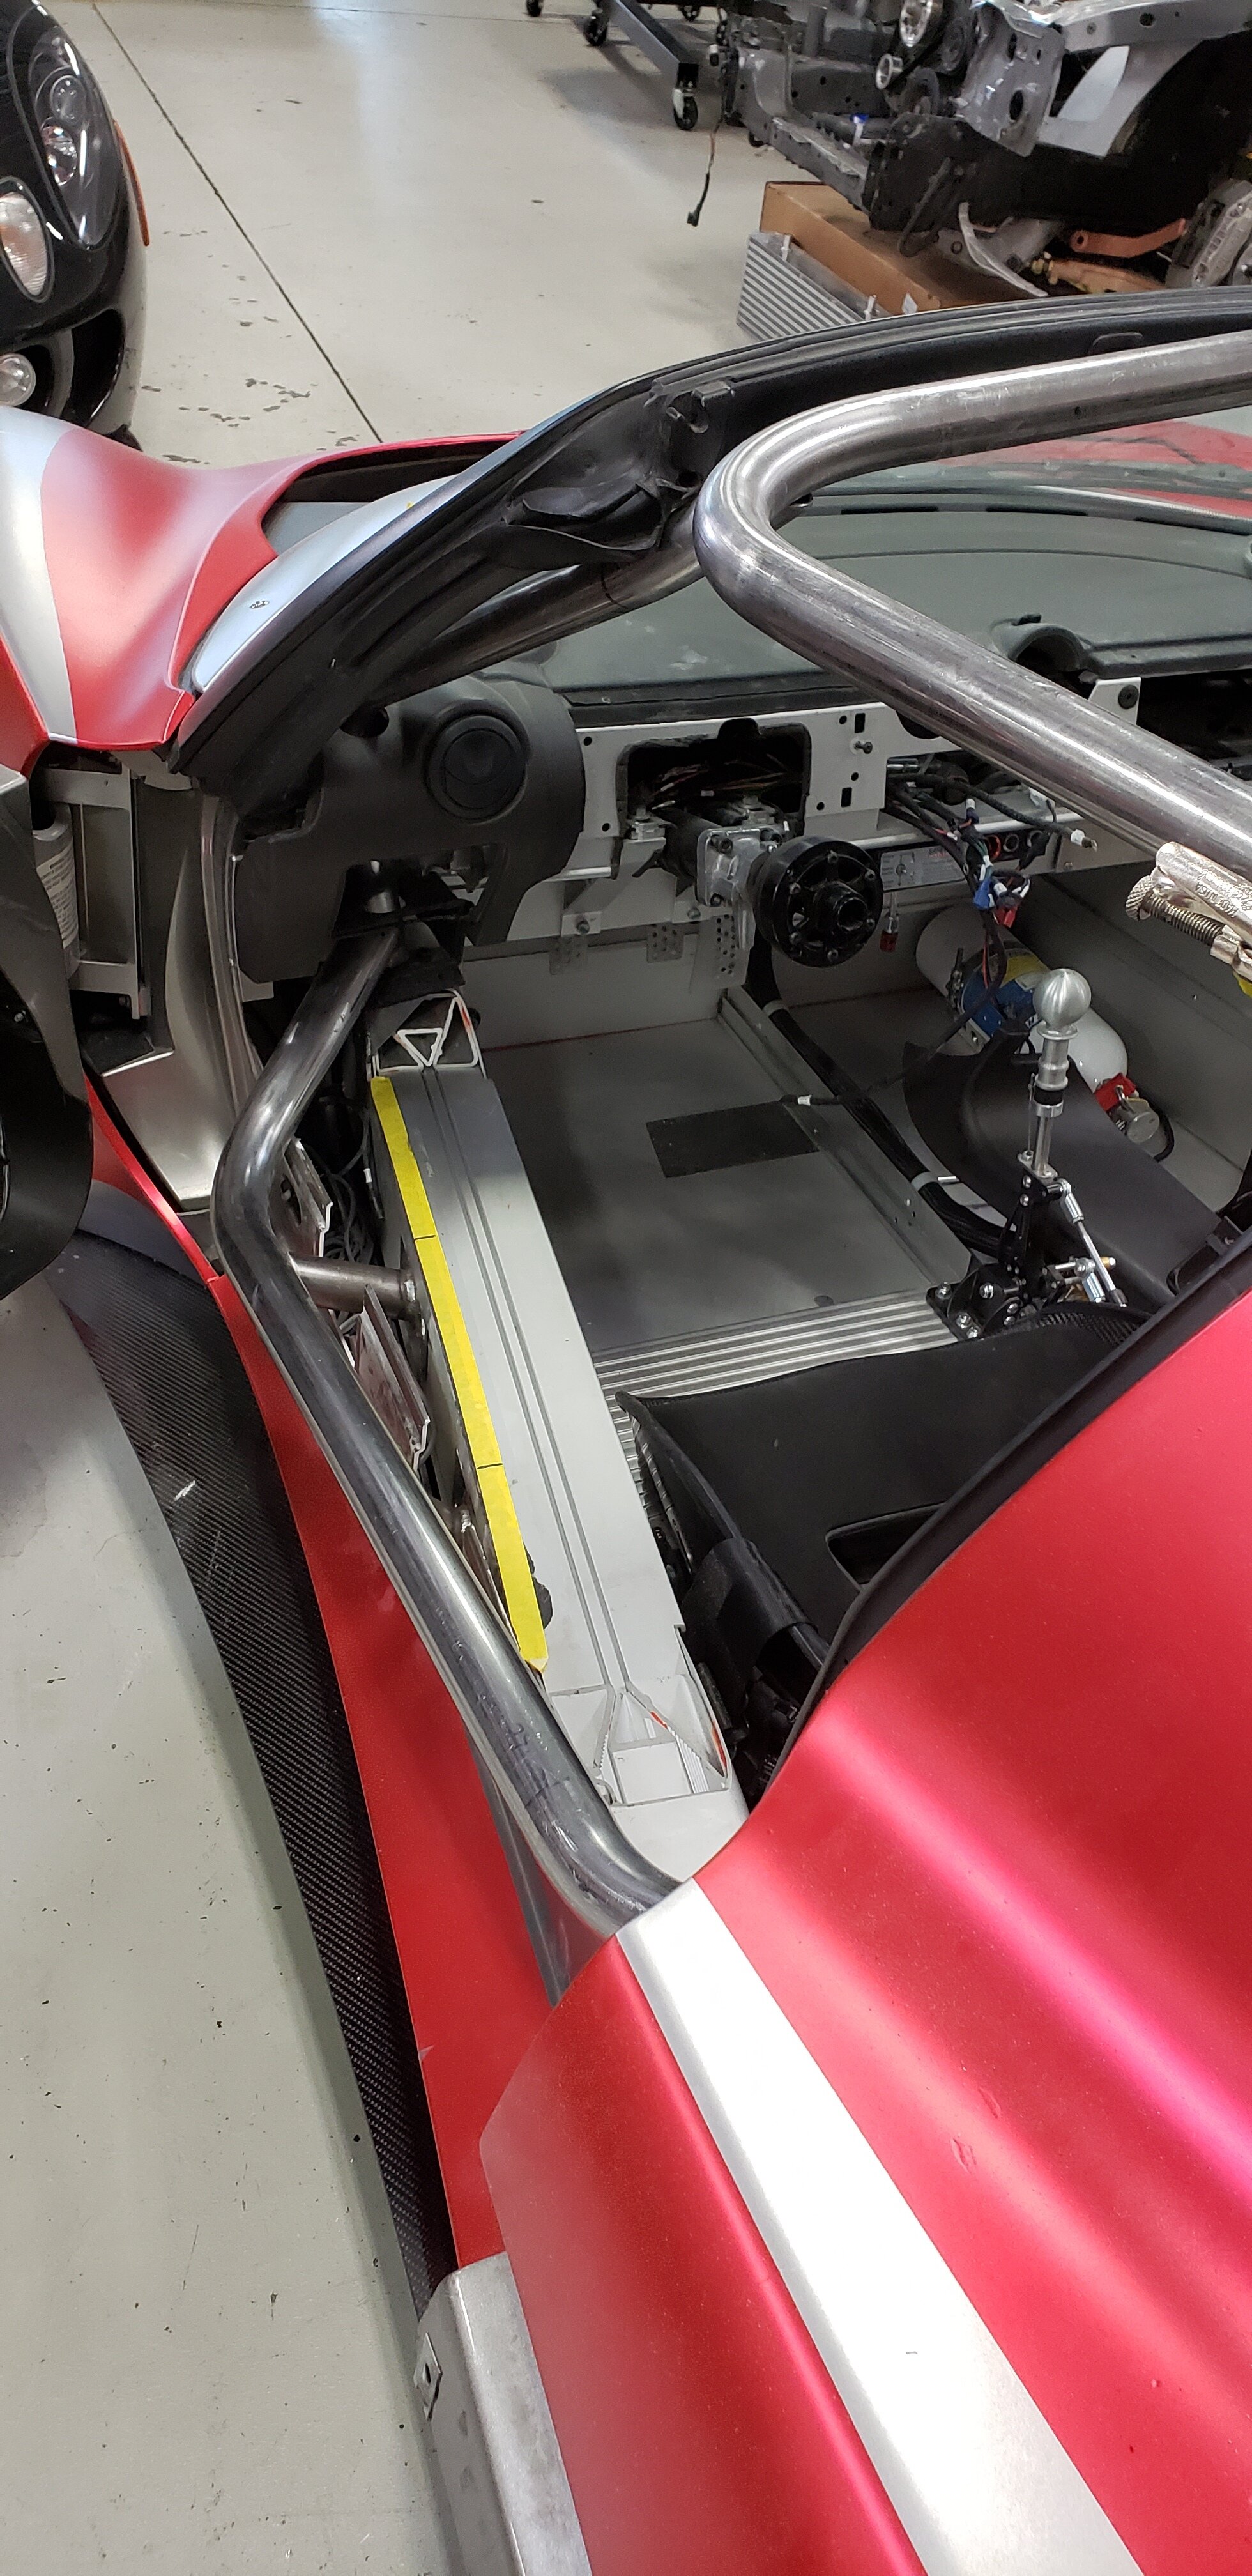
Door Bars
NASA requires double door bars on the driver’s side and a single door bar on the passenger side. Since the sills on these cars are already high, adding double door bars would make getting in and out of the car pretty difficult, especially for taller drivers. We got in touch with the NASA executive director and he was willing to make an exception to this rule. He would allow us to make a single door bar as long as it was 1.75”x0.120” and attached to the sill in two places. His interpretation is that the lower sill was designed for side impact protection from the factory and counts as one of the two door bars. As long as we as we pass the local inspection for quality (e.g. welds, etc.), then he would allow it. We started by tacking up the door bars and sending photos for approval. Once approved, we pulled the doors bars out of the car and welded them up on the bench.
Roof
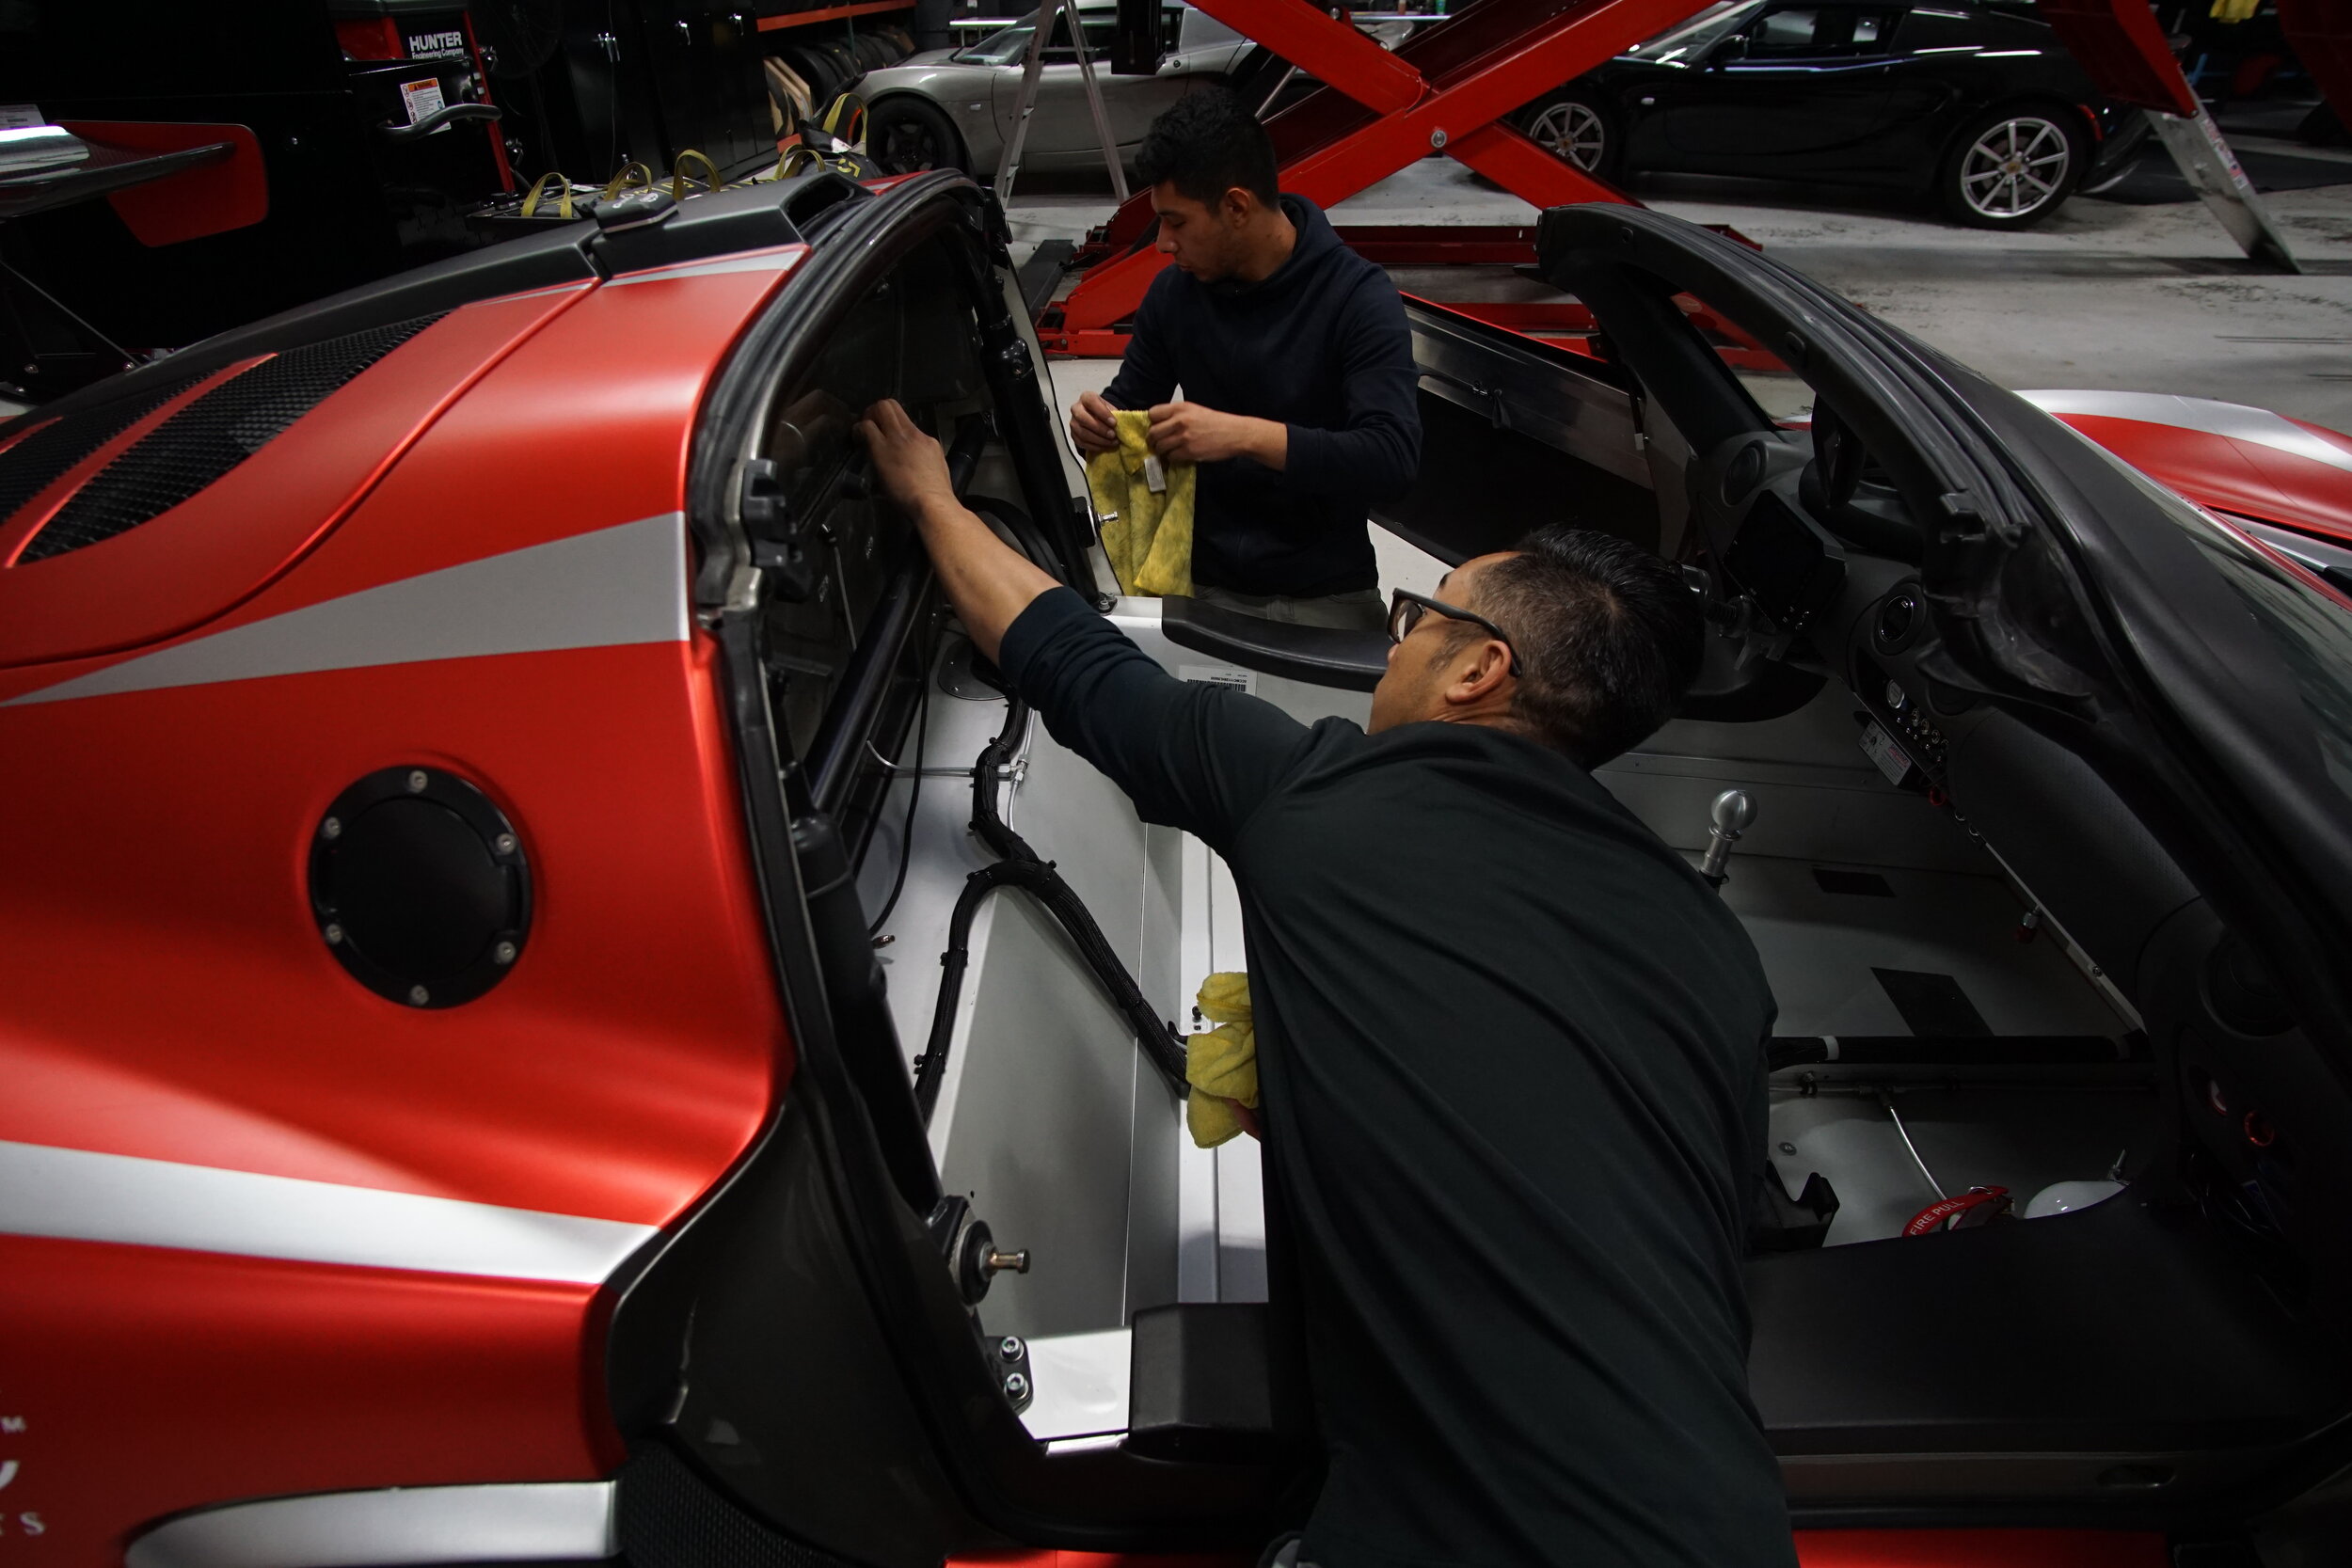
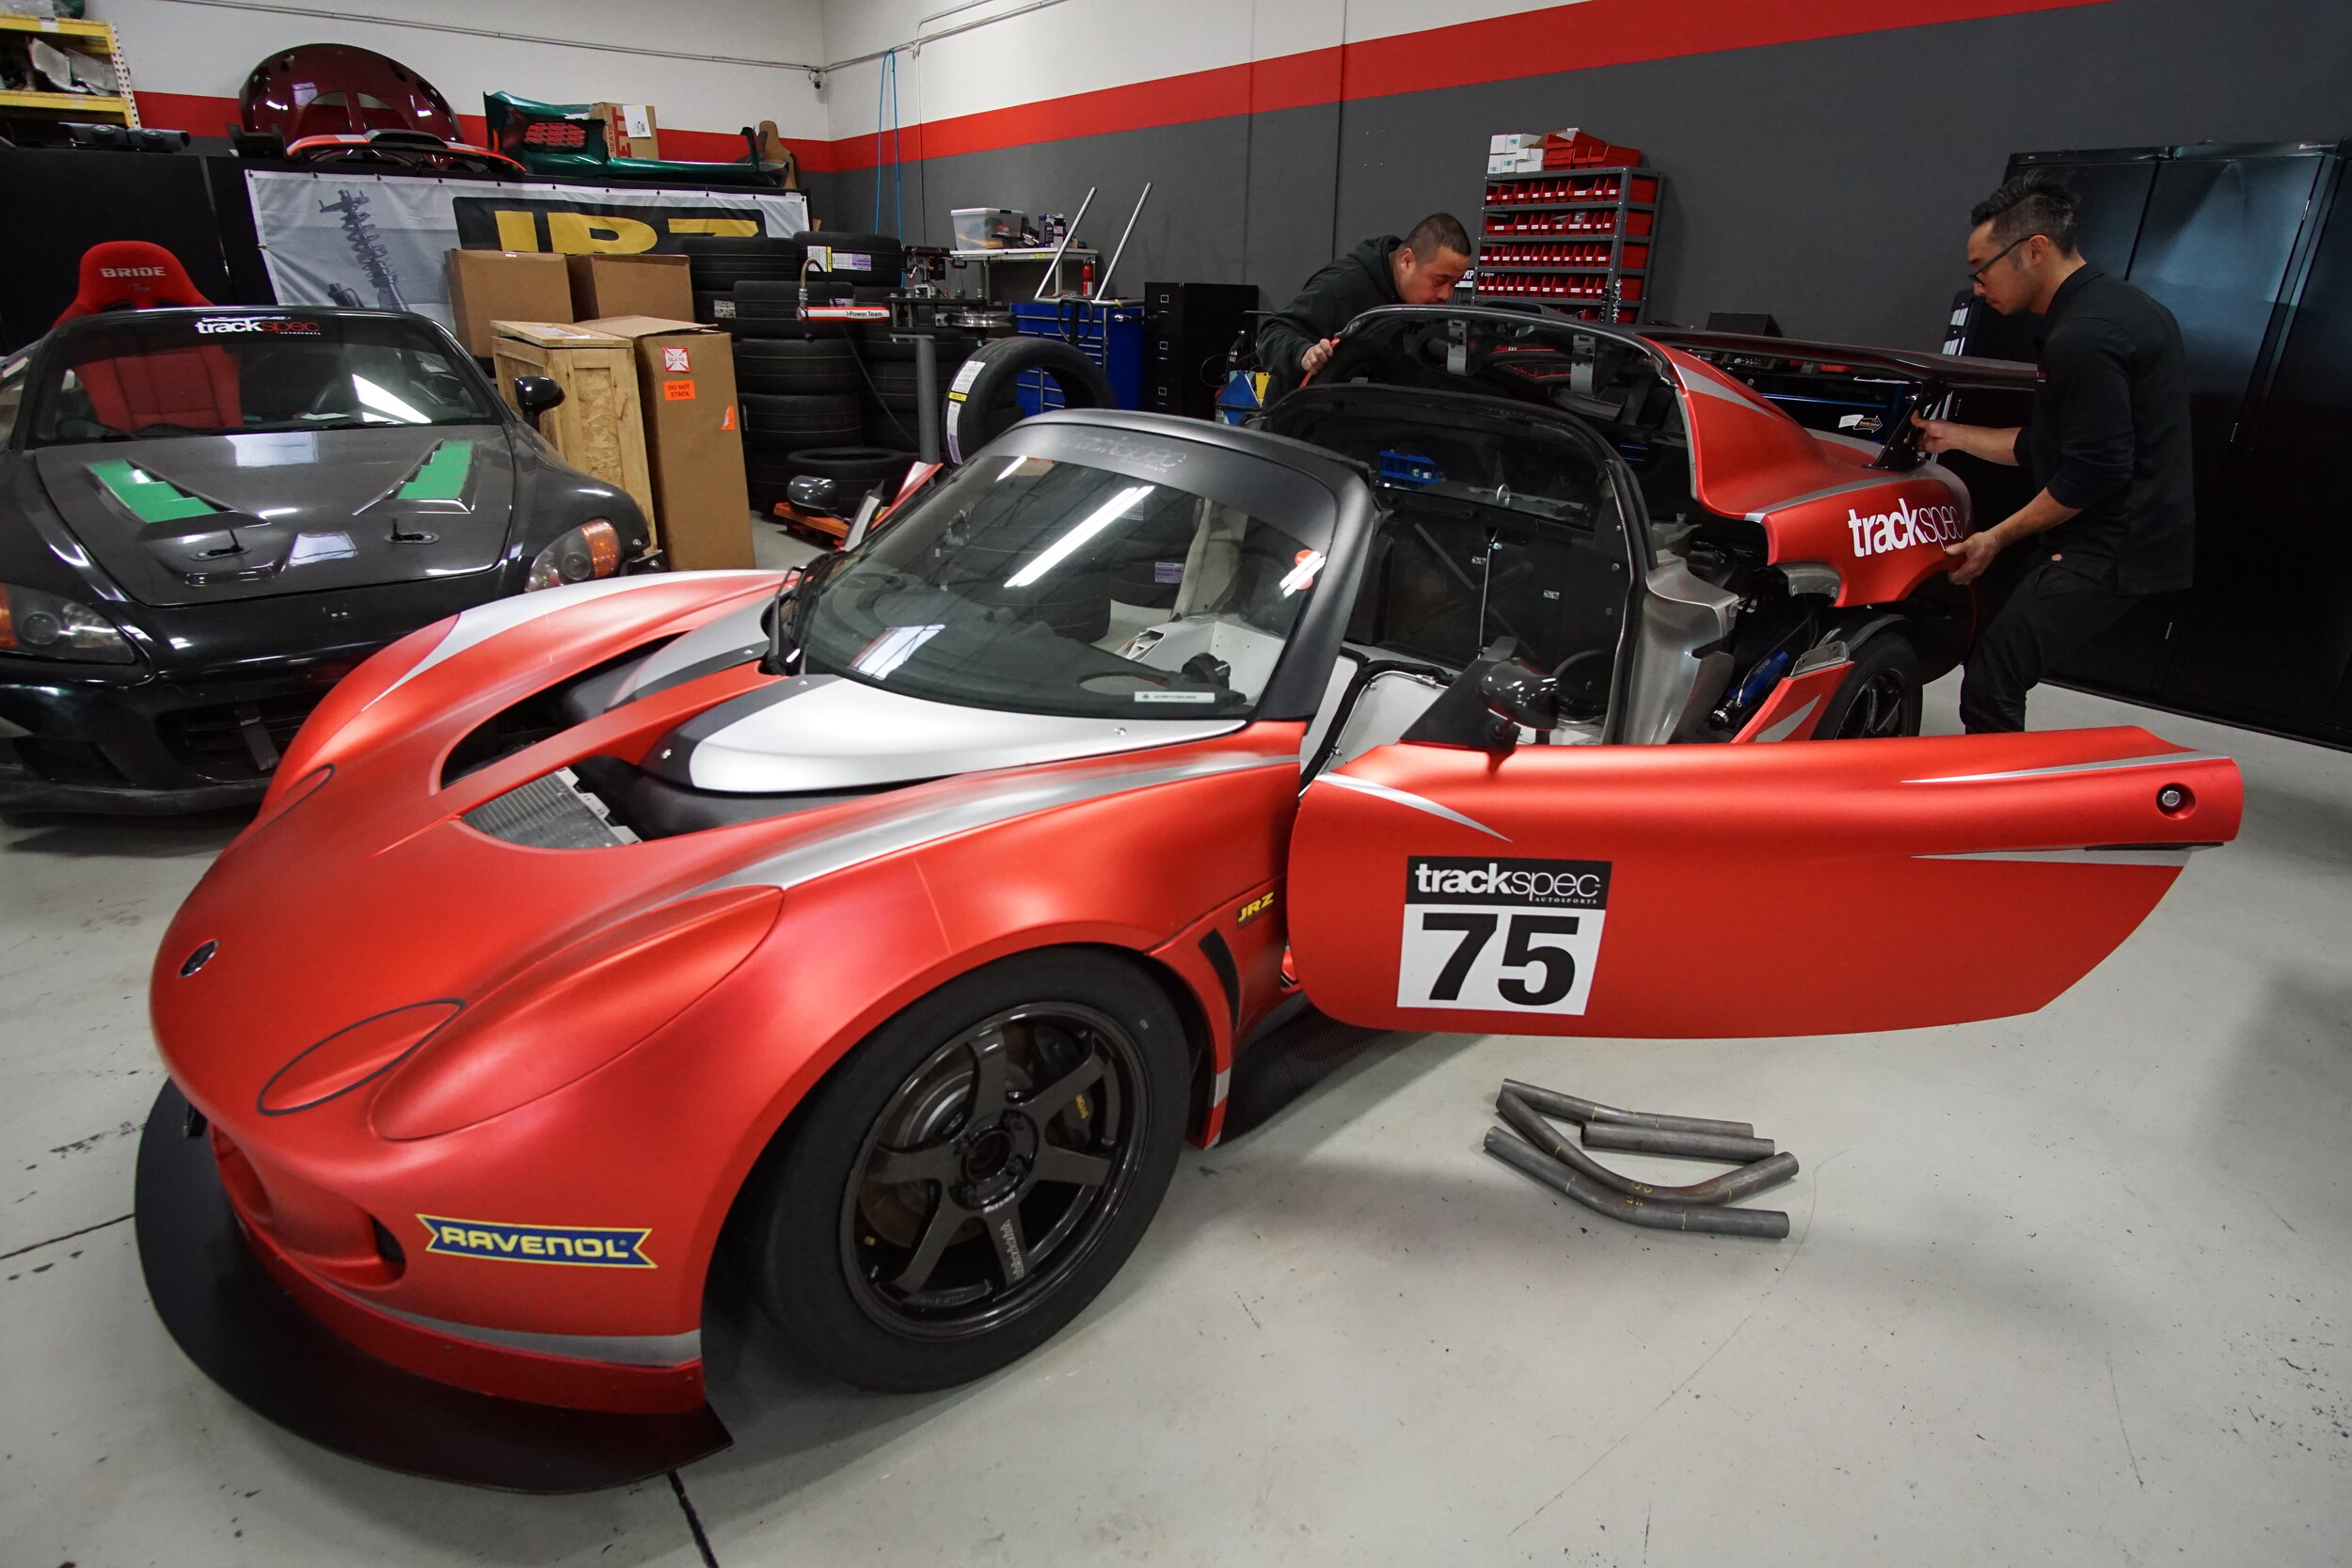
With the cage installed, we would have had to modify the OEM roof to get it to fit and attach it somehow. Instead of cutting up the OEM “Mohawk” roof, we replaced it with a fiberglass roof skin. Since we are using a charge-cooled system, the roof scoop is not needed anyway. To attach the skin, we used quarter-turn Dzus fasteners.
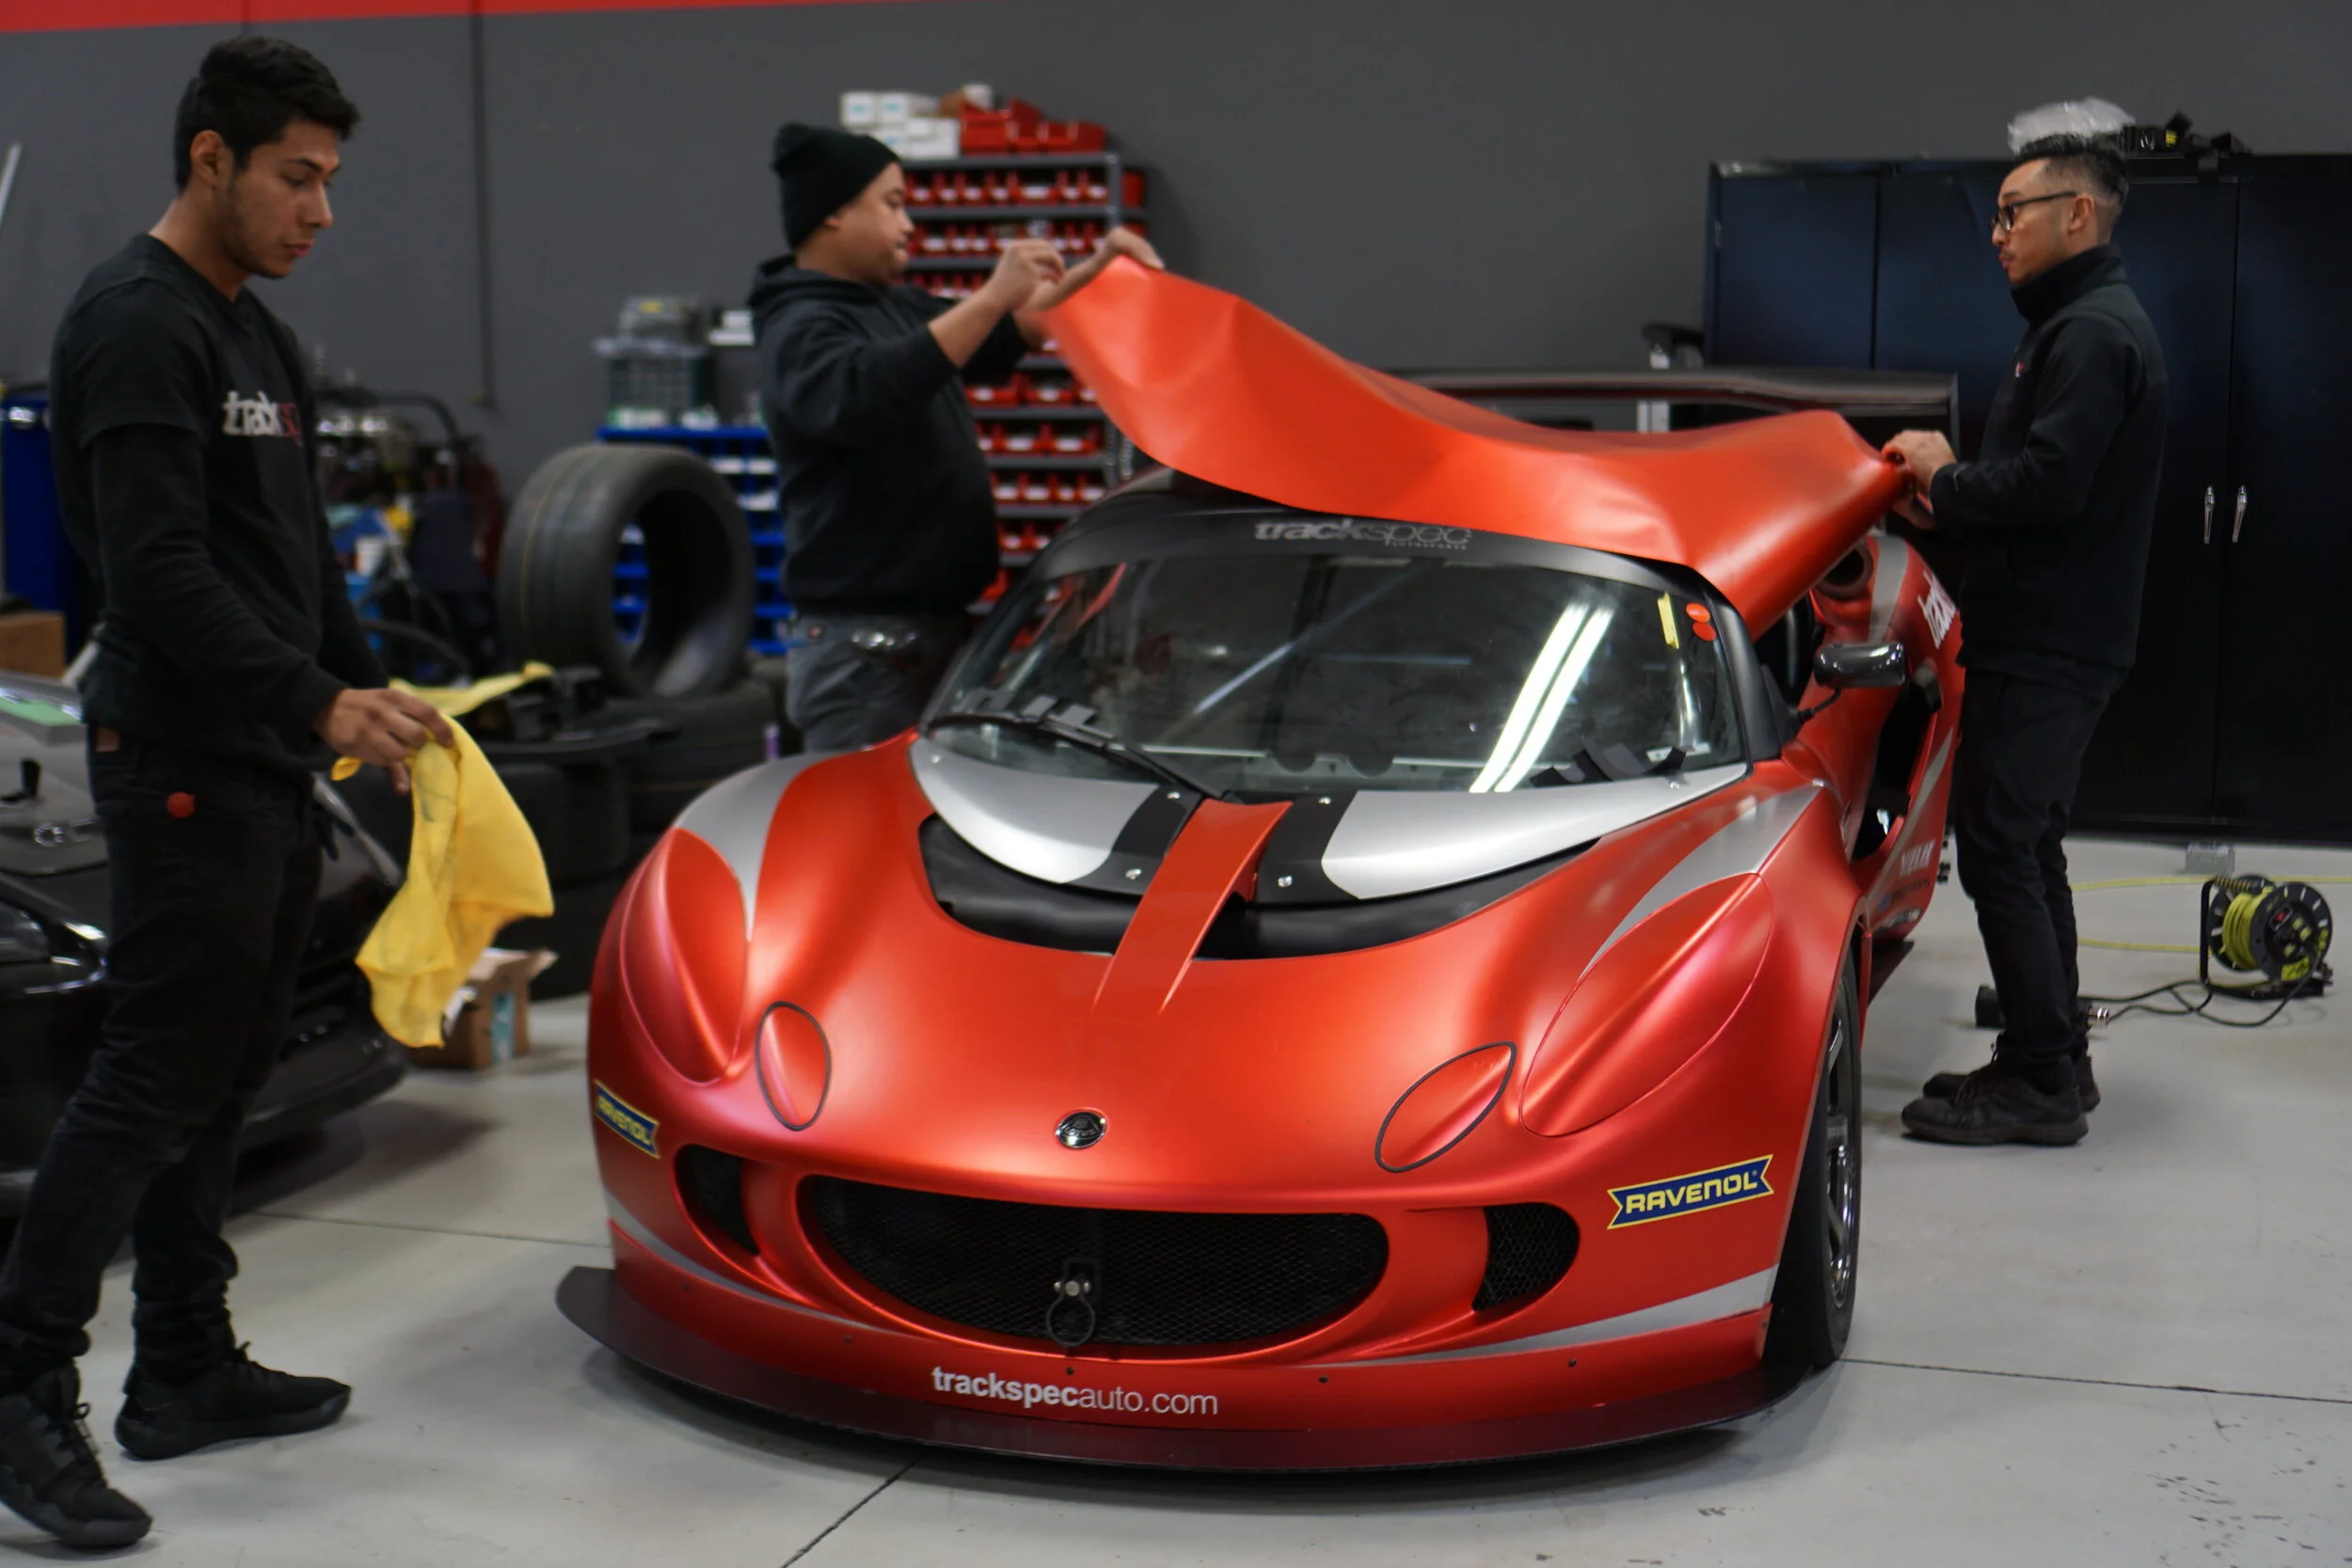
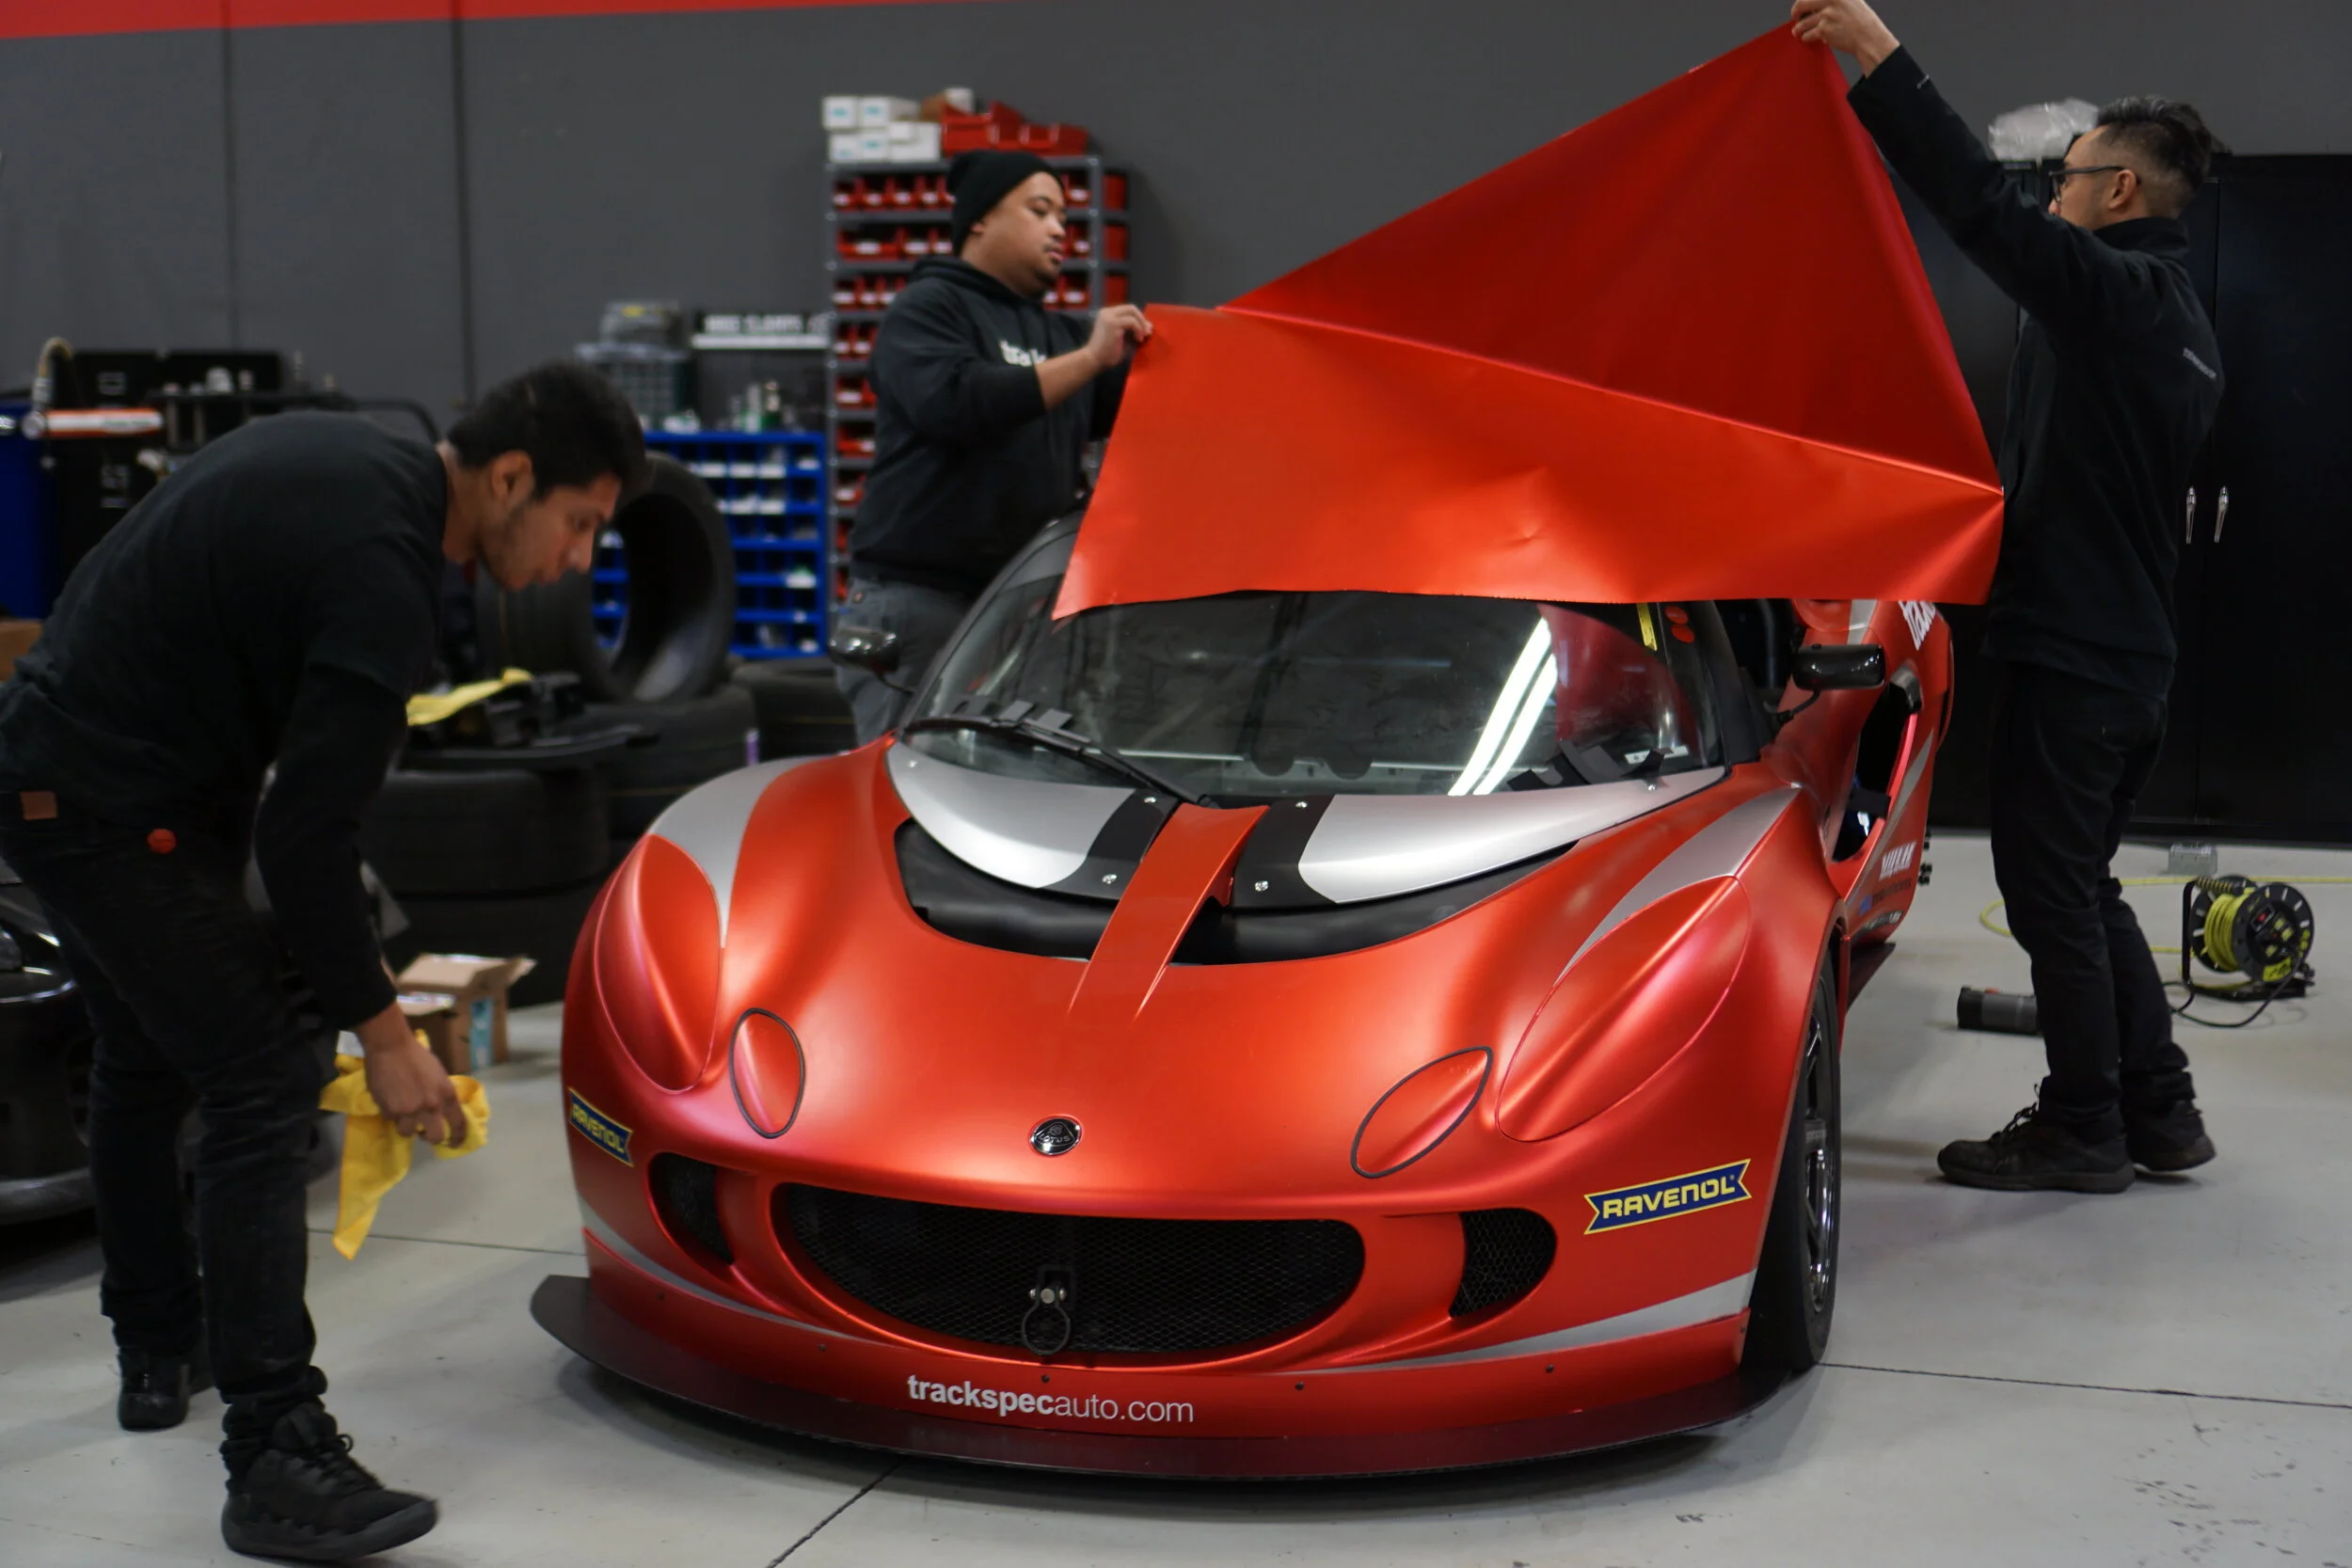
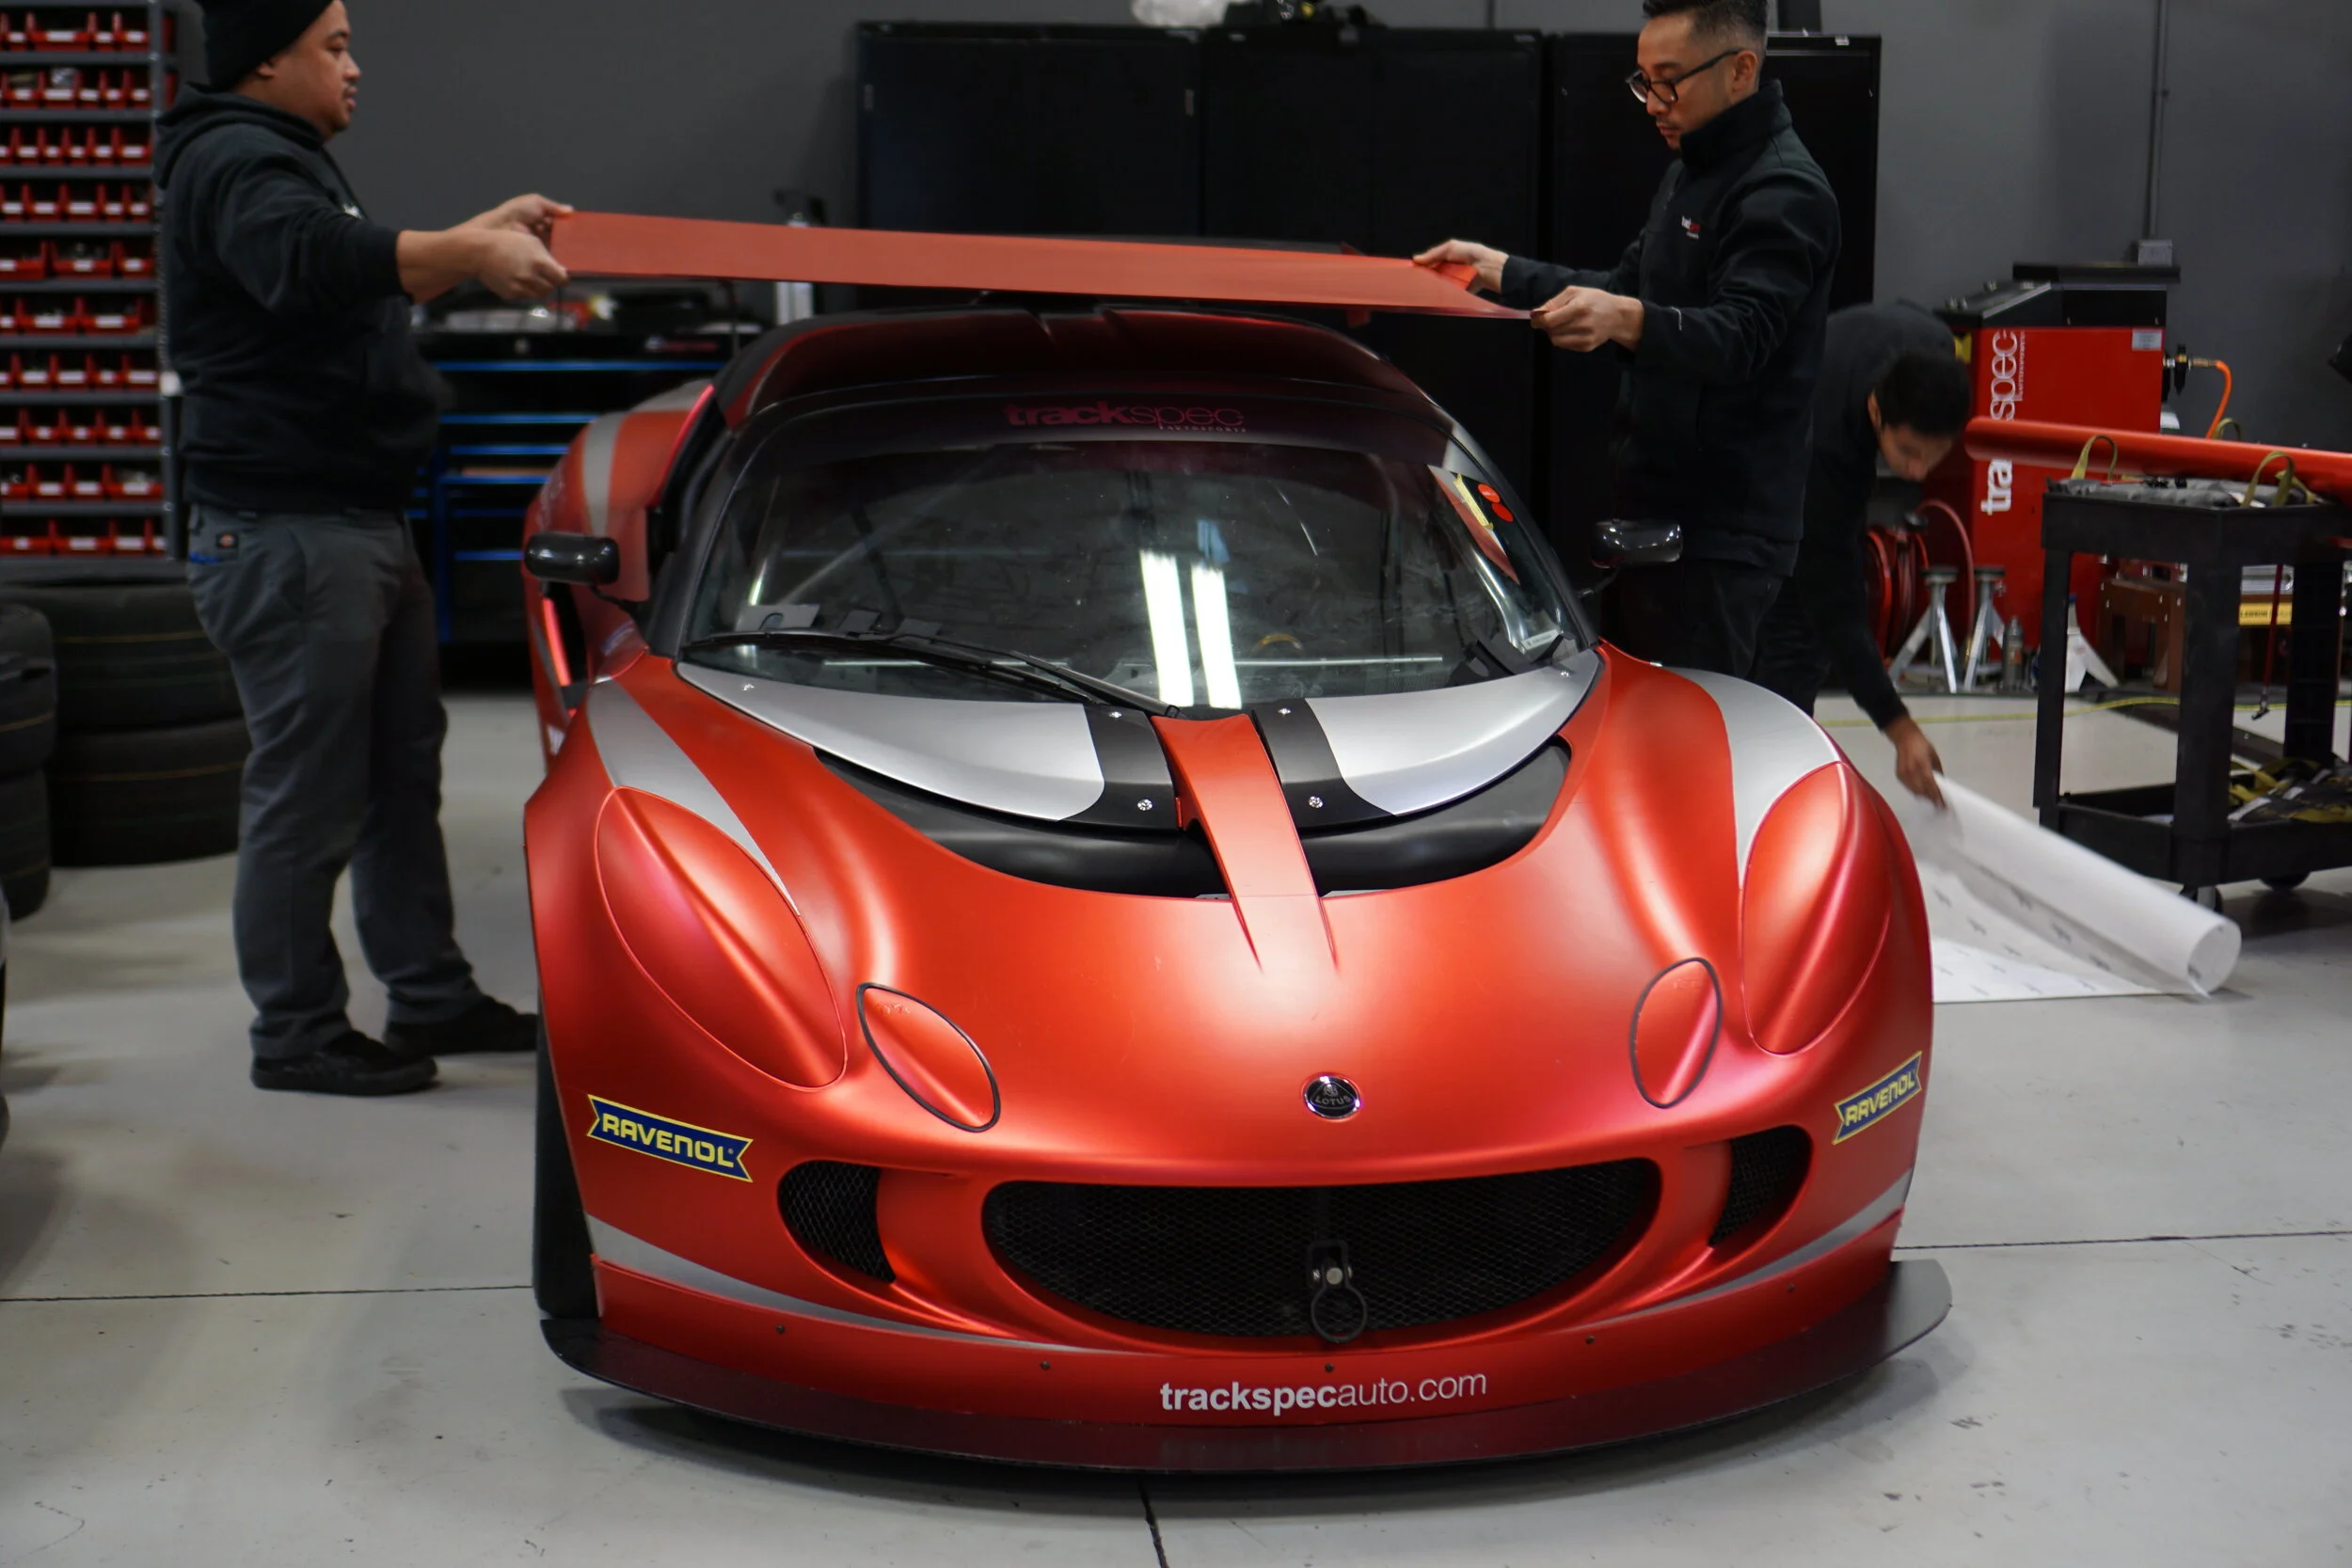
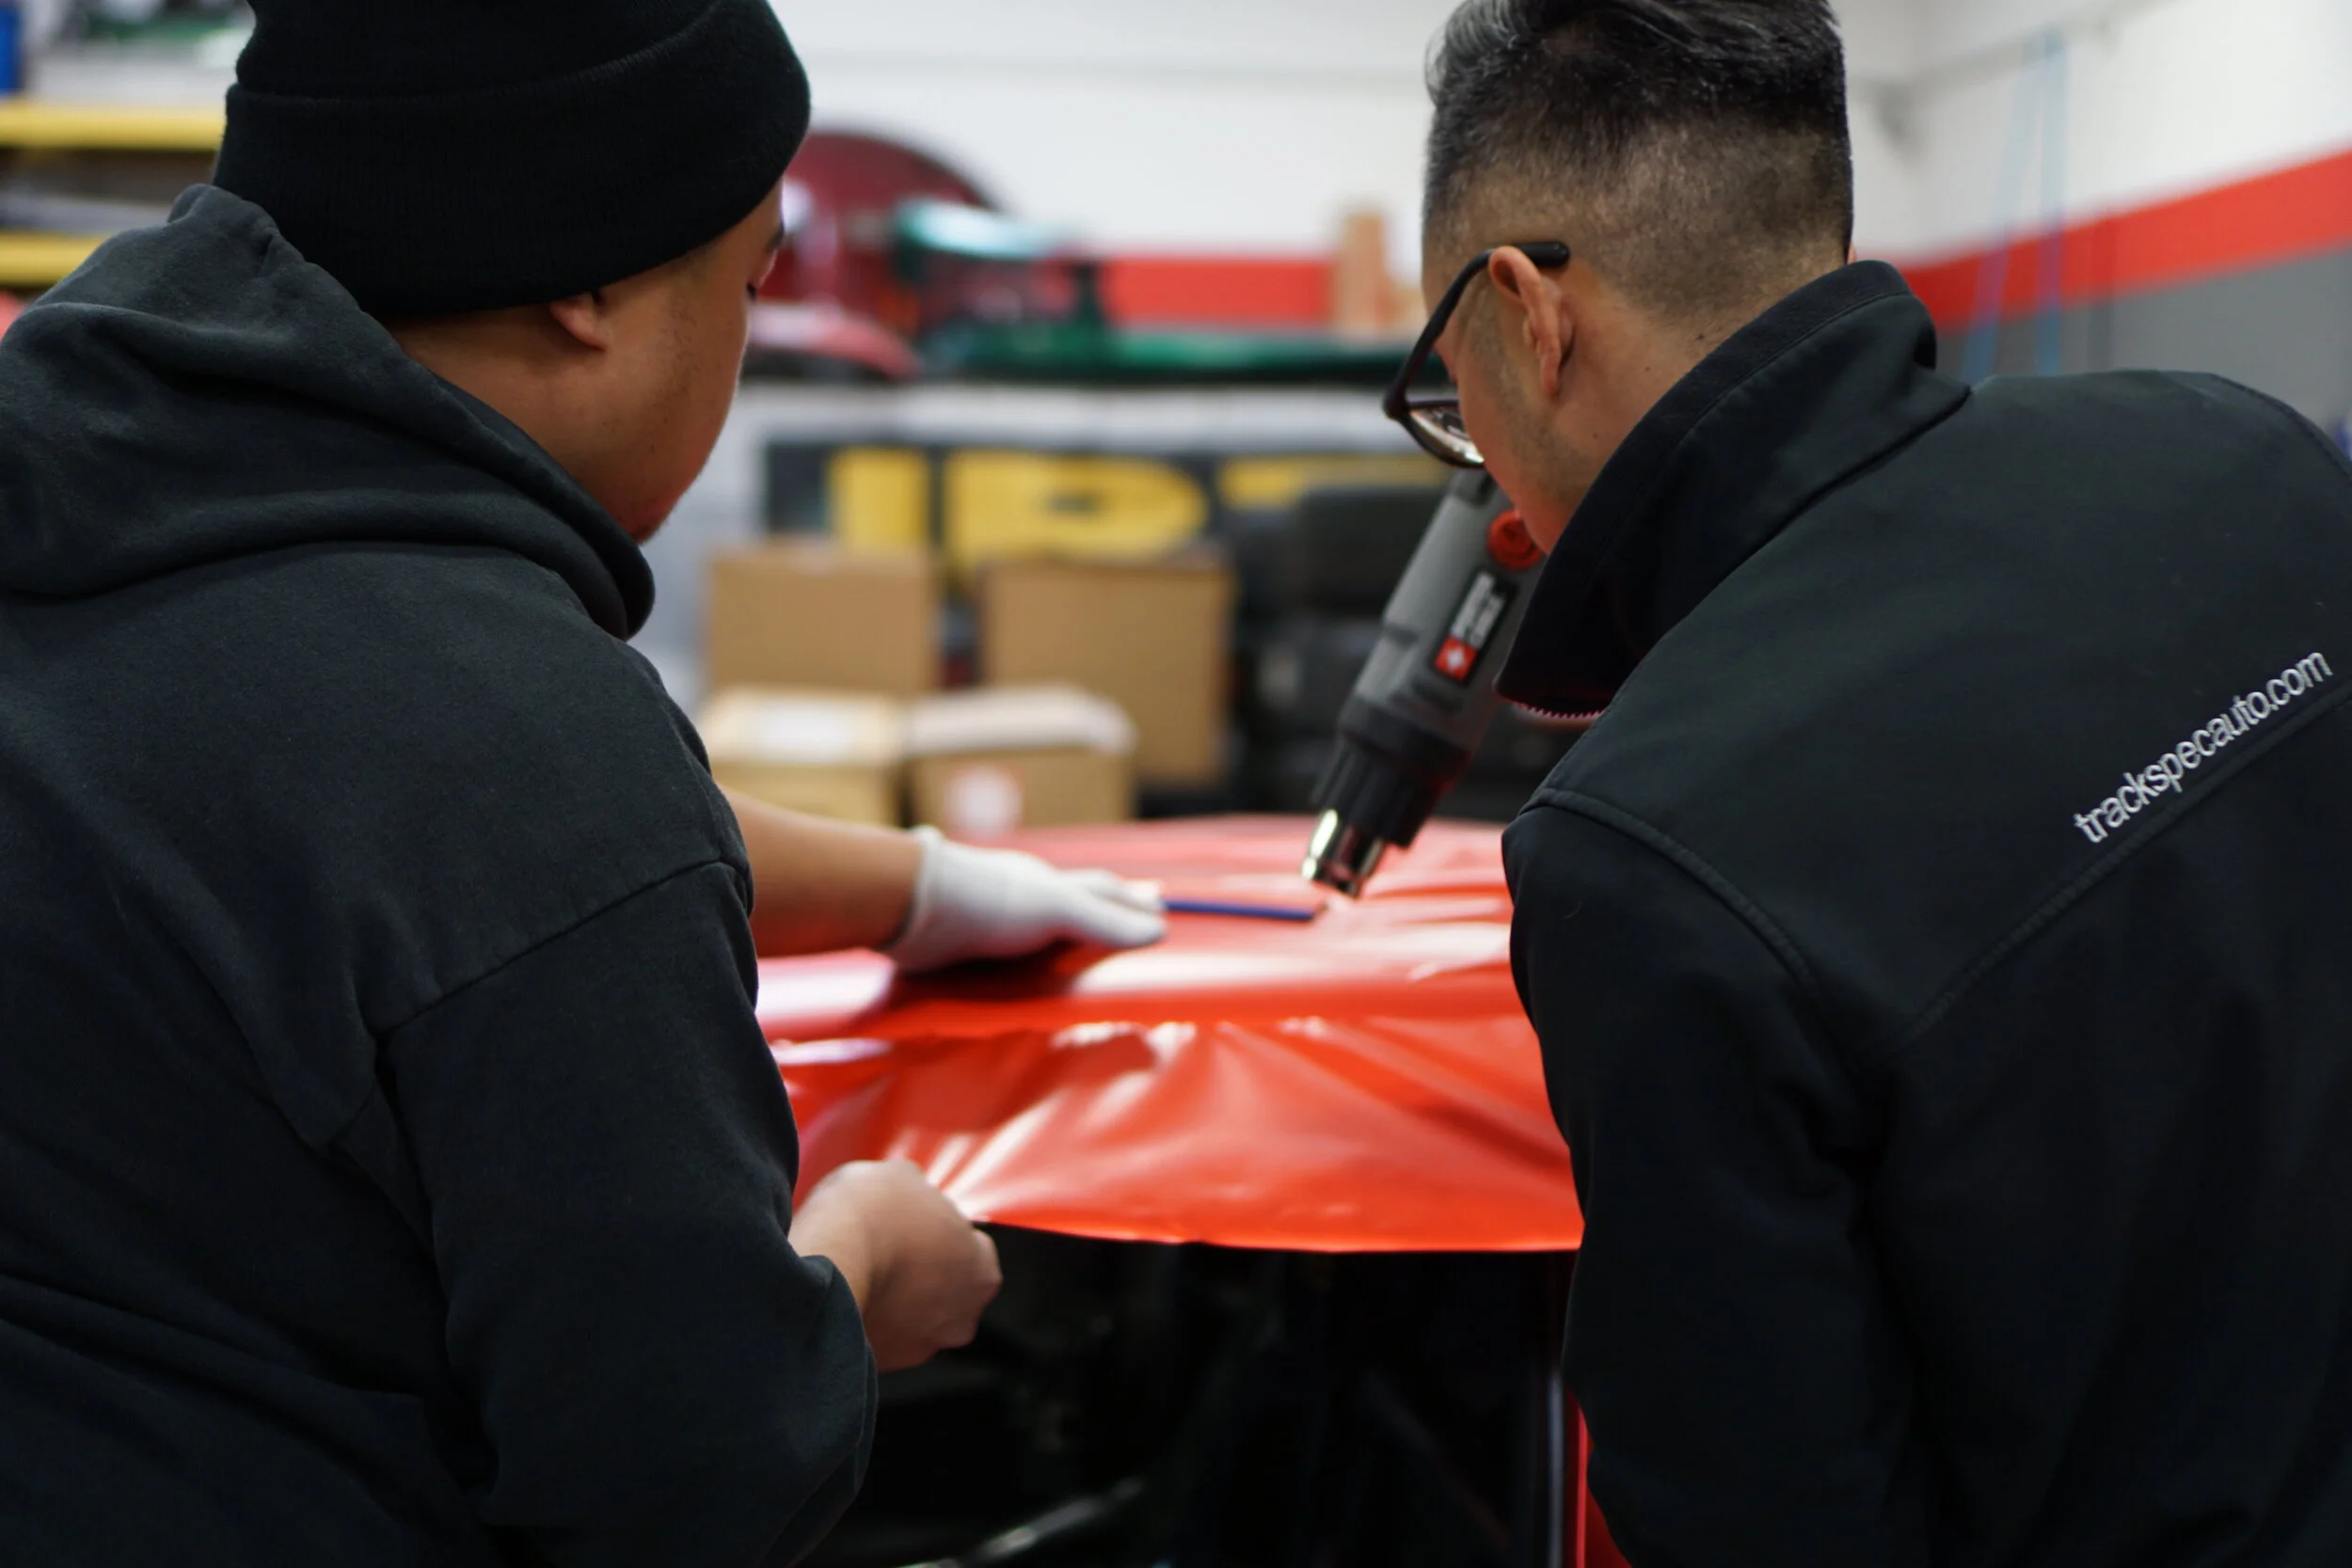
One of the main reasons we decided to go with a vinyl wrap for this car is so we could patch or replace panels and not have to send the car to a body shop. Once the roof was fitted, we wrapped the base red and used Knifeless tape to recreate the livery.


Net
A window net is required to protect the driver from large debris and to contain the driver’s arms in a crash. The net must attach to the roll cage and have a quick release system. As important as it is to keep you inside the car, you must be able to escape quickly if you needed to. We went with a Schroth size I window net and a Joe’s Racing quick release mounting kit.
If a Halo seat isn’t used, a side impact net is required. A bracket was fabricated under the dash to attach the forward part of the net. The rear of net attaches to the main hoop and wraps around the seat for additional support. We chose the Schroth Driver’s Net which also has a built in quick release system for this job. Unfortunately, the the new version of the Schroth Driver’s net was still undergoing some FIA tests, and we did not receive it in time for this update. We expect to receive it mid-late February.
Paint
In order to remove the cage from the car for painting, we left the front and rear section separated. We used STEEL-IT, a weldable stainless steel coating. Once painted, we fitted the cage back into the car, welded it together, completely, and finished off the paint job.


Completed Cage
Once the cage was welded together and repainted, there were a couple final touches that needed to be done; like adding the roll bar padding, sealing off the firewall where the rear bars passed through, reattaching the firewall to the main hoop, and putting in the Poly Carbonate rear window. We also ended up putting in a 2-way radio system for driver and crew communication.We won’t be able to get the NASA annual tech inspection done until the driver’s net arrives. We have another Laguna day on 2/24 with the Golden Gate Lotus Club, so we put everything back together.
PC: Martin Buendia

PC: Martin Buendia