

If you’re looking for:
Part 1: The Rebuild, go here.
Part 2: The Wrap, go here.
Part 3: More Goodies, go here.
Part 4: Aero, go here.
Part 5: Cooling, go here.
Part 6: Fuel & Oil Control, go here.
Part 7: Clutch, Trans, Misc., go here.
Part 8: Roll Cage, go here.
Part 9: Brakes, go here.
Part 10: K24 Swap 1, go here.
Part 10: K24 Swap 2, go here.
Part 10: K24 Swap 3, go here.
In this blog post:
Splitter
It’s no secret that Reverie makes high quality (wind tunnel tested) aero parts for the Eliges and I’ve always liked their front splitter design. Although Reverie’s mounting solution works great and is solid, I decided to attach the splitter directly to the chassis, and not to the front clam. My reason for this is so that we can easily remove the front clam without having to remove the splitter first. This did require cutting the front lower portion of it so that it could just rest on top of the splitter.
Our mounting solution passed the test.
Wiring & Data Acquisition
With the AiM dash logger on the way, I decided that it was a good time to do some wiring work on the car. I started by thinning the chassis harness and removed all the unnecessary wires and modules. This included the SRS, alarm, stereo, and central door locking system. While I was at it, Herb removed the parking brake mechanism and installed Inokinetic’s hand-brake delete bracket option for their ShiftR111.


Switch Panel
Most sanctioning bodies require that the steering wheel lock is disabled or removed, so this was also a good time to wire in the switch panel as the steering wheel lock/key cylinder actuates the ignition switch. If you haven’t already noticed, the interior is symmetrical so that Lotus could use the same interior parts for left hand drive or right hand drive cars. I moved the original switch panel from the driver’s side to the passenger side for the battery kill and fire suppression system switches. Per most regulations, there should be a set of “interior” and “exterior” switches. If the switches are not on the exterior of the car, they need to be at least accessible from the exterior. This allows a safety marshal to shut off the engine or activate the fire system if the driver is not able to in an emergency situation.
I replaced the driver’s side switch panel with a Euro (3 Switch) panel and kept the factory push start button in it’s original location. I also retained the factory light switches, in case we decide to do any endurance racing with the car. In the middle row is the new ignition switch and a fuel pump over ride switch. A fuel pump over ride switch in conjunction with dry break fittings on the fuel lines allows for quick and easy fuel removal. This is convenient for 2 reasons:
To stay consistent and always corner balance and align with the same amount of fuel in the car.
To be able to remove fuel from the tank if there is more than needed to complete a sprint race. (it wouldn’t make sense to carry the extra weight)
In the last row is the CARTEK solid state battery isolator master switch and the AiM data USB port.
The center switch panel contains the other fire suppression system activation switch, windshield wiper switch, and more AUX switches, which will likely be for a Cool Shirt system and helmet blower fan.


AiM Dash
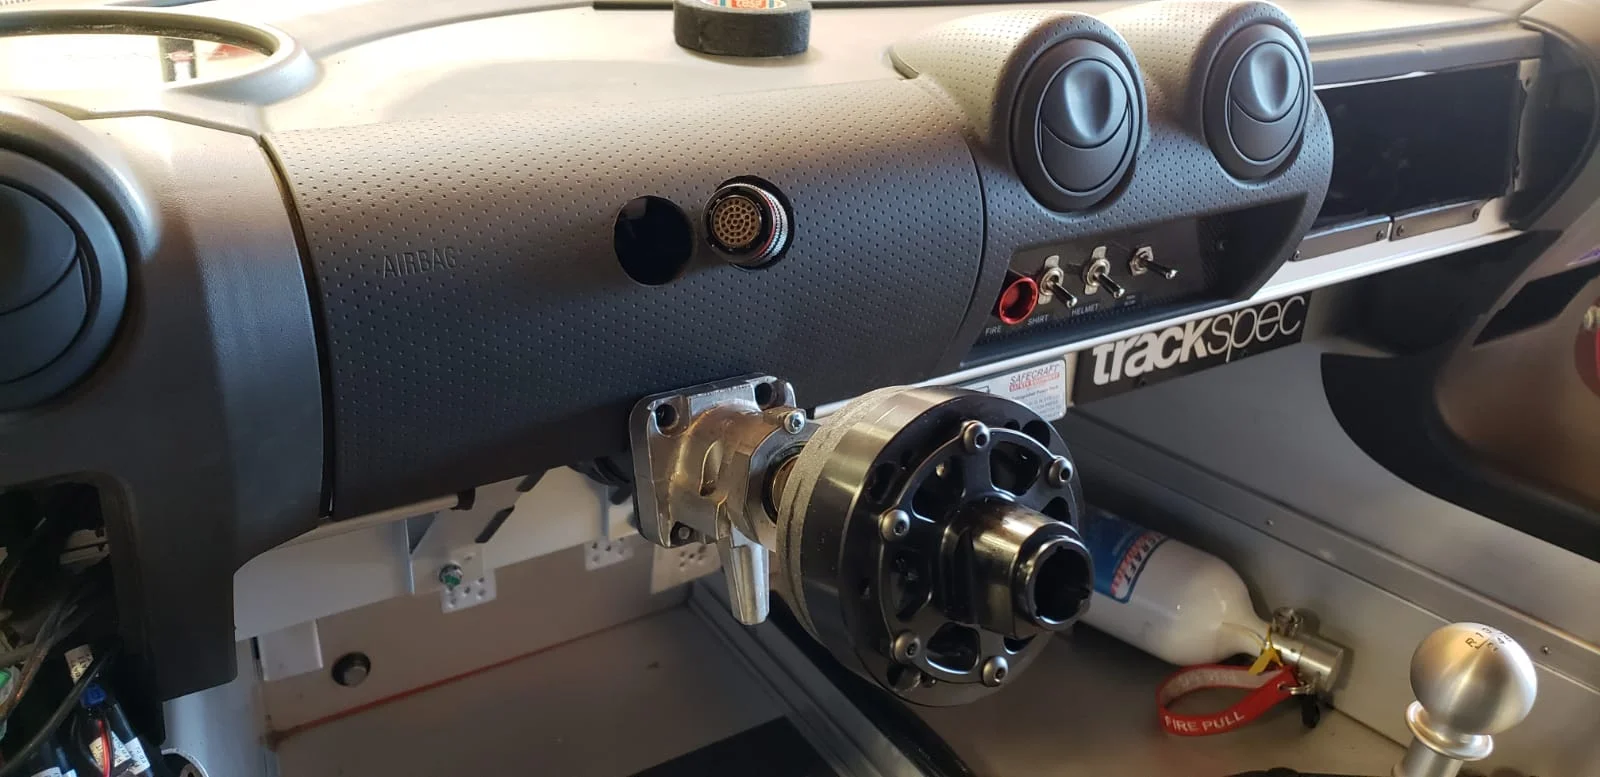
AiM’s color TFT display dash loggers can easily be seen even in direct sun light, so I decided to get rid of the instrument cowling and replace it with an airbag cover. There are menu buttons on the sides of the dash, so those would be difficult to access if it was tucked away behind a cowl.
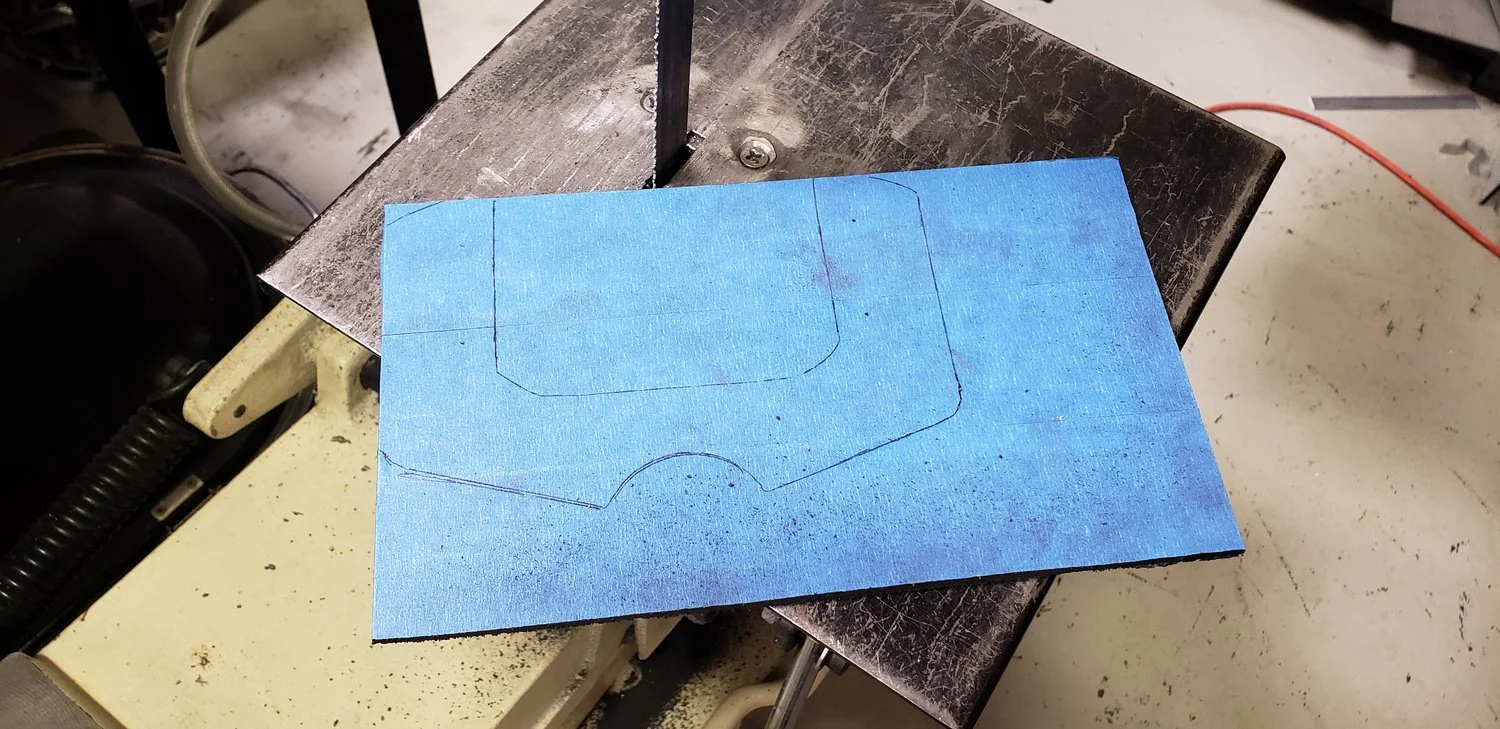
I started by making a template to mount the dash to the steering column. Once I was happy with it, I made the final part out of a piece of 4mm carbon sheet.


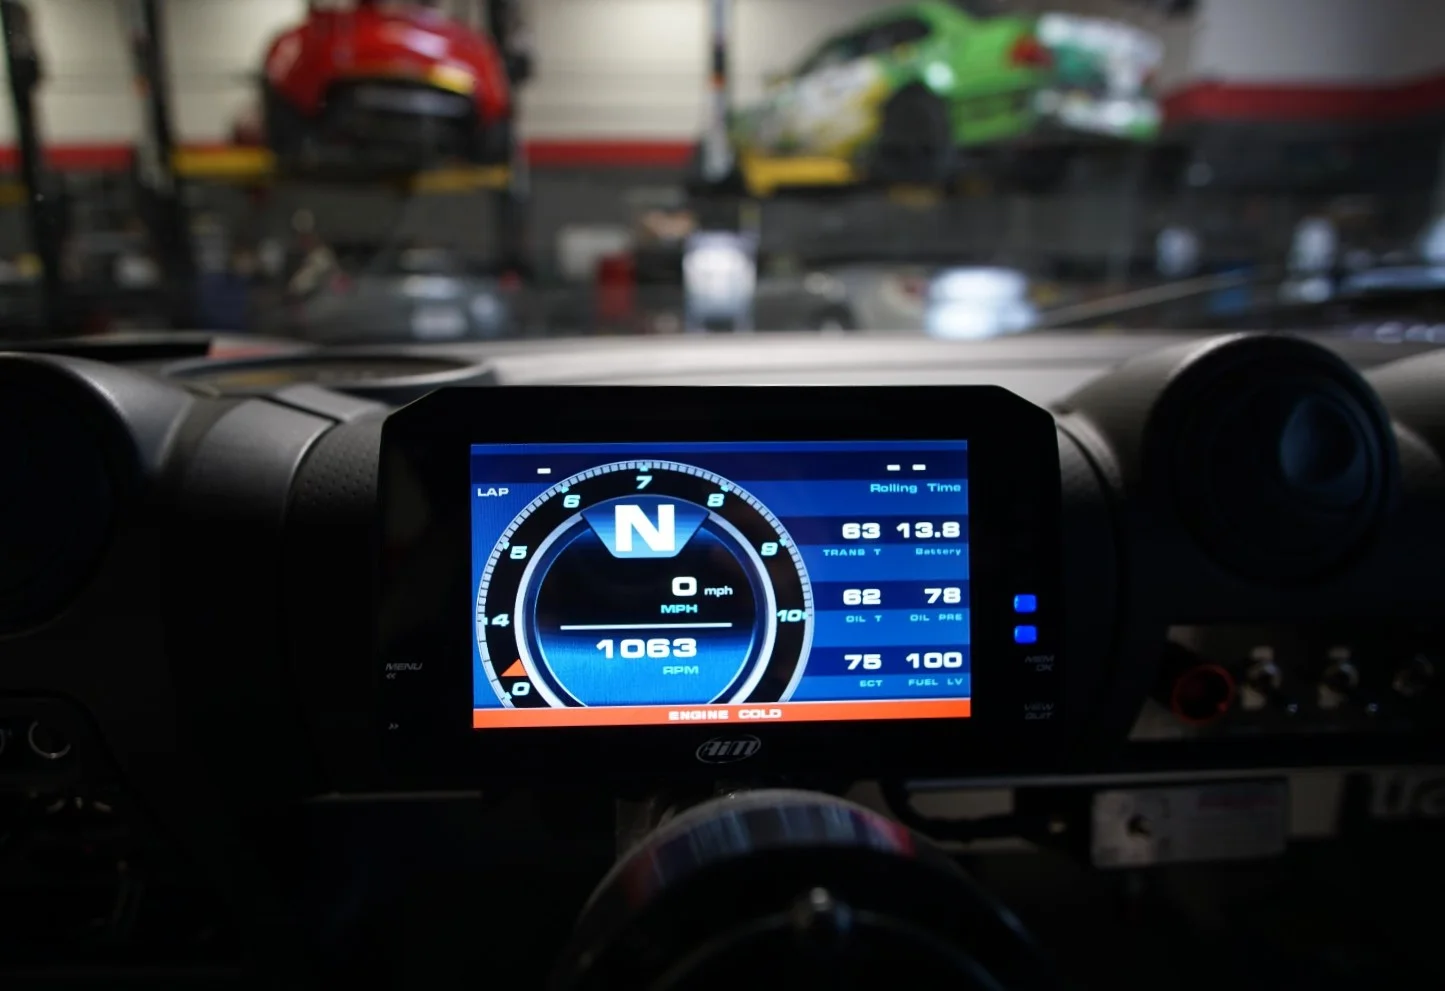
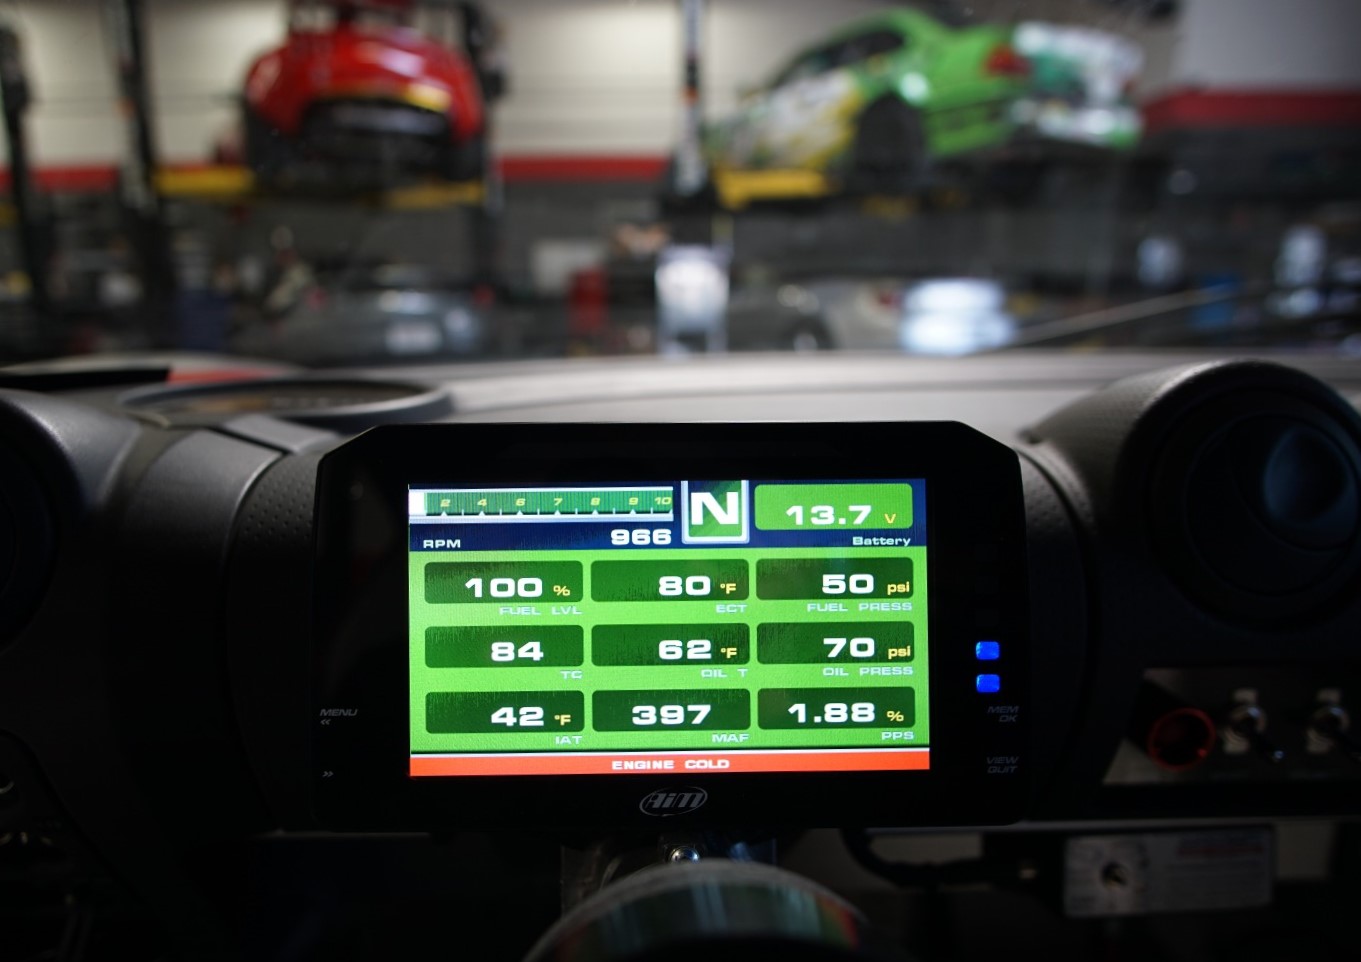
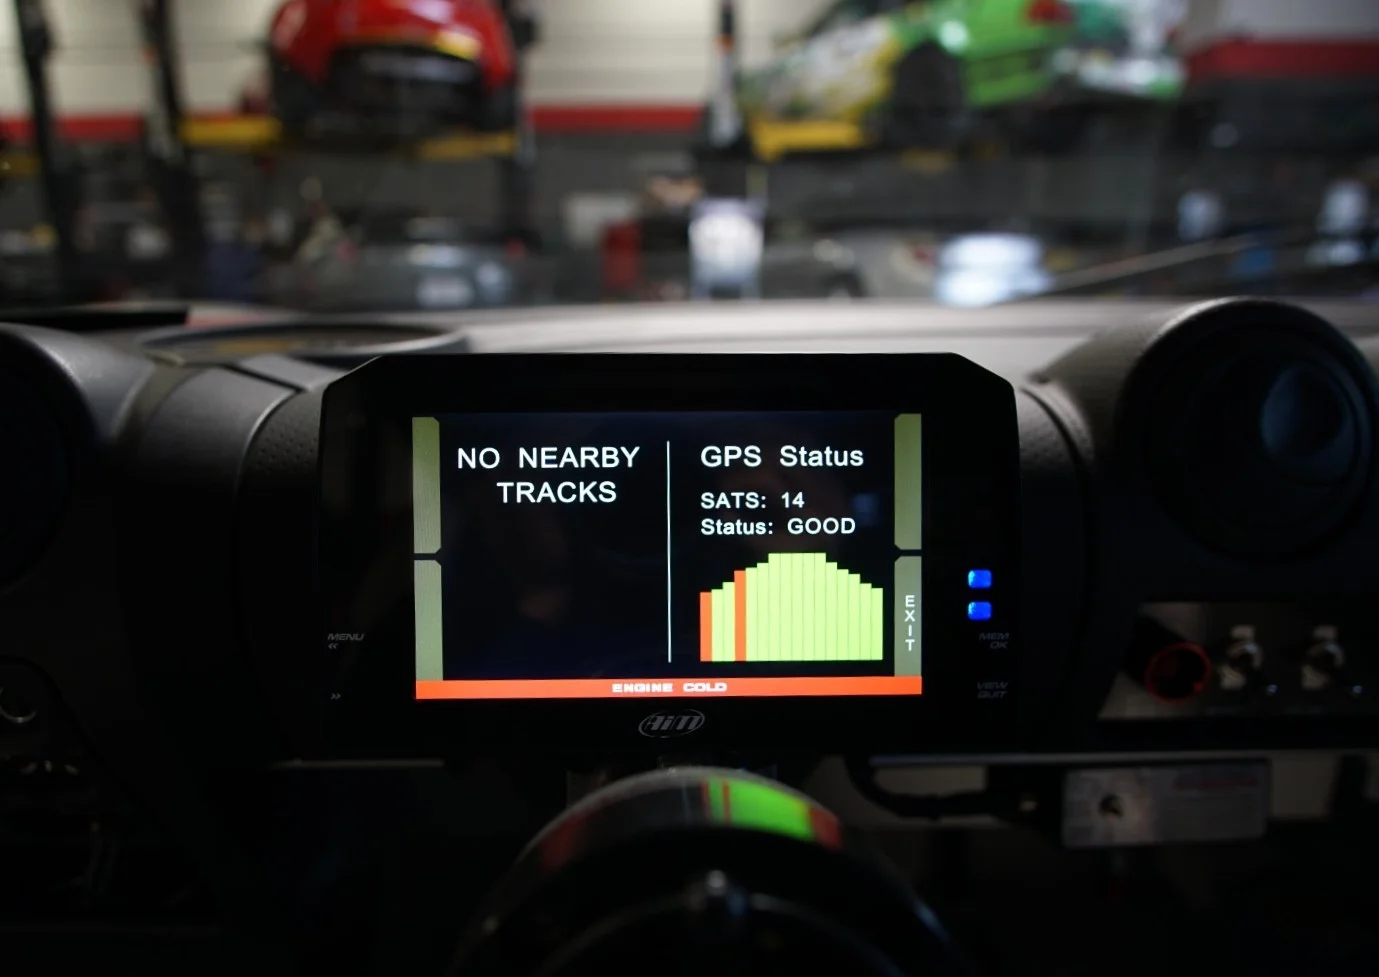
With the dash logger, I’m now able to monitor and log all of the ECU engine data as well as oil pressure, engine oil temp, transmission temp, and fuel pressure from the auxiliary sensors that were installed.
GPS antenna for lap timing and analyzing your line on the race track.
Ravenol
We’ve been working with Jim from West Coast Ravenol and using Ravenol as our main fluid brand at the shop for about a year now. Our E46 330 and ST4/TT4/E1 E36 M3 run Ravenol fluids and have had nothing but great results. It only made sense to partner with Jim when it came down to our Lotus and we expect the same performance, reliability and awesome customer service!
Laguna Seca
March 31, 2019
We got lucky again and the weather was perfect at Laguna. Although all the recent work wasn’t to enhance the car’s performance, I was excited to drive it again just to get more seat time and data from the additional sensors we added. However, the Reverie splitter was something that would change the dynamics of the car, so I was curious to see how the car would feel. A rear wing was ordered to go with the splitter, so I was expecting an “aero imbalance” driving it as is.
It was a 90db day and my car recorded 94db, so I was flagged to pit and my session had ended 2 laps in. In case you’re wondering, the car has a TRD air box, stock SC pulley, stock header, decat (catless pipe), ST muffler, and a 180 degree exhaust tip. Luckily, I brought the stock cat with me just in case, and I was able to put it back on before the next session.
Installing the stock cat did the trick and, the car was good on sound for the rest of the day. The last time the car was at Laguna was my first time driving the car, and my best time of the day was a 1:46.6. In Session two, I managed a 1:46.2, but with a lot of traffic, so I was confident I could lose another second or 2.
What I noticed about the car right away is that it had more on-throttle front-end grip through T4 and T6, which were about 75mph corners. It also felt unsettled coming over the crest of turn 1, which is a slight downhill 100mph+ kink. With the rear wing installed, the car should feel more balanced at high speeds.
By session 3 (my 2nd one of the day), I managed to get down to a 1:43.1. In my last run of the day, I swapped cars with another Exige owner so that he could test out the JRZ shocks. Overall, it was a great Sunday afternoon at the race track!
If you’re looking for:
Part 1: The Rebuild, go here.
Part 2: The Wrap, go here.
Part 3: More Goodies, go here.
Part 4: Aero, go here.
Part 5: Cooling, go here.
Part 6: Fuel & Oil Control, go here.
Part 7: Clutch, Trans, Misc., go here.
Part 8: Roll Cage, go here.
Part 9: Brakes, go here.
Part 10: K24 Swap 1, go here.
Part 10: K24 Swap 2, go here.
Part 10: K24 Swap 3, go here.